
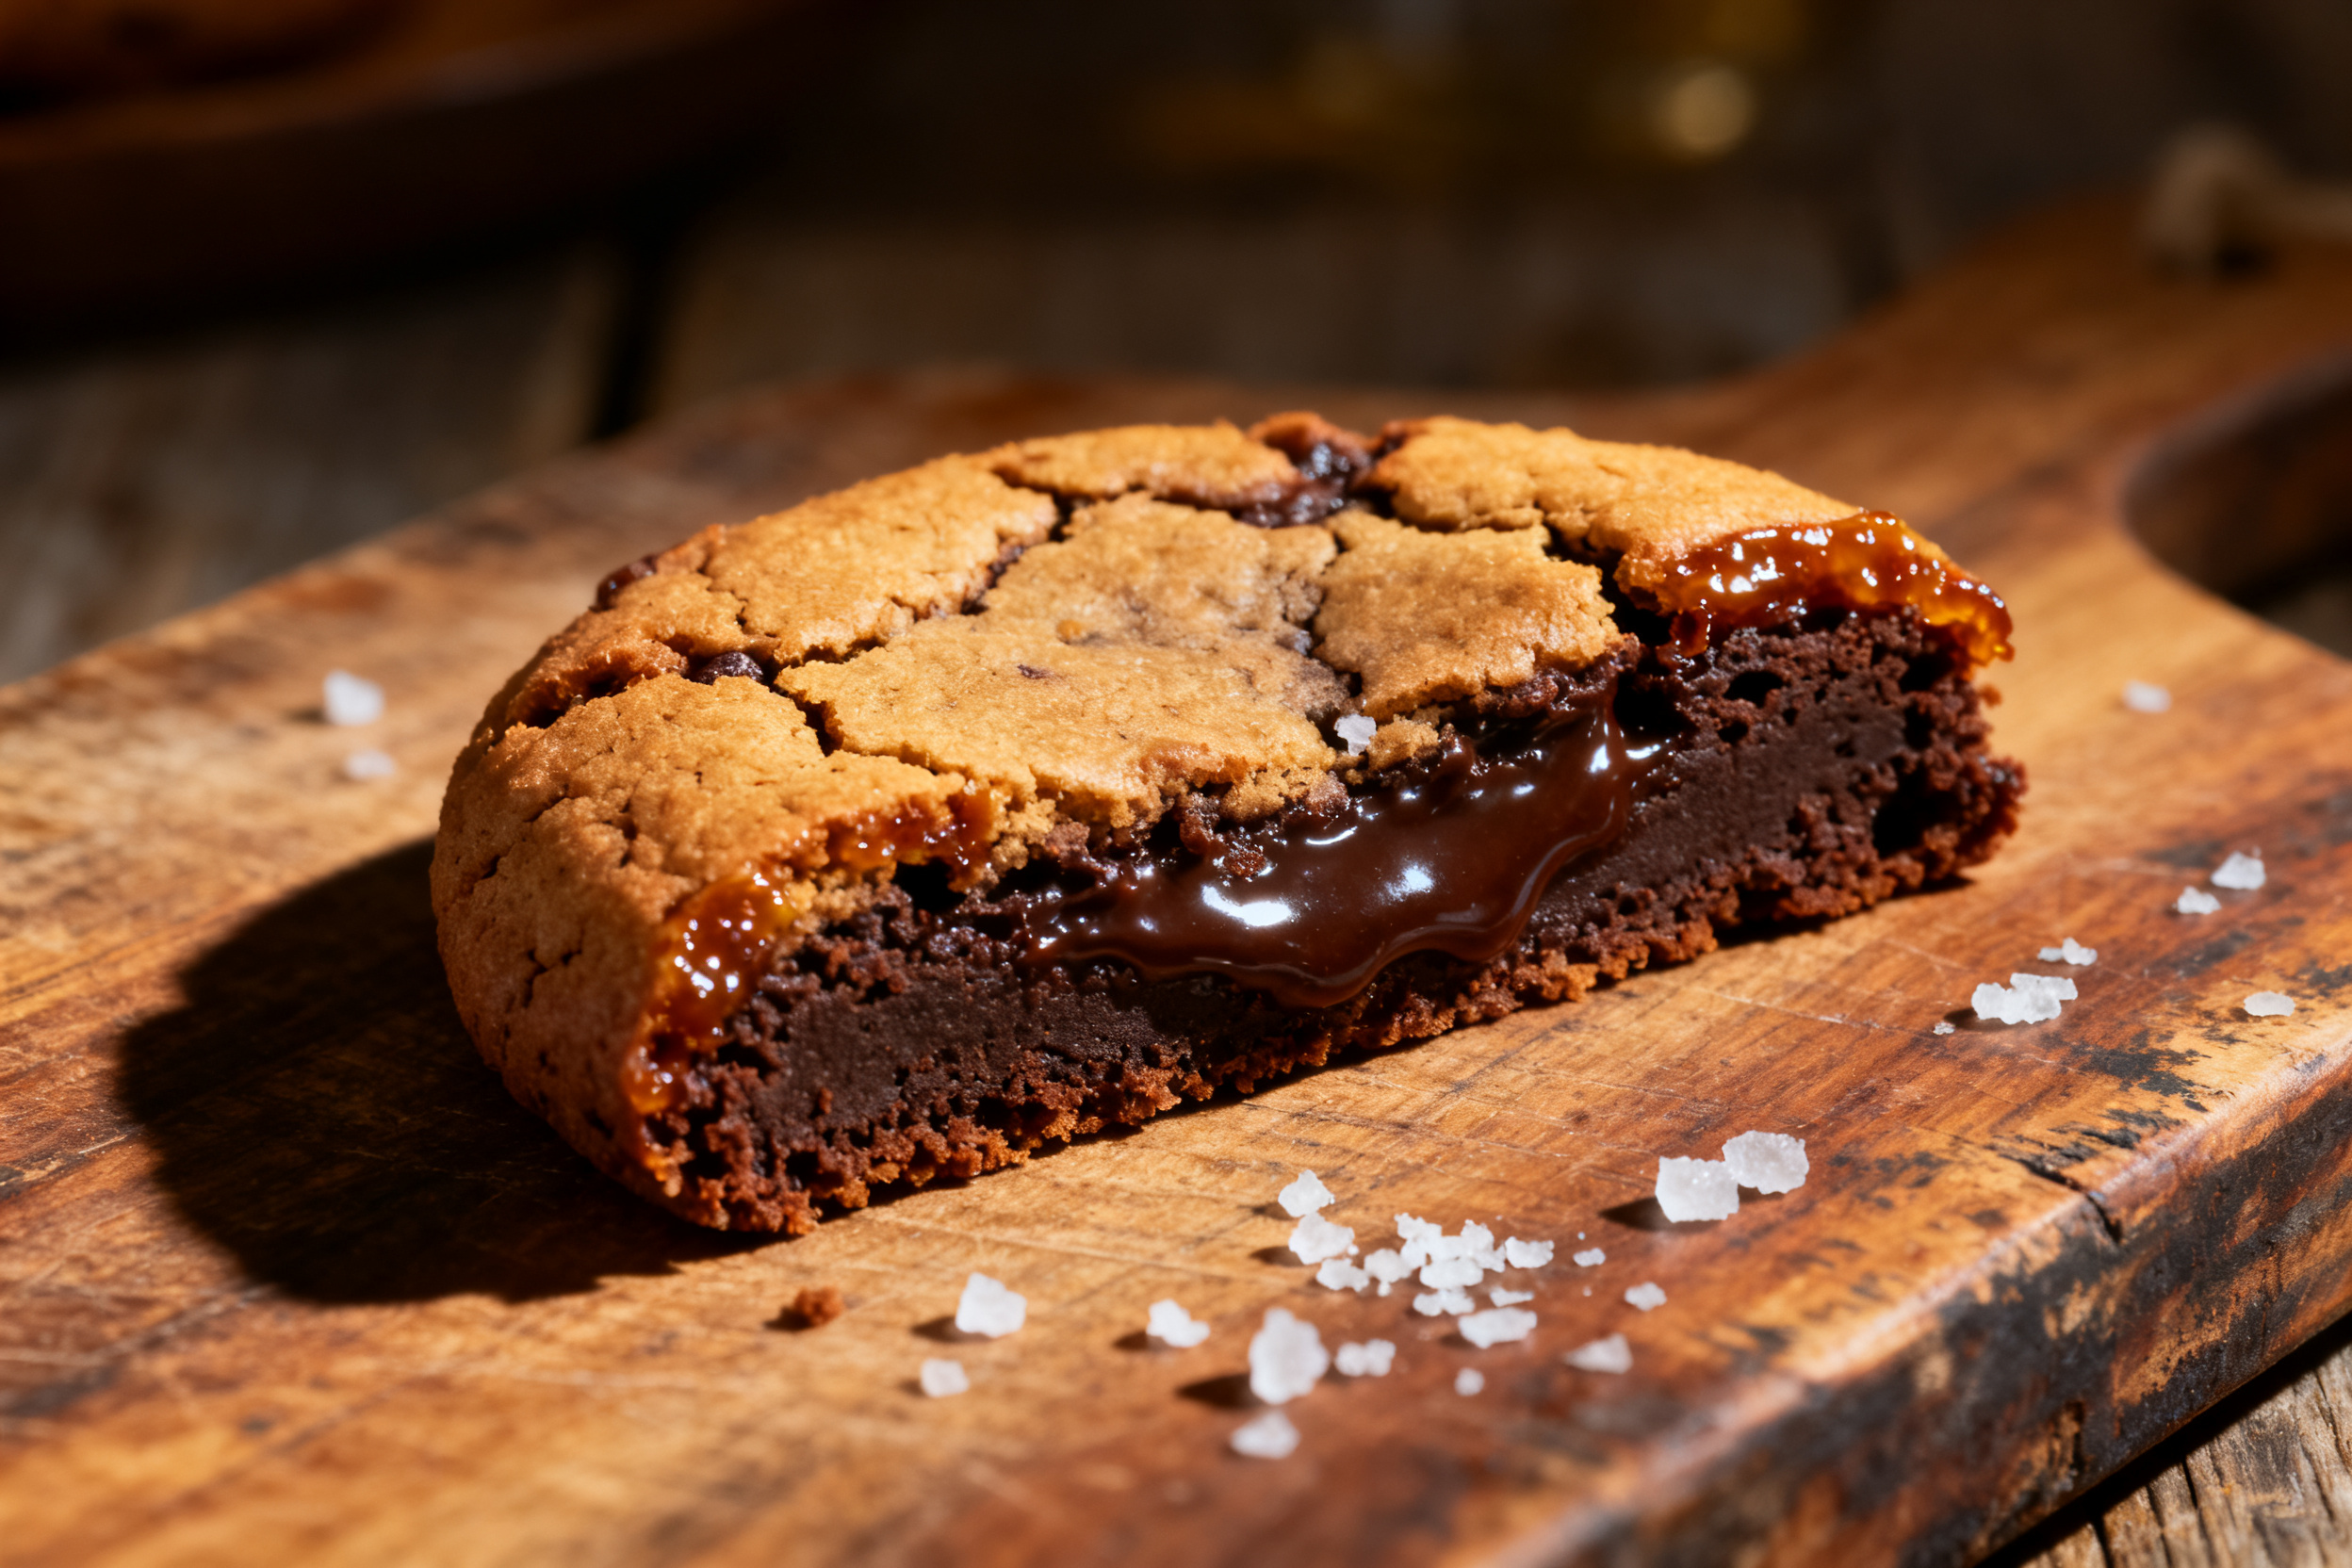
You know that moment when you can’t decide between a brownie and a cookie? I’ve been there way too many times. This brownie cookie recipe gives you the best of both worlds — that signature crackly top with a soft, fudgy center.
I accidentally created these beauties while trying to fix a batch of flat brownies. Best mistake I ever made, honestly. Now they’re my go-to for whenever I need a chocolate fix without waiting for a whole pan to bake.
Let’s get straight to the good stuff — no fluff, just the details you actually need.
Allergens
__SAC_BLOCK_1__
These cookies contain gluten from all-purpose flour and dairy from butter. They also include eggs, so they’re not vegan-friendly as written.
For a gluten-free version, swap the flour with a 1:1 gluten-free baking blend. Use vegan butter and a flax egg for dairy-free and egg-free options — just know the texture will be slightly different.
Soy could be present in your chocolate chips, so check the label if that’s a concern. These cookies are nut-free by default, but confirm your chocolate brand avoids cross-contamination.
Ingredient notes & substitutions
__SAC_BLOCK_2__
Unsalted butter is your best friend here — it lets you control the salt level. If you only have salted butter, skip the added salt in the recipe.
Dark chocolate chips (60-70% cacao) give the deepest flavor. Milk chocolate will make them sweeter and less fudgy, so I don’t recommend it.
You need two types of sugar: granulated for the crackly top and brown sugar for chewiness. Don’t skip the brown sugar — it’s what makes the centers soft.
Storage & make-ahead
__SAC_BLOCK_3__
Store baked cookies in an airtight container at room temperature for up to 5 days. Place a slice of bread in the container to keep them soft — it absorbs extra air and works like magic.
For make-ahead, scoop the dough onto a parchment-lined baking sheet and freeze until solid. Transfer the frozen dough balls to a freezer bag and bake straight from frozen, adding 2-3 minutes to the bake time.
You can also refrigerate the dough for up to 3 days. Just let it sit at room temperature for 10 minutes before scooping if it feels too firm.
Serving suggestions
__SAC_BLOCK_4__
Serve these warm with a glass of cold milk — it’s basically a childhood dream come true. For a fancy twist, sandwich two cookies around a scoop of vanilla ice cream.
They’re perfect alongside a hot coffee or espresso for an afternoon pick-me-up. Drizzle with melted peanut butter or caramel sauce if you’re feeling extra indulgent.
Use your leftovers
__SAC_BLOCK_5__
Crush leftover cookies into crumbs and use them as a topping for yogurt, ice cream, or pudding. You can also layer them in a parfait glass with whipped cream and berries for an easy dessert.
Another trick: crumble them over a brownie sundae or mix into a milkshake. The crumbs add texture and intense chocolate flavor without any extra effort.
Common mistakes & how to fix them
__SAC_BLOCK_6__
Cookies spreading too flat? Your dough probably wasn’t chilled long enough. Also check that your butter wasn’t too soft when you mixed it — it should be cool to the touch.
No crackly top? You might have overmixed the dough or used too much flour. Measure flour by spooning it into the cup and leveling off — don’t scoop directly from the bag.
Dry or cakey texture? You baked them too long. Remember, underdone centers are the goal here. Also, make sure you’re measuring your cocoa powder correctly — it clumps easily.
Variations by diet or flavor profile
__SAC_BLOCK_7__
For a vegan version, substitute the butter with vegan butter and use a flax egg (1 tablespoon flaxseed meal + 3 tablespoons water per egg). The cookies will be slightly less fudgy but still delicious.
Add mix-ins like chopped nuts, toffee bits, or white chocolate chips for texture variety. Try adding 1/2 teaspoon of espresso powder to enhance the chocolate flavor without tasting coffee.
For a peppermint twist, add 1/2 teaspoon peppermint extract to the dough and top with crushed candy canes before baking. That works great for holiday cookie exchanges.
Why this recipe works
__SAC_BLOCK_8__
The combination of melted butter and two types of sugar creates the perfect structure. Melted butter gives you that fudgy texture while granulated sugar on the outside forms the crackly crust during baking.
A higher ratio of cocoa to flour than typical cookie recipes means you get intense chocolate flavor without heaviness. The brown sugar adds moisture and that slight chewiness we all love.
Chilling the dough solidifies the fats, which means the cookies spread slowly in the oven. This slow spread is what allows the top to crack and set before the inside overcooks, giving you that perfect fudgy center every time.
Frequently Asked Questions (FAQ)
__SAC_BLOCK_9__
Can I use cocoa powder instead of chocolate chips? The recipe already uses cocoa powder in the dough. Chocolate chips add extra melty pockets, so I don’t recommend skipping them — they’re essential for the texture.
Why are my cookies not crackly? Most likely, you didn’t chill the dough enough or you used too much flour. Also, make sure your oven is fully preheated — a hot oven sets the top quickly.
Can I freeze the baked cookies? Absolutely. Freeze them in a single layer on a baking sheet, then transfer to a freezer bag. They’ll keep for up to 3 months. Thaw at room temperature for 15 minutes before serving.
Now it’s your turn
__SAC_BLOCK_10__
I want to hear how these turn out for you! Drop a comment below and let me know if you went with the classic version or tried one of the variations. Did you get that perfect crackly top?
Share this brownie cookie recipe with a friend who needs a chocolate pick-me-up. And don’t forget to subscribe to the blog — I send out new recipes every week, and I promise they’re all this easy and delicious.
Happy baking, and may your centers always be fudgy.
__SAC_BLOCK_0__