

You know that moment when you bite into a cookie and it just shatters in the most satisfying way? That’s exactly what these spritz cookies do. They’re buttery, delicate, and have those crisp edges that make you reach for another one before you’ve even finished the first. I’ll be honest: I used to think spritz cookies were only for Christmas platters. But after making this recipe, I’m asking myself why I don’t bake them all year round.
These little swirls come together fast, no rolling or chilling required. Just press, bake, and watch the magic happen. If you’ve ever struggled with a cookie press, don’t worry — I’ve got all the tips to make it work like a charm. Ready to get those buttery swirls on your baking sheet? Let’s go.
1. Allergens
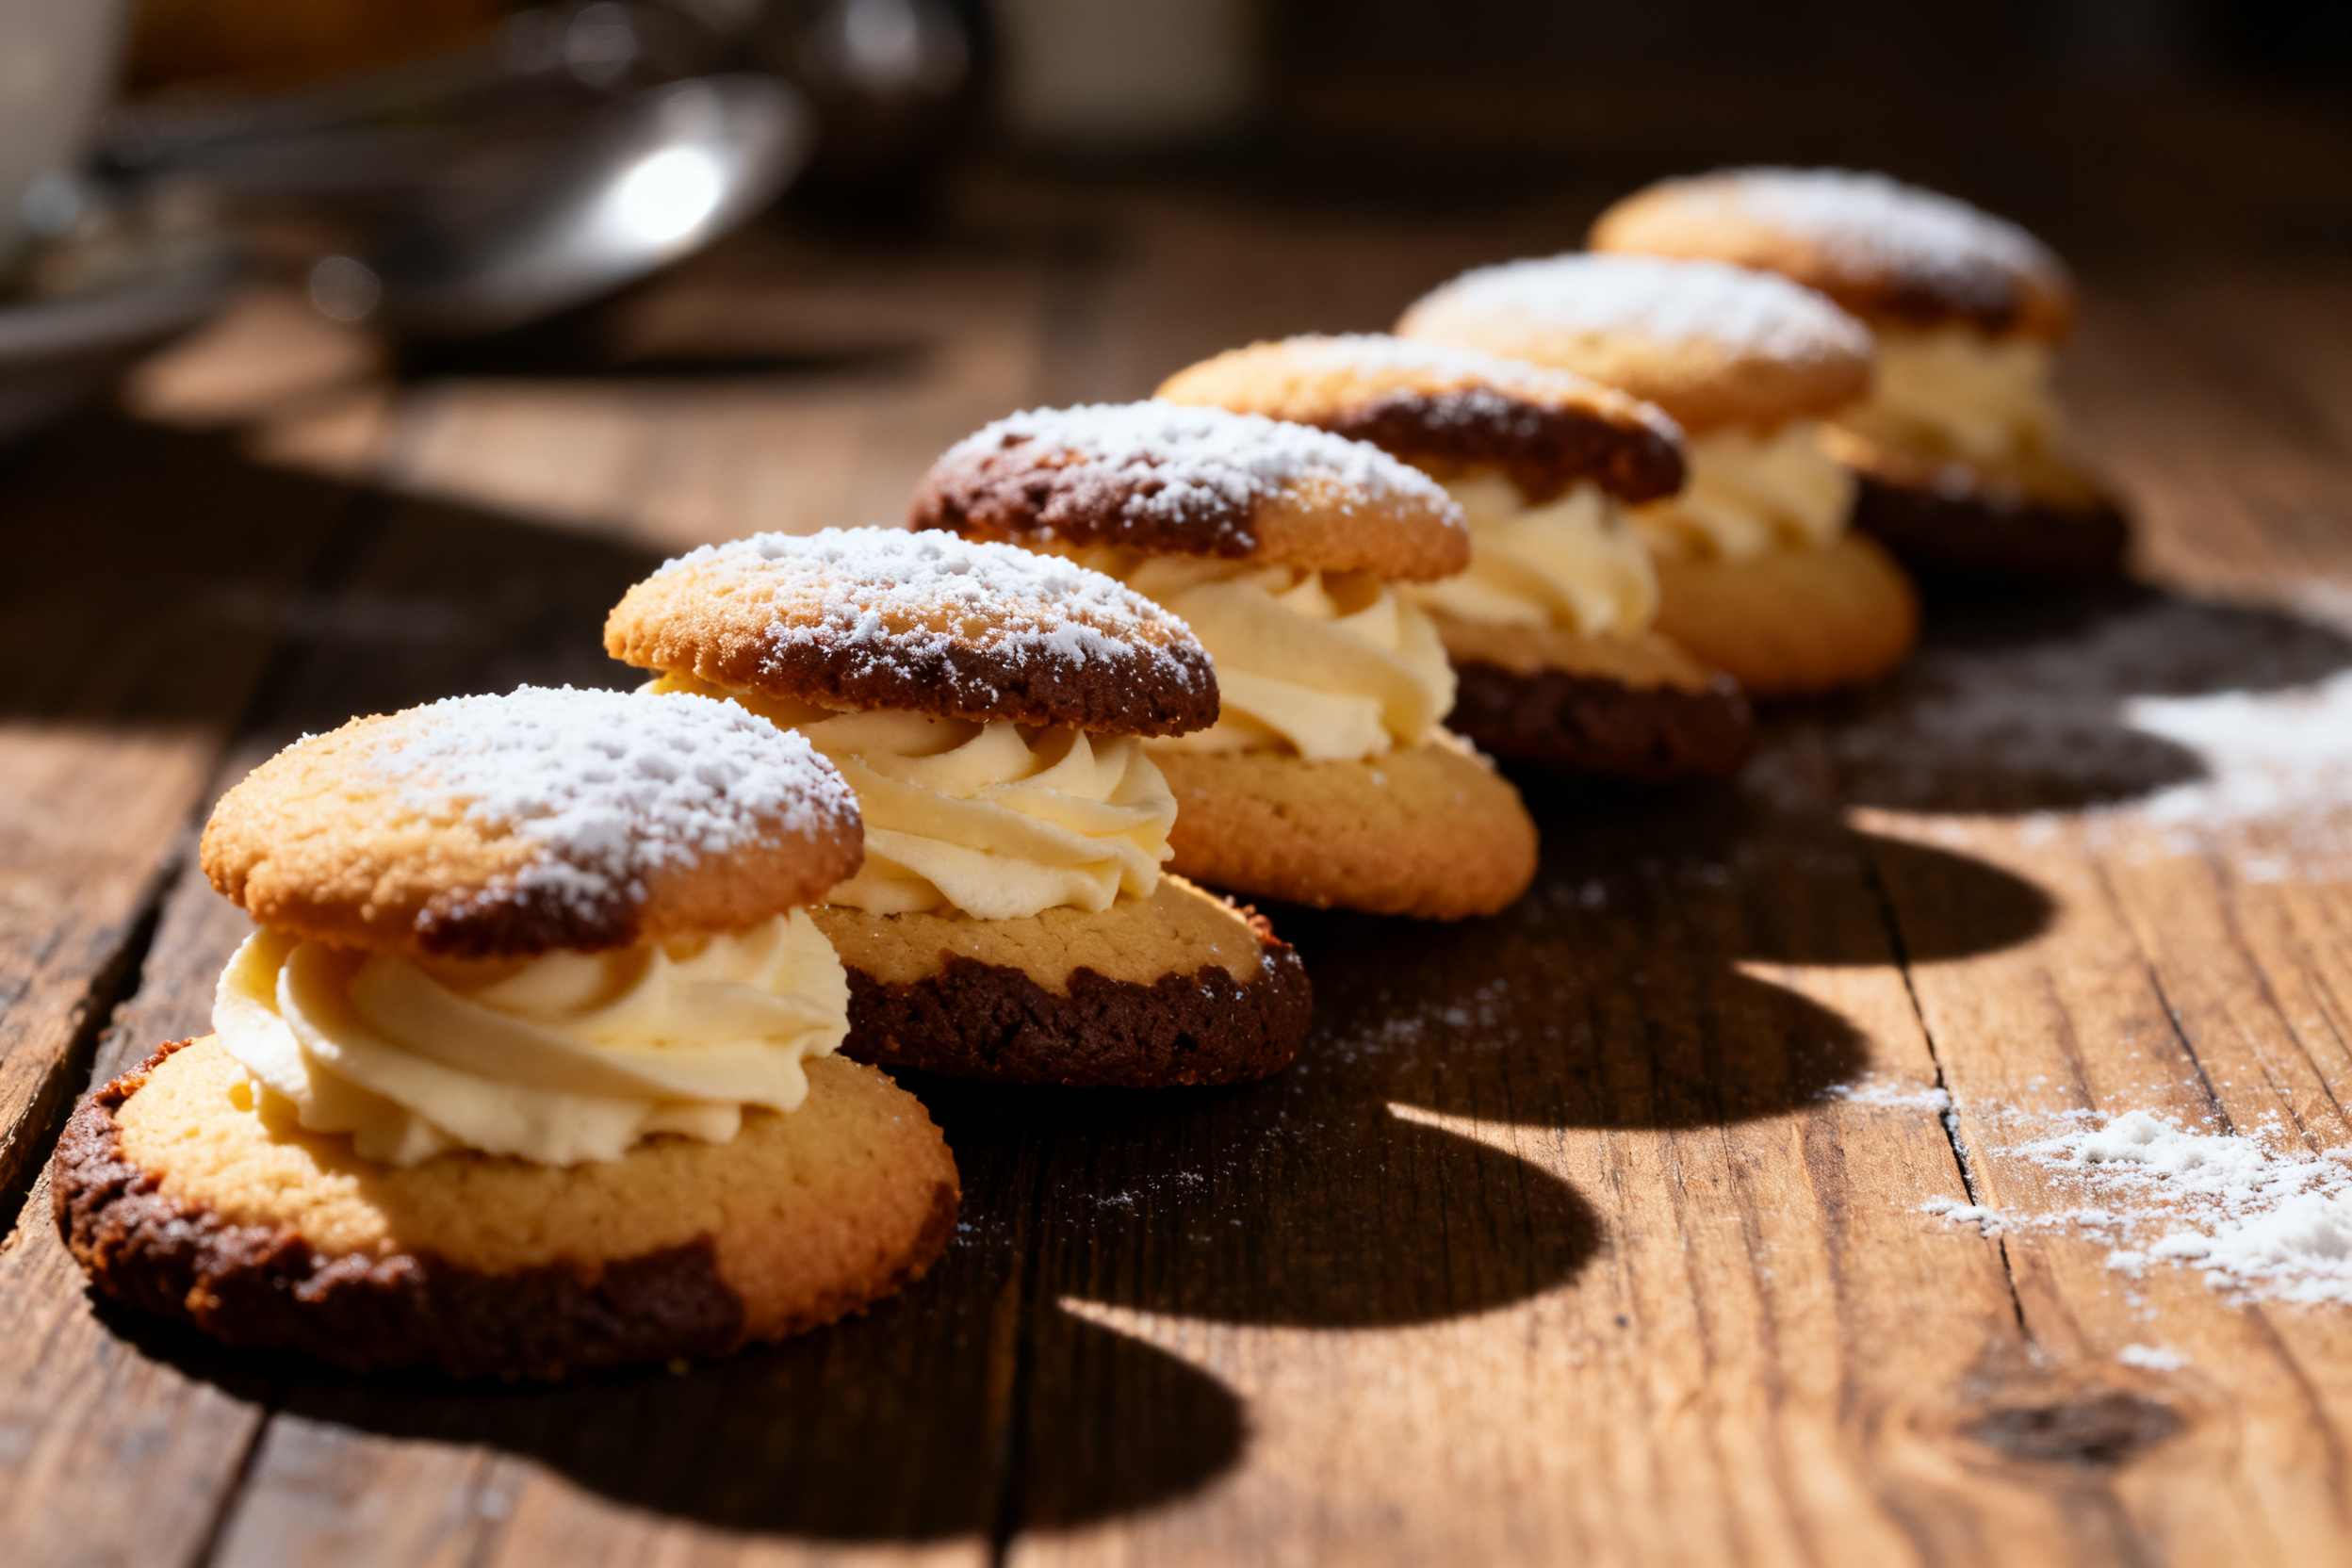
This spritz cookie recipe contains wheat (gluten), dairy (butter), and eggs. If you have a nut allergy, you’re in luck — this recipe is completely nut-free as written. That said, always double-check your ingredient labels, especially the vanilla extract and any food coloring you might add. Some brands process on shared equipment.
2. Ingredient notes & substitutions
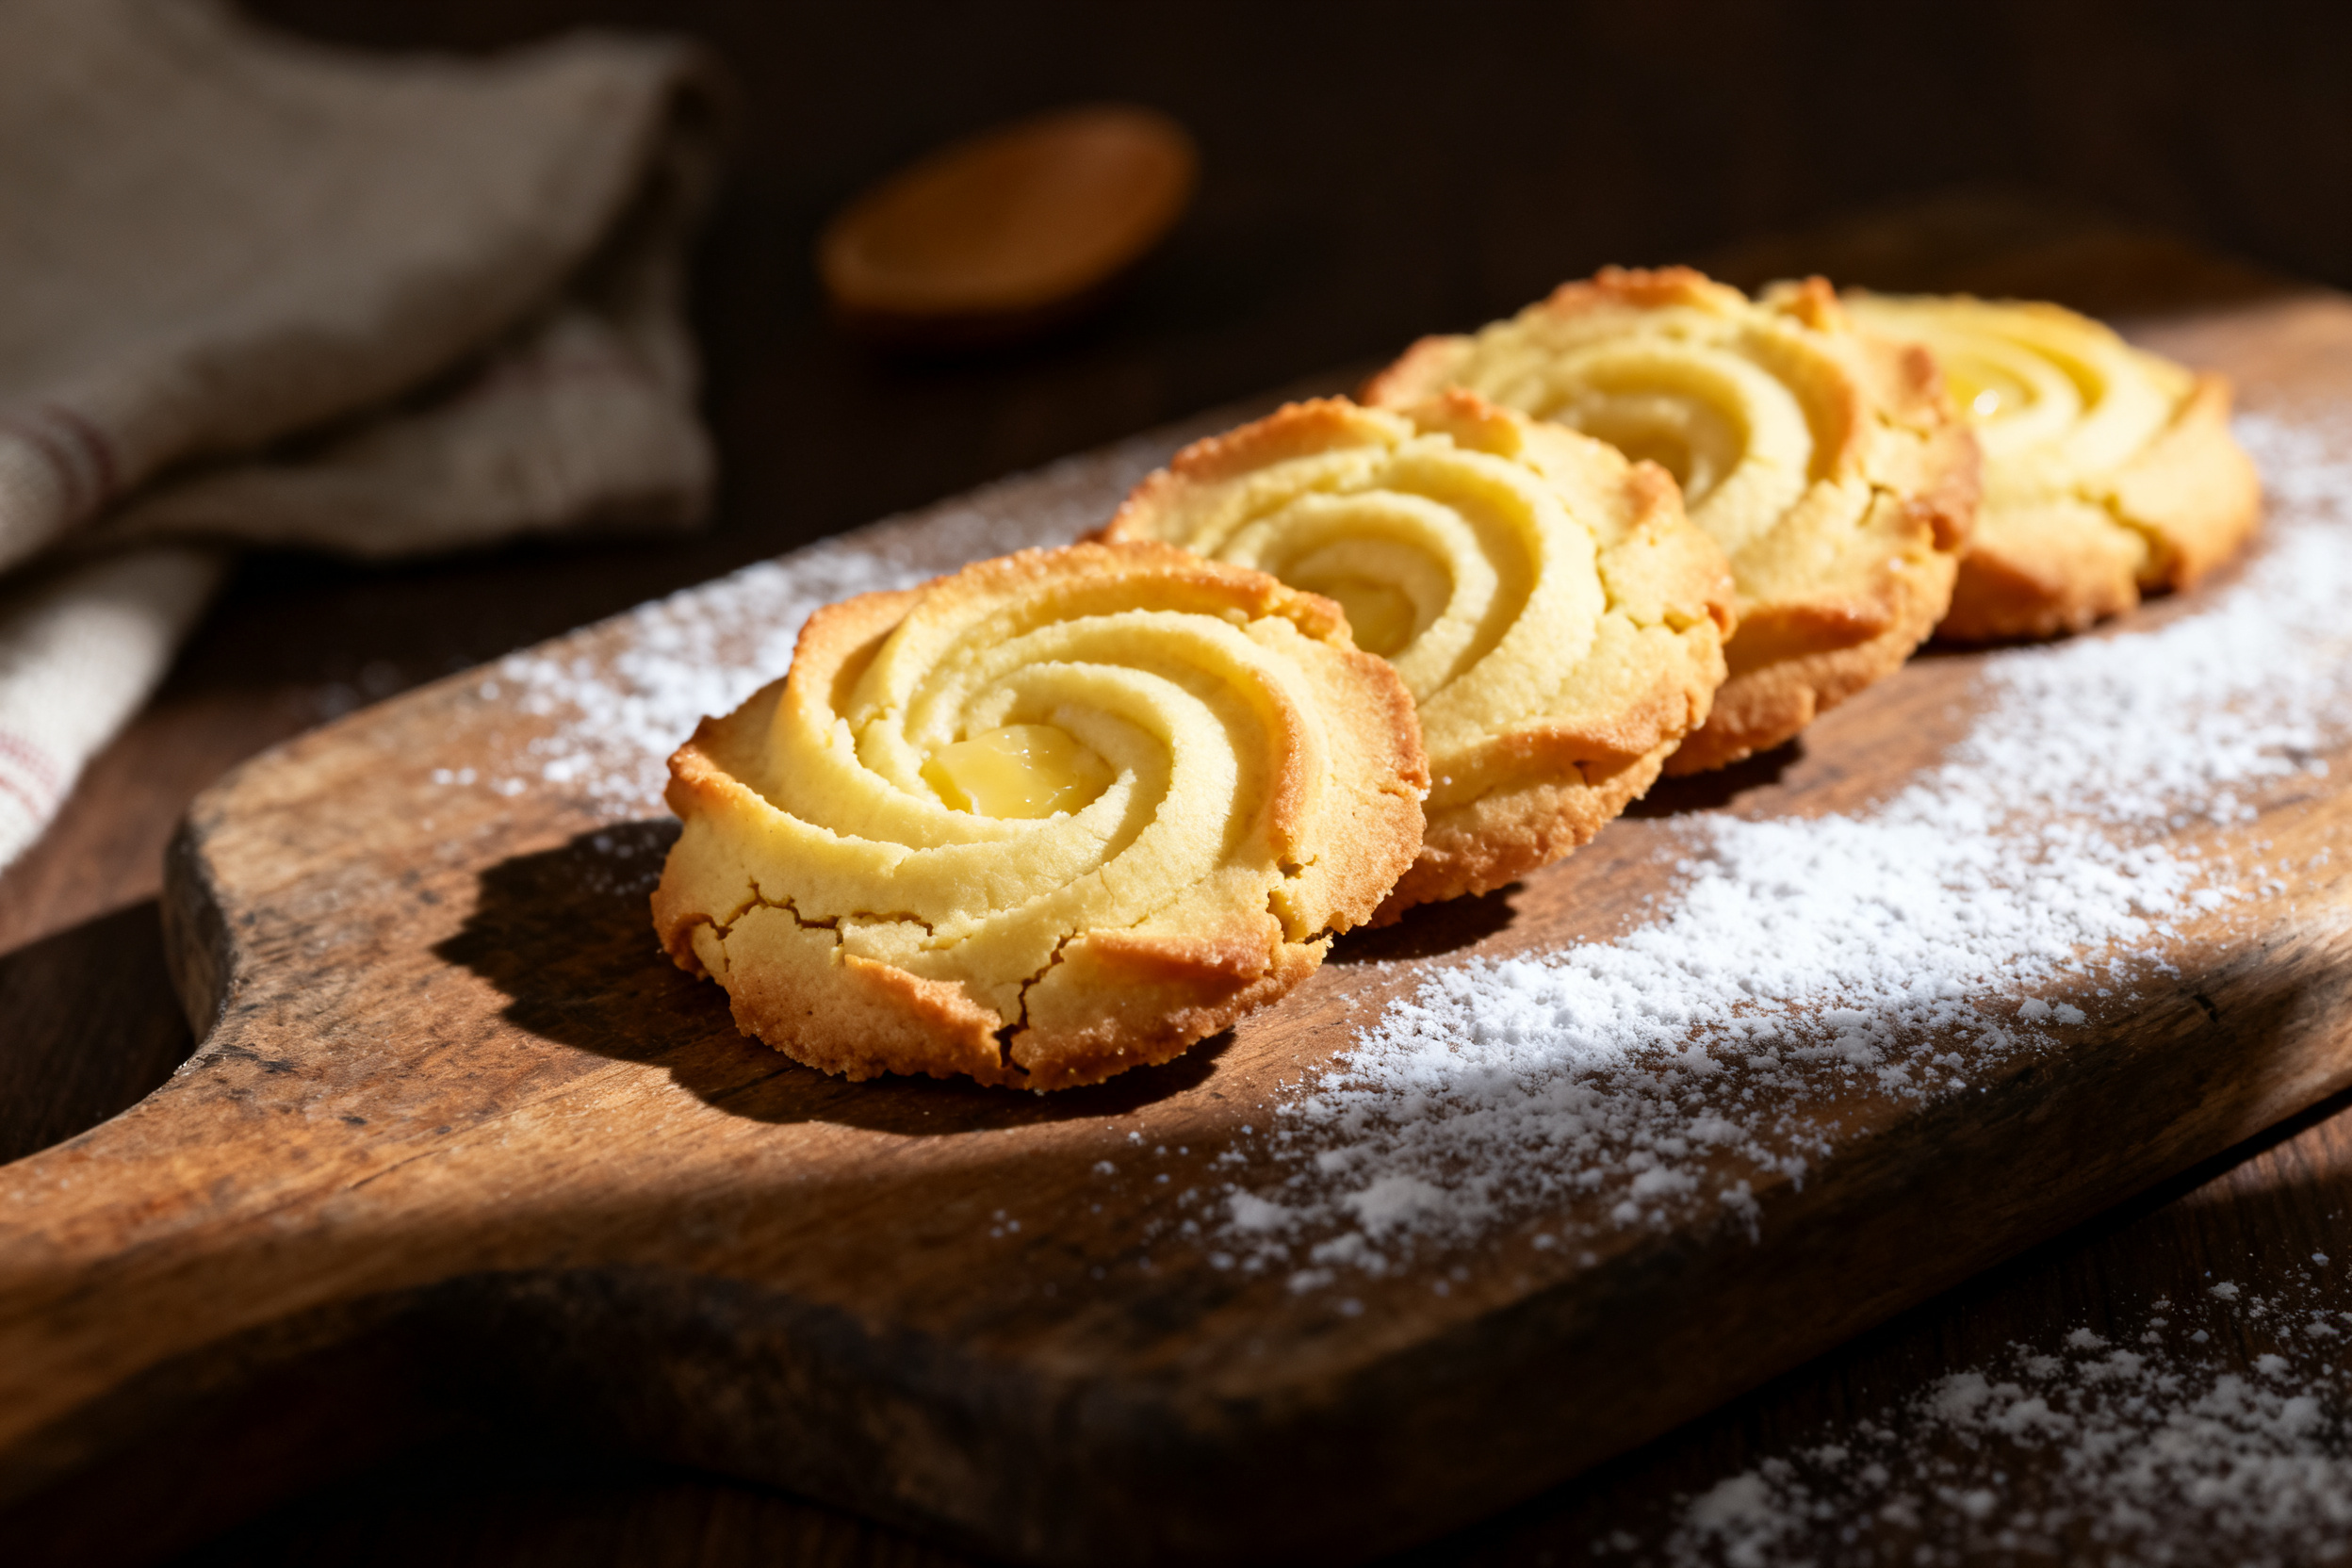
Unsalted butter is the star here. I use it for that pure buttery flavor and to control the salt level. If you only have salted butter, just reduce the added salt to ¼ teaspoon. The butter needs to be softened — not melted, not rock-hard. Soft enough to leave a dent when you press it, but still cool to the touch.
All-purpose flour gives the perfect structure. Don’t swap in bread flour or whole wheat unless you’re ready for a denser cookie. The egg yolk adds richness and helps the dough hold its shape through the press. If you’re out of eggs, you can use 2 tablespoons of milk or cream as a substitute, but the texture will be slightly less tender.
Vanilla extract is non-negotiable for that classic flavor. But feel free to play with almond extract or lemon zest for a different twist. The powdered sugar in the dough might surprise you — it keeps the cookies tender and gives them that melt-in-your-mouth feel.
Food coloring is optional but traditional for spritz cookies. Use gel coloring for the best results; liquid drops can throw off the dough’s moisture balance. I’ve also used a pinch of turmeric for a natural yellow hue — it works, but it does add a tiny earthy note.
3. Pro tips
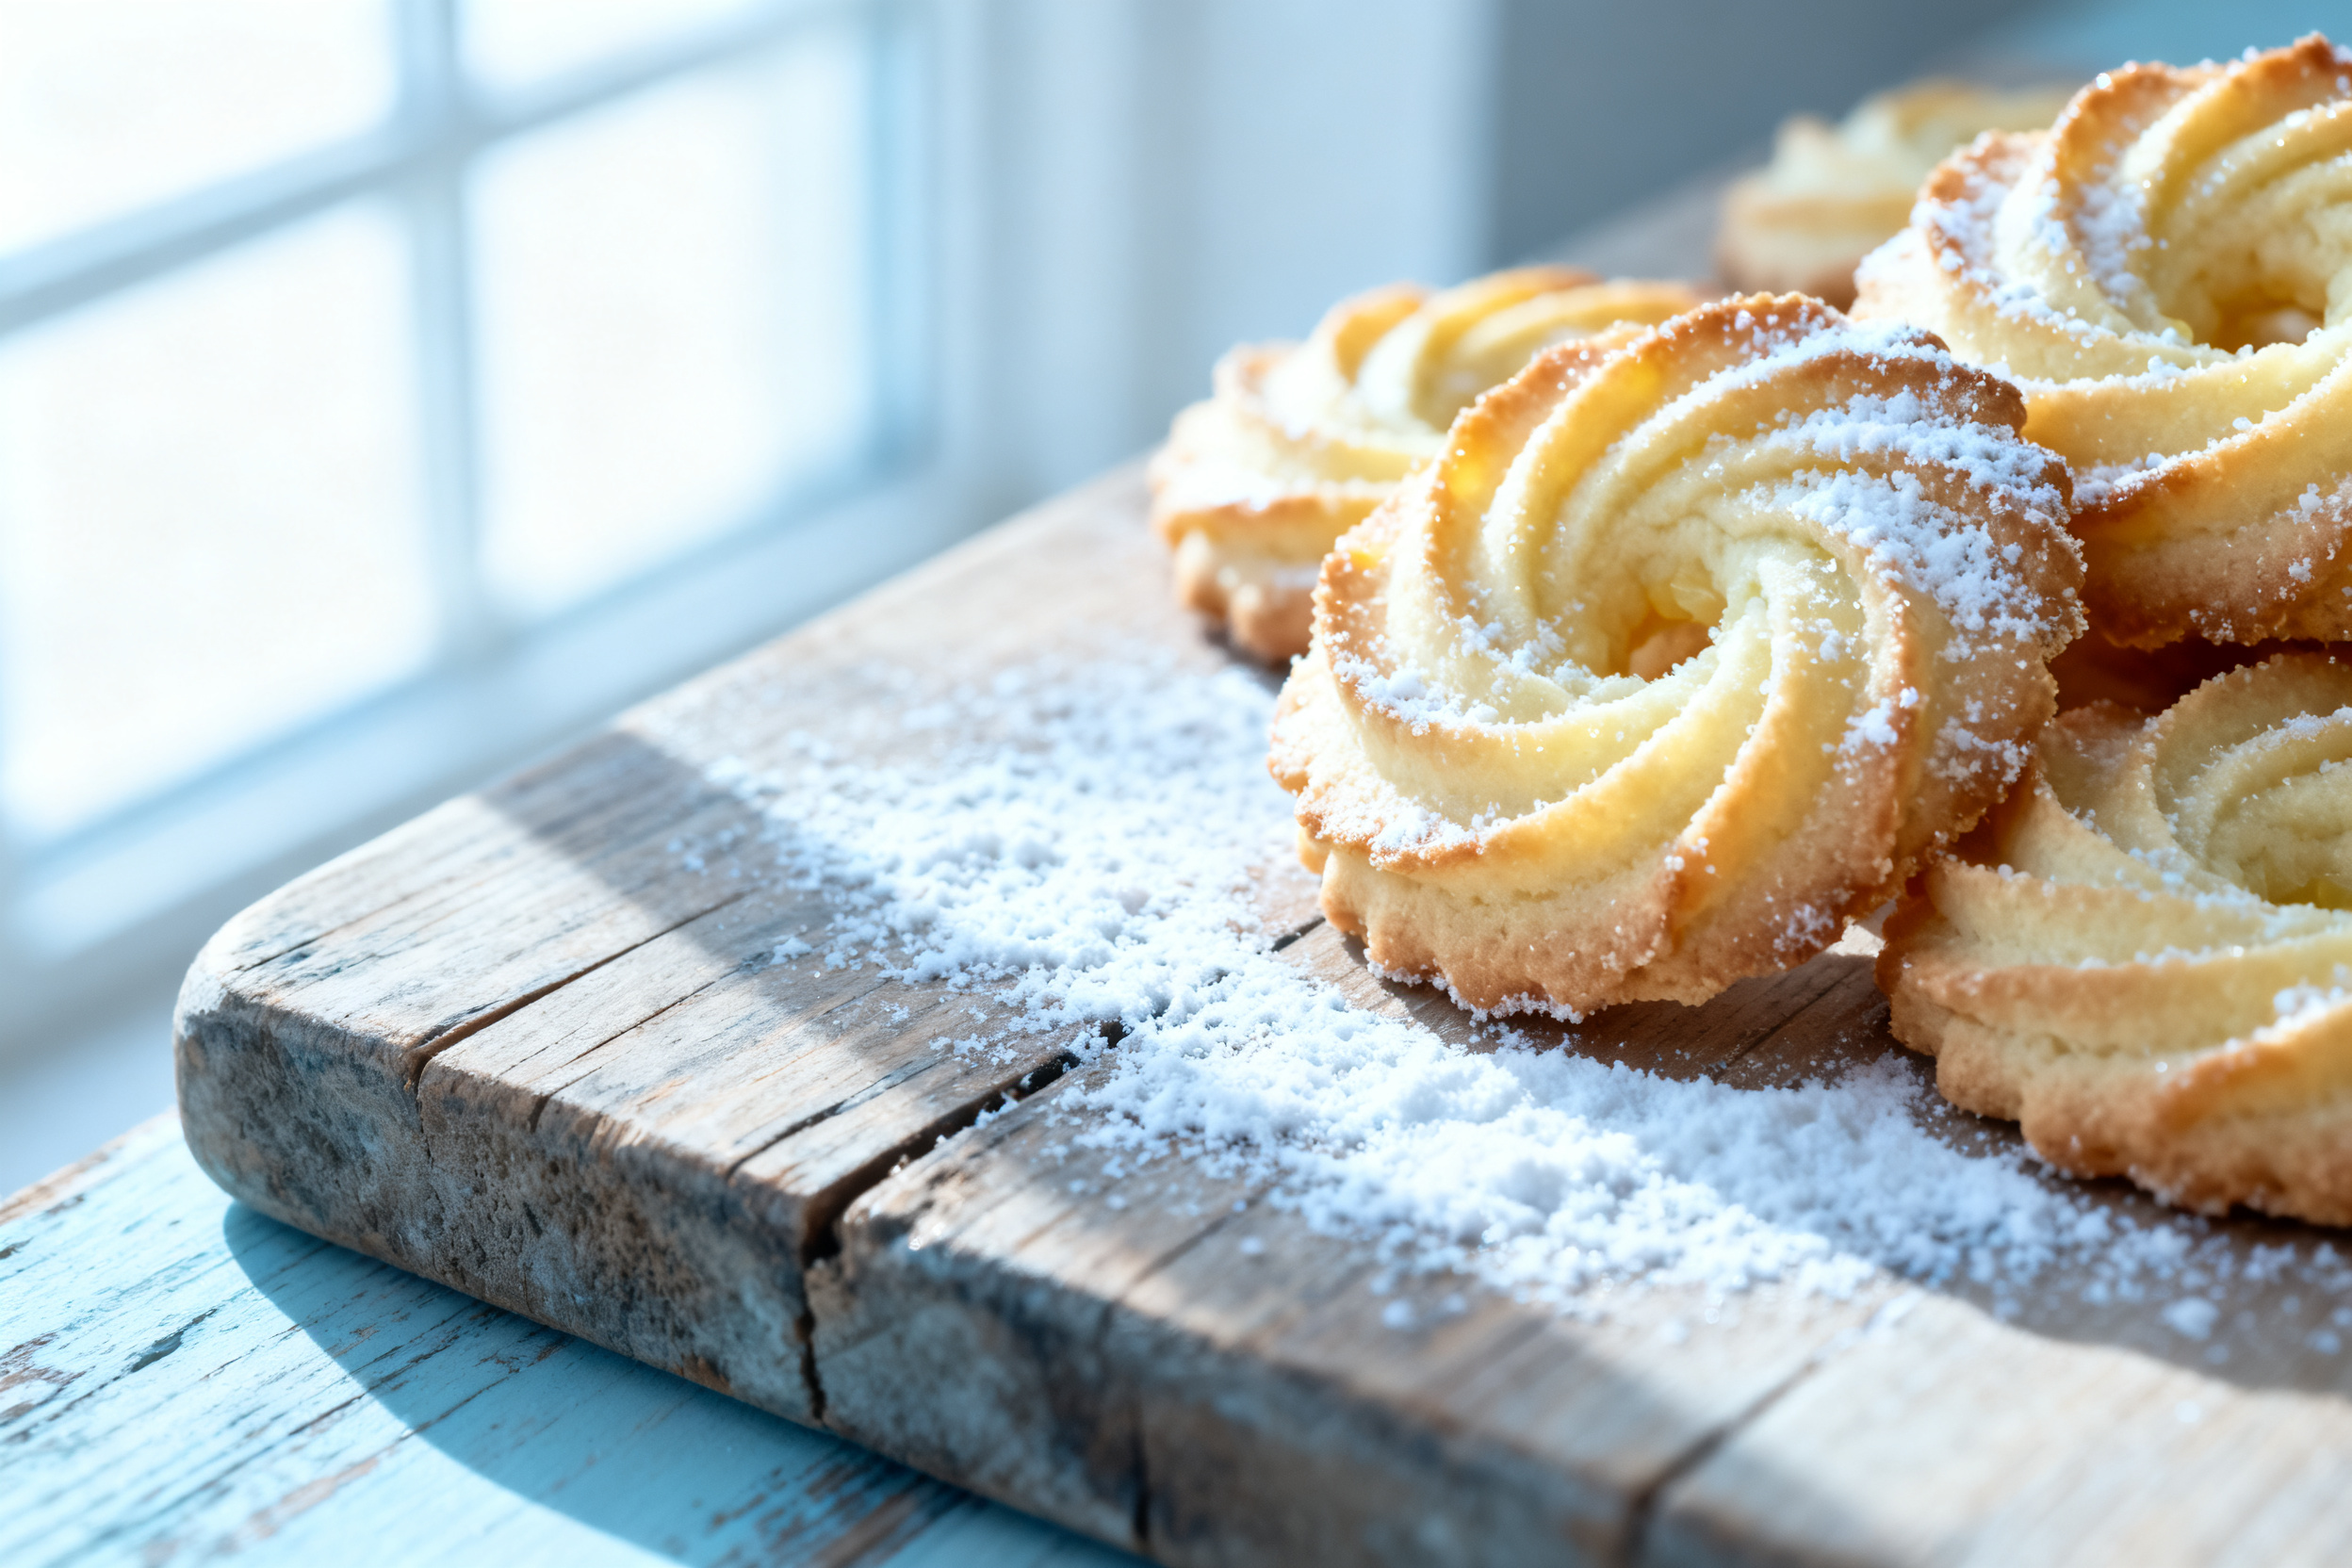
Room temperature ingredients are everything. Your butter, egg, and even the flour should be at cool room temp. If your kitchen is cold, warm the bowl of flour in the microwave for 10 seconds — sounds weird, but it helps the dough press smoothly.
Don’t overmix the dough. Once the flour is incorporated, stop. Overworking develops gluten and makes the cookies tough instead of tender. Also, chill the dough if it gets too sticky while pressing. A 10-minute fridge break can save your sanity.
4. Storage & make-ahead (fridge/freezer)
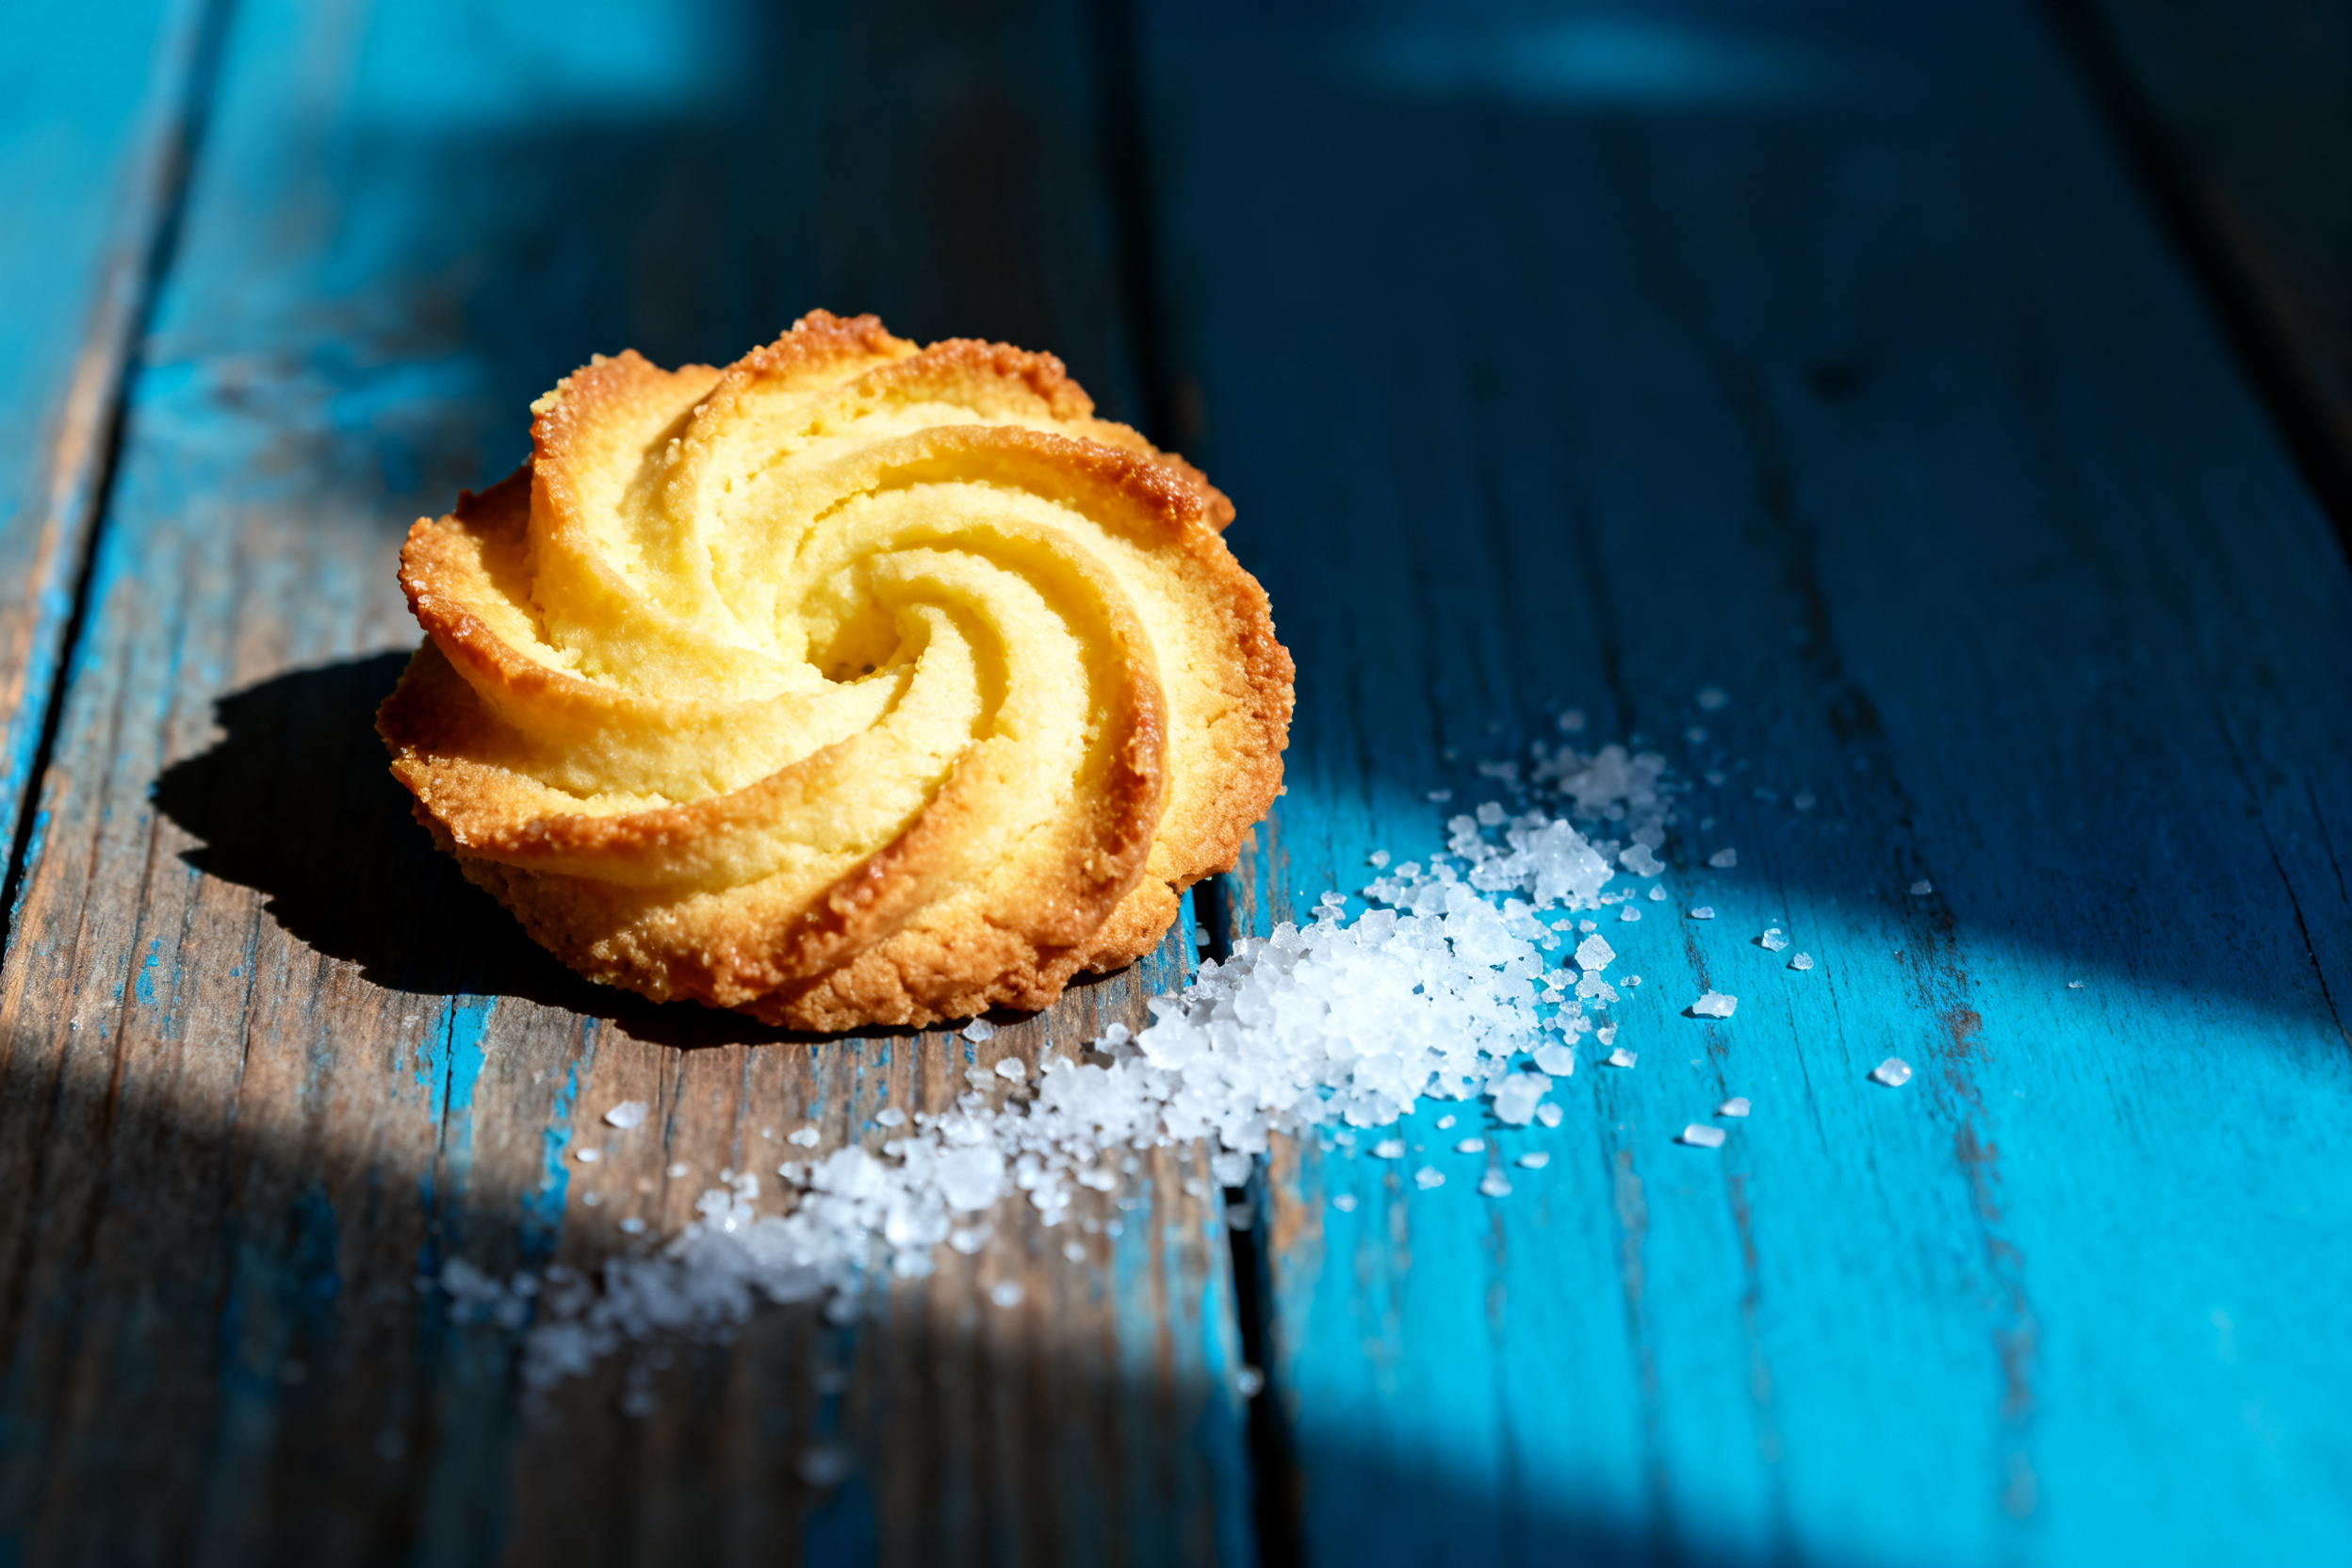
Baked spritz cookies stay fresh in an airtight container at room temperature for up to 5 days. I like to layer them with parchment paper so the delicate shapes don’t break. You can also freeze the baked cookies for up to 3 months — just thaw them on the counter for 10 minutes before serving.
If you want to prep ahead, the dough itself freezes beautifully. Shape it into a log, wrap tightly in plastic wrap, then foil, and freeze for up to 2 months. When you’re ready, let it thaw in the fridge overnight, then bring it to room temperature before pressing. I’ve done this multiple times and the cookies come out exactly the same.
For make-ahead in the fridge, you can store the dough in a sealed container for up to 2 days. But note that the dough will firm up quite a bit, so you’ll need to let it sit at room temperature for about 20 minutes before pressing. Worth it for a fresh-baked cookie on a Tuesday.
One more tip: if you’ve already baked a batch and they’ve gone a little soft, pop them in a 300°F oven for 3-4 minutes. They’ll crisp right back up. I do this all the time when I’m trying to stretch a batch for a party.
Finally, avoid storing spritz cookies in the fridge after baking. The humidity can make them lose their crisp edges. Room temperature is the sweet spot — unless you live in a very humid climate, in which case add a silica gel packet to the container. Yes, I’m that serious about crisp edges.
5. Serving suggestions (complete the meal)
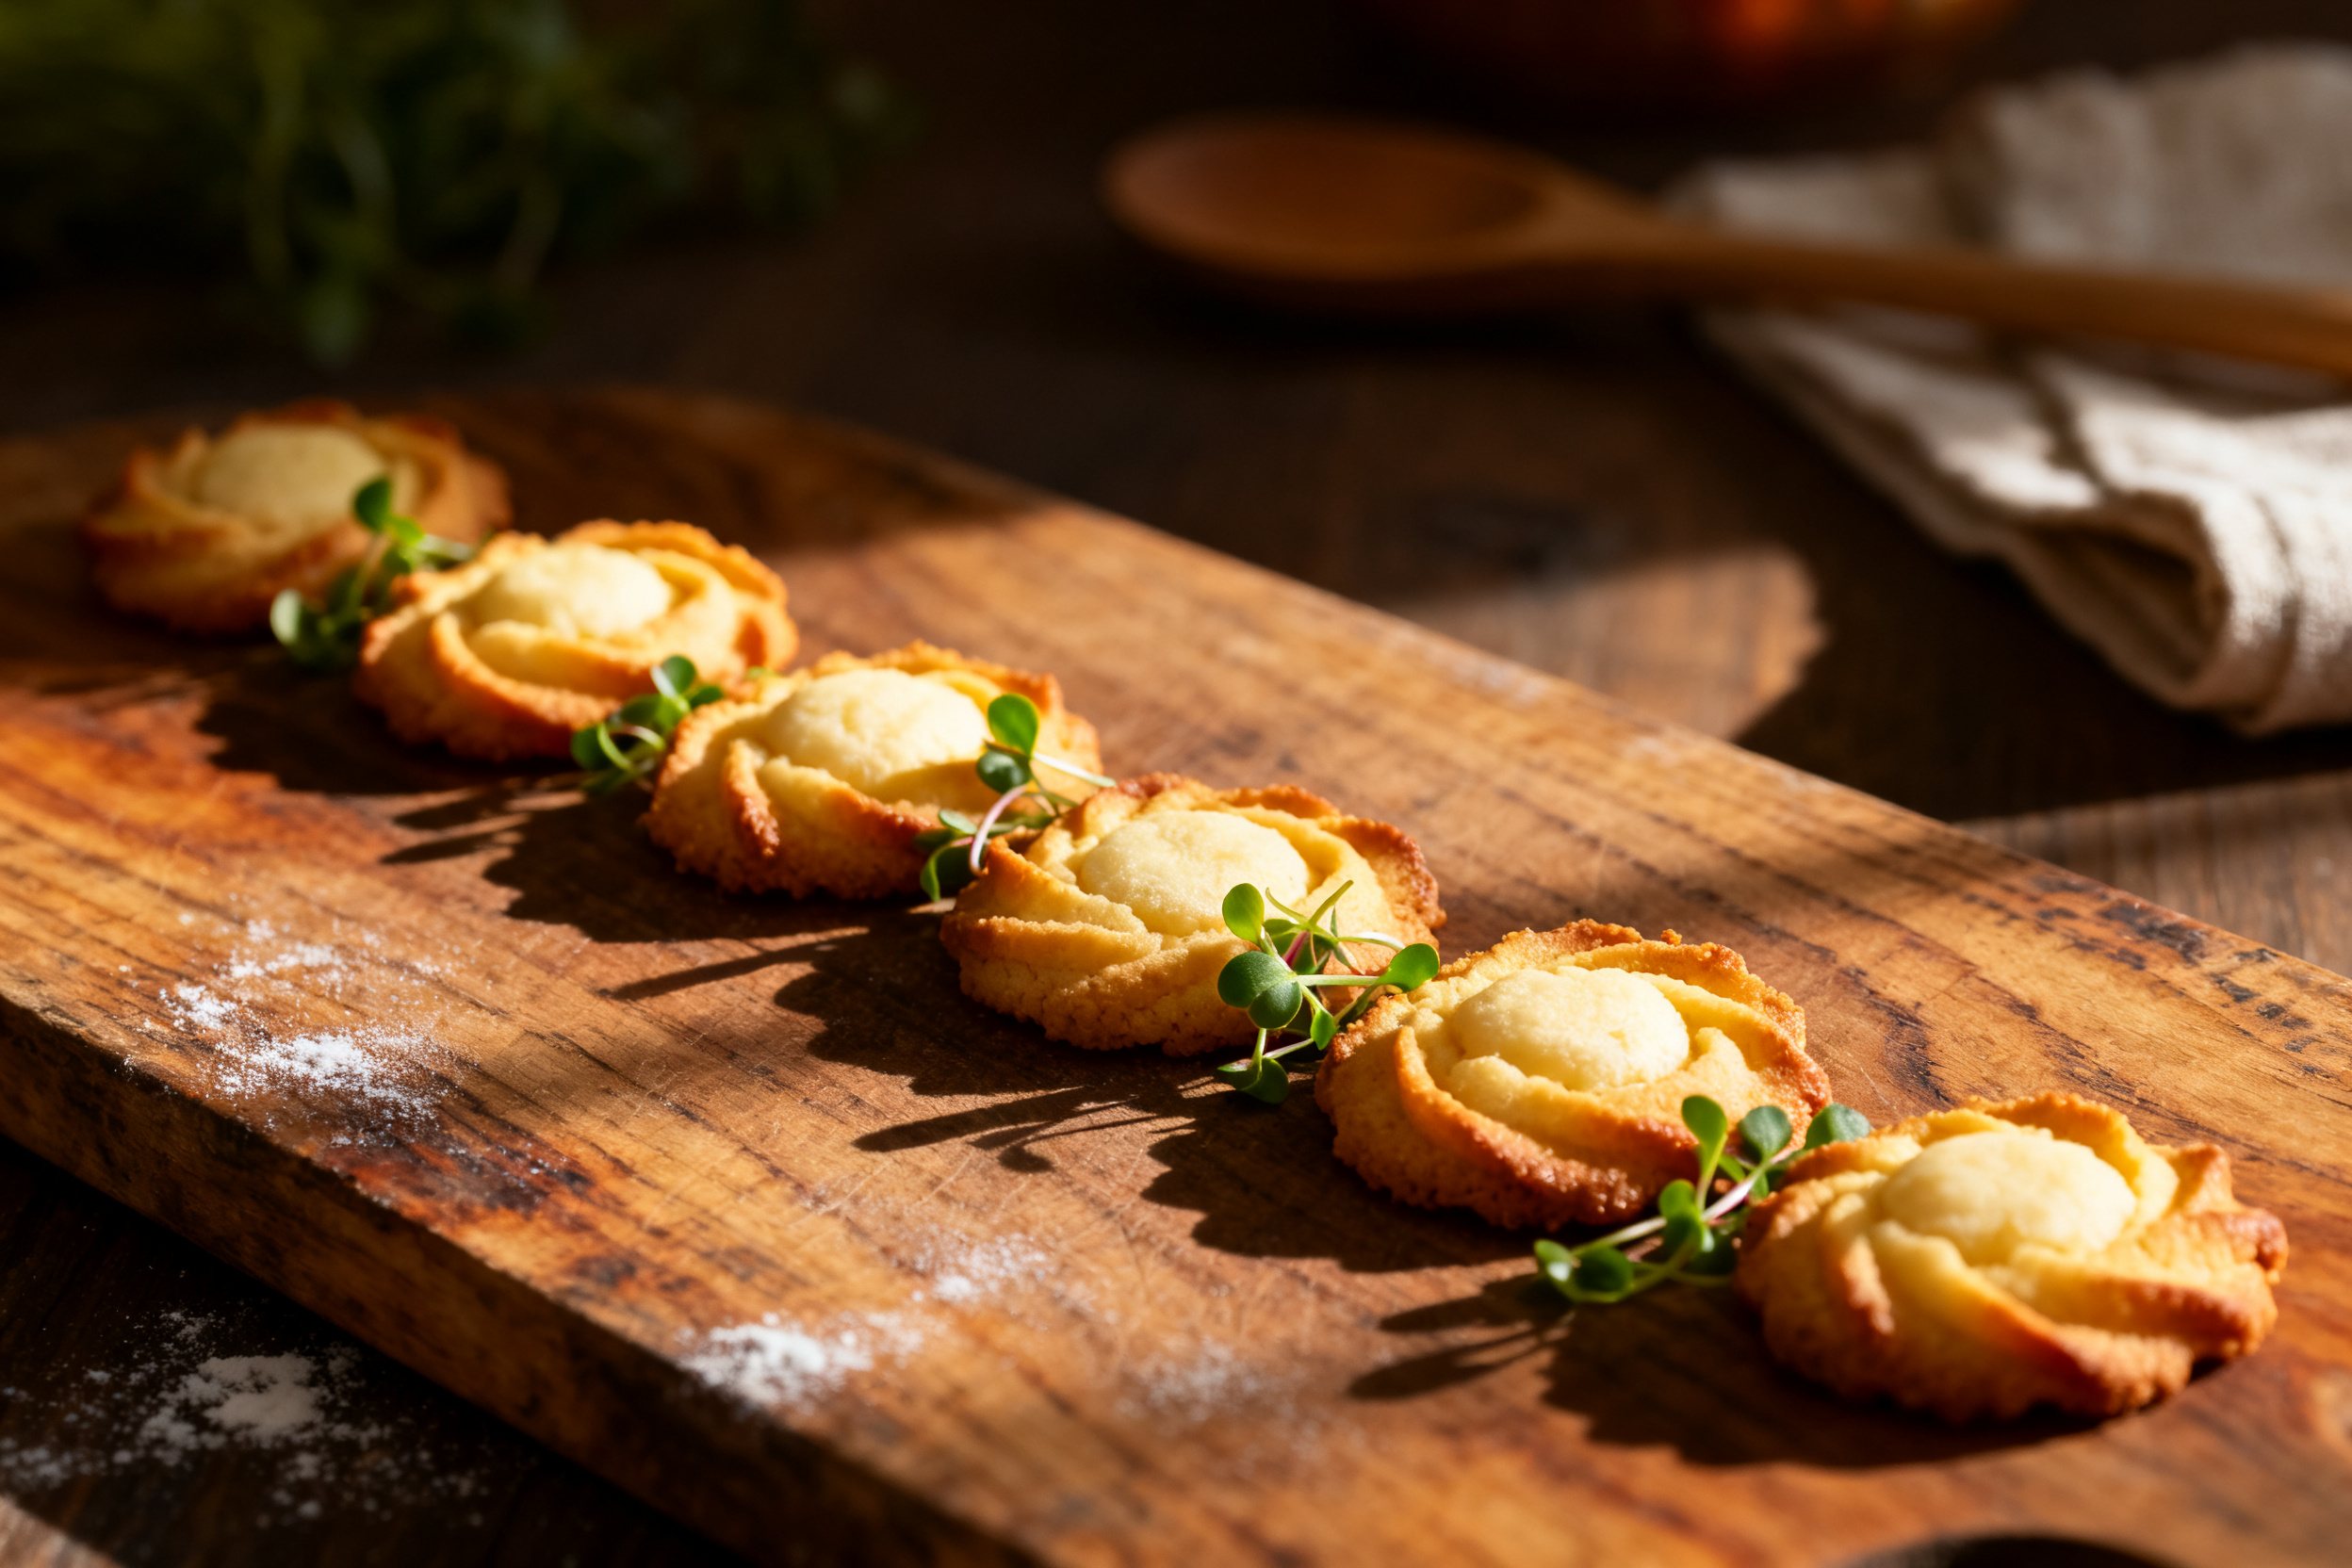
These cookies are a dessert star on their own, but they pair beautifully with a hot cup of coffee or a tall glass of cold milk. For a holiday spread, arrange them on a platter with chocolate truffles and peppermint bark. The buttery swirls are also perfect for dipping into a warm mug of hot cocoa.
If you’re feeling fancy, sandwich two spritz cookies with a dollop of raspberry jam or chocolate ganache. They become instant cookie sandwiches that look like you spent hours on them. I’ve also crushed them up and sprinkled over vanilla ice cream for a quick topping — gets rave reviews every time.
For a party, serve them alongside a cheese board. The mild sweetness of the cookies contrasts beautifully with sharp cheddar or creamy brie. It sounds weird, but trust me, it works. One friend called it “the best accidental combination” after I ran out of crackers.
Don’t forget about dunking. The crisp edges make these cookies perfect for a quick dip in milk or even a light espresso. They hold up without disintegrating — a major win in my book. And if you’re serving them at a bake sale, pack them in clear cellophane bags tied with a ribbon. They look as good as they taste.
Another idea: use them as a base for a mini dessert trifle. Layer crumbled spritz cookies with whipped cream and fresh berries. The cookies add a buttery crunch that contrasts with the soft cream. It’s a great way to use up any broken ones.
Finally, if you’re feeling nostalgic, serve them the way grandma did — on a doily-lined plate with a glass of lemonade. Simple, but there’s something about that combination that just feels right. I make them for summer picnics and they disappear faster than the watermelon.
6. Use your leftovers
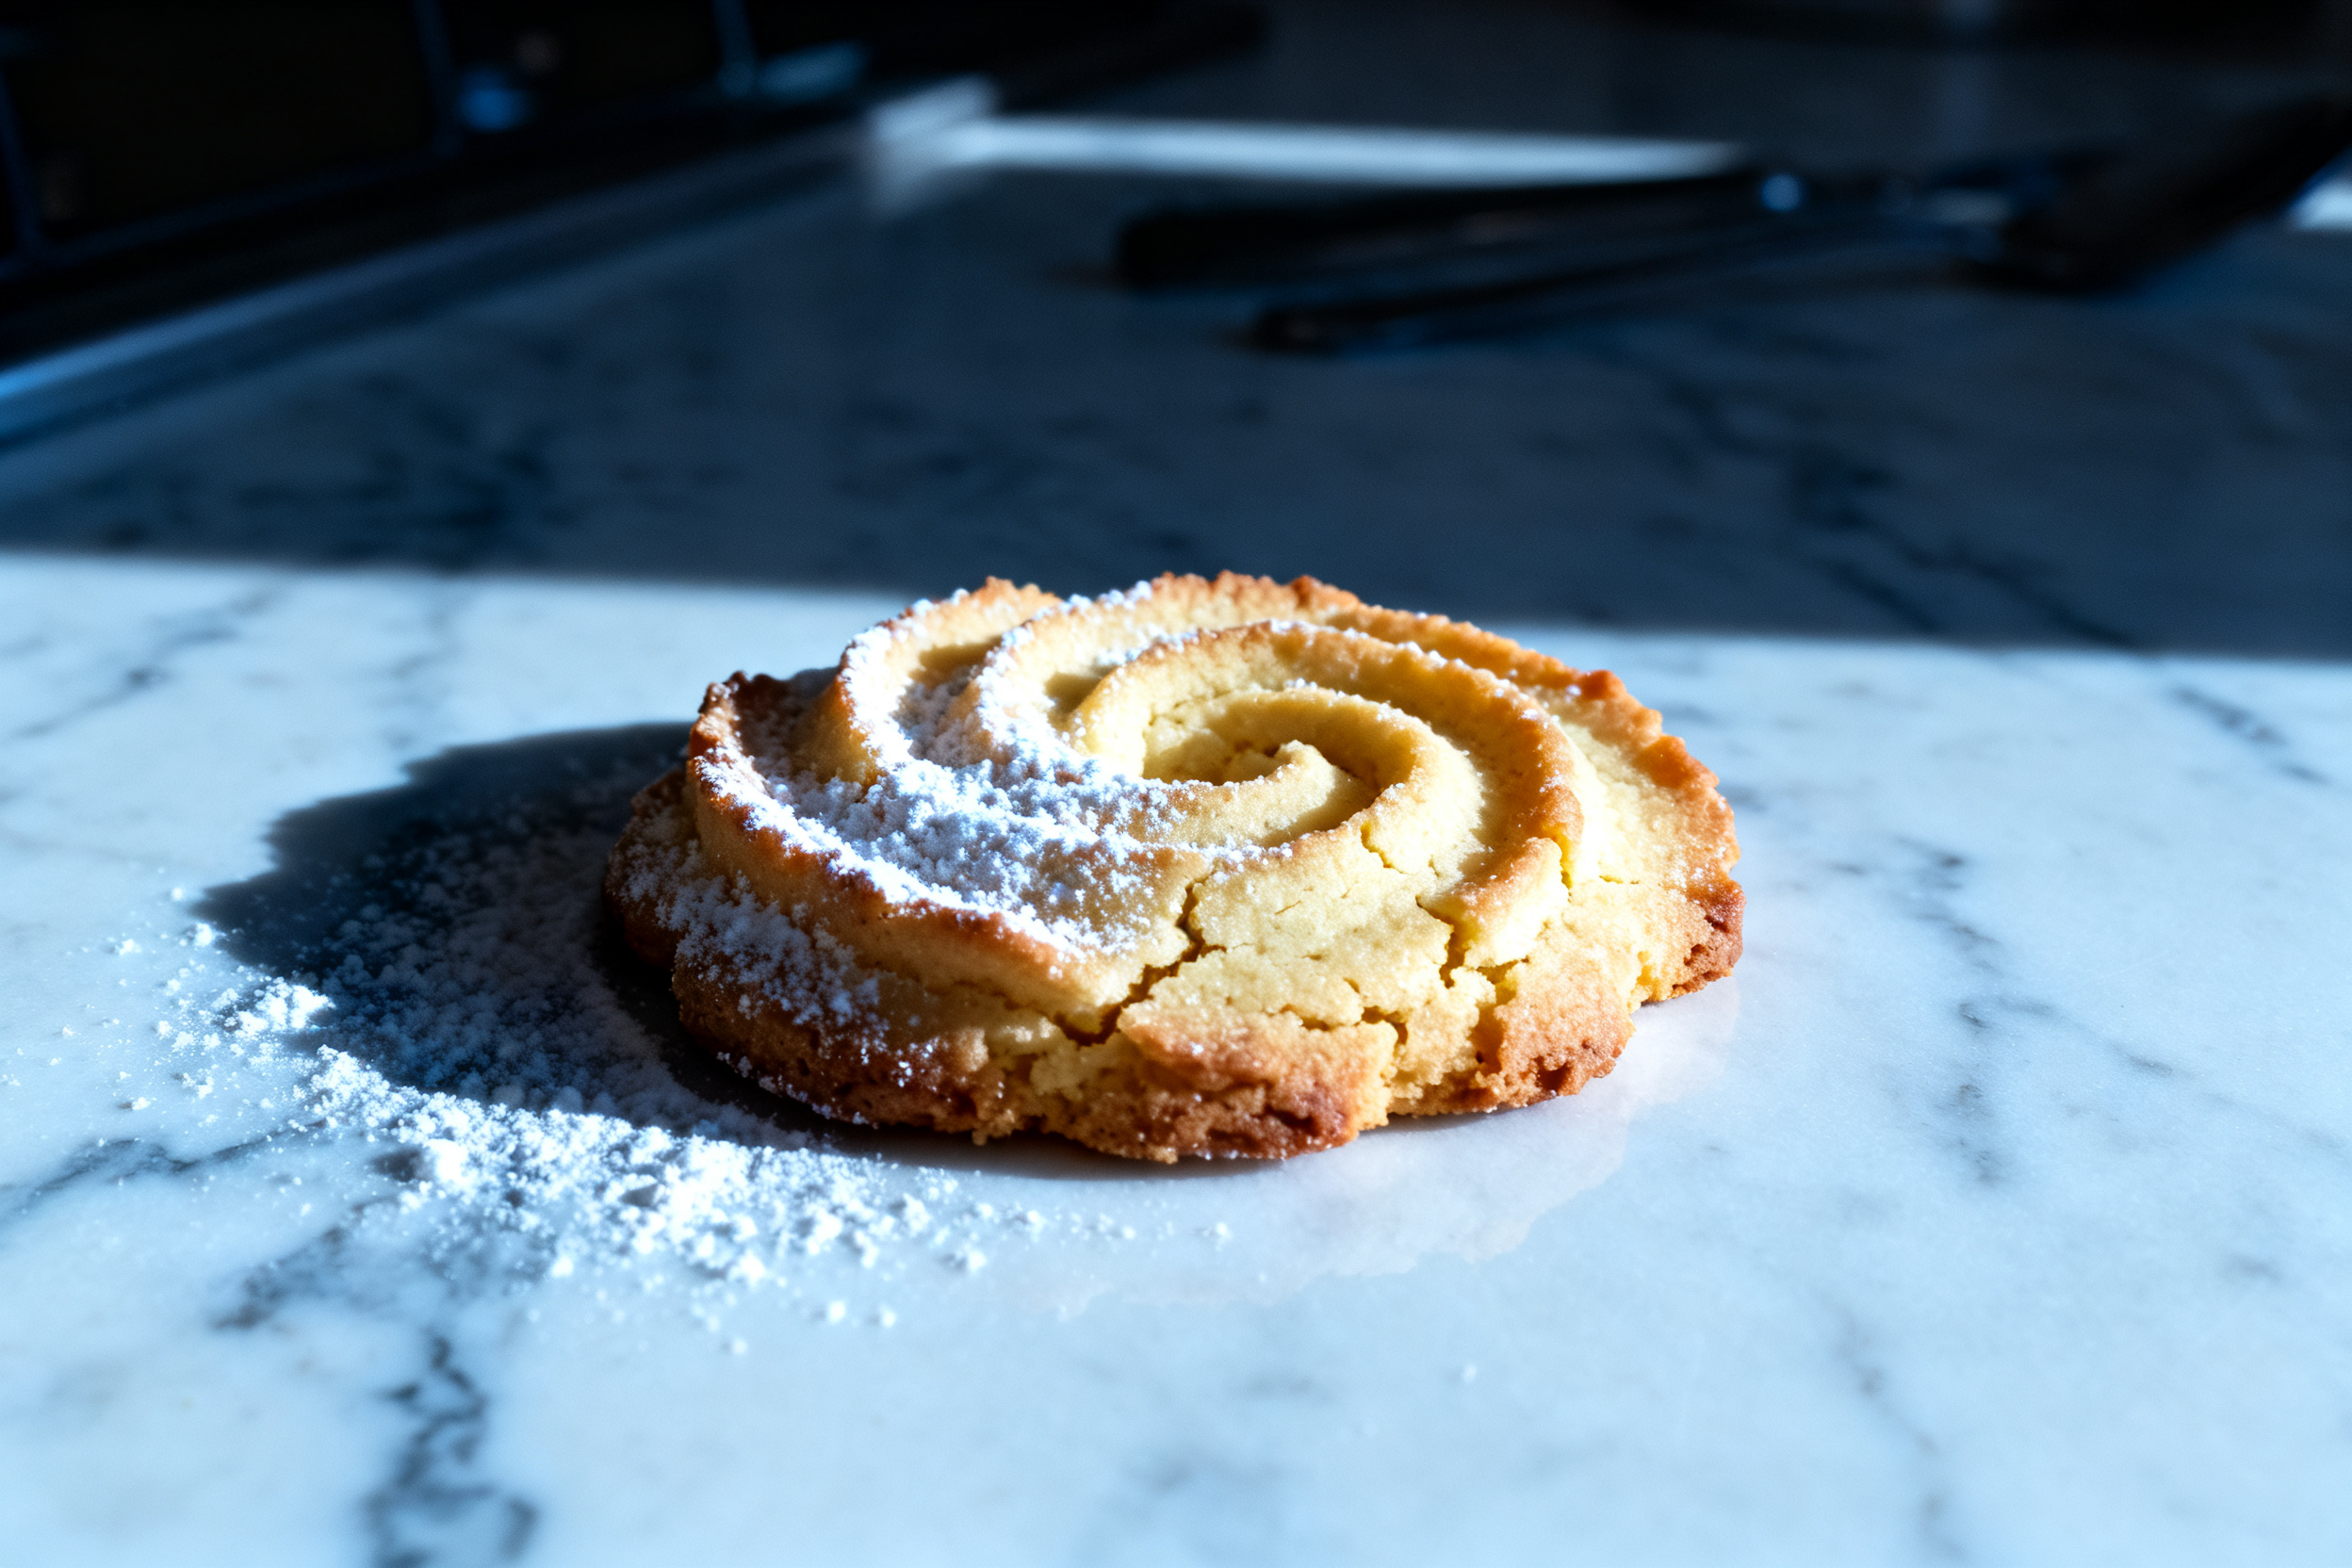
Got a few leftover spritz cookies that are starting to soften? Crumble them up and toast the crumbs in a dry skillet over medium heat for 2-3 minutes. Use them as a topping for yogurt, oatmeal, or ice cream. The toasting brings back some of the crunch and intensifies the buttery flavor.
You can also whiz them in a food processor to make a fine crumb crust for cheesecake or pie. Mix with a tablespoon of melted butter and press into a pan. No extra sugar needed — the cookies are sweet enough. I’ve used this trick for a no-bake key lime pie and it was a total hit.
If you have a full batch that didn’t turn out as crisp as you wanted (maybe the press was too thick), break them into chunks and stir into a batch of cookie dough ice cream. Homemade cookie dough ice cream with actual cookie chunks? Yes, please.
7. Common mistakes & how to fix them
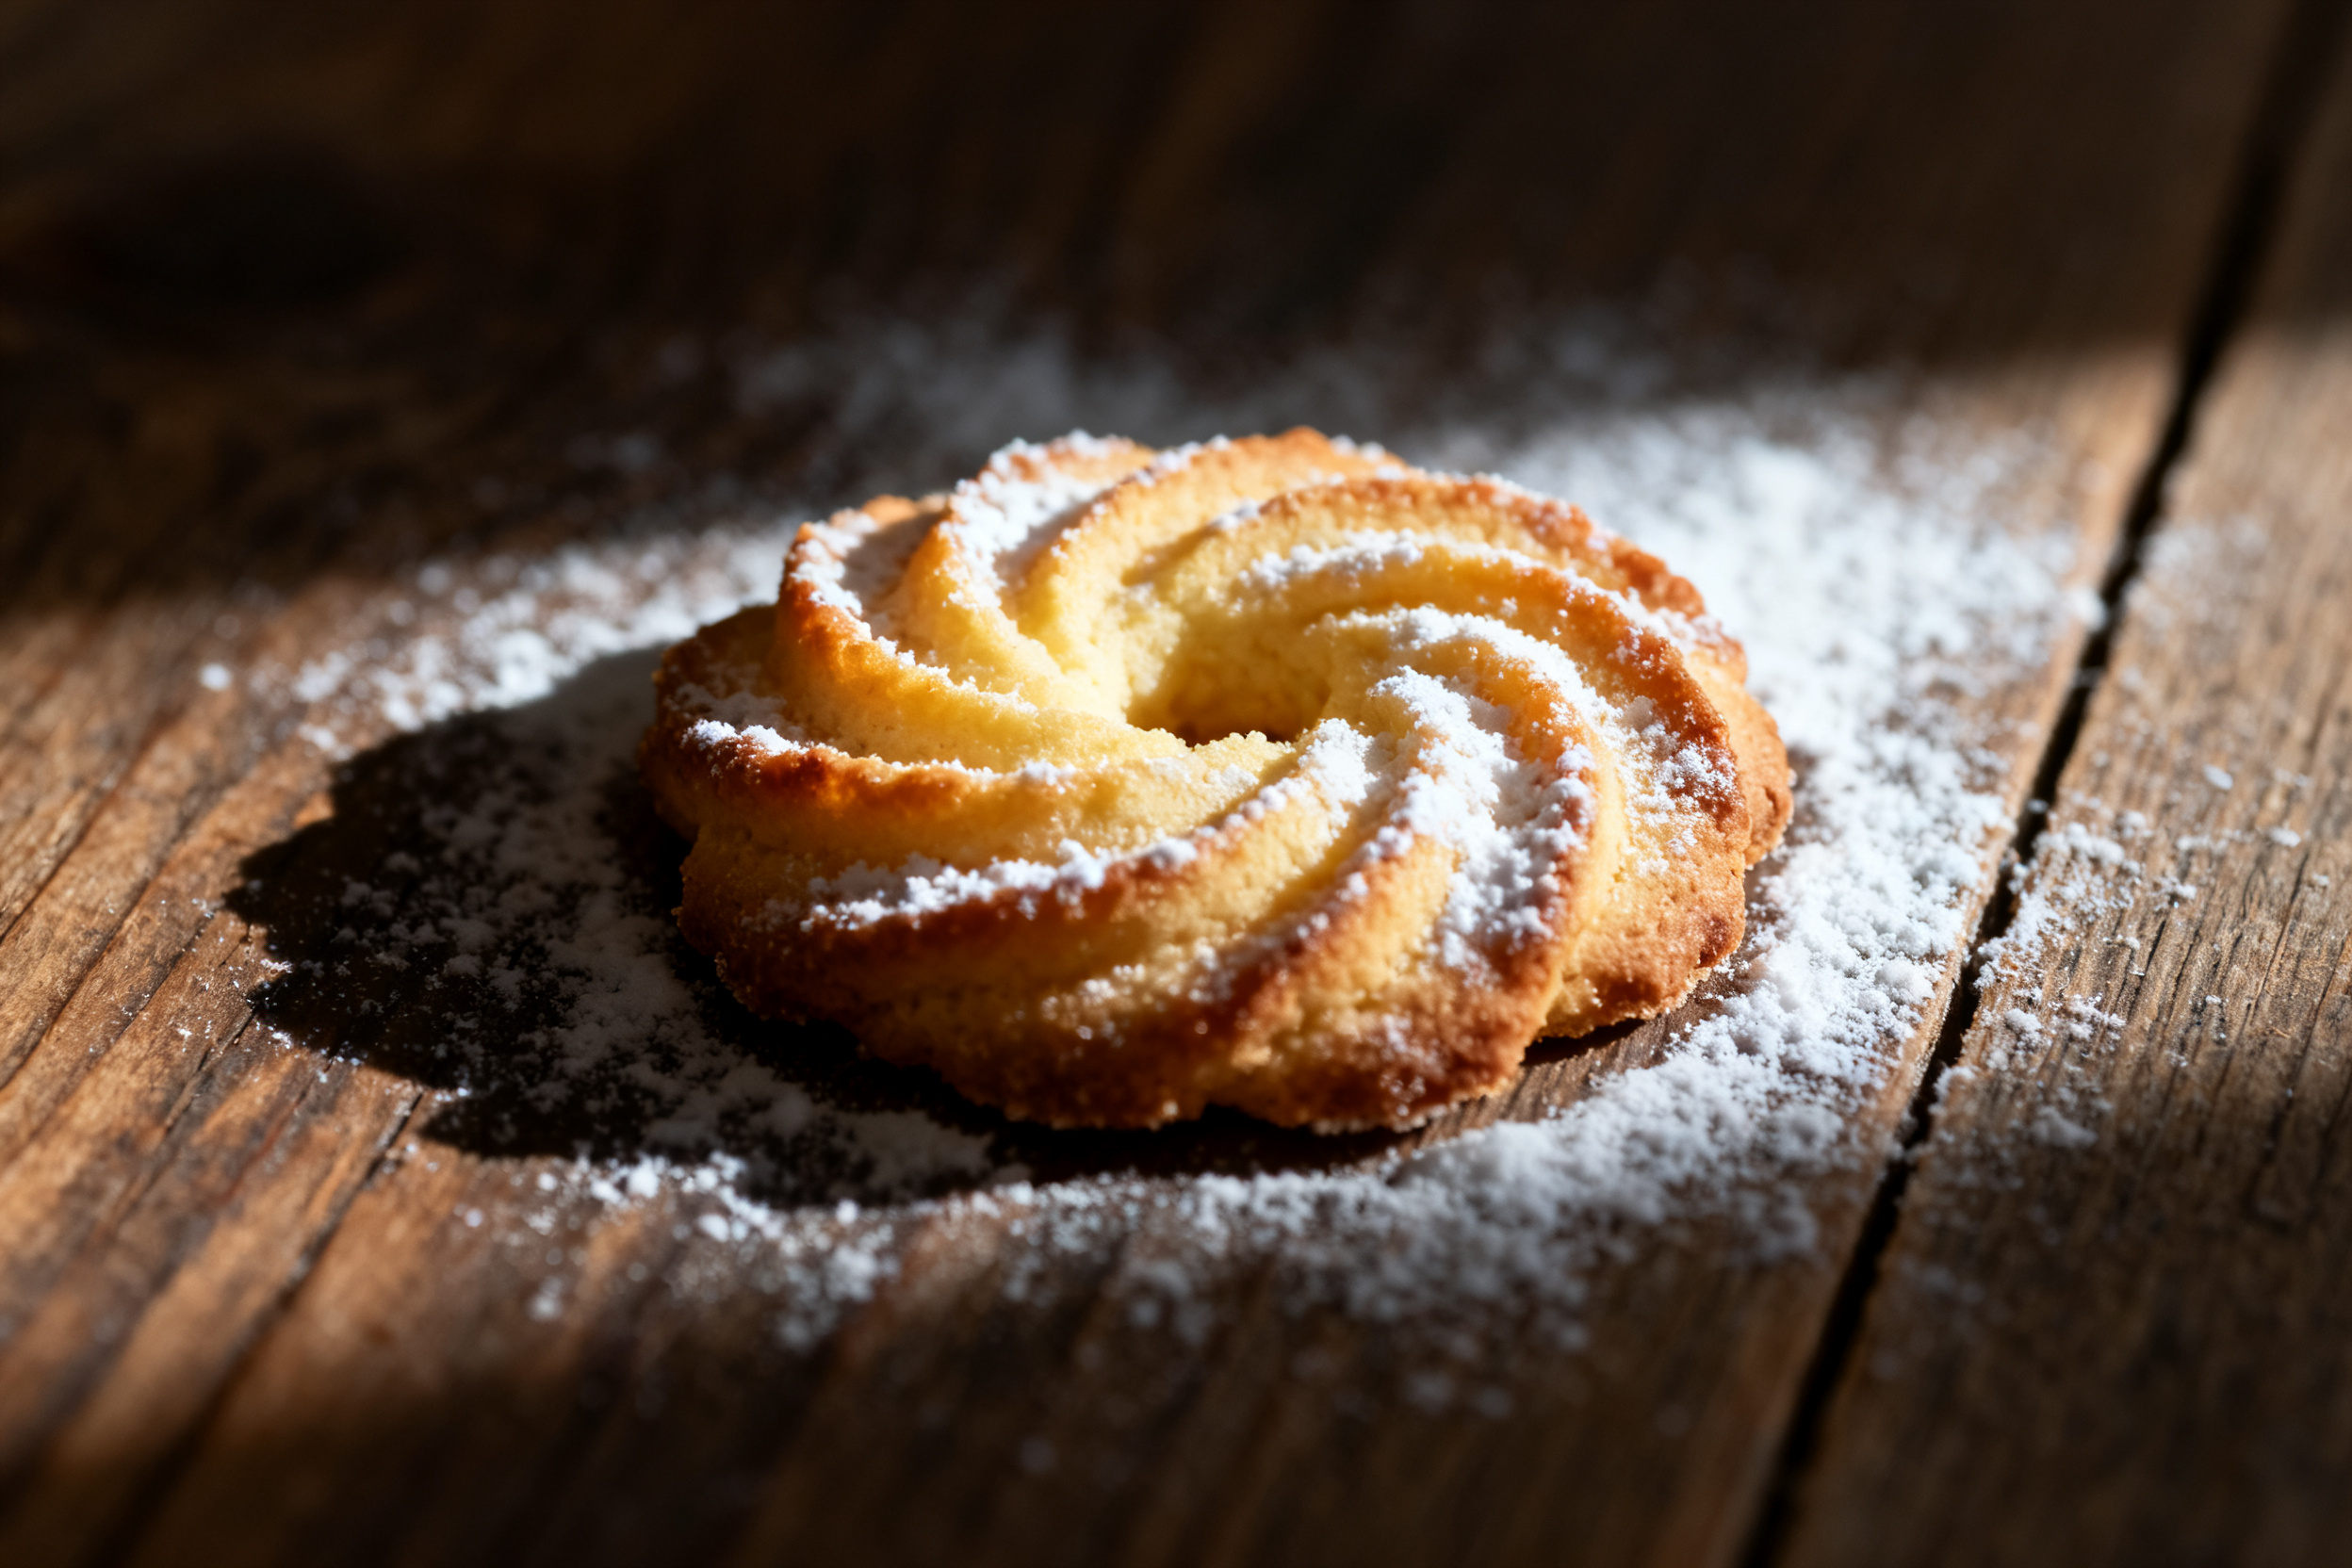
Dough too stiff to press? That’s the most common issue. The fix is simple: let the dough sit at room temperature for 10-15 minutes, or add a teaspoon of milk at a time until it softens. Don’t add more butter — that changes the ratio. I’ve also warmed the cookie press with a warm towel wrapped around the barrel for a minute — works like magic.
Cookies spreading too much? Your butter might be too warm, or your baking sheet is hot from a previous batch. Always use a cool, ungreased sheet. If the dough seems greasy, pop it in the fridge for 15 minutes before pressing. Also, make sure you’re not over-creaming the butter and sugar — that adds too much air, which can cause spreading.
Cookie edges not crisp? Check your oven temperature. An oven that runs low will give you soft, pale cookies. Use an oven thermometer to be sure. Also, bake until the edges are just starting to turn golden brown — that’s the sweet spot. If you pull them too early, they’ll be soft; too late, and they’ll be dry.
8. Variations by diet or flavor profile
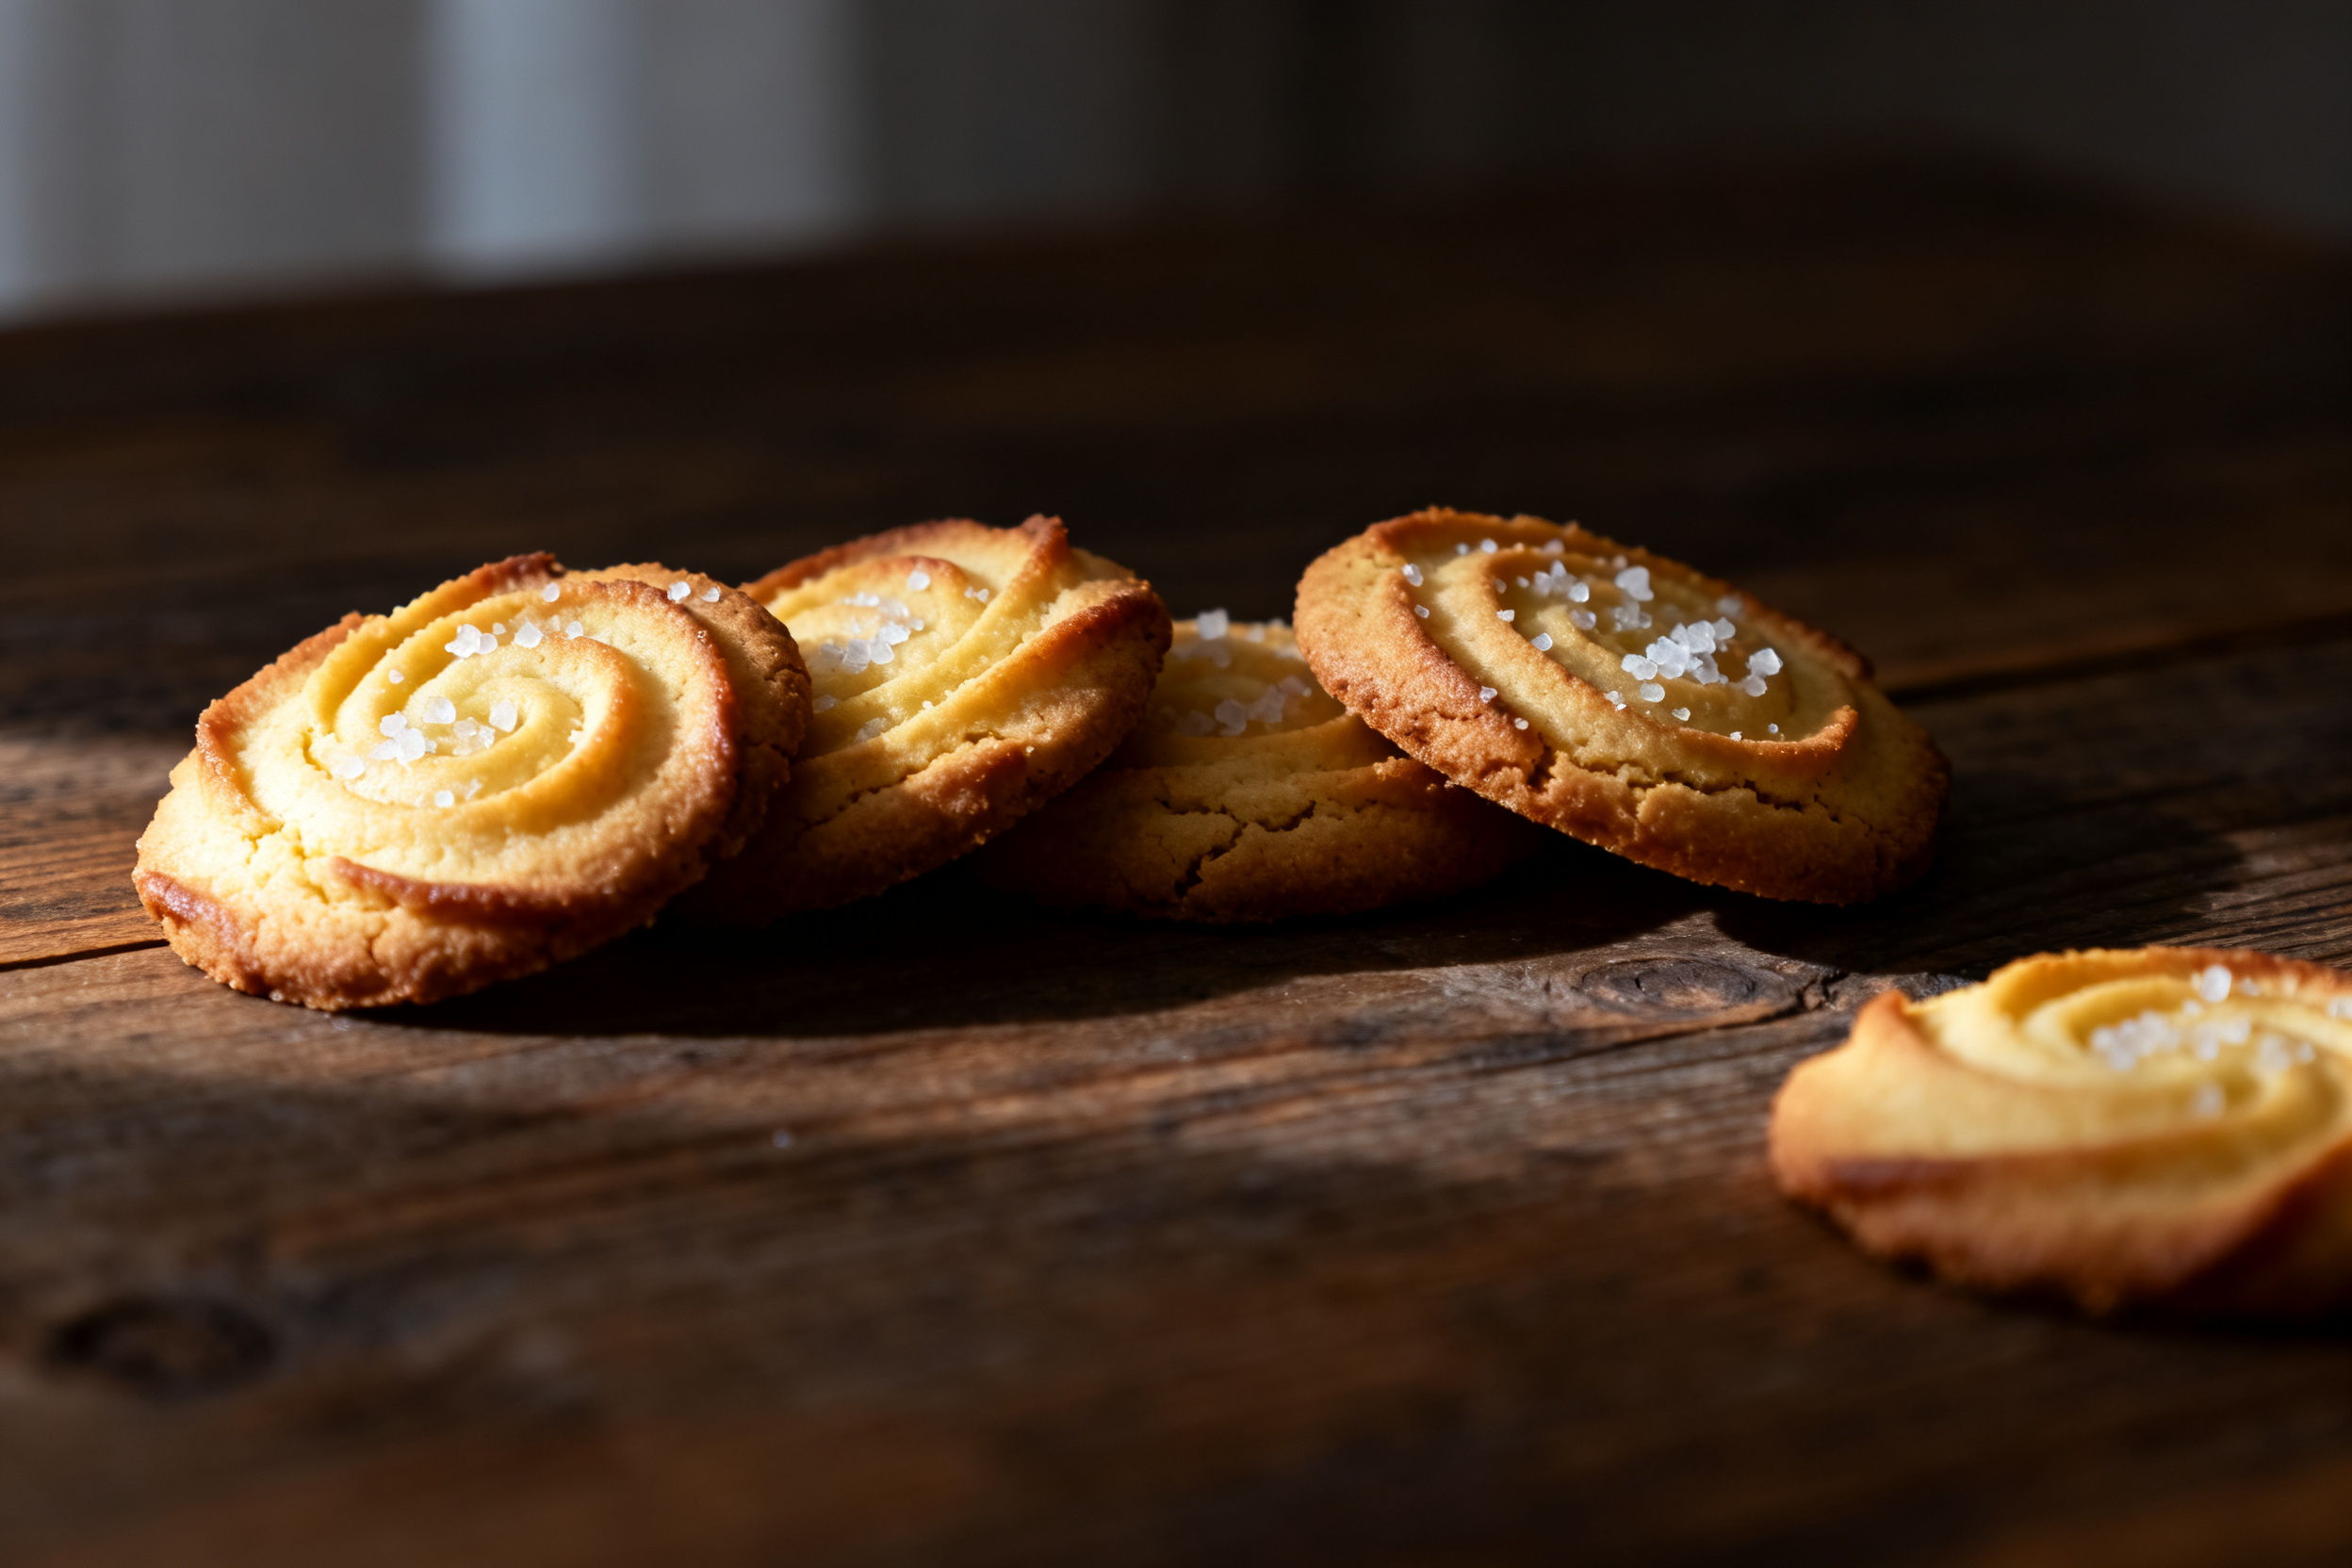
Want a gluten-free version? Swap the all-purpose flour with a good 1:1 gluten-free baking blend (the kind with xanthan gum). I’ve used Bob’s Red Mill and King Arthur — both worked well. The texture will be slightly more delicate, so handle the cookies carefully after baking. No other changes needed.
For a dairy-free spritz cookie, replace the butter with a high-quality vegan butter stick (like Earth Balance or Miyoko’s). The dough will be a bit softer, so you might need to chill it for 20 minutes before pressing. The flavor is still rich and buttery — I’ve fooled many dairy-eaters with this version.
Flavor variations are endless. Add 1 teaspoon of almond extract for a marzipan-like twist, or replace the vanilla with orange zest and a tablespoon of orange juice. For chocolate lovers, sift 2 tablespoons of cocoa powder into the flour. I’ve also made matcha spritz cookies by adding 1 tablespoon of matcha powder — they turn a gorgeous green with a subtle earthy taste.
If you want a festive twist, add a few drops of peppermint extract and a sprinkle of crushed candy canes on top before baking. Or drizzle the cooled cookies with melted white chocolate and a pinch of freeze-dried raspberry powder. The possibilities are endless, and that’s the beauty of this basic recipe.
9. Why this recipe works / The science

The magic of a spritz cookie lies in the ratio of butter to flour. This recipe uses a higher butter content than most cut-out cookies, which gives that melt-in-your-mouth tenderness. The powdered sugar instead of granulated sugar creates a finer crumb because it dissolves more easily into the fat, leaving no graininess.
The egg yolk provides emulsification, binding the water and fat together so the dough is smooth and pliable. That’s why you can press it through a cookie press without it cracking. The small amount of salt enhances the buttery flavor and balances the sweetness. And the baking temperature — 375°F — is hot enough to set the edges quickly before the middle spreads, giving you that crisp outer ring and soft center.
10. Frequently Asked Questions (FAQ)
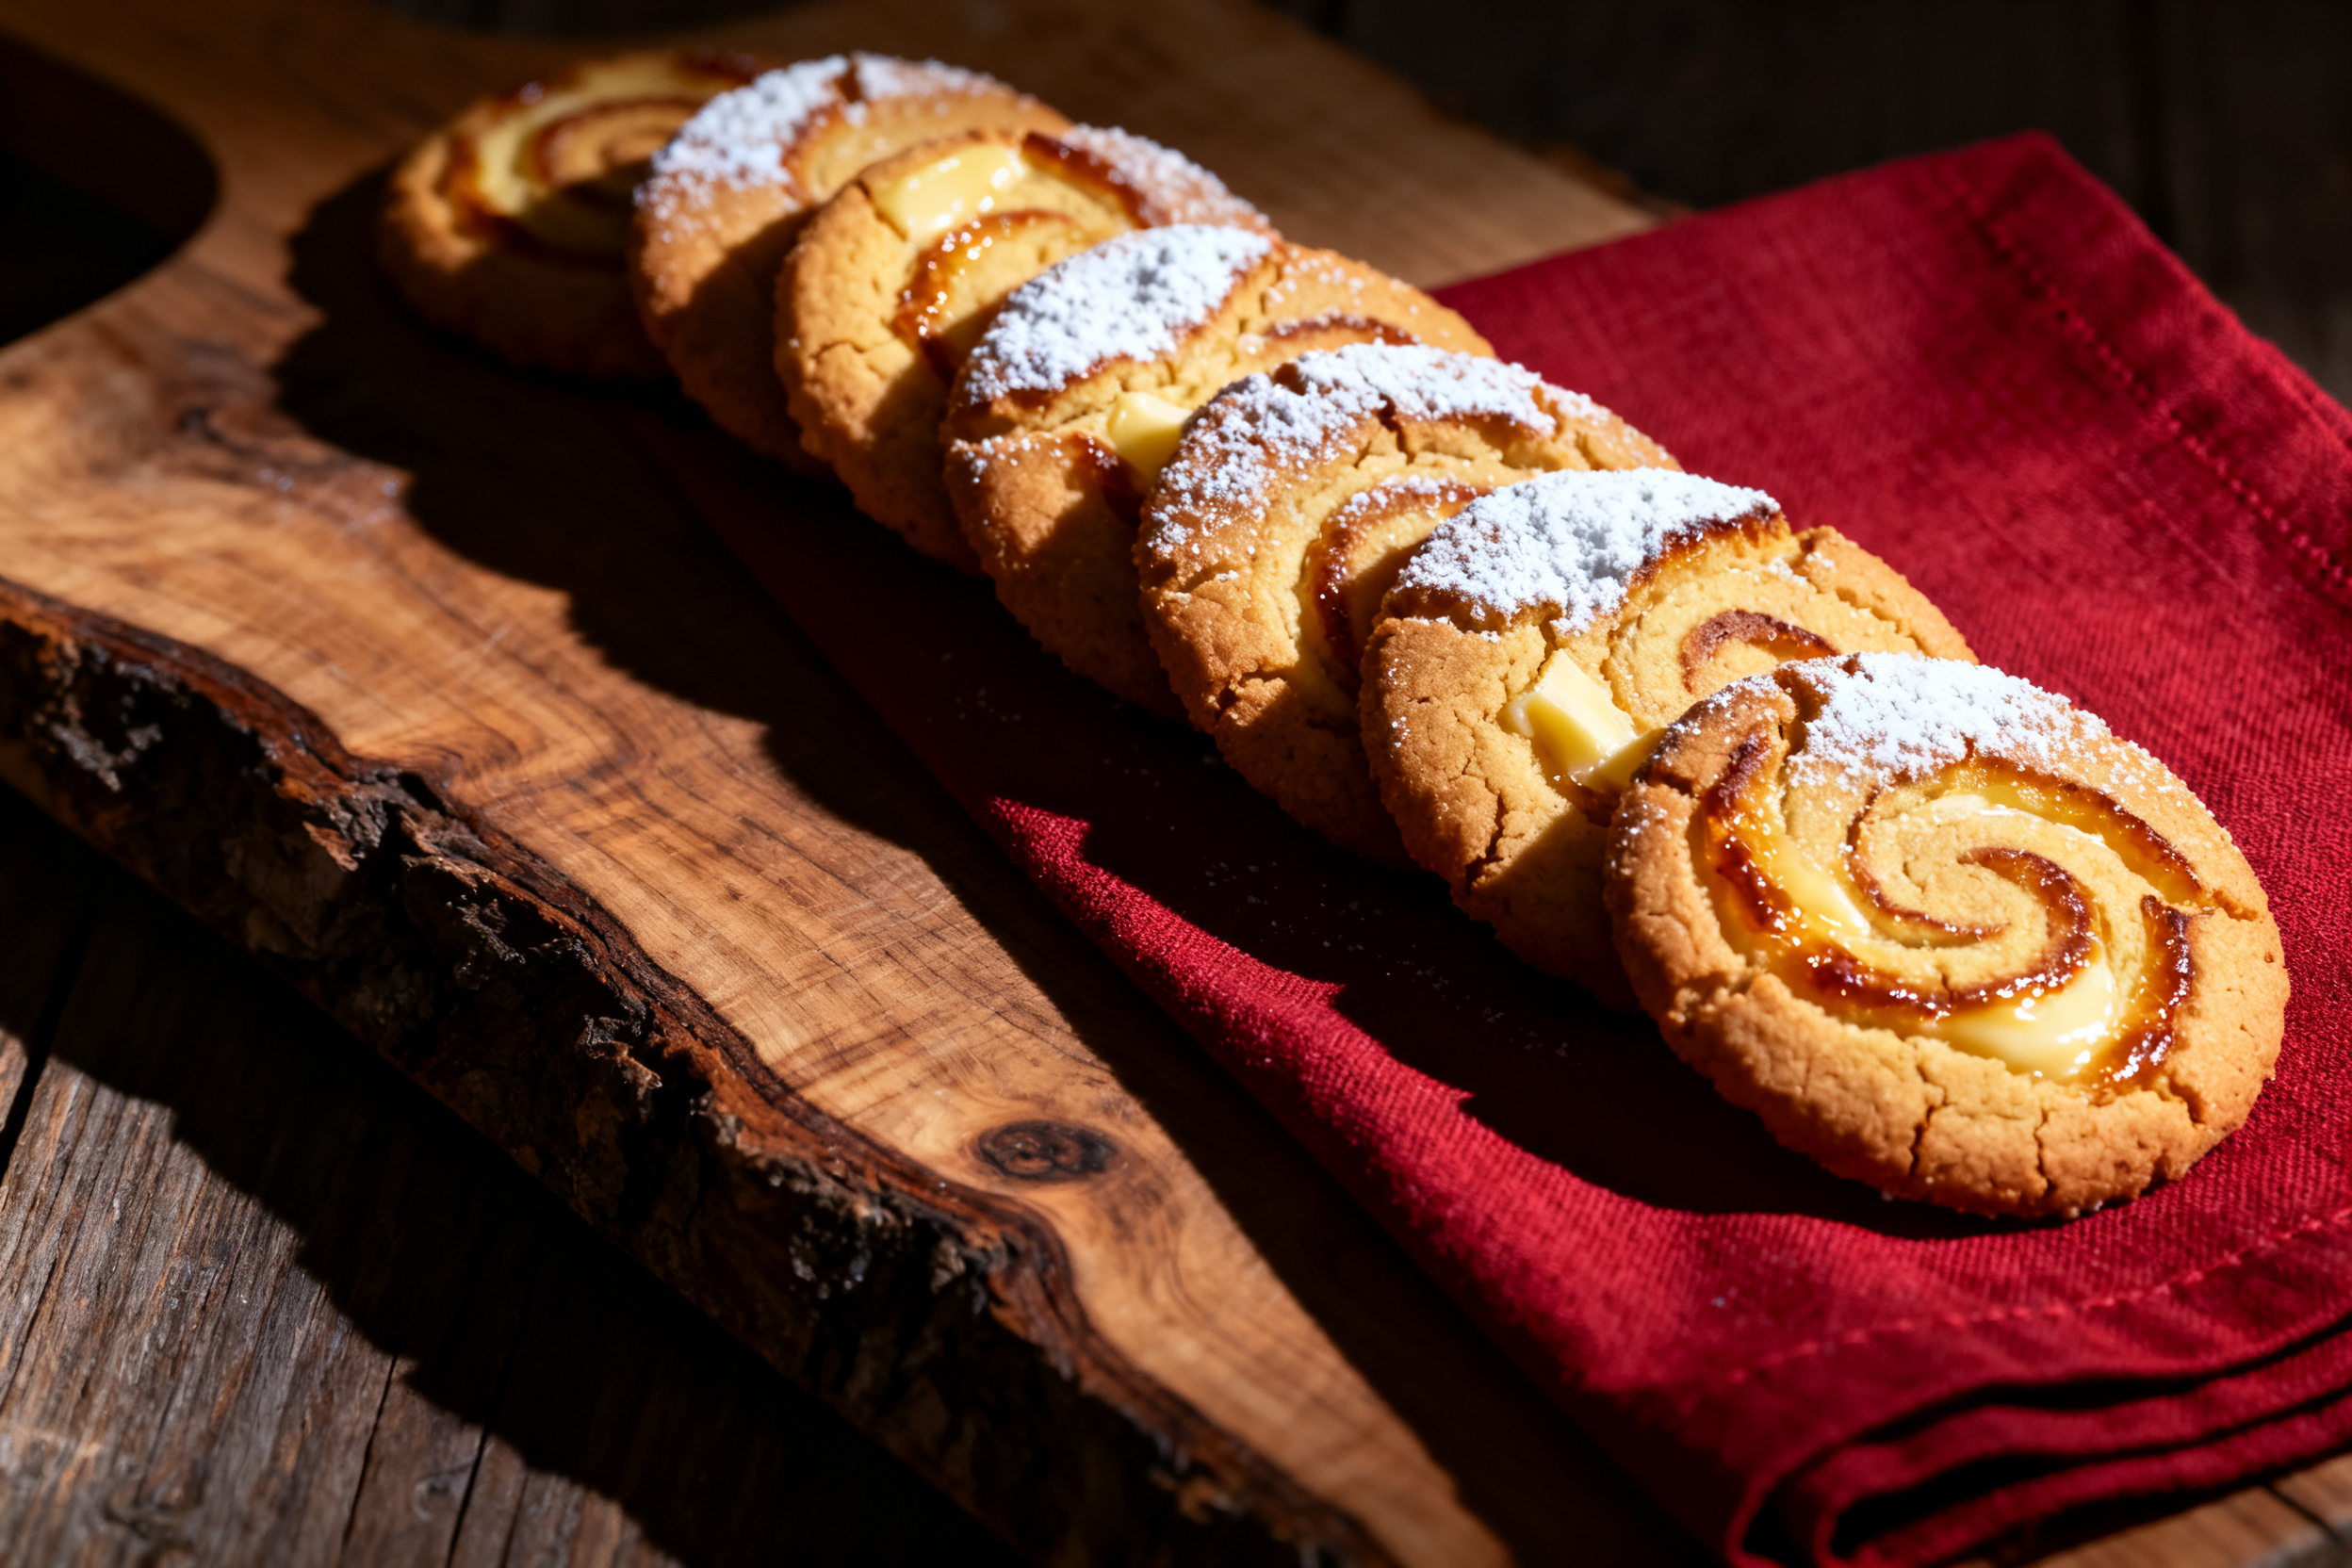
Why did my spritz cookies not stick to the baking sheet? This usually happens if the dough is too cold or the sheet is greased. Use an ungreased, cool baking sheet. If the dough is cold, let it warm up for a few minutes. The press should release the dough cleanly onto the sheet. If it’s sticking to the press, try wiping the inside of the press with a dry paper towel.
Can I use a cookie press with this dough? Yes, absolutely. This recipe is specifically designed for a cookie press. Make sure you use a disc with a shape you like (I’m partial to the star or swirl). Hold the press perpendicular to the sheet and press firmly, then lift straight up. Don’t twist or wiggle — that messes up the shape.
How do I get even, crisp edges? Bake on the middle rack of the oven, and rotate the pan halfway through. Use a light-colored baking sheet if possible — dark sheets absorb more heat and can over-brown the bottoms. Also, let the cookies cool on the sheet for 2 minutes before transferring to a wire rack. That extra time on the hot sheet helps set the edges.
Can I add sprinkles or decorations before baking? Definitely. Press the sprinkles gently into the dough right after pressing, before the dough sets. If you wait too long, the sprinkles won’t stick. For colored sugar, you can also dust it on just before baking. I like to add a tiny pinch of coarse sanding sugar for extra crunch.
Why are my cookies turning out too thick? You might be pressing too much dough onto the sheet. The cookie press should release a small amount — about the size of a walnut. If you press too hard or hold the press too long, you get a blob instead of a tidy swirl. Practice on a piece of parchment paper first to get the feel.
11. Call to action (comment, share, subscribe)
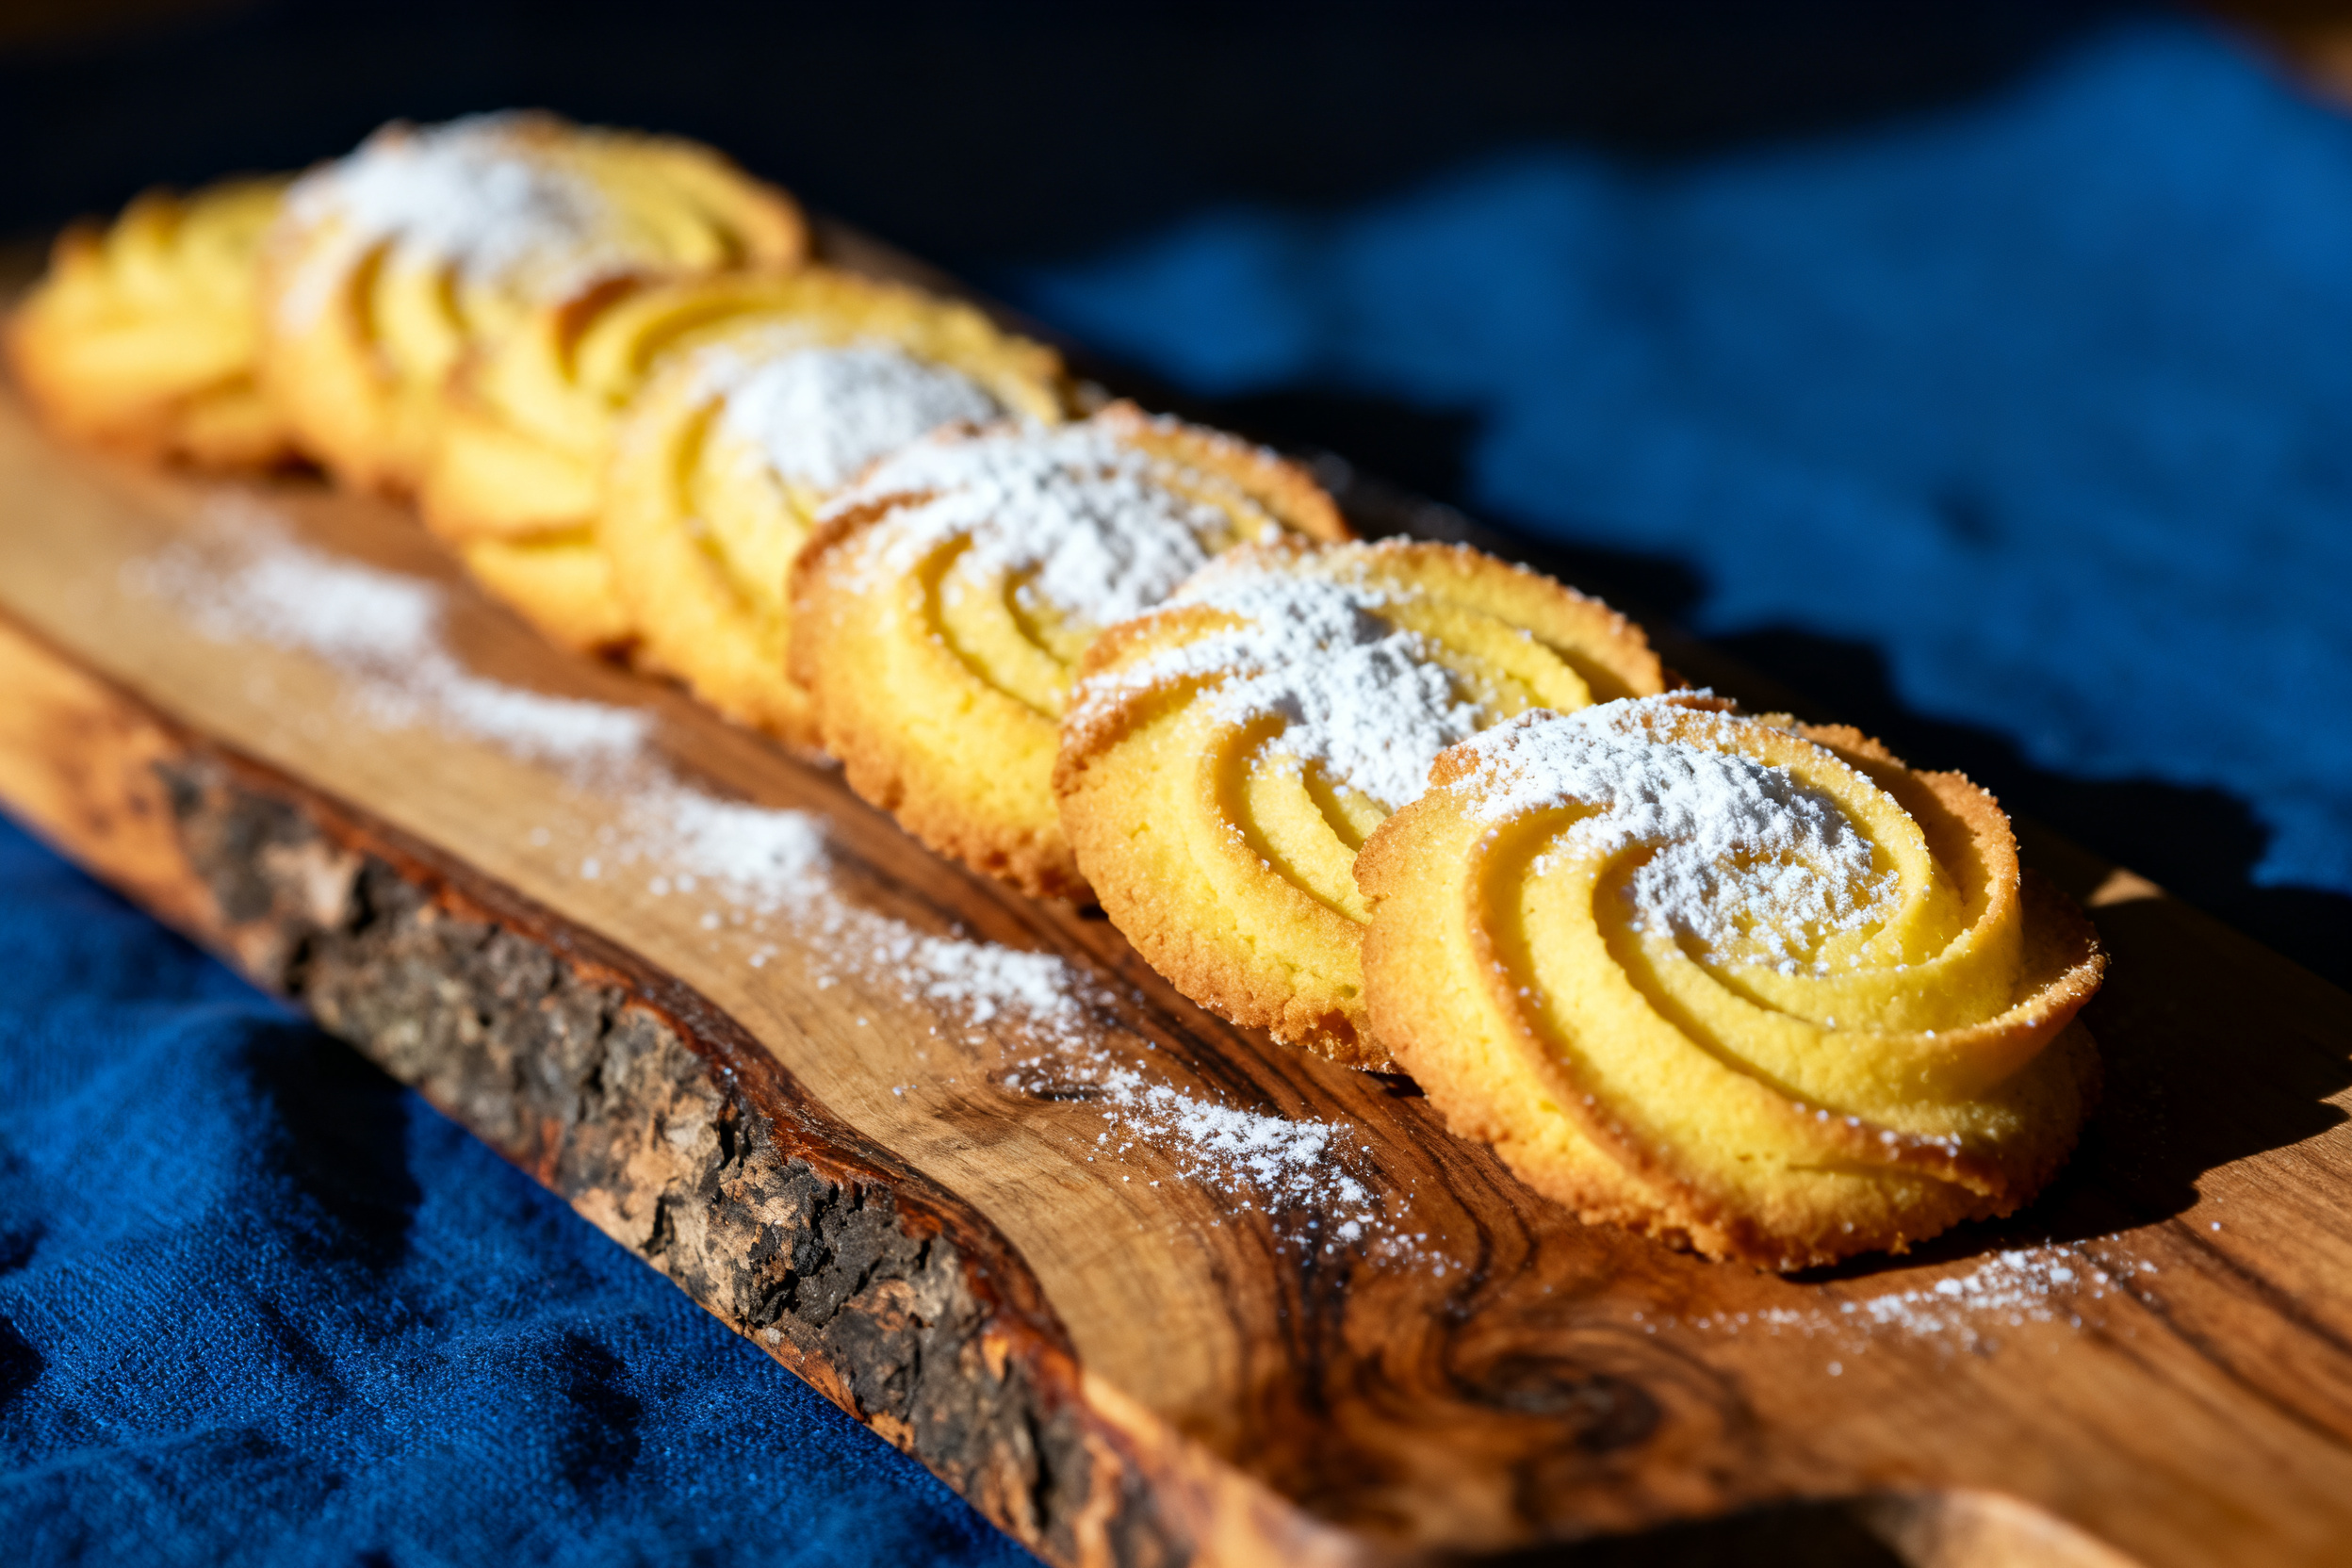
I’d love to hear how your spritz cookies turned out! Drop a comment below and tell me your favorite shape or flavor twist. Did you use a wreath disc or a star? Did you add sprinkles or go plain? Every batch is a little different, and I always learn something new from your stories.
If you found this recipe helpful, share it with a friend who needs a foolproof cookie recipe — or just someone who loves buttery treats. And don’t forget to subscribe to the blog so you never miss a new recipe. I promise to keep the kitchen tips coming, along with a healthy dose of sarcasm and zero judgment when you eat three cookies before the batch is cool.
Happy baking, and may your edges always be crisp and your butter always at room temperature. Now go make some swirls.
In the end, this spritz cookie recipe is all about simplicity and satisfaction. A few basic ingredients, a little patience with the press, and you’ve got a tray of beautiful, buttery swirls that look like they came from a bakery. The crisp edges are the crowning glory — that perfect snap that makes every bite worth it. Whether you’re baking for a holiday, a party, or just a Tuesday afternoon, these cookies deliver every time. Give them a try, and don’t be surprised if you find yourself making a second batch before the first one is gone.
If you have any questions or just want to share a photo of your prettiest cookie, I’m all ears. Tag me on social media or leave a comment below. I respond to every single one — it’s my favorite part of this job. Until next time, keep your butter soft and your oven preheated.
Buttery Spritz Cookie Recipe with Crisp Edges
Ingredients
- 1 cup 2 sticks unsalted butter, softened
- 2/3 cup powdered sugar
- 1 large egg yolk
- 1 teaspoon vanilla extract
- 1/2 teaspoon almond extract optional
- 2 cups all-purpose flour
- 1/4 teaspoon salt
- Food coloring as desired (optional)
Instructions
- Preheat oven to 375°F. Have an ungreased baking sheet ready.
- In a large bowl, beat the softened butter and powdered sugar together until light and fluffy, about 2 minutes.
- Add the egg yolk, vanilla extract, and almond extract (if using). Beat until combined.
- In a separate bowl, whisk together the flour and salt. Gradually add the dry ingredients to the butter mixture, mixing on low speed until just combined. Do not overmix.
- If using food coloring, add a few drops and mix until evenly distributed. The dough should be soft but not sticky.
- Fit a cookie press with your desired disc. Fill the press with dough. Press cookies onto the ungreased baking sheet, spacing them about 1 inch apart. Press firmly and lift straight up.
- Bake for 8-10 minutes, or until the edges are just beginning to turn golden brown. The centers will still be pale.
- Let the cookies cool on the baking sheet for 2 minutes, then transfer to a wire rack to cool completely. Store in an airtight container at room temperature.
Notes
2. If the dough feels too stiff, add 1 teaspoon of milk at a time until it presses easily.
3. For a gluten-free version, use a 1:1 gluten-free baking blend with xanthan gum.
4. For dairy-free, substitute with a high-quality vegan butter stick (e.g., Earth Balance).
5. Baked cookies keep in an airtight container at room temperature for up to 5 days. Freeze for up to 3 months.
6. Unbaked dough can be frozen for up to 2 months. Thaw overnight in the fridge before using.
7. To revive slightly soft cookies, reheat at 300°F for 3-4 minutes.