
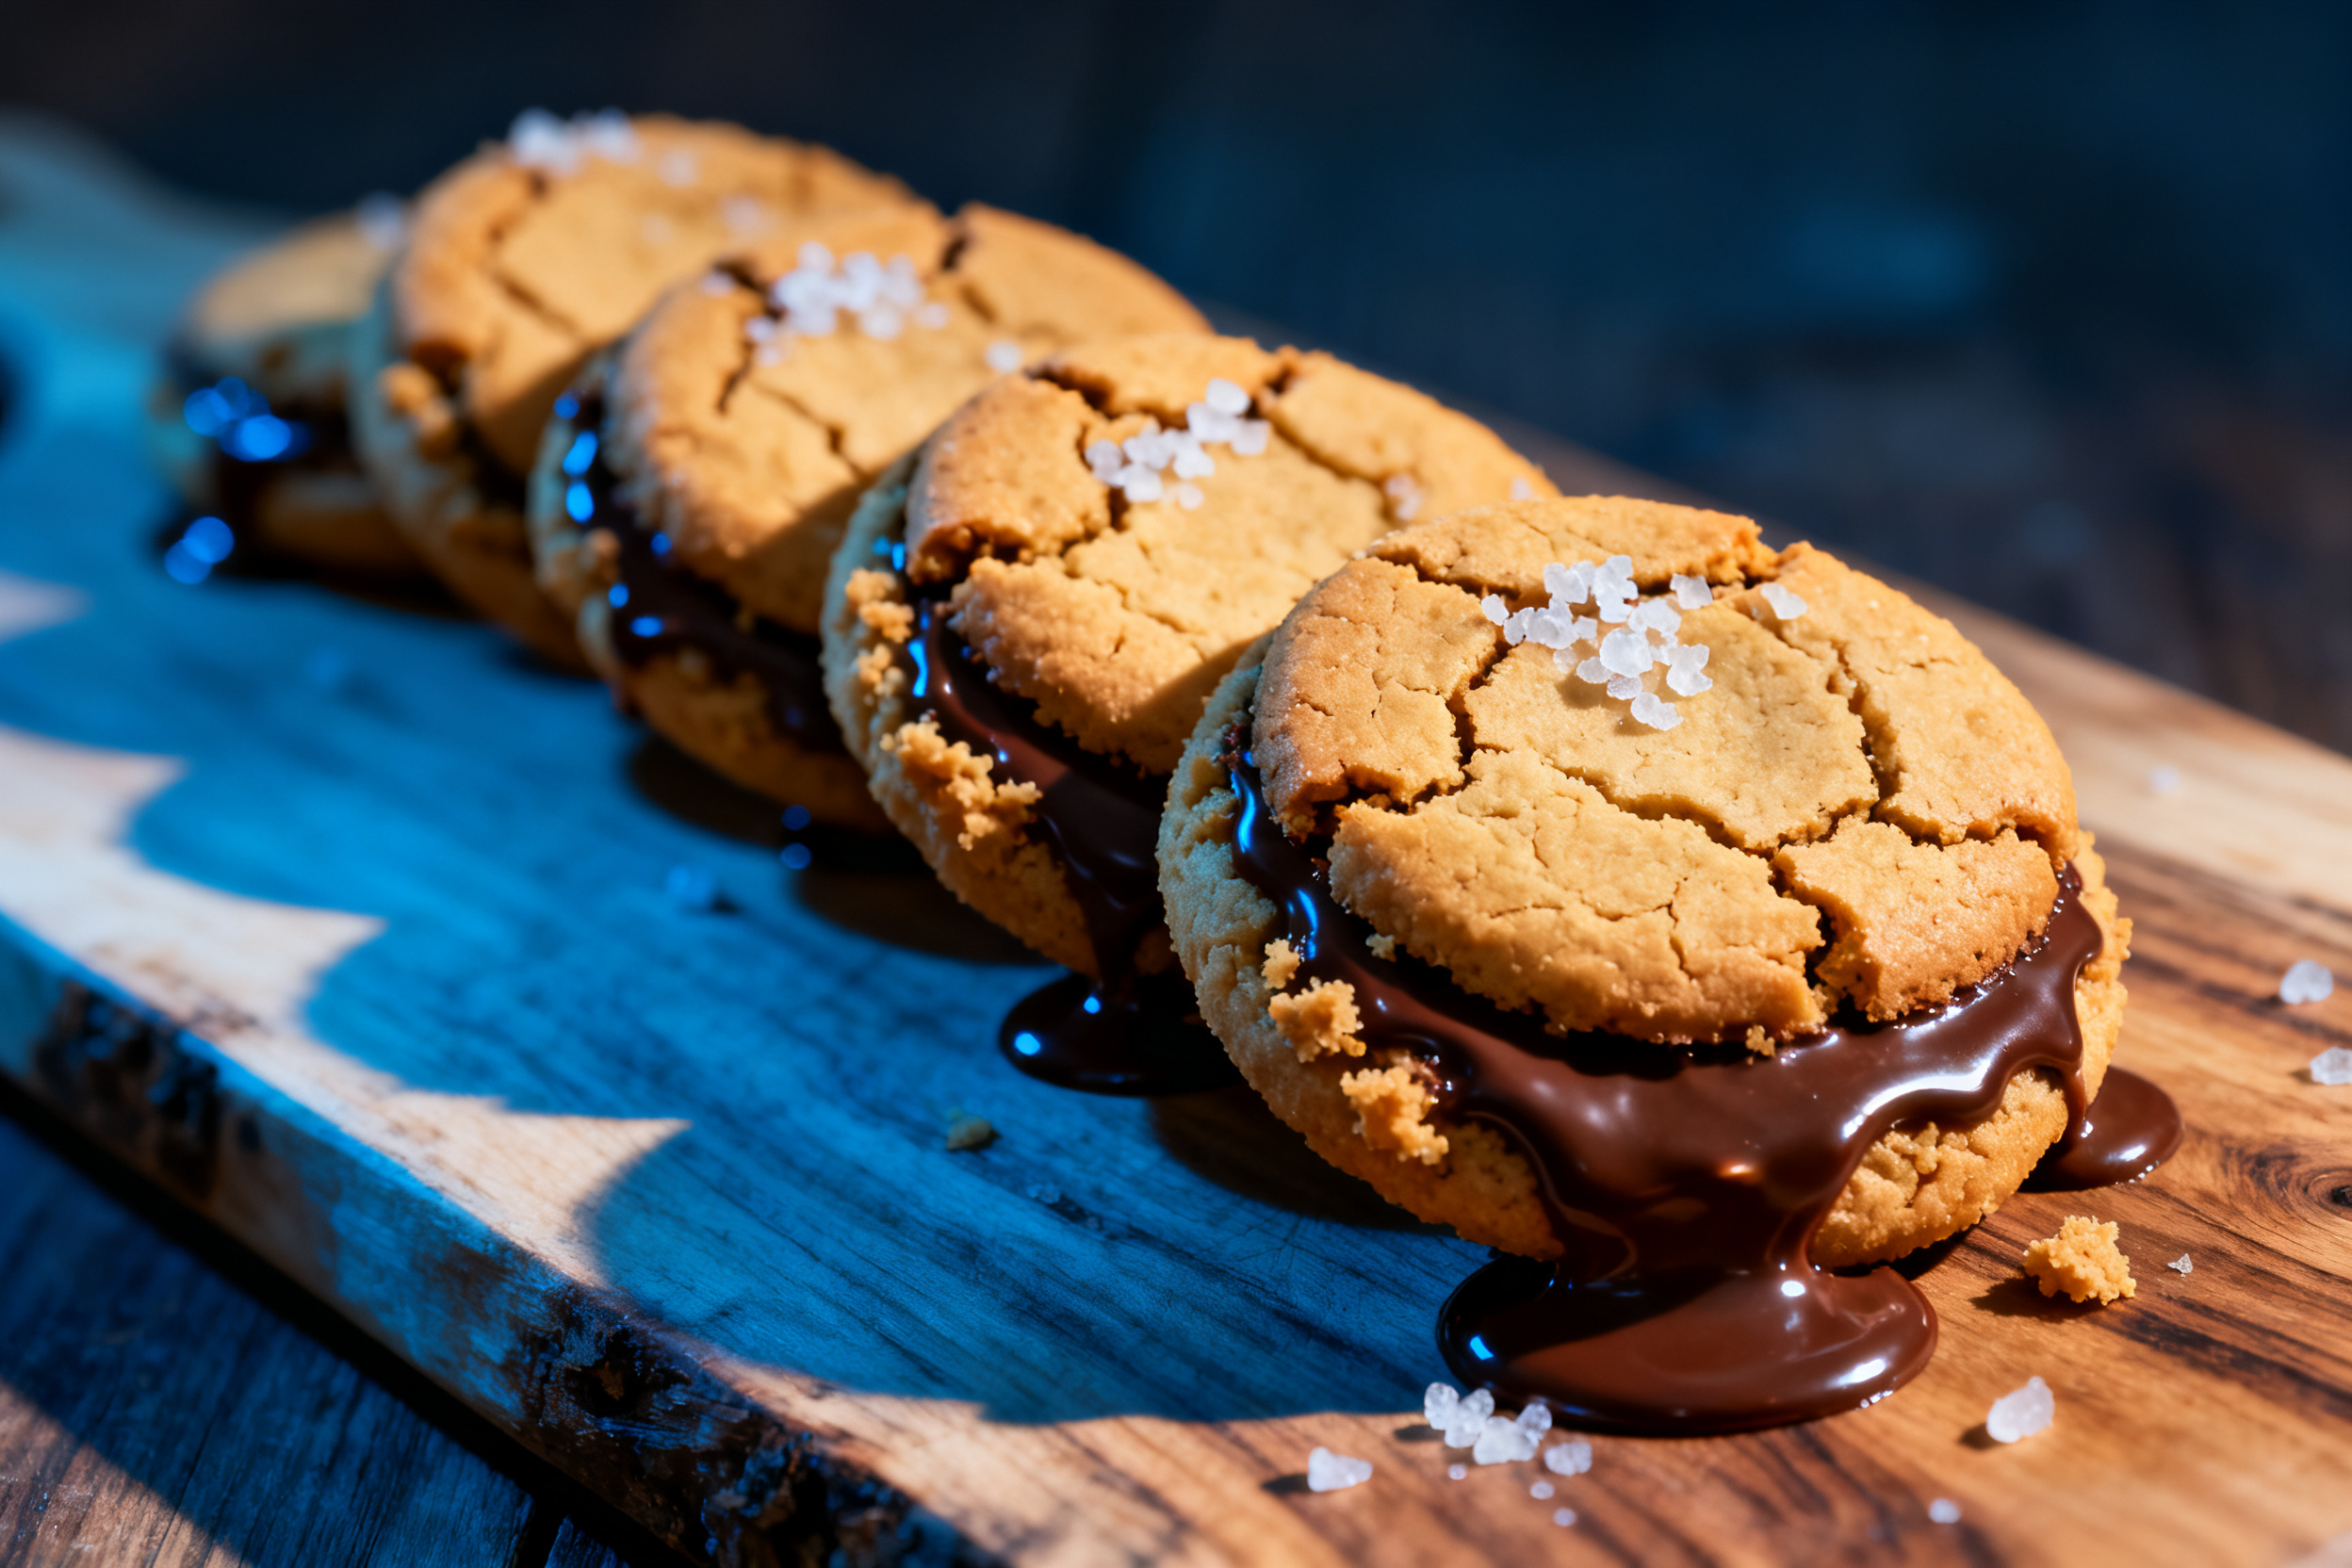
Introduction
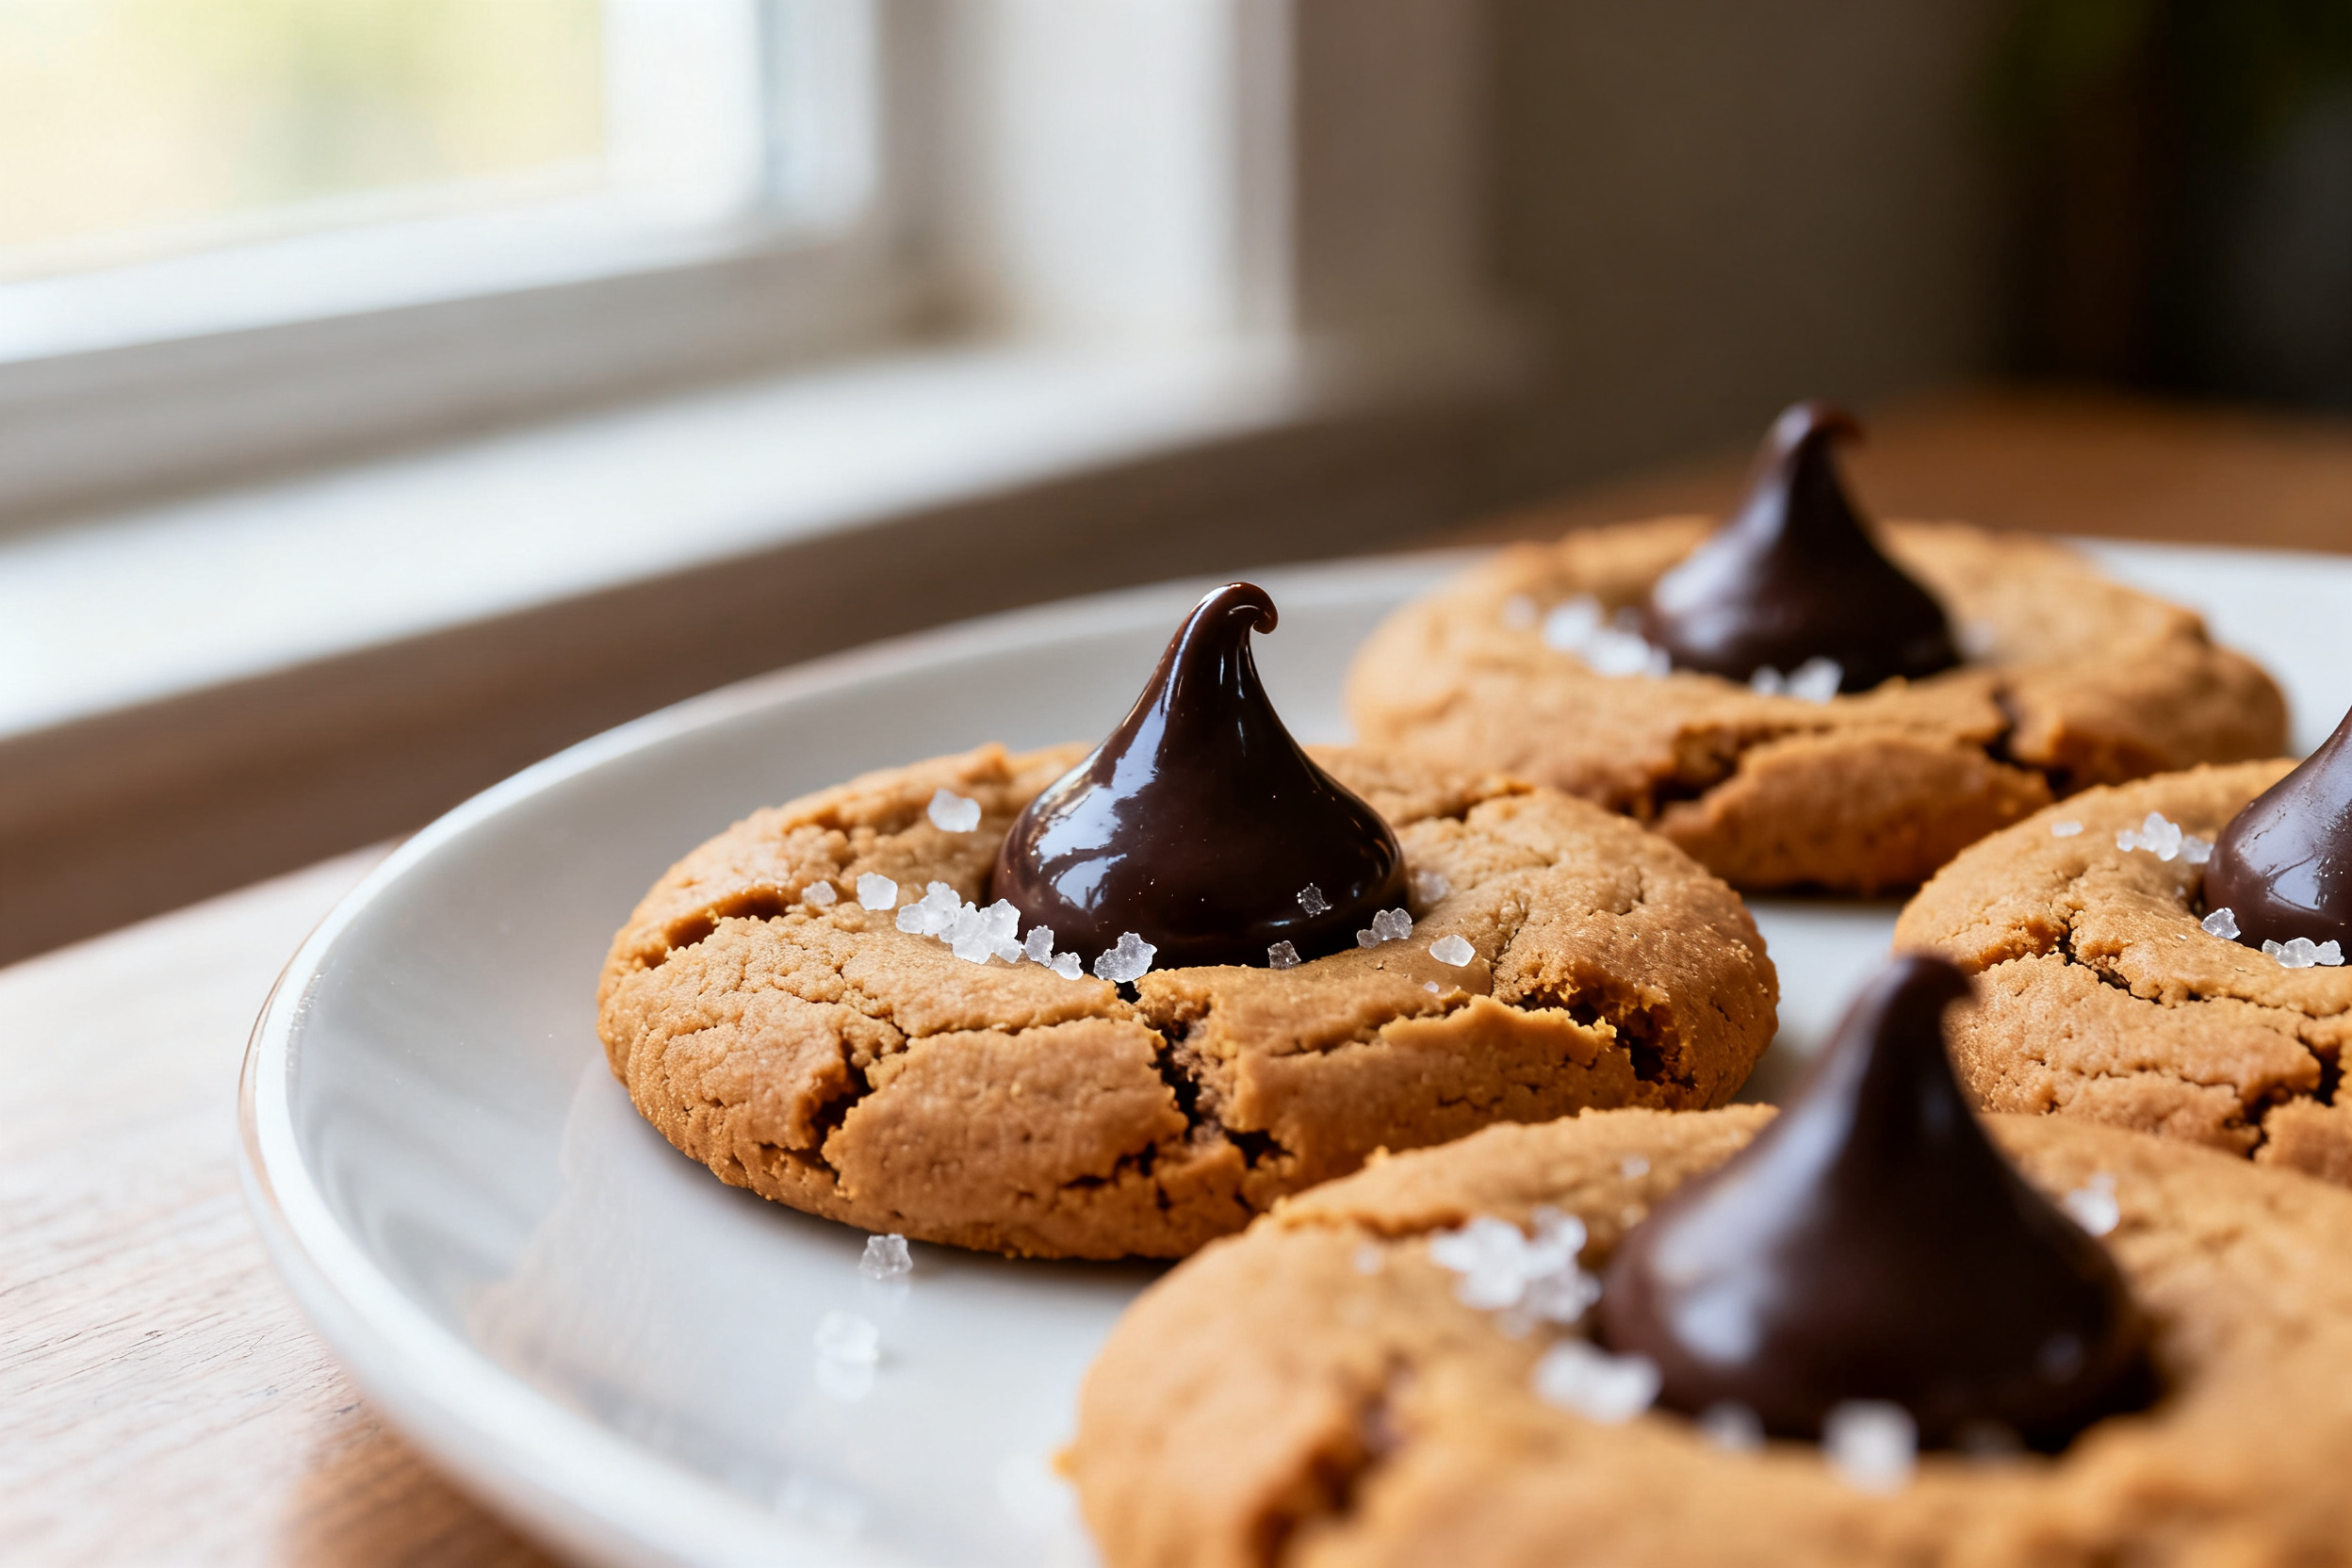
Look, I love my grandma. She taught me how to roll dough, lick the beaters, and sneak a raw cookie or two without getting caught. But when it comes to her peanut butter kiss cookies? Let’s just say they were always a little … dry. Sorry, Nana.
This peanut butter kiss cookie recipe changes everything. It’s soft, chewy, and stays that way for days. The chocolate kiss sinks into a perfectly peanut-buttery cloud, and you won’t need a glass of milk to wash it down (though I won’t stop you).
Ready to outshine the family legacy? Let’s get baking.
Allergens
This recipe contains peanuts, dairy (butter, milk), eggs, and wheat (flour). The chocolate kisses may also contain soy and milk. For a peanut-free version, swap in sunflower seed butter and use certified nut-free chocolate. Always check labels if serving someone with severe allergies.
Ingredient notes & substitutions
Use creamy peanut butter — not natural or crunchy. Natural peanut butter separates and makes the cookies greasy and crumbly. Jif or Skippy work perfectly.
For the butter, go with unsalted and add a pinch of salt. If you only have salted, reduce the added salt by half. The dough needs that balance to keep the peanut flavor front and center.
Brown sugar adds moisture and a hint of caramel. You can swap in all white sugar, but the cookies will be slightly crisper. I do not recommend using a sugar substitute unless you’ve tested it — the texture changes a lot.
One large egg binds everything. For a vegan version, use a flax egg (1 tbsp ground flax + 3 tbsp water, let sit 5 minutes). The cookies will be a bit less tender but still delicious.
Storage & make-ahead
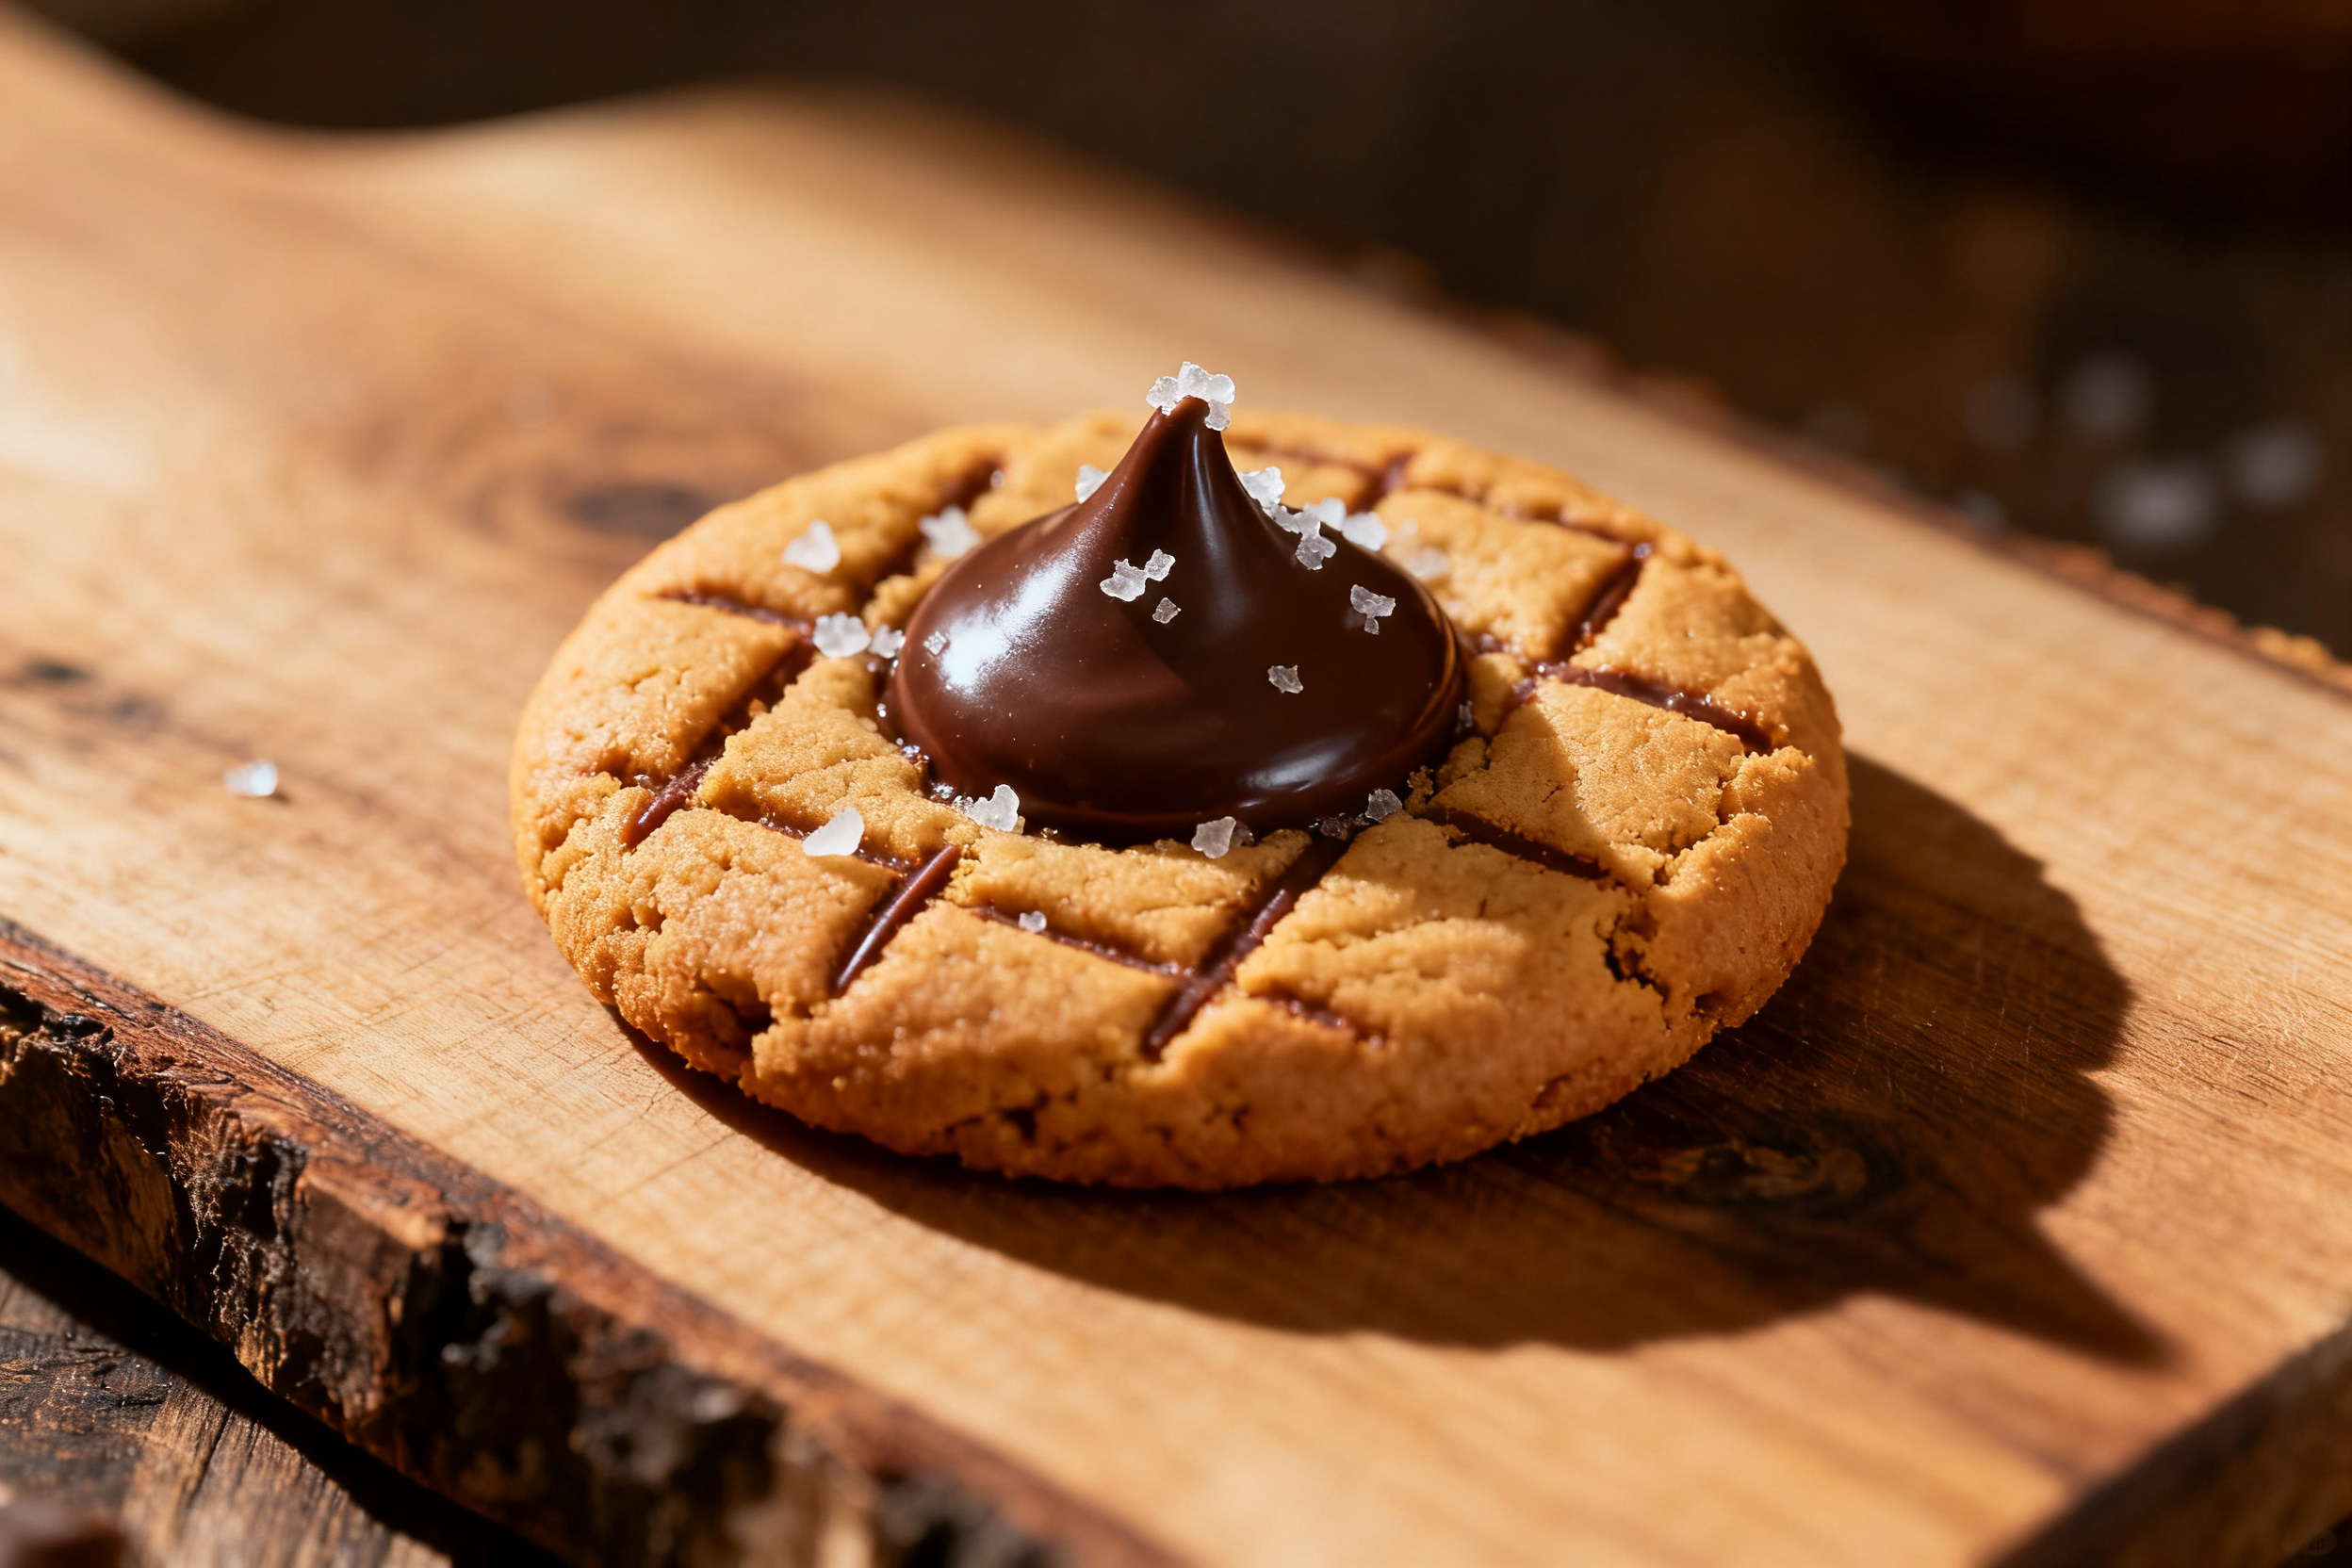
Store baked cookies in an airtight container at room temperature for up to 5 days. Place a slice of bread in the container to keep them extra soft — replace the bread every other day.
You can freeze the unbaked dough balls on a baking sheet, then transfer to a freezer bag. Bake directly from frozen, adding 2-3 minutes to the bake time. No need to thaw.
Baked cookies freeze well too. Wrap them individually in plastic wrap, then place in a freezer bag. Thaw at room temperature for about 15 minutes before serving.
If you’re making a double batch, keep the dough in the fridge for up to 3 days. Let it sit at room temperature for 10 minutes before rolling, or it’ll be too hard to handle.
For best results, add the chocolate kisses immediately after baking while the cookies are still hot. If the kisses don’t stick, pop the cookies back in the oven for 30 seconds to soften them.
Serving suggestions
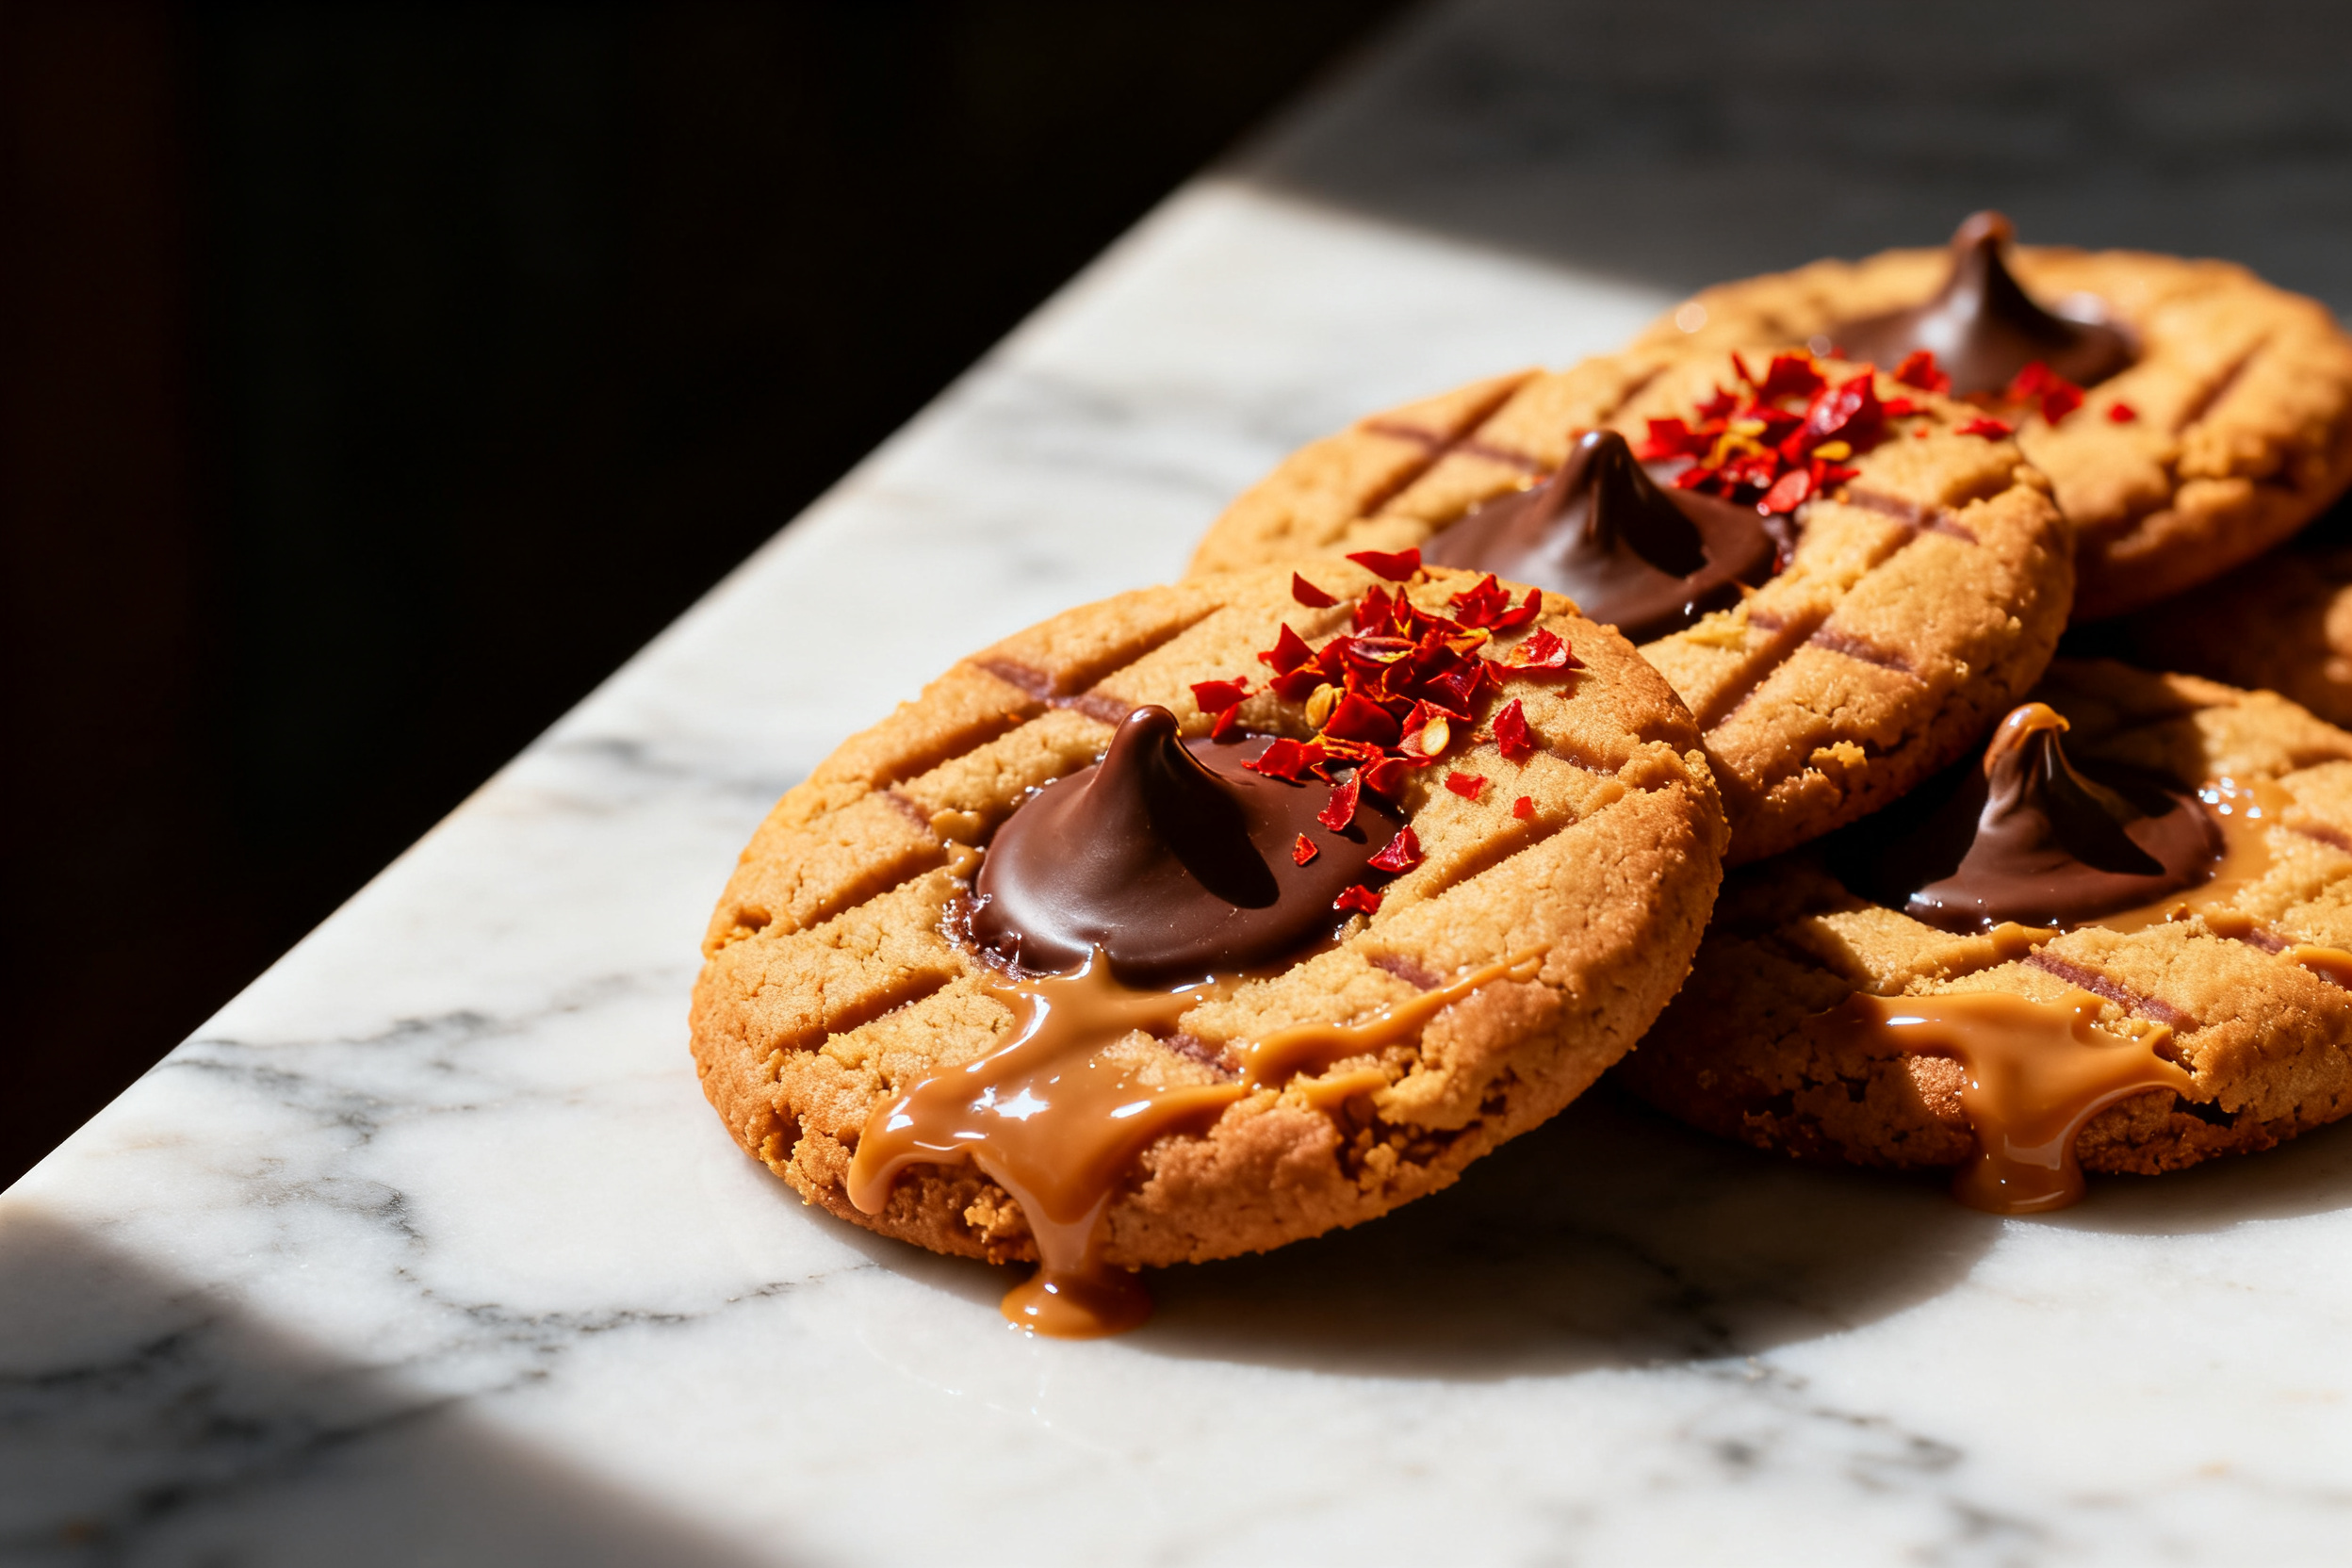
These cookies are perfect on their own, but they shine alongside a cold glass of milk — whole milk, oat milk, or even a scoop of vanilla ice cream sandwiched between two cookies.
Arrange them on a festive platter for holiday cookie swaps or birthday parties. The red and silver foil kisses add instant cheer.
Pair them with a warm cup of coffee or hot cocoa for an afternoon treat. The salty-sweet combo is dangerously good.
For a dessert board, set out the cookies with fresh strawberries, dark chocolate chunks, and a bowl of peanut butter dip. Yes, double peanut butter — live a little.
If you’re feeling fancy, drizzle melted white chocolate over the top right after the kisses set. It adds a pretty swirl and extra sweetness.
These cookies also make great homemade gifts. Stack them in a tin with parchment paper between layers, tie a ribbon, and you’re the favorite neighbor.
Use your leftovers
Got extra cookies? Crumble them over vanilla ice cream for a quick sundae. The peanut butter and chocolate chunks mix right in.
You can also crush them into a pie crust for a no-bake peanut butter pie. Mix the crumbs with melted butter and press into a pan. Bake at 350°F for 8 minutes, then fill with your favorite pudding.
If you have leftover chocolate kisses, save them for hot chocolate stirrers or melt them into a dip for pretzels. Waste not, want not.
Common mistakes & how to fix them
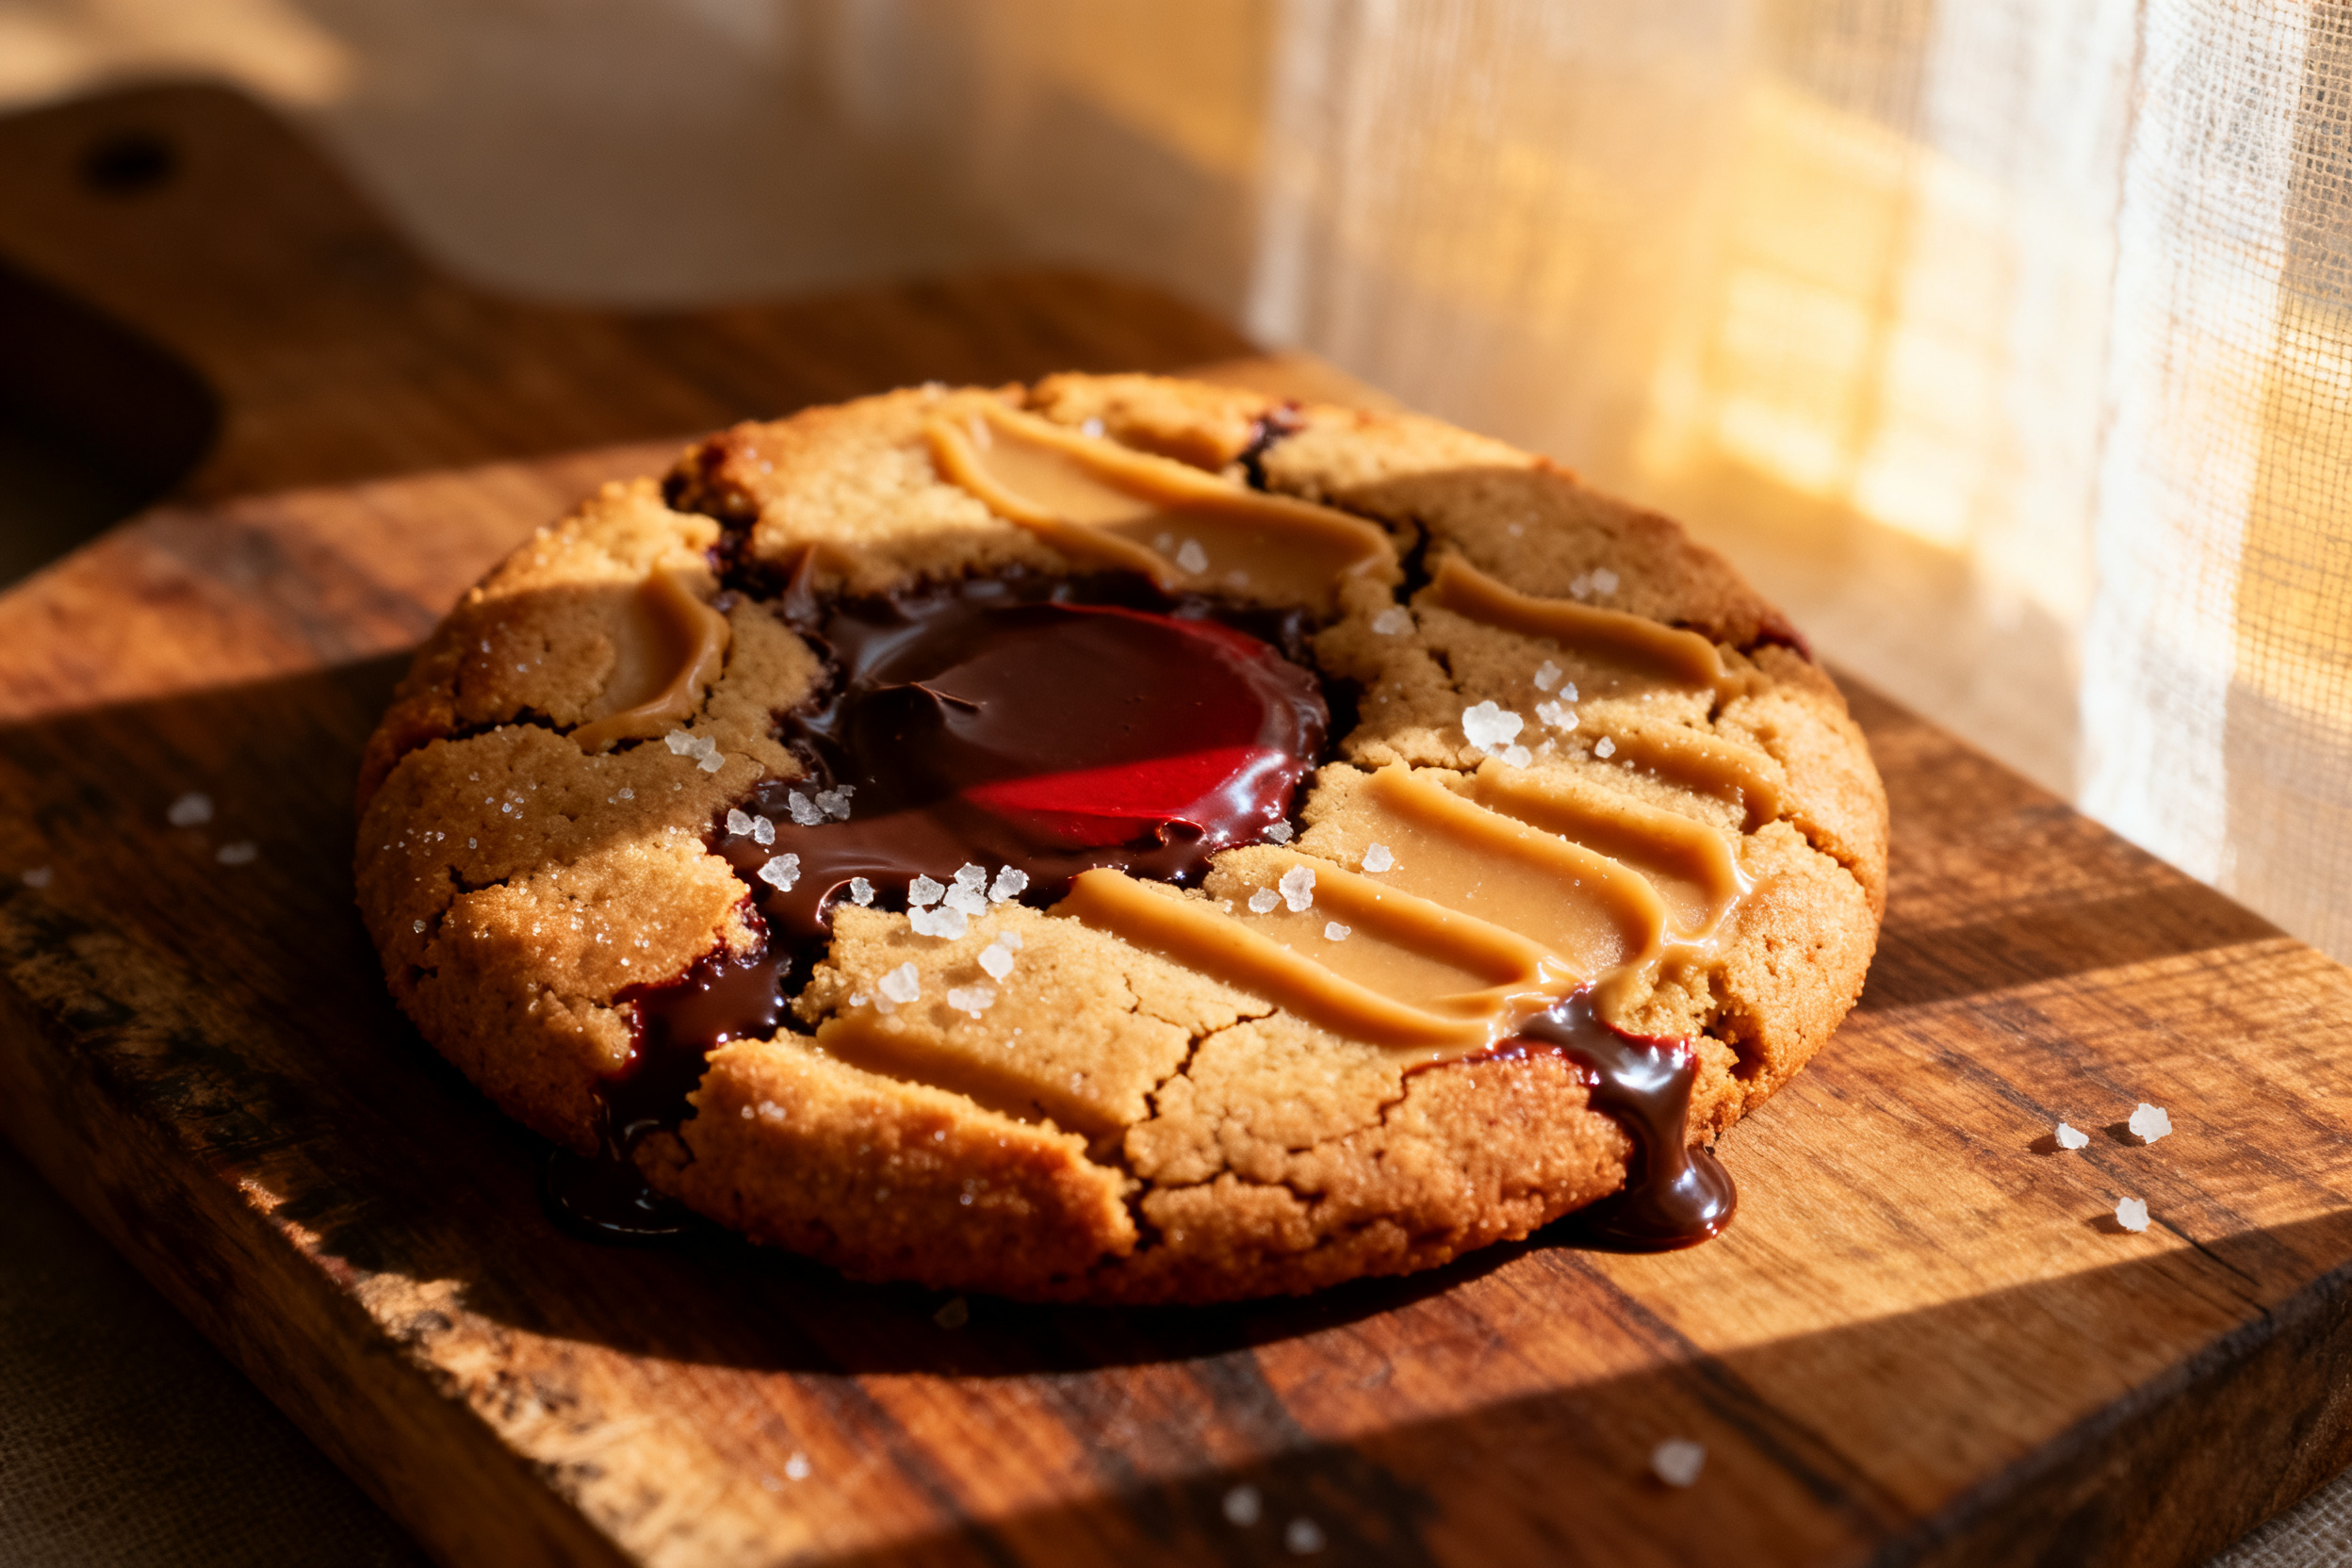
The biggest mistake is overbaking. These cookies look underdone when you pull them out — they should be puffy and slightly soft in the center. They continue to set on the baking sheet. If you bake until they’re golden all over, they’ll be dry. Also, don’t press the kisses in too hard or the cookies crack. Gently push until the kiss just sits on top.
Variations by diet or flavor profile
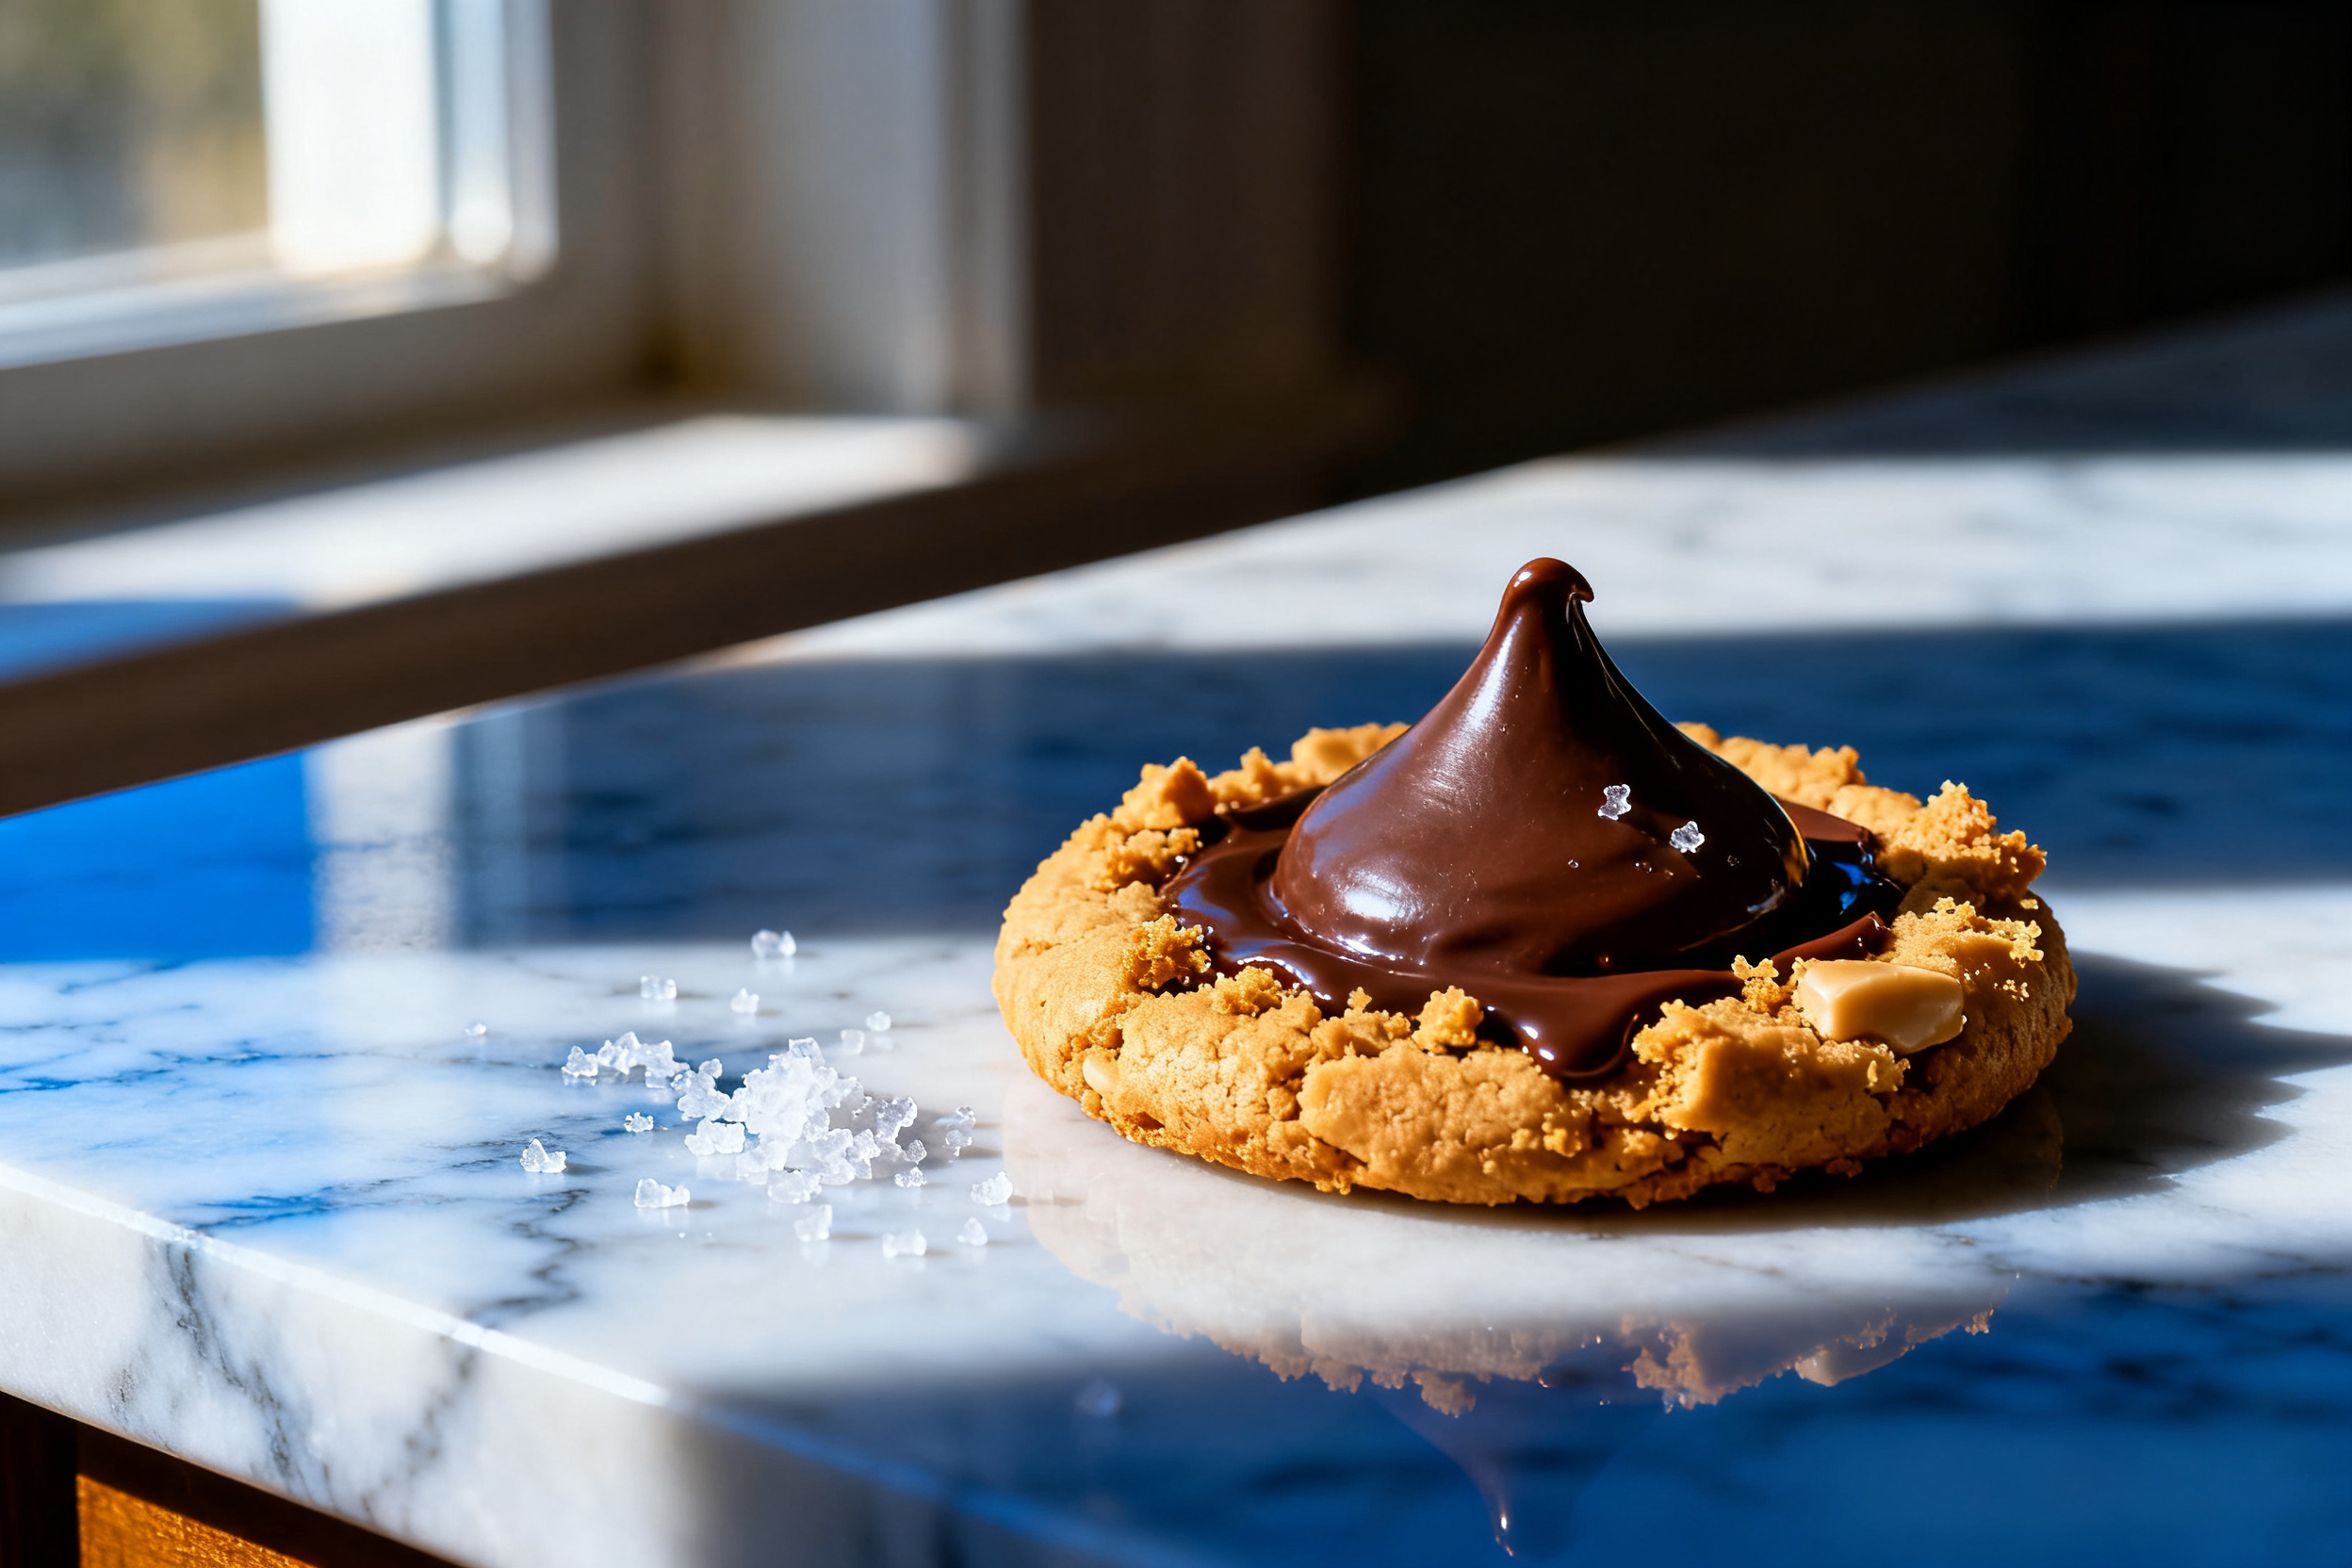
For a gluten-free version, swap the all-purpose flour with a 1:1 gluten-free baking blend that contains xanthan gum. The texture will be slightly more tender but still delicious.
To make them vegan, use a flax egg, vegan butter, and certified vegan chocolate kisses (or a dark chocolate chunk pressed in). The dough will be a bit softer, so chill it longer.
For a chocolate-peanut butter twist, add 2 tablespoons of unsweetened cocoa powder to the dry ingredients. You’ll get a double-chocolate peanut butter cookie that’s even more decadent.
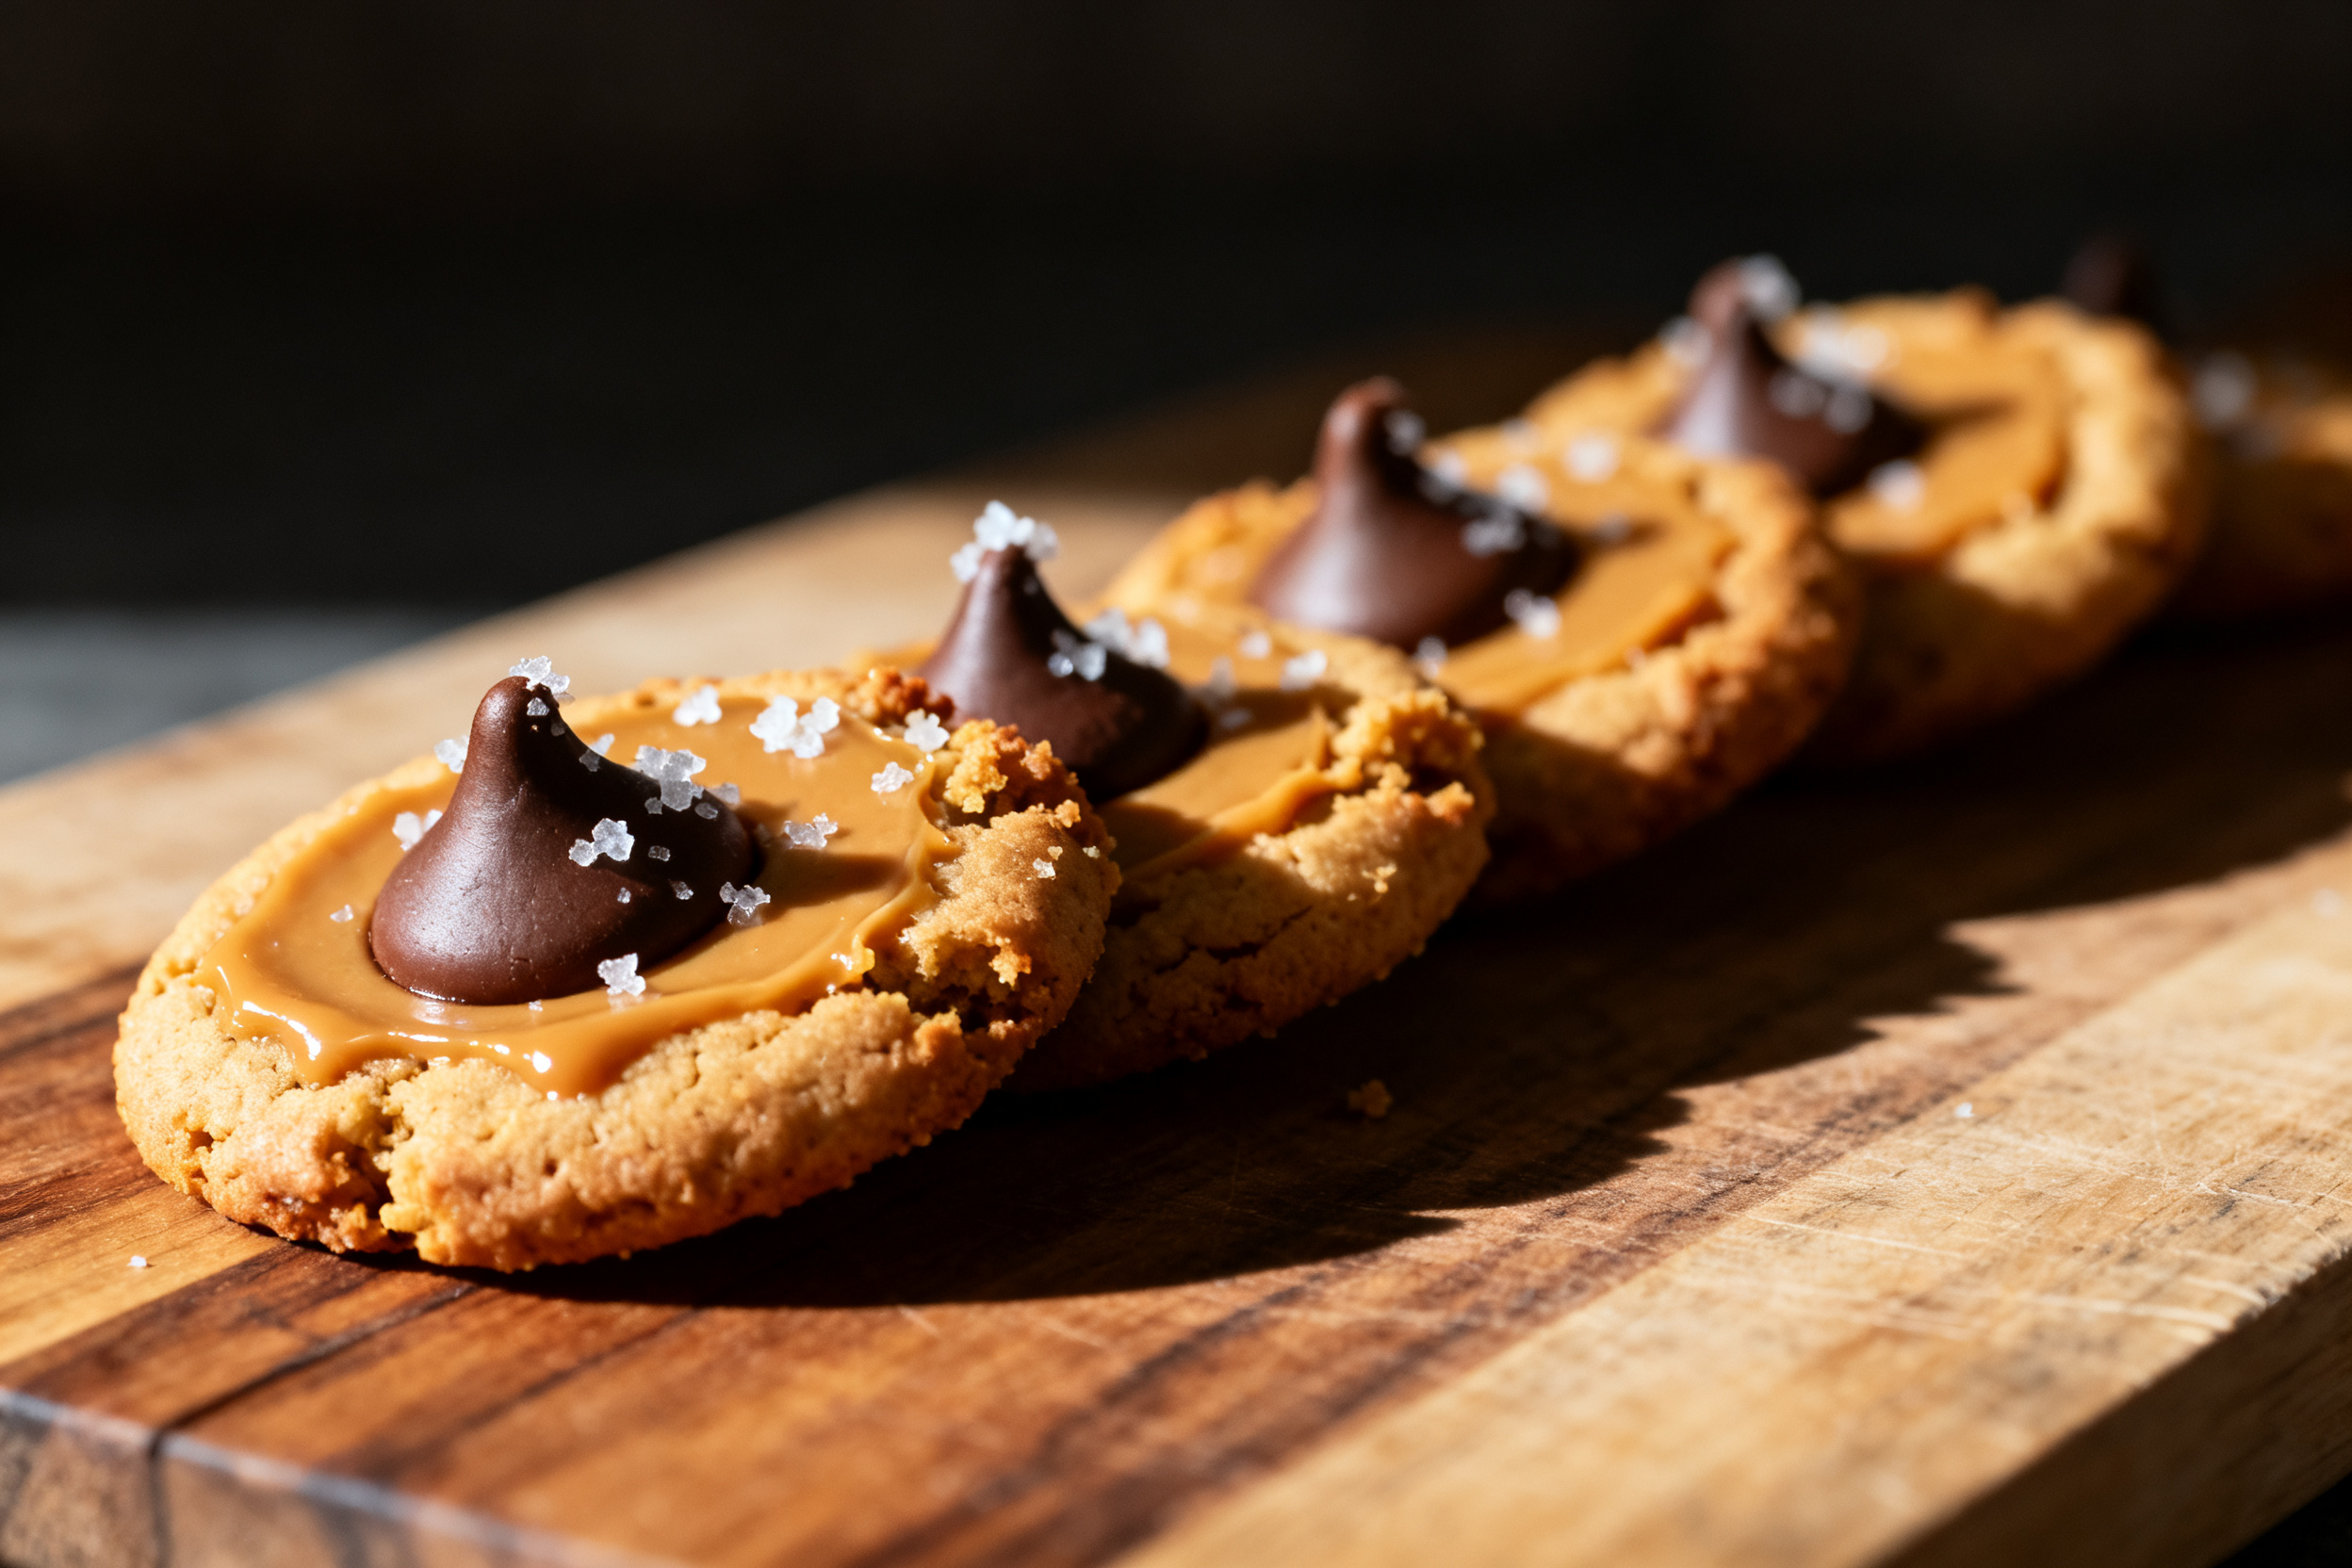
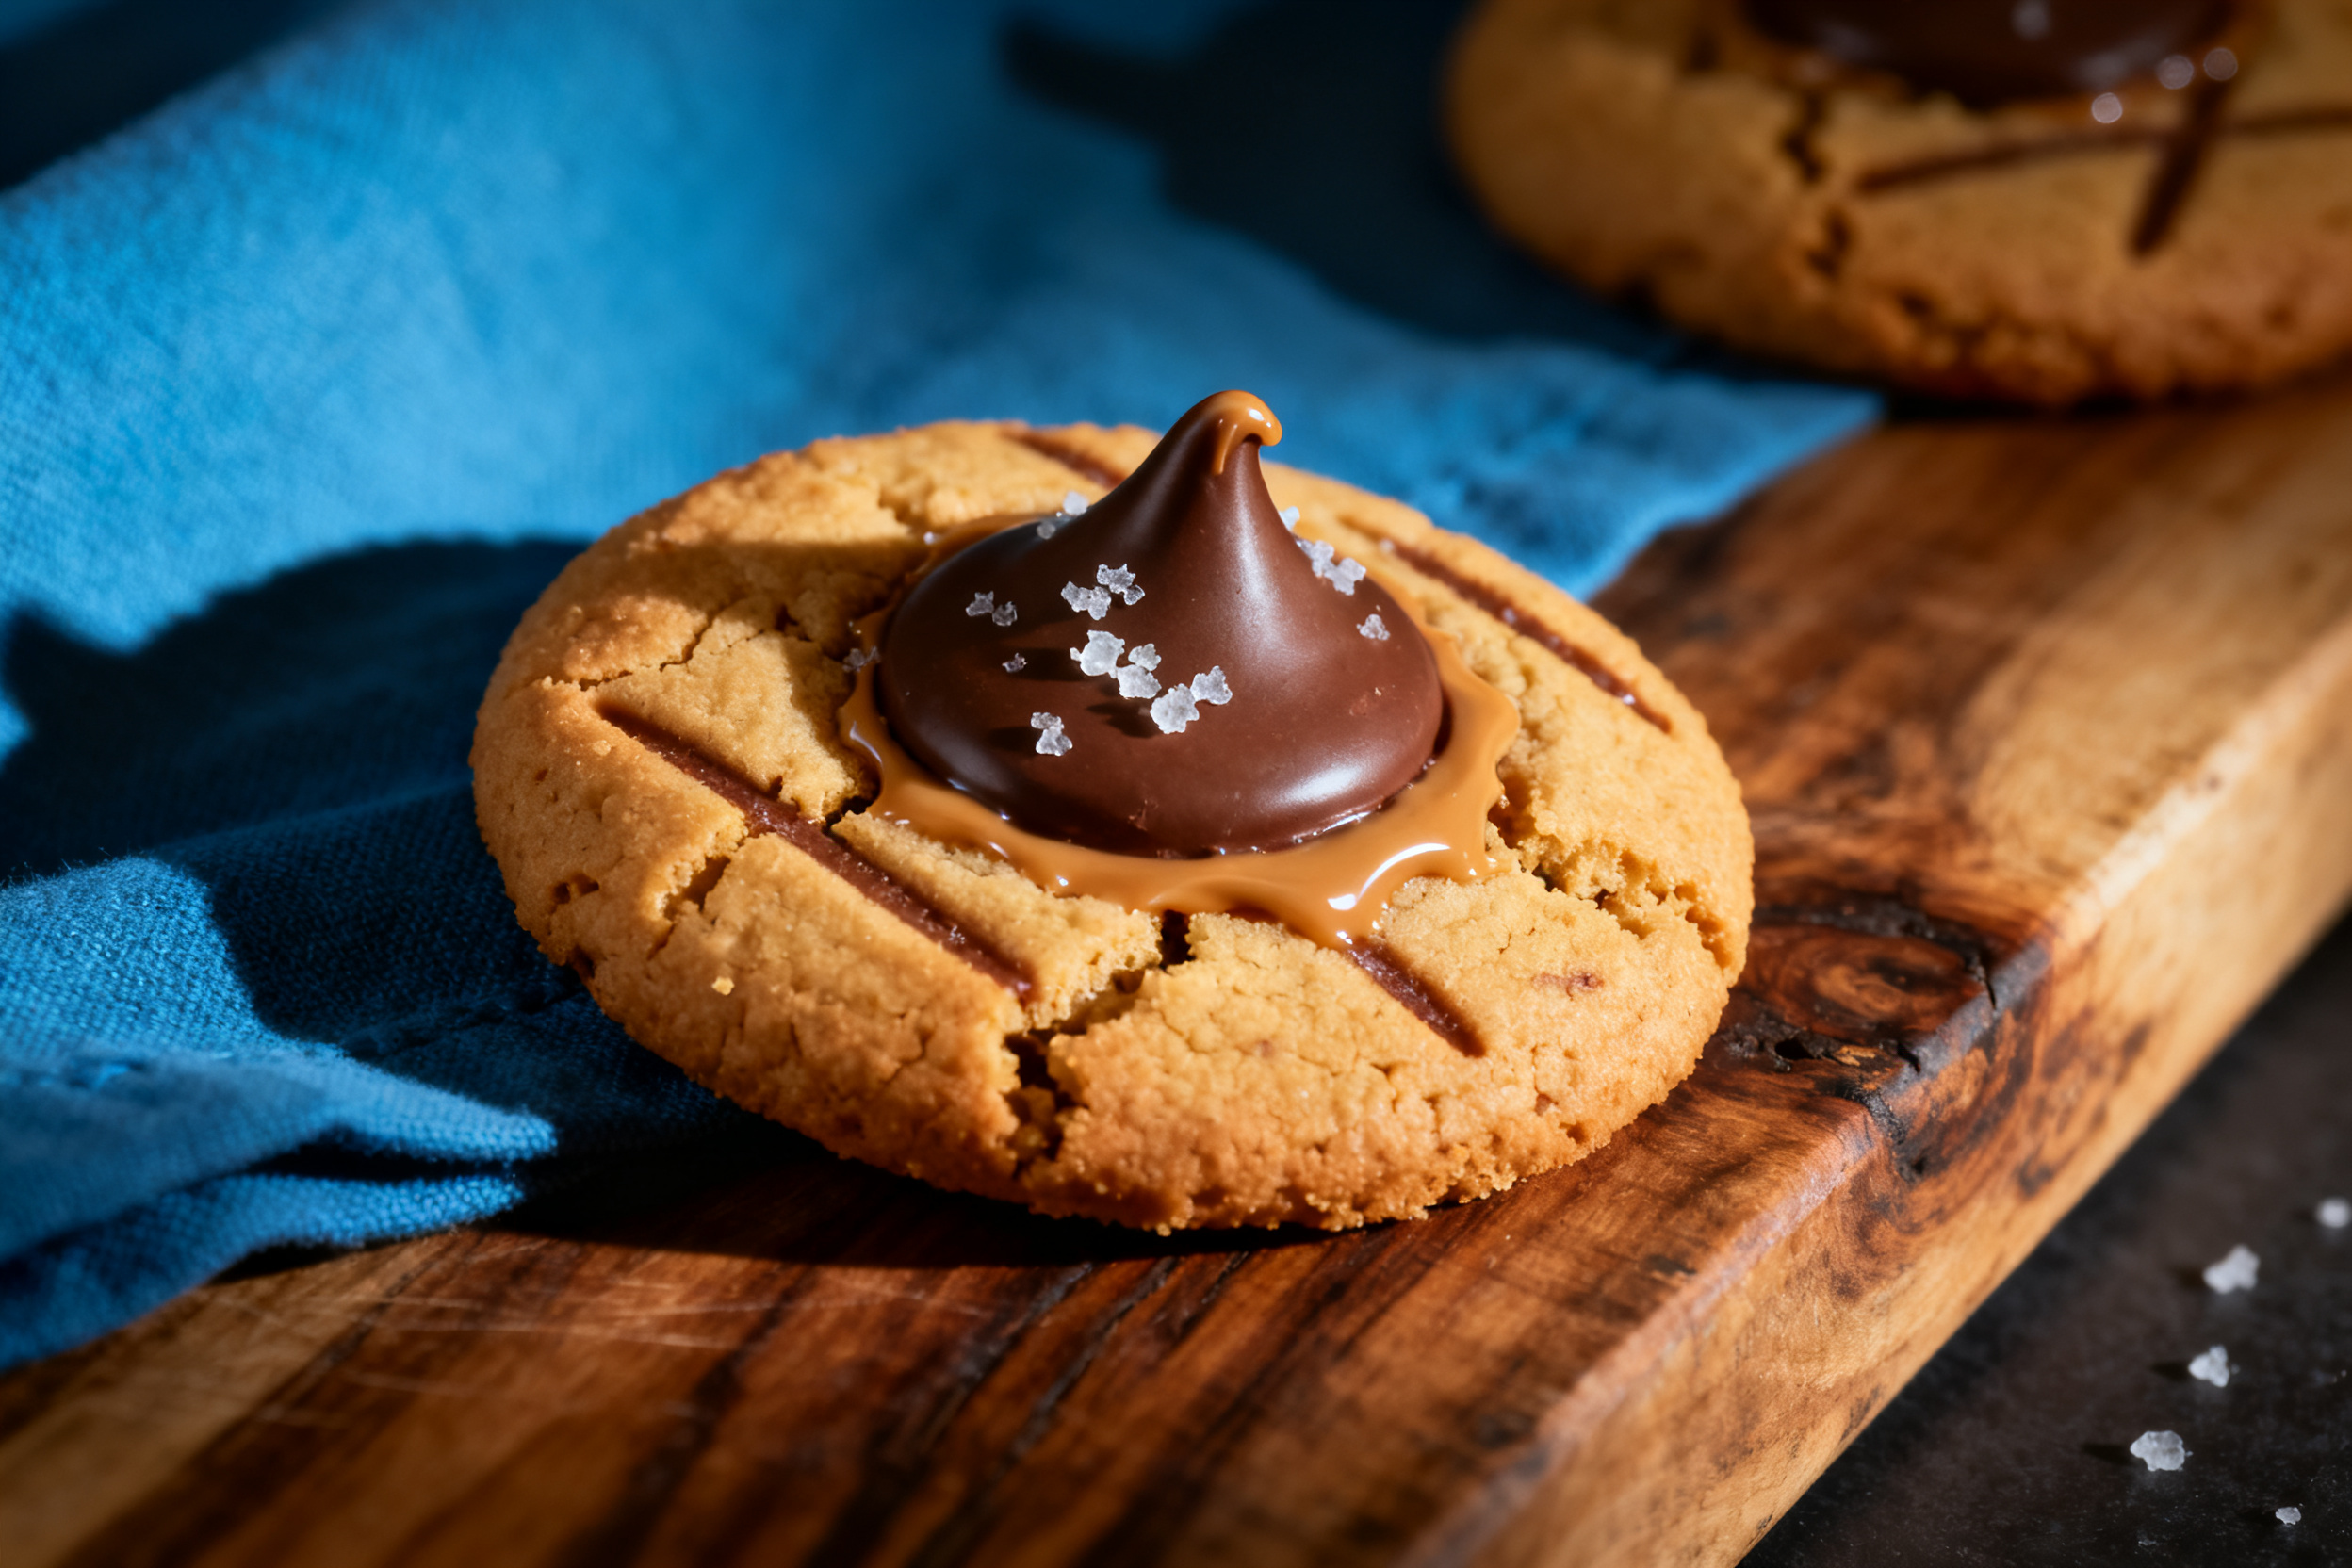
Swap the chocolate kiss for a caramel-filled chocolate or a white chocolate kiss for a different flavor. The caramel version is sticky and amazing — just be careful not to burn your tongue.
Why this recipe works
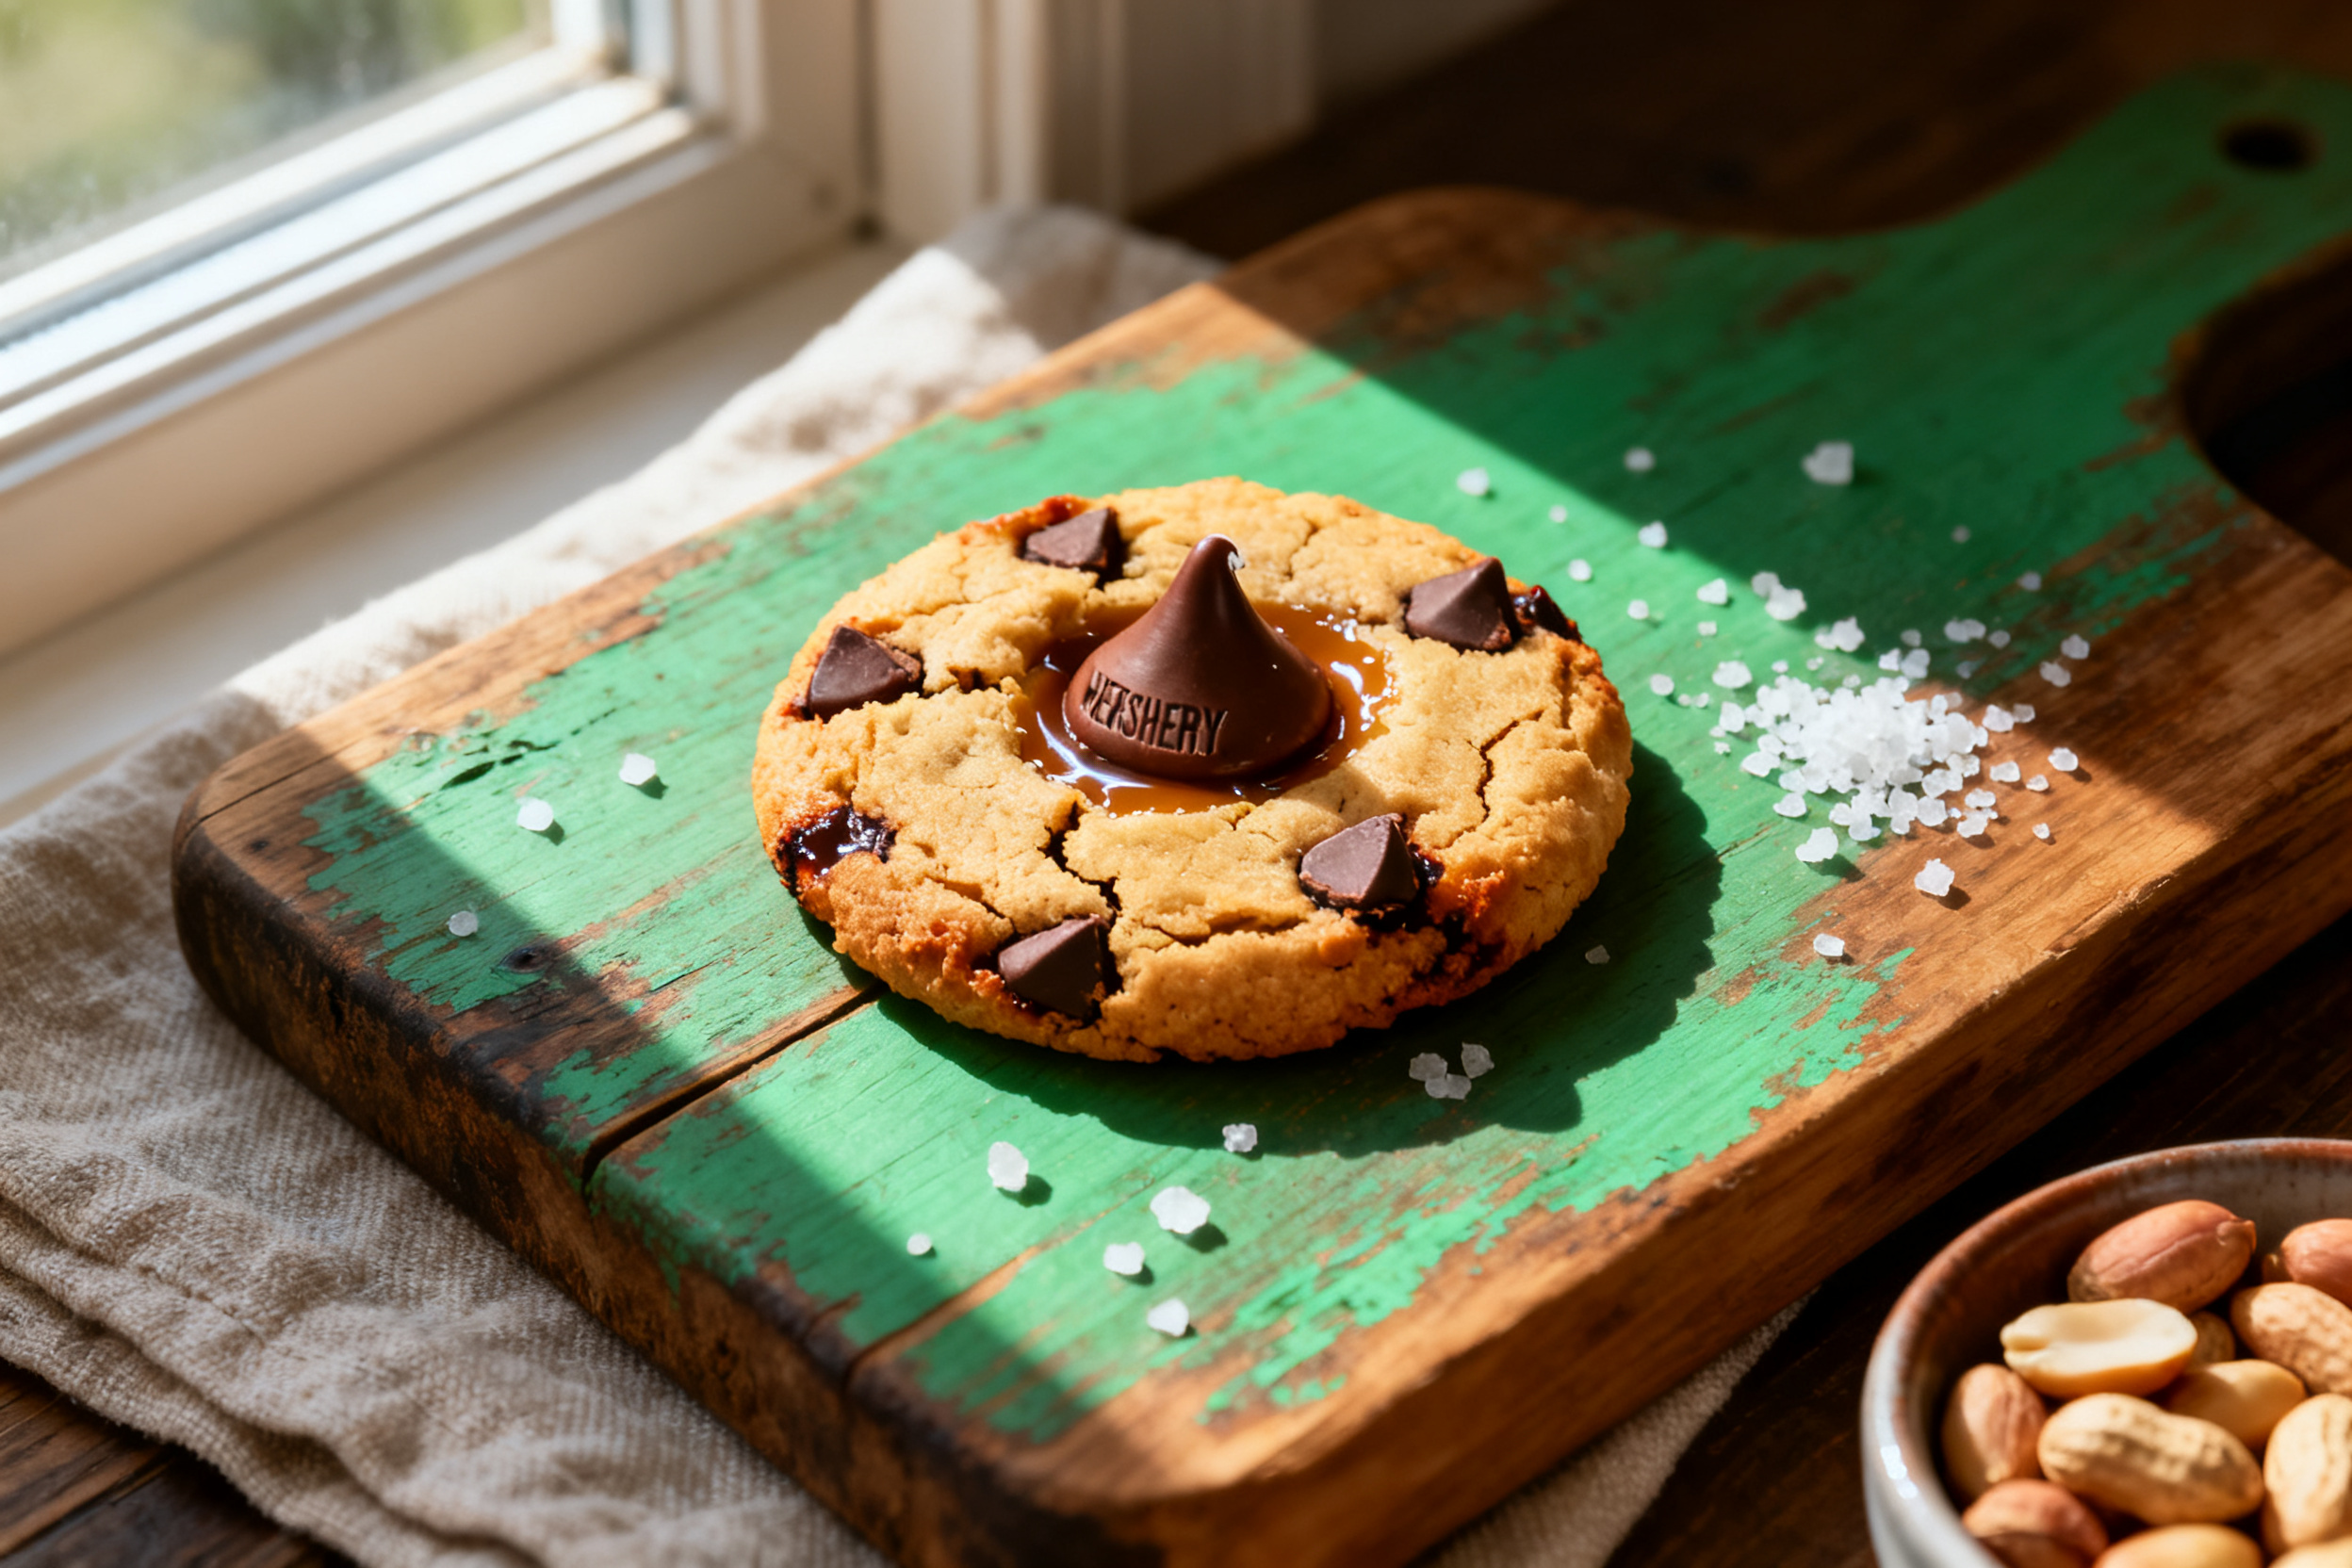
The ratio of peanut butter to butter is key. Too much butter makes them greasy; too little makes them dry. This recipe uses a 1:1 ratio by weight (half a cup each) for a tender, rich crumb.
The chilling step solidifies the fat, so the cookies spread slowly in the oven. That gives them a thick, soft center instead of a flat, crispy disk. The sugar coating also helps them hold their shape while baking.
Frequently Asked Questions (FAQ)
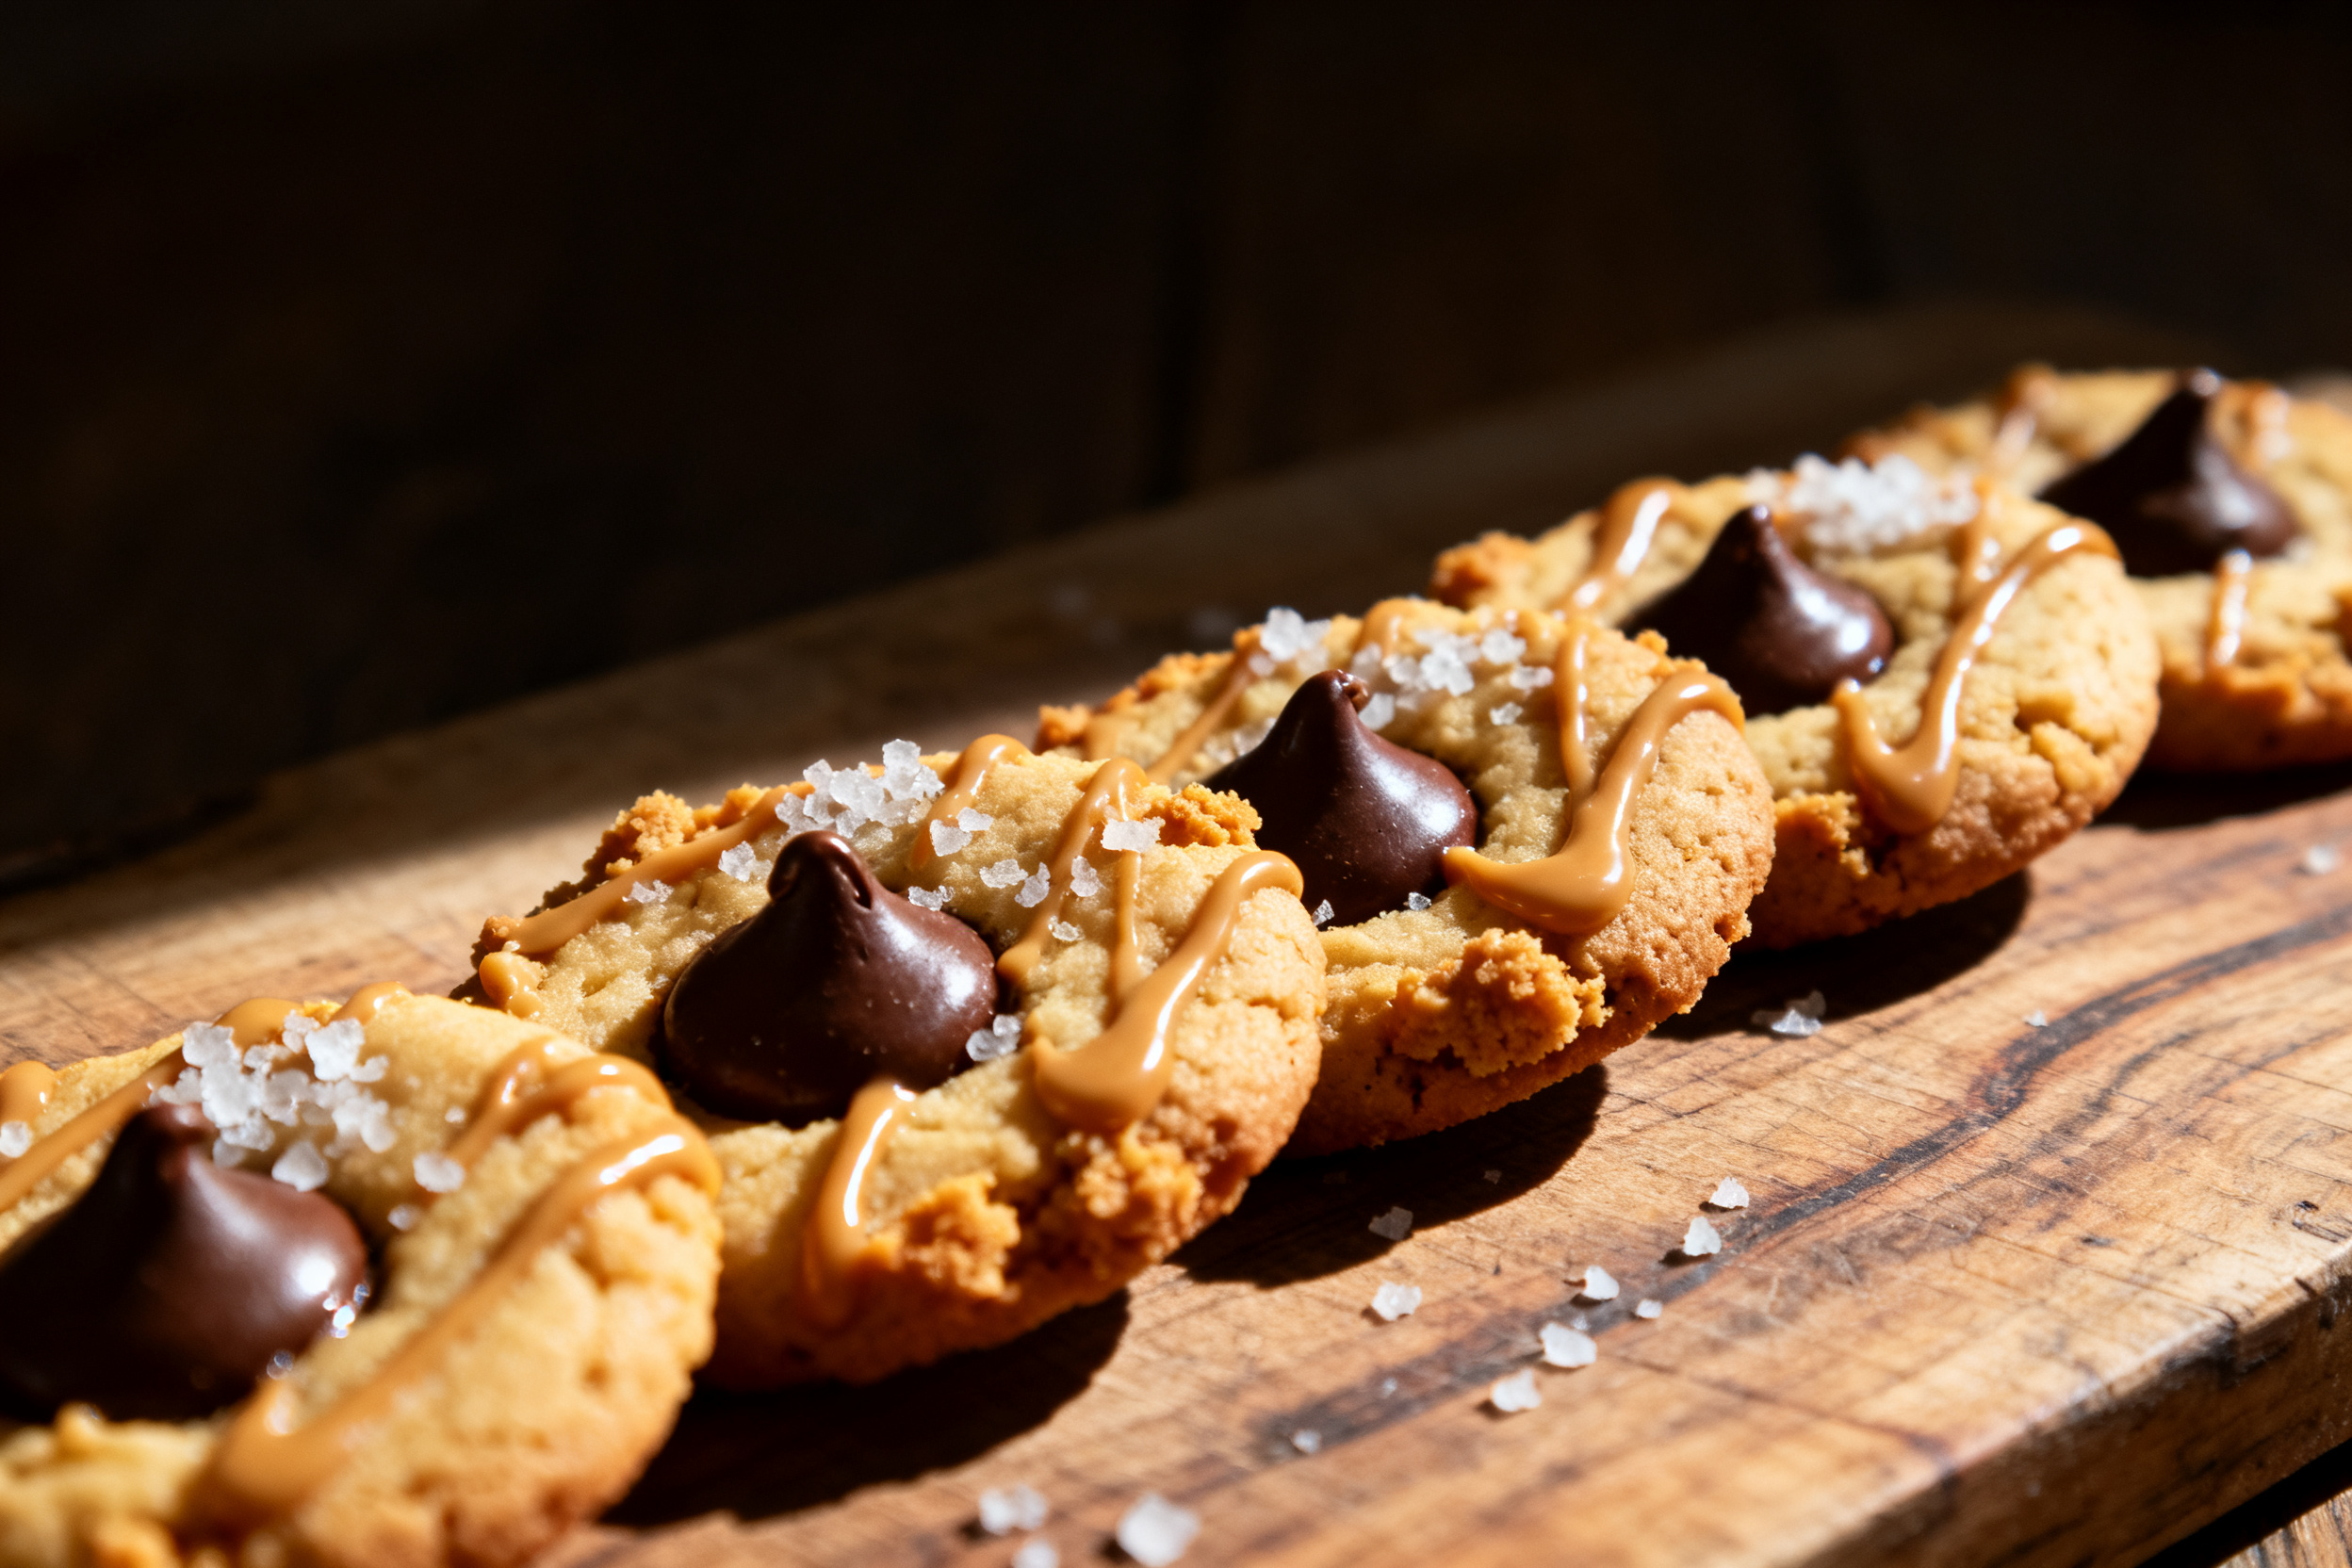
Can I use natural peanut butter? I strongly recommend against it. Natural peanut butter has oil that separates, leading to greasy, crumbly cookies. If you must use it, stir it well and refrigerate the dough for an hour.
Why did my cookies spread too much? Your dough was too warm. Chill it for 30 minutes, and make sure your butter is softened but not melted. Also, check that your baking soda is fresh — old baking soda loses its oomph.
Can I use mini chocolate kisses? Yes, but they’ll be harder to press in without cracking the cookie. Use regular-sized kisses for the classic look, or press a mini kiss into the center right after baking.
How do I keep the kisses from melting completely? Press them in immediately after baking while the cookies are hot but not scorching. If you wait too long, the cookies cool and the kiss won’t stick. If you press too early, the kiss turns into a puddle. Timing is everything.
Can I double the recipe? Absolutely. This recipe scales up perfectly. Just make sure your mixer can handle the volume, or mix by hand in two batches.
Call to action
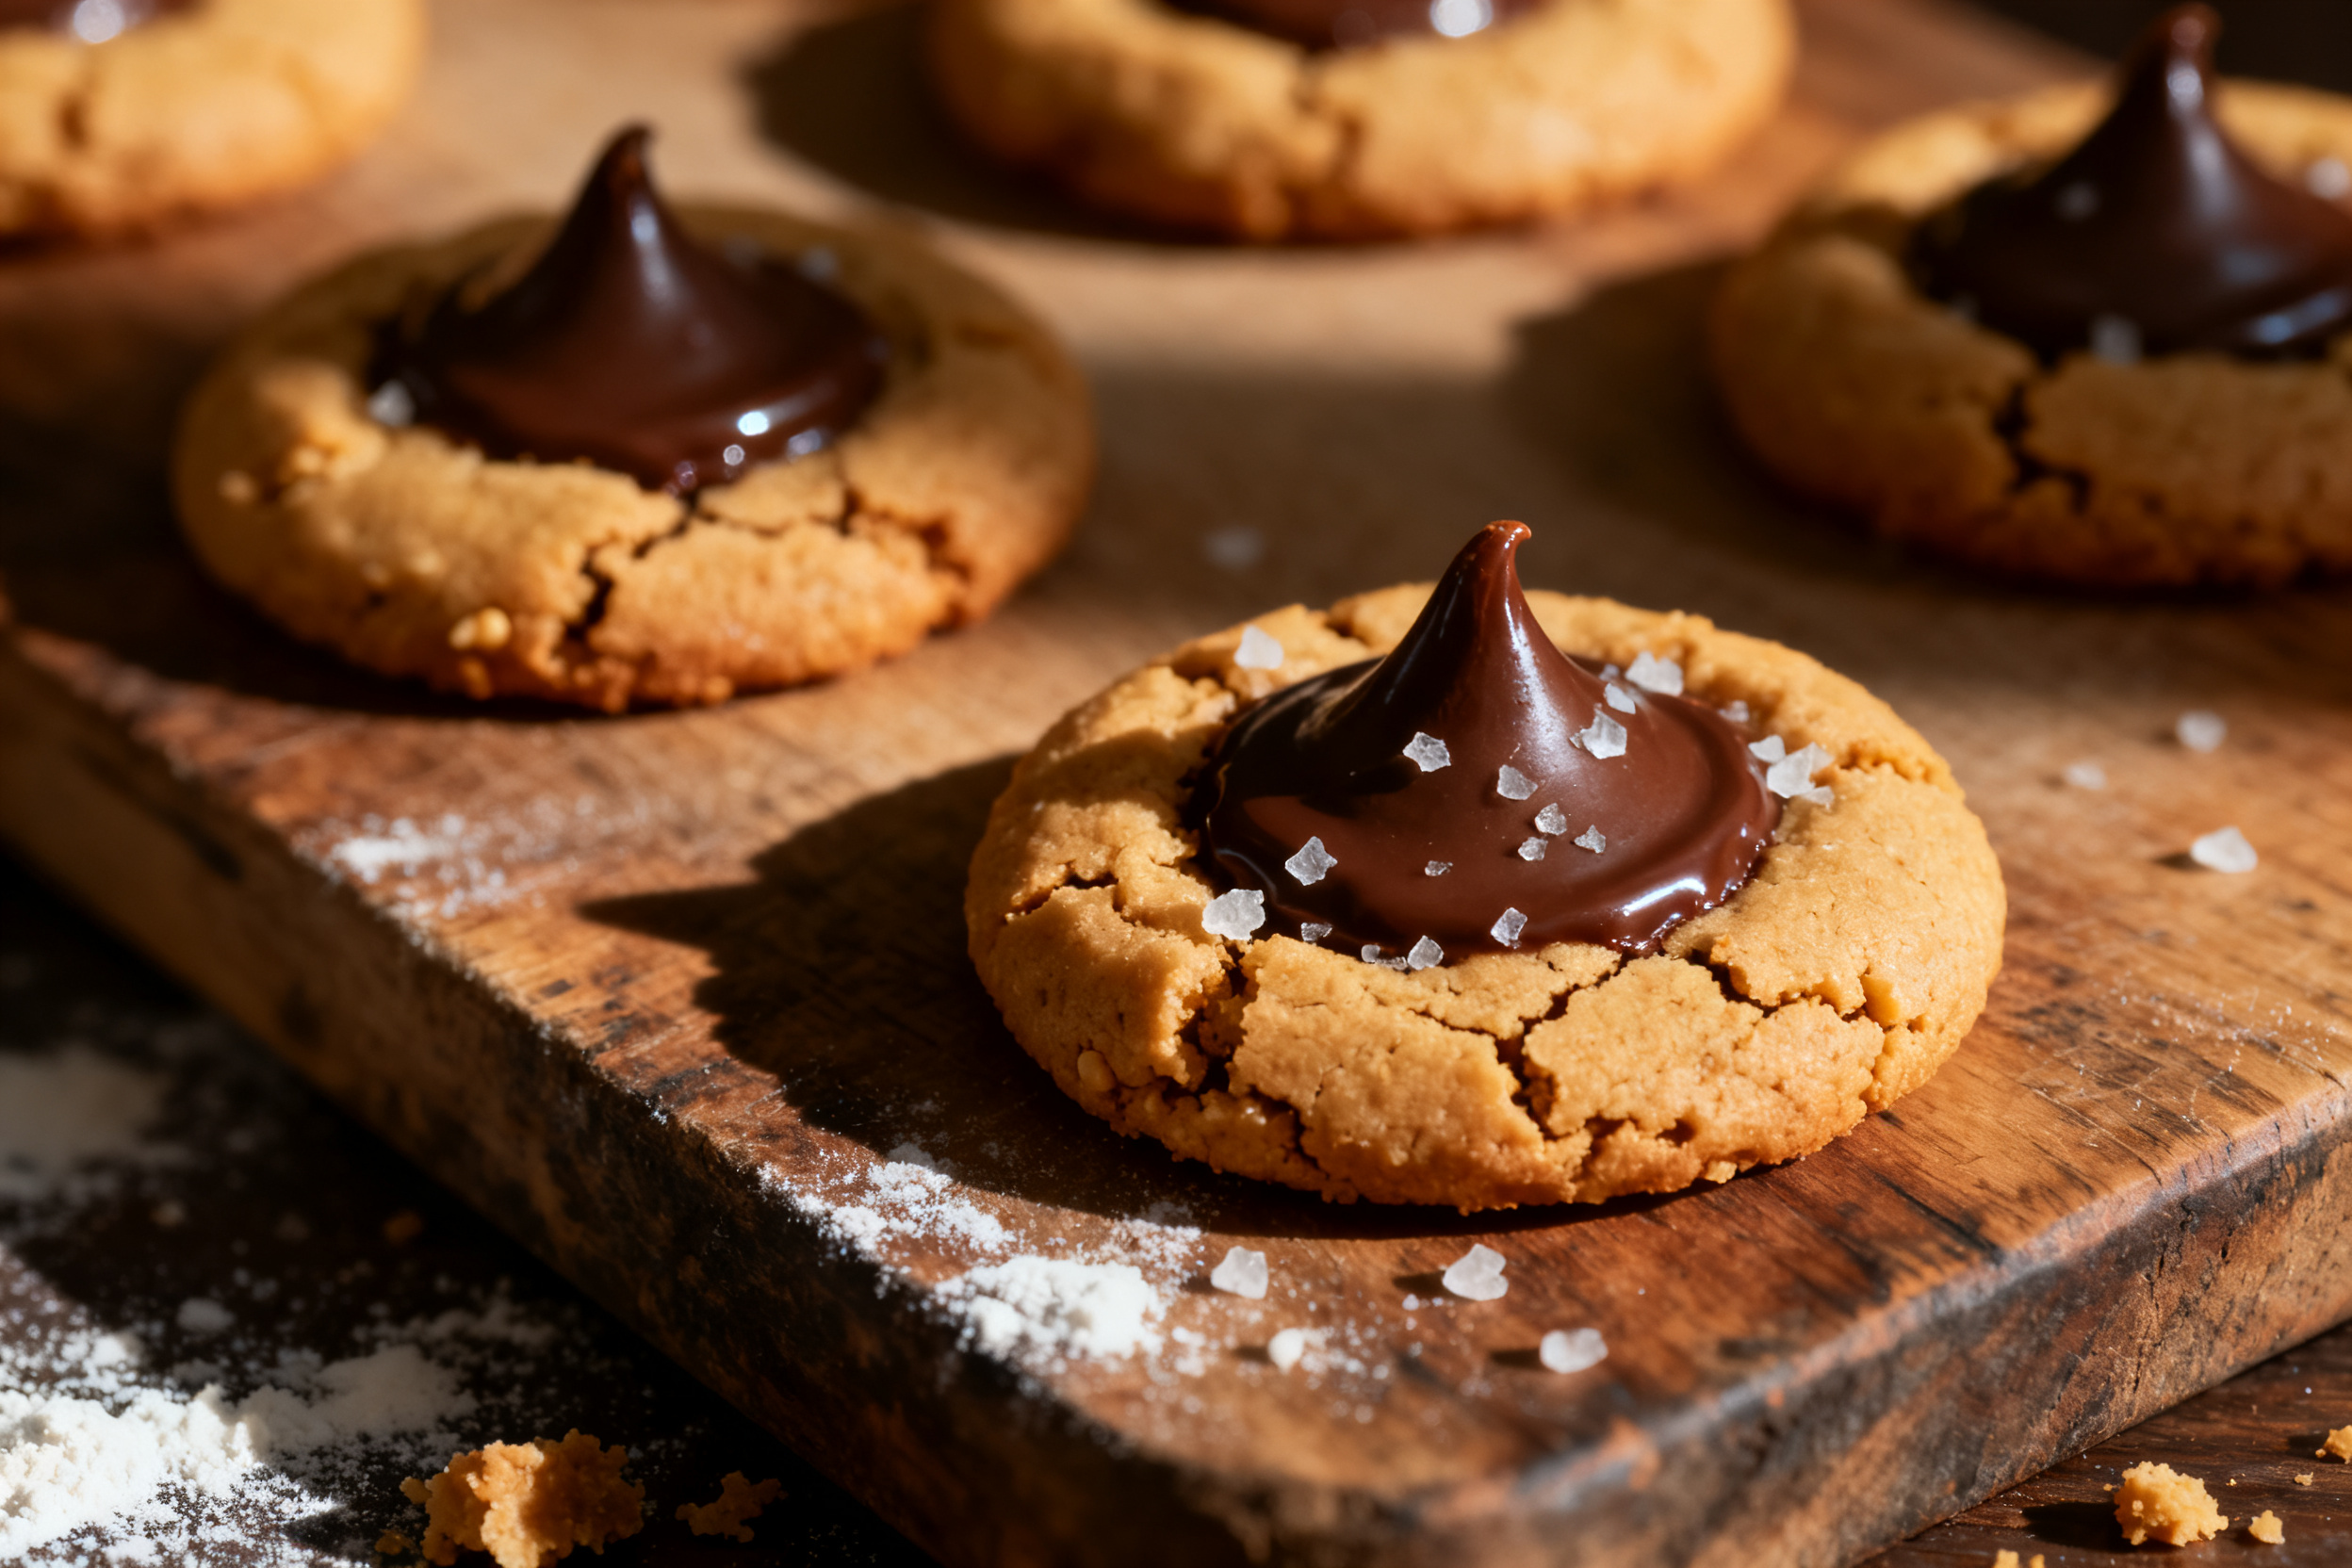
Now it’s your turn to make these cookies and become the family legend. I want to hear how they turned out — did you convert any grandma skeptics?
Drop a comment below and tell me about your cookie-baking adventures. Did you try any of the variations? Did you sneak a few before they cooled? No judgment here.
If you loved this peanut butter kiss cookie recipe, share it with your friends on Pinterest or Facebook. Tag me if you post a photo — I love seeing those perfectly pressed kisses.
And don’t forget to subscribe to the newsletter so you never miss a new recipe. I’ll send you a free e-book just for signing up, plus a joke about a cookie that walked into a bar. (It was a shortbread.)
Happy baking, friend. May your cookies be soft, your kisses shiny, and your grandma proud (even if you secretly outdid her).
See you in the kitchen next week.
Conclusion
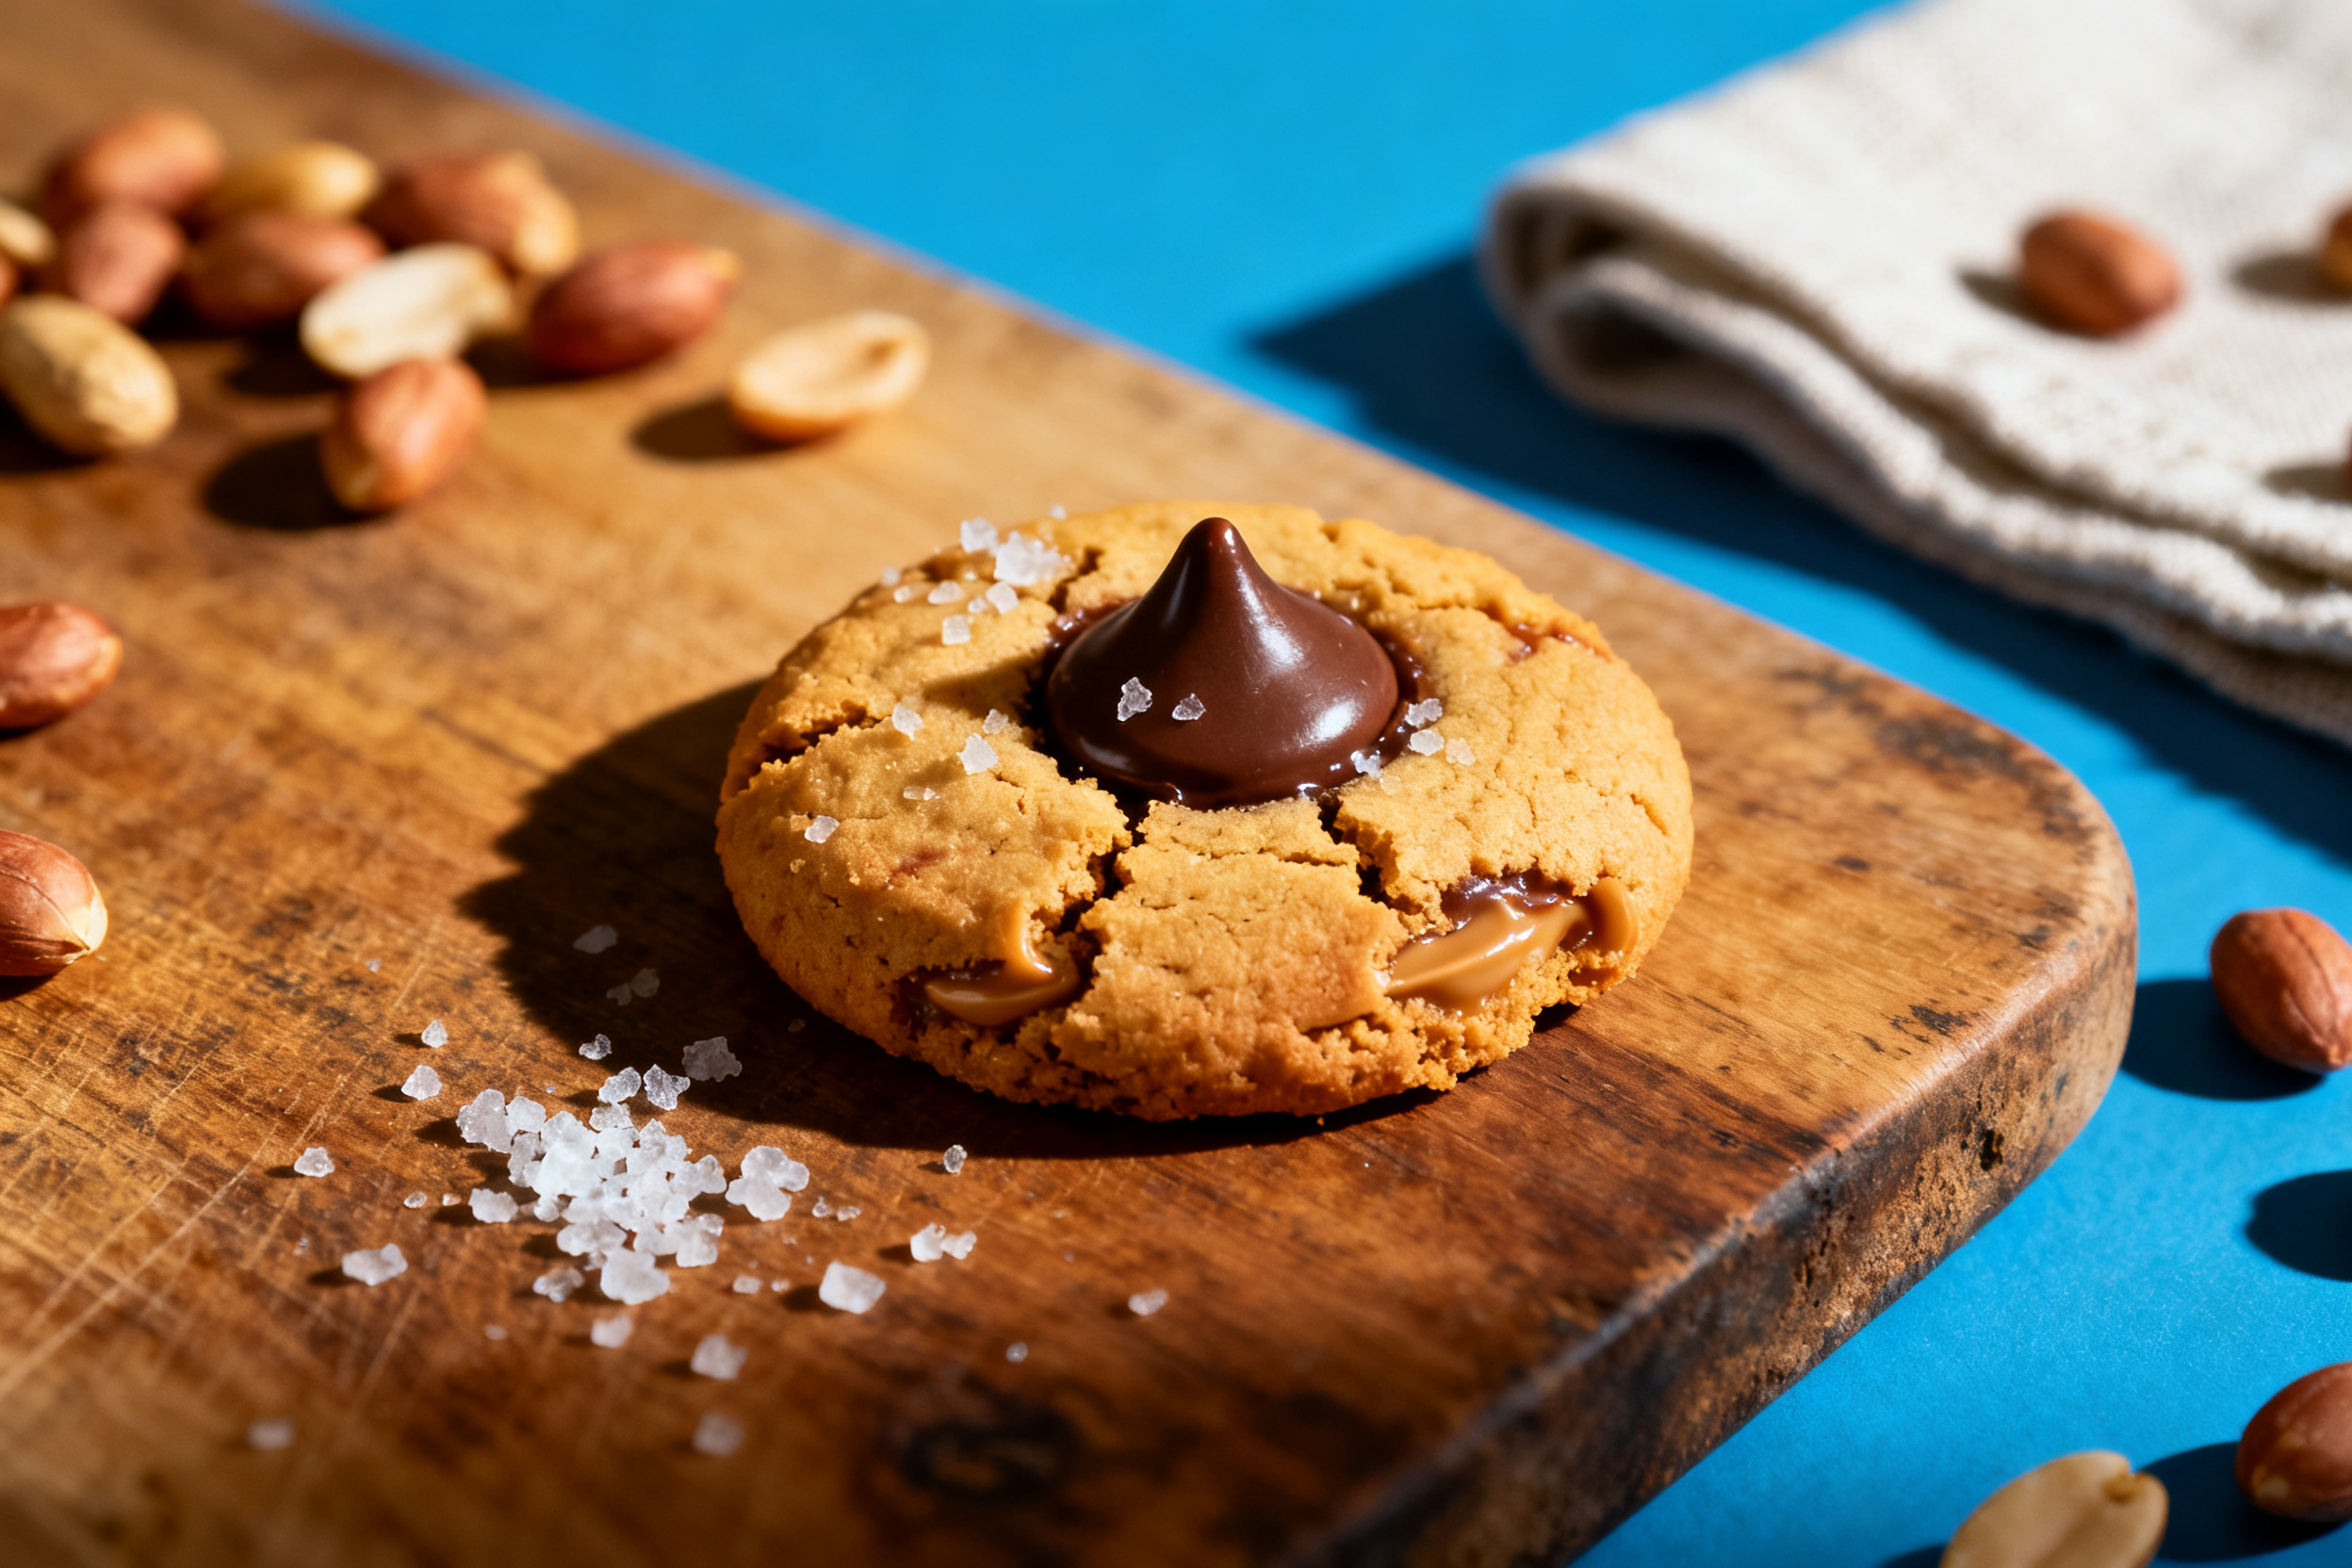
This peanut butter kiss cookie recipe is the one you’ll come back to again and again. It’s simple enough for a Tuesday afternoon, special enough for a holiday cookie tray, and forgiving enough for a beginner baker. The secret is in the technique — chill the dough, don’t overbake, and press the kisses in while they’re hot.
Go ahead, give it a try. Your grandma might be a little jealous, but she’ll get over it when she tastes one. And if she doesn’t? Well, more cookies for you.
Now go bake something amazing. And don’t forget to share your results — I’m rooting for you.
Peanut Butter Kiss Cookies Recipe
Ingredients
- 1/2 cup 1 stick unsalted butter, softened
- 1/2 cup creamy peanut butter like Jif or Skippy
- 1/2 cup granulated sugar
- 1/2 cup packed light brown sugar
- 1 large egg
- 1 teaspoon vanilla extract
- 1 1/2 cups all-purpose flour
- 3/4 teaspoon baking soda
- 1/2 teaspoon salt
- Additional granulated sugar for rolling about 1/4 cup
- 36 milk chocolate kisses unwrapped
Instructions
- In a large bowl, beat the softened butter and peanut butter together with an electric mixer until smooth and creamy, about 1 minute.
- Add the granulated sugar and brown sugar, and beat until light and fluffy, about 2 minutes.
- Beat in the egg and vanilla extract until combined.
- In a separate bowl, whisk together the flour, baking soda, and salt.
- Gradually add the dry ingredients to the wet mixture, mixing on low speed until just combined. Do not overmix.
- Cover the dough with plastic wrap and refrigerate for at least 30 minutes (or up to 3 days).
- Preheat the oven to 375°F (190°C). Line two baking sheets with parchment paper.
- Place the additional granulated sugar in a small bowl. Roll the chilled dough into 1-inch balls (about 1 tablespoon each). Roll each ball in the sugar to coat evenly.
- Place the sugar-coated dough balls 2 inches apart on the prepared baking sheets.
- Bake for 8–10 minutes, until the cookies are puffed and lightly golden on the edges but still soft in the center. Do not overbake.
- Remove the baking sheet from the oven. Immediately press a chocolate kiss gently into the center of each cookie. The cookie will crack slightly — that’s fine.
- Let the cookies cool on the baking sheet for 5 minutes, then transfer to a wire rack to cool completely. The kisses will set as they cool.
Notes
2. Peanut butter matters: Use commercial creamy peanut butter (like Jif or Skippy).
3. Natural peanut butter with separated oil will cause the cookies to be greasy and crumbly.
4. Storage: Store in an airtight container at room temperature for up to 5 days. Add a slice of bread to keep them soft.
5. Freezing: Freeze unbaked dough balls on a baking sheet, then transfer to a freezer bag.
6. Bake from frozen, adding 2–3 minutes.
7. Baked cookies also freeze well for up to 3 months.
8. Substitutions: For a vegan version, use a flax egg, vegan butter, and vegan chocolate kisses.
9. For gluten-free, swap flour with a 1:1 gluten-free baking blend.
10. Kisses tip: If the kisses don’t stick after pressing, return the cookies to the oven for 30 seconds to soften the top.
11. Chill the dough for at least 30 minutes.
12. This prevents the cookies from spreading too thin and keeps them thick and soft.
13. If you skip it, you’ll get flat, crispy cookies — not the goal here.
14. Roll the dough balls in granulated sugar before baking.
15. That sparkly coating gives a slight crunch and contrasts with the soft interior.
16. Don’t skip it, or the cookies look sad and pale.