
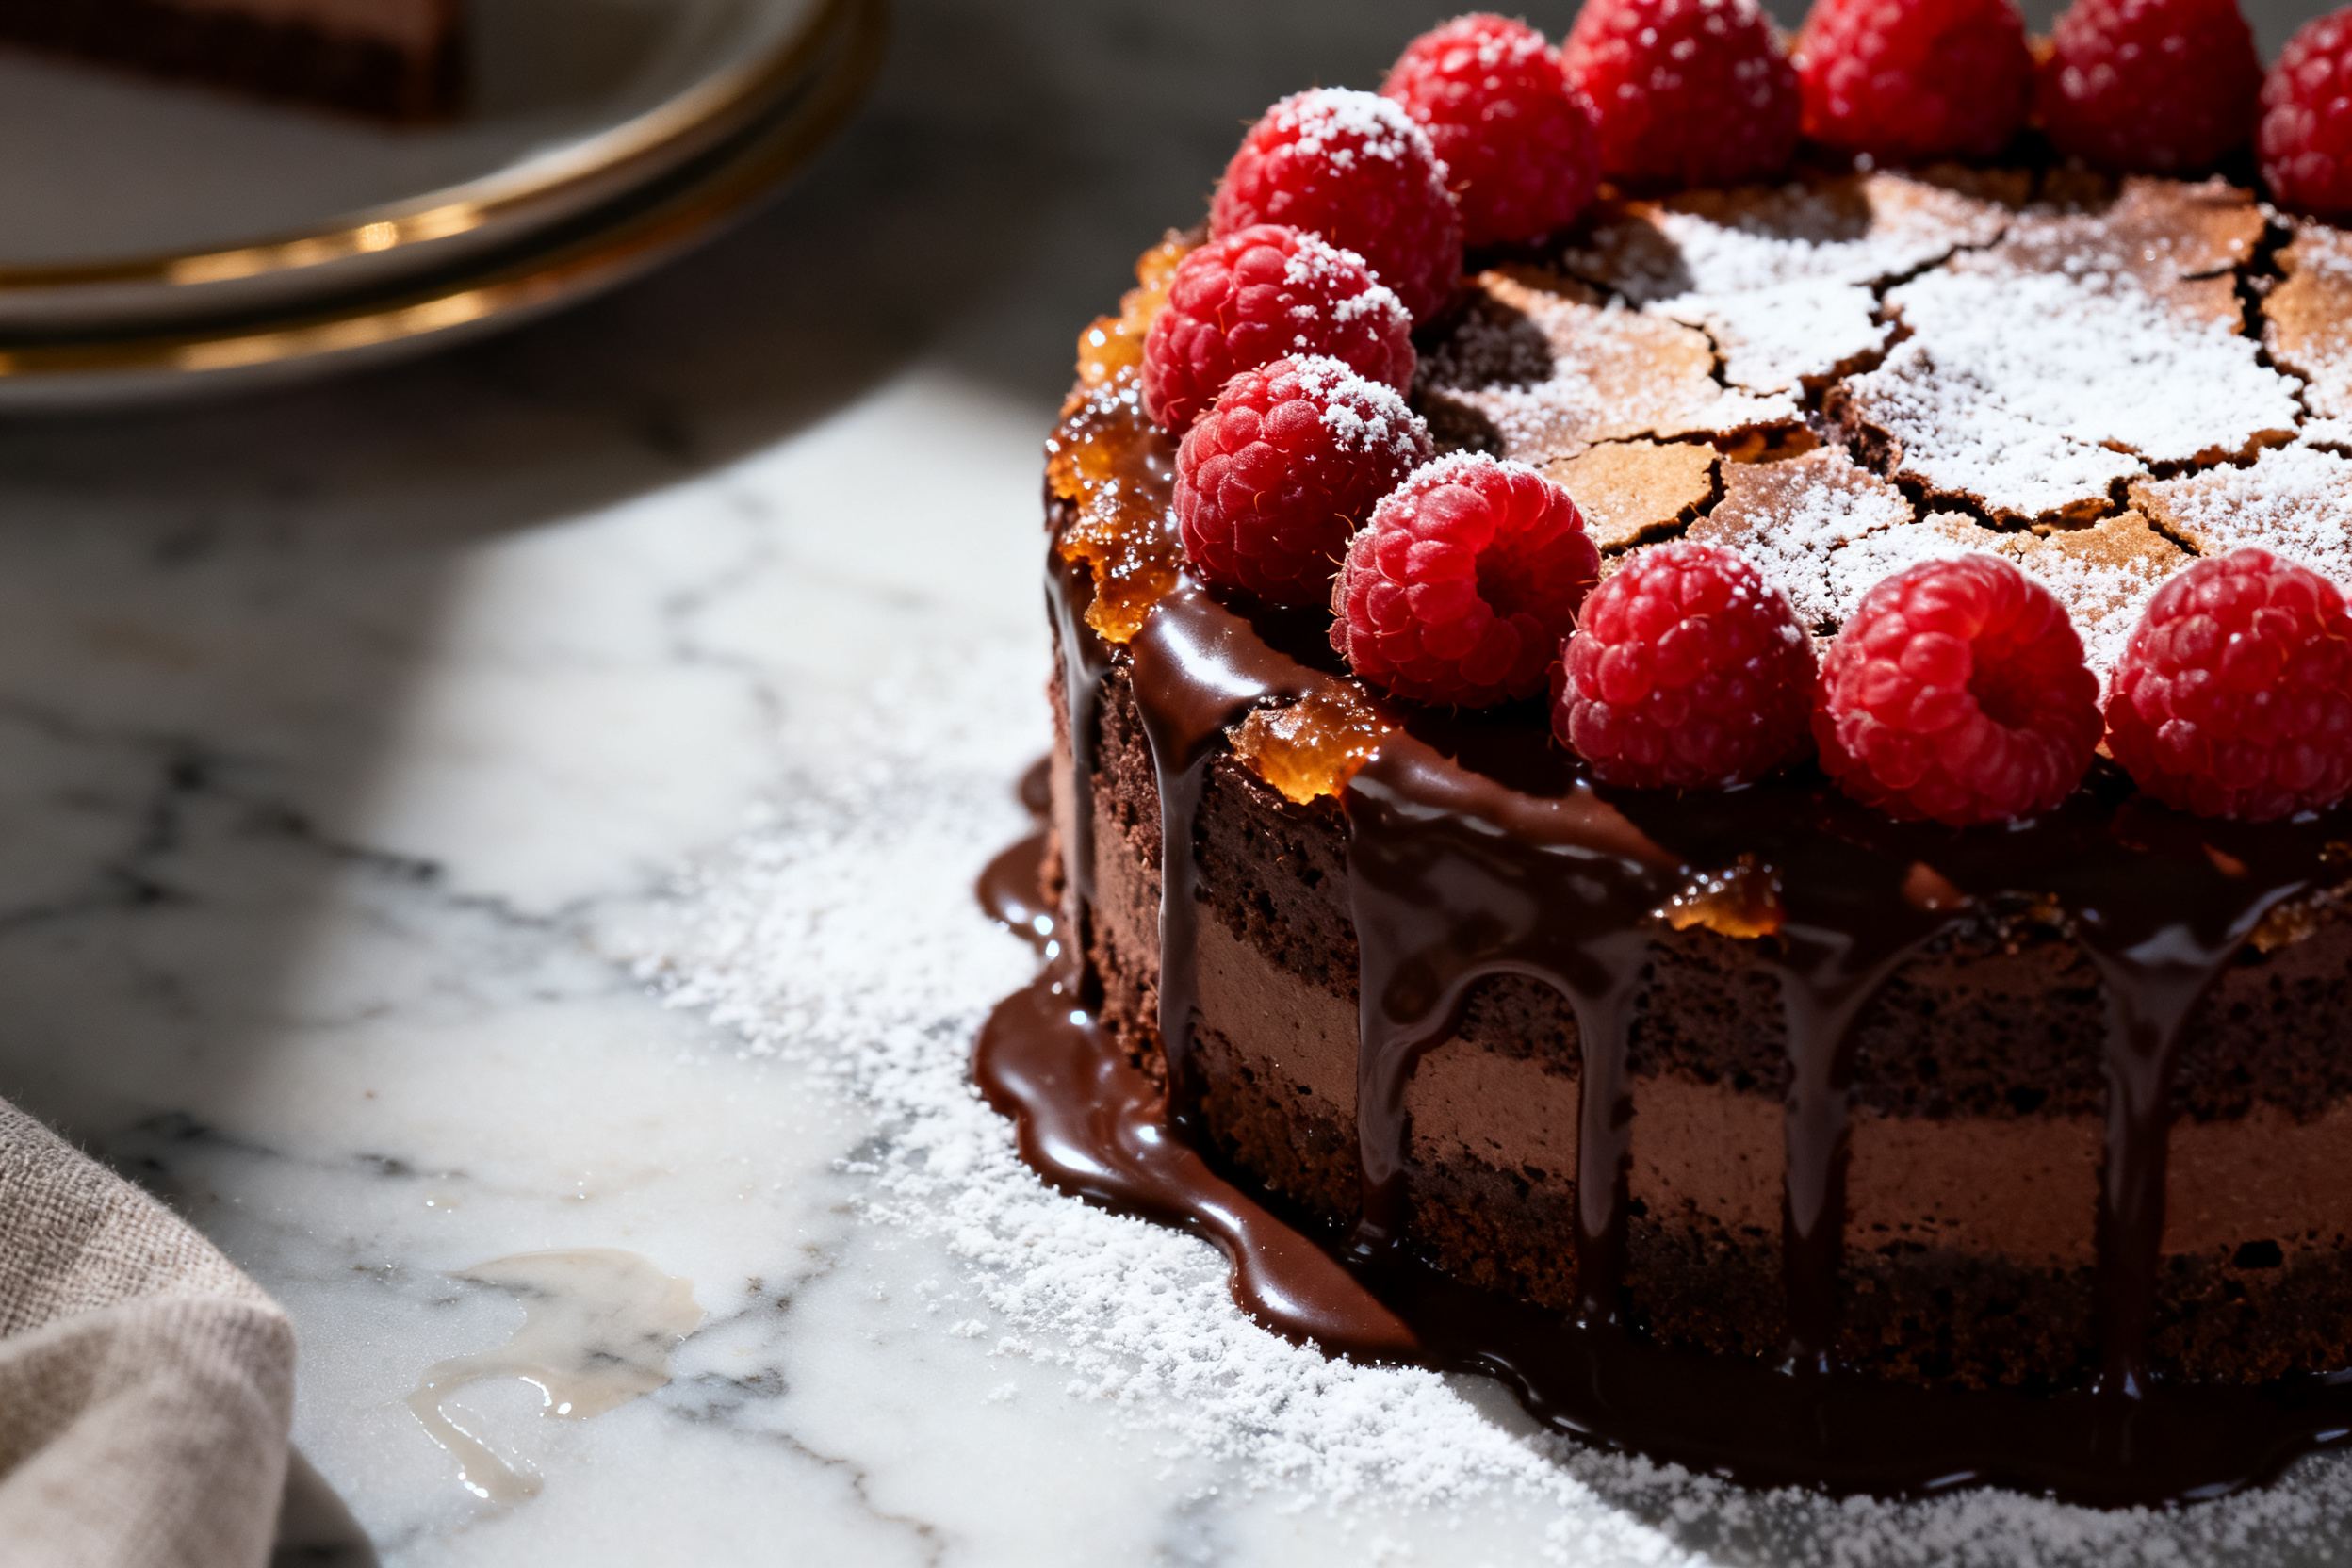

You know those days when only a slice of pure, chocolatey heaven will do? I’ve got you covered. This cake is my go‑to for birthdays, bad days, and “just because” celebrations. It’s rich, fudgy, and surprisingly simple to pull off.
No fancy techniques here—just real ingredients and a little patience. Trust me, your kitchen will smell like a high‑end bakery.
Let’s bake something unforgettable, shall we?
1. Allergens
This cake contains dairy (butter, milk, cream) and gluten (all‑purpose flour). It also has eggs and soy lecithin from the chocolate chips.
If you’re baking for someone with nut allergies, check your chocolate—some brands process on shared equipment. I usually go with a certified nut‑free brand.
For a dairy‑free version, swap the butter for vegan butter and use oat milk. The texture will still be dreamy.
Egg‑free? Try a flax egg (1 tbsp ground flax + 3 tbsp water per egg) and an extra ¼ cup of milk. It works, but the cake will be slightly denser.
2. Ingredient notes & substitutions
Use good‑quality cocoa powder—it makes or breaks the chocolate flavor. I prefer Dutch‑processed for a deeper, smoother taste.
Butter should be unsalted so you control the salt. If you only have salted, cut the added salt in half.
3. Pro tips
Room temperature ingredients are not optional. Cold eggs or butter can make the batter curdle and the cake turn out tough.
Don’t overmix the flour. Once you add it, stir just until you see no white streaks. Overmixing develops gluten and gives you a rubbery crumb.
Line your cake pans with parchment paper rounds. I learned this the hard way after a stuck cake ended up in the trash.
Use a kitchen scale for the flour if you can. A cup of flour can vary by 20 grams depending on how you scoop it.
Let the cake cool completely before frosting. Warm cake and cold frosting = a melted mess. Trust me, I’ve been there.
4. Storage & make‑ahead
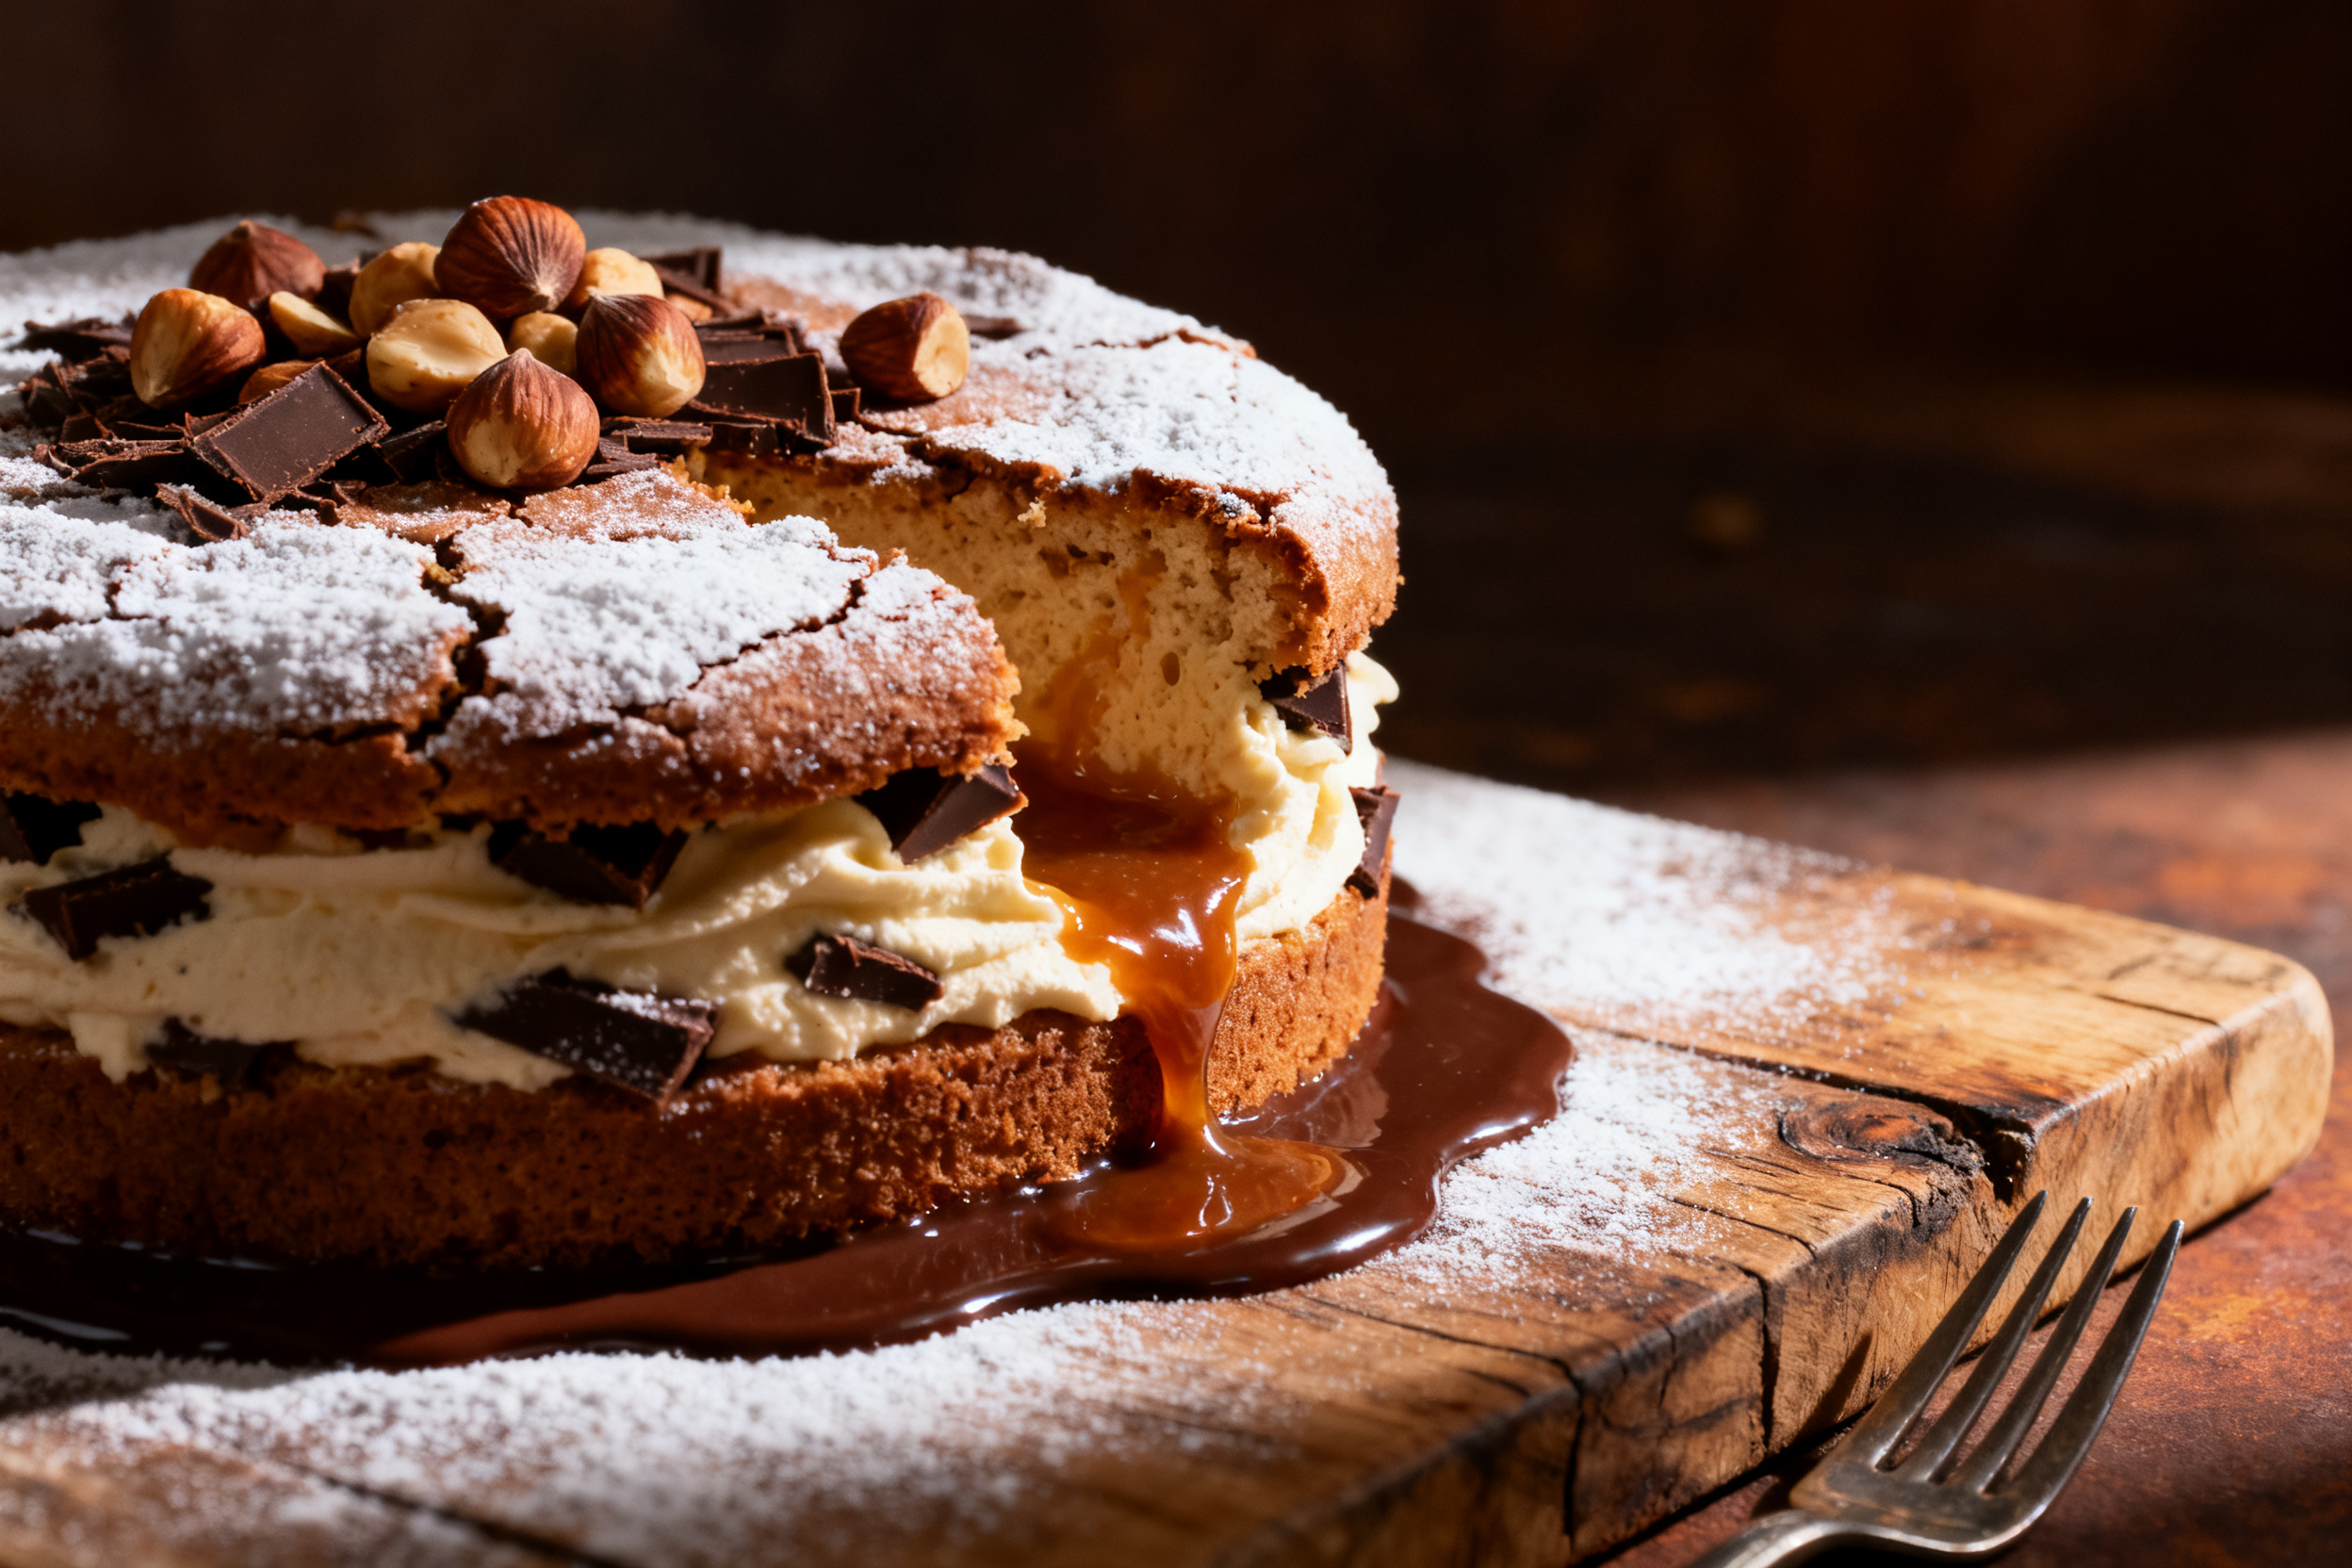
This cake stays moist at room temperature for up to 3 days. Just cover it with a cake dome or wrap it tightly in plastic wrap.
You can also refrigerate it for up to a week. Let it come to room temperature before serving—it tastes way better.
Freeze the unfrosted layers for up to 3 months. Wrap each layer in plastic wrap, then foil. Thaw overnight in the fridge.
Make the frosting ahead of time too. Store it in an airtight container in the fridge for up to 5 days. Let it soften at room temp and re‑whip before using.
If you’re short on time, bake the cake layers a day ahead and frost the next day. The layers actually get more tender overnight.
Frosted cake can be frozen for up to 2 months. Place it on a baking sheet in the freezer until the frosting hardens, then wrap it well.
5. Serving suggestions
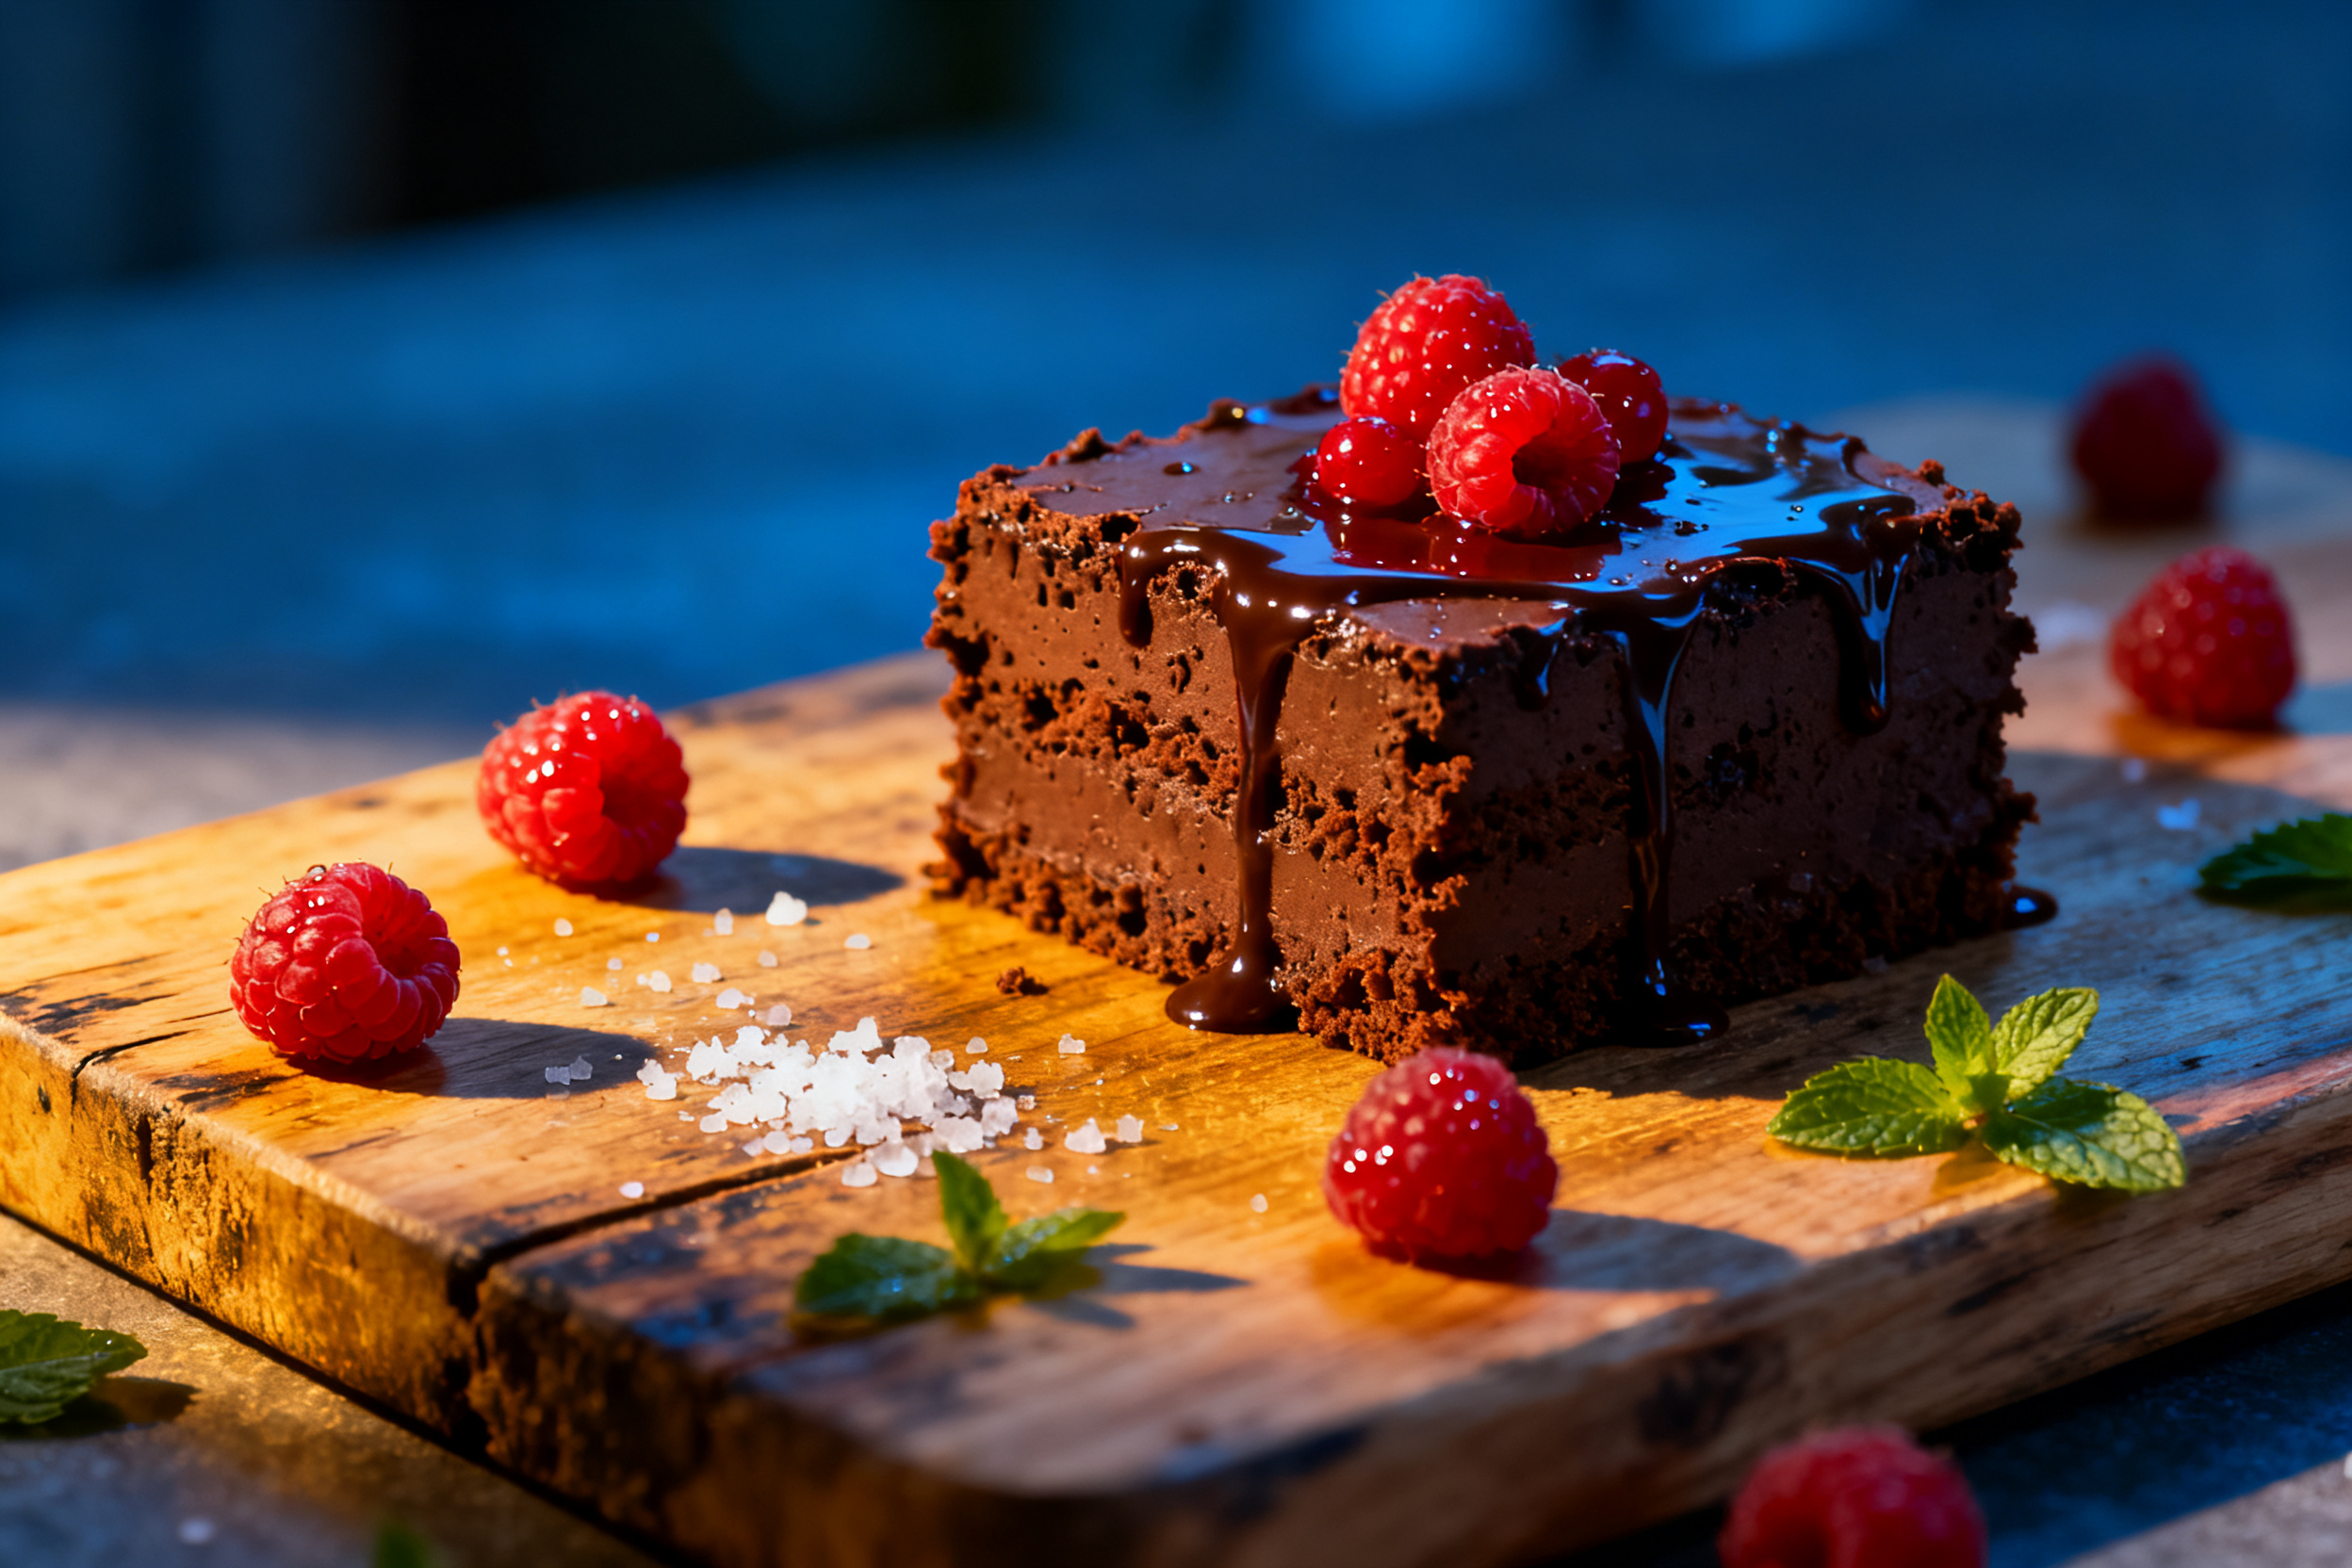
Serve this cake with a big scoop of vanilla ice cream or a dollop of whipped cream. The contrast of cold and warm is pure magic.
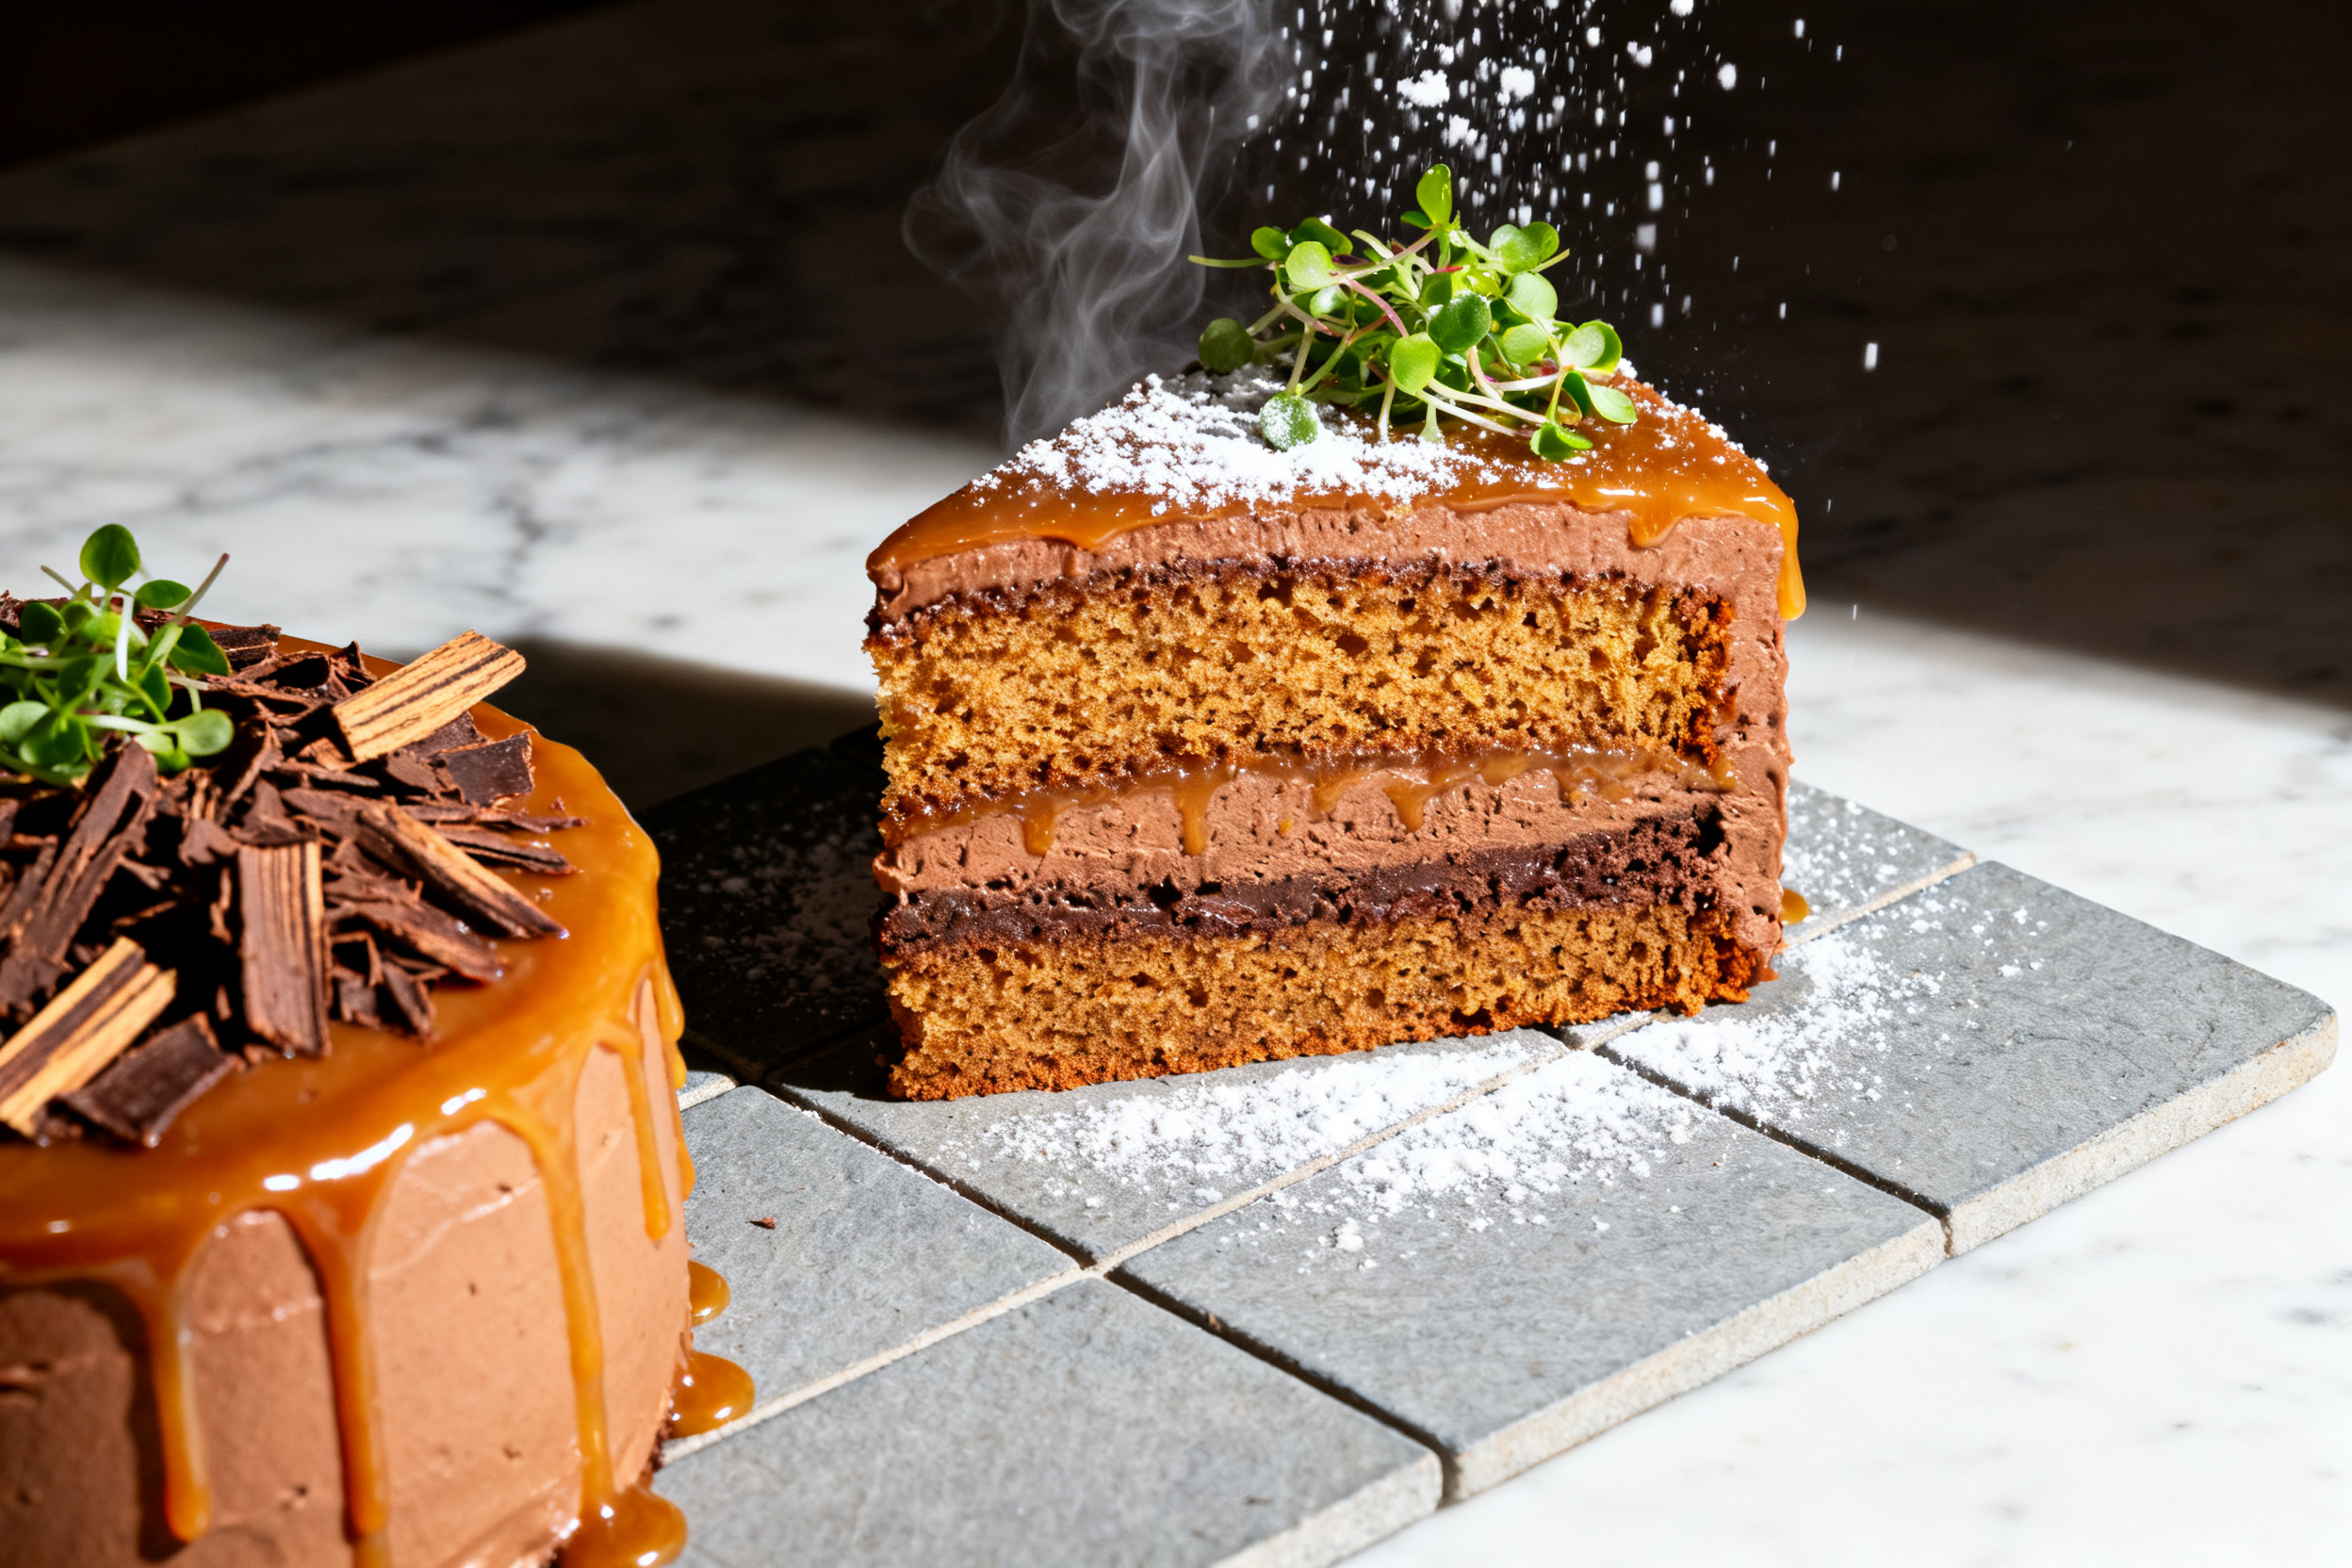
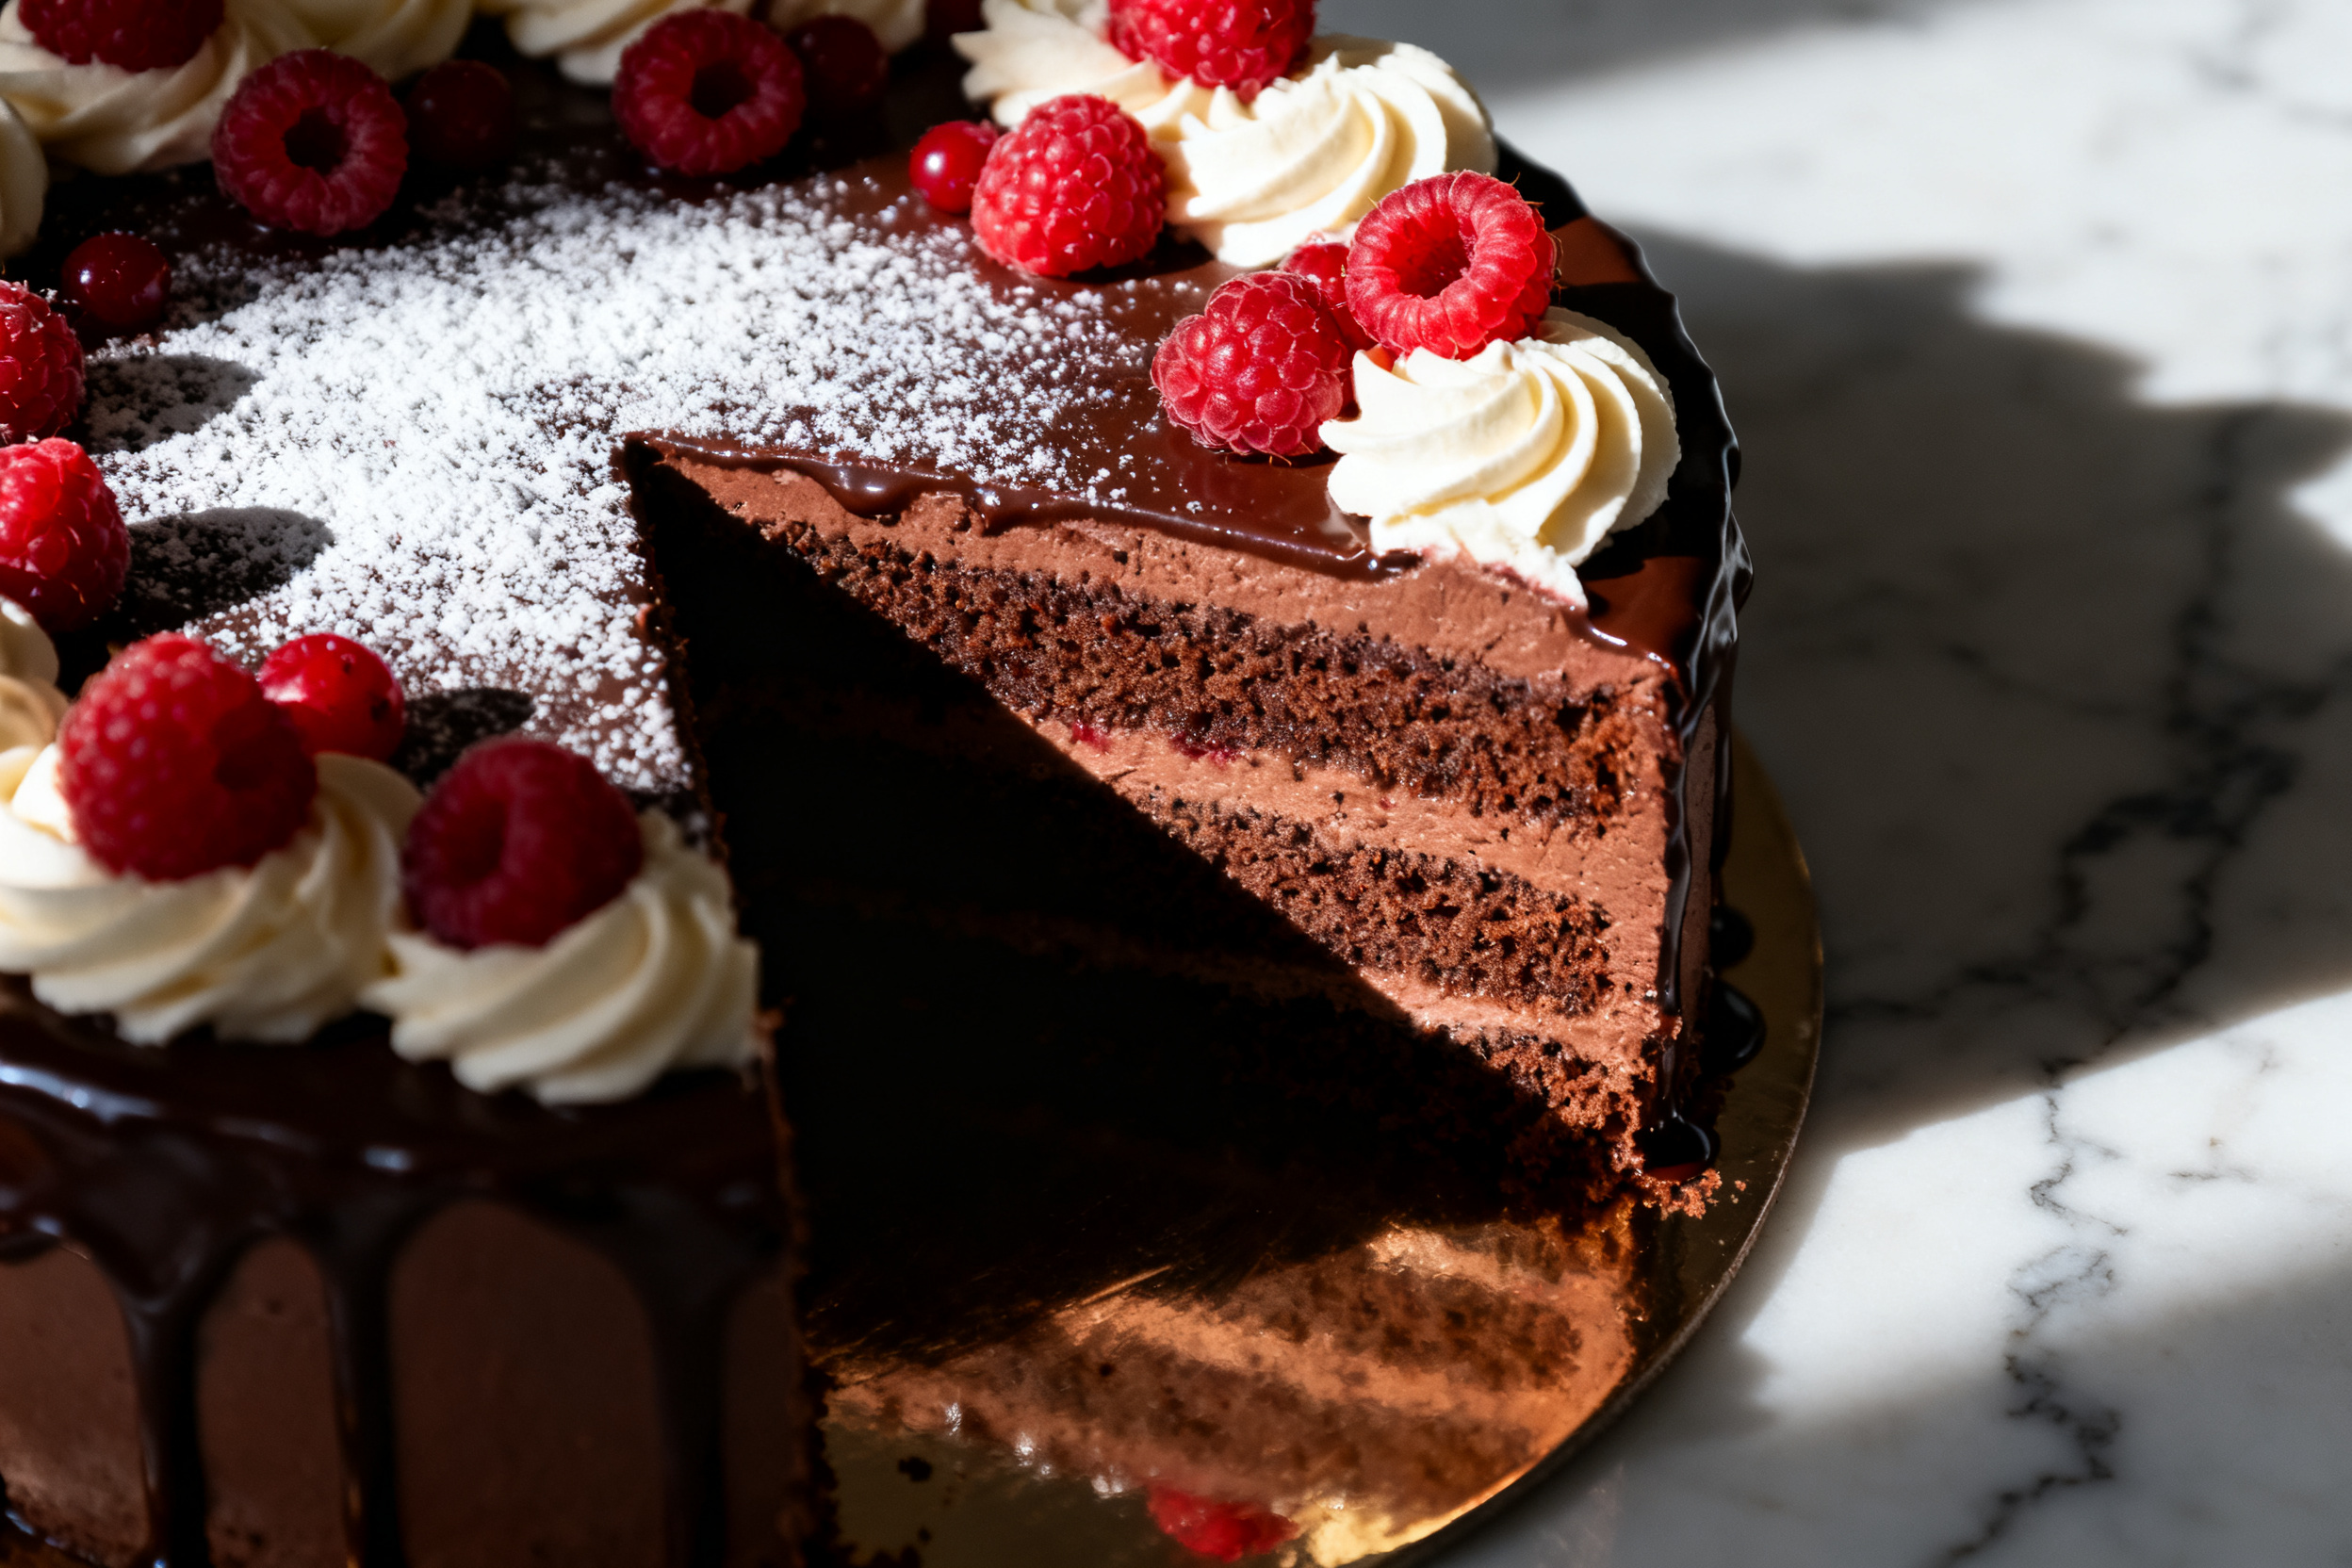
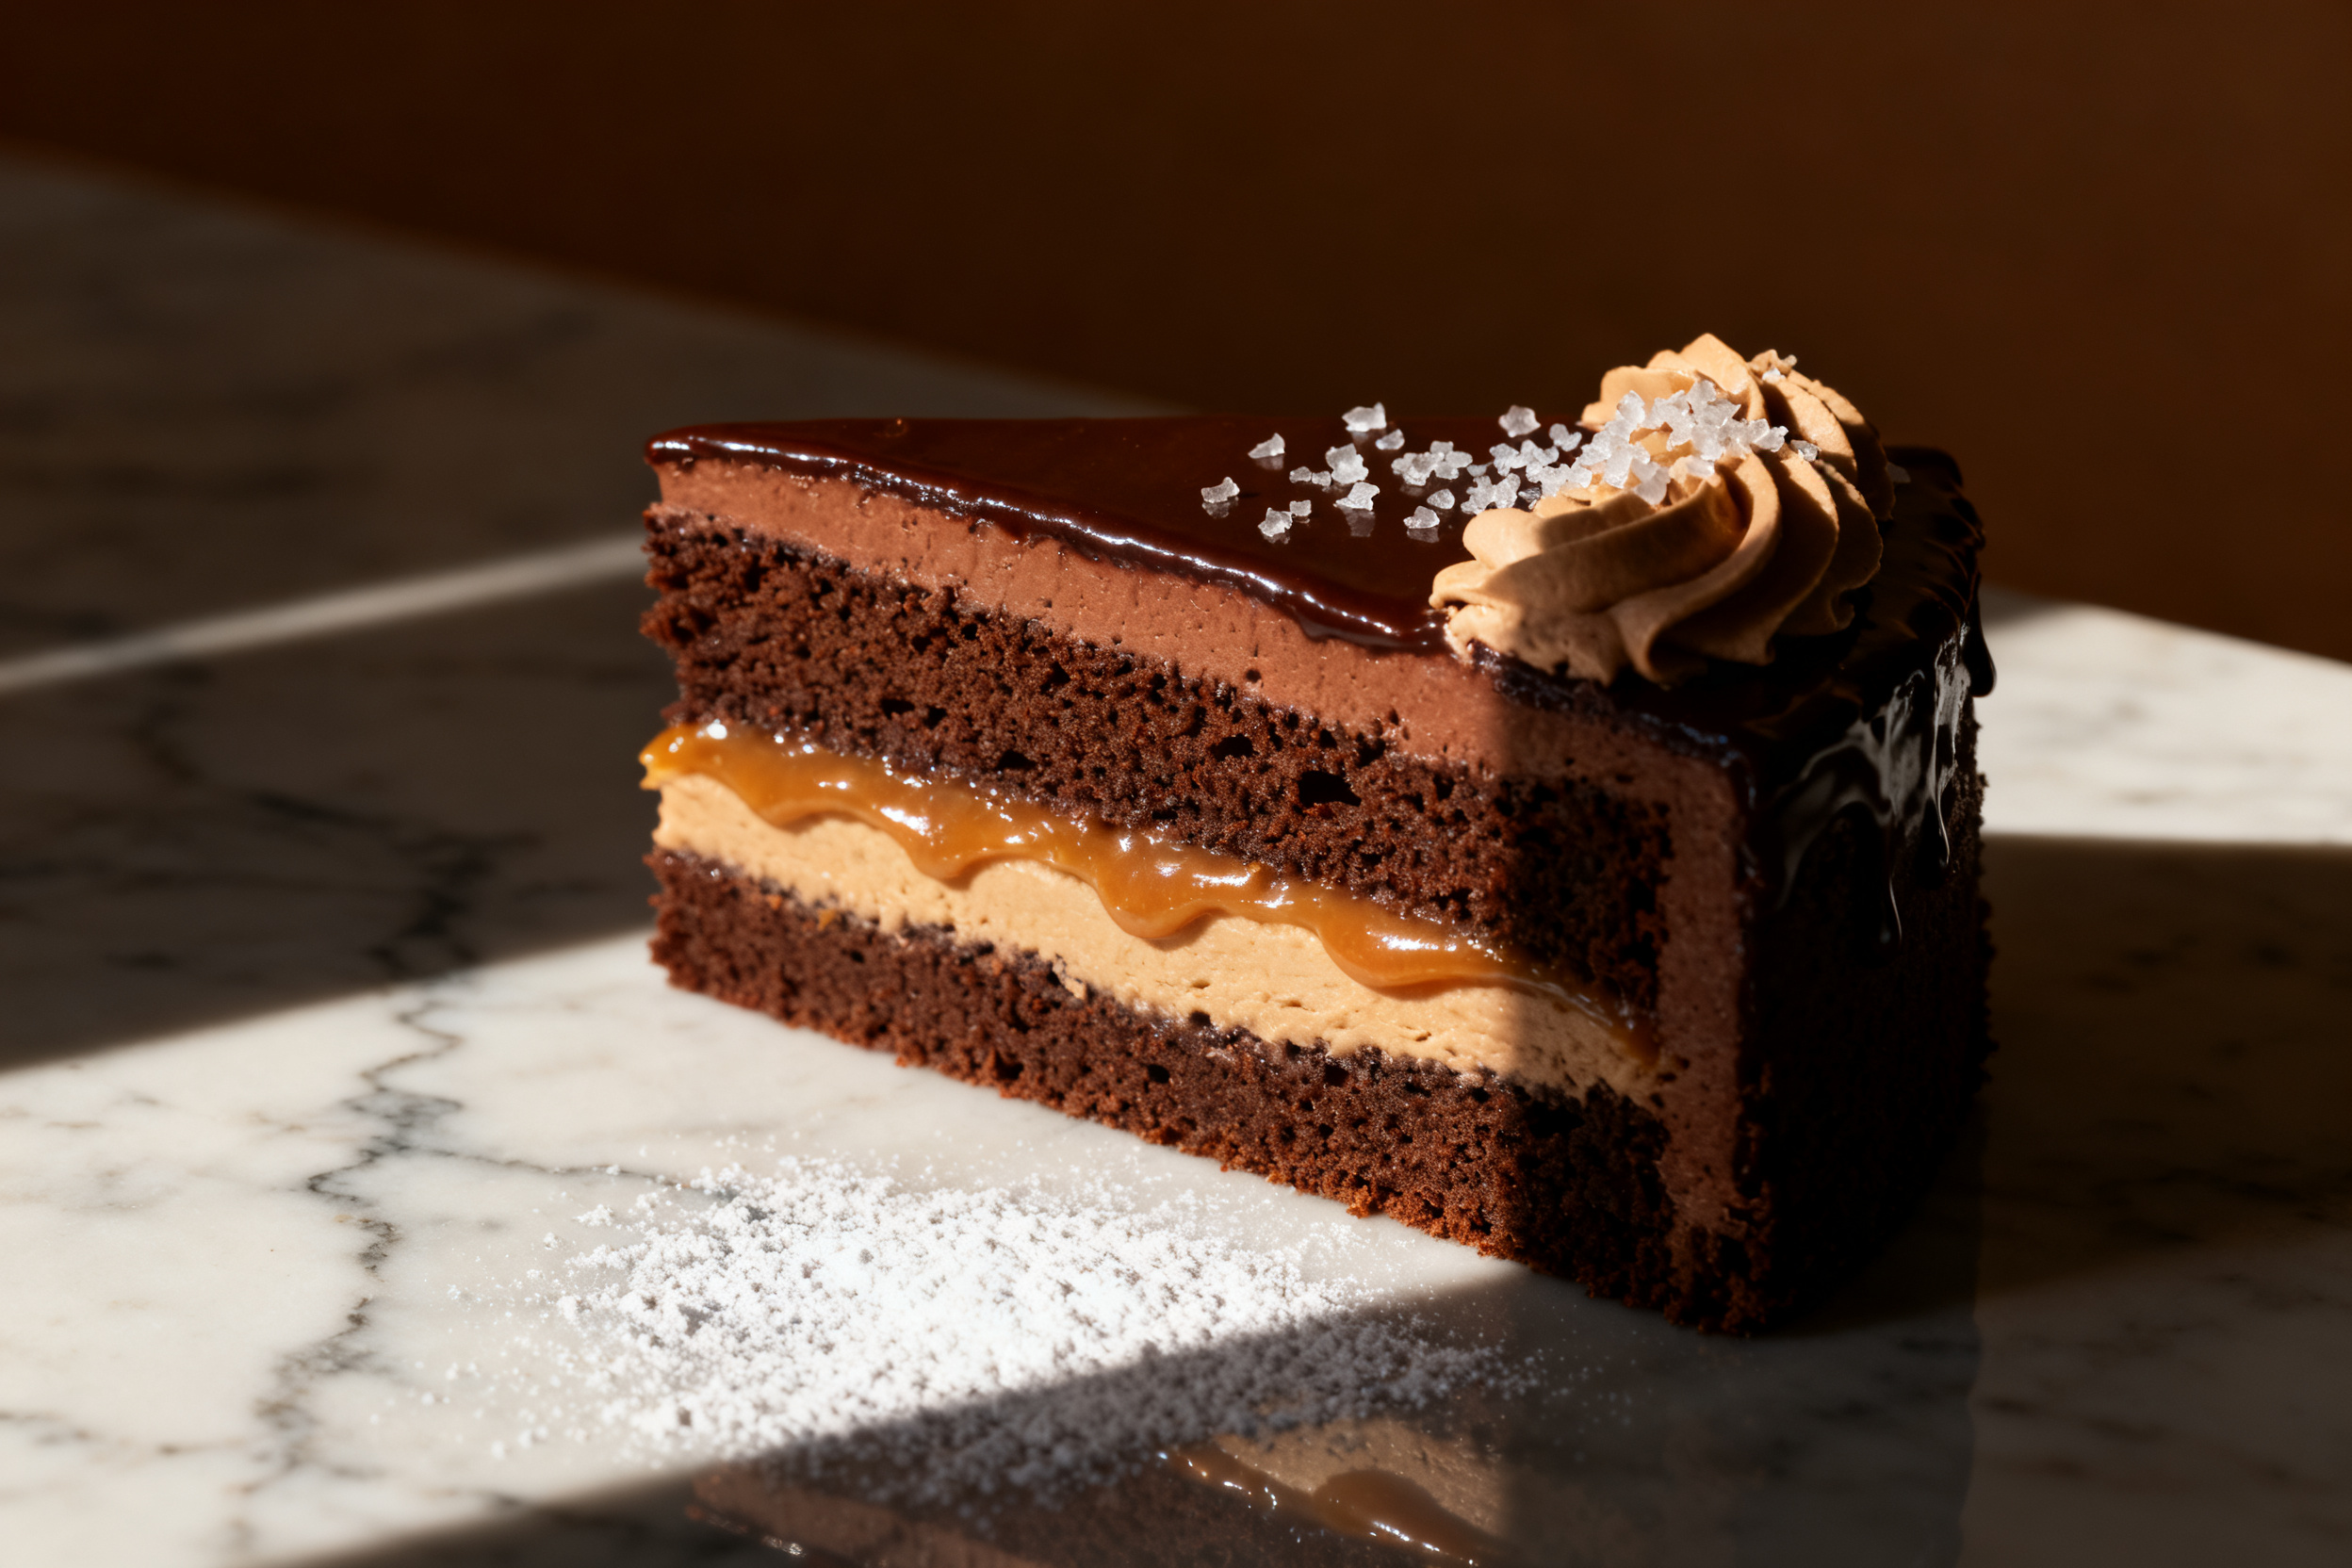
For a fancier presentation, add fresh raspberries or a drizzle of caramel sauce. It’s a showstopper.
Pair it with a strong cup of coffee or a cold glass of milk. IMO, milk is the classic choice—it cuts through the richness perfectly.
6. Use your leftovers
Stale cake makes amazing cake pops. Crumble it up, mix with a little frosting, roll into balls, and dip in melted chocolate. Nobody will know it’s leftovers.
7. Common mistakes & how to fix them
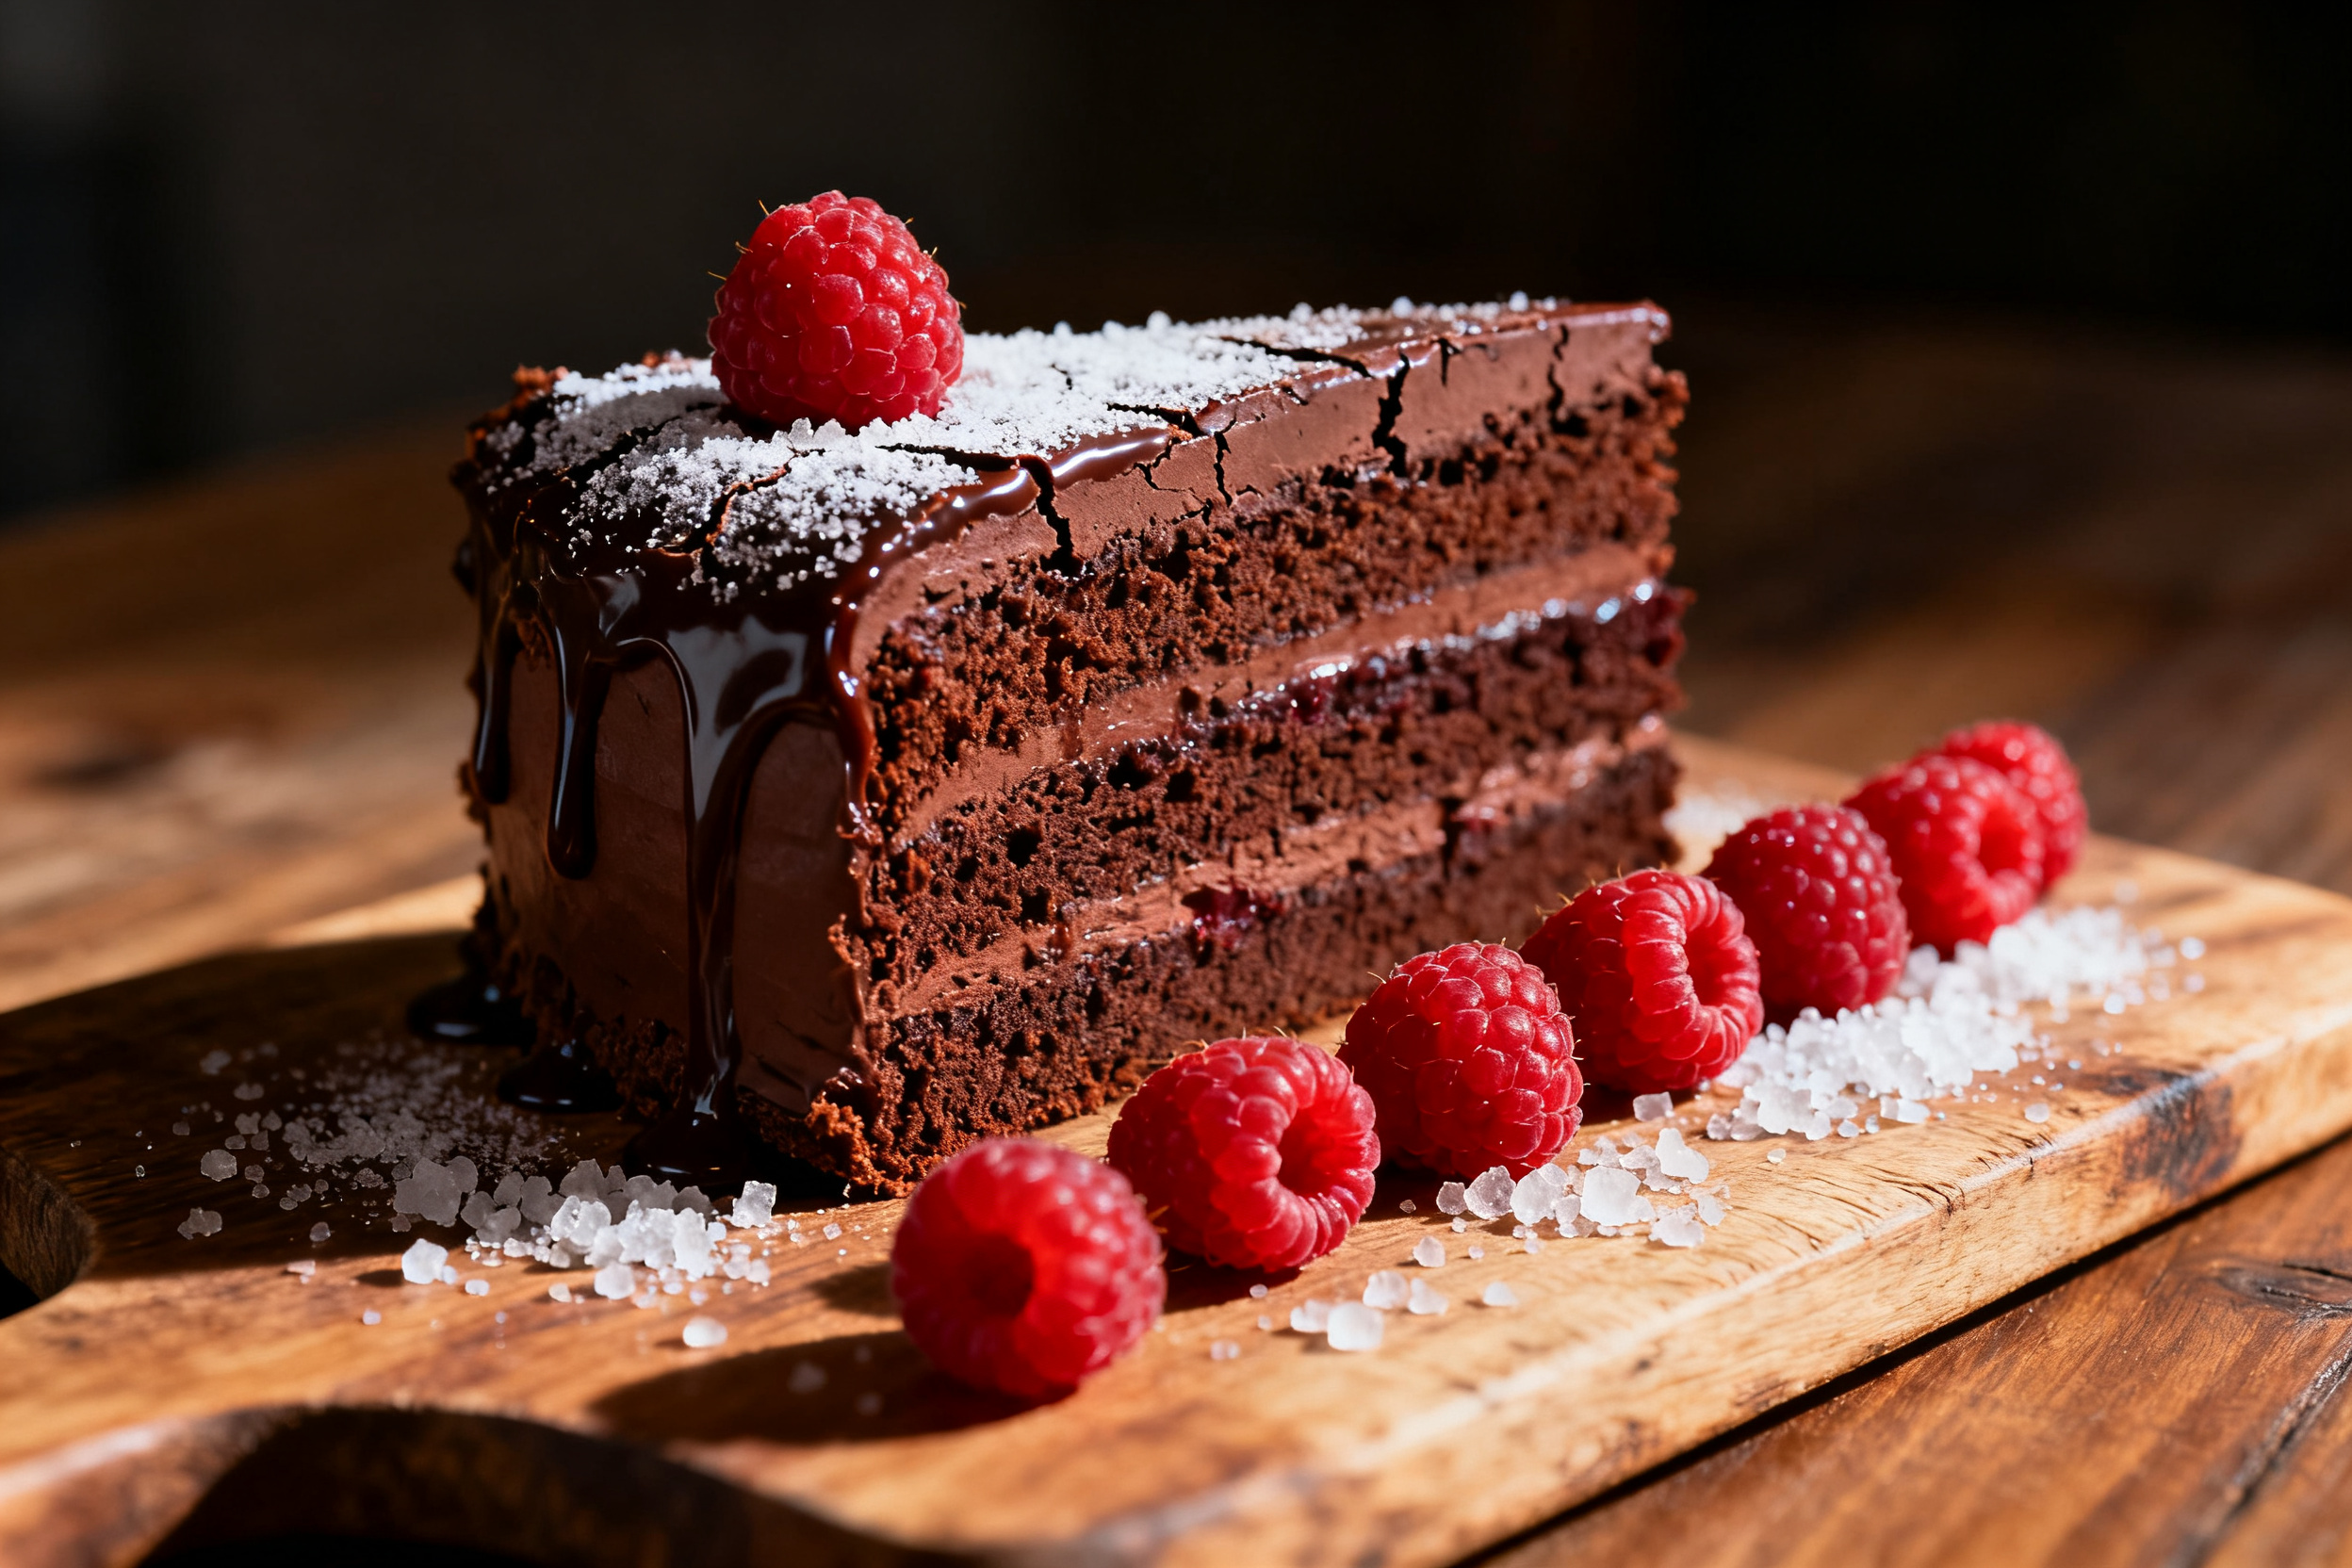
Your cake domed too much? You probably overmixed or the oven temperature was too high. Next time, lower the temp by 10°C and bake a few minutes longer.
If the cake sank in the middle, the batter might have been overmixed or the baking powder was old. Always check your leavener’s expiration date.
Dry cake? You likely overbaked it. Start checking for doneness 3–5 minutes before the recipe says. A toothpick with a few moist crumbs is perfect.
Frosting sliding off the cake? Your frosting was too warm or the cake layers weren’t level. Level them with a serrated knife and chill the cake before frosting.
8. Variations by diet or flavor profile
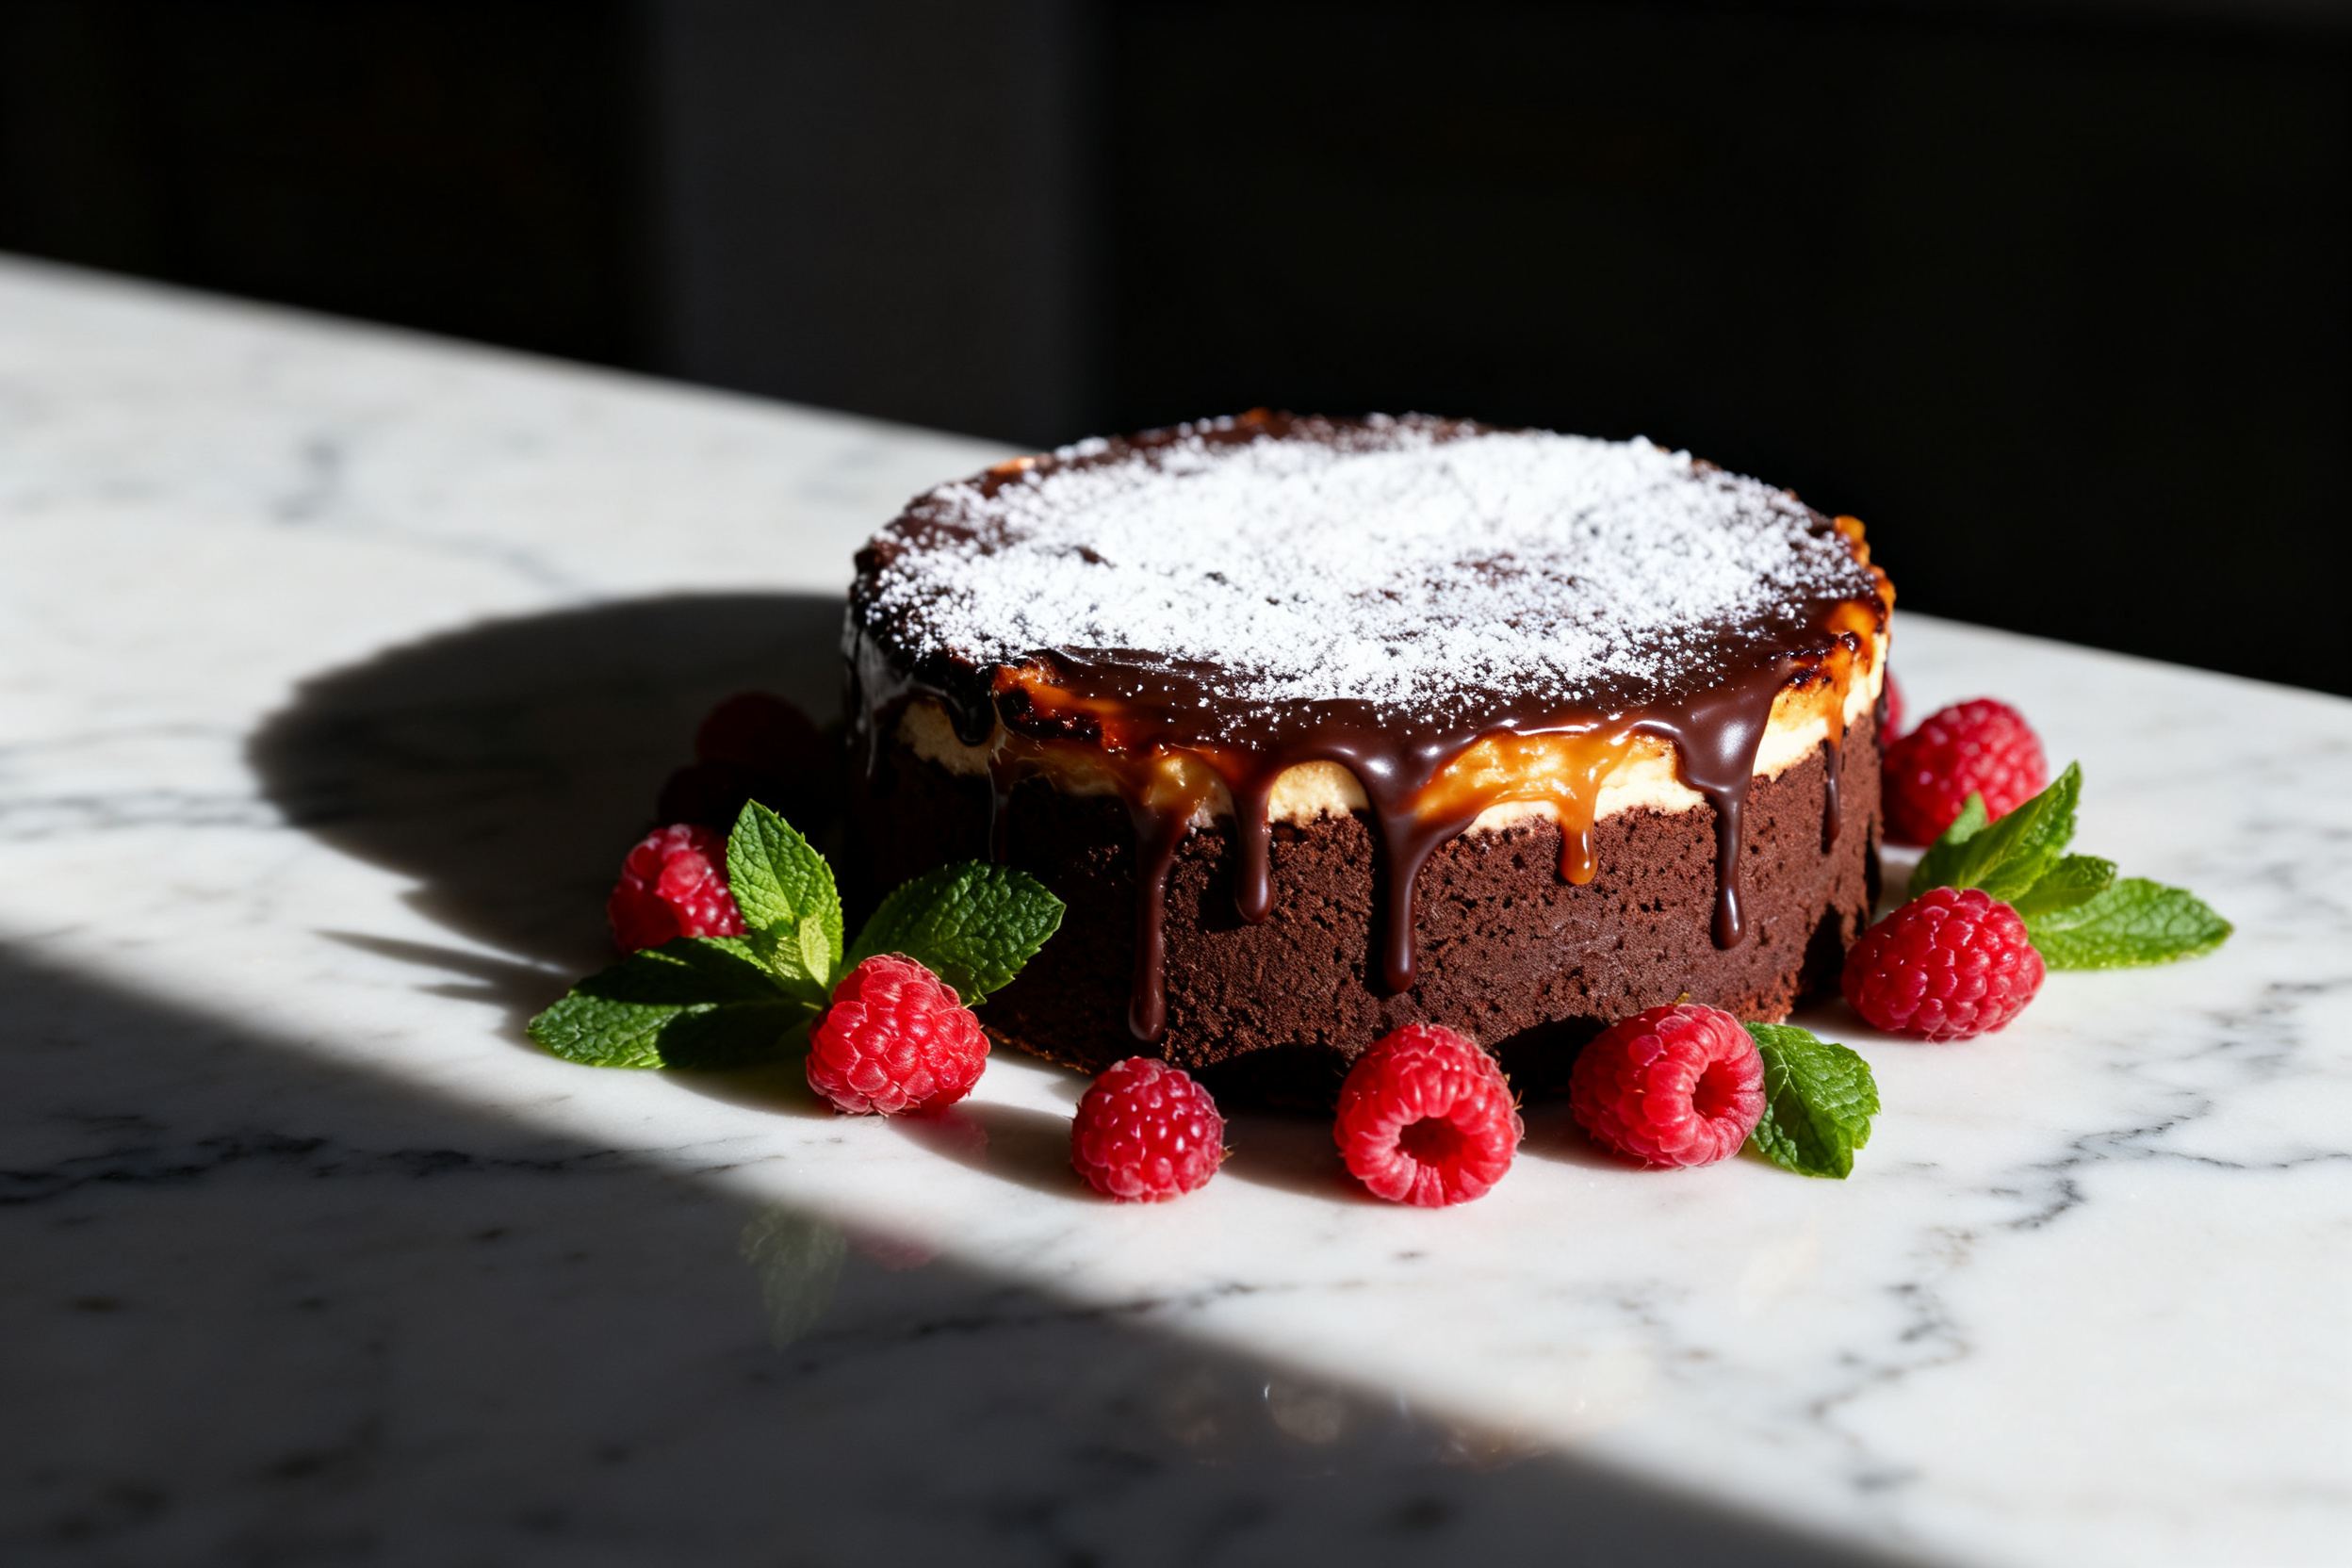
Make it gluten‑free by swapping the all‑purpose flour for a 1:1 gluten‑free blend. Add ¼ tsp xanthan gum if your blend doesn’t already include it.
For a mocha twist, dissolve 1 tbsp instant espresso powder in the hot coffee used in the batter. It amplifies the chocolate flavor without tasting like coffee.
9. Why this recipe works
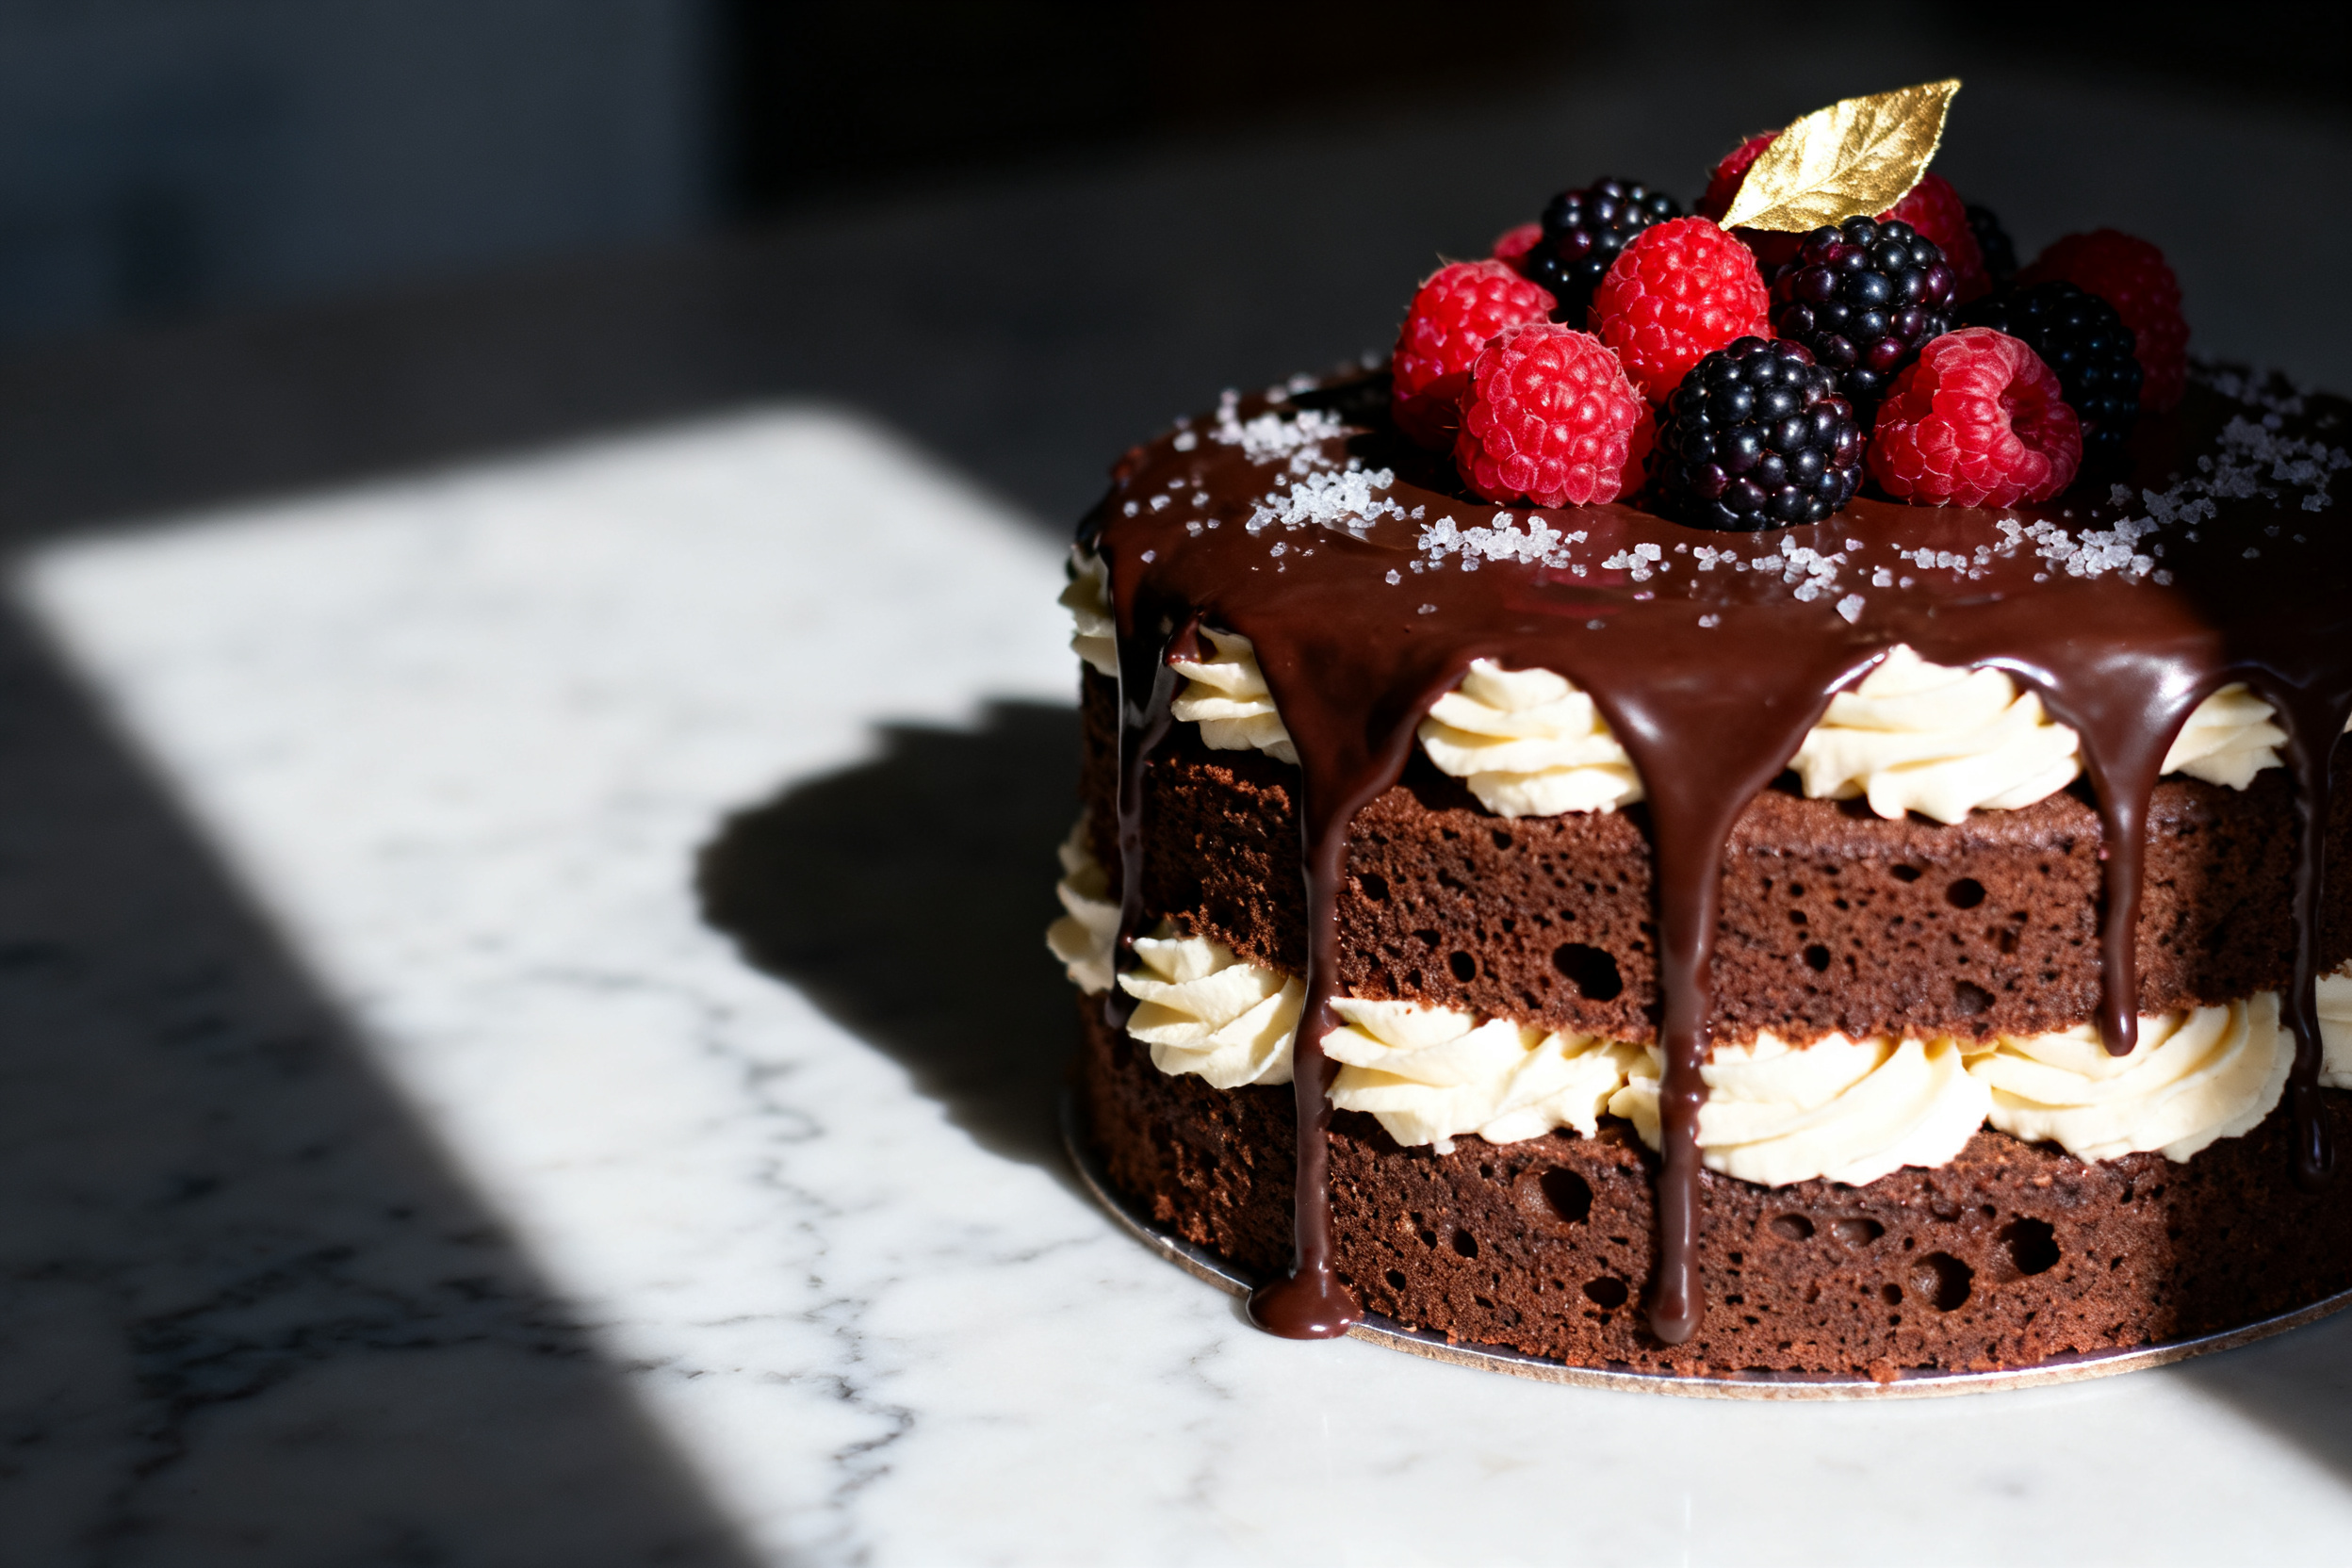
The secret is the combination of hot coffee and cocoa powder. Coffee enhances the chocolate flavor without making it taste like coffee. Trust me on this.
Using both melted butter and oil gives the cake a tender crumb and a rich mouthfeel. Butter for flavor, oil for moisture.
The hot liquid also helps bloom the cocoa, which releases its full aromatic potential. That’s why the batter smells like a chocolate bar.
An extra egg yolk adds richness and stability. It makes the cake soft but not fragile.
Finally, the buttermilk adds a subtle tang that balances the sweetness. You can fake it by adding 1 tbsp lemon juice to regular milk and letting it sit for 5 minutes.
10. Frequently Asked Questions (FAQ)
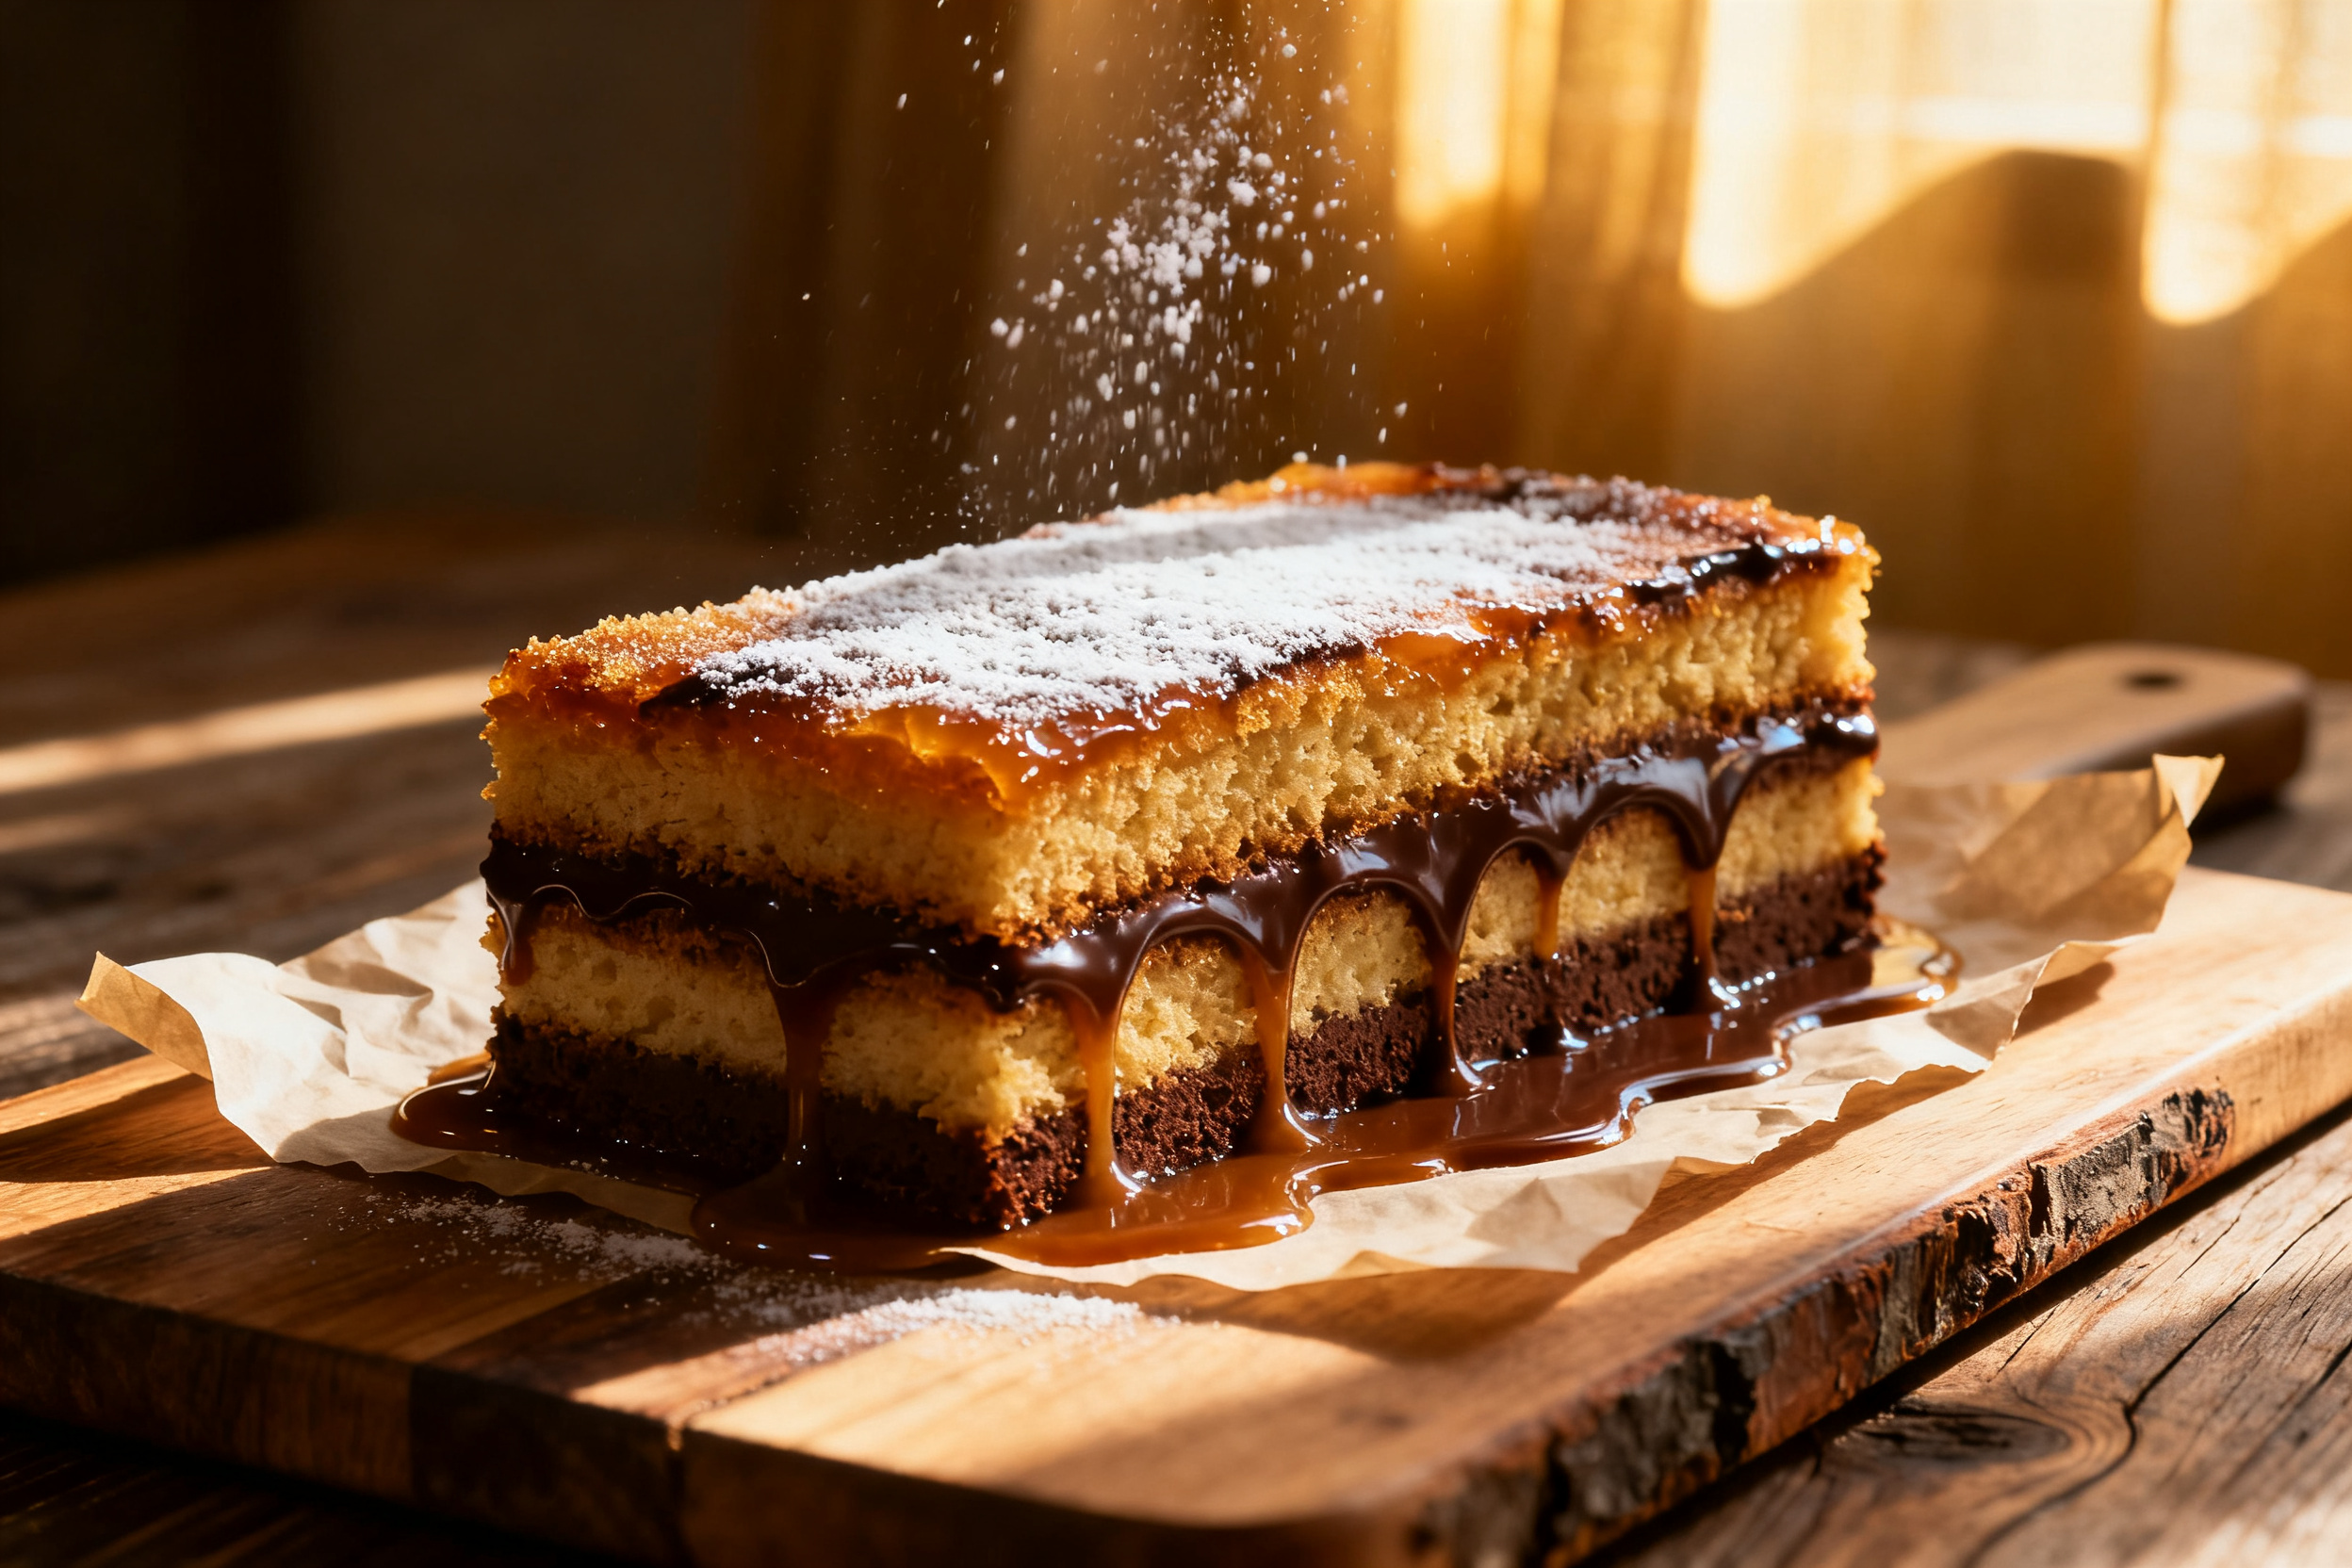
Can I use Dutch‑processed cocoa? Yes, and I recommend it. The cake will be darker and more mellow in flavor.
What if I don’t have buttermilk? Make a quick substitute: 1 cup milk + 1 tbsp lemon juice or vinegar. Let it sit for 5–10 minutes until it curdles slightly.
Can I halve the recipe? Absolutely. Use a 6‑inch cake pan and reduce the baking time to about 20–25 minutes.
Why did my cake stick to the pan? You either didn’t grease and flour the pan properly, or you didn’t use parchment paper. Next time, do both.
How do I get clean slices? Use a long, serrated knife and wipe it clean between cuts. You can also chill the cake for 15 minutes before slicing.
Can I make this into cupcakes? Yes, fill cupcake liners two‑thirds full and bake at 175°C for 18–22 minutes. This recipe makes about 24 cupcakes.
11. Call to action
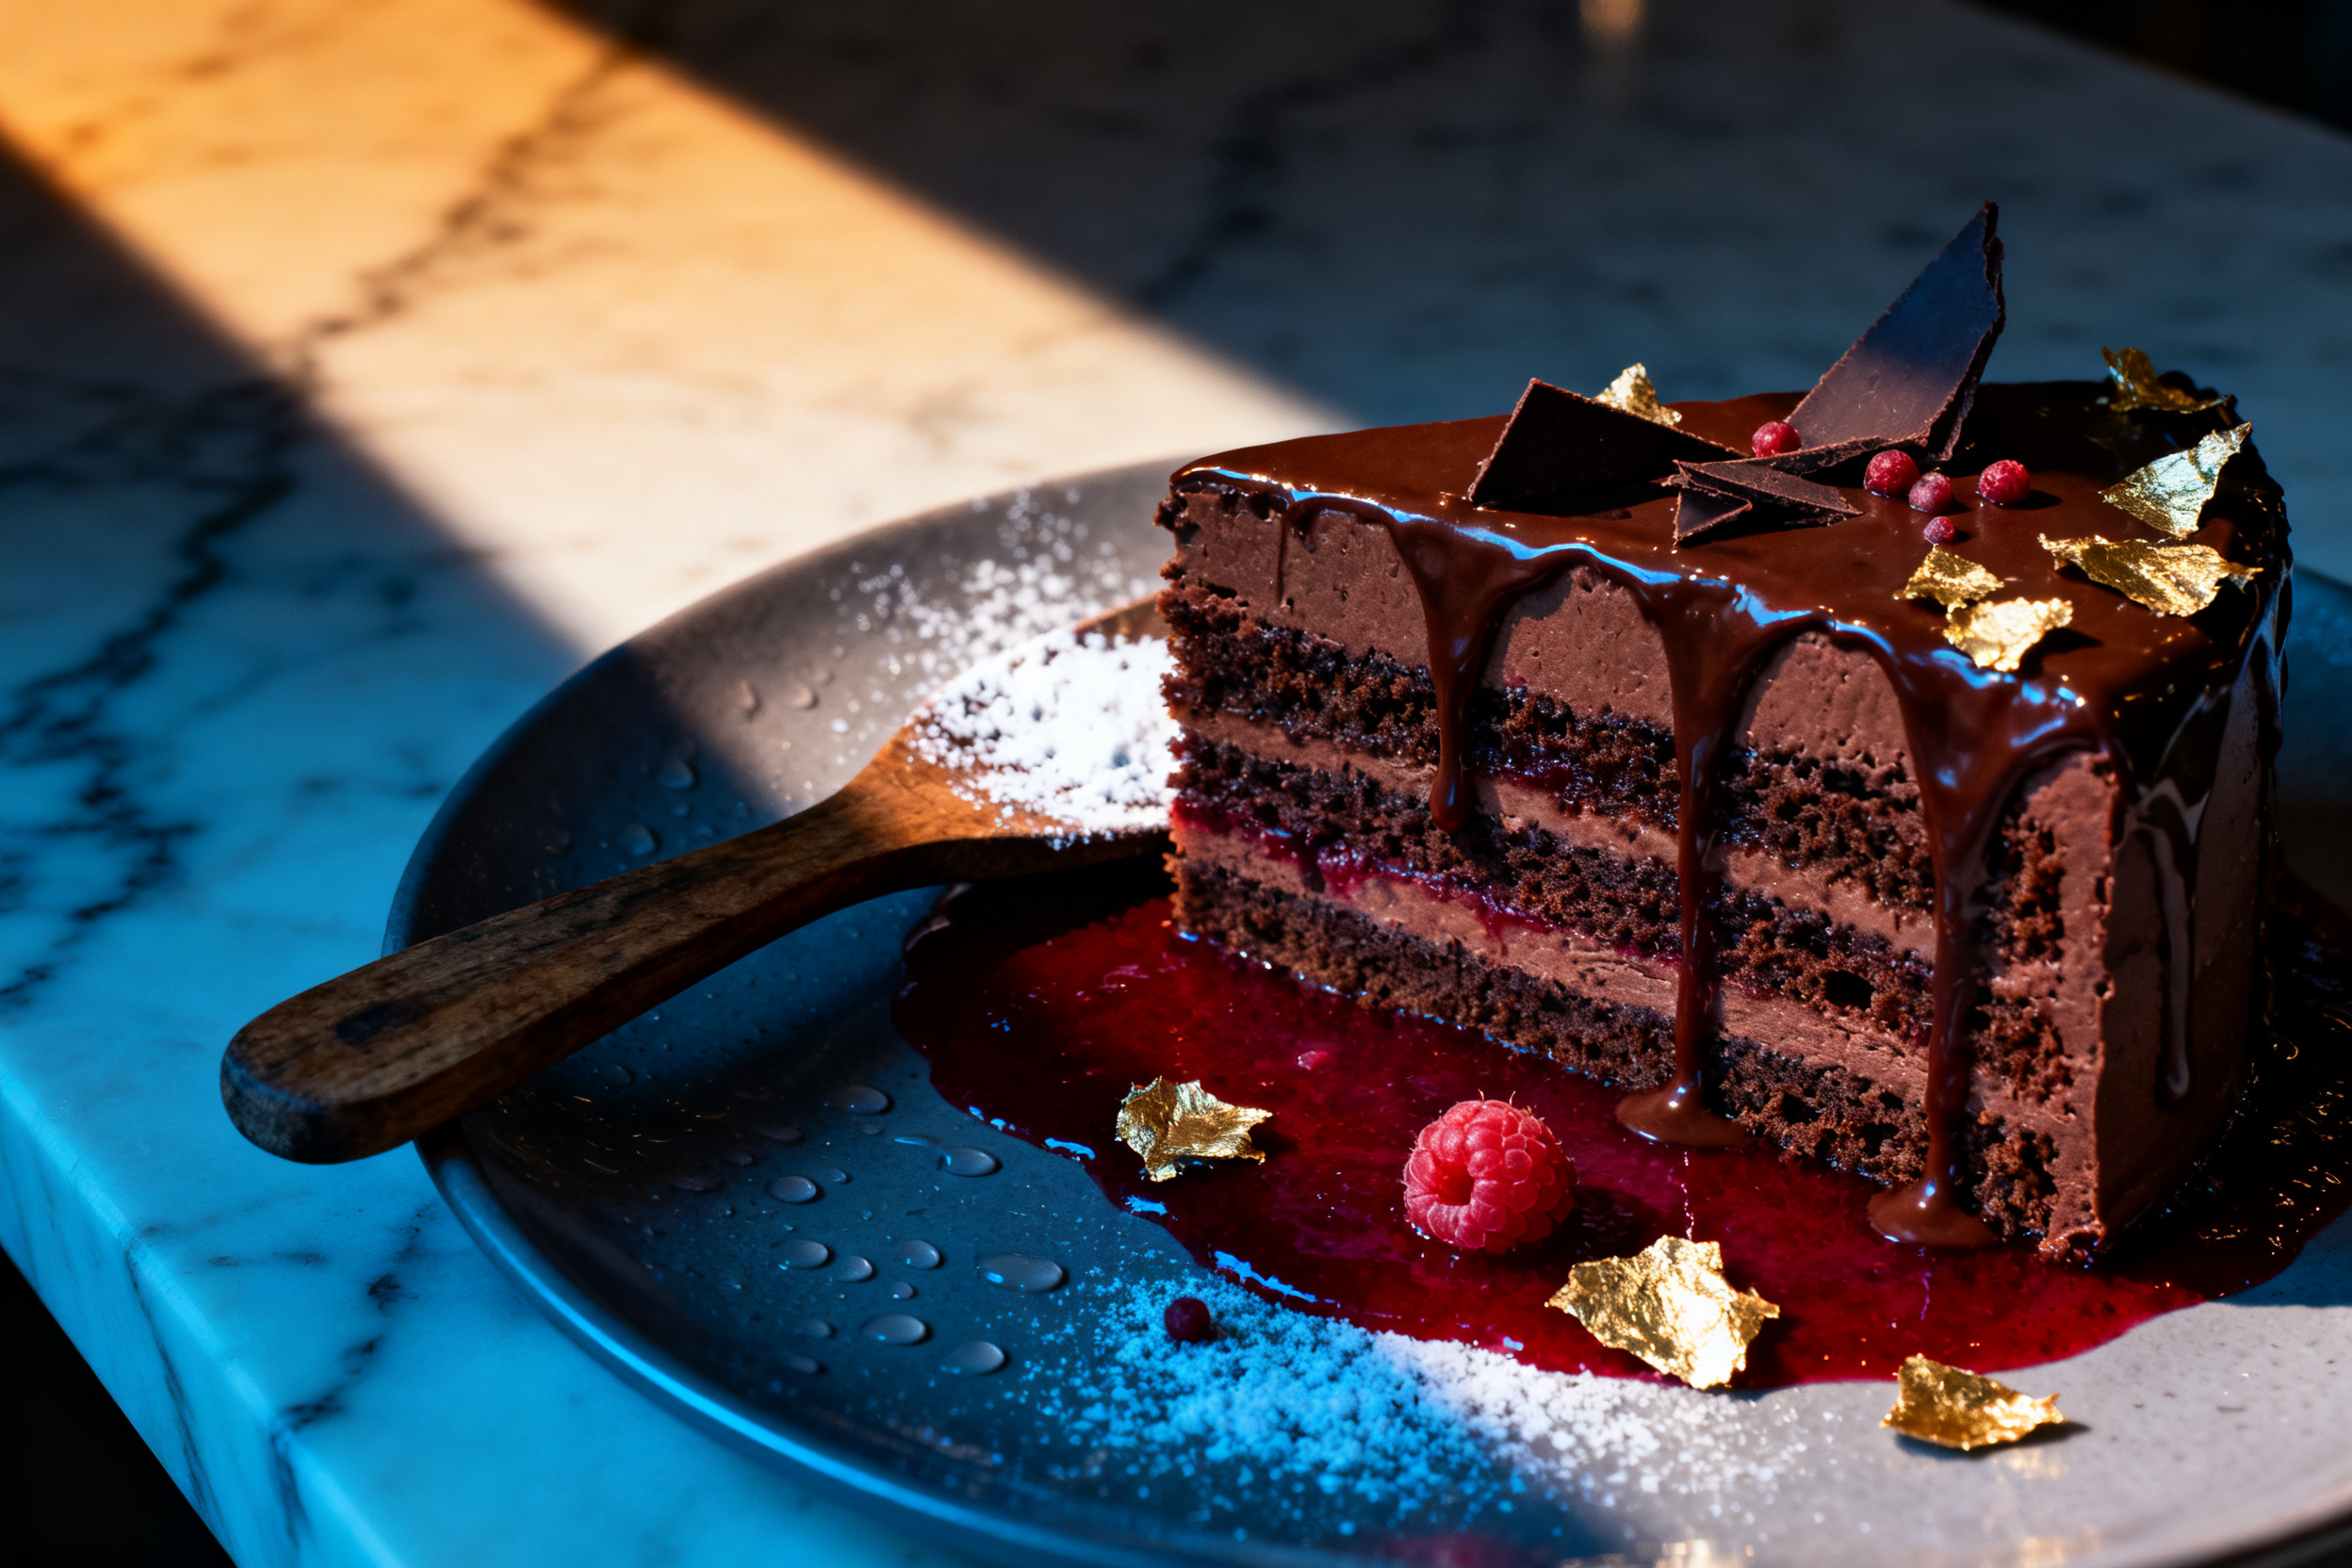
I’d love to hear how your cake turns out. Drop a comment below and tell me if you made any tweaks.
Don’t forget to share this post with a friend who needs a chocolate fix. And if you haven’t already, hit that subscribe button so you never miss a delicious recipe.
Happy baking, and may your cake always be perfectly moist.
This triple chocolate layer cake is the kind of dessert that makes you close your eyes and sigh. It’s rich, it’s decadent, and it’s totally worth every calorie. Whether you’re celebrating a milestone or just surviving a Tuesday, this cake fits the bill.
I hope you give it a try and fall in love with it the way I did. See you in the comments.
Ultimate Chocolate Fudge Cake
Ingredients
- 2 cups all-purpose flour
- 2 cups granulated sugar
- ¾ cup unsweetened cocoa powder Dutch-processed preferred
- 2 tsp baking powder
- 1½ tsp baking soda
- 1 tsp salt
- 1 cup buttermilk at room temperature
- ½ cup vegetable oil
- 2 large eggs at room temperature
- 2 tsp vanilla extract
- 1 cup hot coffee or hot water
- 1 cup unsalted butter softened (for frosting)
- 4 cups powdered sugar
- ½ cup heavy cream
- 2 tsp vanilla extract for frosting
- Pinch of salt
- 8 oz semisweet chocolate melted and cooled (for frosting)
Instructions
- Preheat your oven to 175°C (350°F). Grease and flour two 9-inch round cake pans and line the bottoms with parchment paper.
- In a large bowl, whisk together the flour, sugar, cocoa powder, baking powder, baking soda, and salt.
- In another bowl, combine the buttermilk, oil, eggs, and vanilla. Whisk until smooth.
- Pour the wet ingredients into the dry ingredients and mix until just combined. Do not overmix.
- Slowly pour in the hot coffee while stirring gently. The batter will be thin – that’s normal.
- Divide the batter evenly between the prepared pans. Bake for 25–30 minutes, or until a toothpick inserted in the center comes out with a few moist crumbs.
- Let the cakes cool in the pans for 10 minutes, then turn them out onto a wire rack to cool completely.
- While the cakes cool, make the frosting. Beat the butter until creamy, then gradually add the powdered sugar, beating well after each addition.
- Add the heavy cream, vanilla, and salt. Beat until light and fluffy.
- Pour in the melted chocolate and beat until the frosting is smooth and glossy.
- Once the cakes are completely cool, level the tops with a serrated knife. Place one layer on a serving plate, spread a generous amount of frosting, and top with the second layer.
- Frost the top and sides of the cake. Decorate as desired.
Notes
2. The cake will be slightly less tender but still delicious.
3. Store the cake covered at room temperature for up to 3 days, or refrigerate for up to a week.
4. Bring to room temperature before serving.
5. To freeze, wrap the unfrosted layers tightly in plastic wrap and foil. Thaw overnight in the fridge before frosting.
6. If you don’t have buttermilk, add 1 tablespoon of lemon juice or white vinegar to a cup of milk and let it sit for 5 minutes.
7. For a stronger coffee flavor, use 1 tablespoon of instant espresso powder dissolved in the hot coffee.