
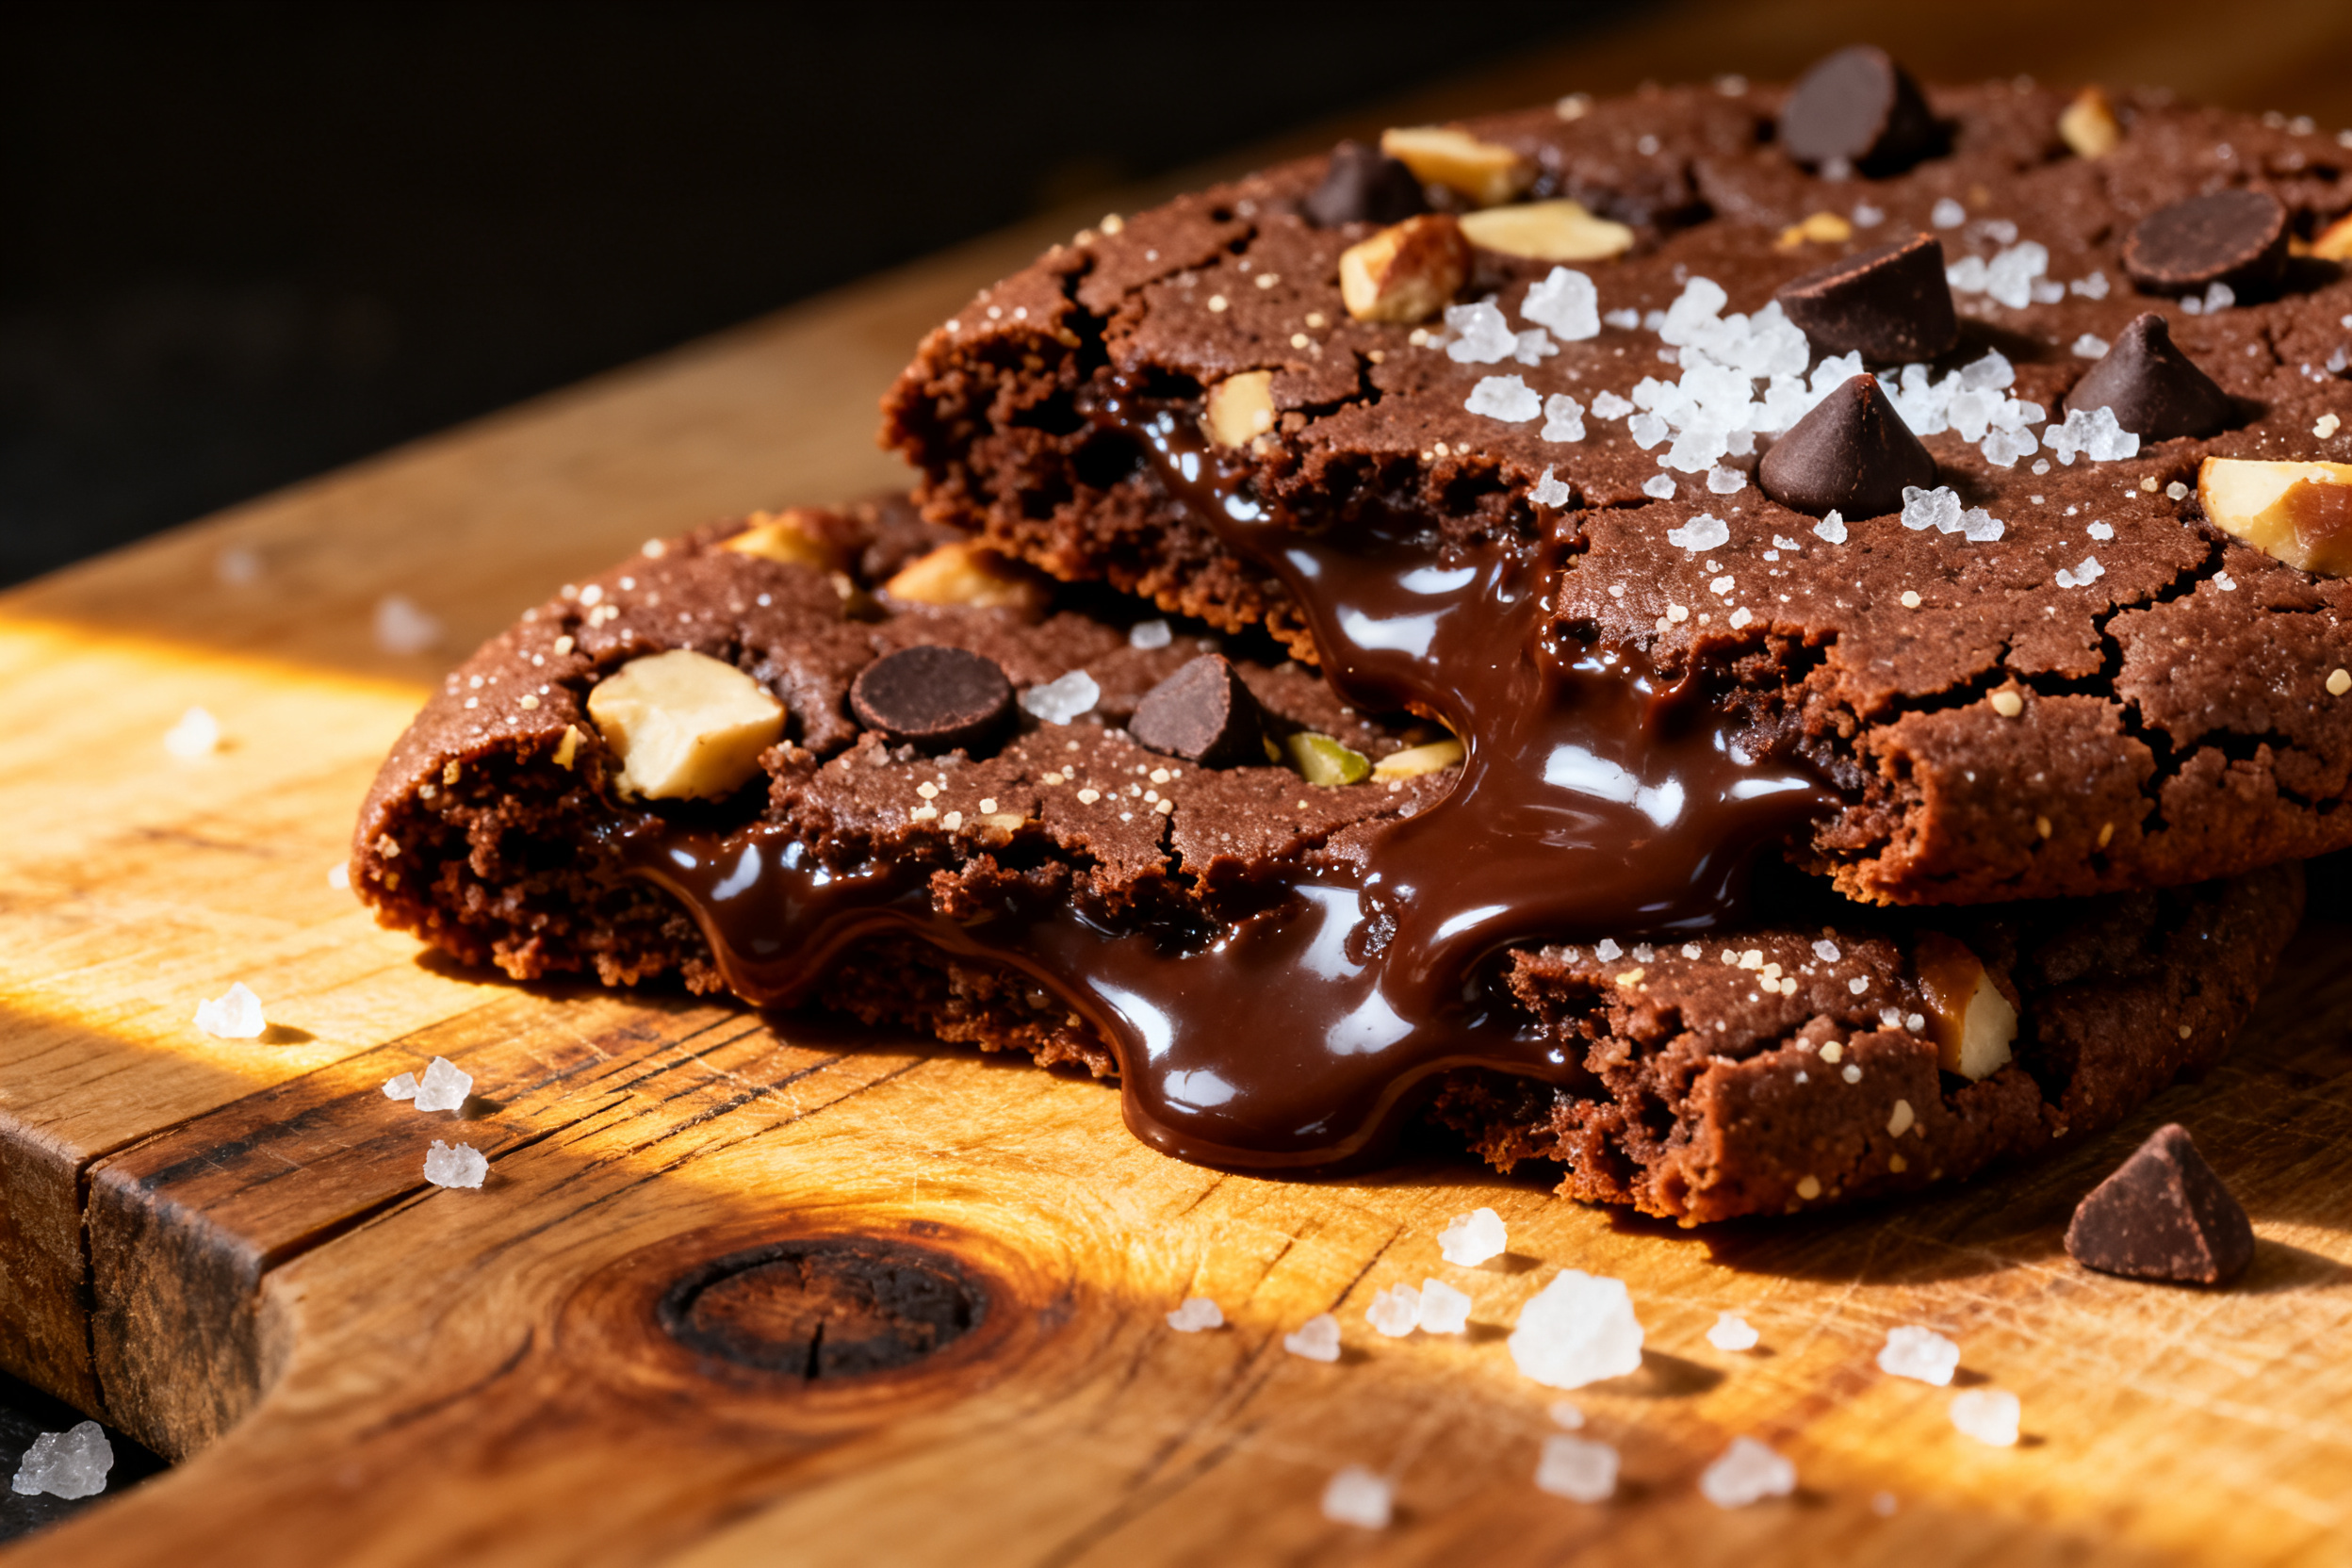
Craving something rich, chocolatey, and dangerously easy? You’ve landed in the right spot. This no bake cookie recipe is about to become your new emergency dessert BFF.
I’m talking deep, fudgy cookies that come together in literally ten minutes. No oven, no sweat, no waiting around for butter to soften. Just pure chocolate bliss.
If you can stir and scoop, you can make these. Seriously — even your microwave will feel neglected.
1. Allergens
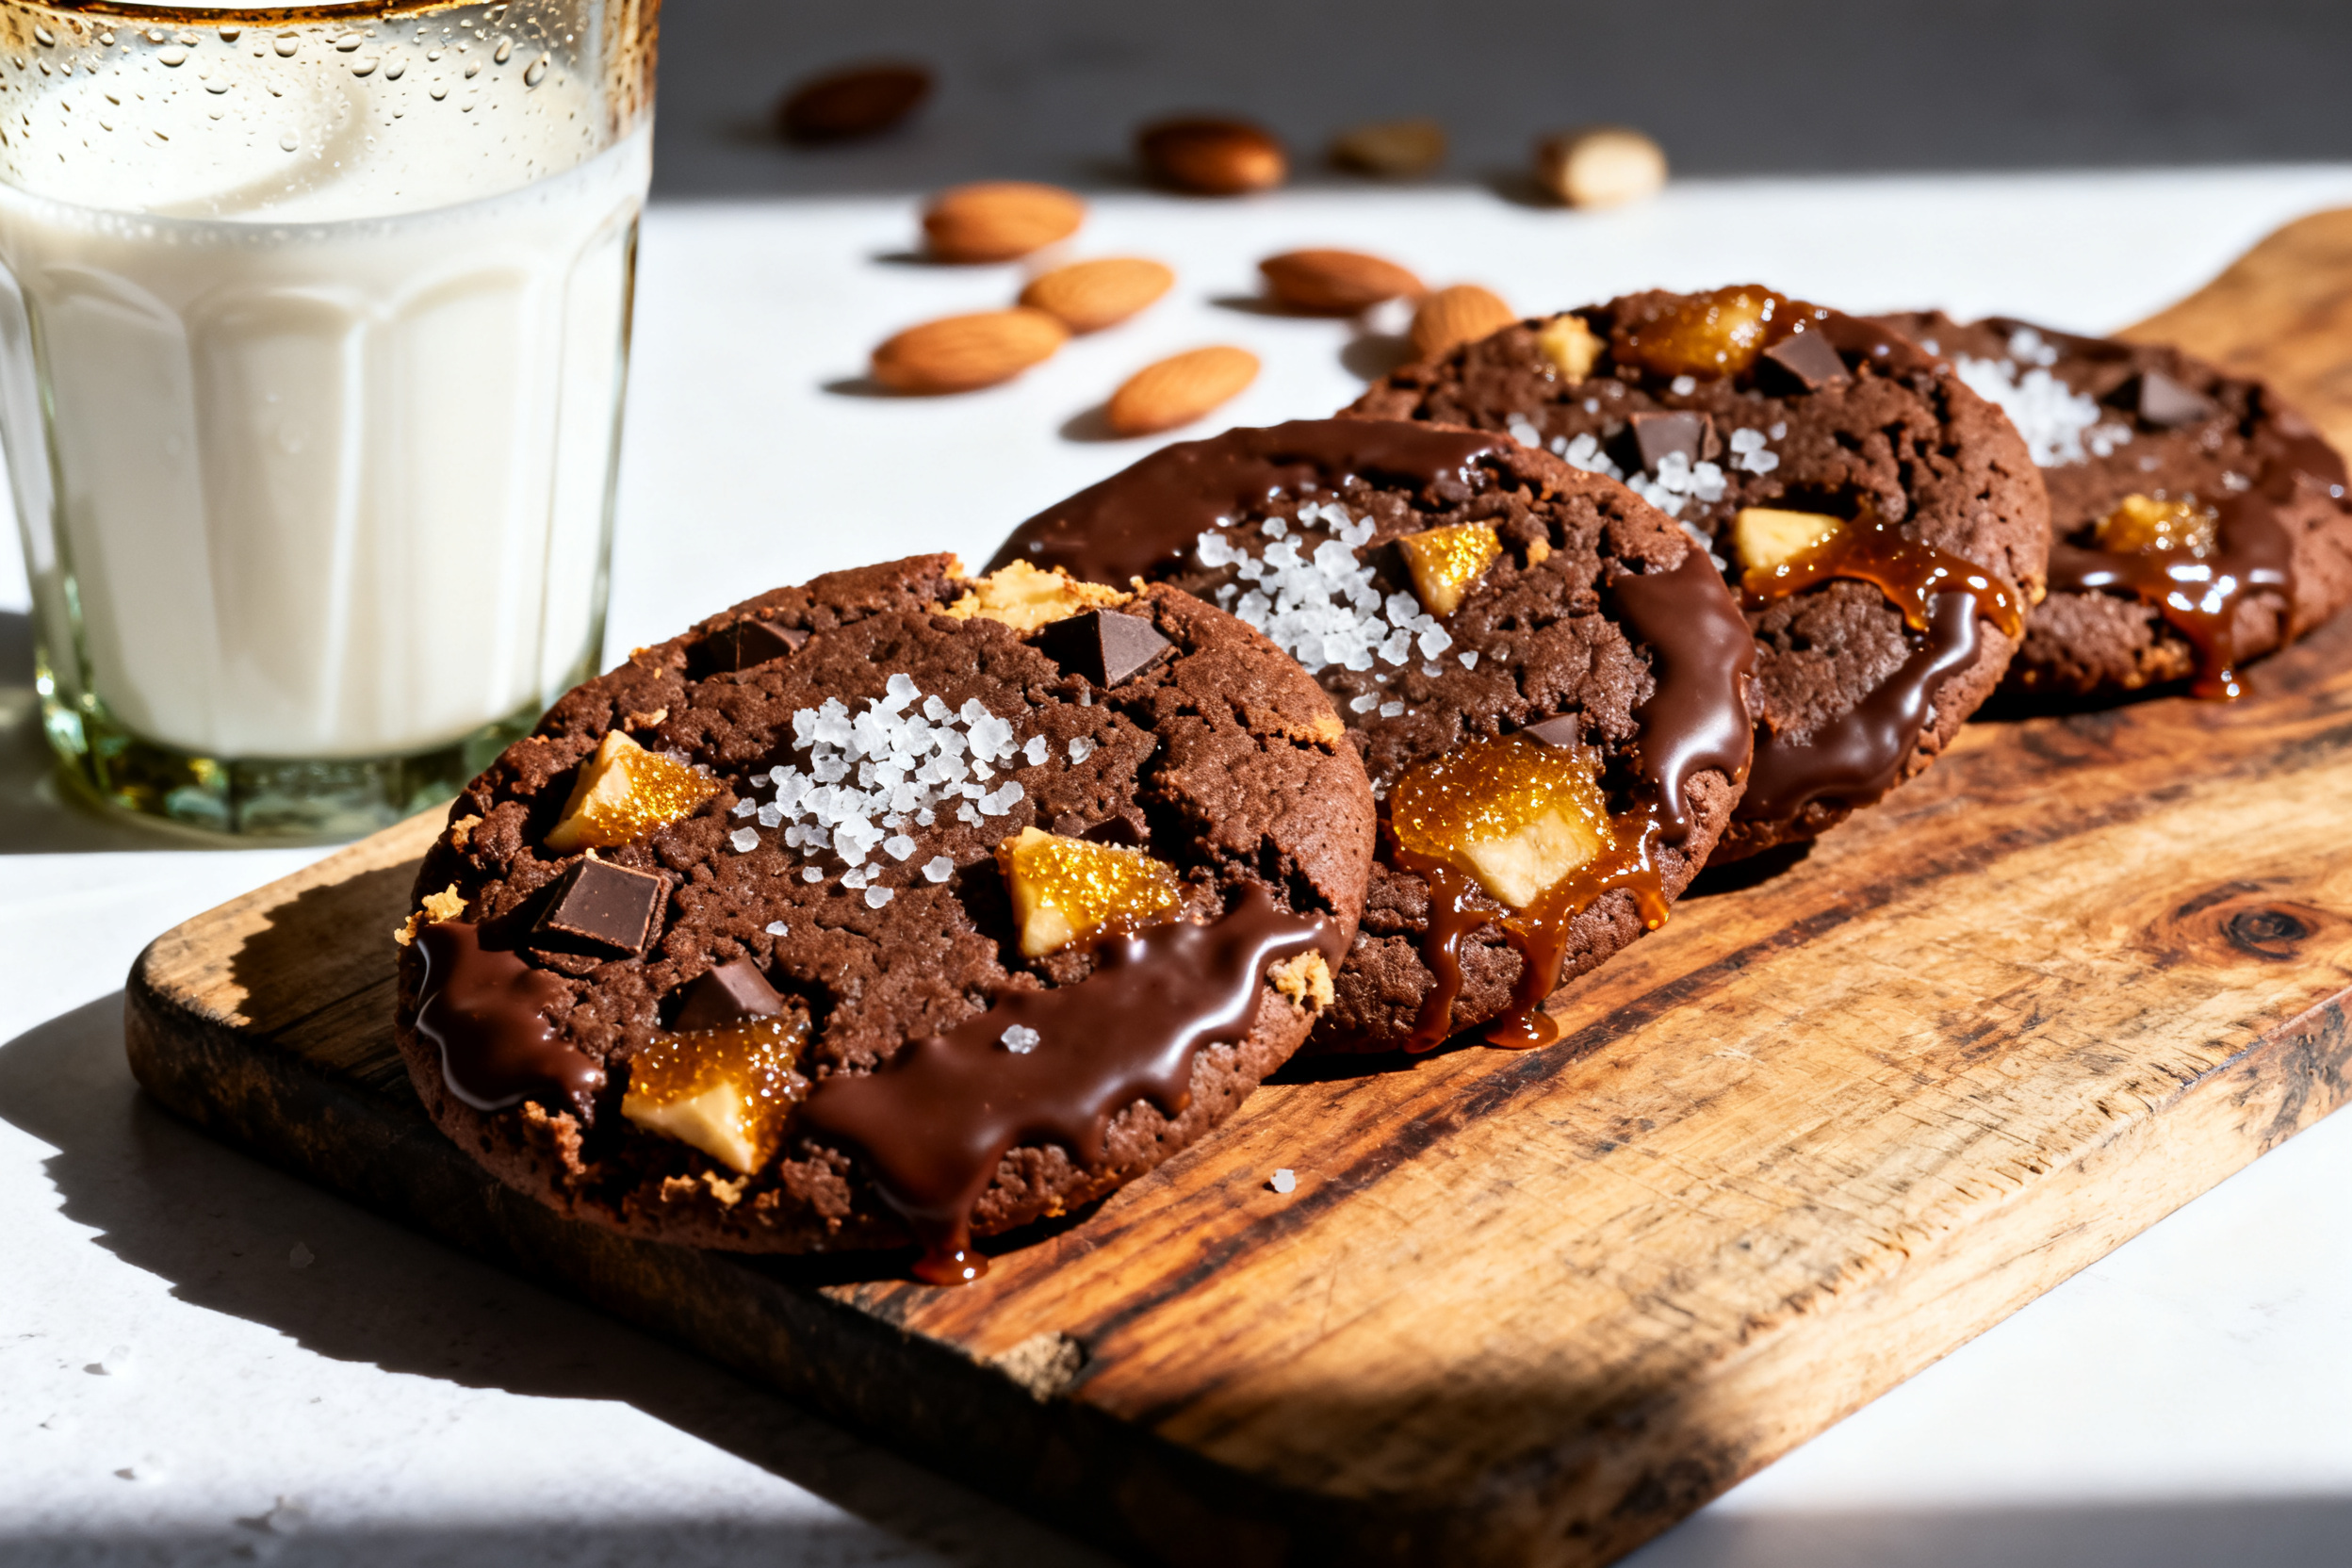
These cookies contain peanuts (peanut butter) and dairy (butter, milk). They also contain gluten from the oats (unless you use certified gluten-free oats).
For a peanut-free version, swap in sunflower seed butter or tahini. That swap also makes them tree nut free, as long as your oats are certified.
If you need them dairy-free, use vegan butter and your favorite plant-based milk. Coconut oil works too, but it changes the texture a bit — still delicious.
2. Ingredient notes & substitutions
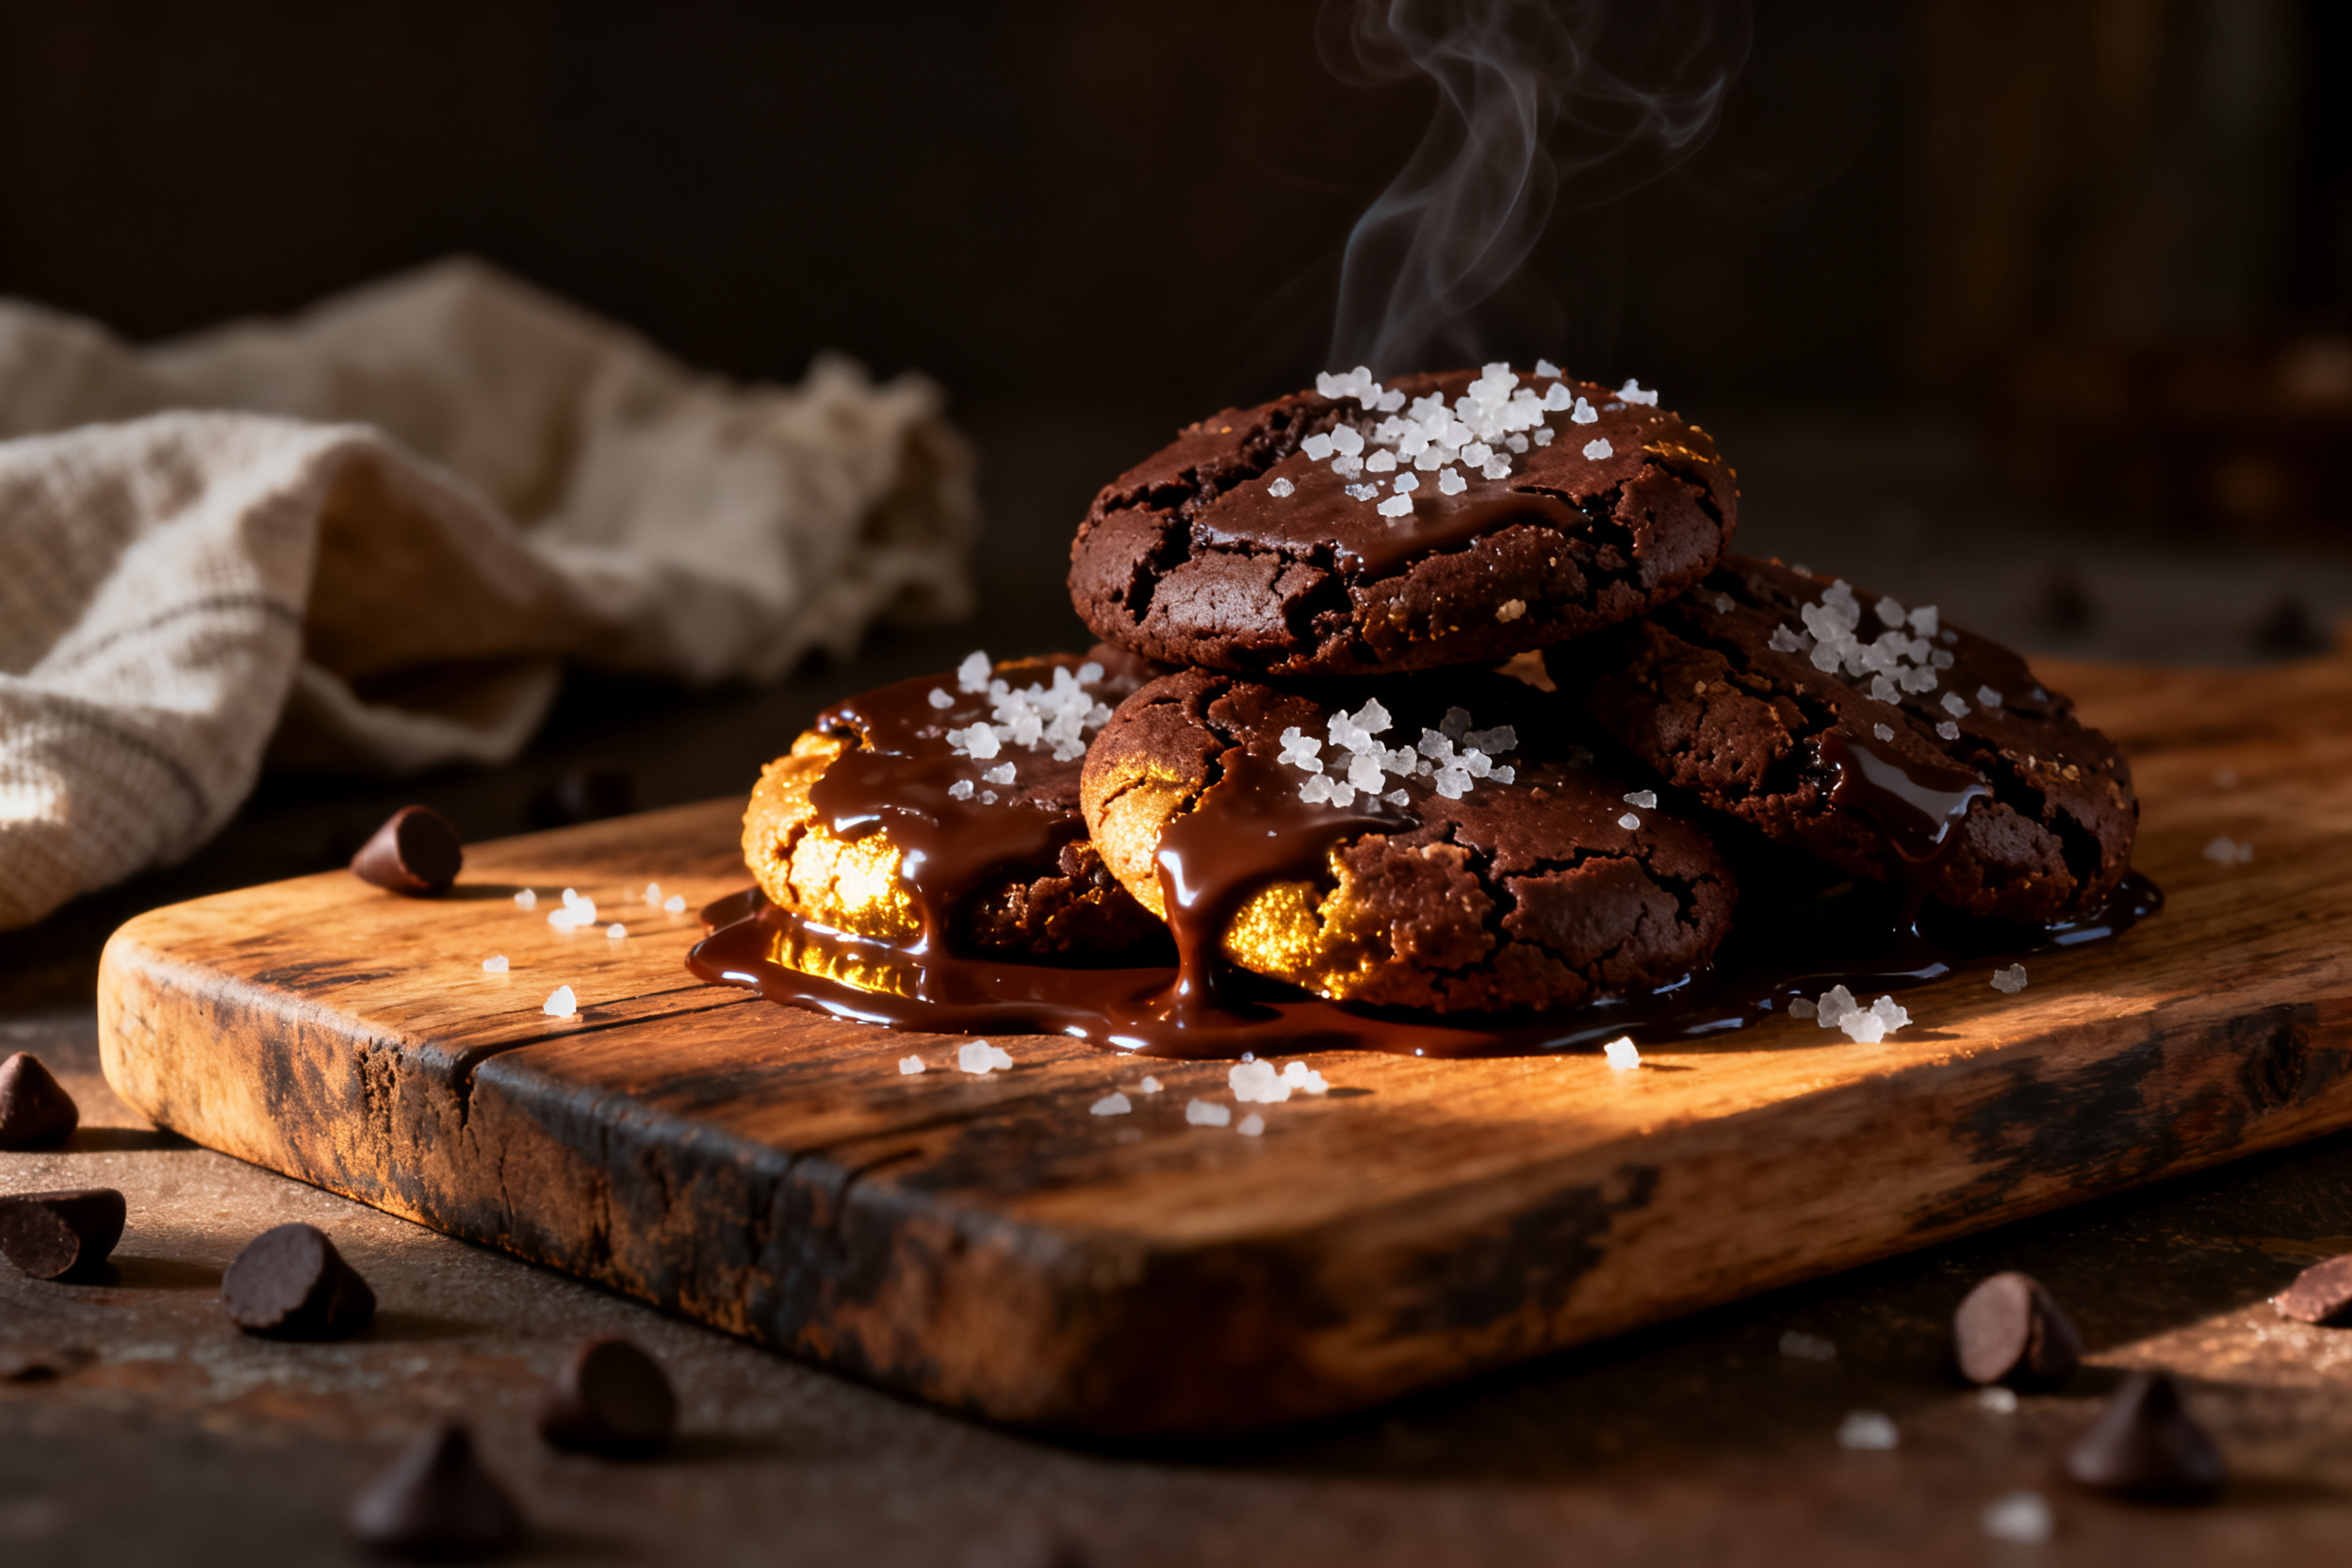
Rolled oats are the backbone here. Quick oats work fine too, but they make a softer cookie. Steel-cut oats are a no-go — too tough.
Unsweetened cocoa powder gives that deep flavor. I use Dutch-process for a smoother taste, but natural cocoa works just as well. Don’t swap hot chocolate mix, though — that’s a sugar bomb with no real cocoa.
Peanut butter keeps things sticky and rich. Use creamy, not chunky, unless you want little peanut bits in every bite (which I totally support). Natural peanut butter works, but stir it well first so the oil doesn’t separate later.
Butter and milk create the fudge base. For a vegan version, use vegan butter and oat milk — they behave almost identically.
3. Pro tips
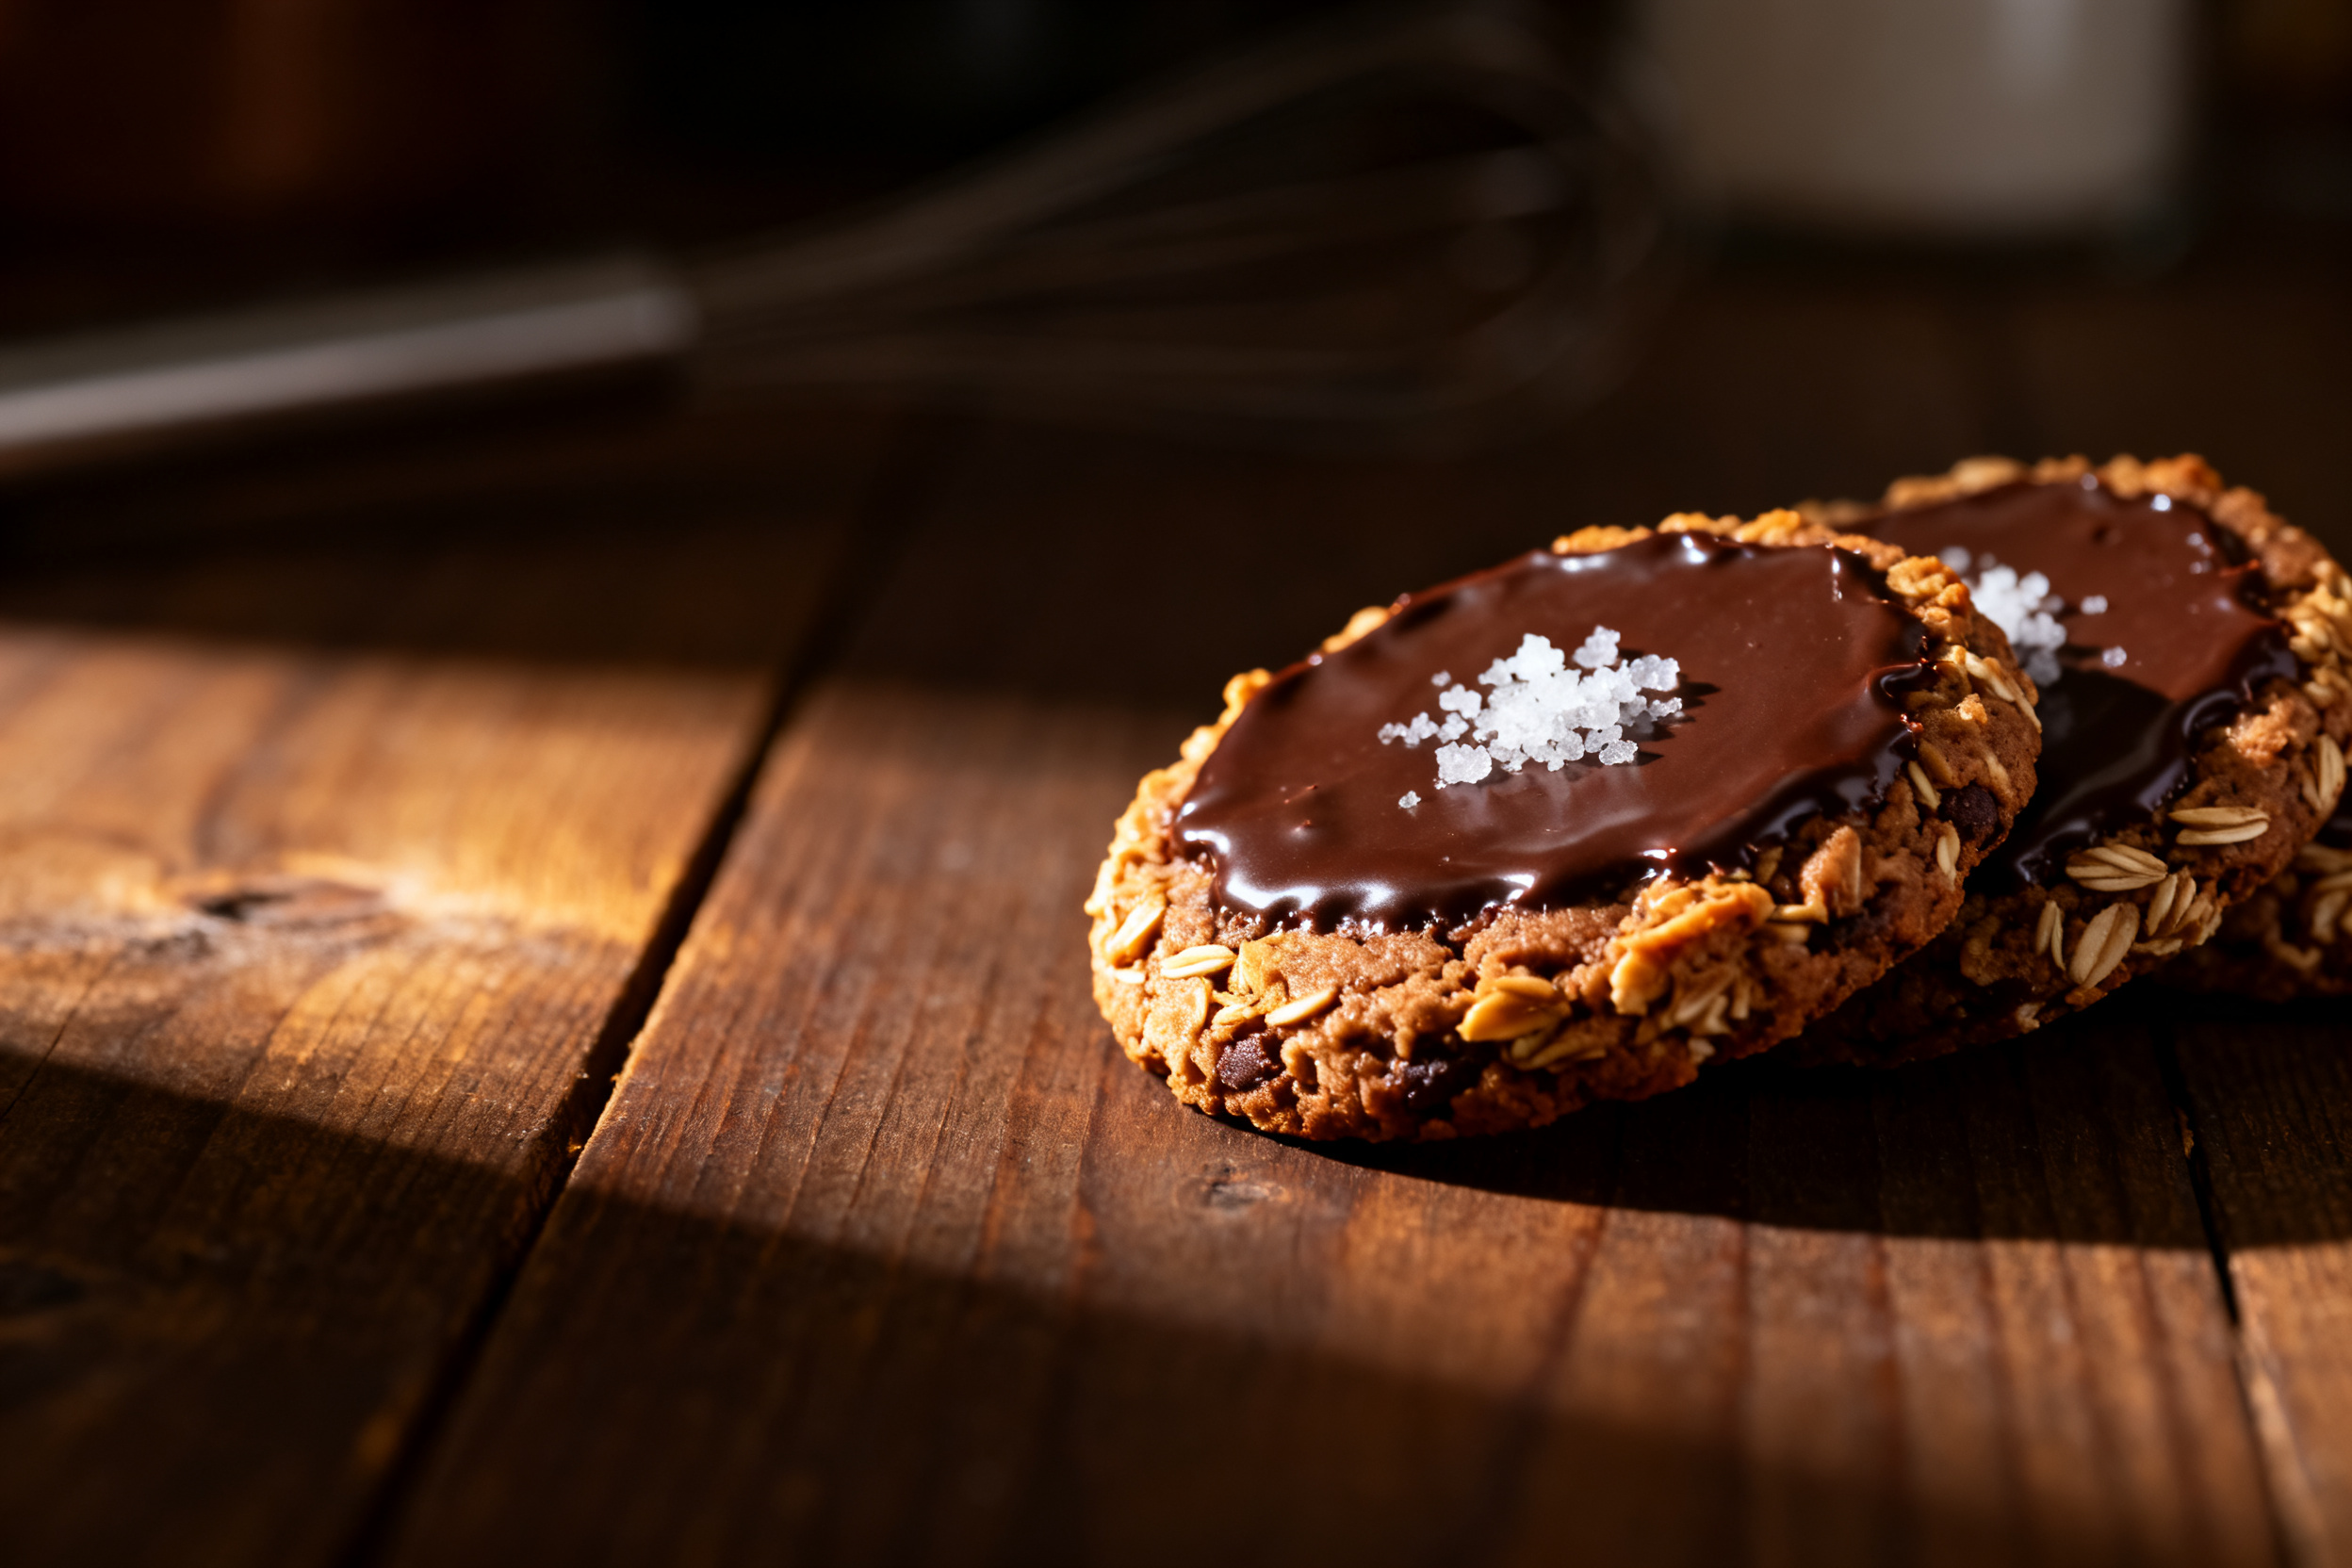
Don’t boil the mixture too long — just until it bubbles. Overcooking makes the cookies crumbly instead of chewy.
Let the saucepan cool for 1-2 minutes before stirring in the dry ingredients. If you dump the oats in while the mixture is screaming hot, they soak up too much liquid and the cookies turn dry.
Chill the dough for at least 15 minutes before scooping. It firms up, making the cookies easier to shape and less likely to flatten into puddles.
4. Storage & make-ahead (fridge/freezer)
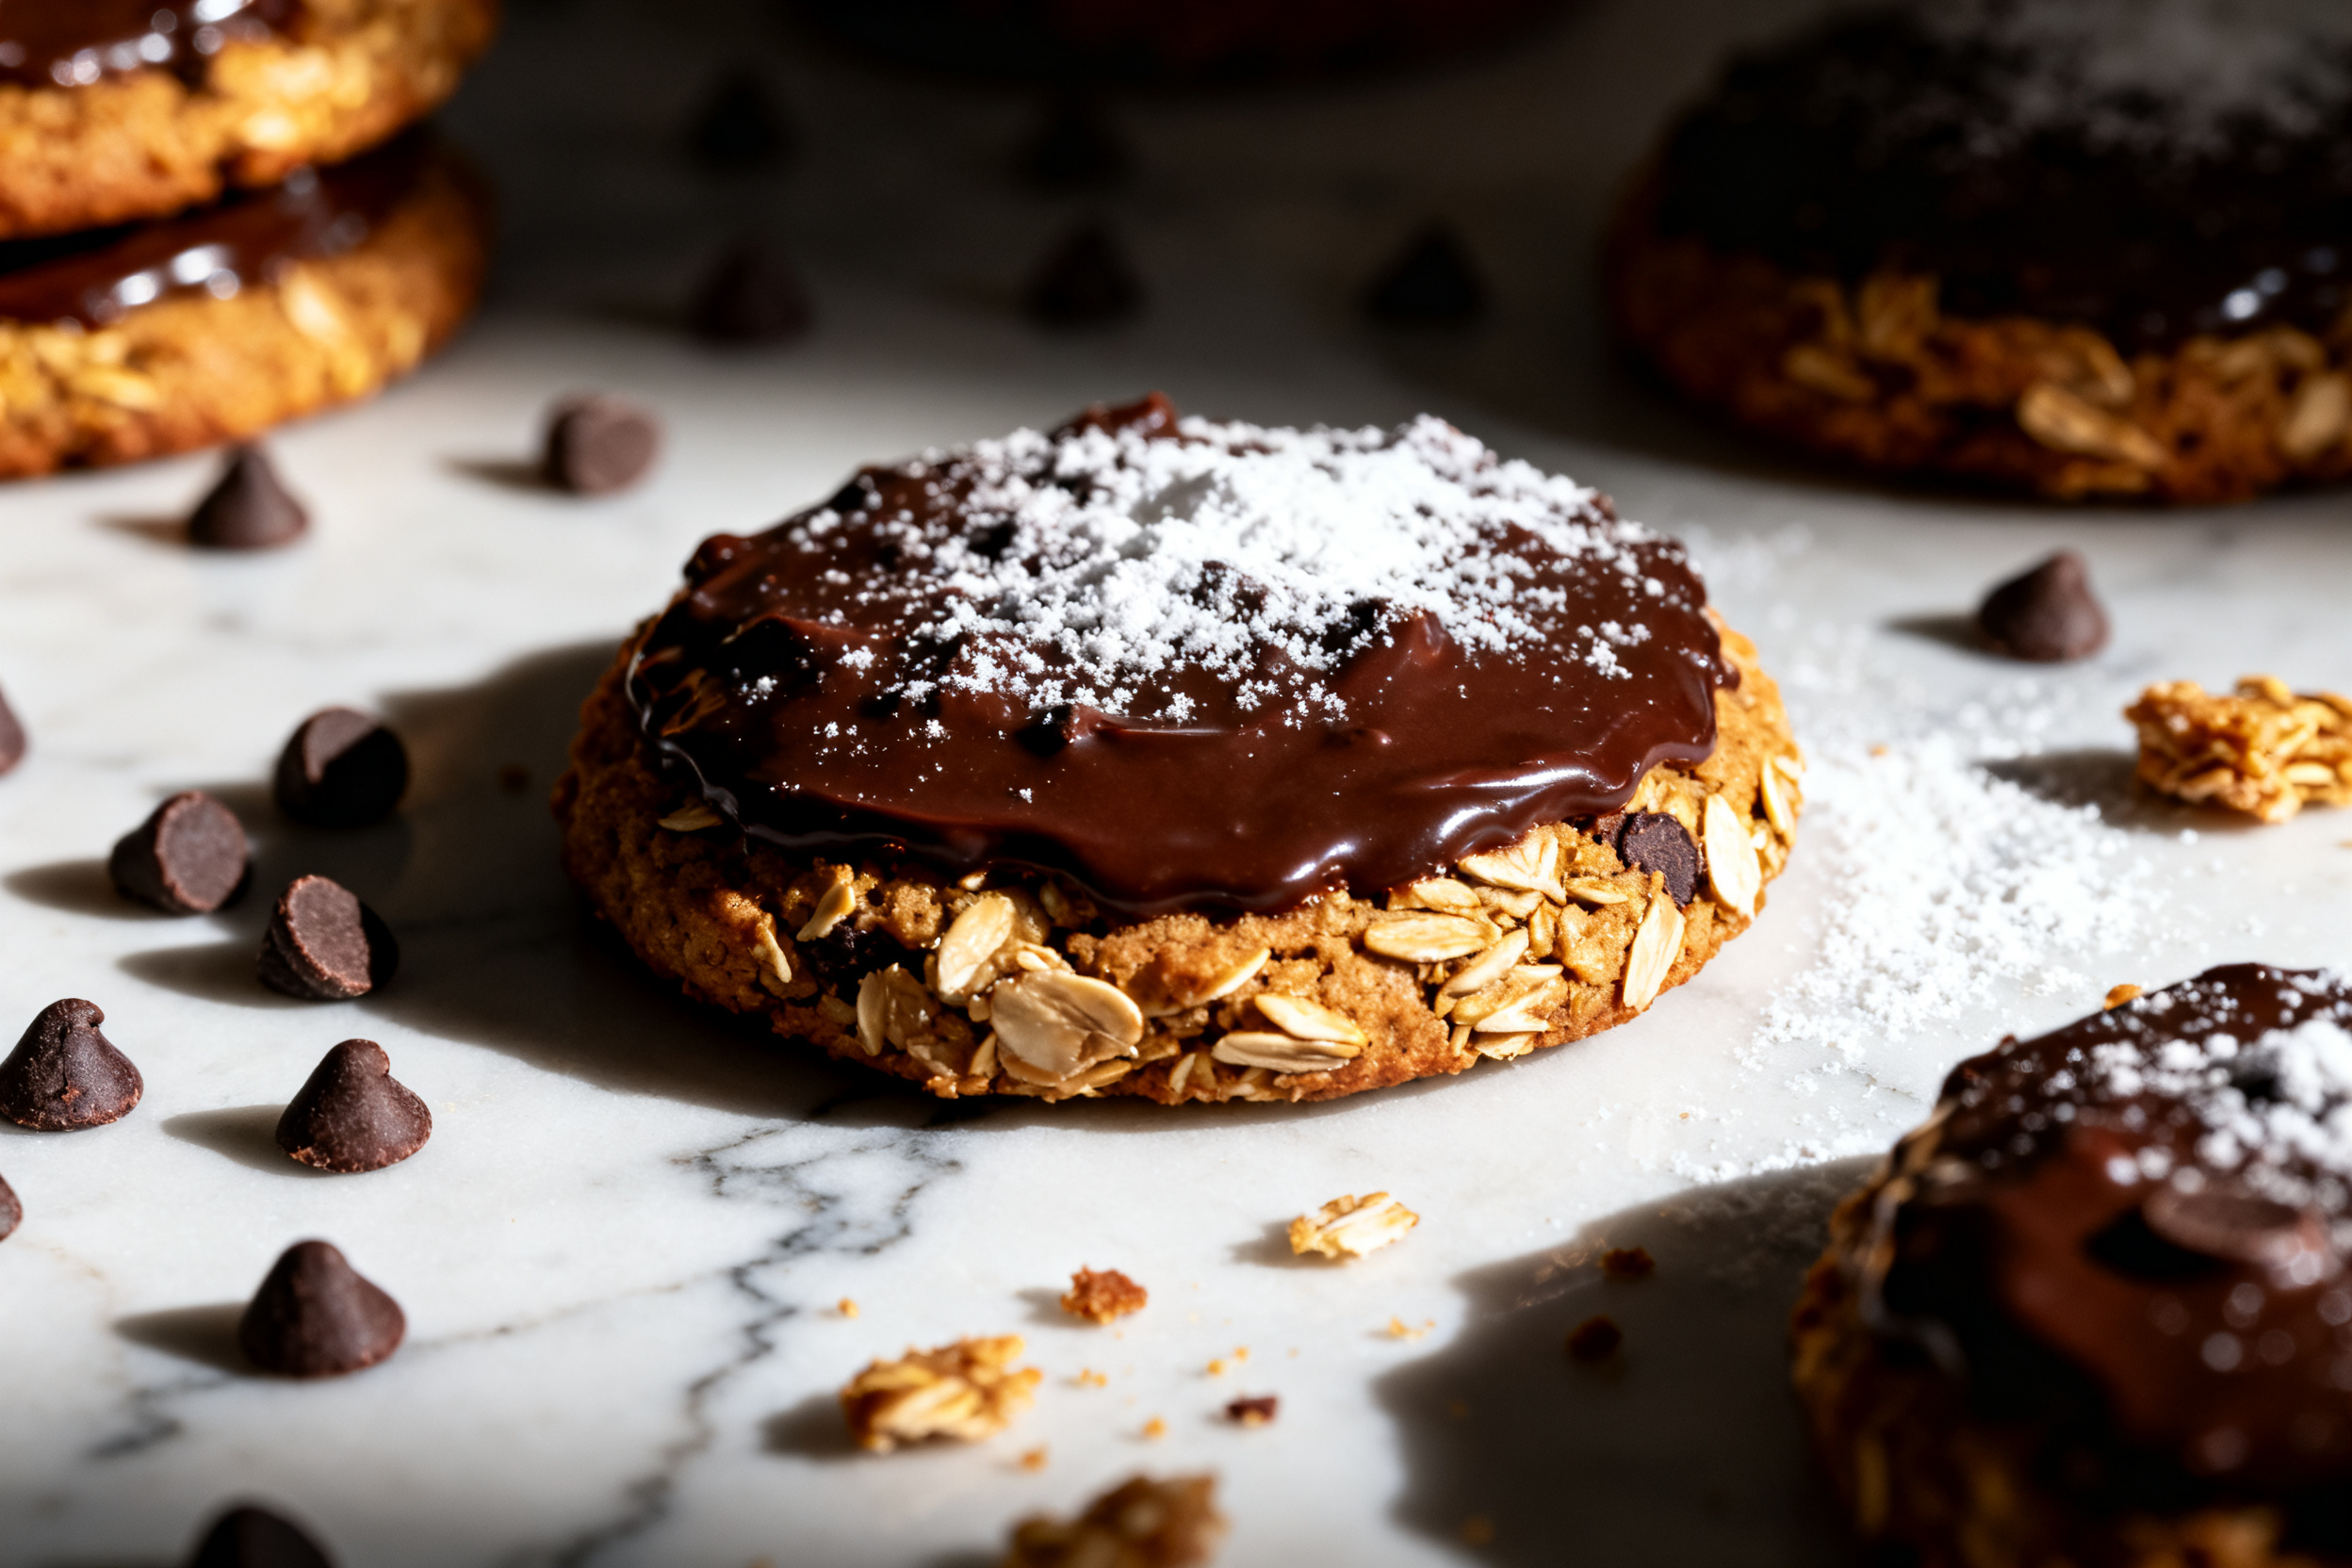
Store these in an airtight container in the fridge for up to a week. They actually taste better on day two — the flavors mellow and deepen.
To freeze, scoop the dough into balls, freeze them solid on a baking sheet, then transfer to a freezer bag. Bake (or rather, thaw) from frozen — they defrost in about 20 minutes at room temp.
You can also freeze the finished cookies. Wrap each one in plastic wrap, then stash in a freezer bag. Grab one whenever you need a five-second dessert.
Make-ahead tip: Prep the dry oat mixture in a jar. When you’re ready, just melt the wet ingredients, stir, and scoop. Dinner party hack, right there.
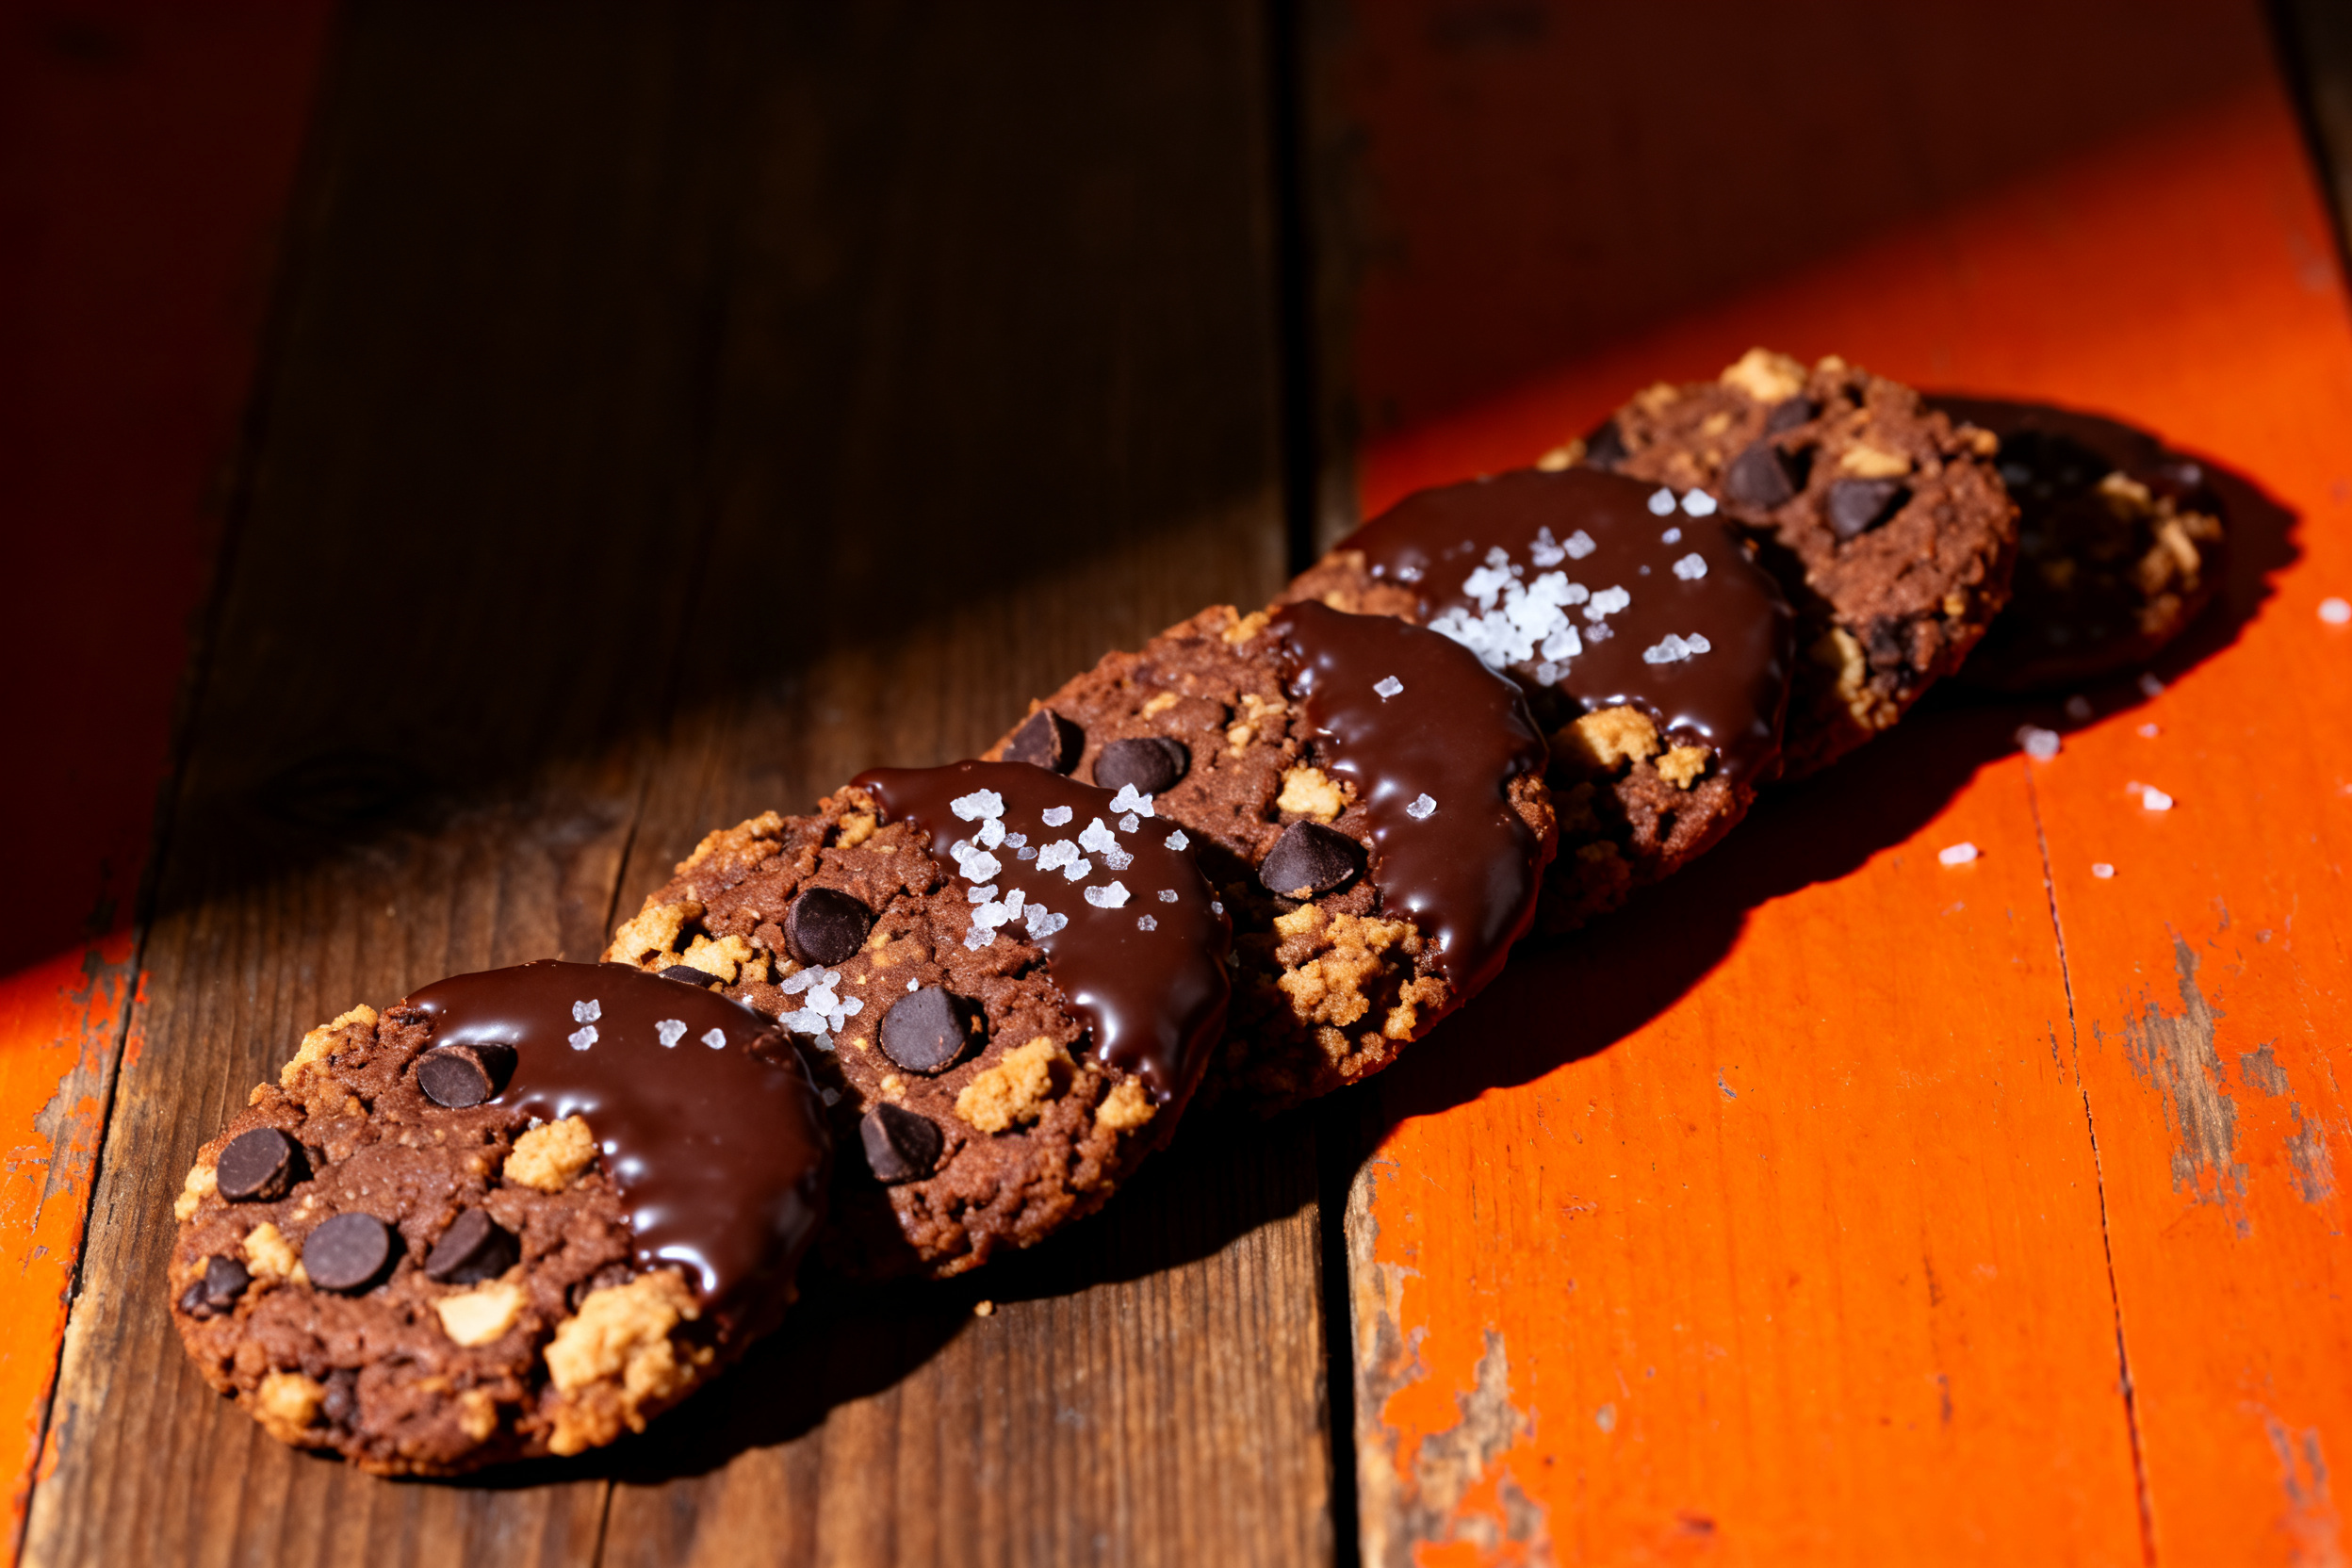
Pro tip: Add a pinch of sea salt on top before chilling. That sweet-salty combo is chef’s kiss.
5. Serving suggestions (complete the meal)
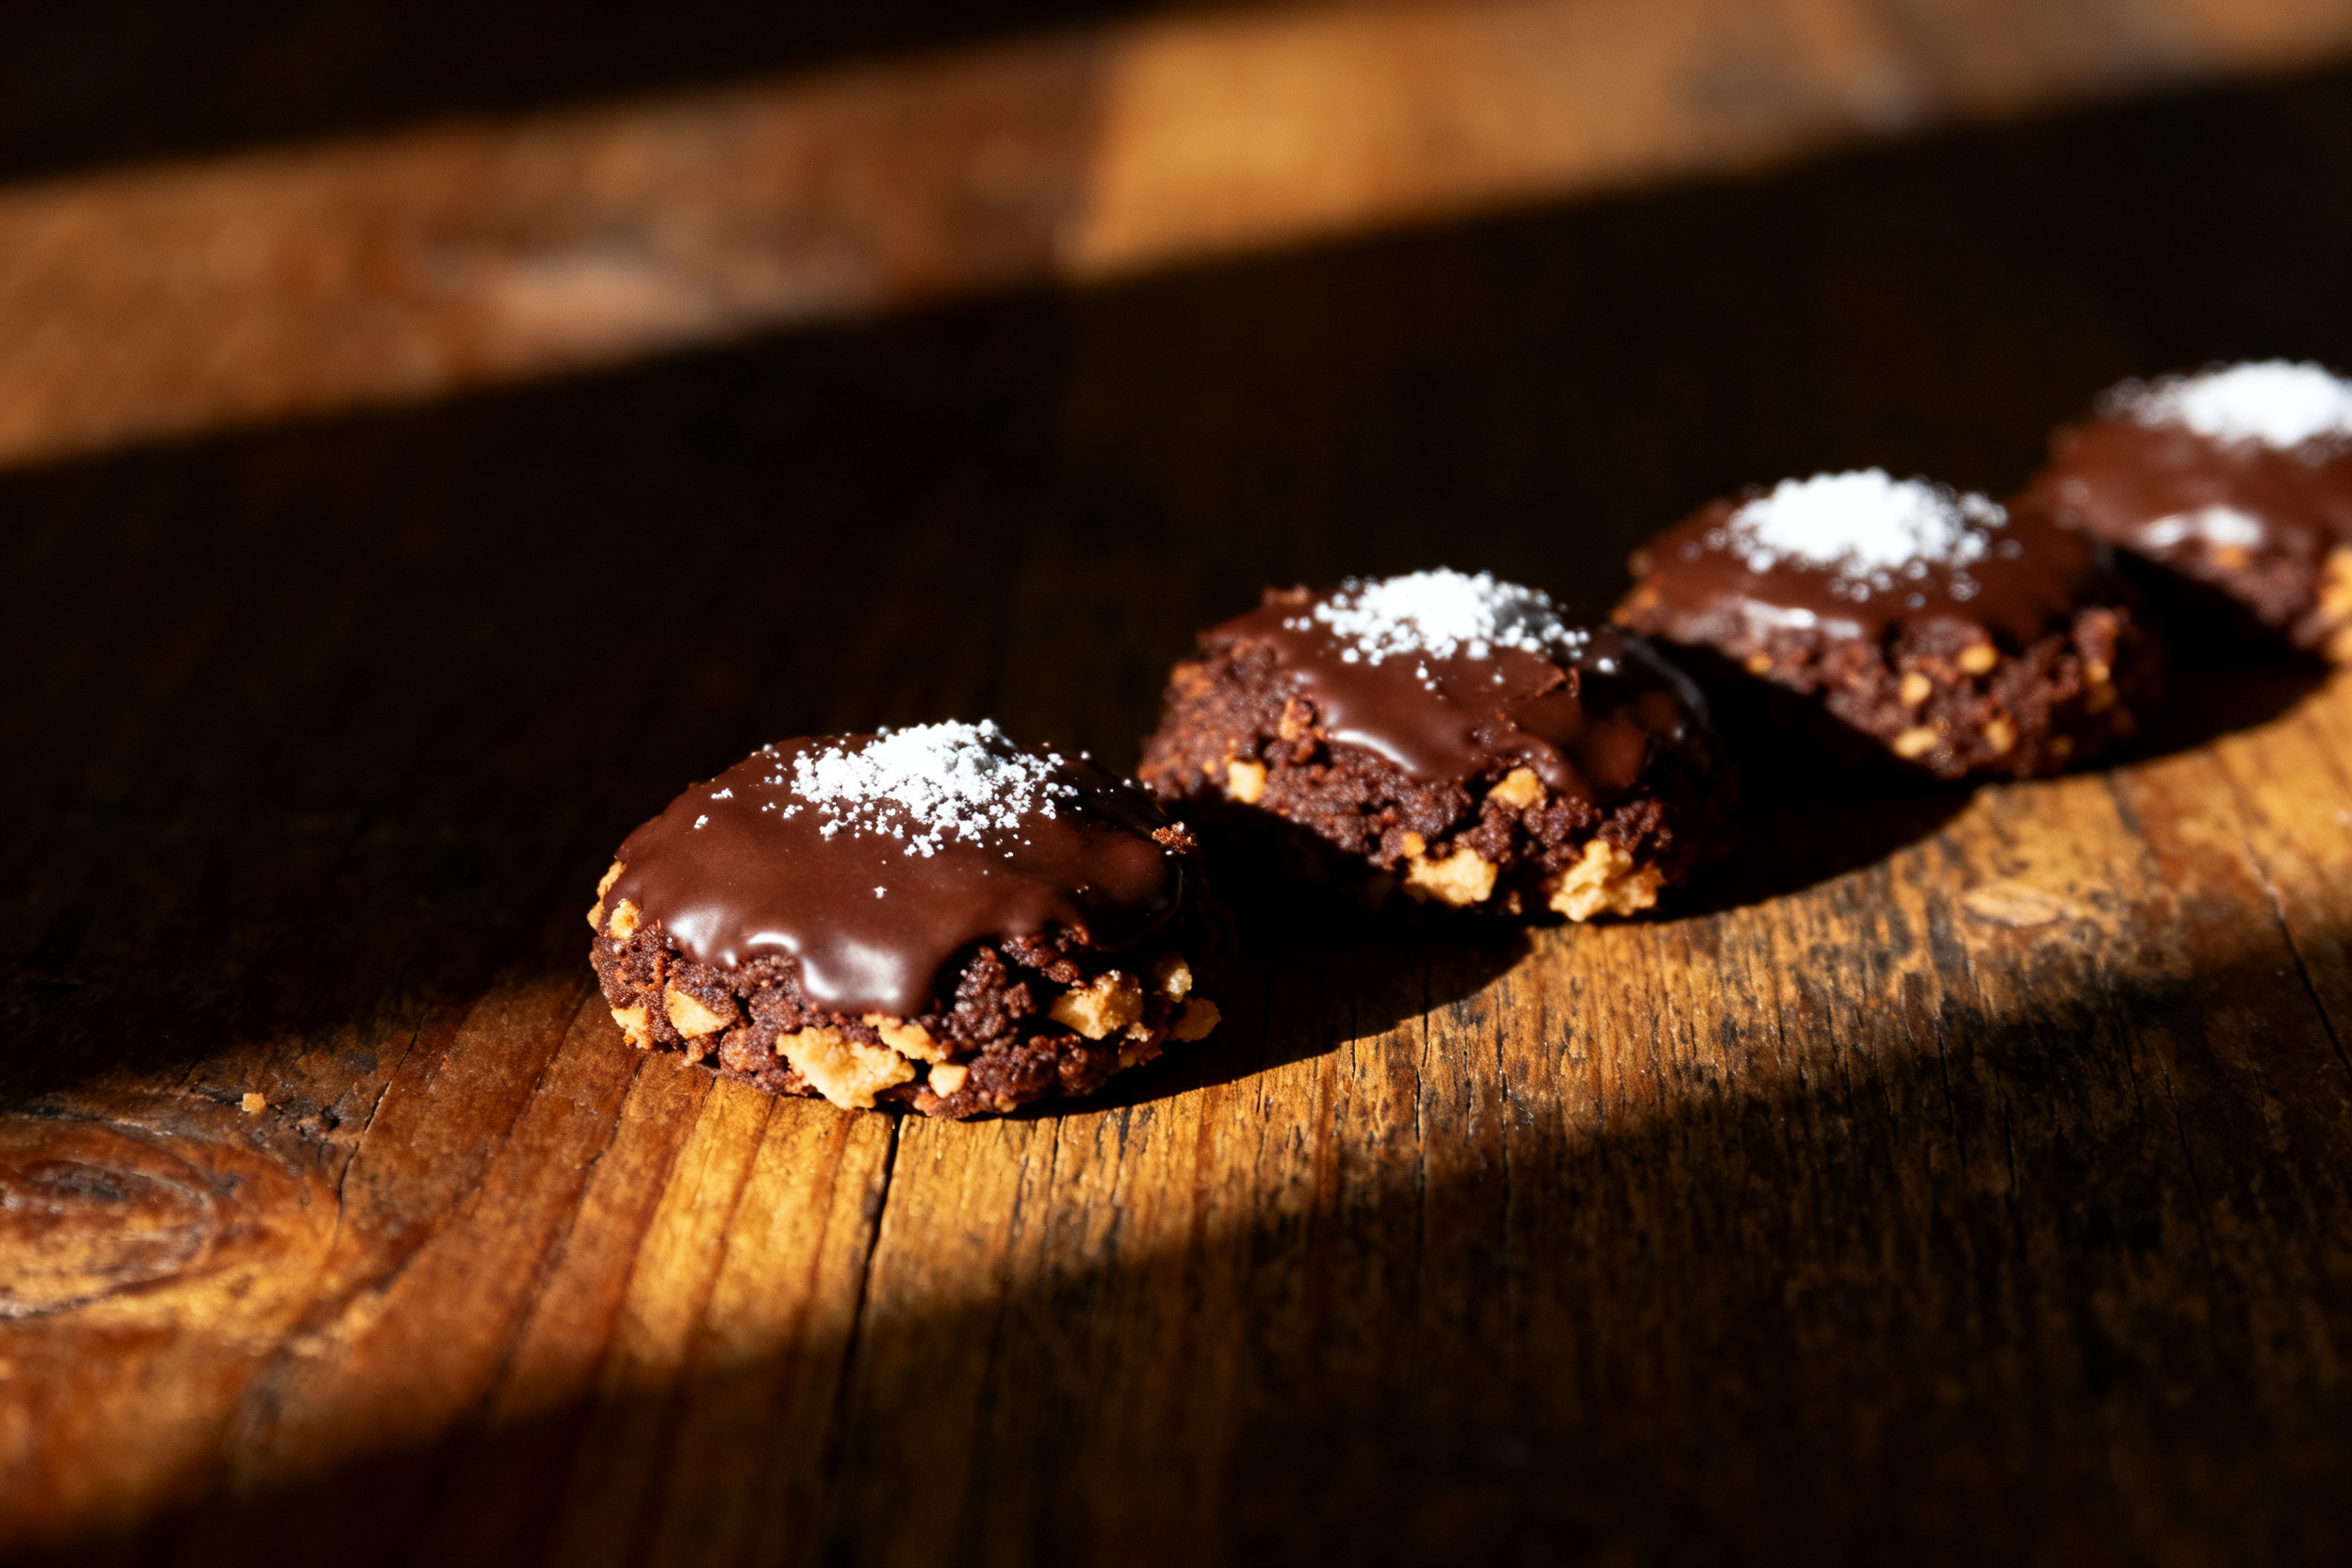
These cookies are a dessert on their own, but they play well with others. Serve them alongside a scoop of vanilla ice cream or a dollop of whipped cream.
For a breakfast-style treat (no judgment), crumble one over Greek yogurt with some fresh berries. The chocolate and peanut butter work surprisingly well with tart fruit.
Hosting a party? Stack them on a platter with a few fresh mint leaves and a drizzle of melted white chocolate. Instant wow factor.
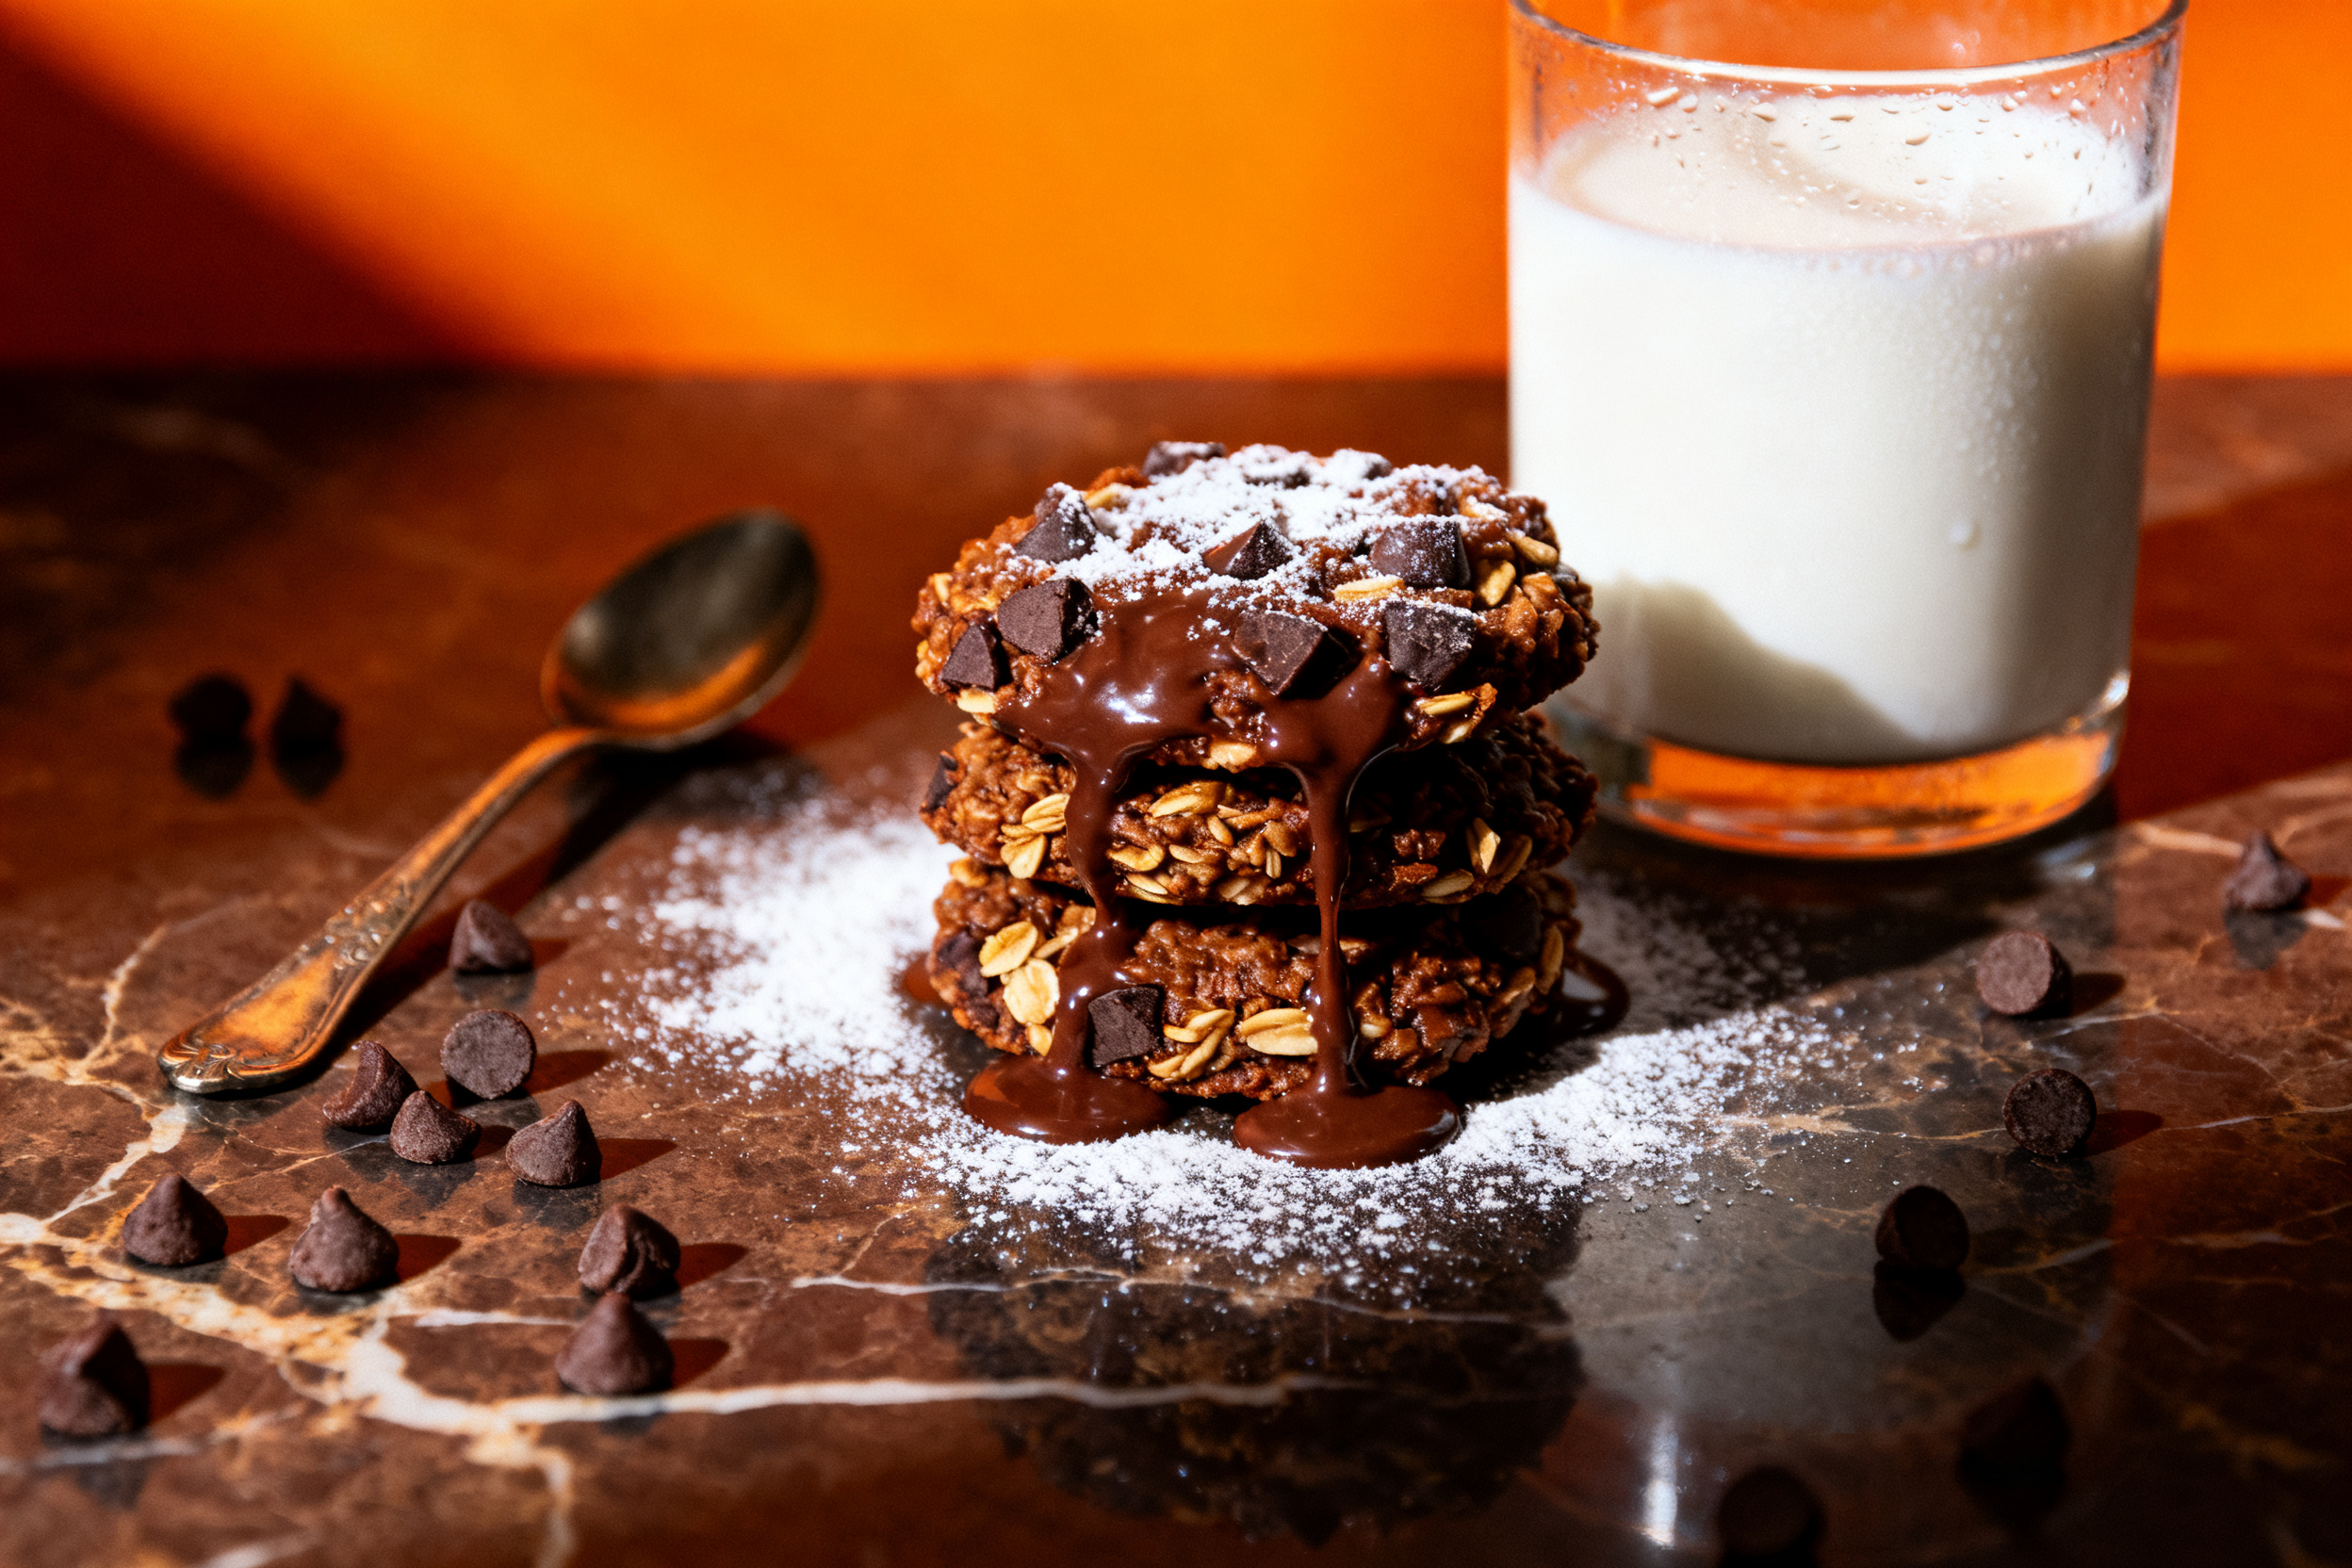
They also pair beautifully with a cold glass of oat milk or a strong iced coffee. Dip, crunch, repeat.
Need a quick lunchbox treat? Toss a couple in a container with some apple slices and pretzels. Your kid (or you) will be thrilled.
Feeling fancy? Sandwich two cookies with a layer of marshmallow fluff or chocolate hazelnut spread. Hello, overload.
6. Use your leftovers
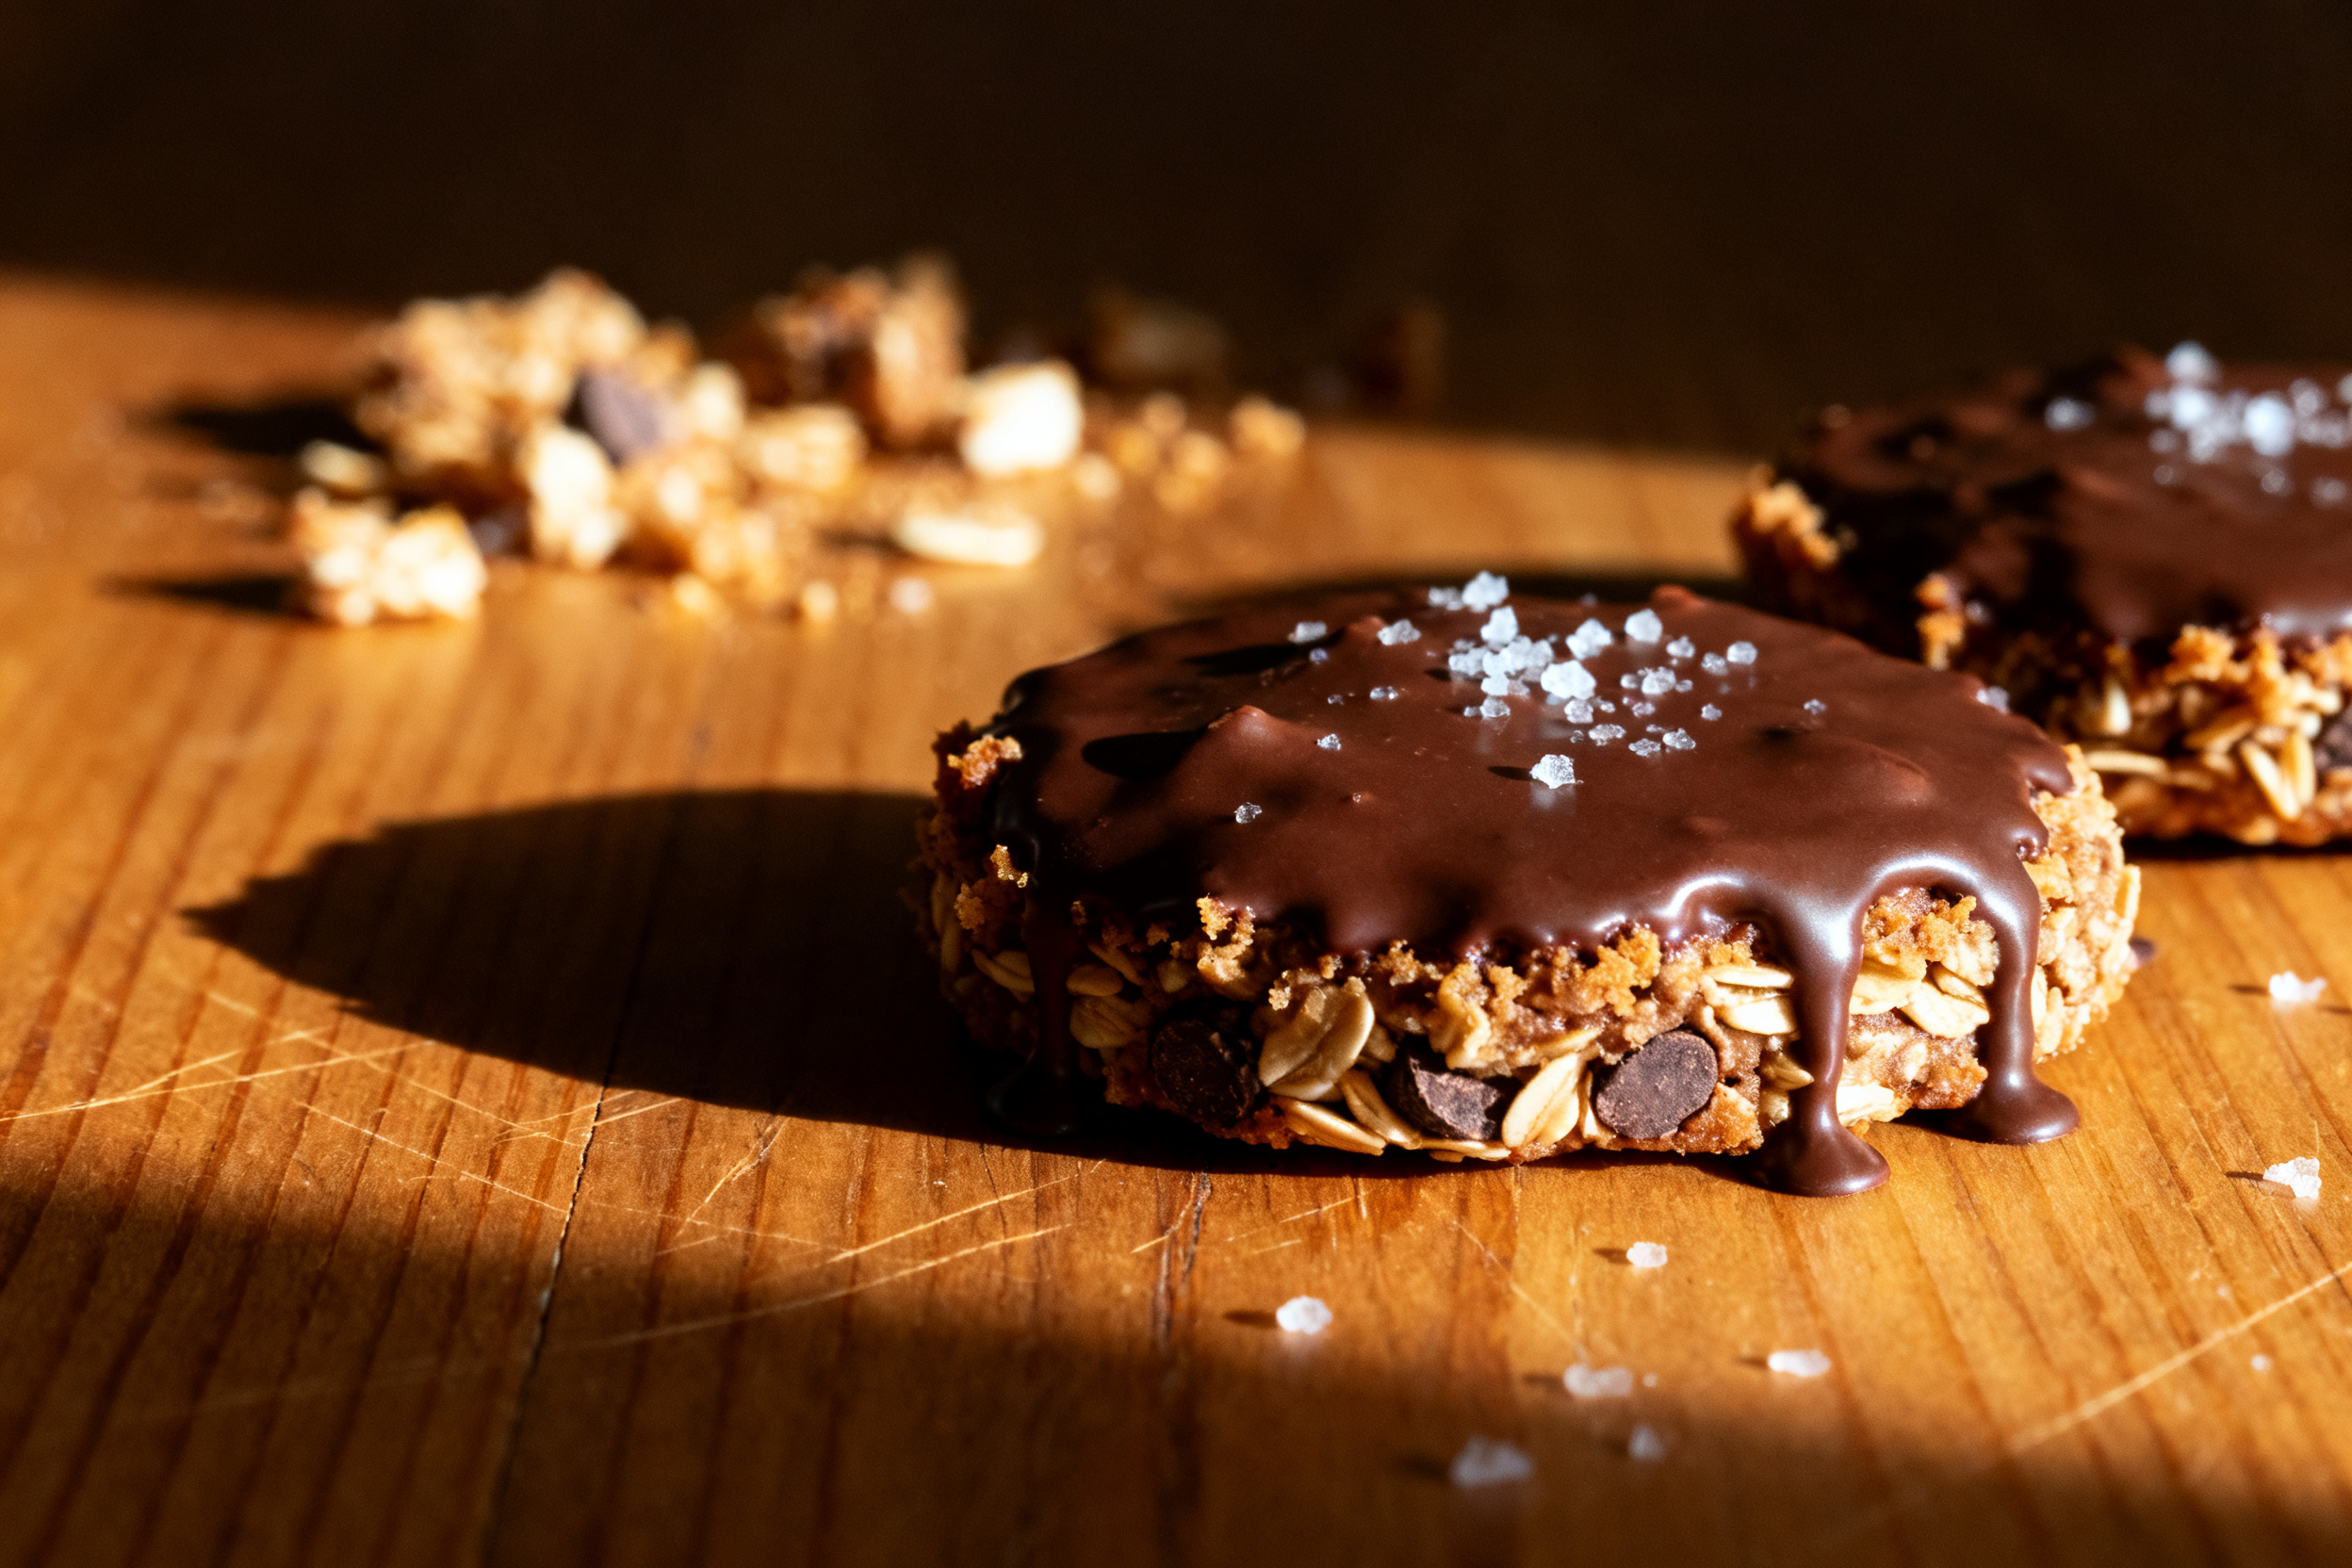
If you somehow don’t devour them all, crumble leftover cookies over banana nice cream or into a bowl of oatmeal. Instant upgrade.
You can also pulse them in a food processor to make a crust for no-bake cheesecake or chocolate pie. Just add a tablespoon of melted butter to bind it.
Stale cookies? No problem. Microwave them for about 10 seconds — they’ll soften right up. Or dunk them in milk like the lazy rebel you are.
7. Common mistakes & how to fix them
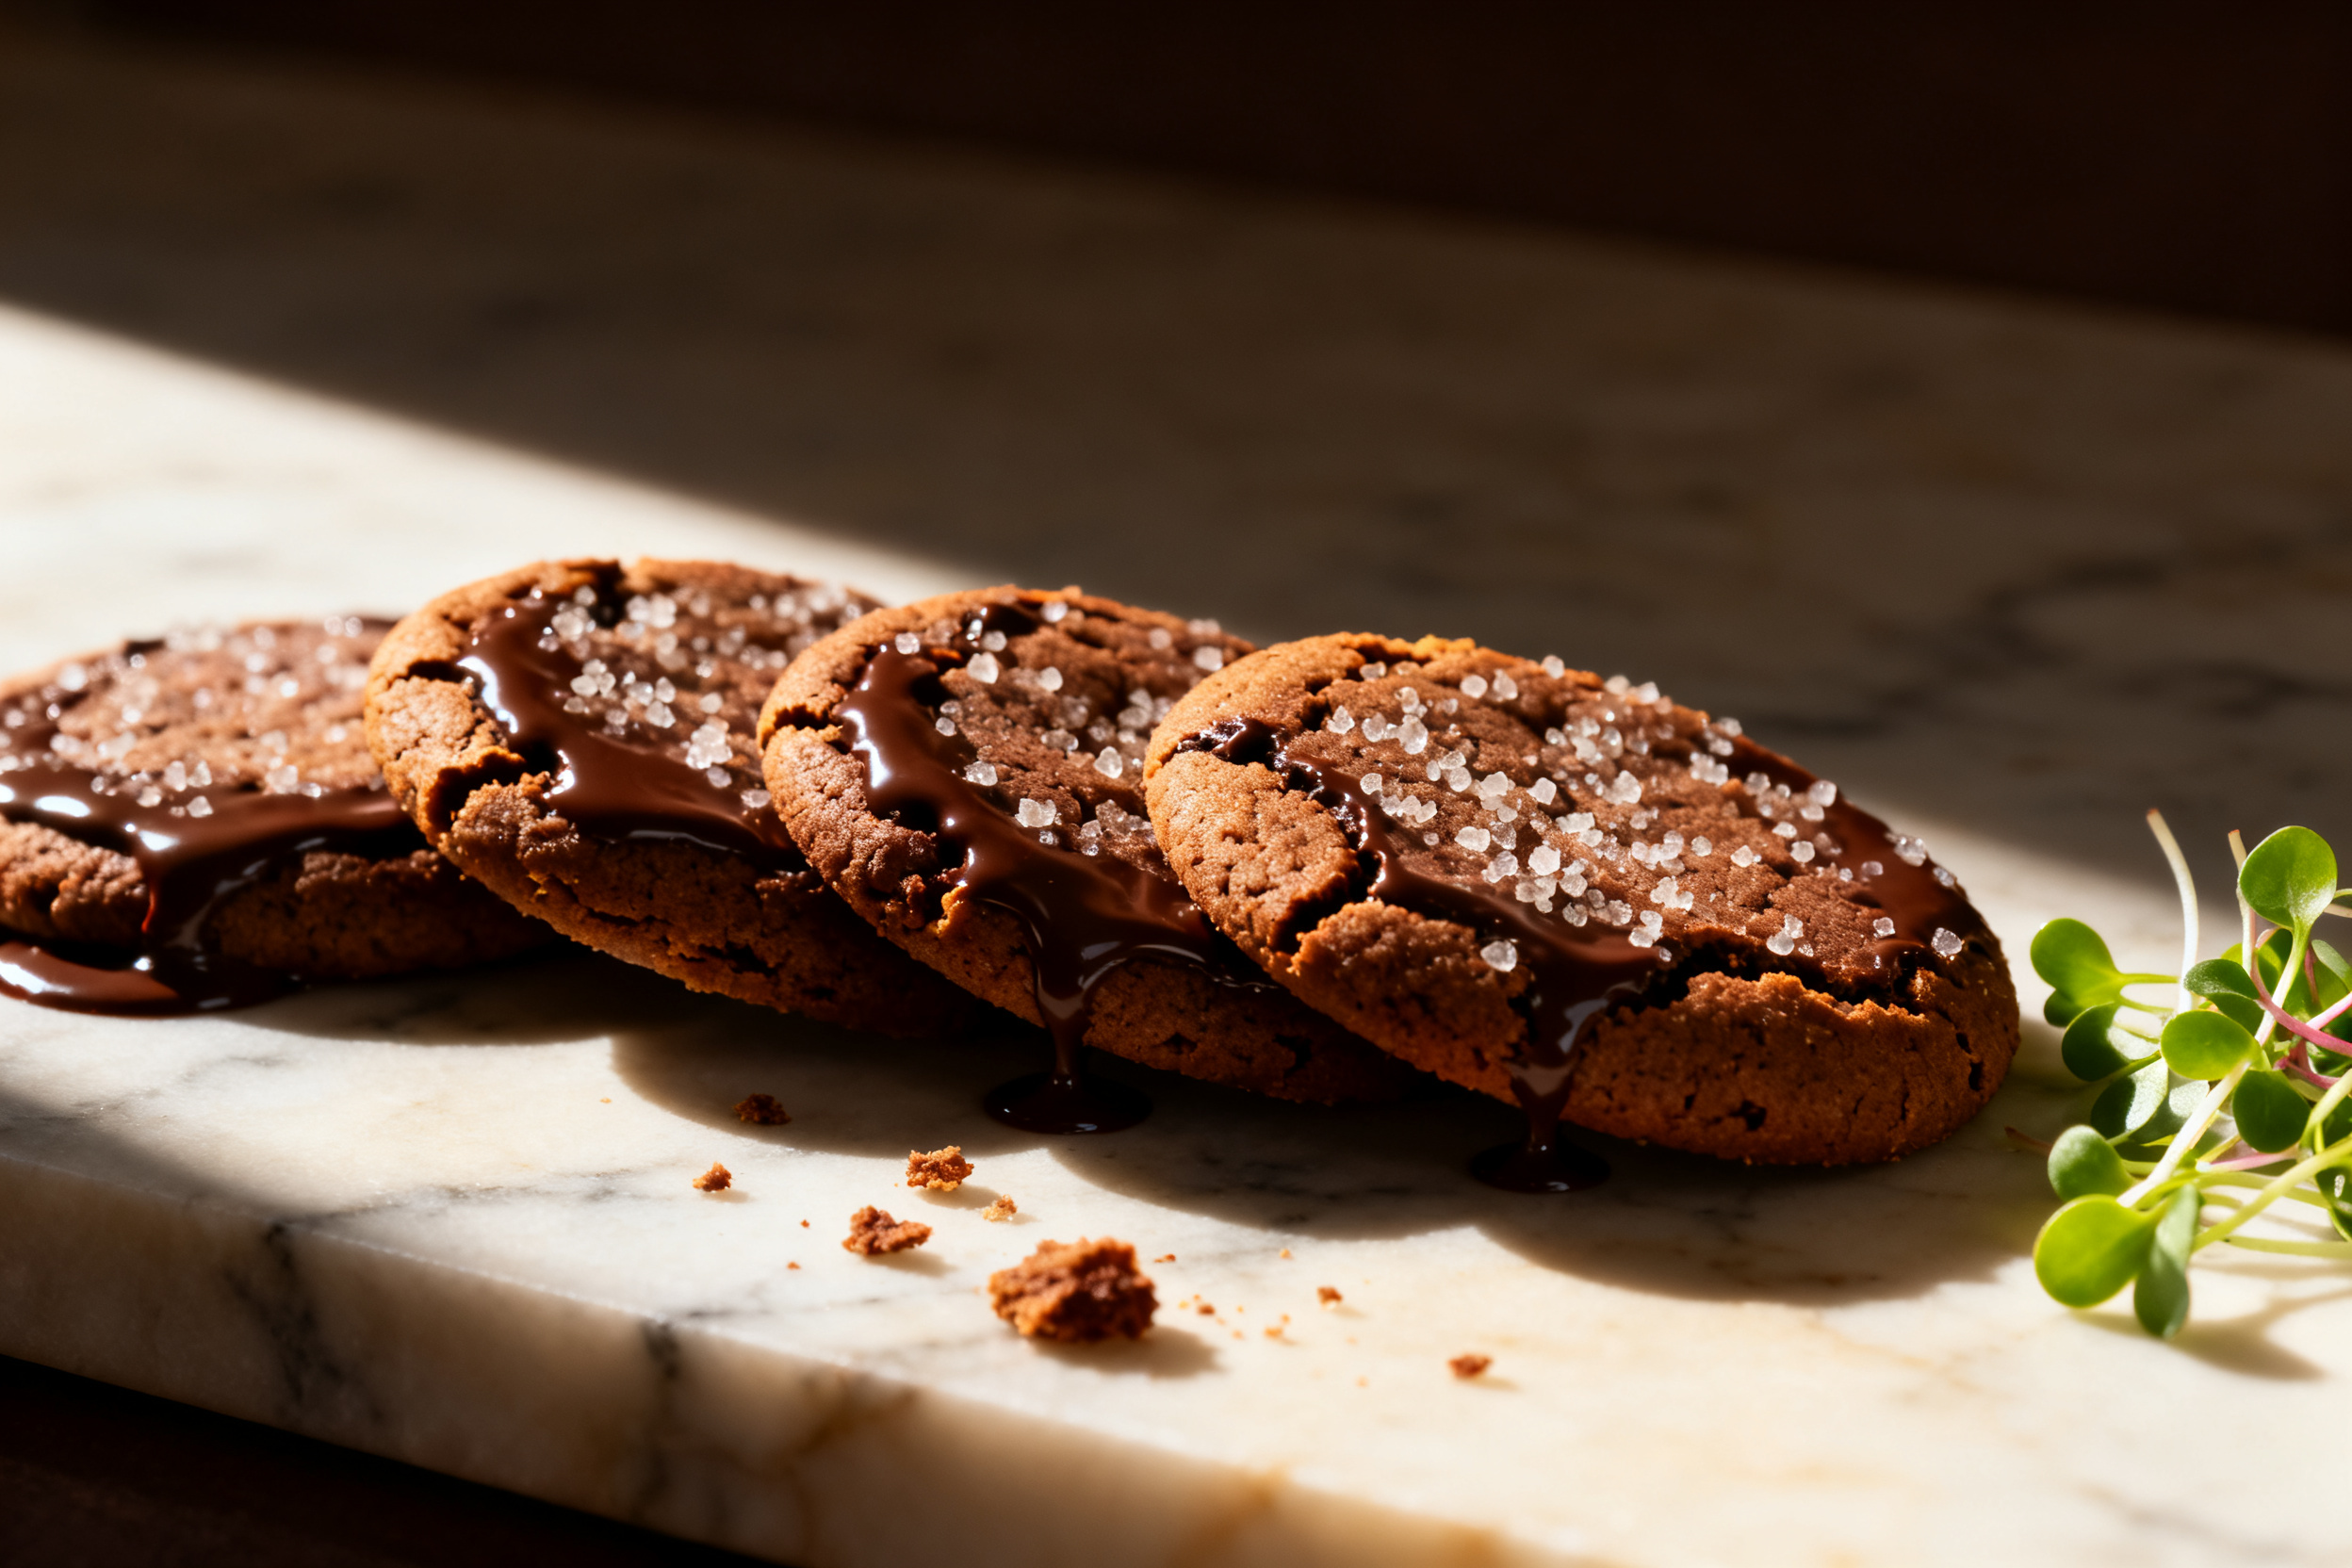
Cookies too dry and crumbly? You probably boiled the mixture too long or added too many oats. Next time, reduce the boil time by 30 seconds and use exactly 1 ½ cups oats.
Cookies too soft and sticky? Your mixture didn’t cool enough before scooping, or you didn’t chill long enough. Pop the whole bowl in the fridge for 30 minutes and try again.
Mixture separating? That’s usually from natural peanut butter that hadn’t been stirred enough. Always stir natural peanut butter well before measuring.
Cookies taste bland? A pinch of salt makes a huge difference. Also check your cocoa powder — old or low-quality cocoa can be flat. Splurge on a good brand once, and you’ll taste the difference.
They stuck to the pan? Line your baking sheet with parchment paper or a silicone mat. No greasing needed — these cookies are oily enough.
My cookies look lumpy? That’s just oat texture. Embrace it. But if you want a smoother cookie, pulse the oats a few times in a food processor before adding them.
8. Variations by diet or flavor profile
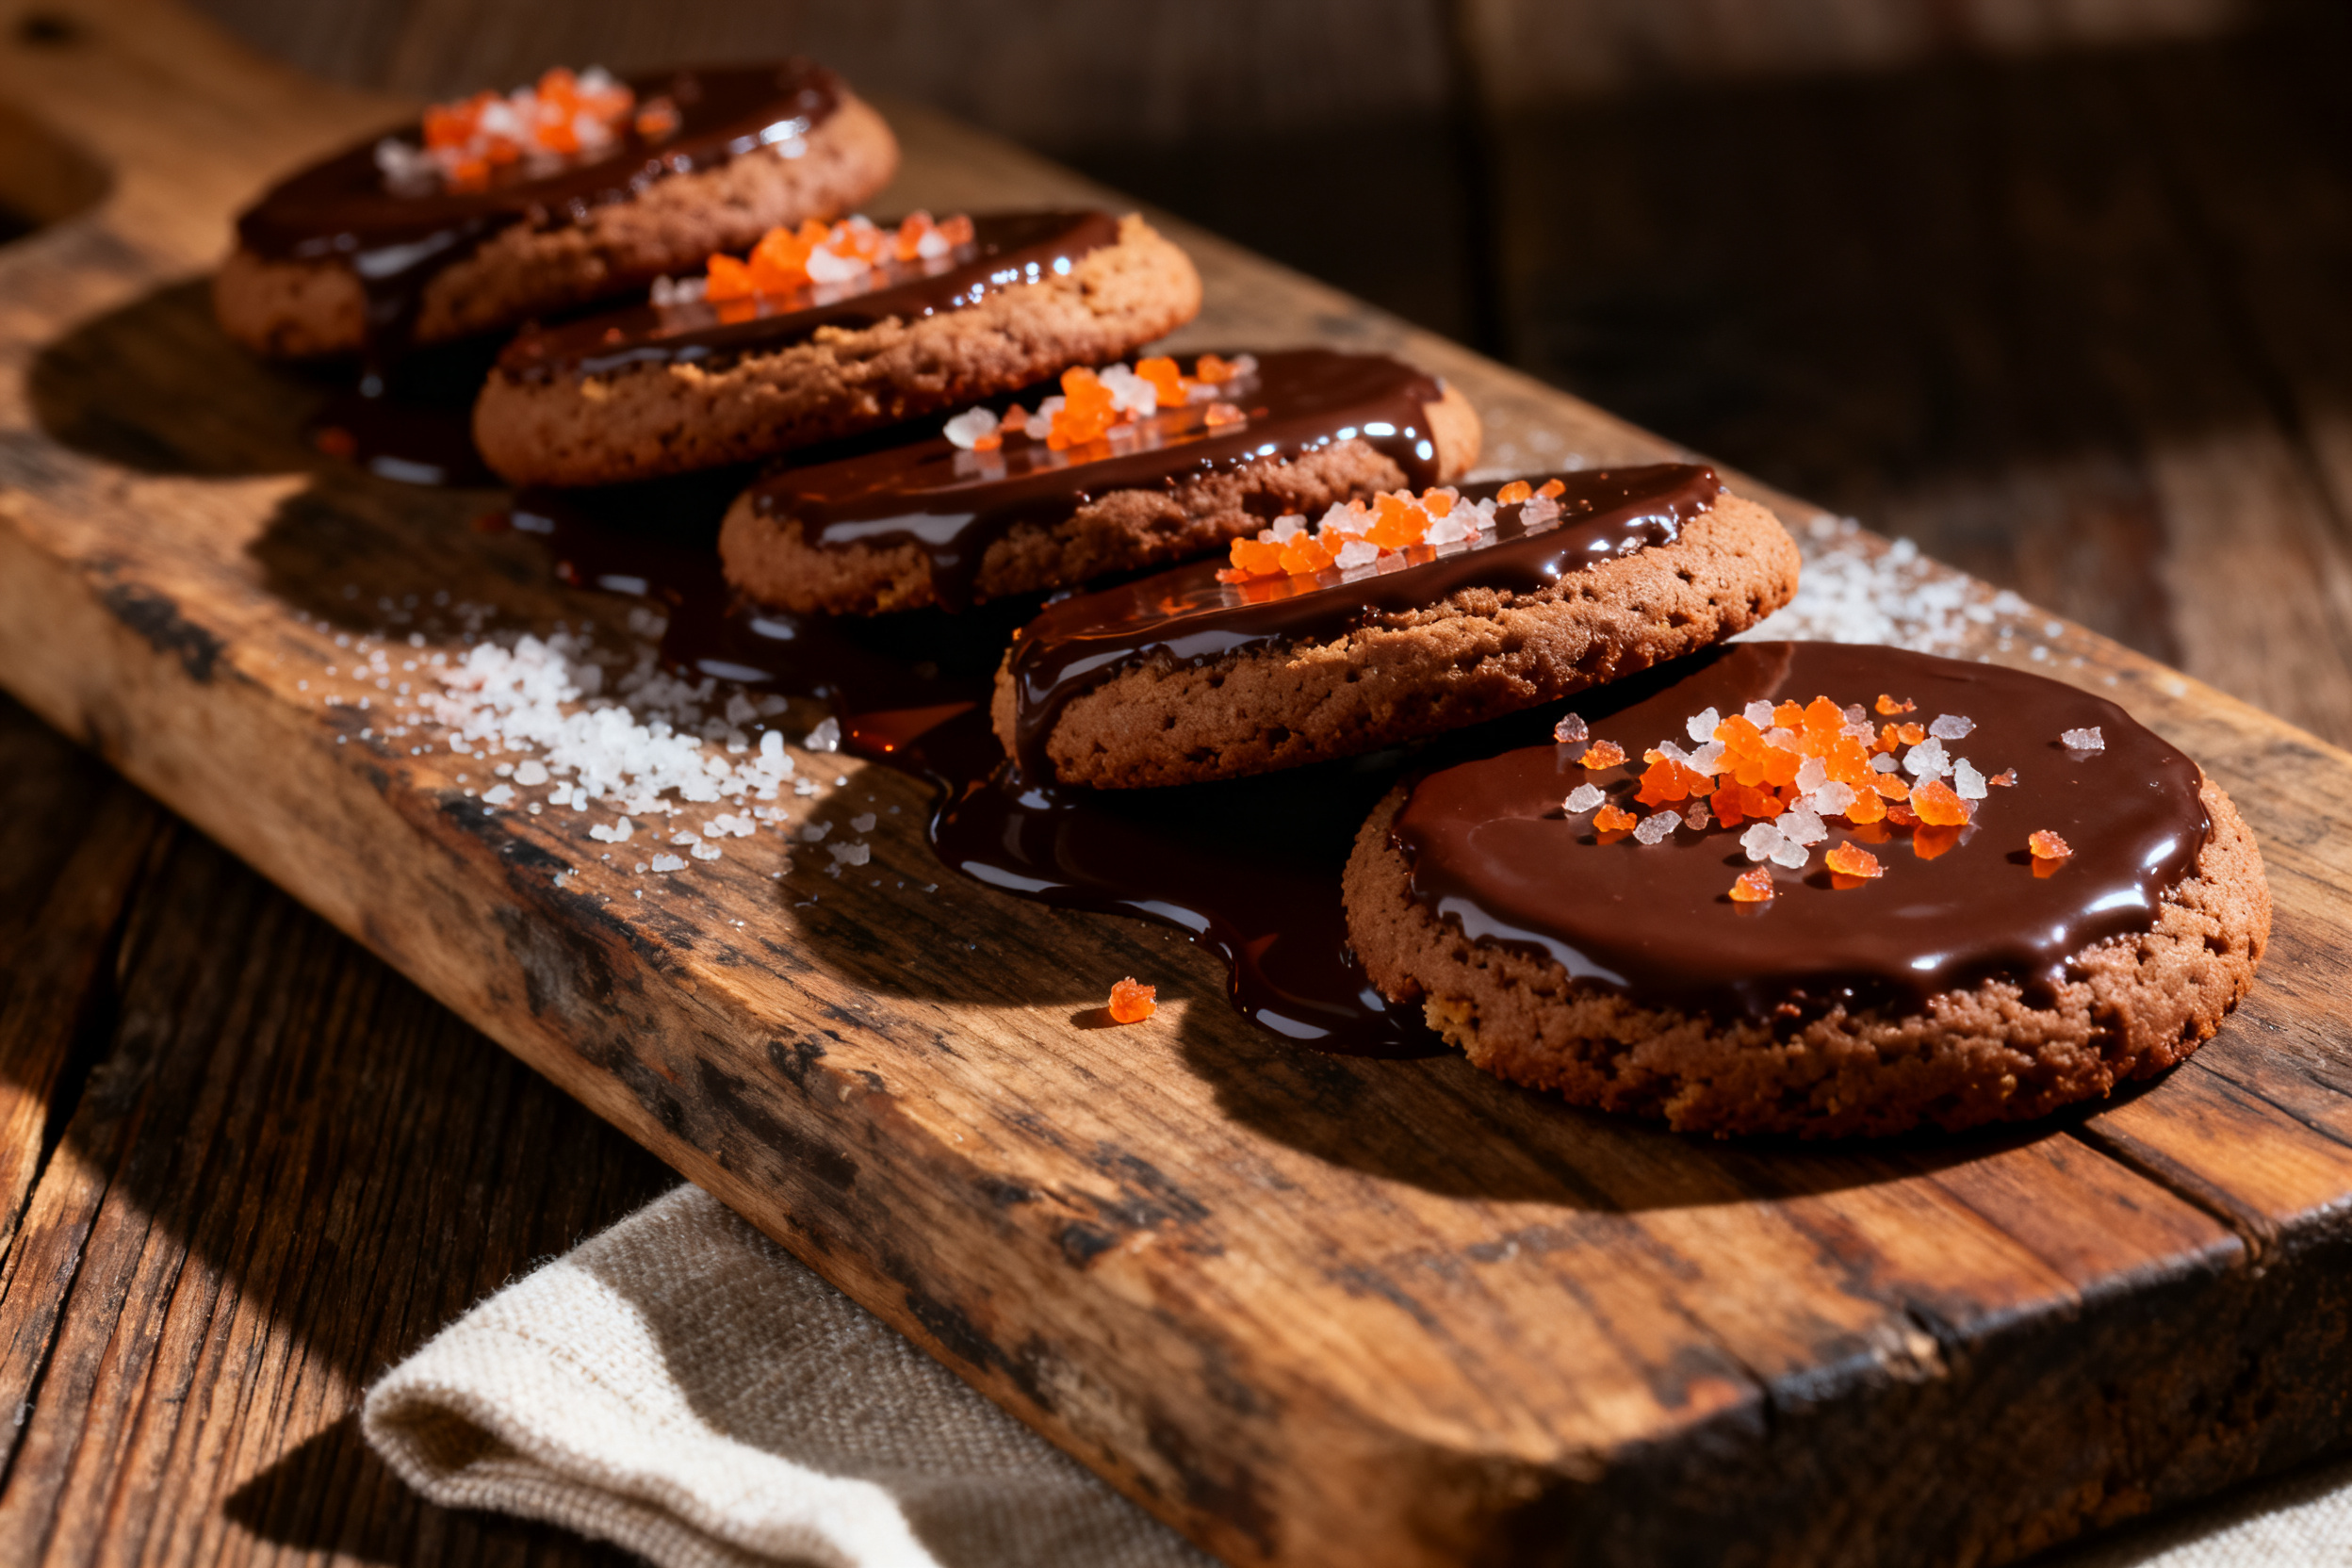
Vegan version: Use vegan butter and any plant milk. Also swap the peanut butter for almond butter or sunbutter — all work great. The cookies will be slightly softer but just as addictive.
Gluten-free version: Certified gluten-free rolled oats are all you need. Everything else is naturally gluten-free. Double-check your cocoa powder label, though.
Low-sugar version: Replace the granulated sugar with a monk fruit blend or erythritol. Reduce the milk by a tablespoon because sugar alternatives are less liquid. The texture will be a bit more crumbly, but the chocolate flavor shines.
Flavor boosters: Stir in a teaspoon of vanilla extract or a pinch of cinnamon. For a minty twist, add ¼ teaspoon peppermint extract. Craving coconut? Fold in ½ cup shredded coconut along with the oats.
9. Why this recipe works (the science)
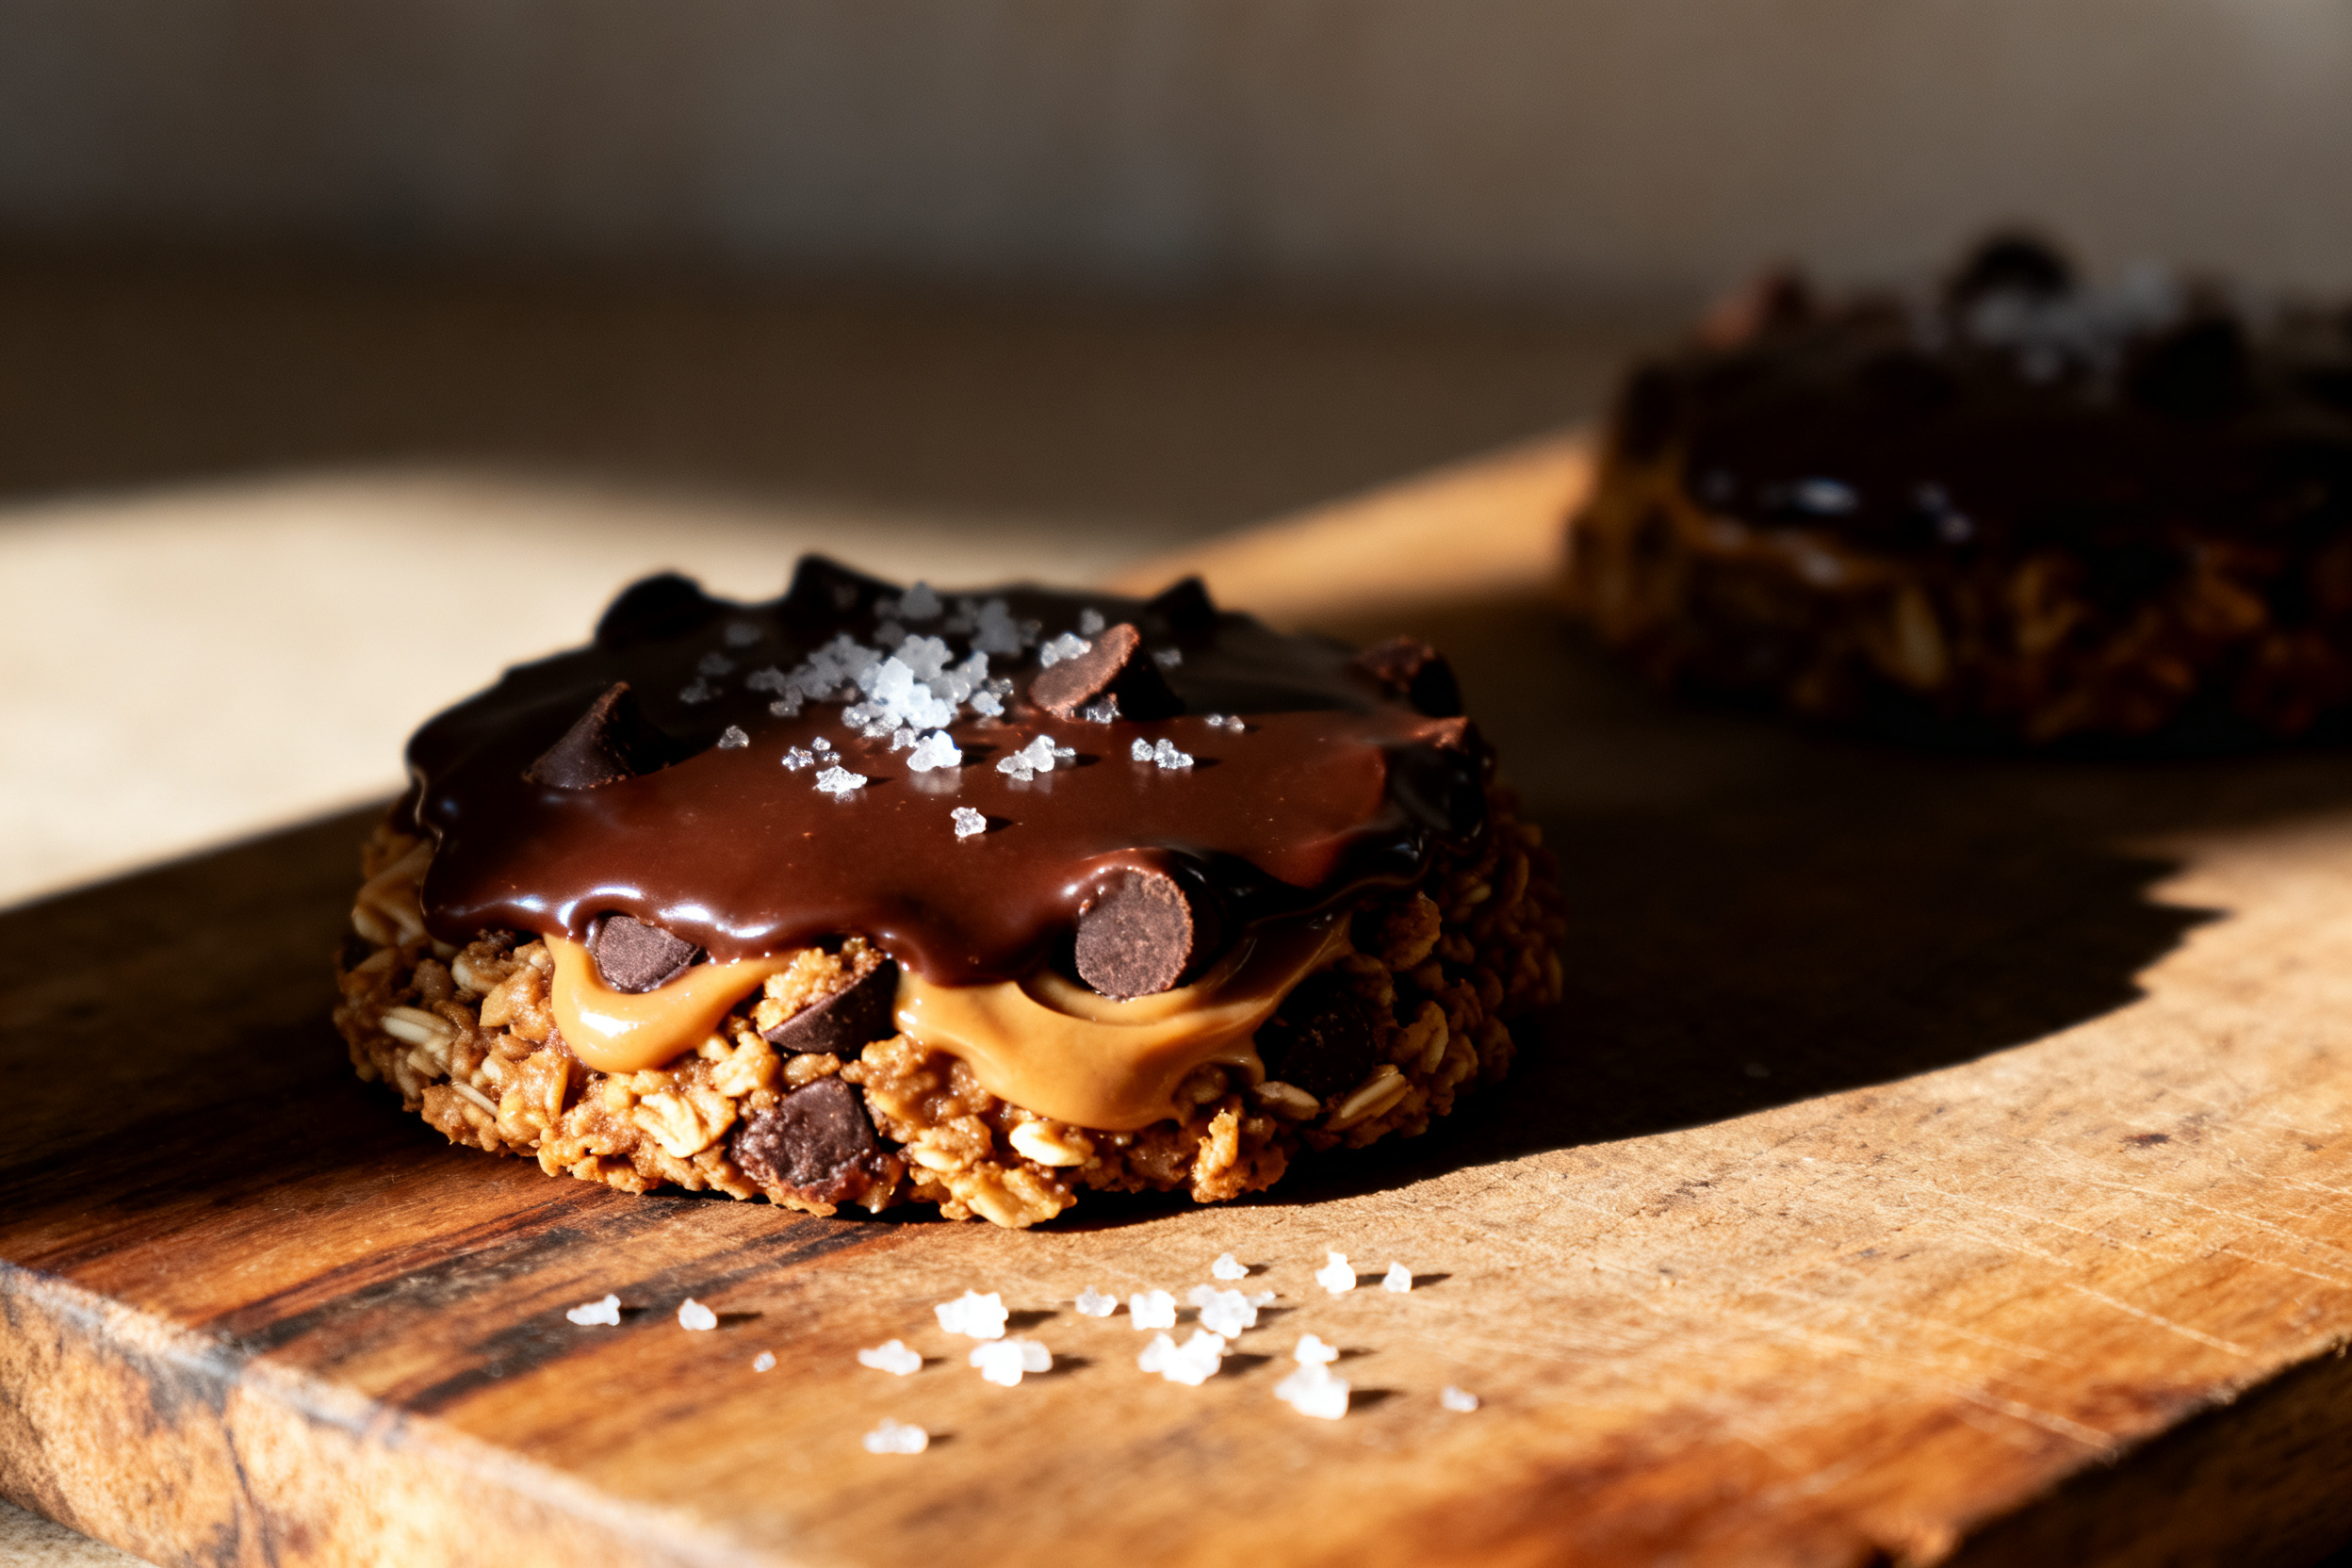
The magic happens when the butter, sugar, milk, and cocoa are melted together and brought to a brief boil. This step fully dissolves the sugar and hydrates the cocoa, creating a silky, glossy fudge base.
When you stir in the oats, they absorb some of the liquid and swell slightly. As the mixture cools, the butter solidifies and the sugar recrystallizes, binding everything into a chewy, firm cookie.
The peanut butter acts as both a flavor and a stabilizer — its protein and fat help hold the structure without making the cookies greasy. That’s why you don’t need eggs or flour.
10. Frequently Asked Questions (FAQ)
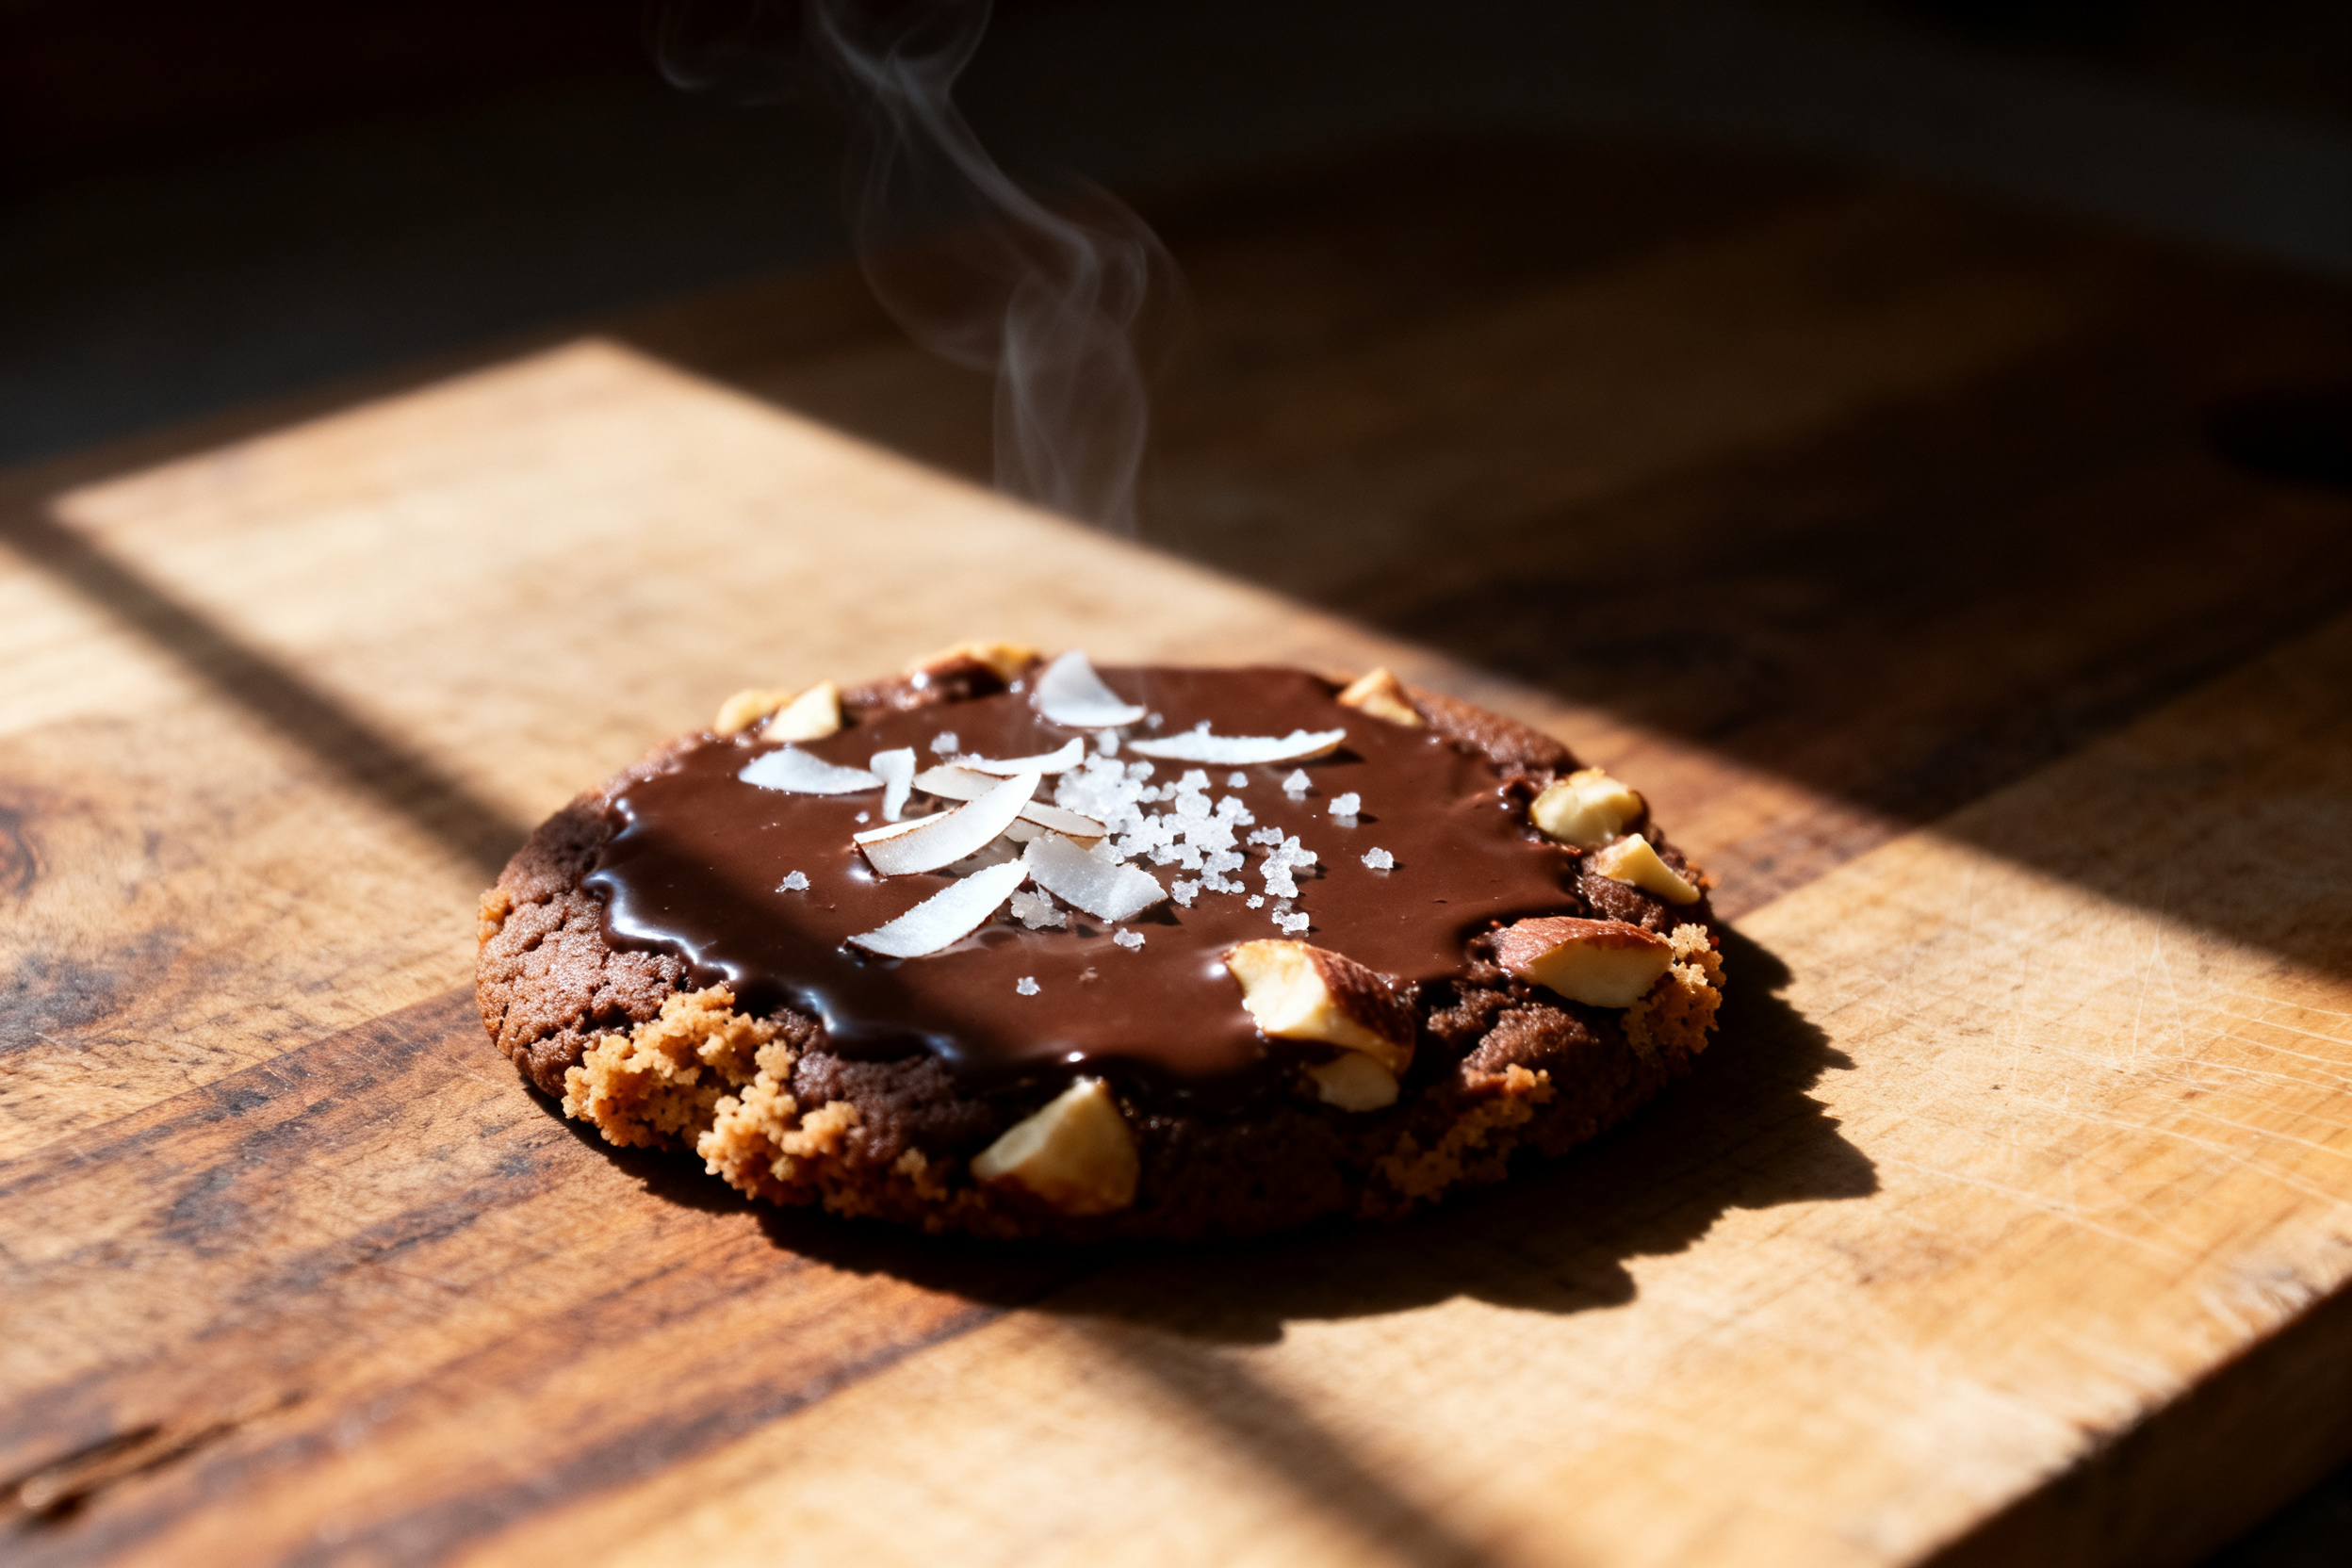
Can I use quick oats instead of rolled oats? Yes. Quick oats will give a softer, more uniform texture. The cookies might spread a bit more, but they’ll still taste amazing.
My cookies didn’t set. What happened? The mixture likely wasn’t boiled long enough, or you added too much liquid. Make sure it comes to a gentle boil — bubbling across the surface — for exactly 60 seconds.
Can I make these without peanut butter? Absolutely. Use sunflower seed butter, almond butter, or even cookie butter. The fat content should be similar. Sunbutter may turn the cookies slightly green from a natural reaction — it’s harmless.
How do I make them extra fudgy? Add 1 tablespoon of melted dark chocolate (or chocolate chips) along with the butter. It boosts the richness and gives a denser, truffle-like center.
Can I double the recipe? Yes. Just use a larger pot and give the mixture a little extra time to come to a boil. No other adjustments needed.
11. Call to action
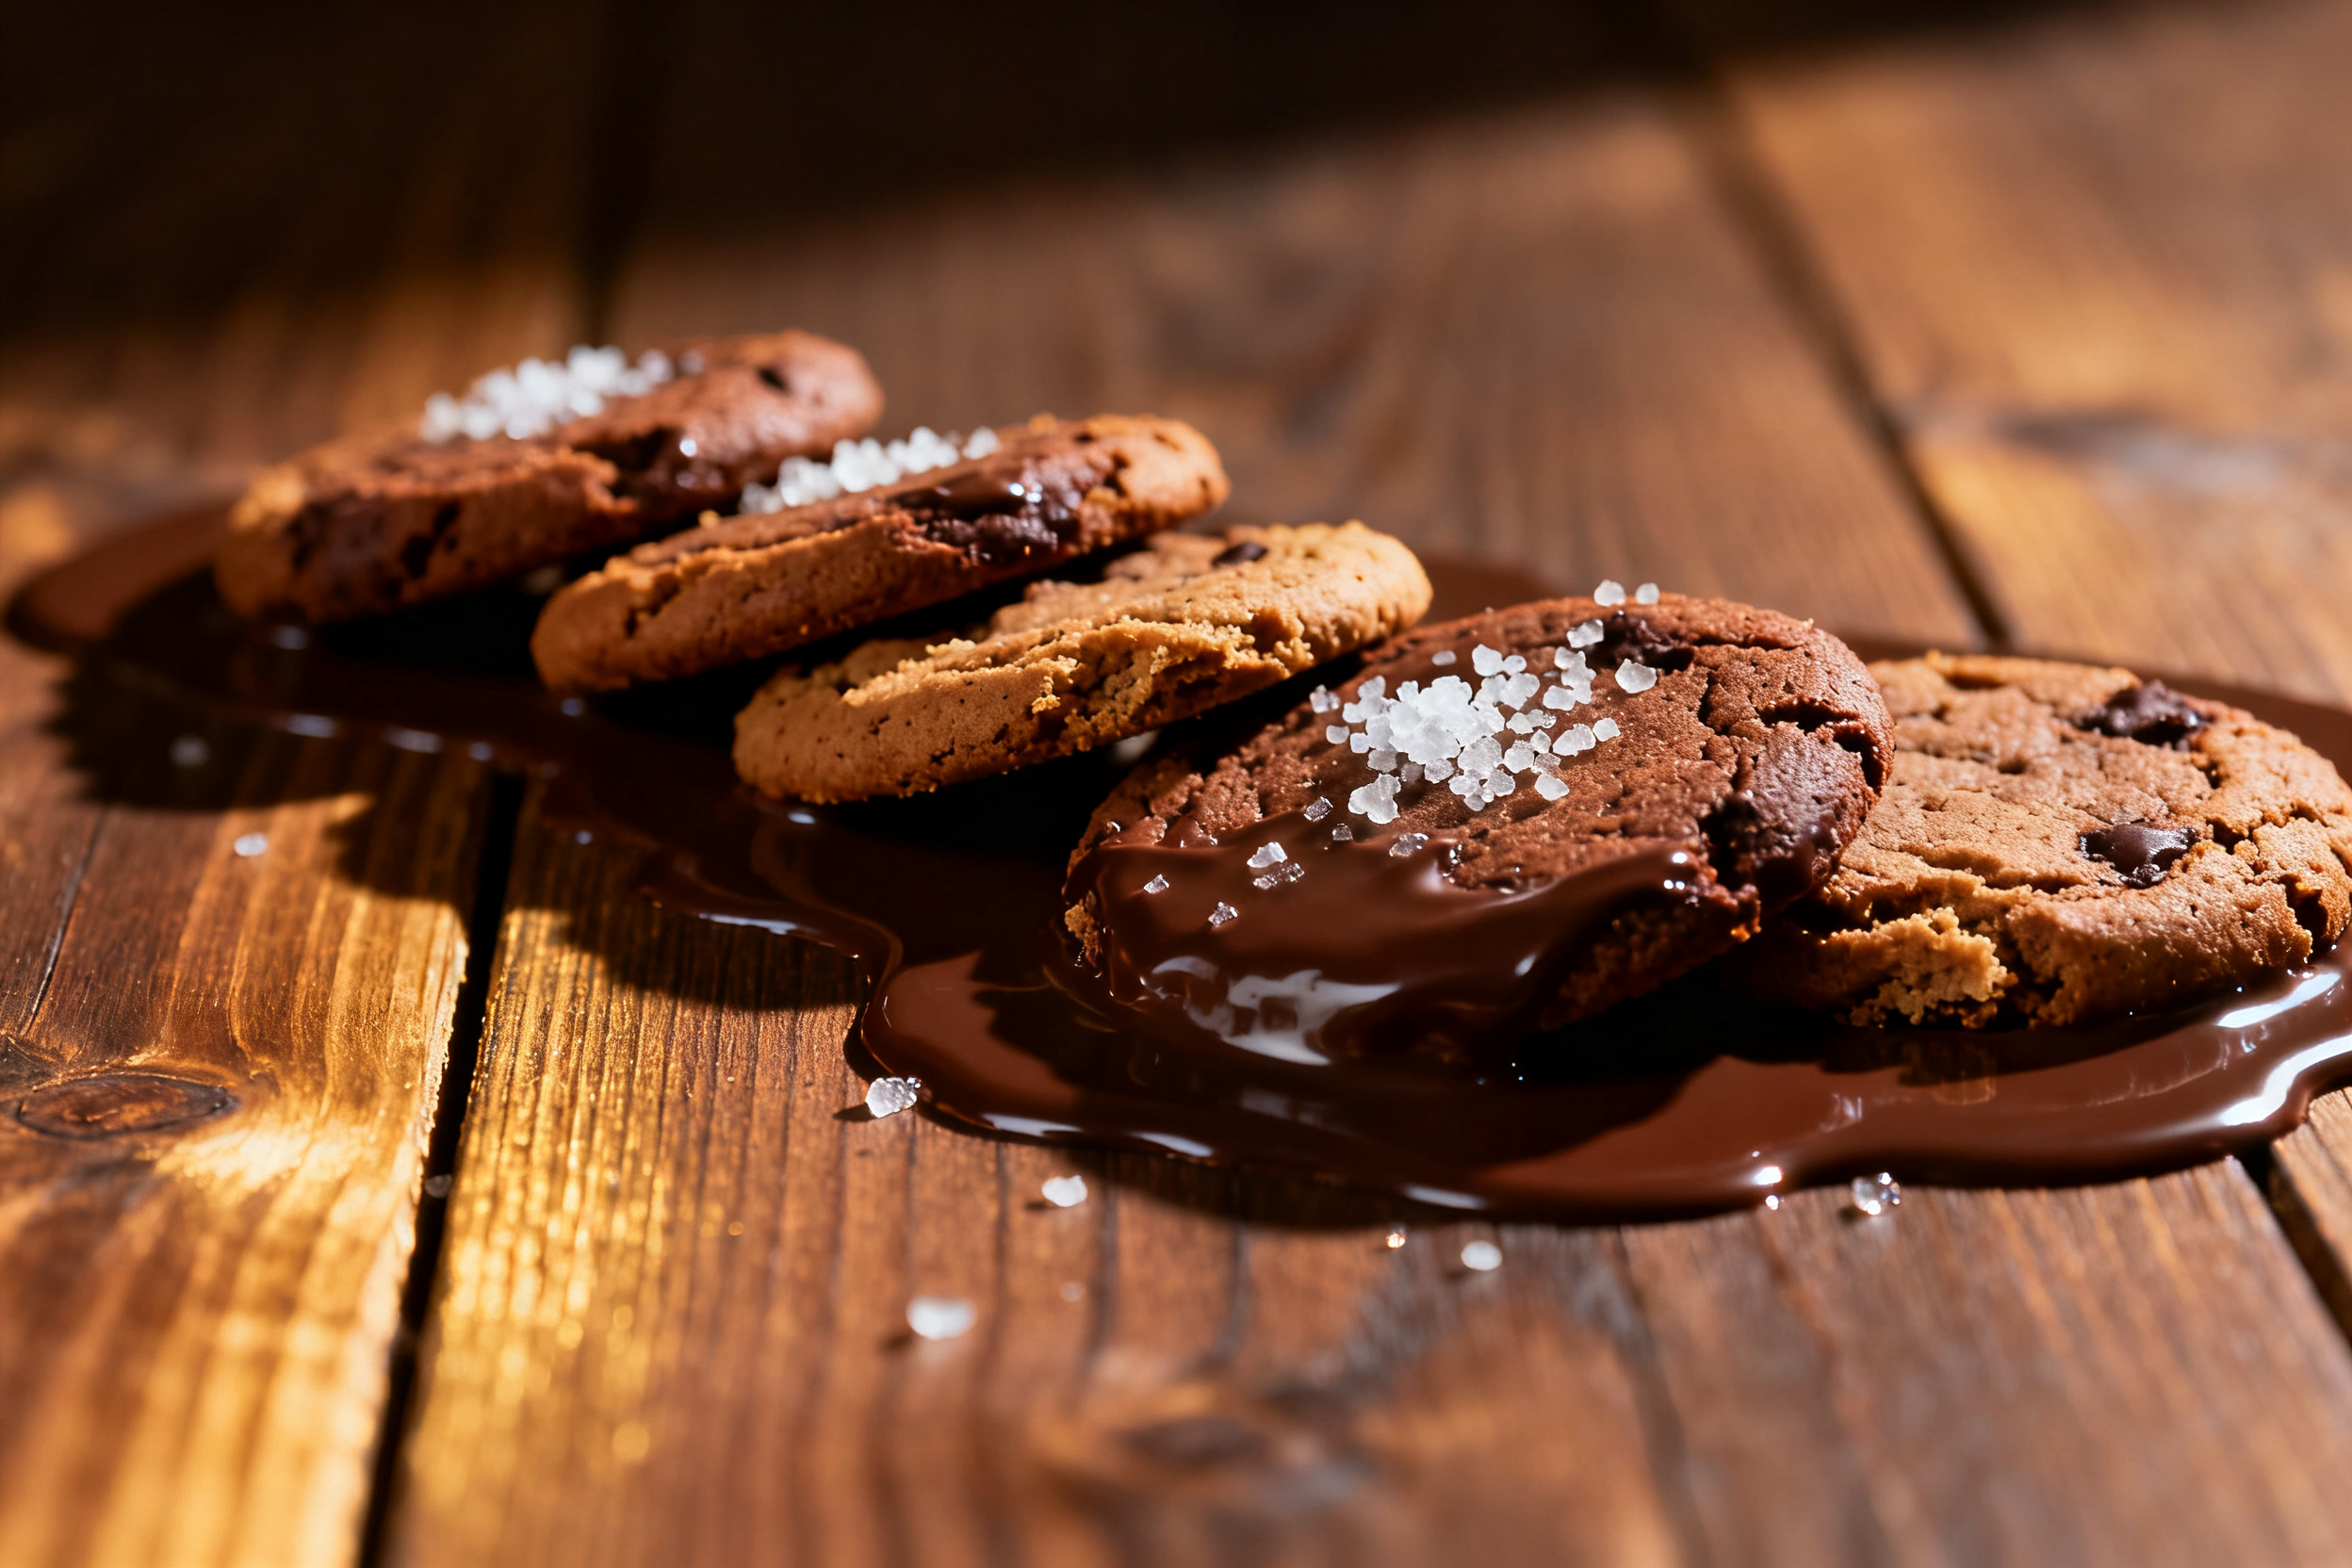
Now it’s your turn. Whip up a batch, snap a photo, and share it in the comments below. I want to see your chocolatey creations — messy hands and all.
If you loved this no bake cookie recipe, don’t keep it a secret. Share the link with a friend who needs a quick dessert win. You’ll be their kitchen hero.
And while you’re here, subscribe to the newsletter so you never miss another ridiculously easy recipe. I’ll send you a free ebook of my top 10 stress-free desserts. No spam, just sugar.
These cookies prove that you don’t need an oven to make something amazing. Ten minutes, a few pantry staples, and you’ve got chocolate perfection. The hardest part? Waiting for them to chill. Grab a spoonful of the dough while you wait — I won’t tell a soul.
Go make some magic. Your taste buds will thank you, and the oven can finally take a night off.
Recipe Name
Rich Chocolate No Bake Cookies
Servings
24 cookies
Prep Time
5 minutes
Cook Time
5 minutes
Total Time
10 minutes
Calories
180 per cookie
Course
Dessert
Cuisine
American
Rich Chocolate No Bake Cookies (10 Minutes)
Ingredients
- ½ cup unsalted butter
- 1 cup granulated sugar
- ¼ cup milk any kind
- 3 tablespoons unsweetened cocoa powder
- ½ cup creamy peanut butter
- 1½ cups rolled oats or quick oats
- 1 teaspoon vanilla extract
- ¼ teaspoon salt
Instructions
- Line a baking sheet with parchment paper or a silicone mat.
- In a medium saucepan over medium heat, melt the butter. Add sugar, milk, and cocoa powder. Stir until combined and smooth.
- Bring the mixture to a gentle boil, stirring constantly. Let it boil for exactly 60 seconds, then remove from heat.
- Stir in the peanut butter until fully melted and incorporated.
- Add vanilla extract and salt, then stir in the oats. Mix until all oats are evenly coated.
- Let the mixture cool for 2-3 minutes, then drop spoonfuls (about 1½ tablespoons each) onto the prepared baking sheet. If desired, gently press the tops flat.
- Chill in the refrigerator for at least 15 minutes, until firm. Serve cold or at room temperature.
Notes
2. For a softer cookie, skip the chilling and eat right away (they’ll be very soft).
3. Store in an airtight container in the fridge for up to 1 week. Freeze for up to 3 months.
4. To make vegan, use vegan butter and plant milk. Replace peanut butter with sunflower seed butter or almond butter.
5. For a gluten-free version, use certified gluten-free rolled oats.
6. If the mixture seems too dry after adding oats, add an extra tablespoon of milk.
7. If too wet, add 1-2 tablespoons more oats.