
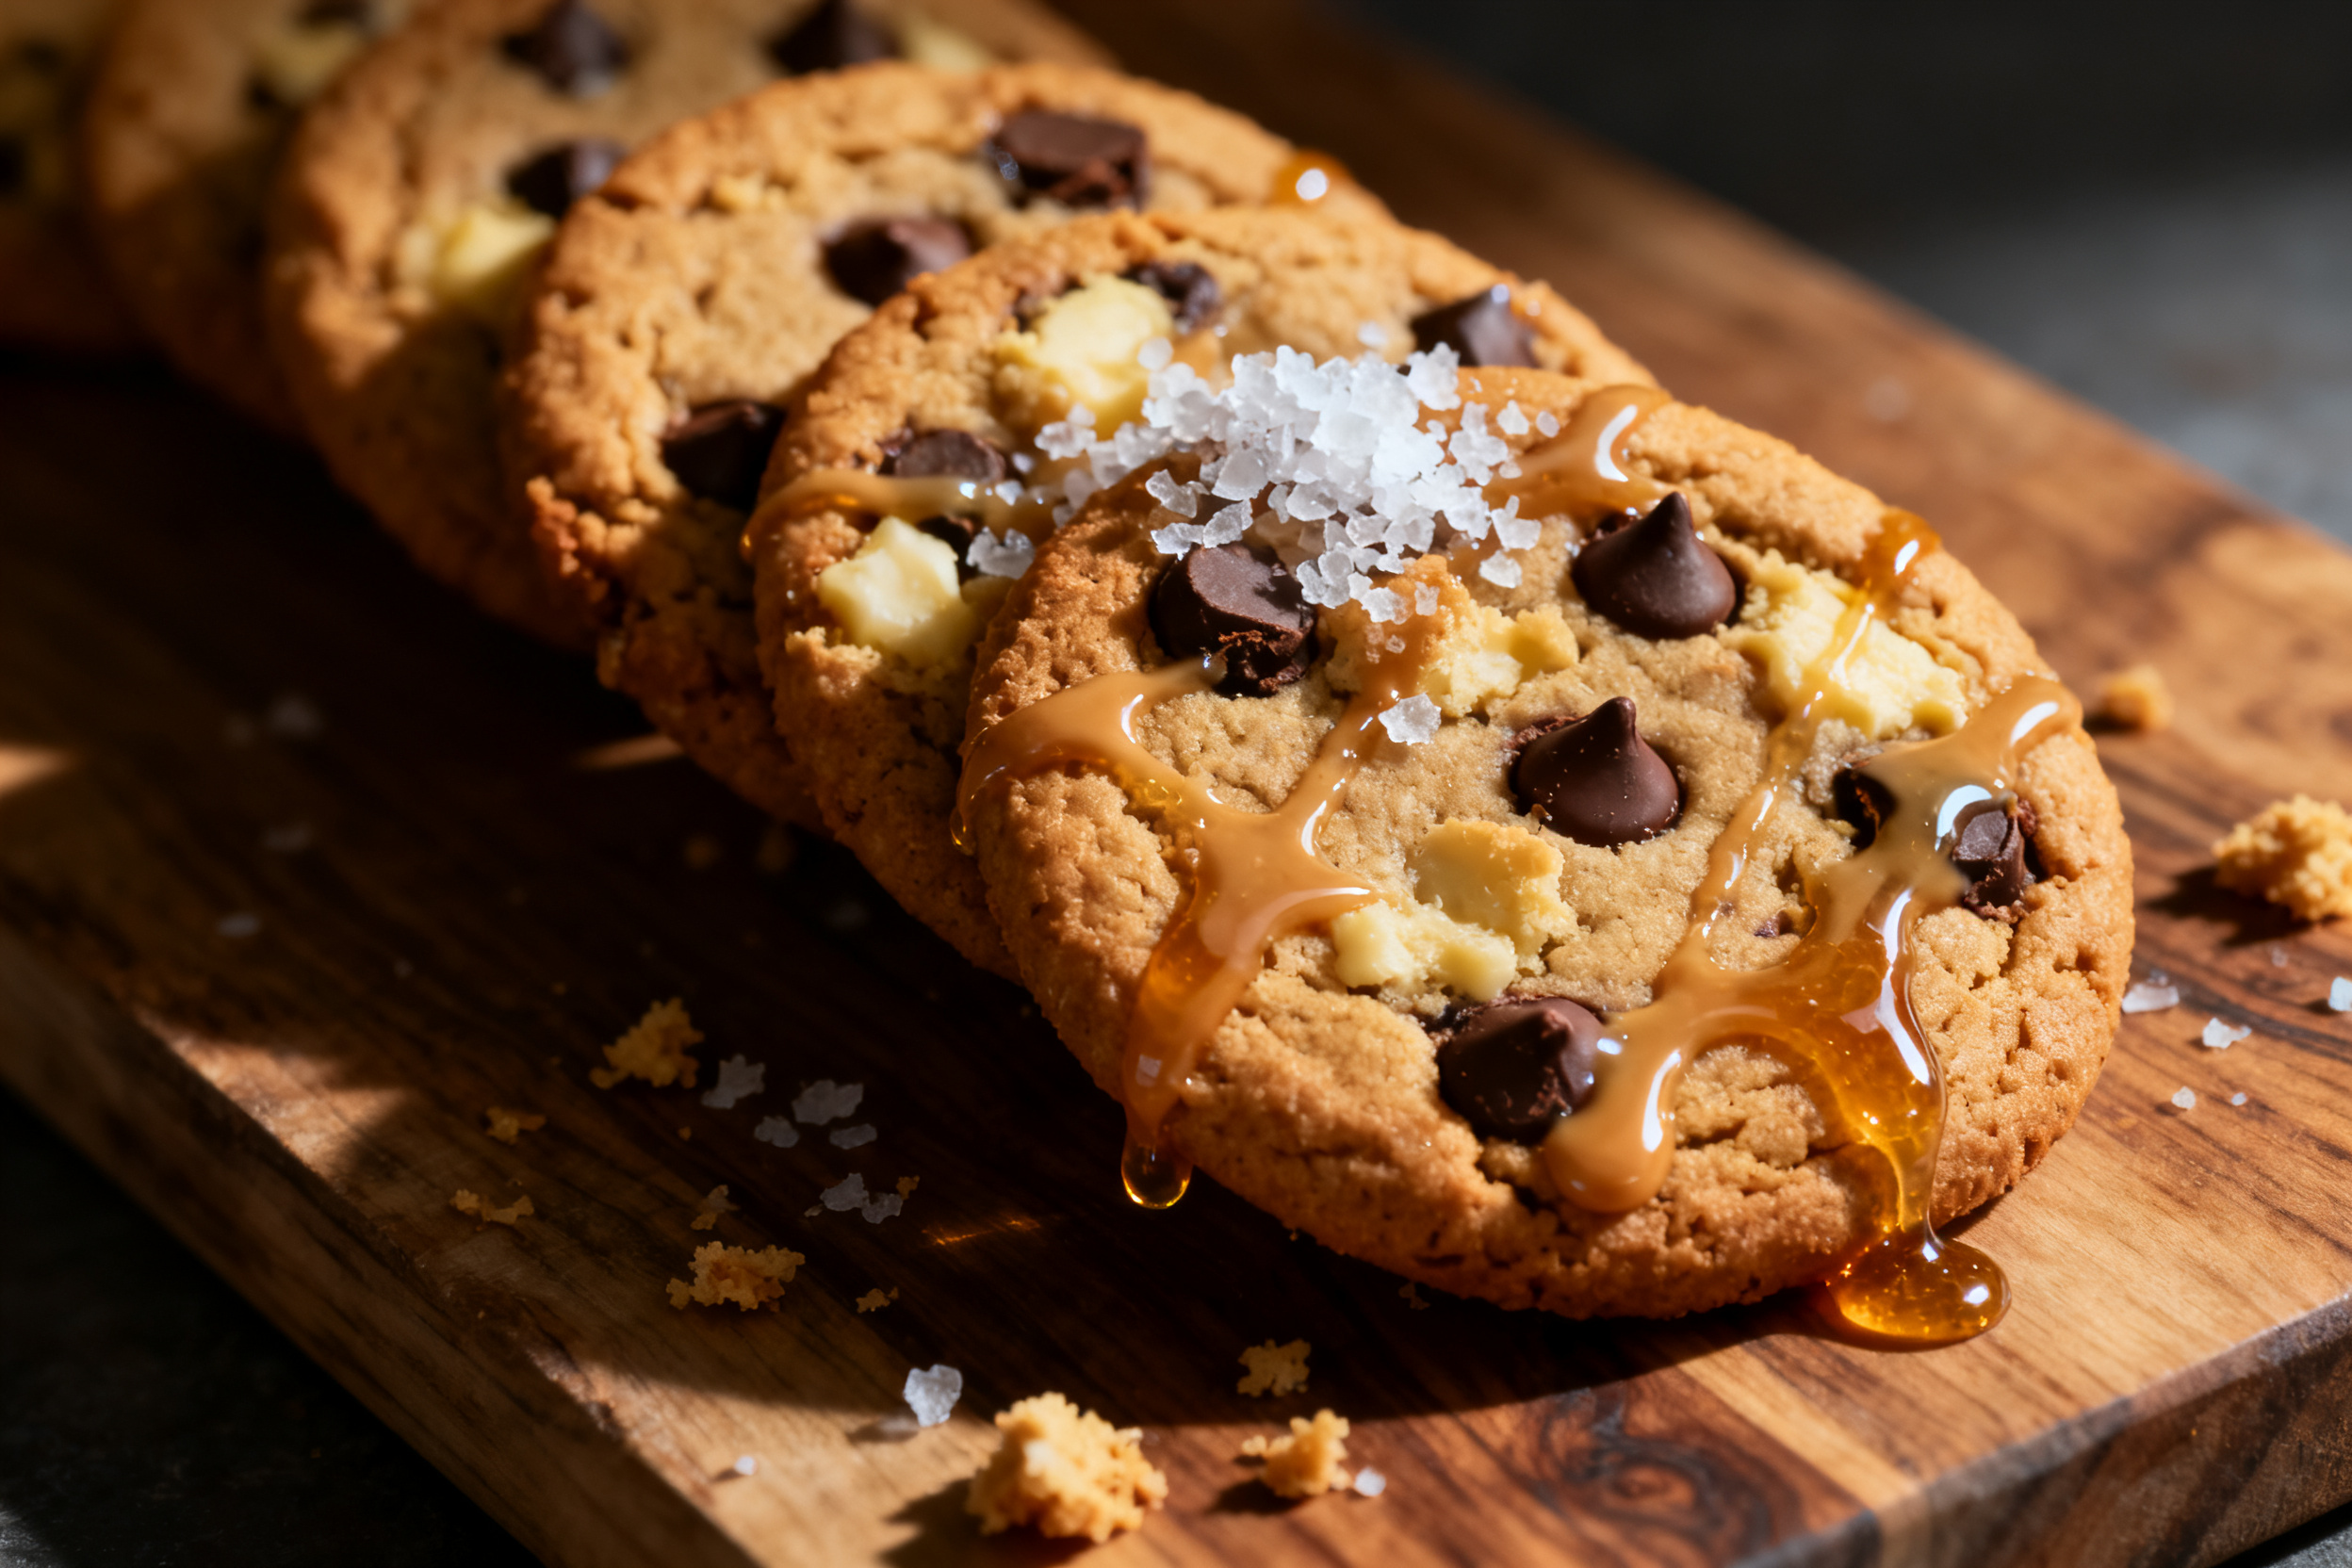
Pure Peanut Bliss: This Peanut Butter Cookie Recipe Delivers
Let’s be honest—there are peanut butter cookies, and then there are peanut butter cookies. You know the ones I mean. The kind that make you close your eyes for a second and just enjoy. The ones that are soft in the middle, a little crumbly at the edges, and absolutely screaming with peanut flavor.
I’ve tested a lot of batches to get here. Some were too dry, some were too greasy, and a few were just… sad. But this one? This is the one I keep coming back to. It’s the peanut butter cookie recipe you’ll actually bookmark.
So grab your mixing bowl and a jar of your favorite peanut butter. We’re about to make something truly blissful.
1. Allergens
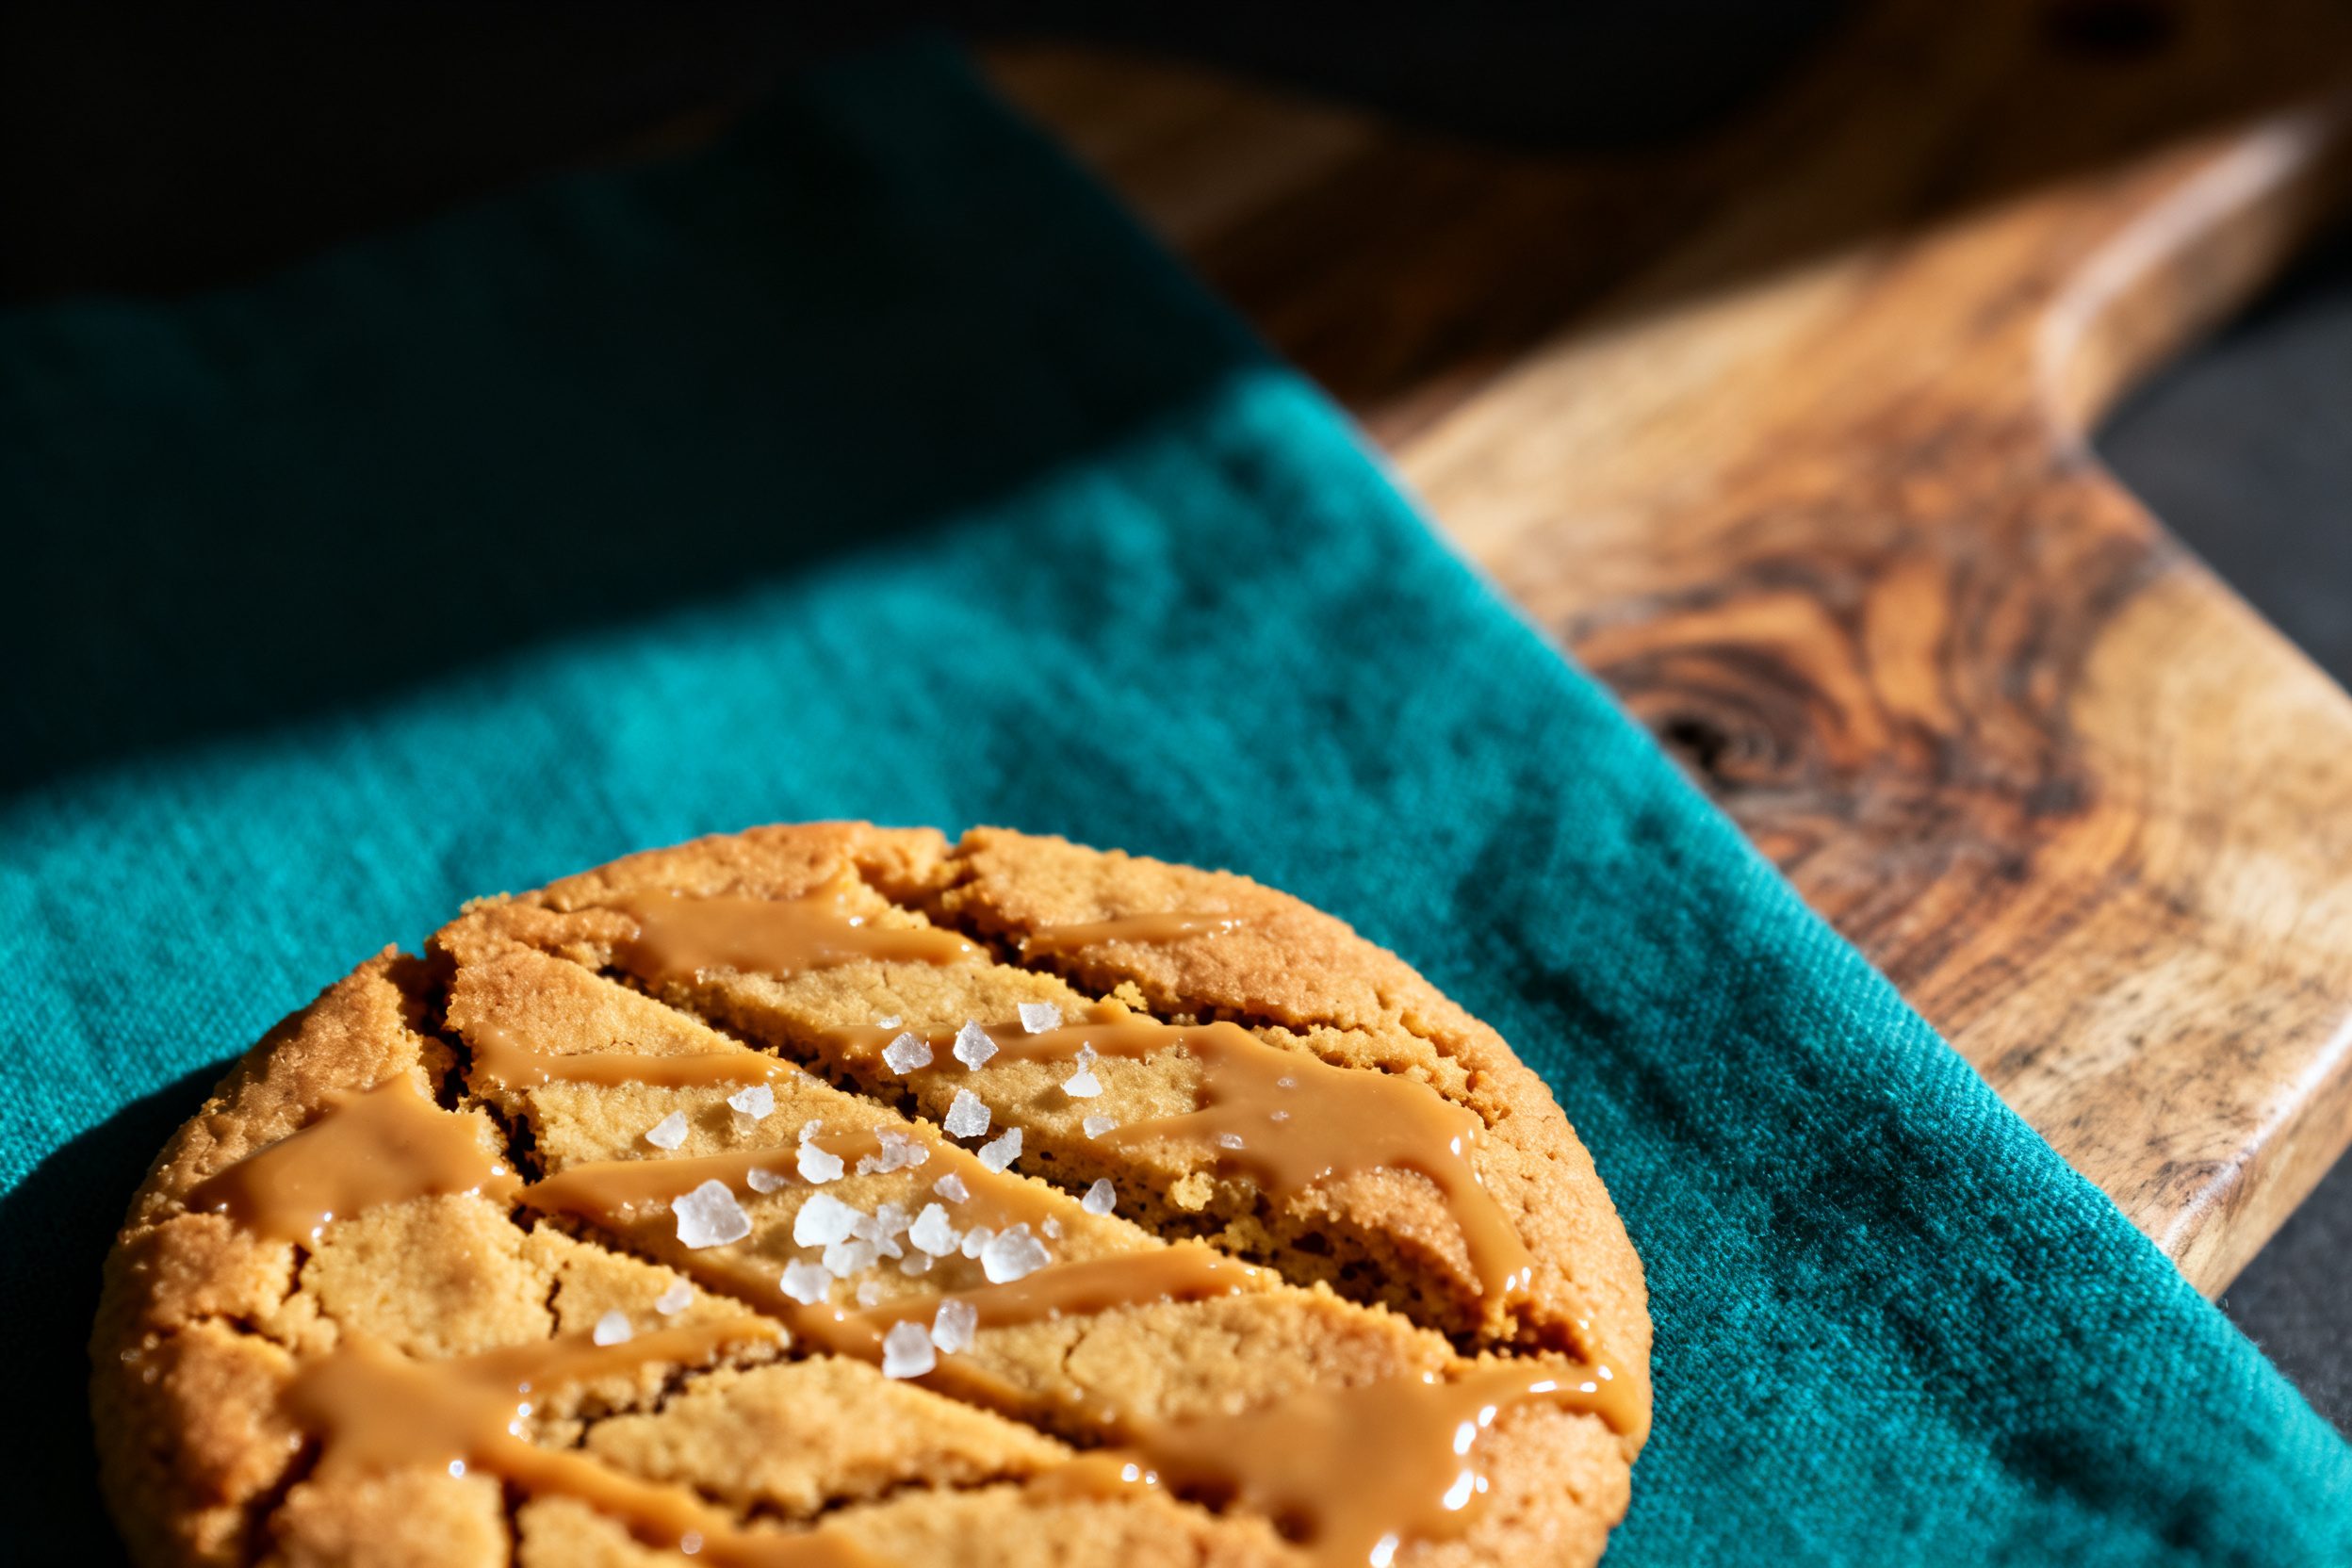
This recipe contains peanuts and gluten (from all-purpose flour). It also includes dairy (butter) and eggs.
If you need a nut-free version, swap the peanut butter for sunflower seed butter. For a dairy-free option, use plant-based butter sticks. Just keep in mind that texture may shift slightly.
Always double-check your ingredient labels if you’re cooking for someone with severe allergies. Cross-contamination is a real buzzkill.
2. Ingredient notes & substitutions
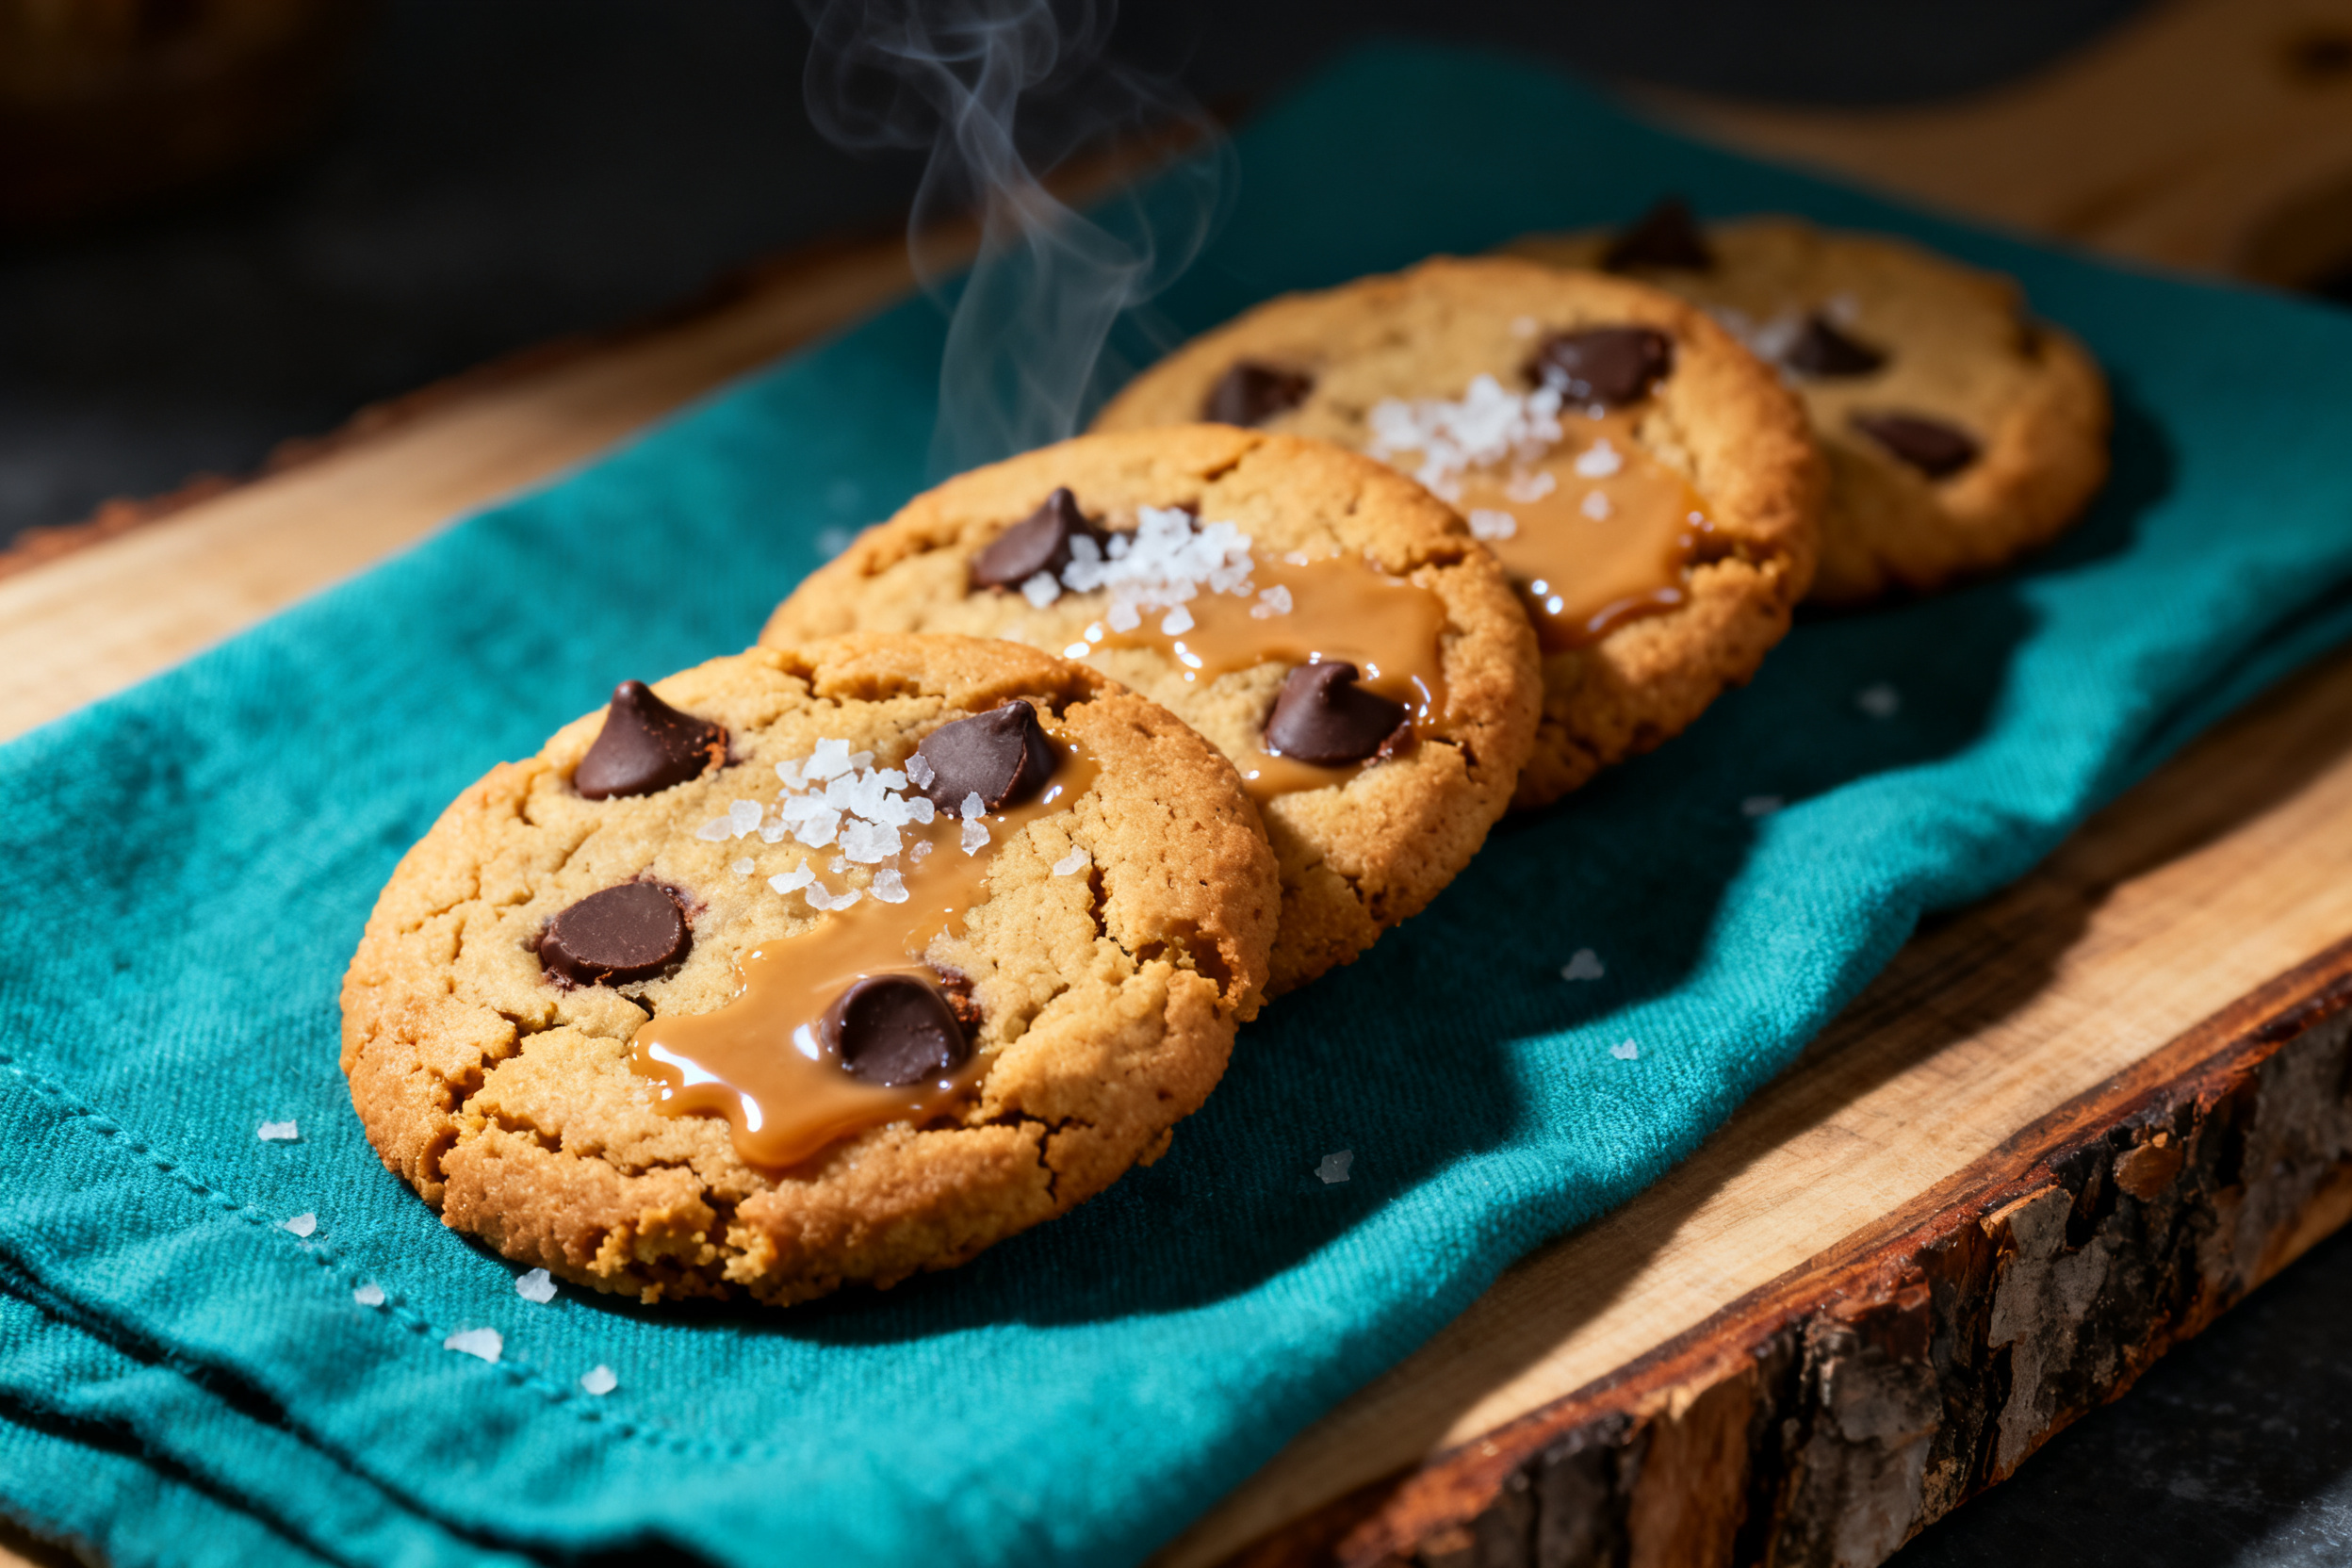
Peanut butter is the star here. Use creamy, commercial-style peanut butter (like Skippy or Jif) for the best texture. Natural, oily peanut butter can work, but you’ll need to stir it really well and expect a slightly crumblier cookie.
For the butter, unsalted is ideal so you control the salt level. If you only have salted, just reduce the added salt by half. Brown sugar adds moisture and chew, while granulated sugar gives those classic crackly tops.
3. Pro tips
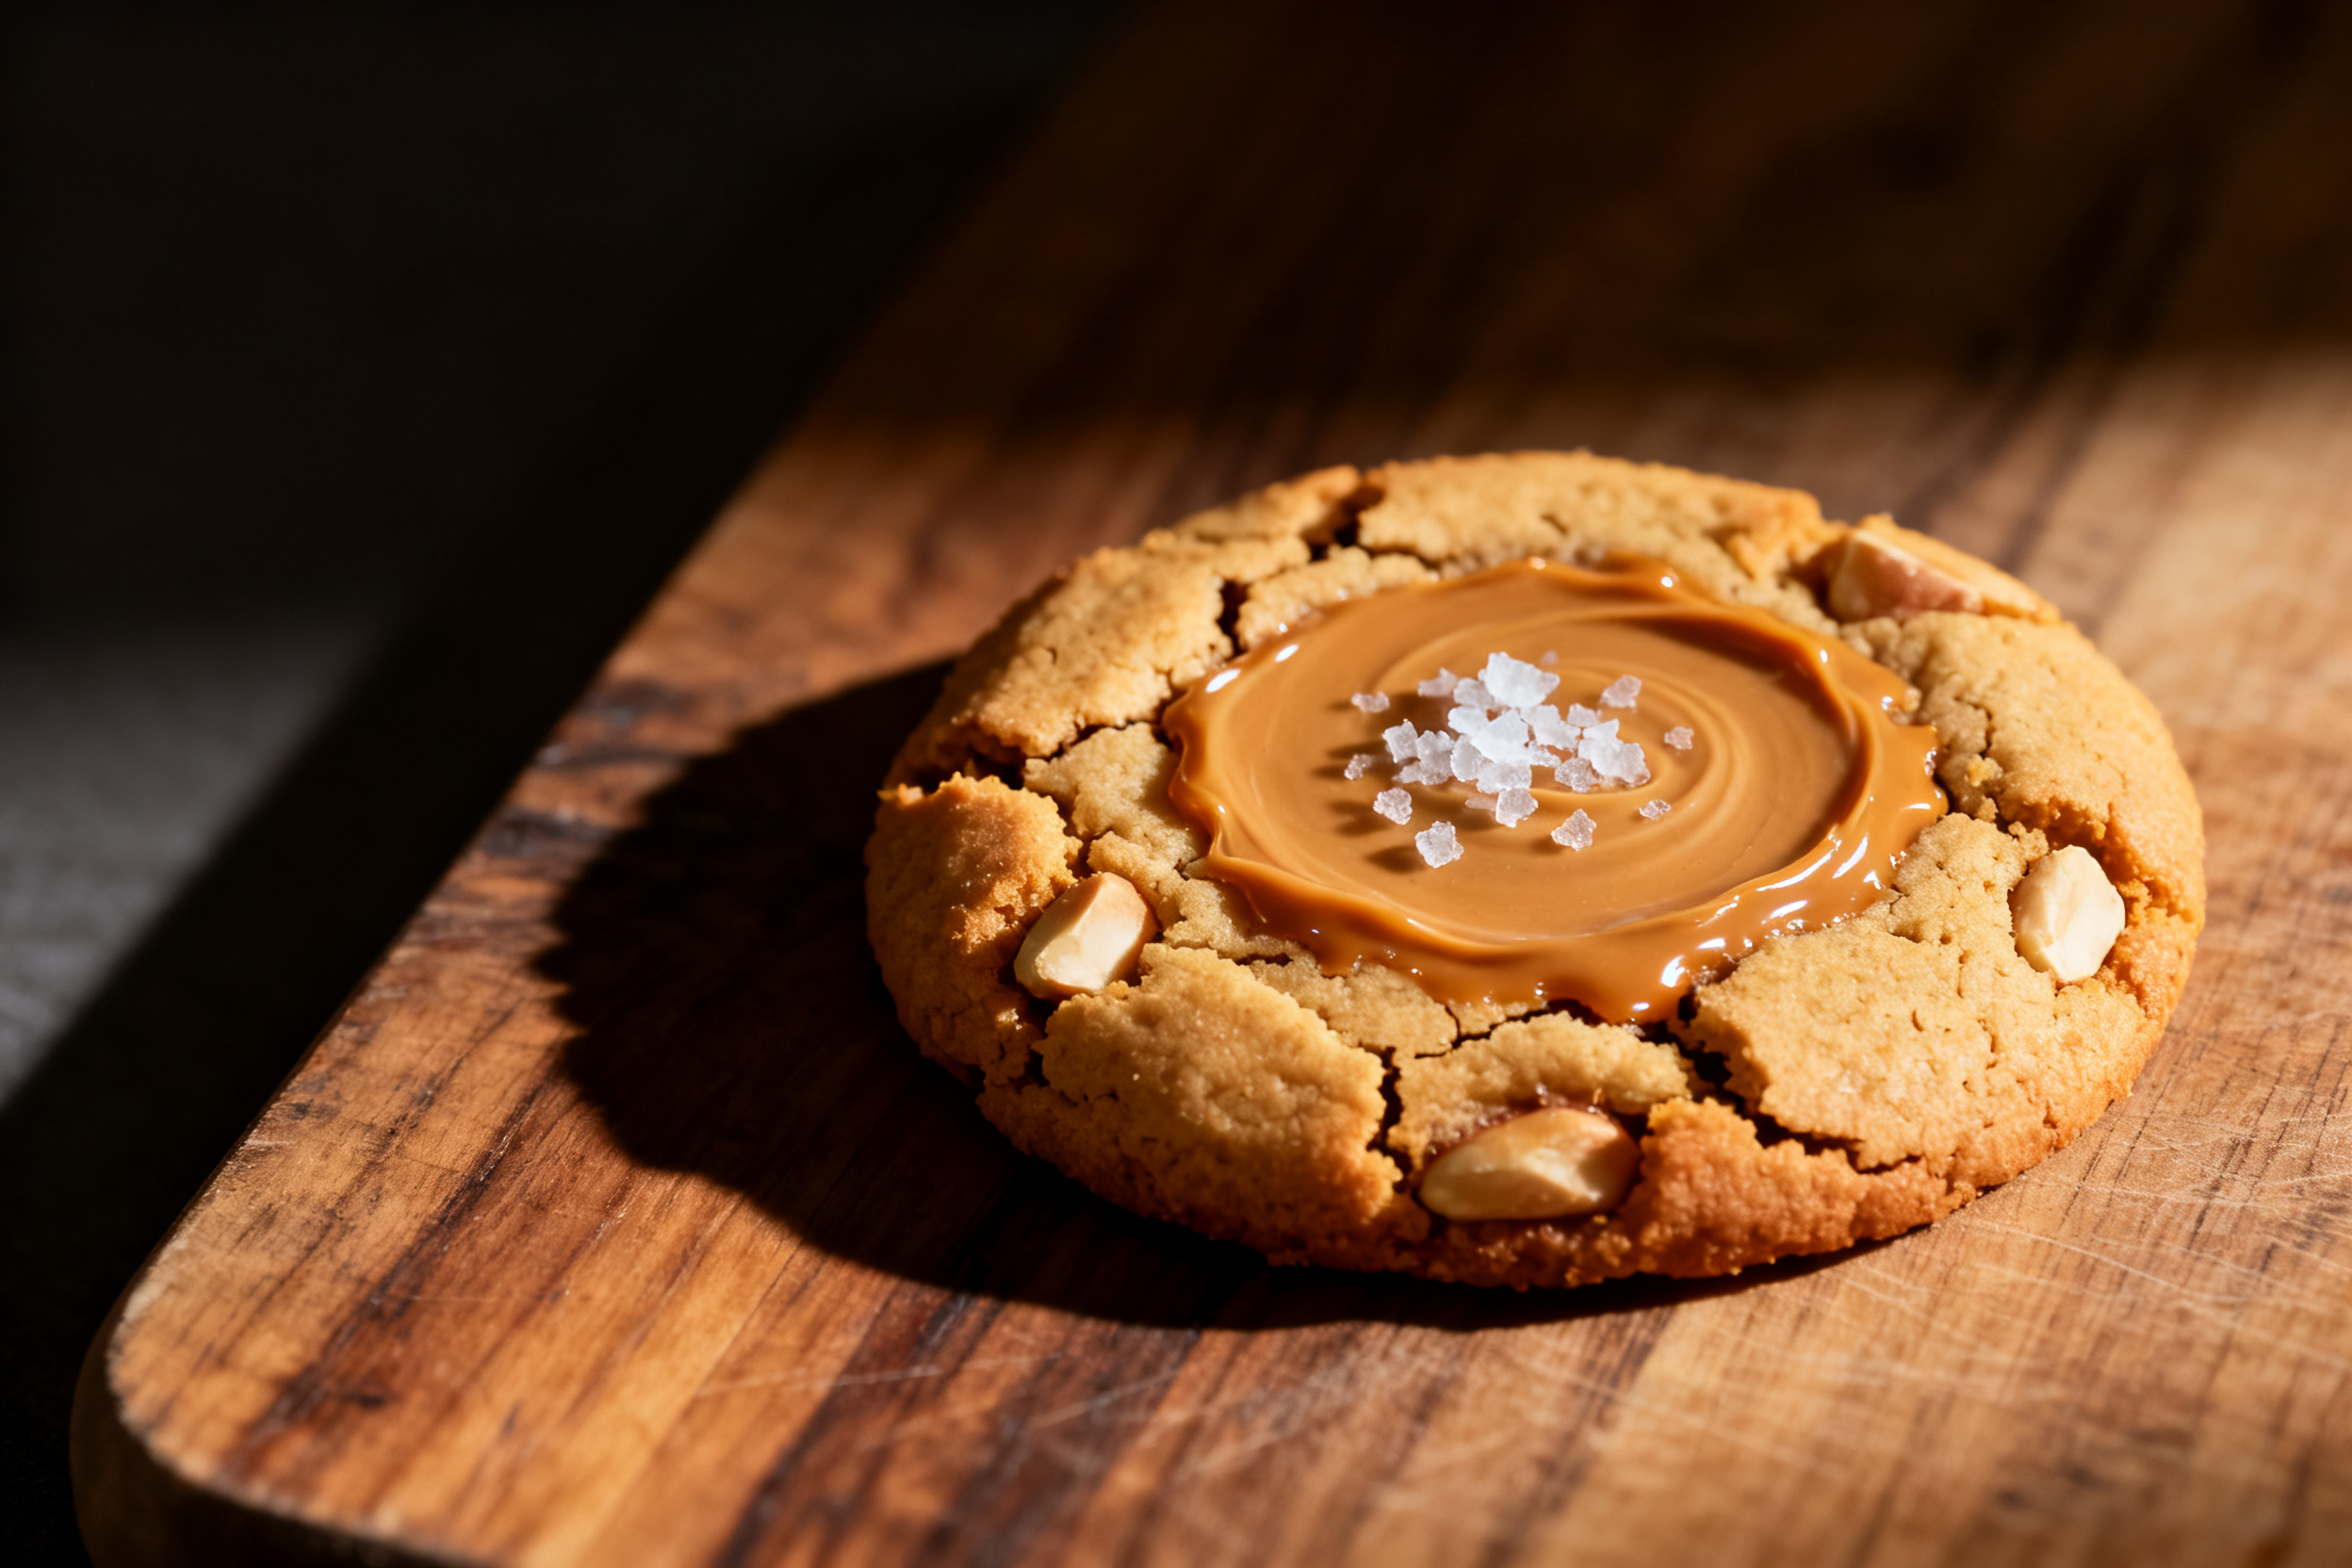
Chill the dough. I know, I know—you want cookies now. But 30 minutes in the fridge prevents spreading and gives you a thicker, softer cookie. Trust the process.
Use a cookie scoop for even portions. This helps them bake uniformly. And don’t press the crisscross pattern too flat—leave a little height for a pillowy center.
4. Storage & make-ahead
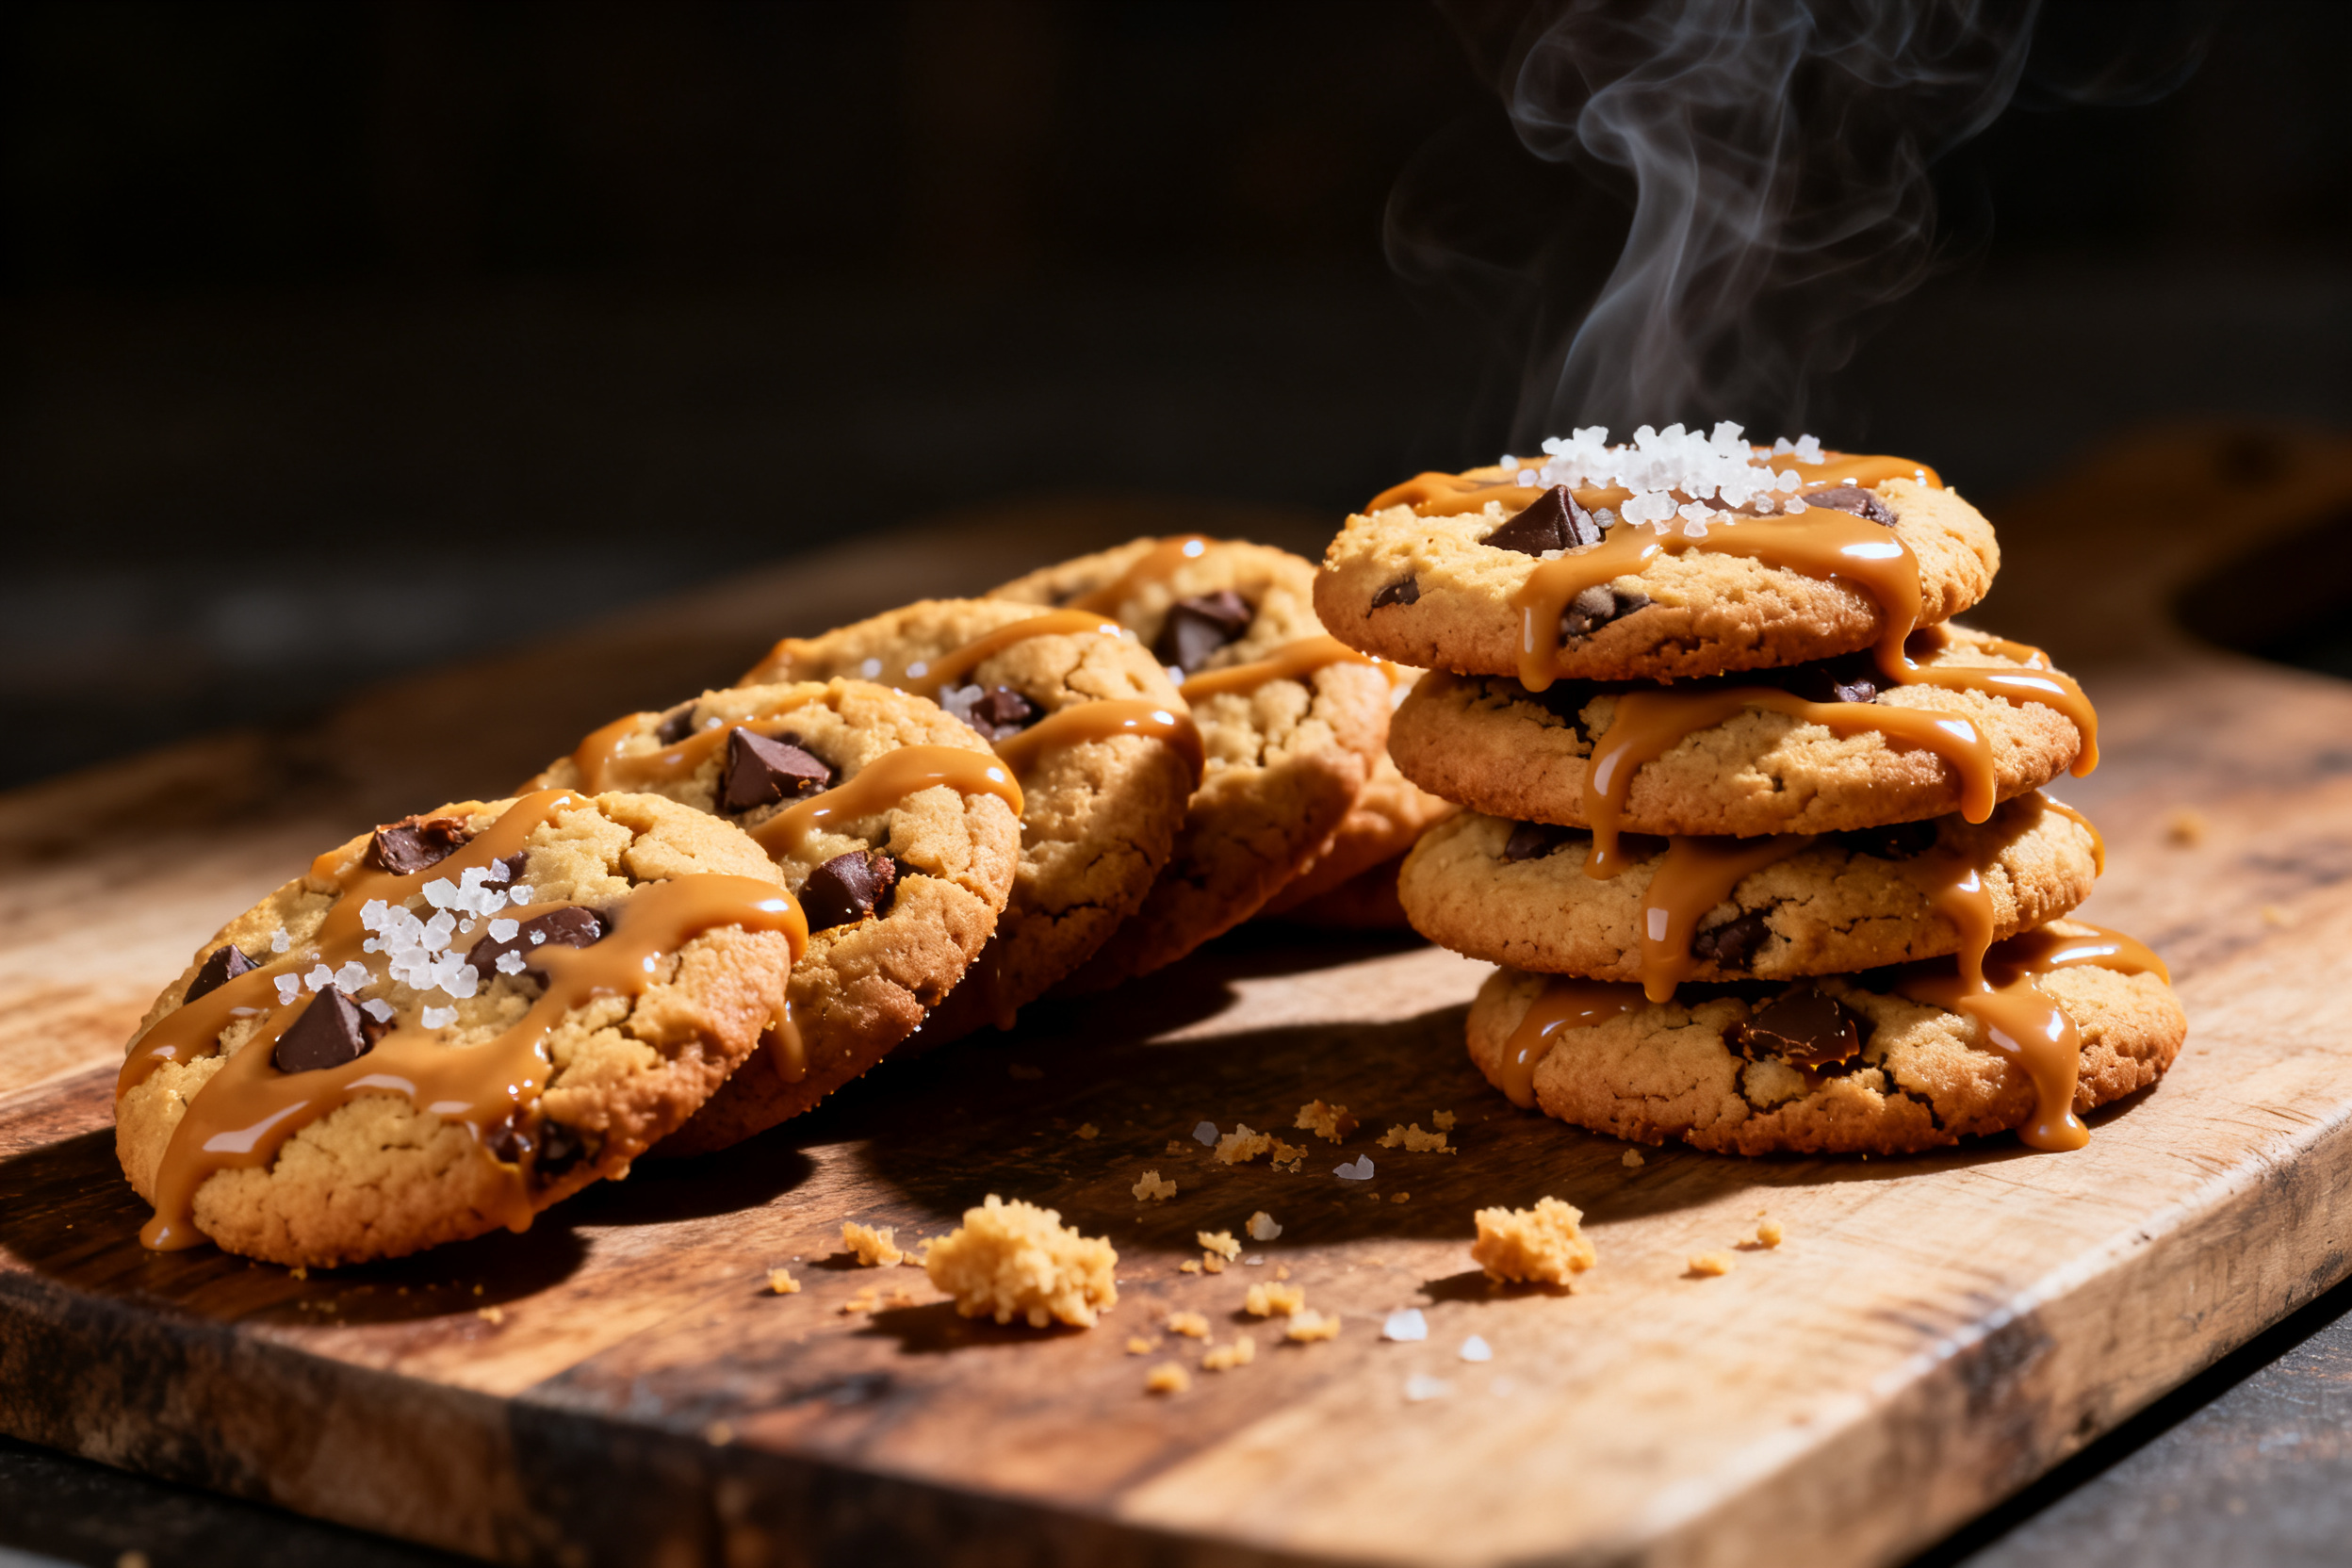
Store baked cookies in an airtight container at room temperature for up to 5 days. They stay soft and chewy the whole time.
For longer storage, freeze the baked cookies in a single layer, then transfer to a freezer bag. They’ll keep for 3 months. You can also freeze the dough balls and bake straight from frozen—just add 2 minutes to the bake time.
5. Serving suggestions
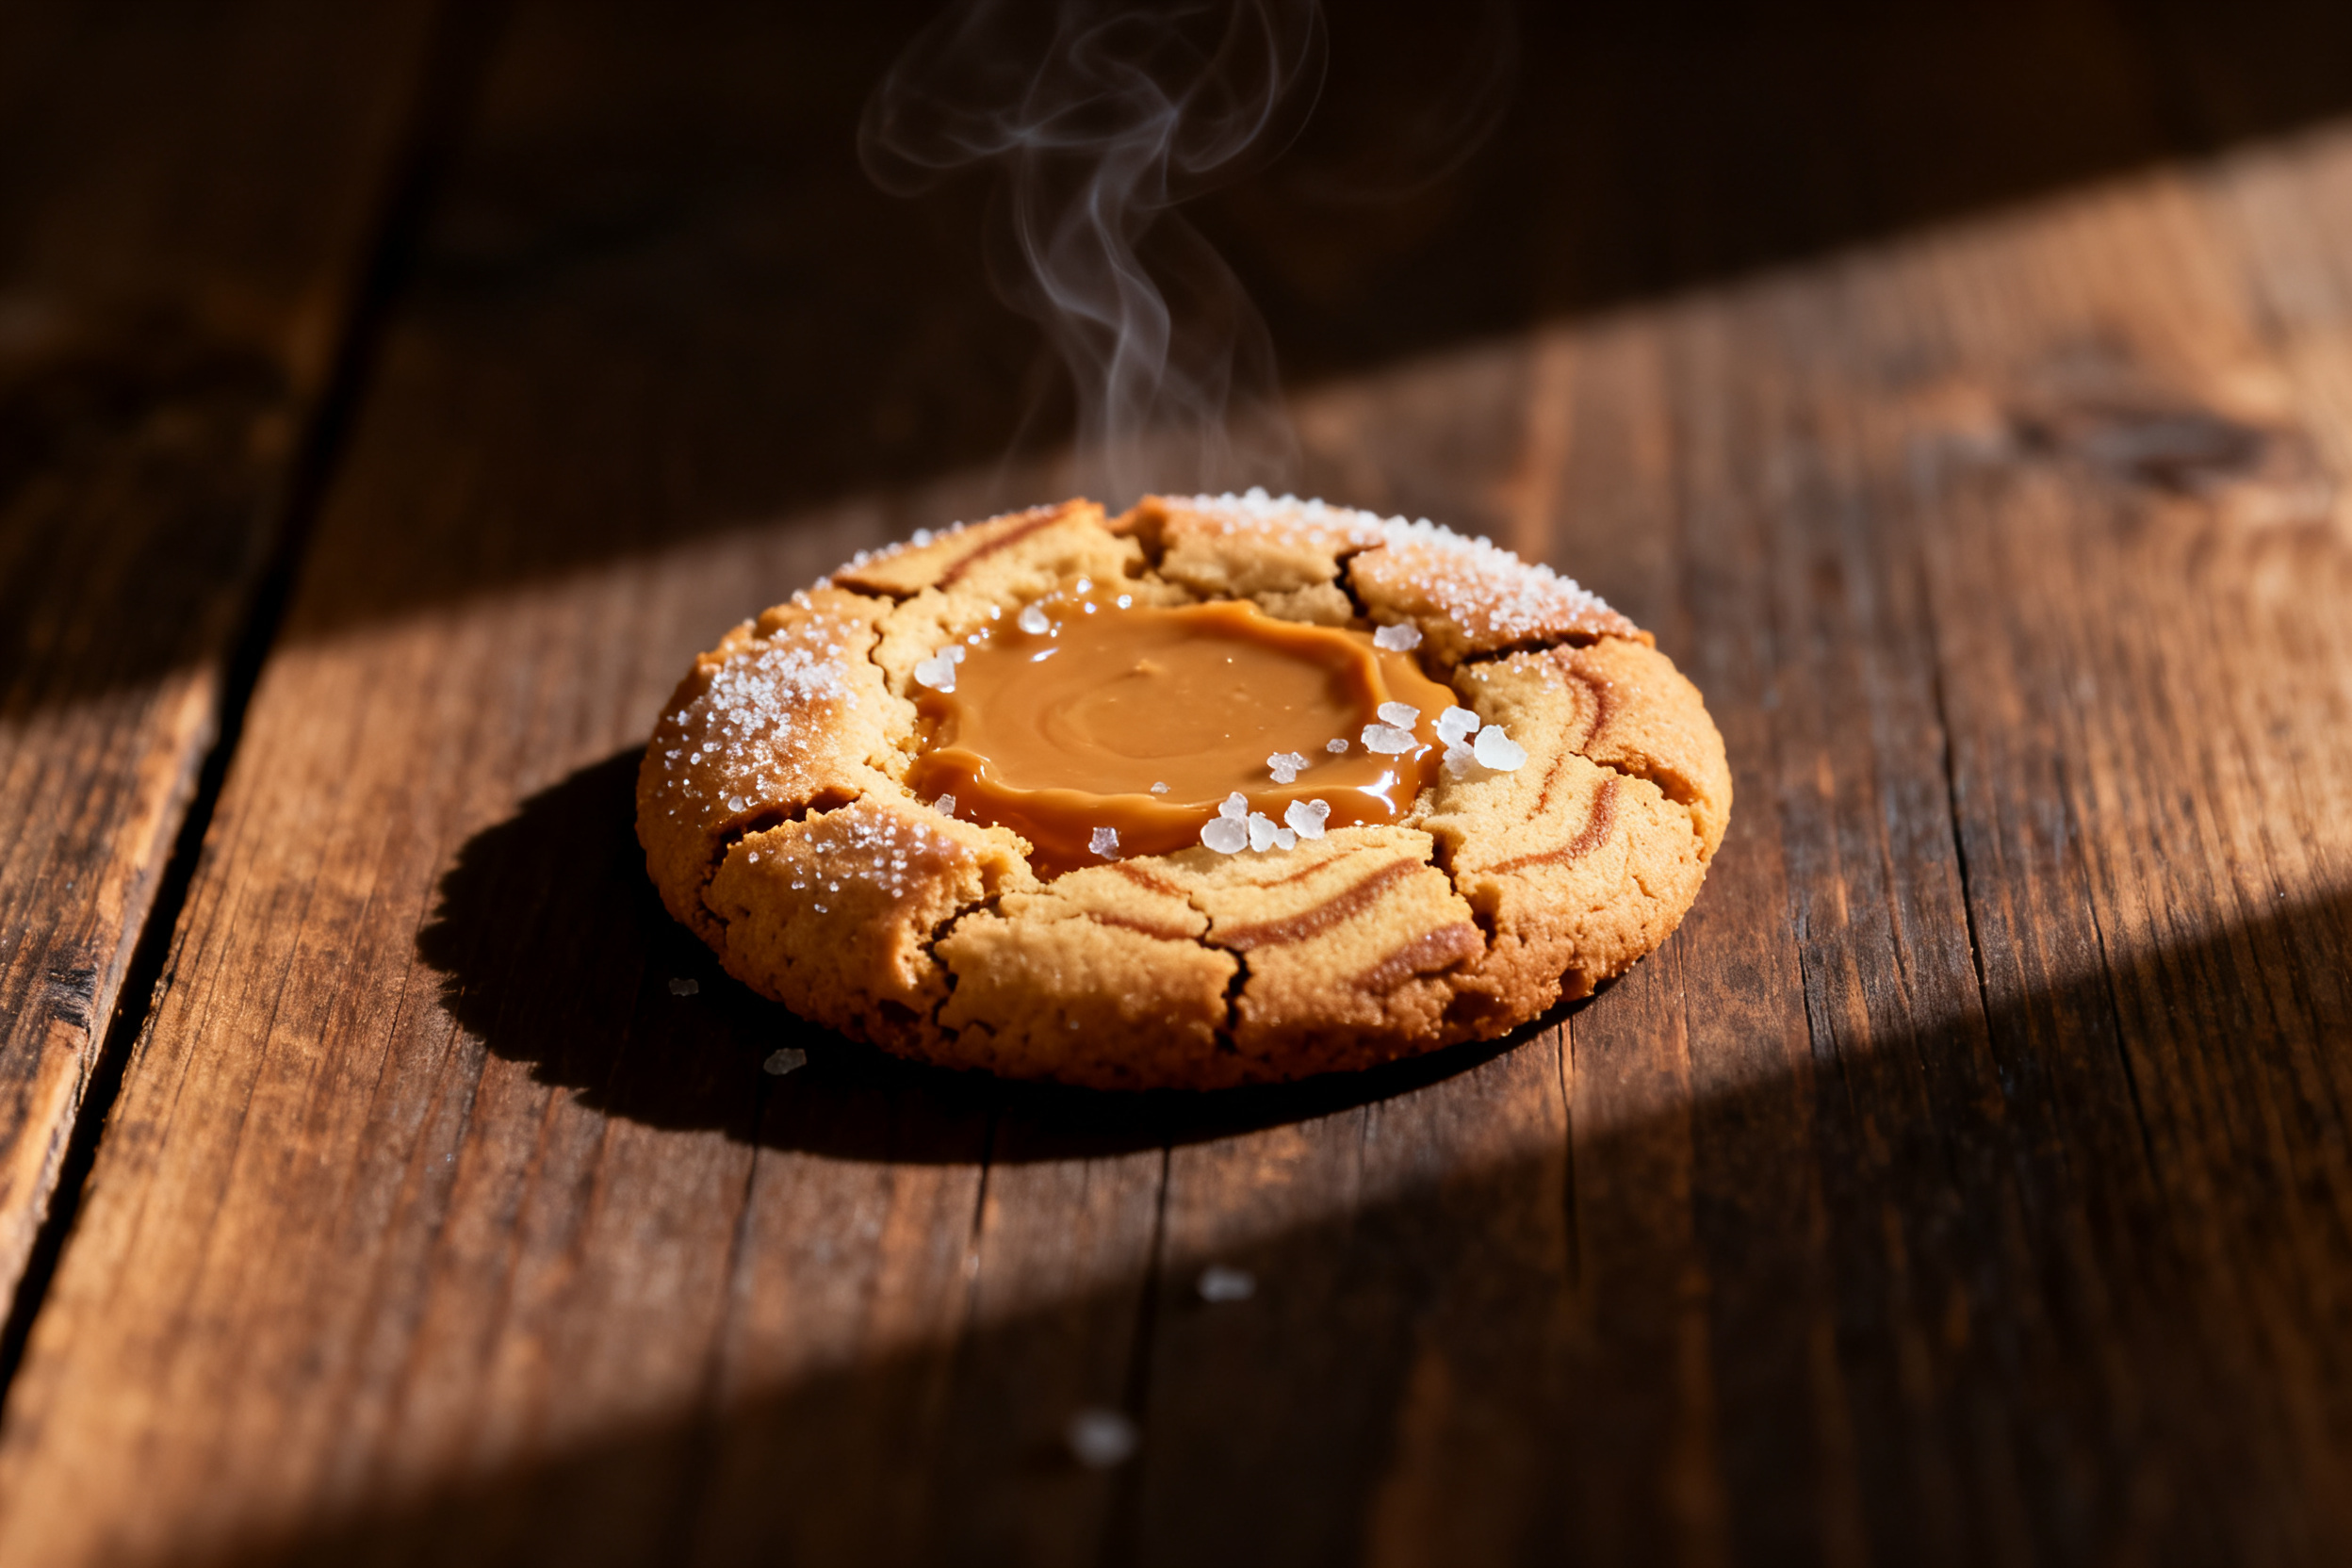
These cookies are perfect on their own, but a cold glass of milk is the classic sidekick. For a dessert upgrade, sandwich two cookies with a scoop of vanilla ice cream.
They also crumble beautifully over a bowl of chocolate pudding or yogurt. Or just eat them warm from the tray—no judgment here.
6. Use your leftovers
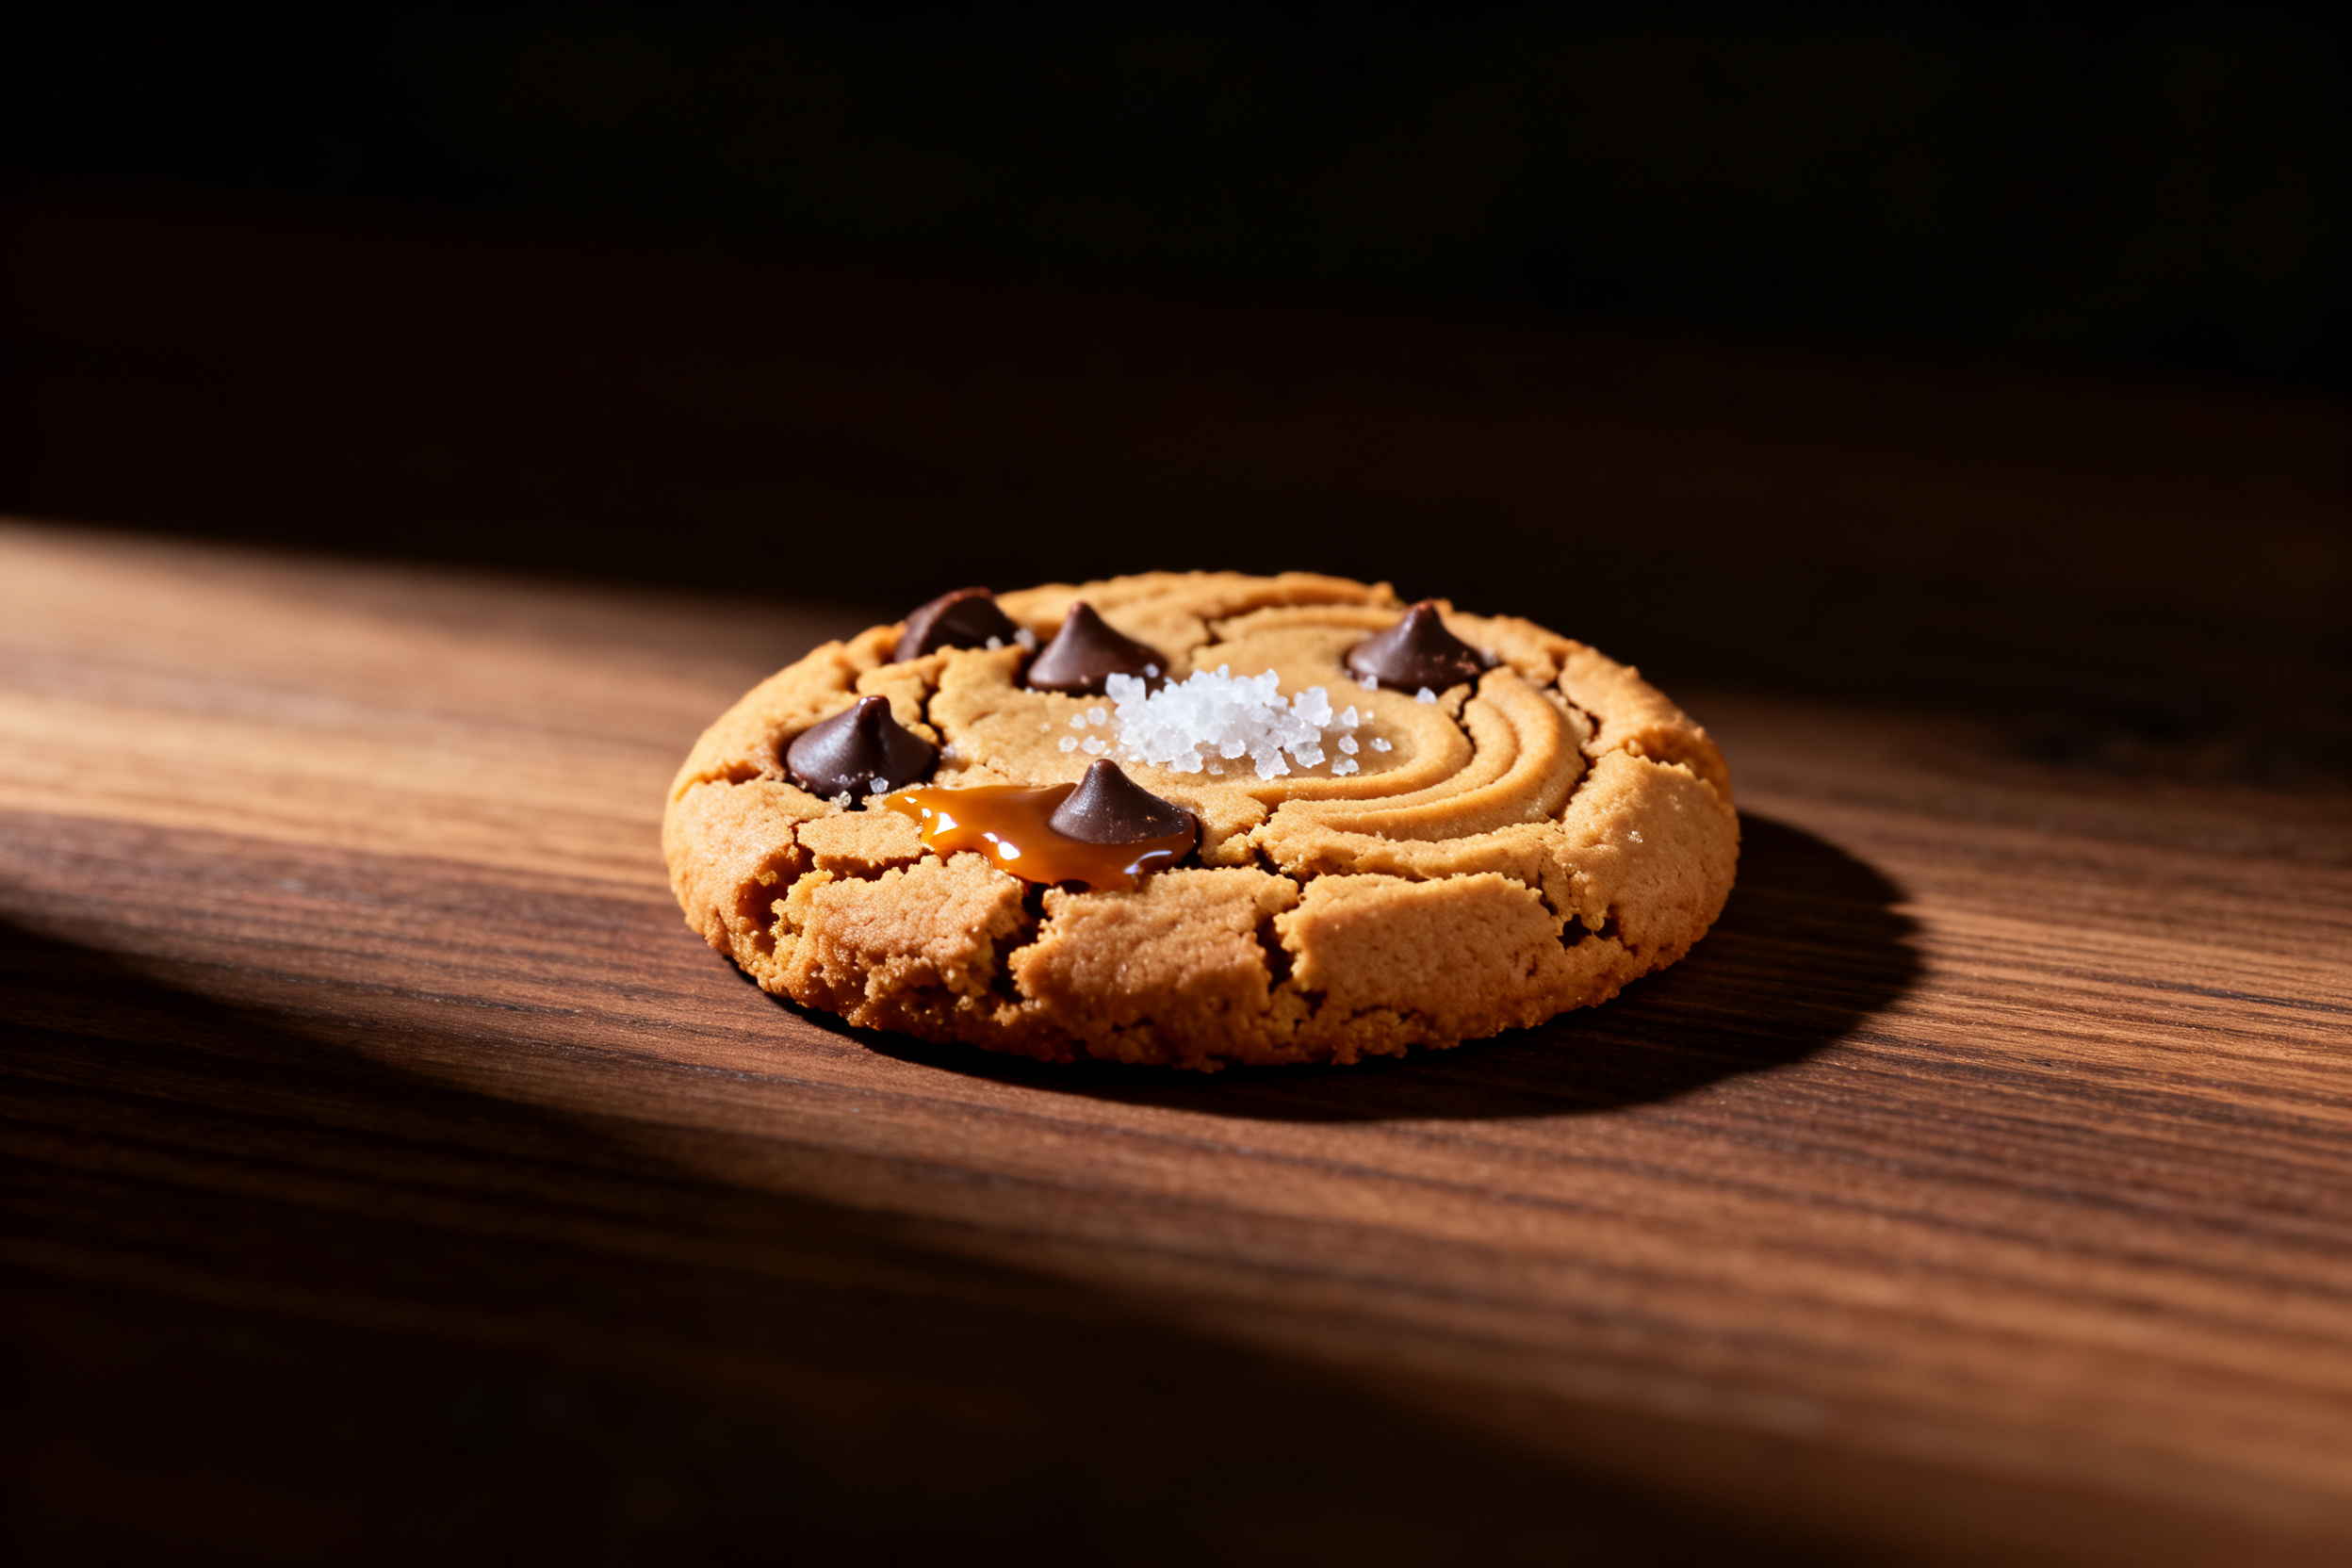
Crush leftover cookies into a pie crust base. Mix the crumbs with a little melted butter, press into a pan, and chill. Instant no-bake dessert base.
You can also crumble them over ice cream sundaes or use them as a topping for banana bread batter before baking. Waste not, want not.
7. Common mistakes & how to fix them
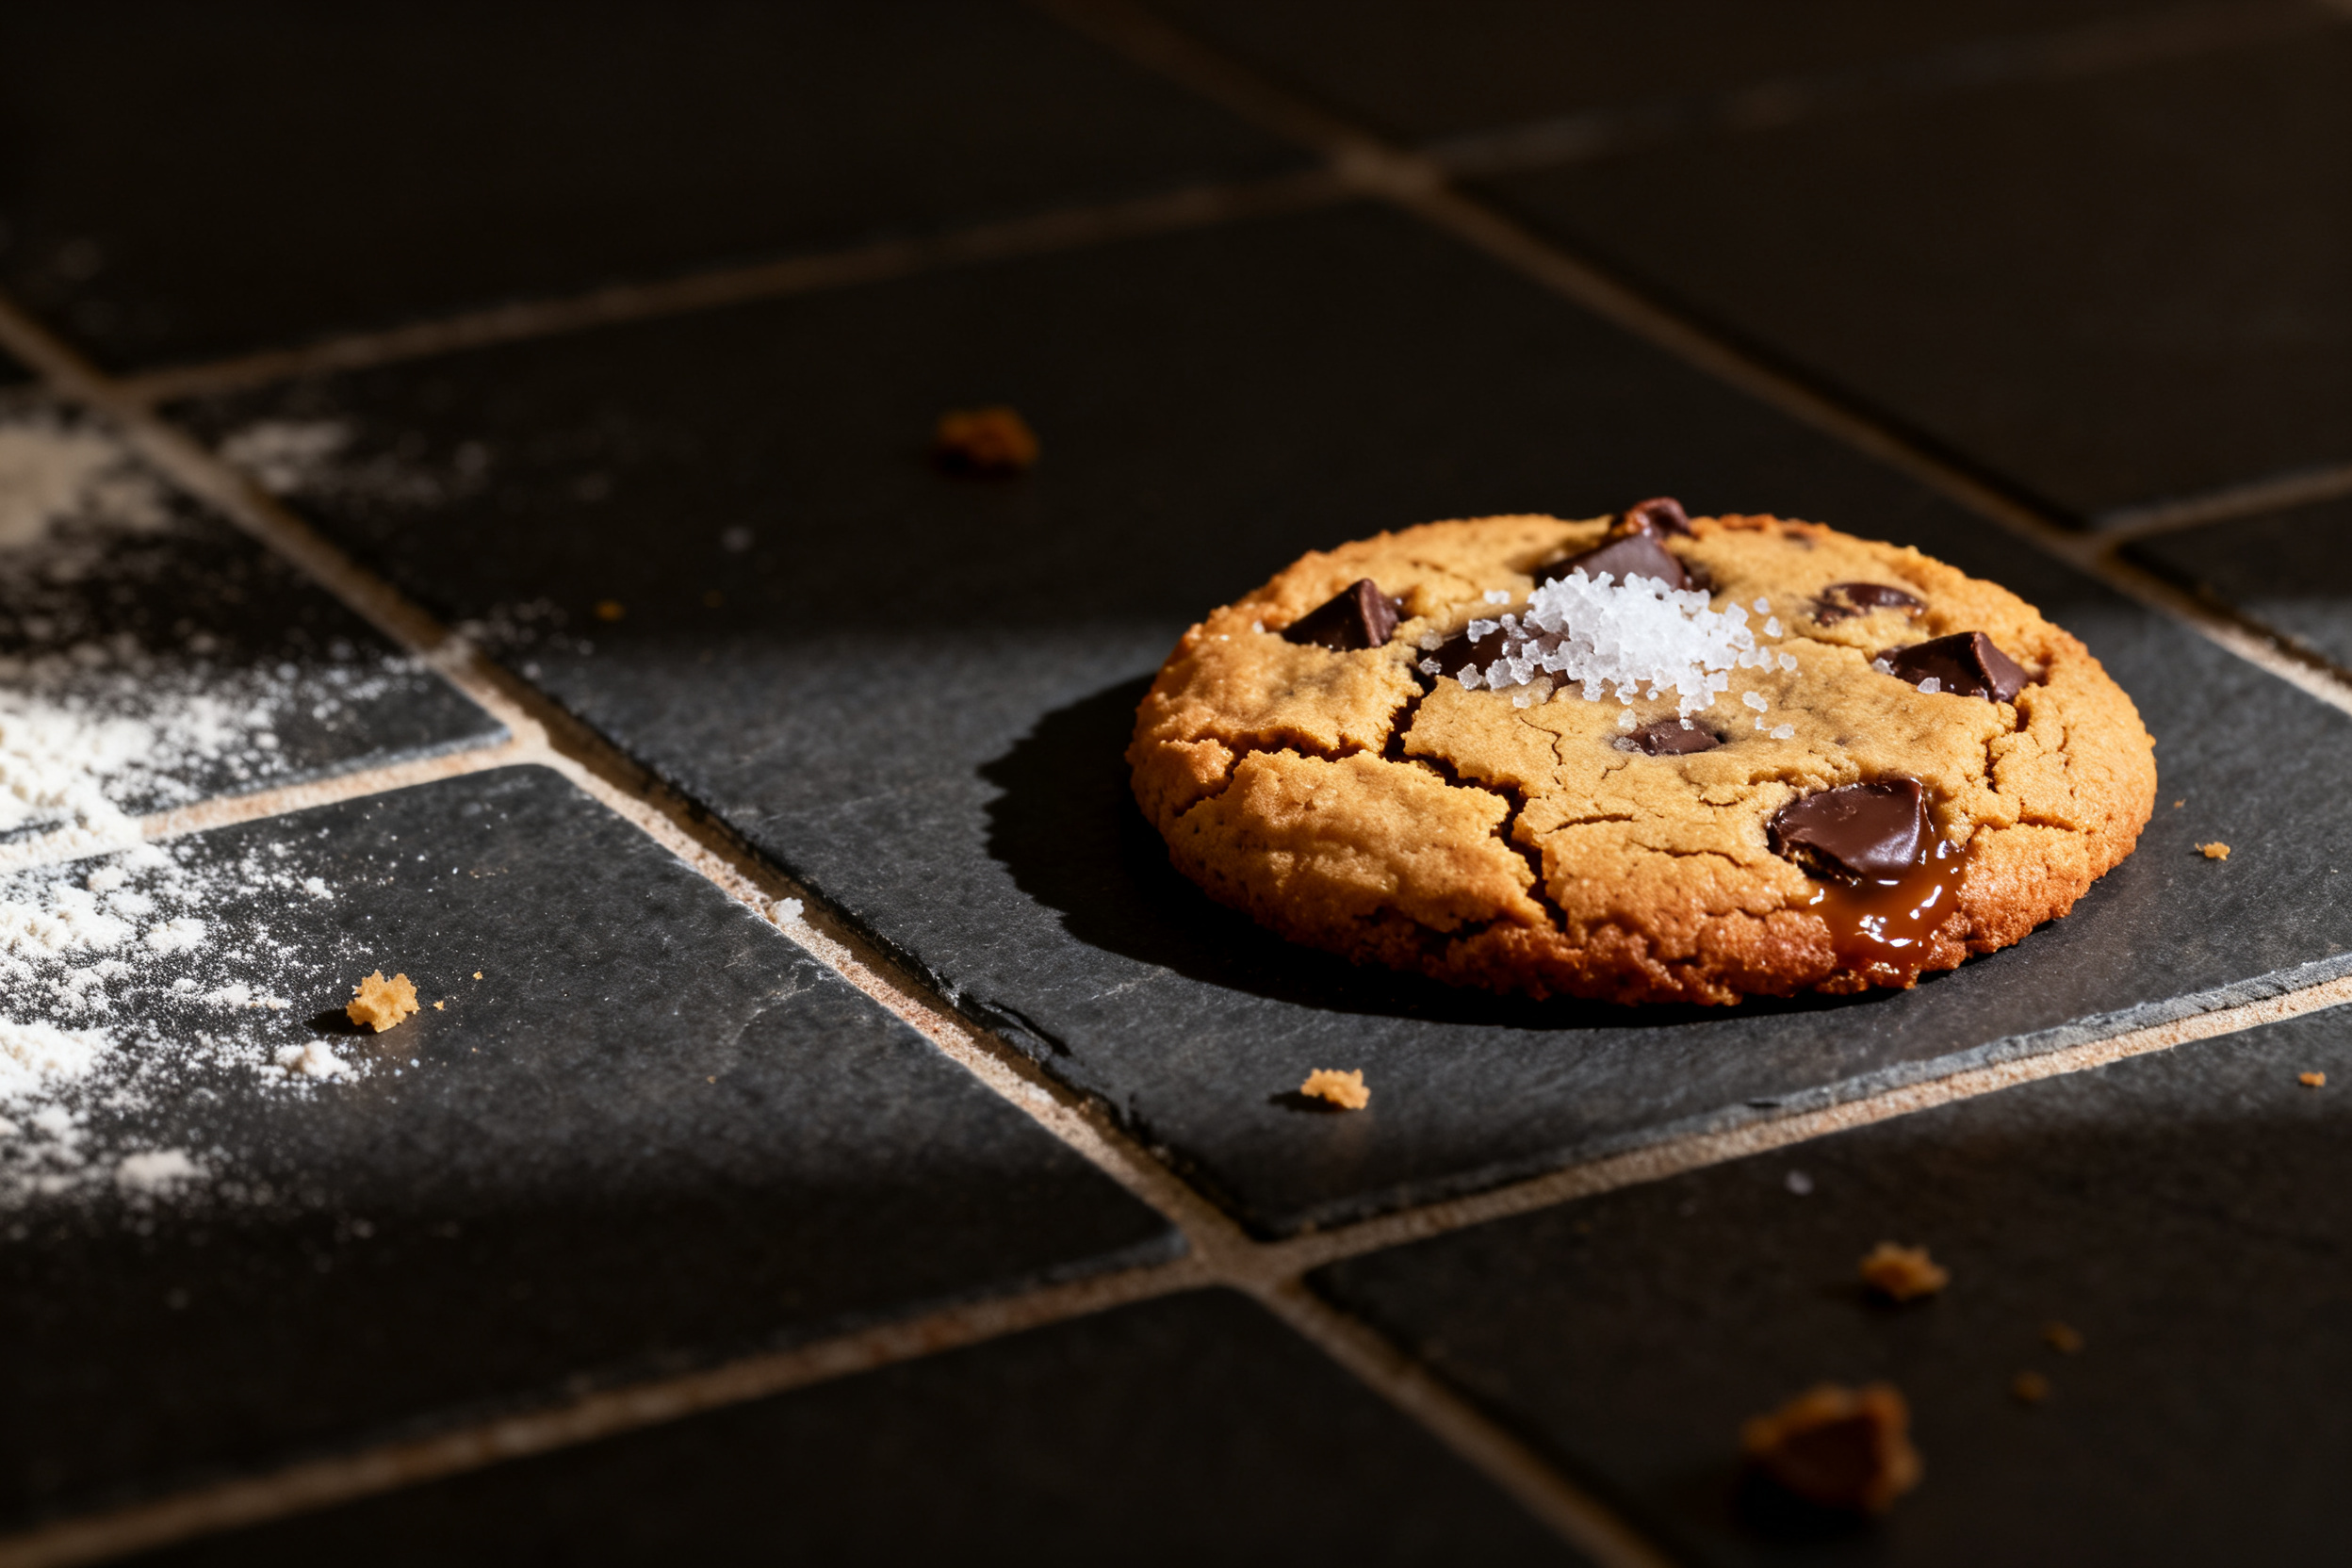
Cookies spread too thin? Your dough was too warm or your butter was too soft. Next time, chill the dough for a full hour.
Too dry or crumbly? You might have over-measured the flour. Spoon and level it, don’t scoop directly from the bag. Or your peanut butter was too natural and low in fat.
Burnt bottoms? Check your oven temperature with an oven thermometer. Many run hot. Also, use a light-colored baking sheet—dark ones absorb more heat.
8. Variations by diet or flavor profile
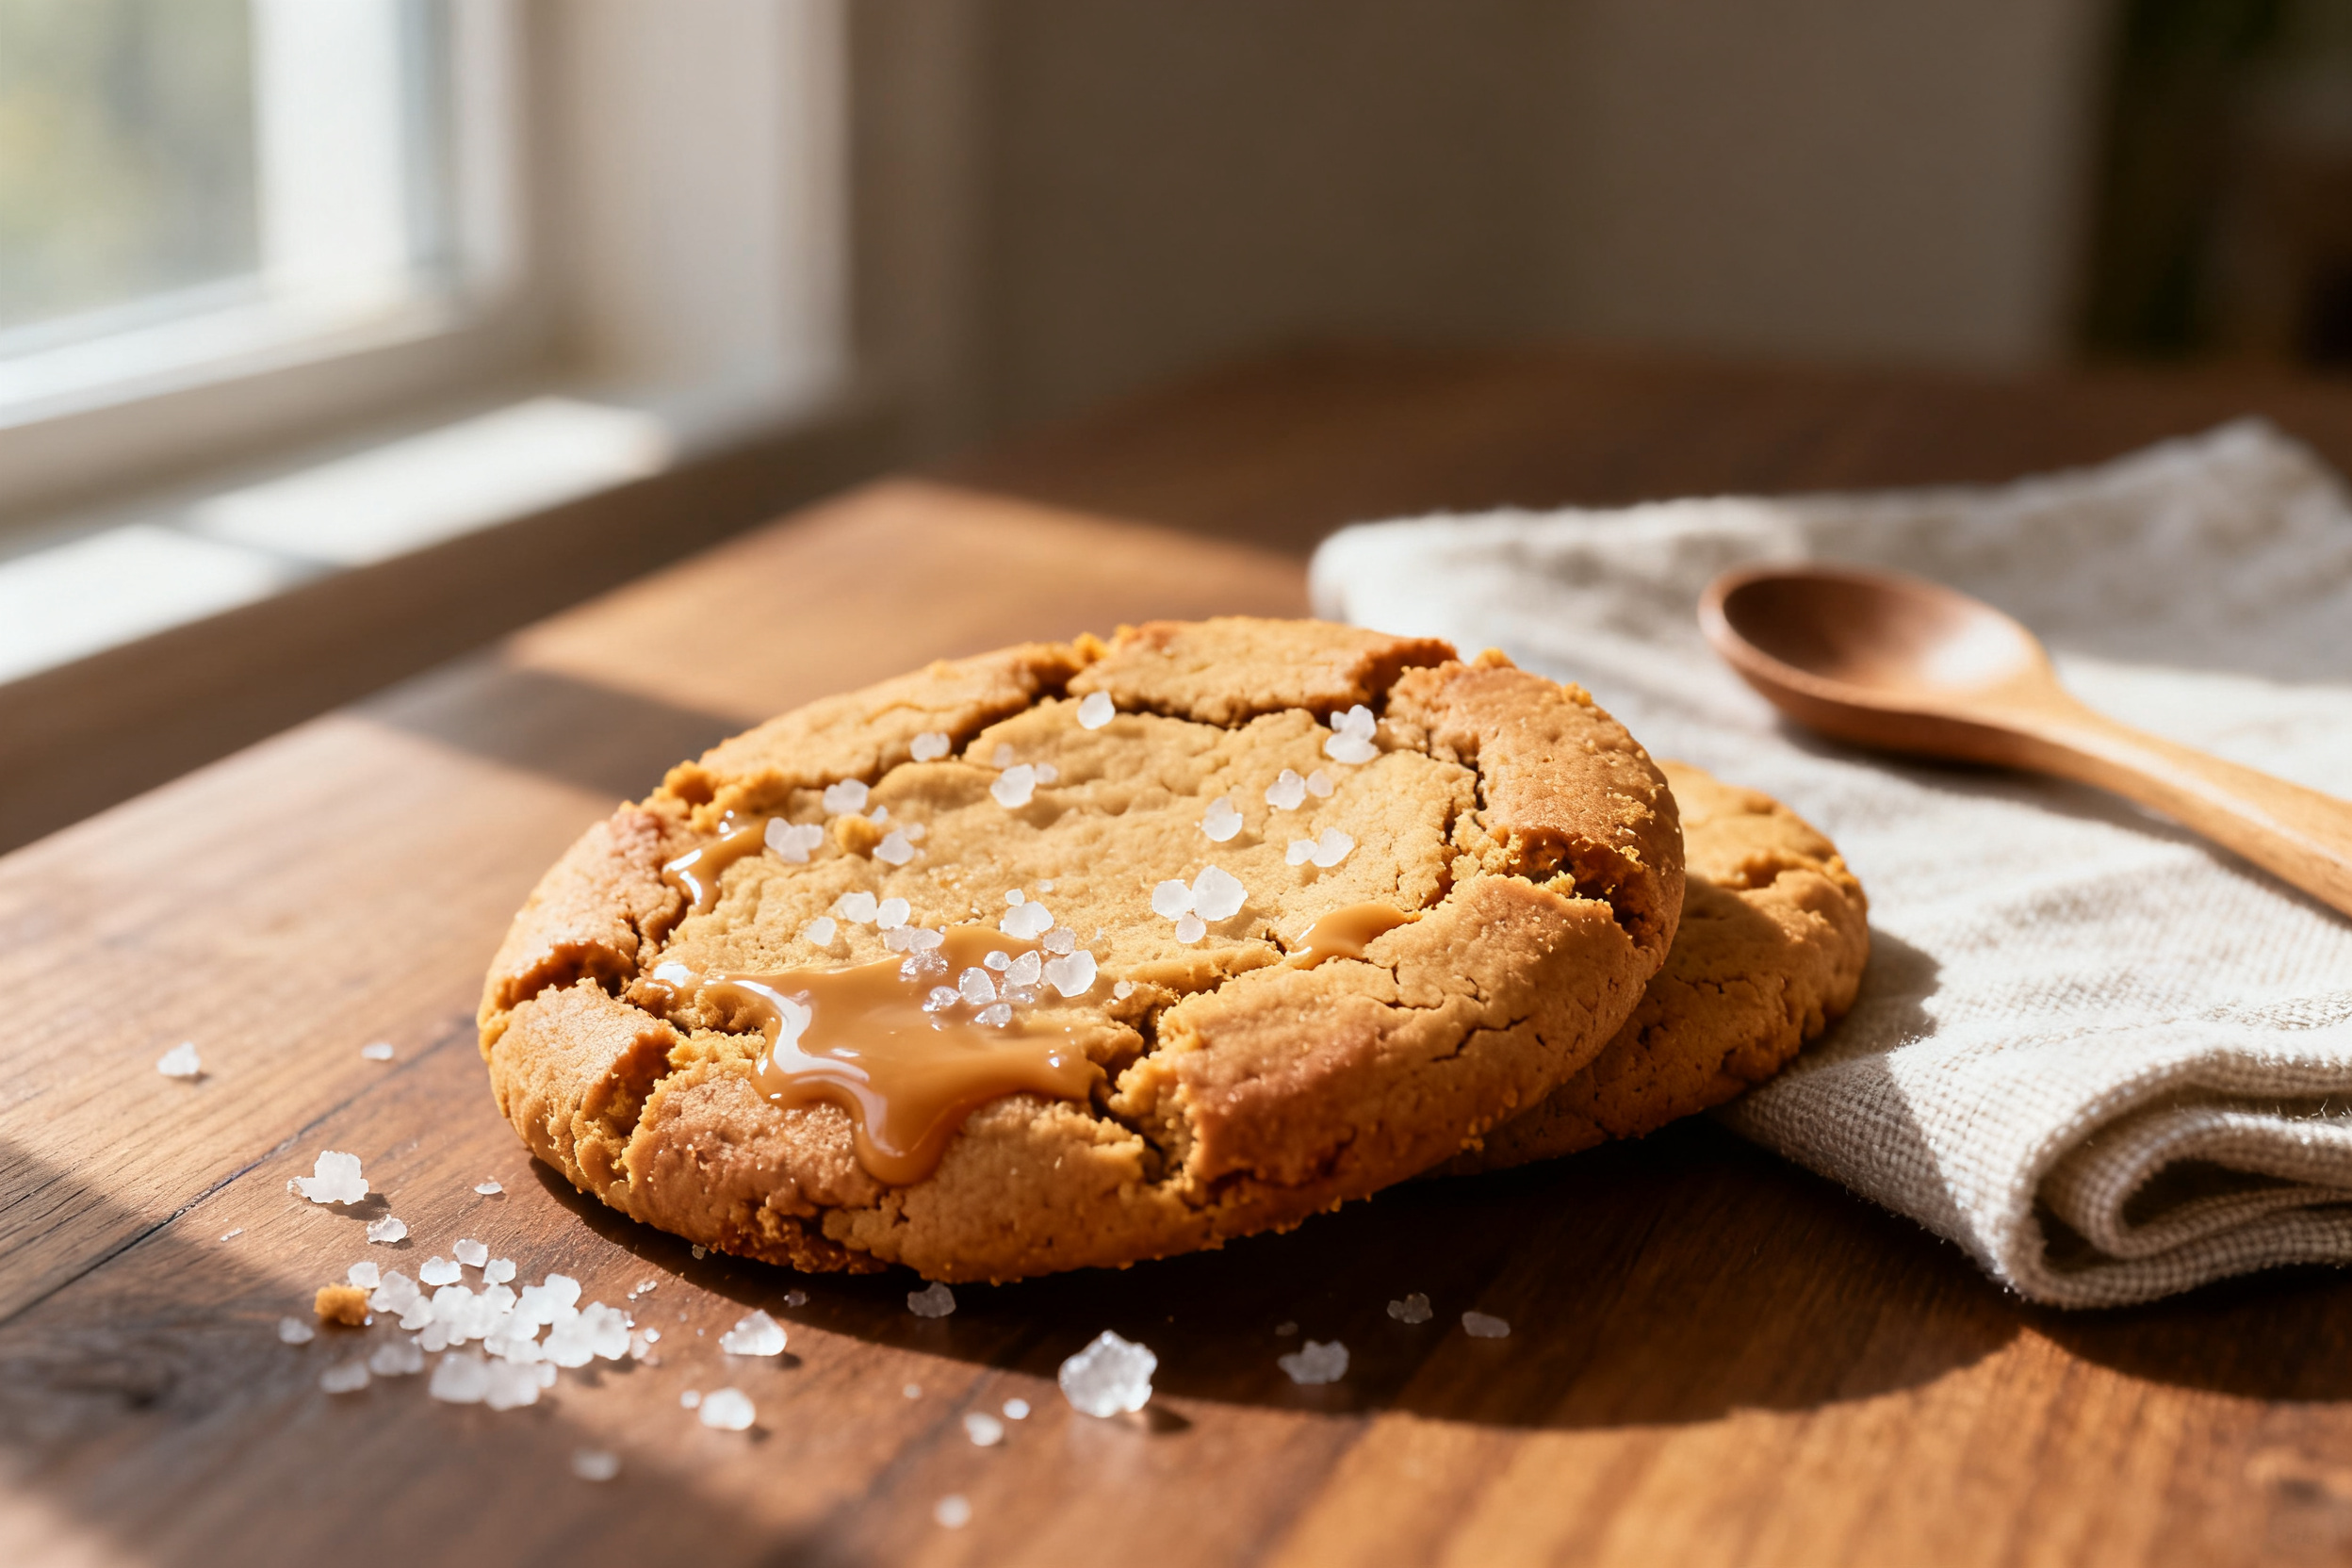
For a gluten-free version, swap the all-purpose flour with a 1:1 gluten-free baking blend. Add 1/4 teaspoon of xanthan gum if your blend doesn’t include it.
Want a chocolate twist? Fold in 1/2 cup of mini chocolate chips or chopped dark chocolate. For a salty-sweet kick, sprinkle flaky sea salt on top right after baking.
Try a spiced version by adding 1/2 teaspoon of cinnamon and a pinch of nutmeg to the dry ingredients. It’s surprisingly good.
9. Why this recipe works
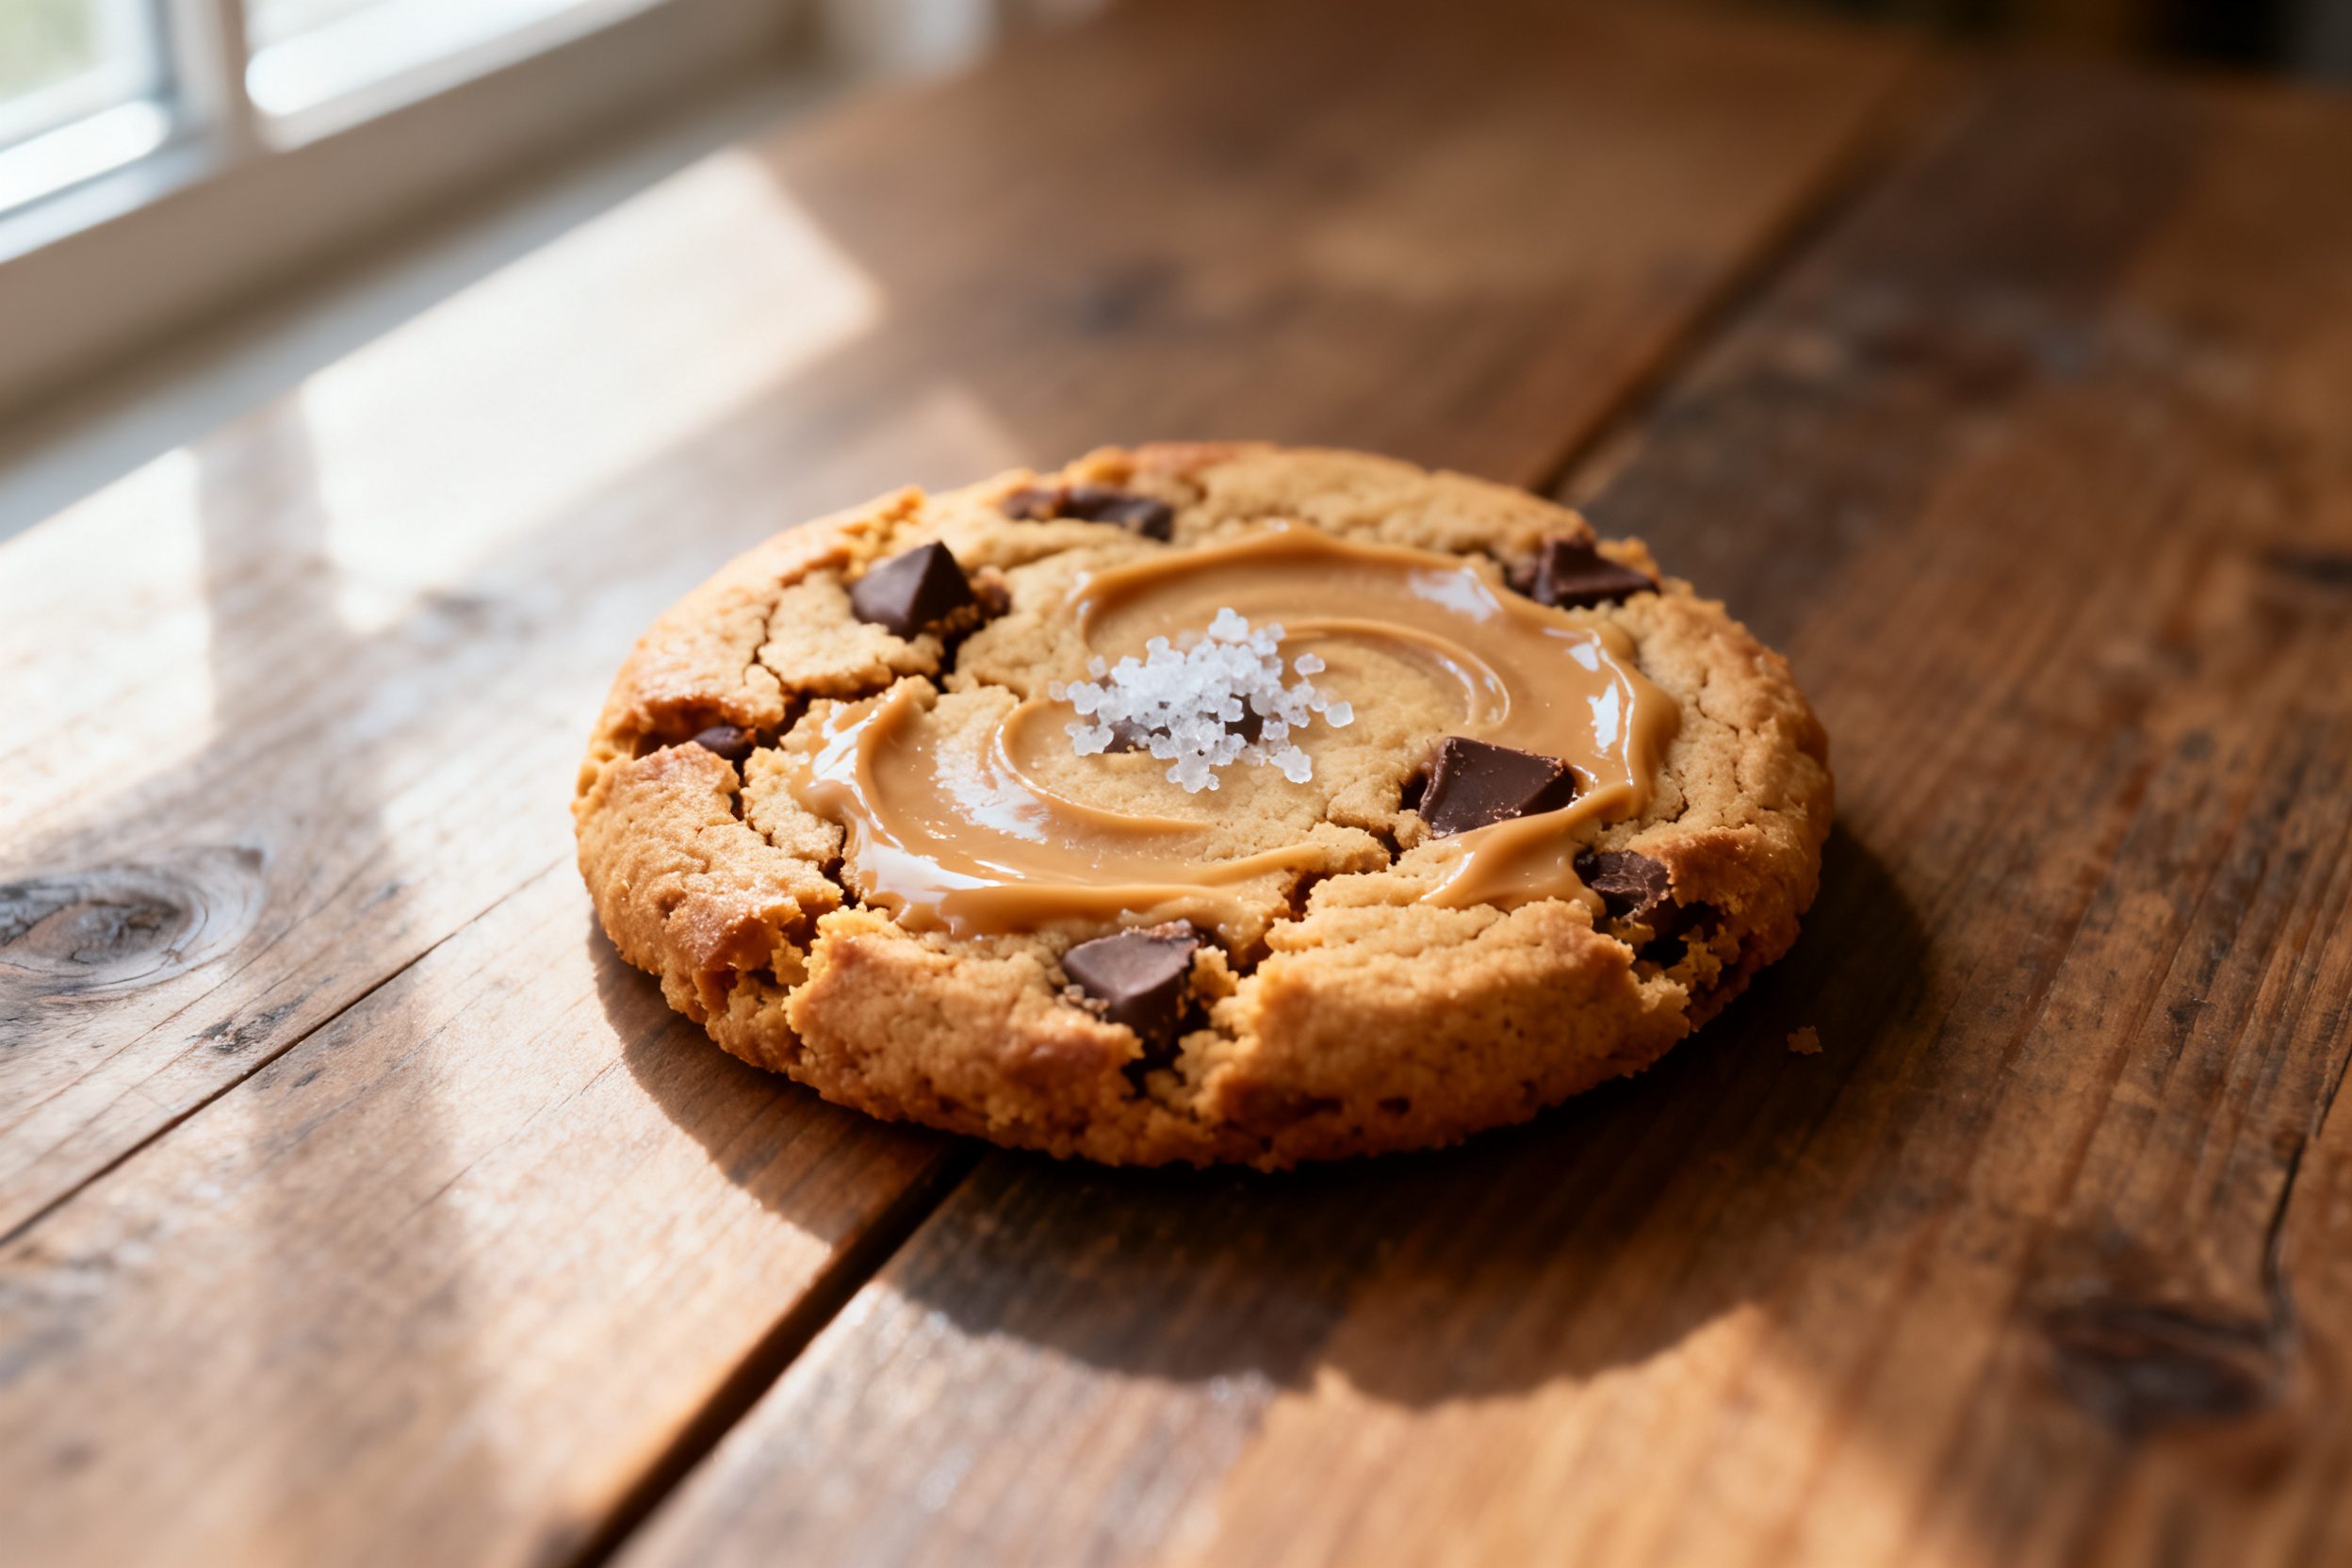
The ratio of fat to flour is key. This recipe uses a higher proportion of peanut butter and butter to flour, which keeps the cookies tender and rich. The brown sugar adds moisture and a slight chewiness.
Chilling the dough solidifies the fat, so the cookies spread slowly in the oven. That slow spread means a thicker, softer center and perfectly crisp edges. Science you can taste.
10. Frequently Asked Questions
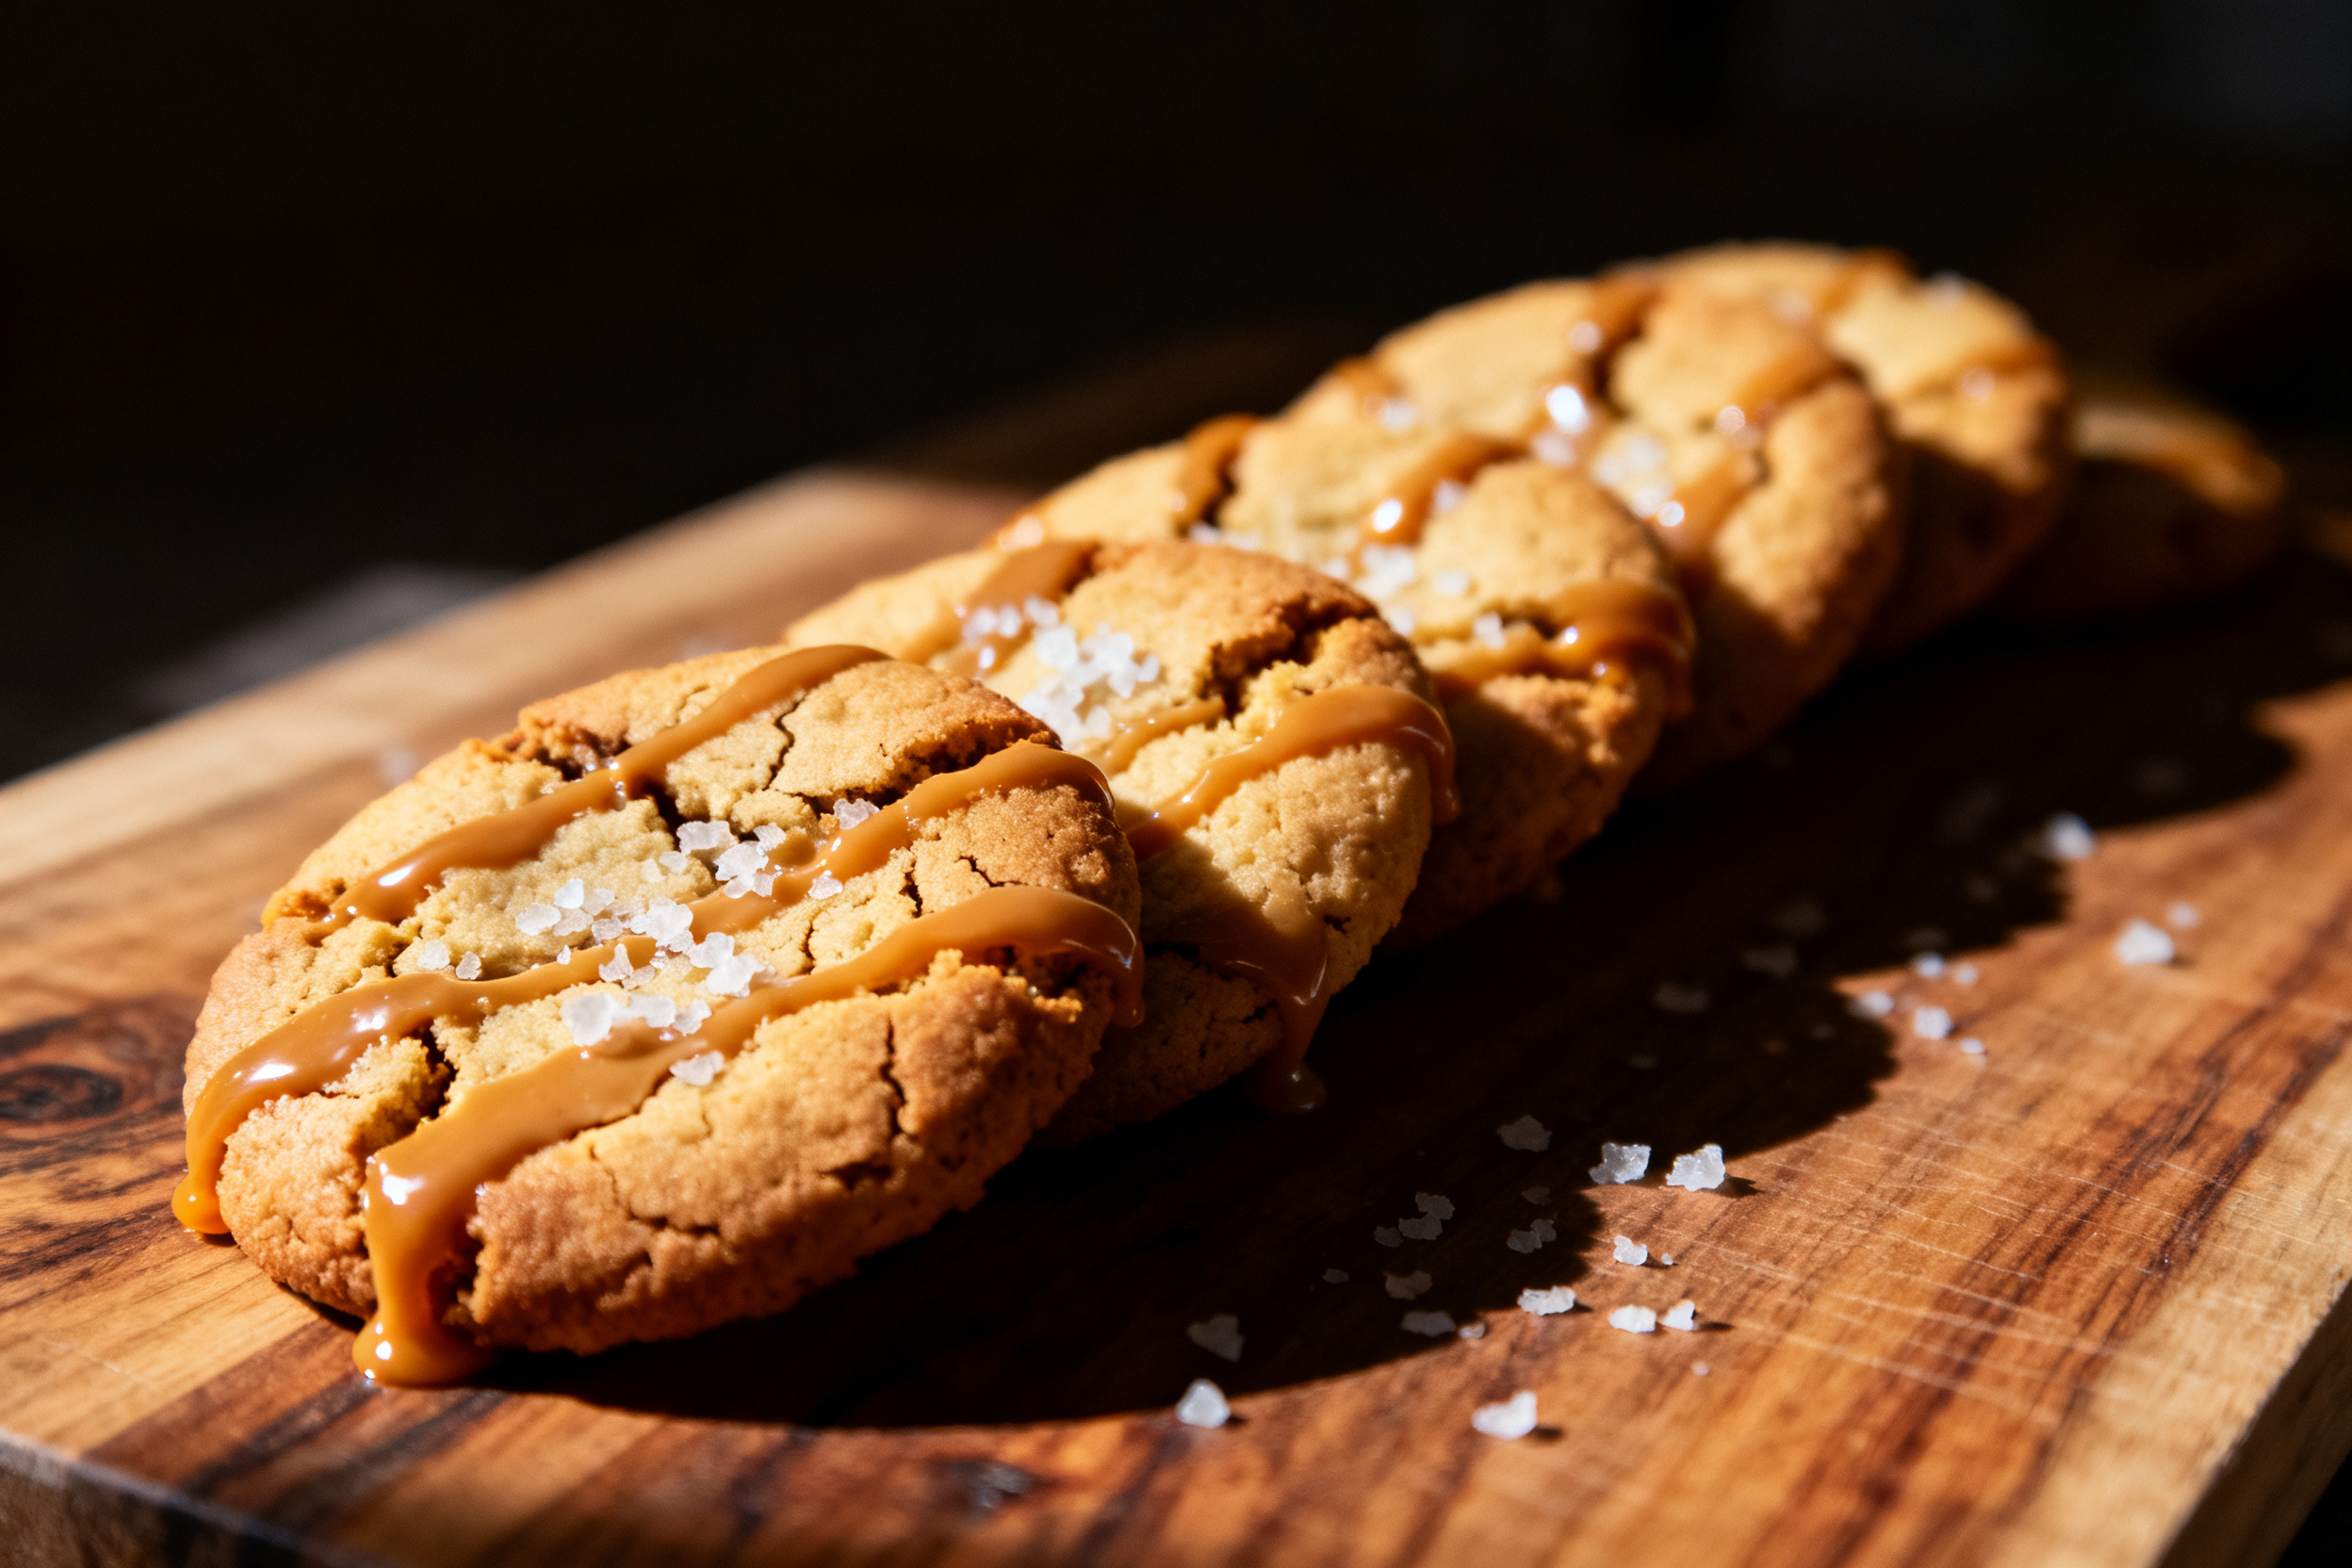
Can I use crunchy peanut butter? Absolutely. It adds a nice texture. Just make sure it’s the same type (commercial, not natural) for consistent results.
Why did my cookies turn out hard? Overbaking is the usual culprit. Pull them out when the edges are set but the centers still look slightly underdone. They’ll firm up as they cool.
Can I double this recipe? Yes, and it freezes well. Just make sure to chill the dough in batches so it stays cold.
11. Call to action
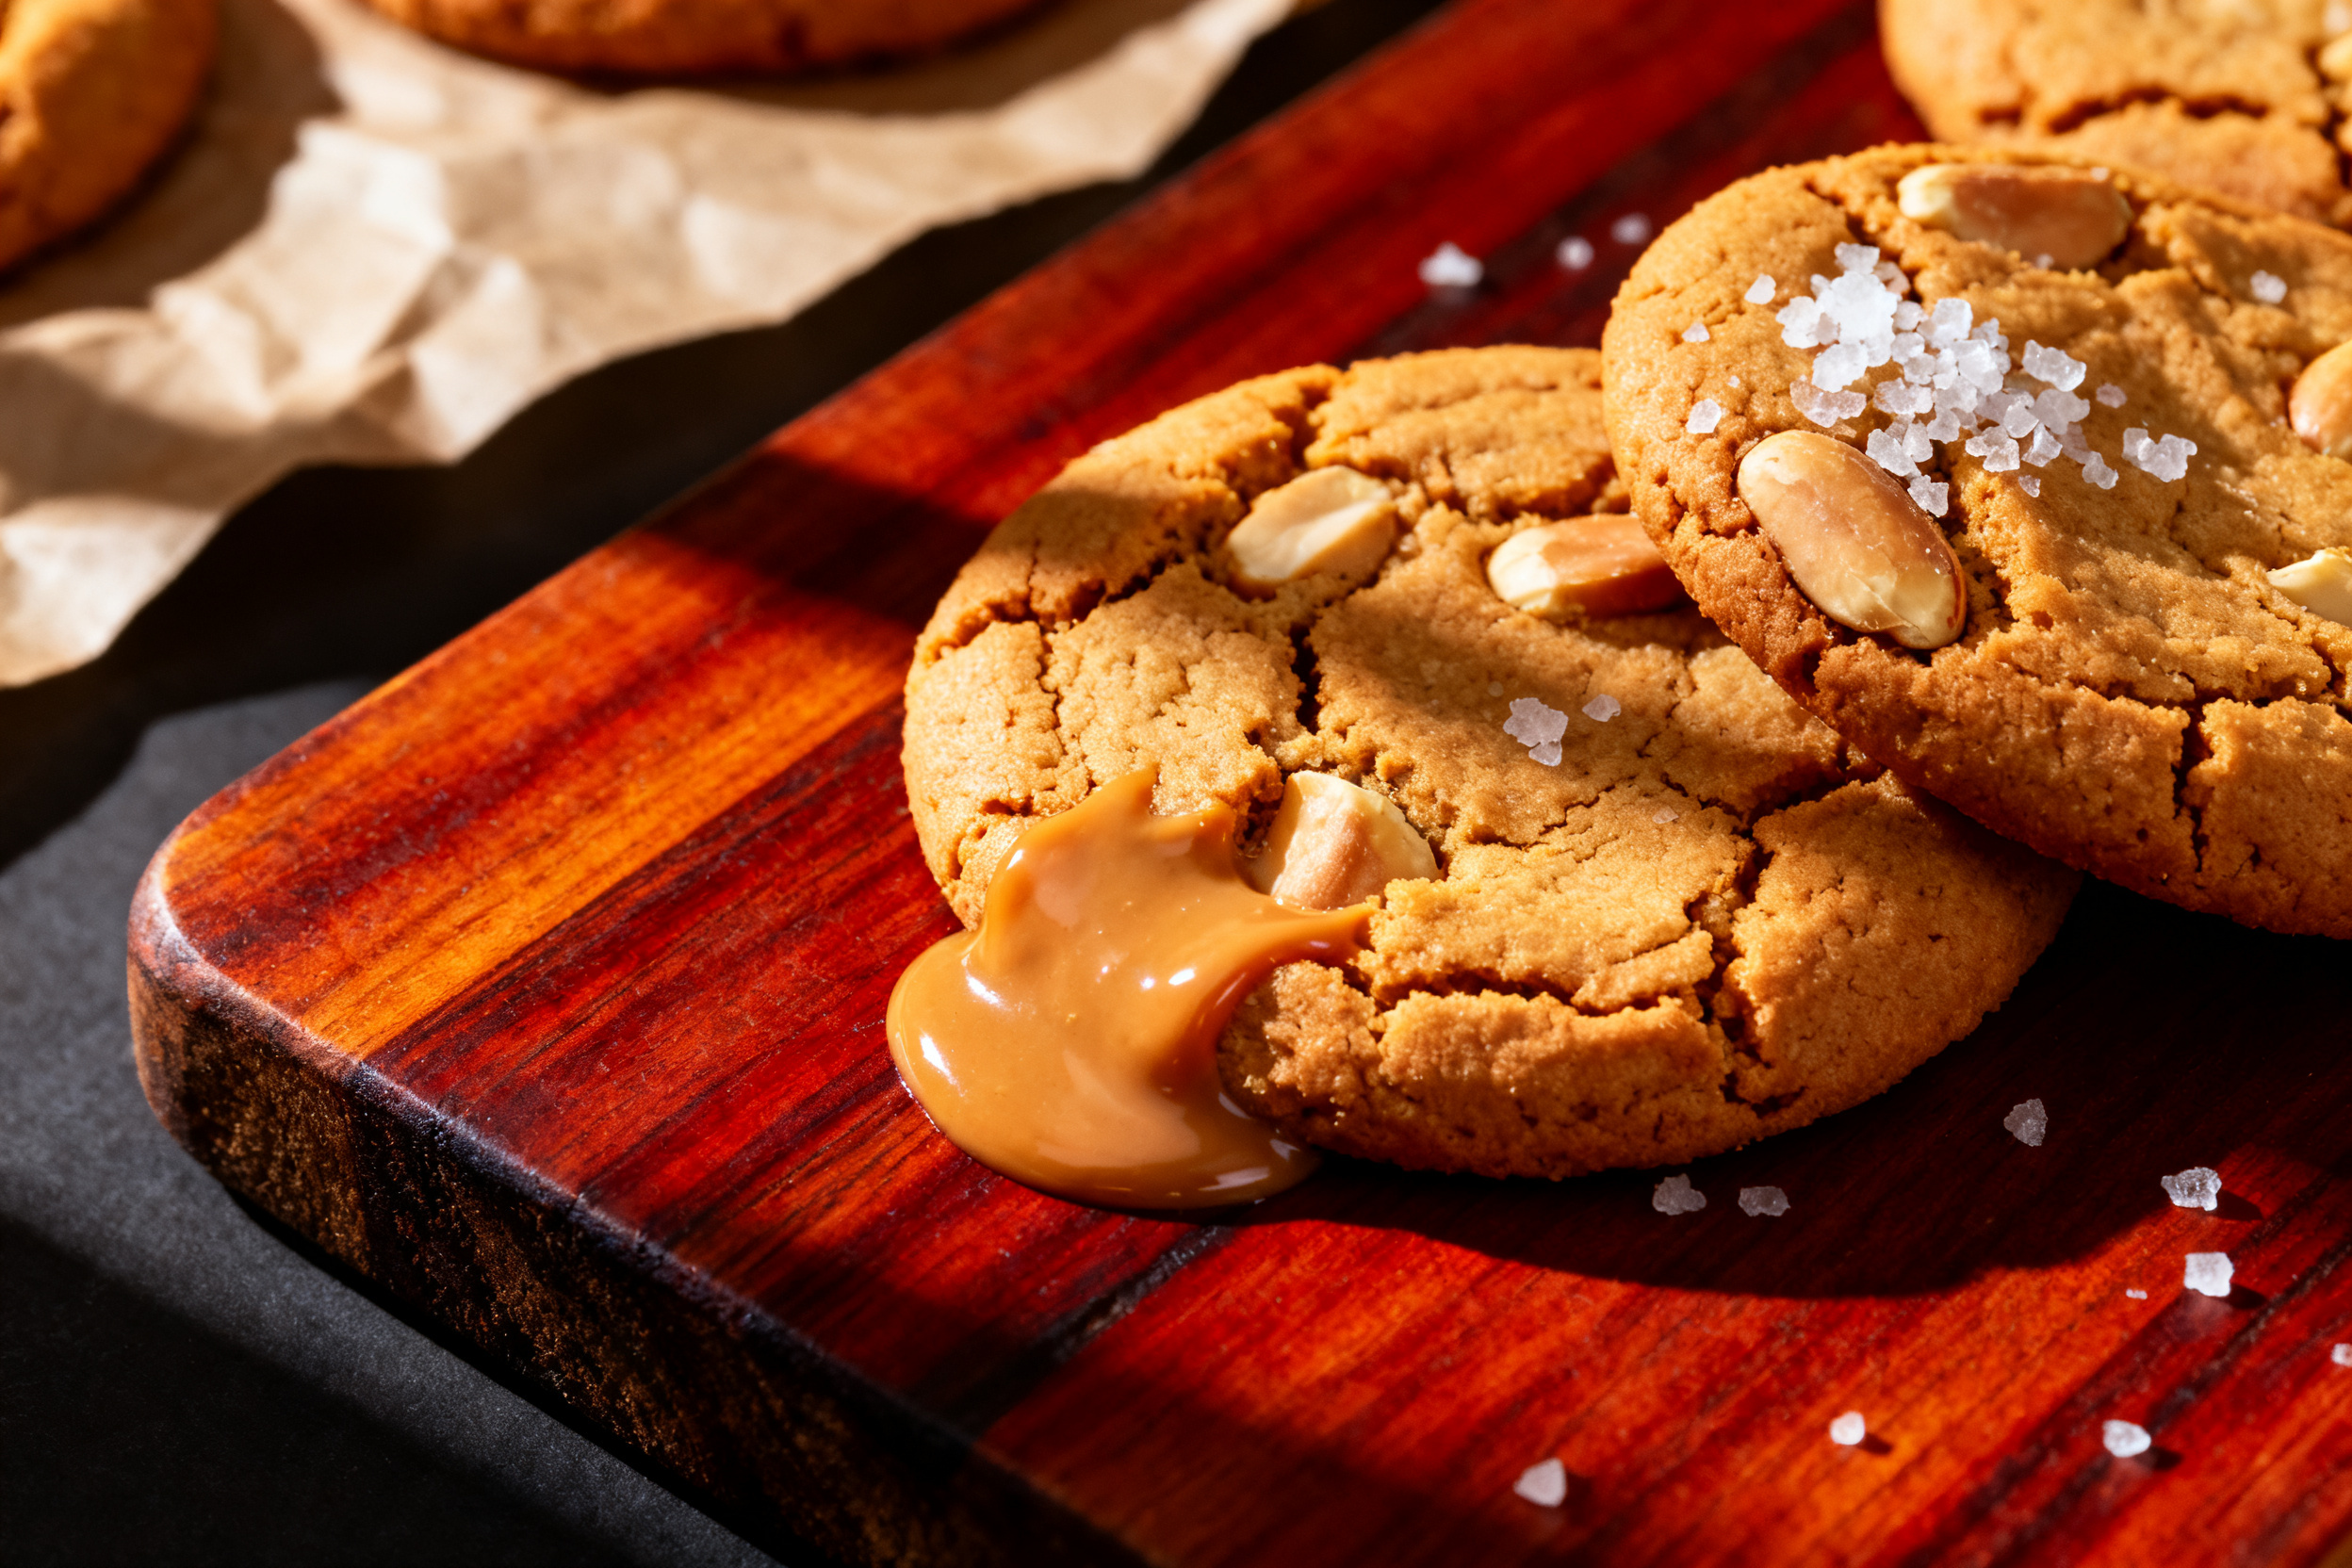
I’d love to hear how these turn out for you. Drop a comment below and let me know if you tried any fun variations.
If you loved this recipe, share it with a friend who needs a little peanut butter bliss in their life. And don’t forget to subscribe so you never miss a new post.
Happy baking, friend.
This peanut butter cookie recipe is everything you want in a classic cookie—soft, rich, and packed with real peanut flavor. It’s the kind of recipe you’ll make again and again, whether for a bake sale, a rainy afternoon, or just because you deserve a treat. No fancy ingredients, no complicated steps—just pure, peanutty joy.
So preheat that oven and get mixing. Your future self (with a cookie in hand) will thank you.
Classic Chewy Peanut Butter Cookies
Ingredients
- 1/2 cup 1 stick unsalted butter, softened
- 1/2 cup creamy peanut butter commercial style, like Jif or Skippy
- 1/2 cup granulated sugar
- 1/2 cup packed light brown sugar
- 1 large egg room temperature
- 1 teaspoon vanilla extract
- 1 1/4 cups all-purpose flour
- 3/4 teaspoon baking soda
- 1/2 teaspoon baking powder
- 1/4 teaspoon salt
Instructions
- In a large bowl, beat the softened butter, peanut butter, granulated sugar, and brown sugar together until light and fluffy, about 2 minutes.
- Add the egg and vanilla extract, then beat until combined. Scrape down the sides of the bowl as needed.
- In a separate bowl, whisk together the flour, baking soda, baking powder, and salt.
- Gradually add the dry ingredients to the wet ingredients, mixing on low speed just until no streaks of flour remain. Do not overmix.
- Cover the dough with plastic wrap and refrigerate for at least 30 minutes (or up to 3 days).
- Preheat the oven to 350°F (175°C). Line two baking sheets with parchment paper.
- Scoop rounded tablespoons of dough (about 1.5 tablespoons each) and roll into balls. Place them 2 inches apart on the prepared baking sheets.
- Using a fork, gently press a crisscross pattern into each dough ball, flattening slightly. Dip the fork in sugar between presses to prevent sticking.
- Bake for 9-11 minutes, until the edges are set and lightly golden. The centers will look slightly soft and puffed.
- Let the cookies cool on the baking sheet for 5 minutes, then transfer to a wire rack to cool completely.
Notes
2. For longer storage, freeze baked cookies for up to 3 months.
3. Make-ahead: You can freeze the unbaked dough balls on a baking sheet, then transfer to a freezer bag.
4. Bake from frozen, adding 2 minutes to the bake time.
5. Substitutions: For dairy-free, use plant-based butter sticks.
6. For gluten-free, use a 1:1 gluten-free baking flour blend.
7. For nut-free, substitute sunflower seed butter.
8. Tip: For extra chewy cookies, use 1/2 cup of dark brown sugar instead of light brown sugar.