
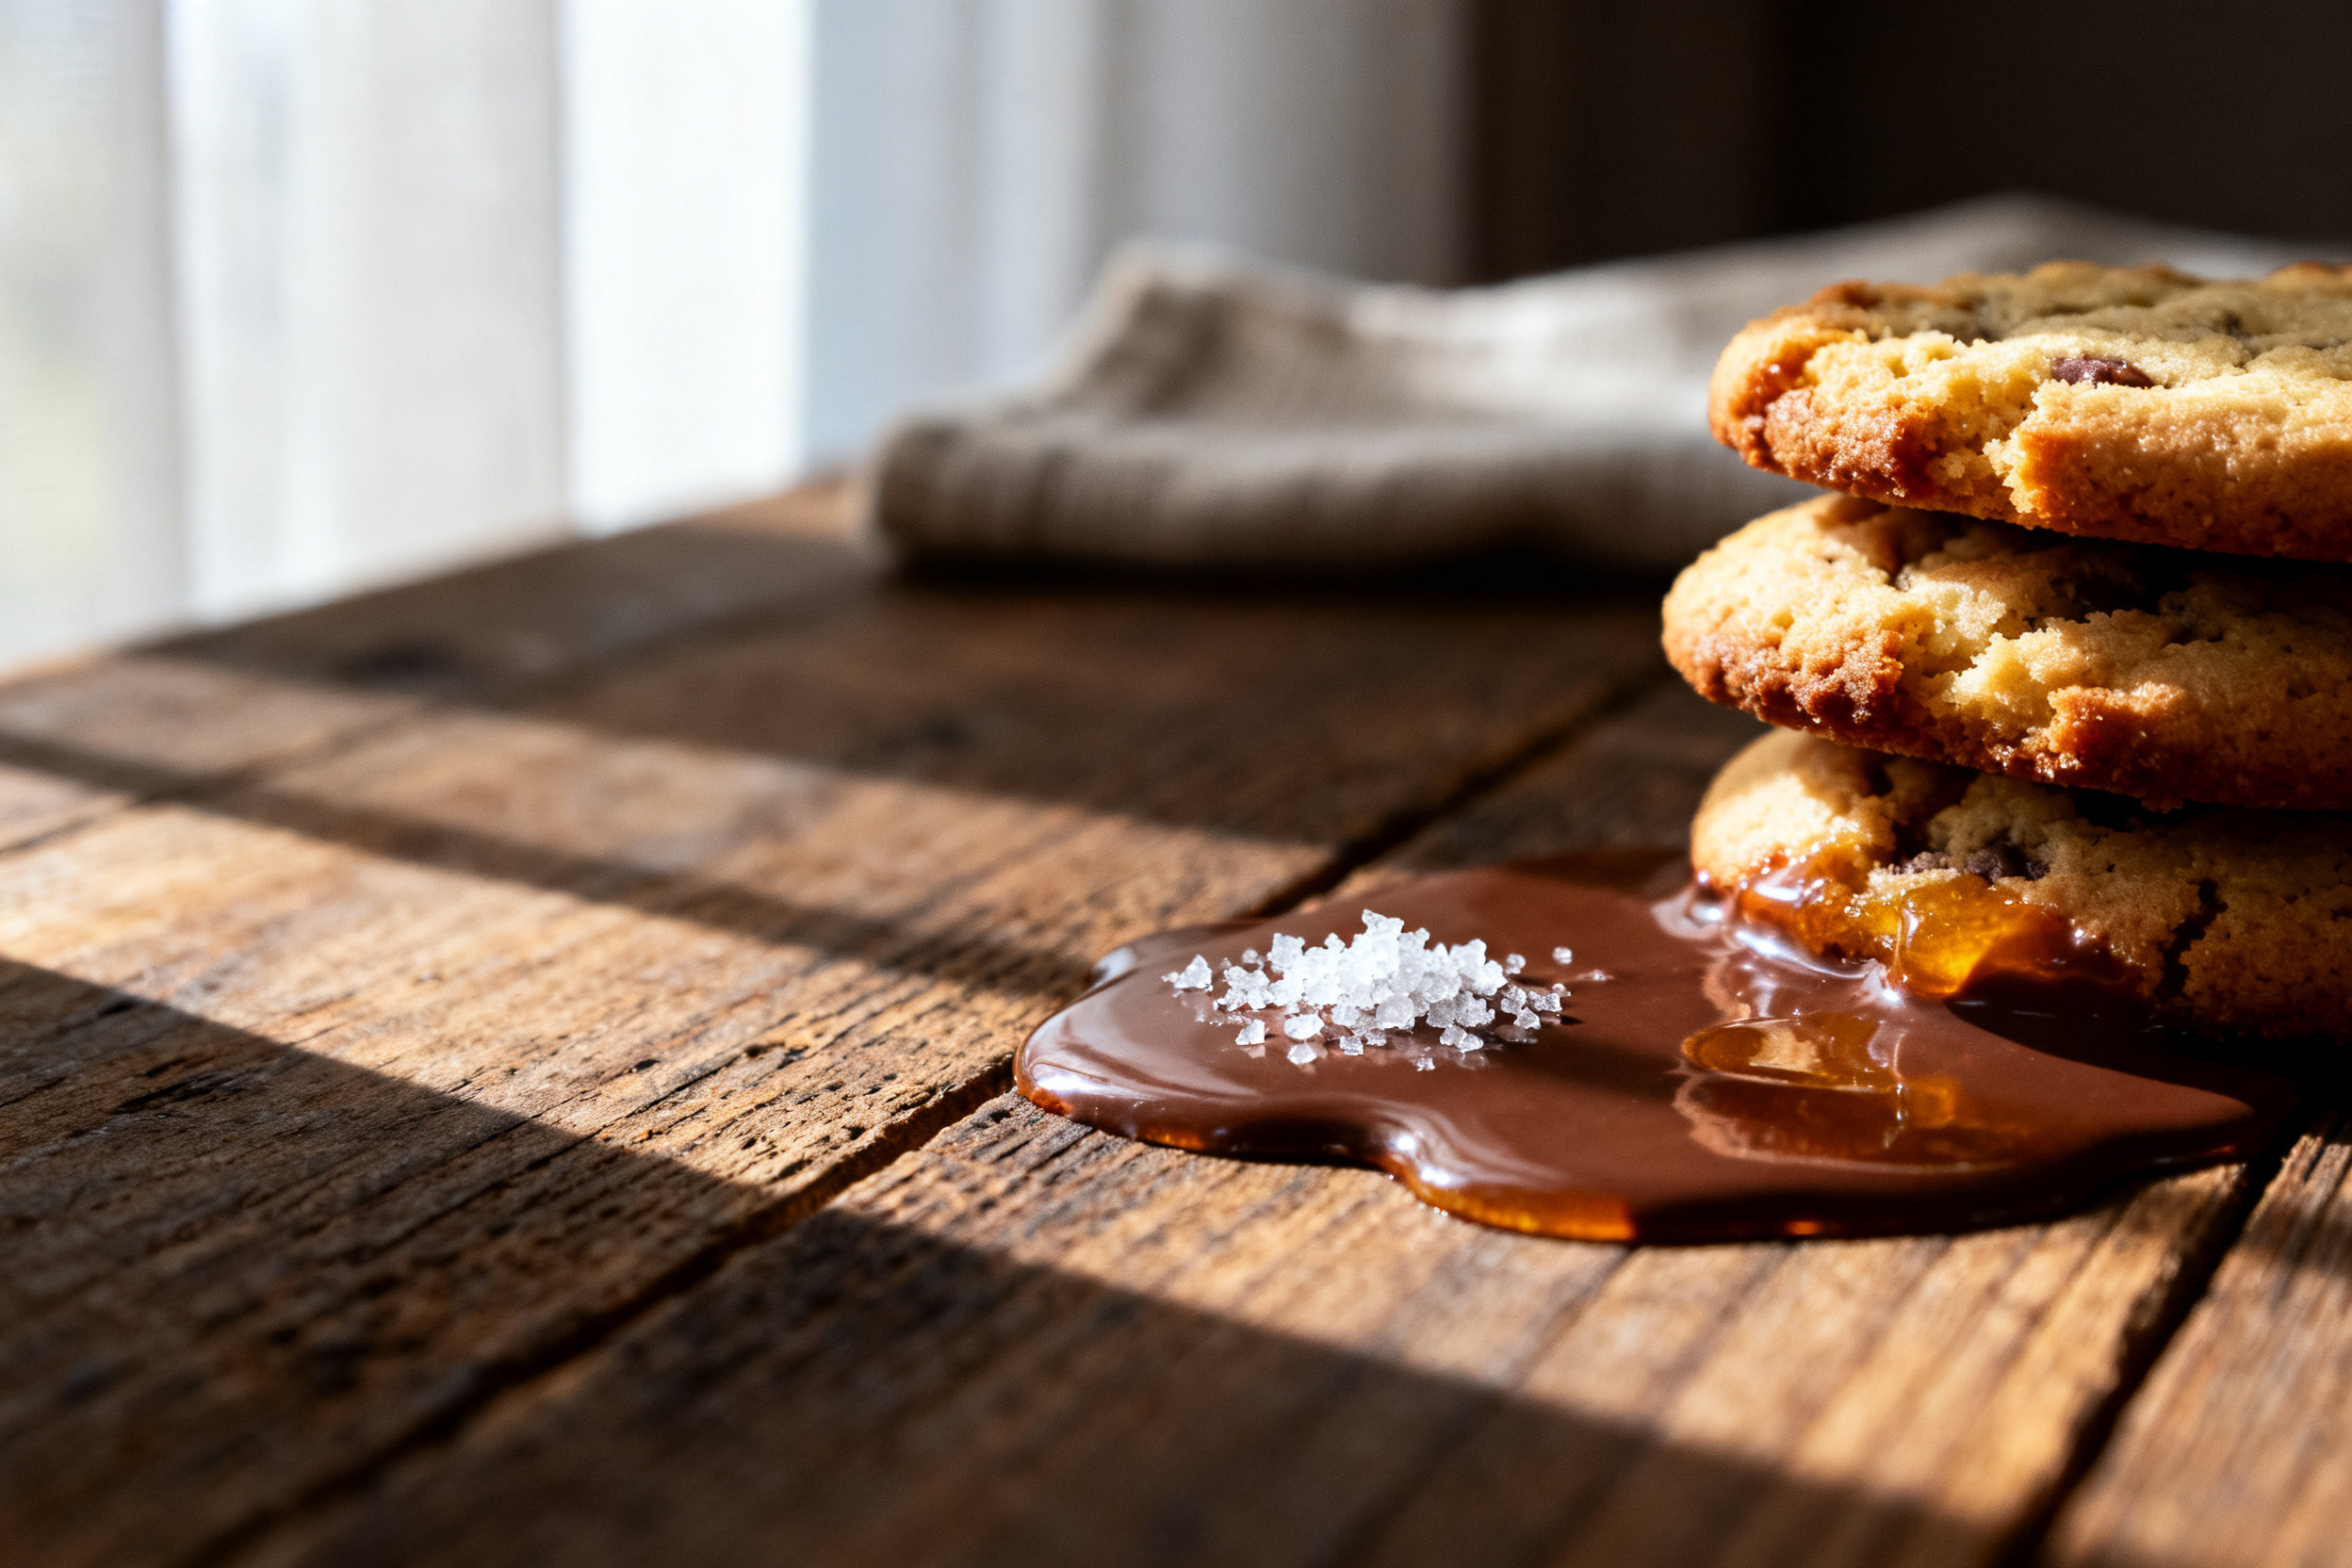
You know that moment when you bite into a chocolate chip cookie and it’s either a rock-hard hockey puck or a sad, underbaked blob? Yeah, I’ve been there too. This is not that moment.
This Toll House cookie recipe nails the holy grail: a crispy, golden edge with a soft, chewy center. It’s the cookie that disappears faster than you can say “just one more.”
I’ve tested this a dozen times to save you the burnt batches and doughy disasters. Let’s get baking, friend.
1. Allergens
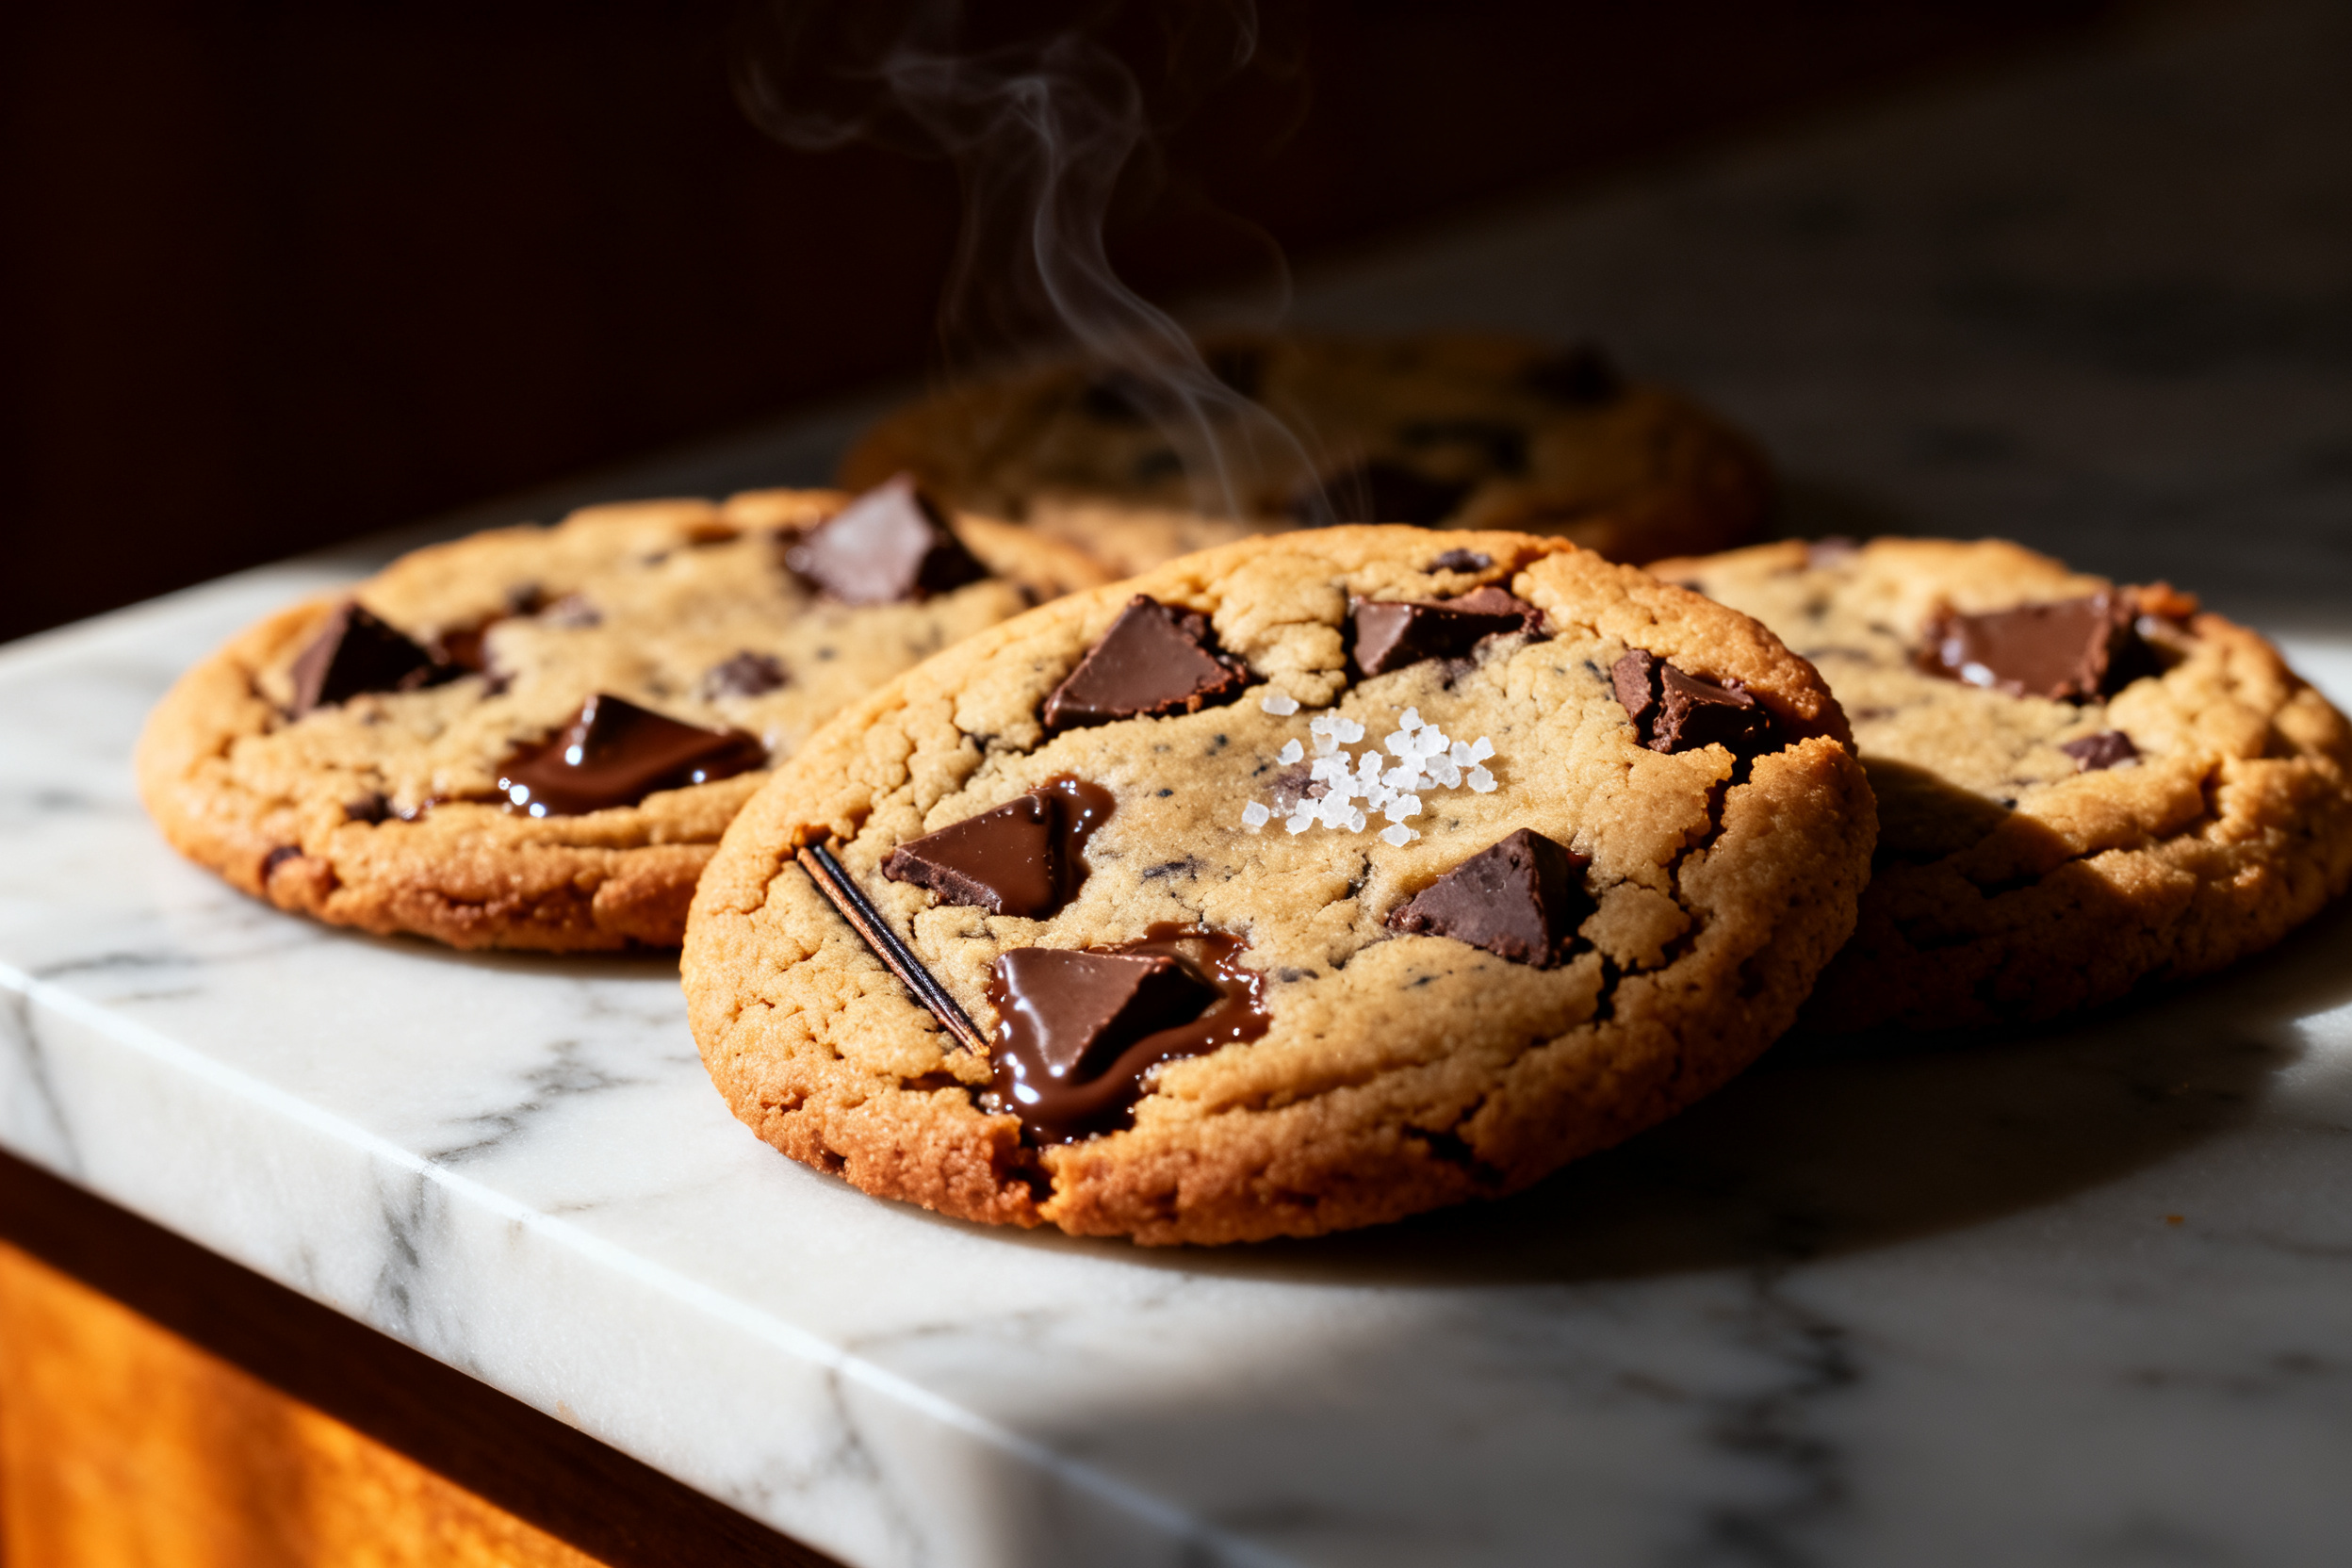
This classic cookie recipe contains wheat (gluten), dairy (butter), and eggs. It’s a triple threat for common allergies, so keep that in mind for parties.
The recipe as written is not gluten-free, dairy-free, or vegan. You can swap ingredients (see variations below), but the texture will change a bit.
2. Ingredient notes & substitutions
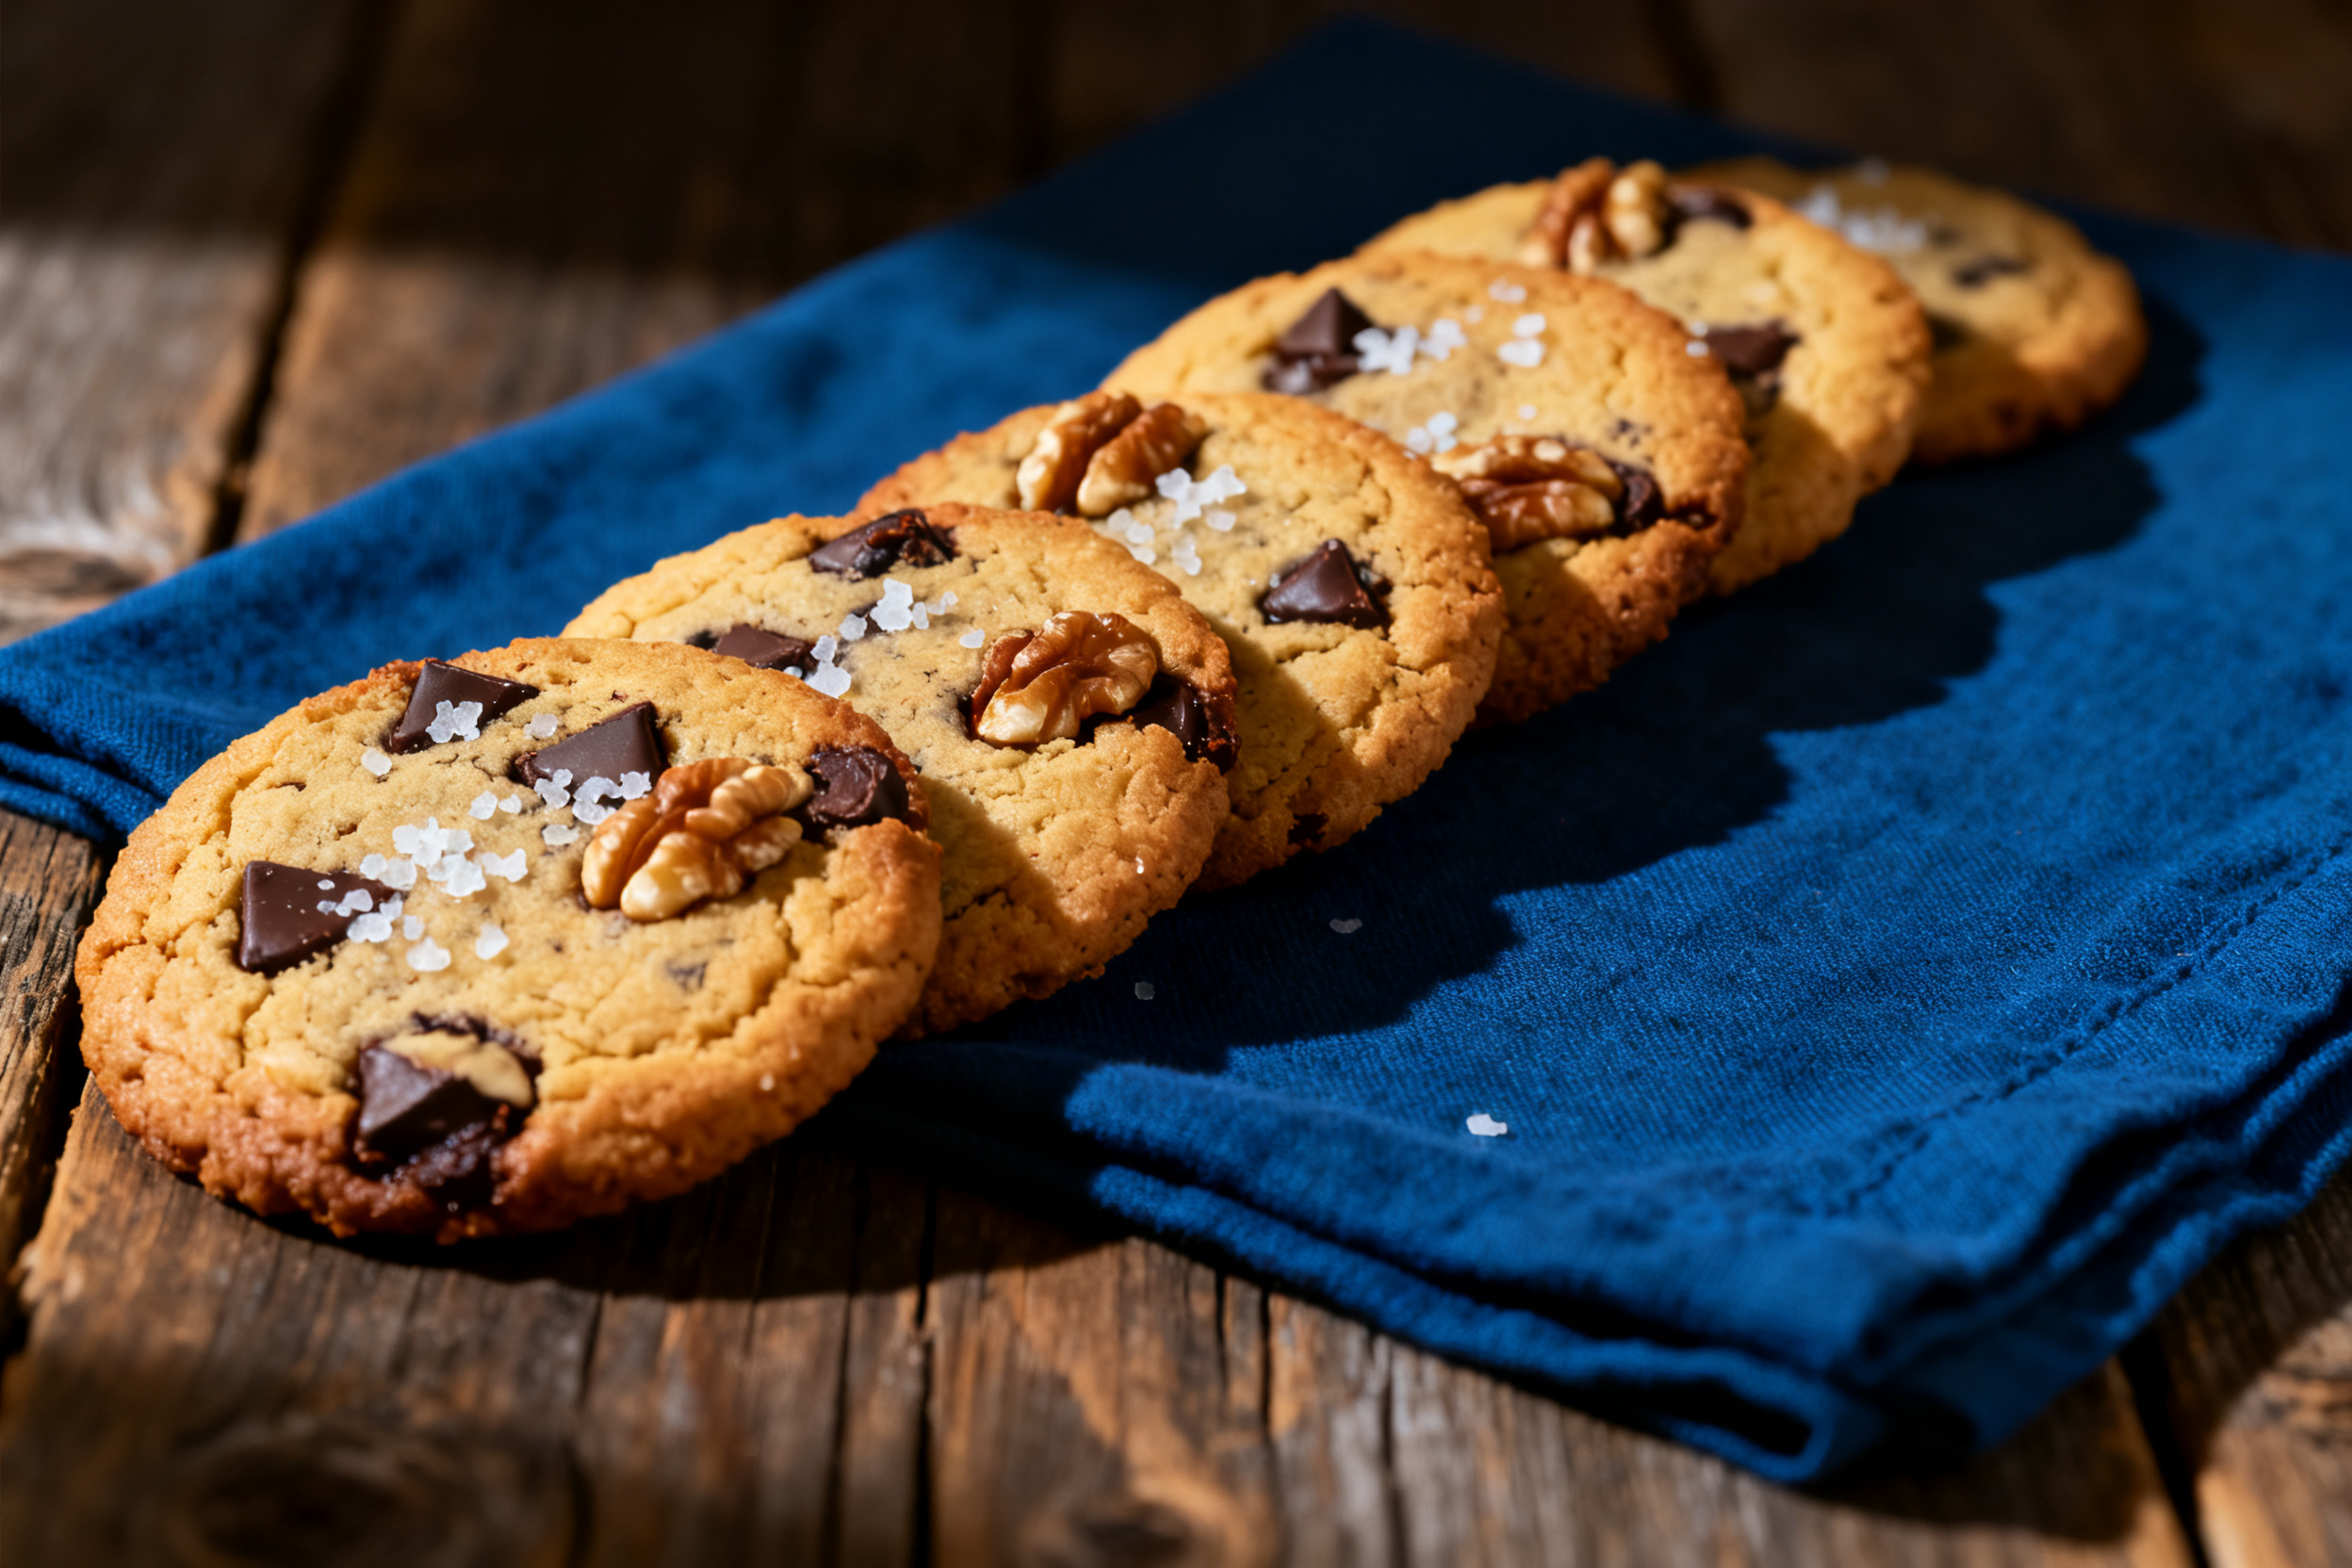
Use room-temperature butter—not melted, not straight from the fridge. Softened butter creams properly with sugar, which builds the cookie’s structure and chew.
For the chocolate, I’m a semi-sweet chips fan, but dark, milk, or even chopped chocolate bars work beautifully. Chop them roughly for those puddles of chocolate.
If you’re out of brown sugar, use all white sugar and add a tablespoon of molasses. Your cookies will be slightly crispier, but still delicious.
3. Pro tips
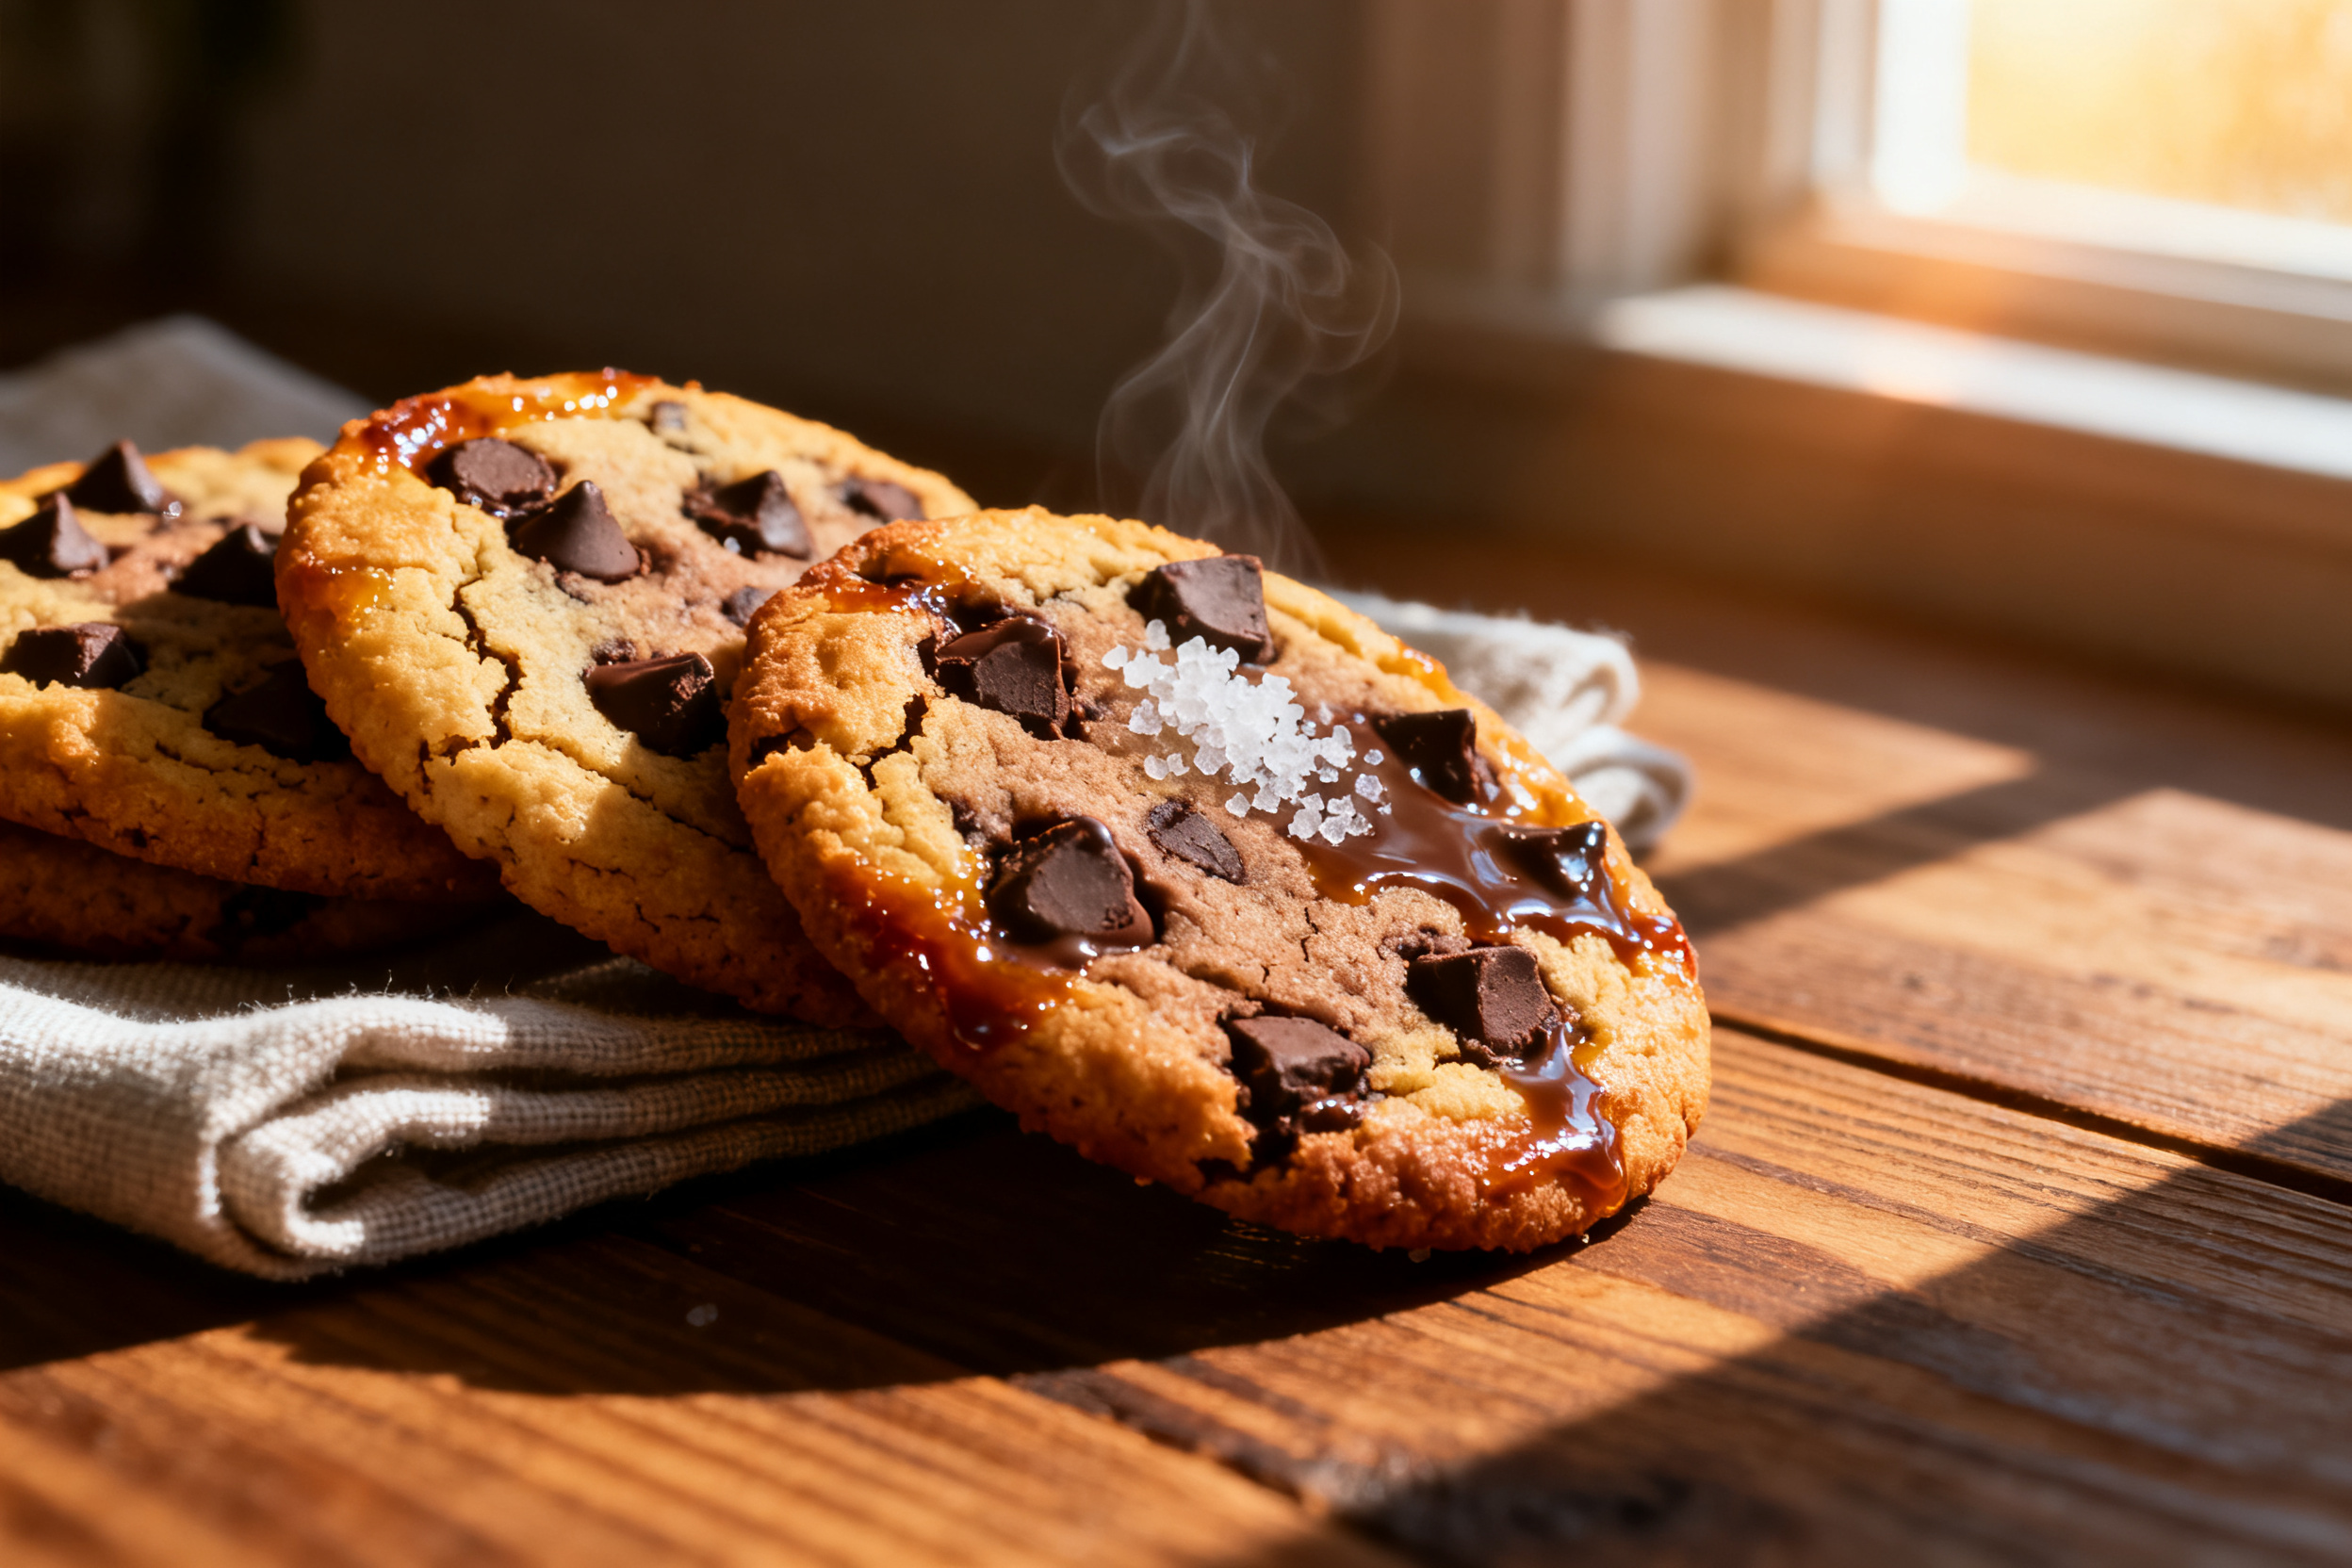
Chill the dough for at least 30 minutes. It stops the cookies from spreading into flat pancakes and deepens the flavor. I chill mine for two hours when I’m patient (which is rare).
Use a cookie scoop for even sizes. This ensures they bake uniformly, so you don’t end up with tiny crispy ones next to raw ones.
4. Storage & make-ahead
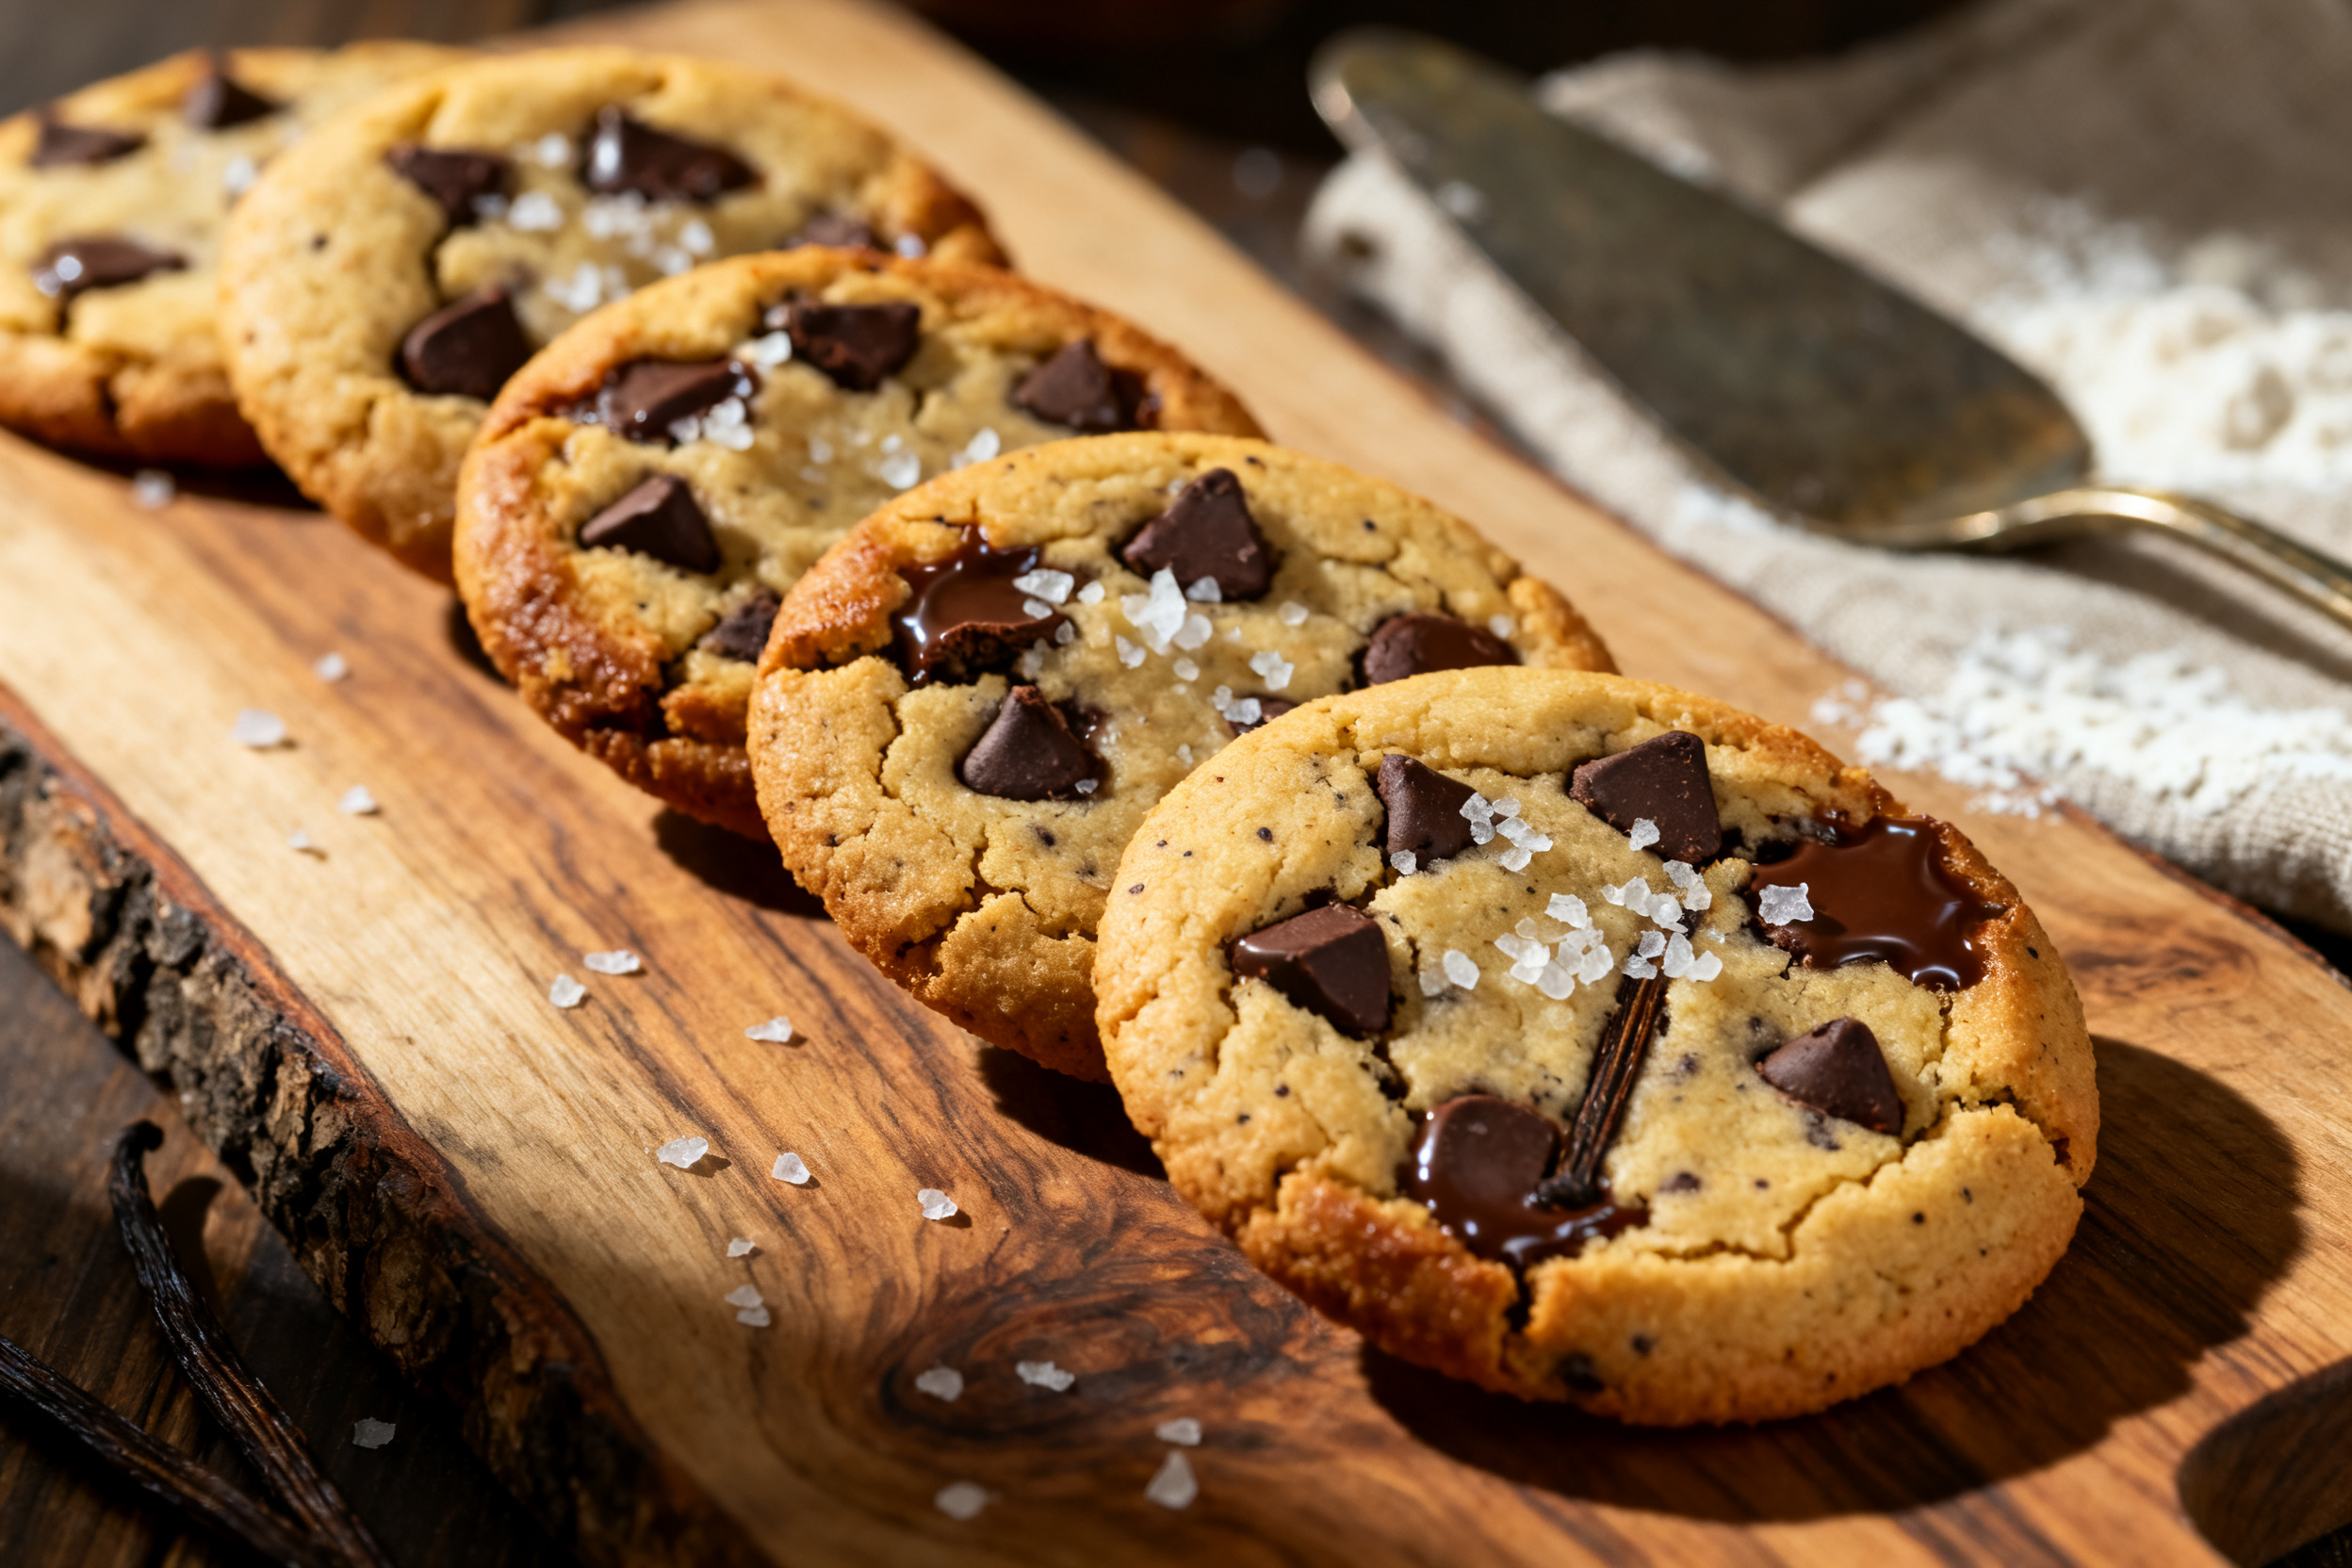
Store baked cookies in an airtight container at room temperature for up to five days. Add a slice of bread to keep them soft—the cookies absorb the moisture.
You can freeze the dough balls on a baking sheet, then transfer to a zip-top bag. Bake straight from frozen, adding two extra minutes to the time.
Make the dough up to three days ahead and keep it wrapped in the fridge. It actually gets better as the flavors meld together.
5. Serving suggestions
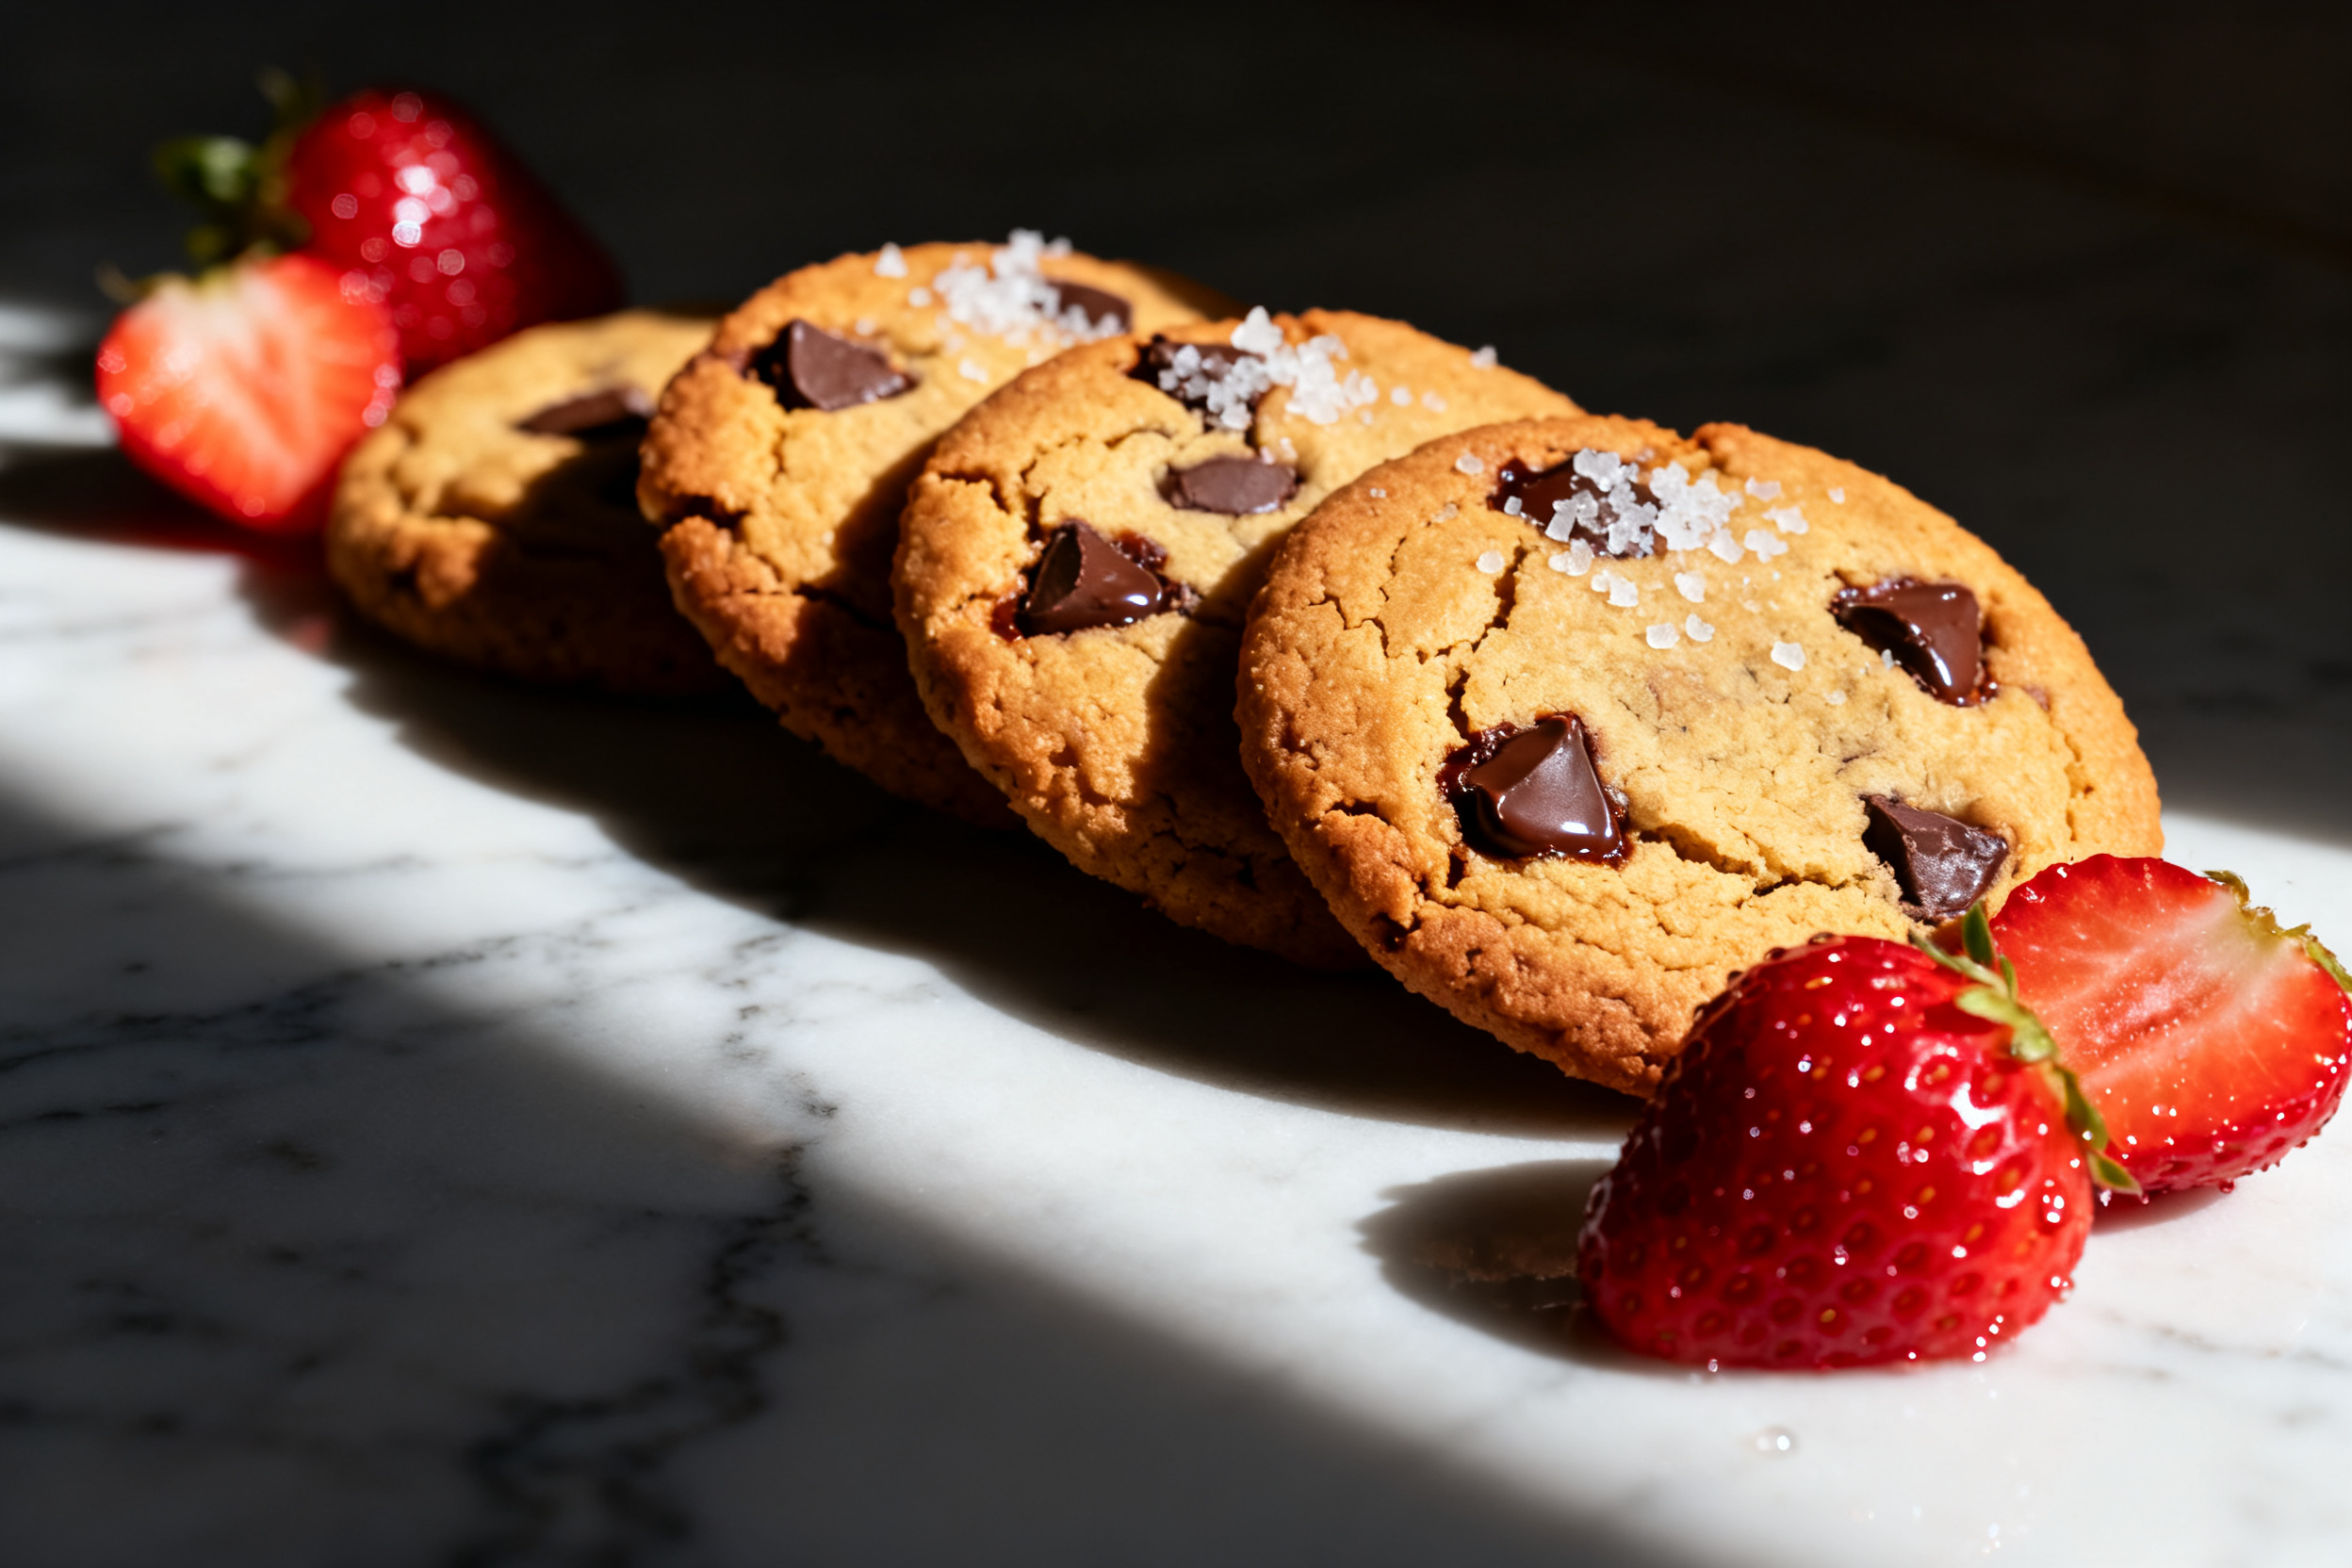
Serve these warm with a tall glass of cold milk. It’s not fancy, but it’s perfect. For a grown-up twist, pair them with a dark stout or a bourbon cocktail.
I love crumbling a cookie over vanilla ice cream for a quick sundae. Or sandwich two around a scoop of ice cream for the ultimate dessert.
6. Use your leftovers
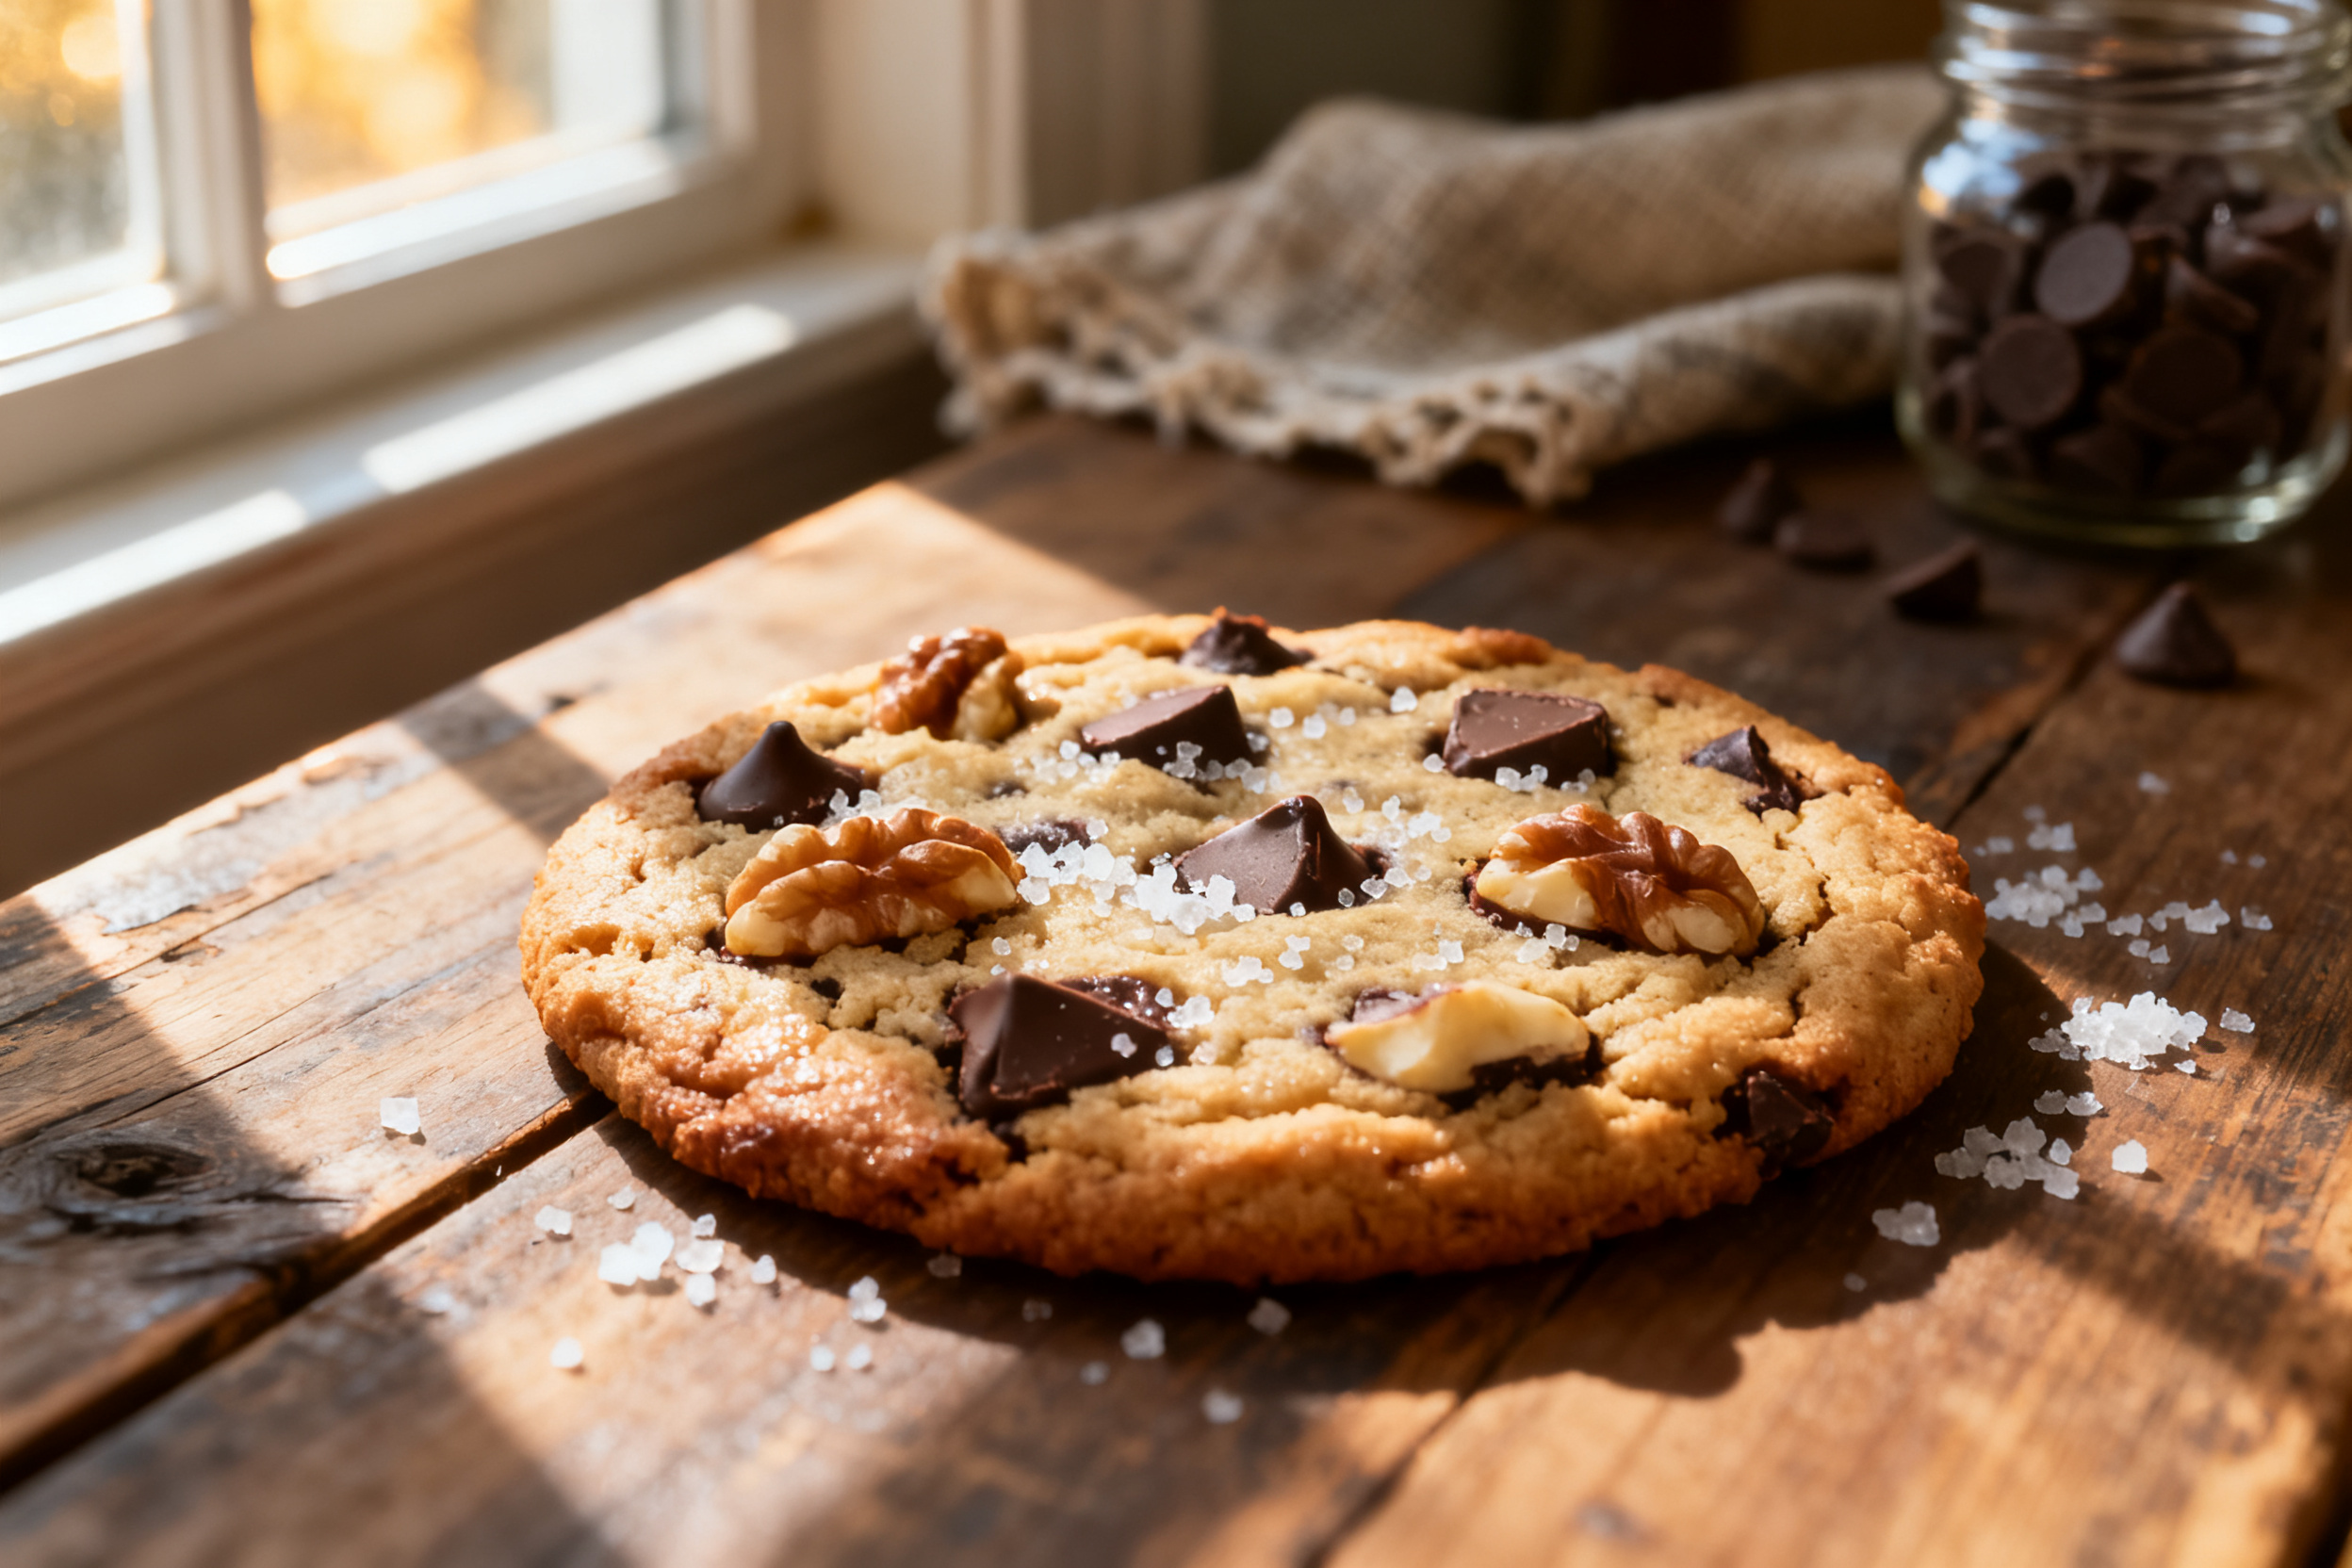
Crush leftover cookies into a graham cracker-like crust for cheesecake or a no-bake pie. Just pulse them in a food processor with melted butter.
You can also stir crumbled cookies into brownie batter for a marbled effect. It adds crunch and chocolate chunks to every bite.
7. Common mistakes & how to fix them
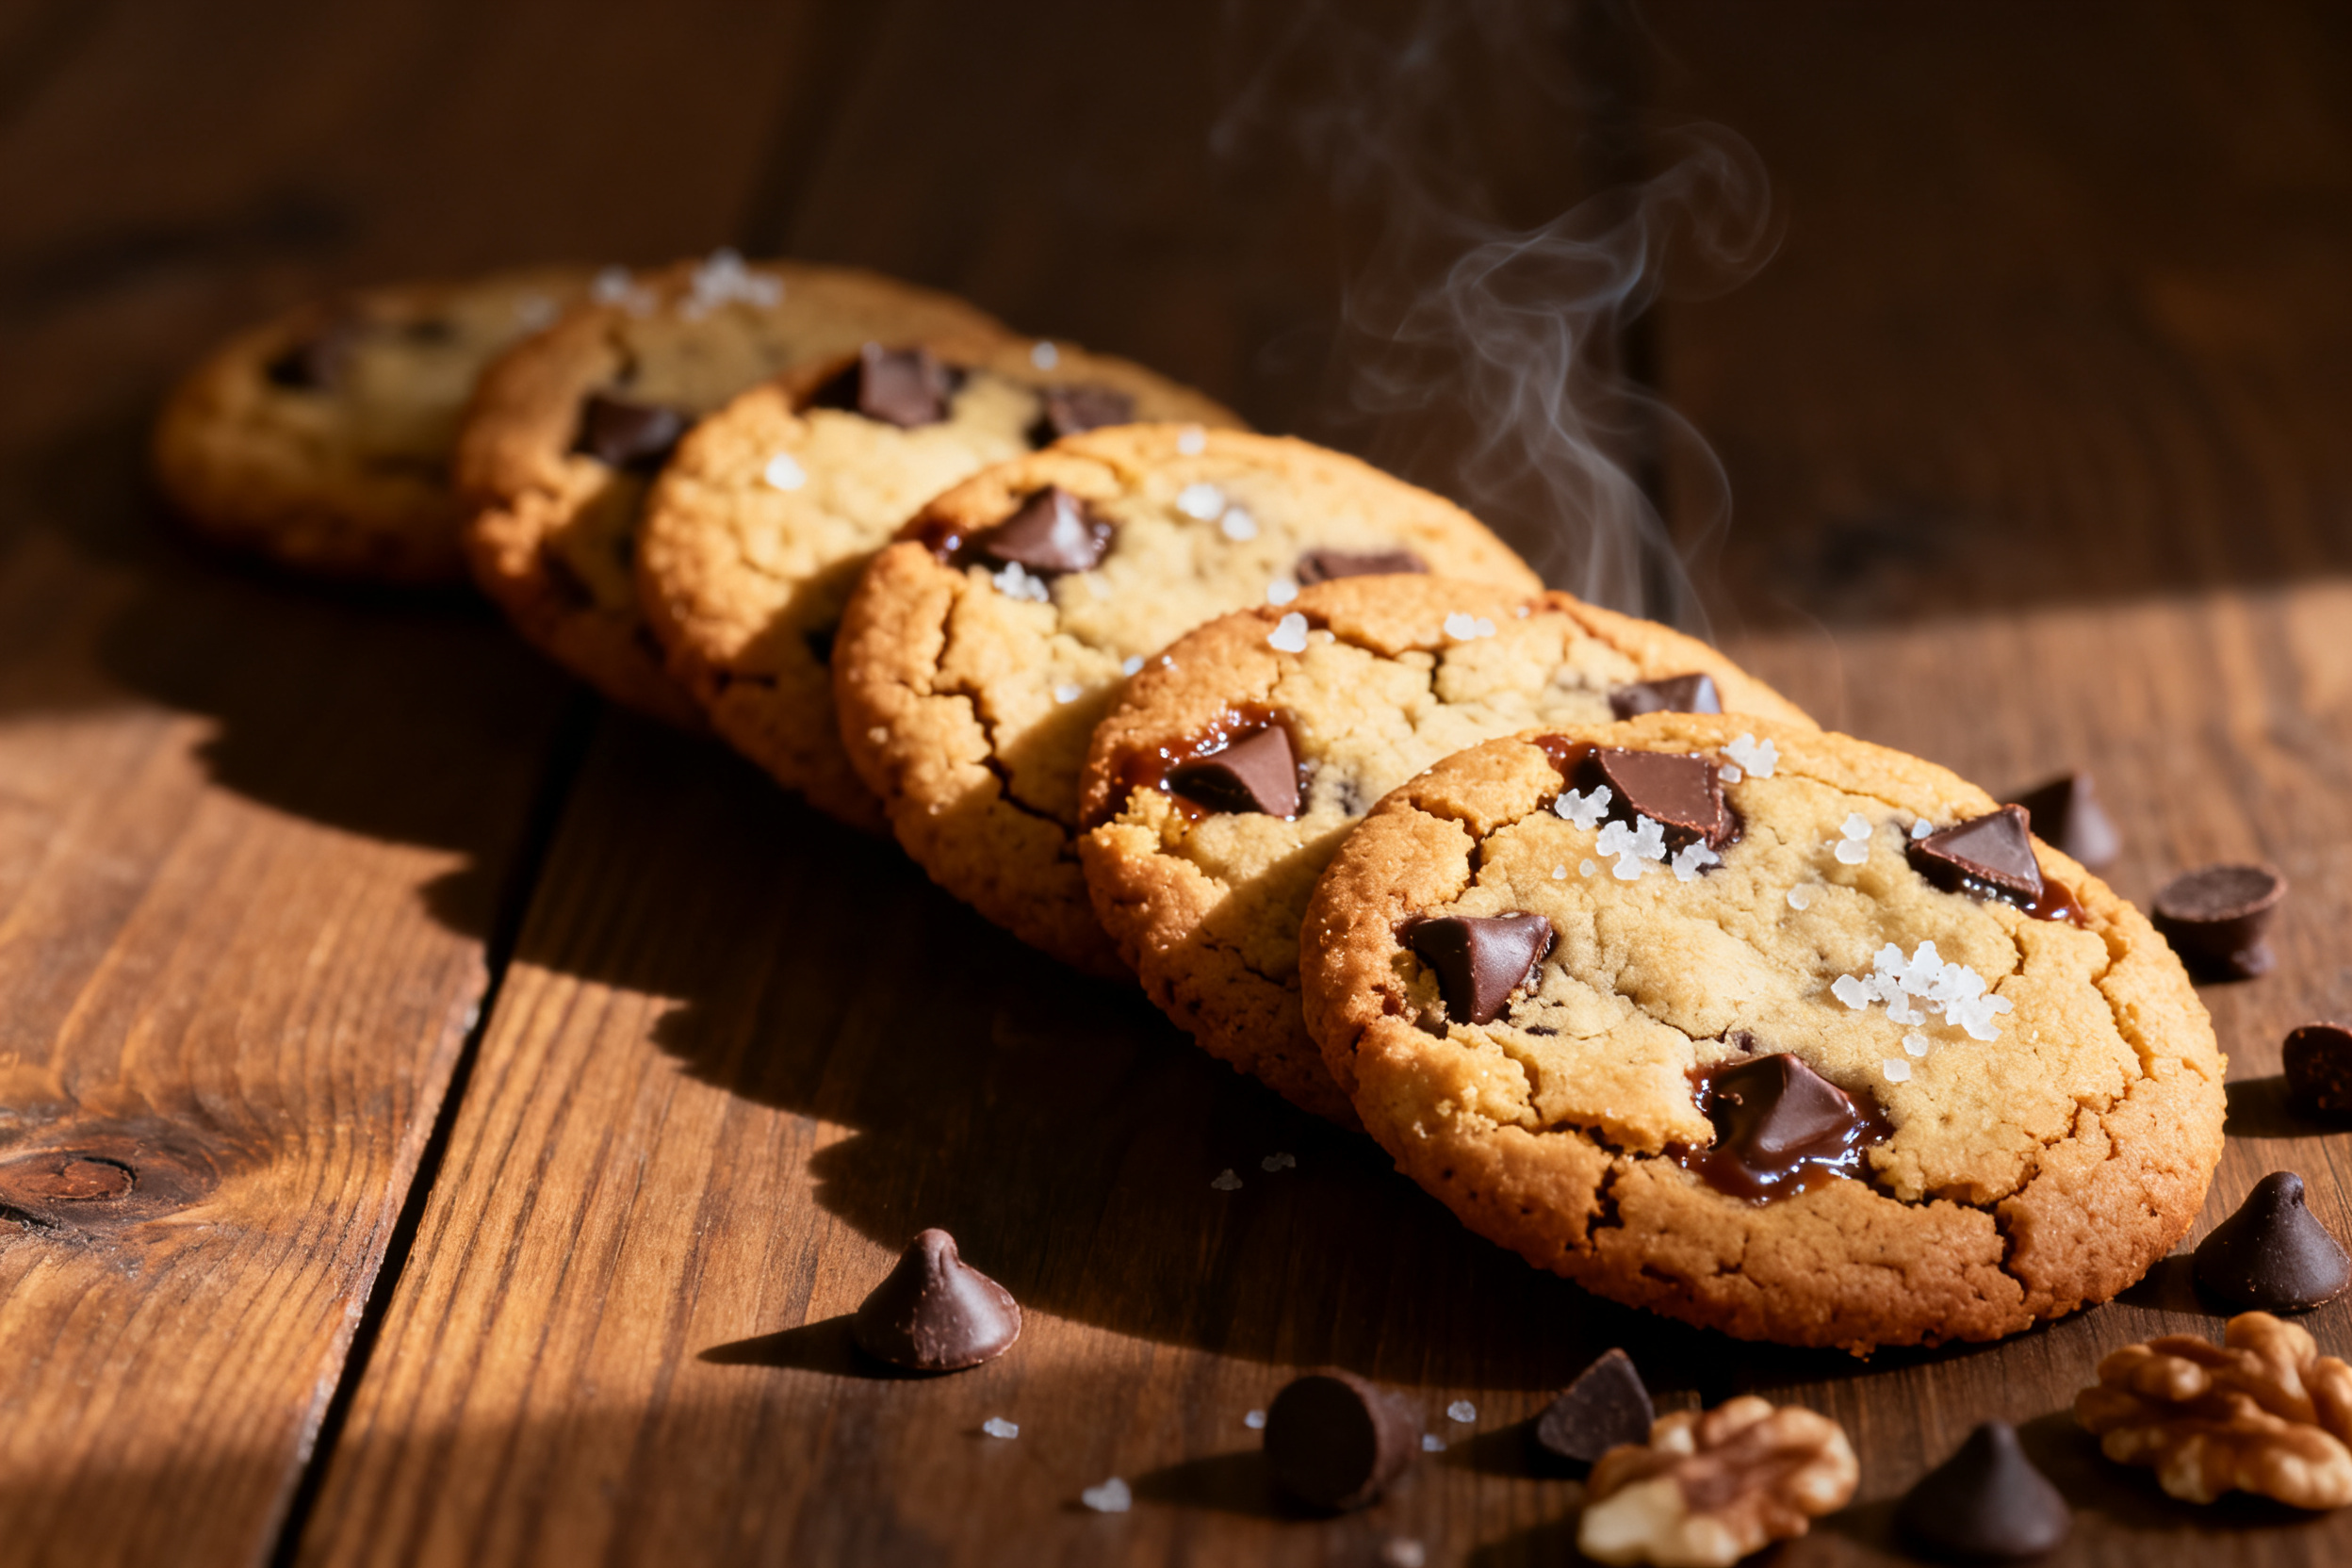
If your cookies spread too much, your butter was too soft or your dough wasn’t chilled. Chill it for an hour next time.
If they’re too cakey, you used too much flour. Spoon and level your flour instead of scooping straight from the bag—that packs it down.
A burnt bottom means your baking sheet is too hot or you didn’t line it with parchment. Use a light-colored, heavy-duty sheet for even heat.
8. Variations by diet or flavor profile
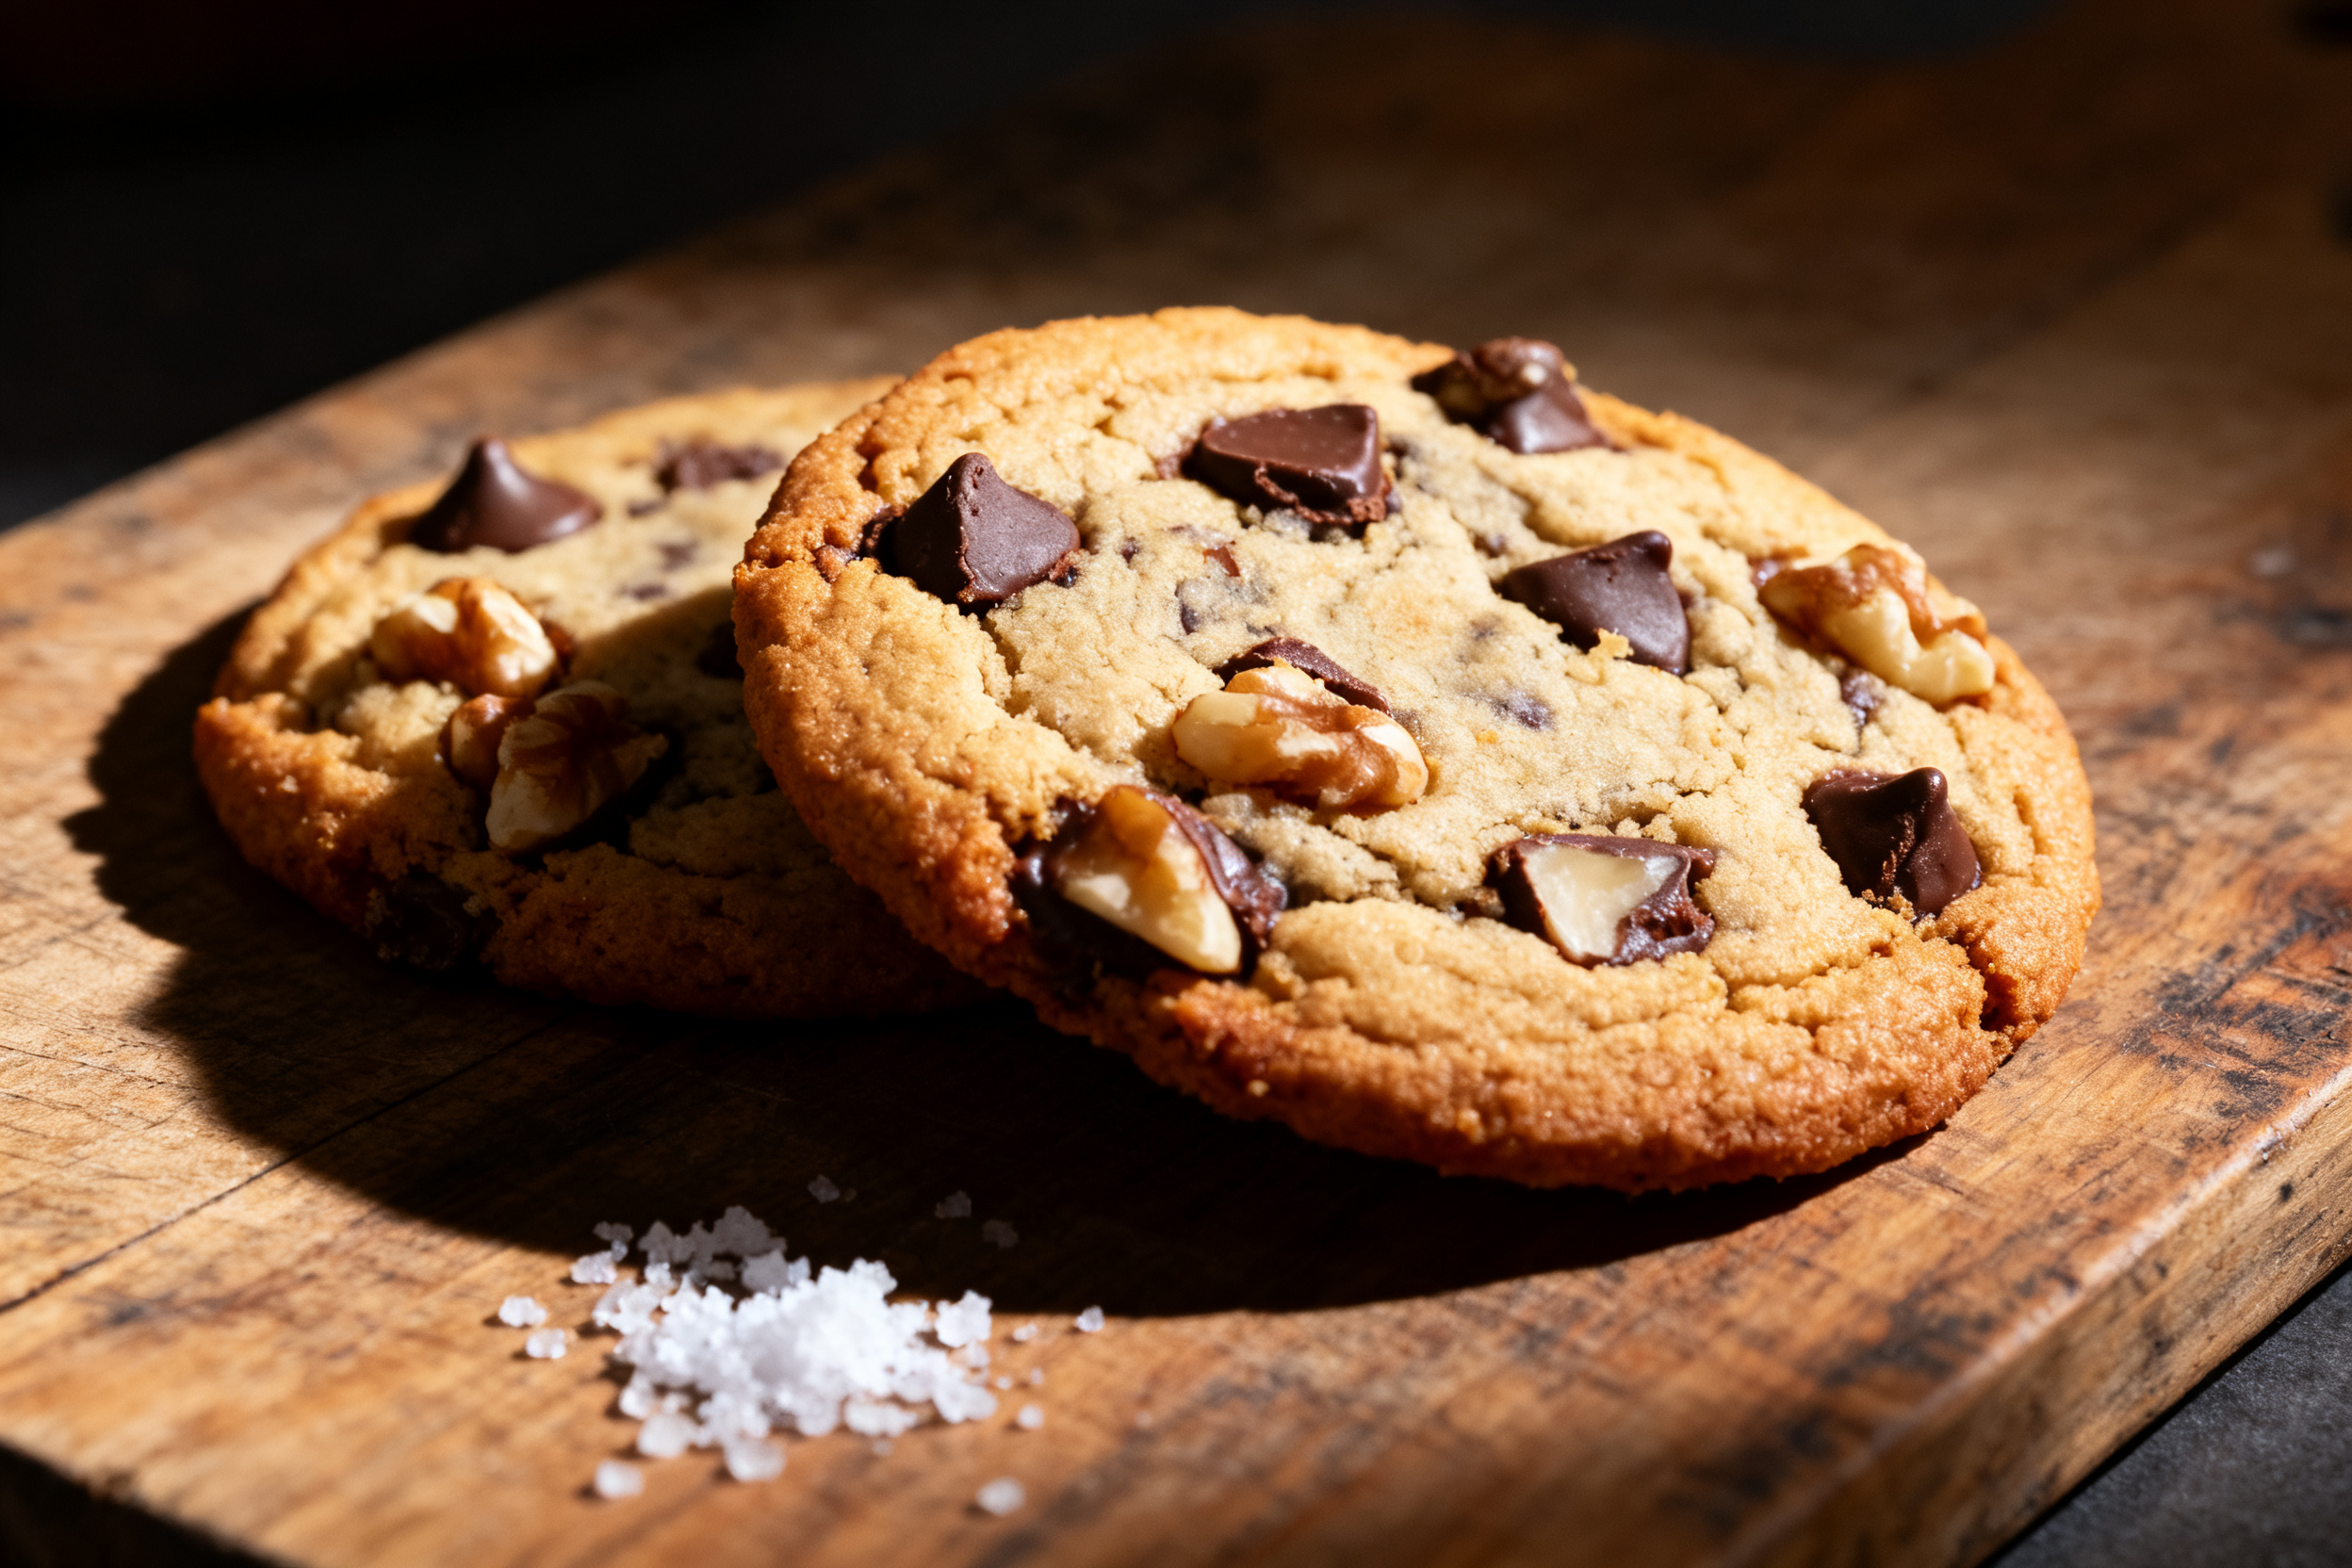
For a gluten-free version, swap the all-purpose flour with a 1:1 gluten-free baking blend. Add a teaspoon of xanthan gum if your blend doesn’t have it.
Make them vegan by using plant-based butter (like Miyoko’s), a flax egg (1 tbsp flaxmeal + 3 tbsp water), and dairy-free chocolate chips. They’ll be slightly flatter but still addictive.
Feeling fancy? Add a teaspoon of instant espresso powder and swap half the chips for white chocolate and dried cherries. Hello, tiramisu cookie.
9. Why this recipe works
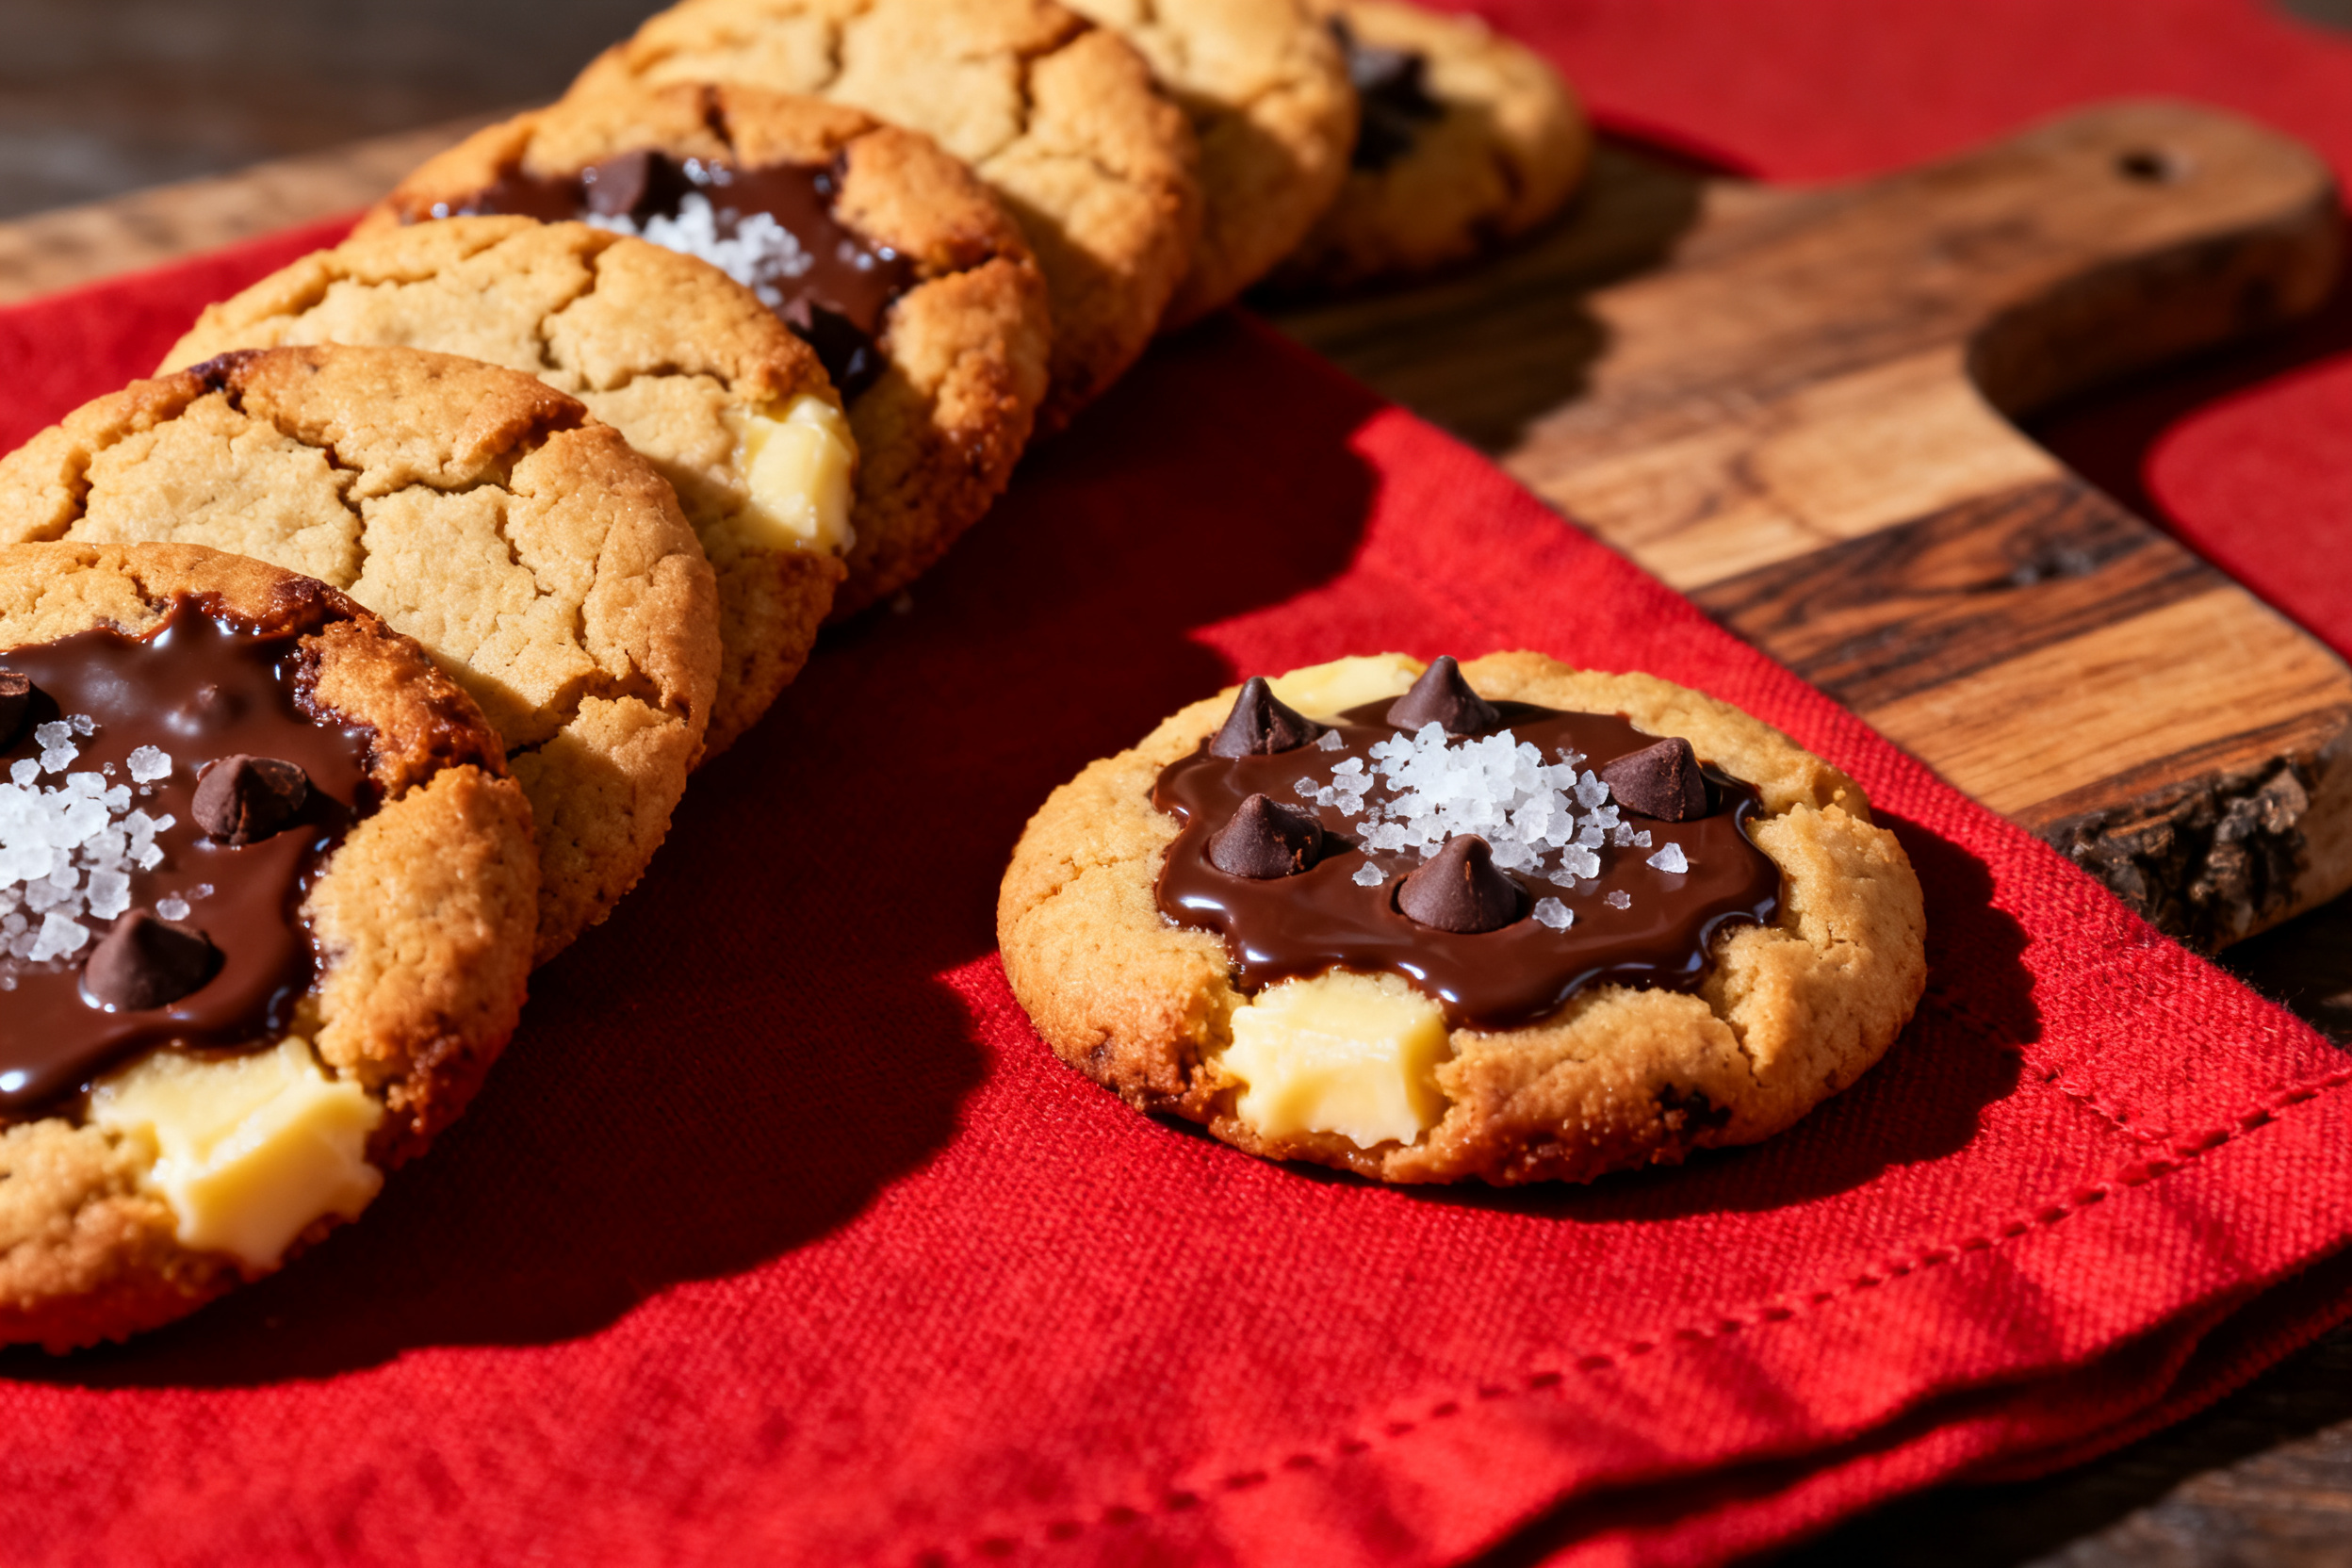
The balance of white and brown sugar is the secret. Brown sugar brings moisture and chewiness, while white sugar helps create those crispy edges and spreads the dough.
Baking soda reacts with the brown sugar’s acidity, giving the cookies lift and that golden color. A pinch of salt balances the sweetness and makes the chocolate pop.
The two-hour chill isn’t optional—it solidifies the butter fat, so cookies spread slowly and evenly. That’s how you get that perfect thick center.
10. Frequently Asked Questions (FAQ)
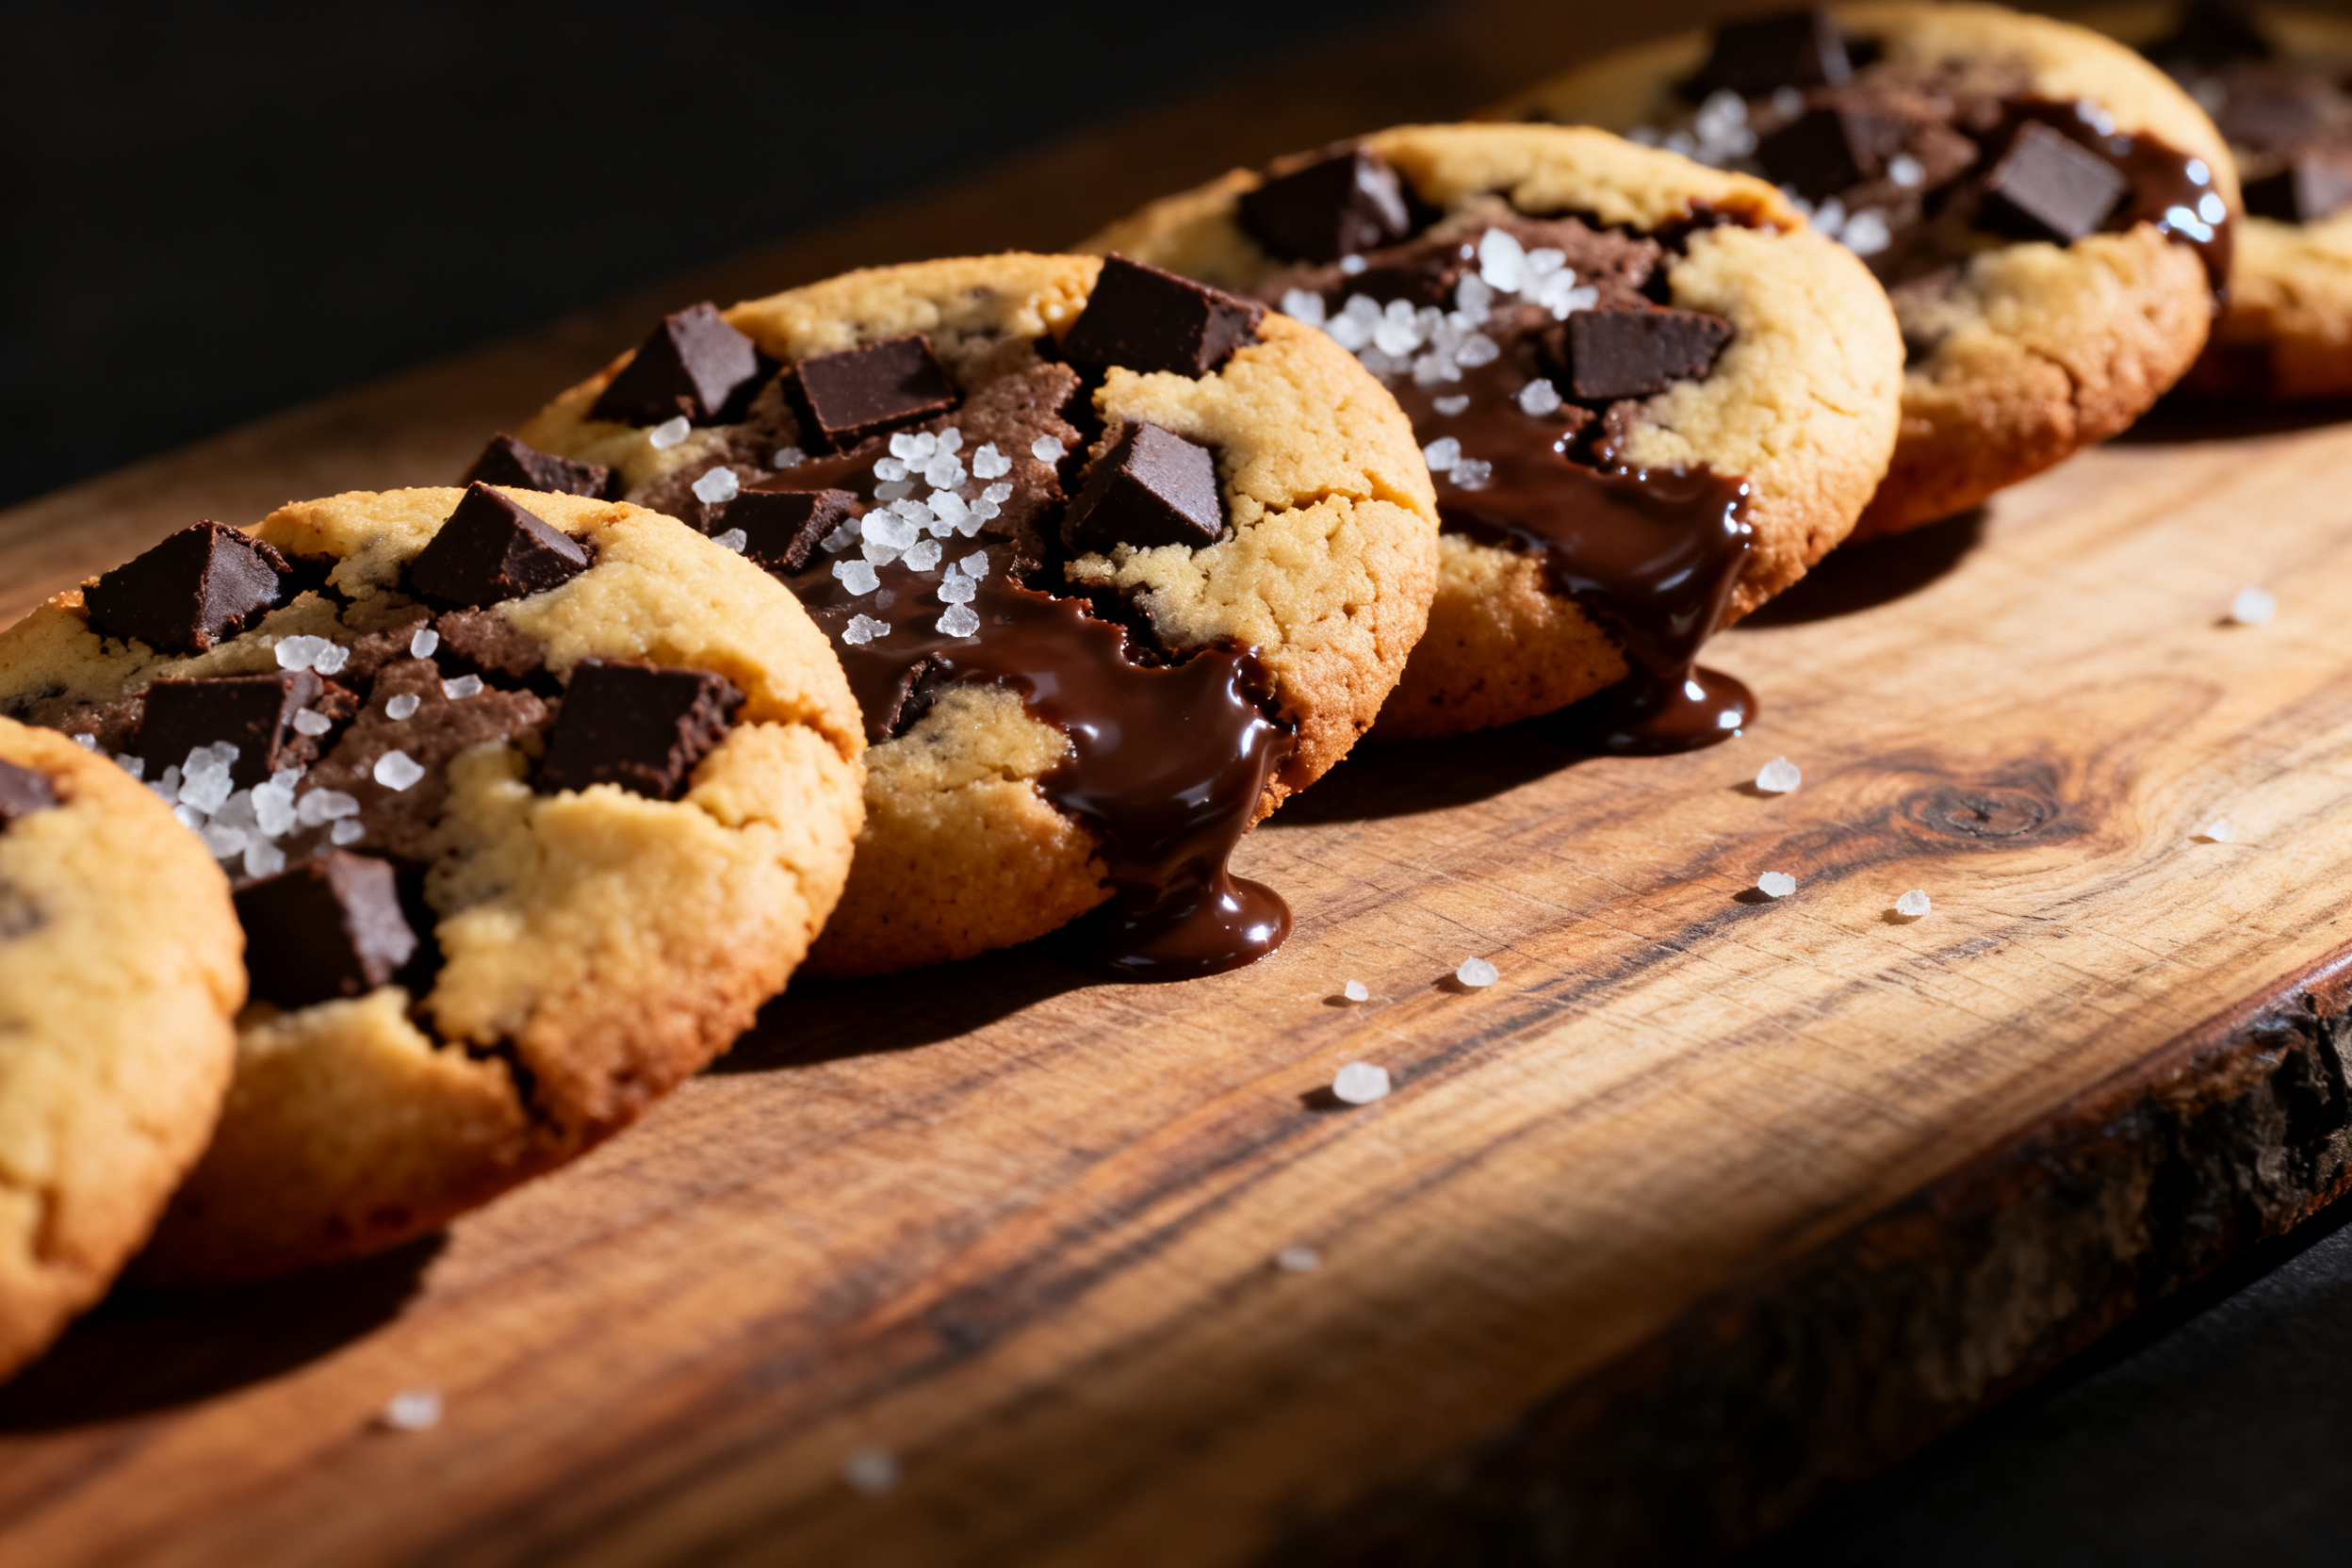
Can I use margarine instead of butter? Technically yes, but margarine has more water, so cookies will spread more and be less flavorful. Stick with butter if you can.
Why are my cookies always dry? You probably over-measured the flour. Use a kitchen scale for accuracy: 1 cup of all-purpose flour = 120 grams. Otherwise, fluff it first.
Can I double this recipe? Absolutely. Just make sure your mixer can handle the volume. I recommend doing it in two batches for easier mixing.
11. Call to action
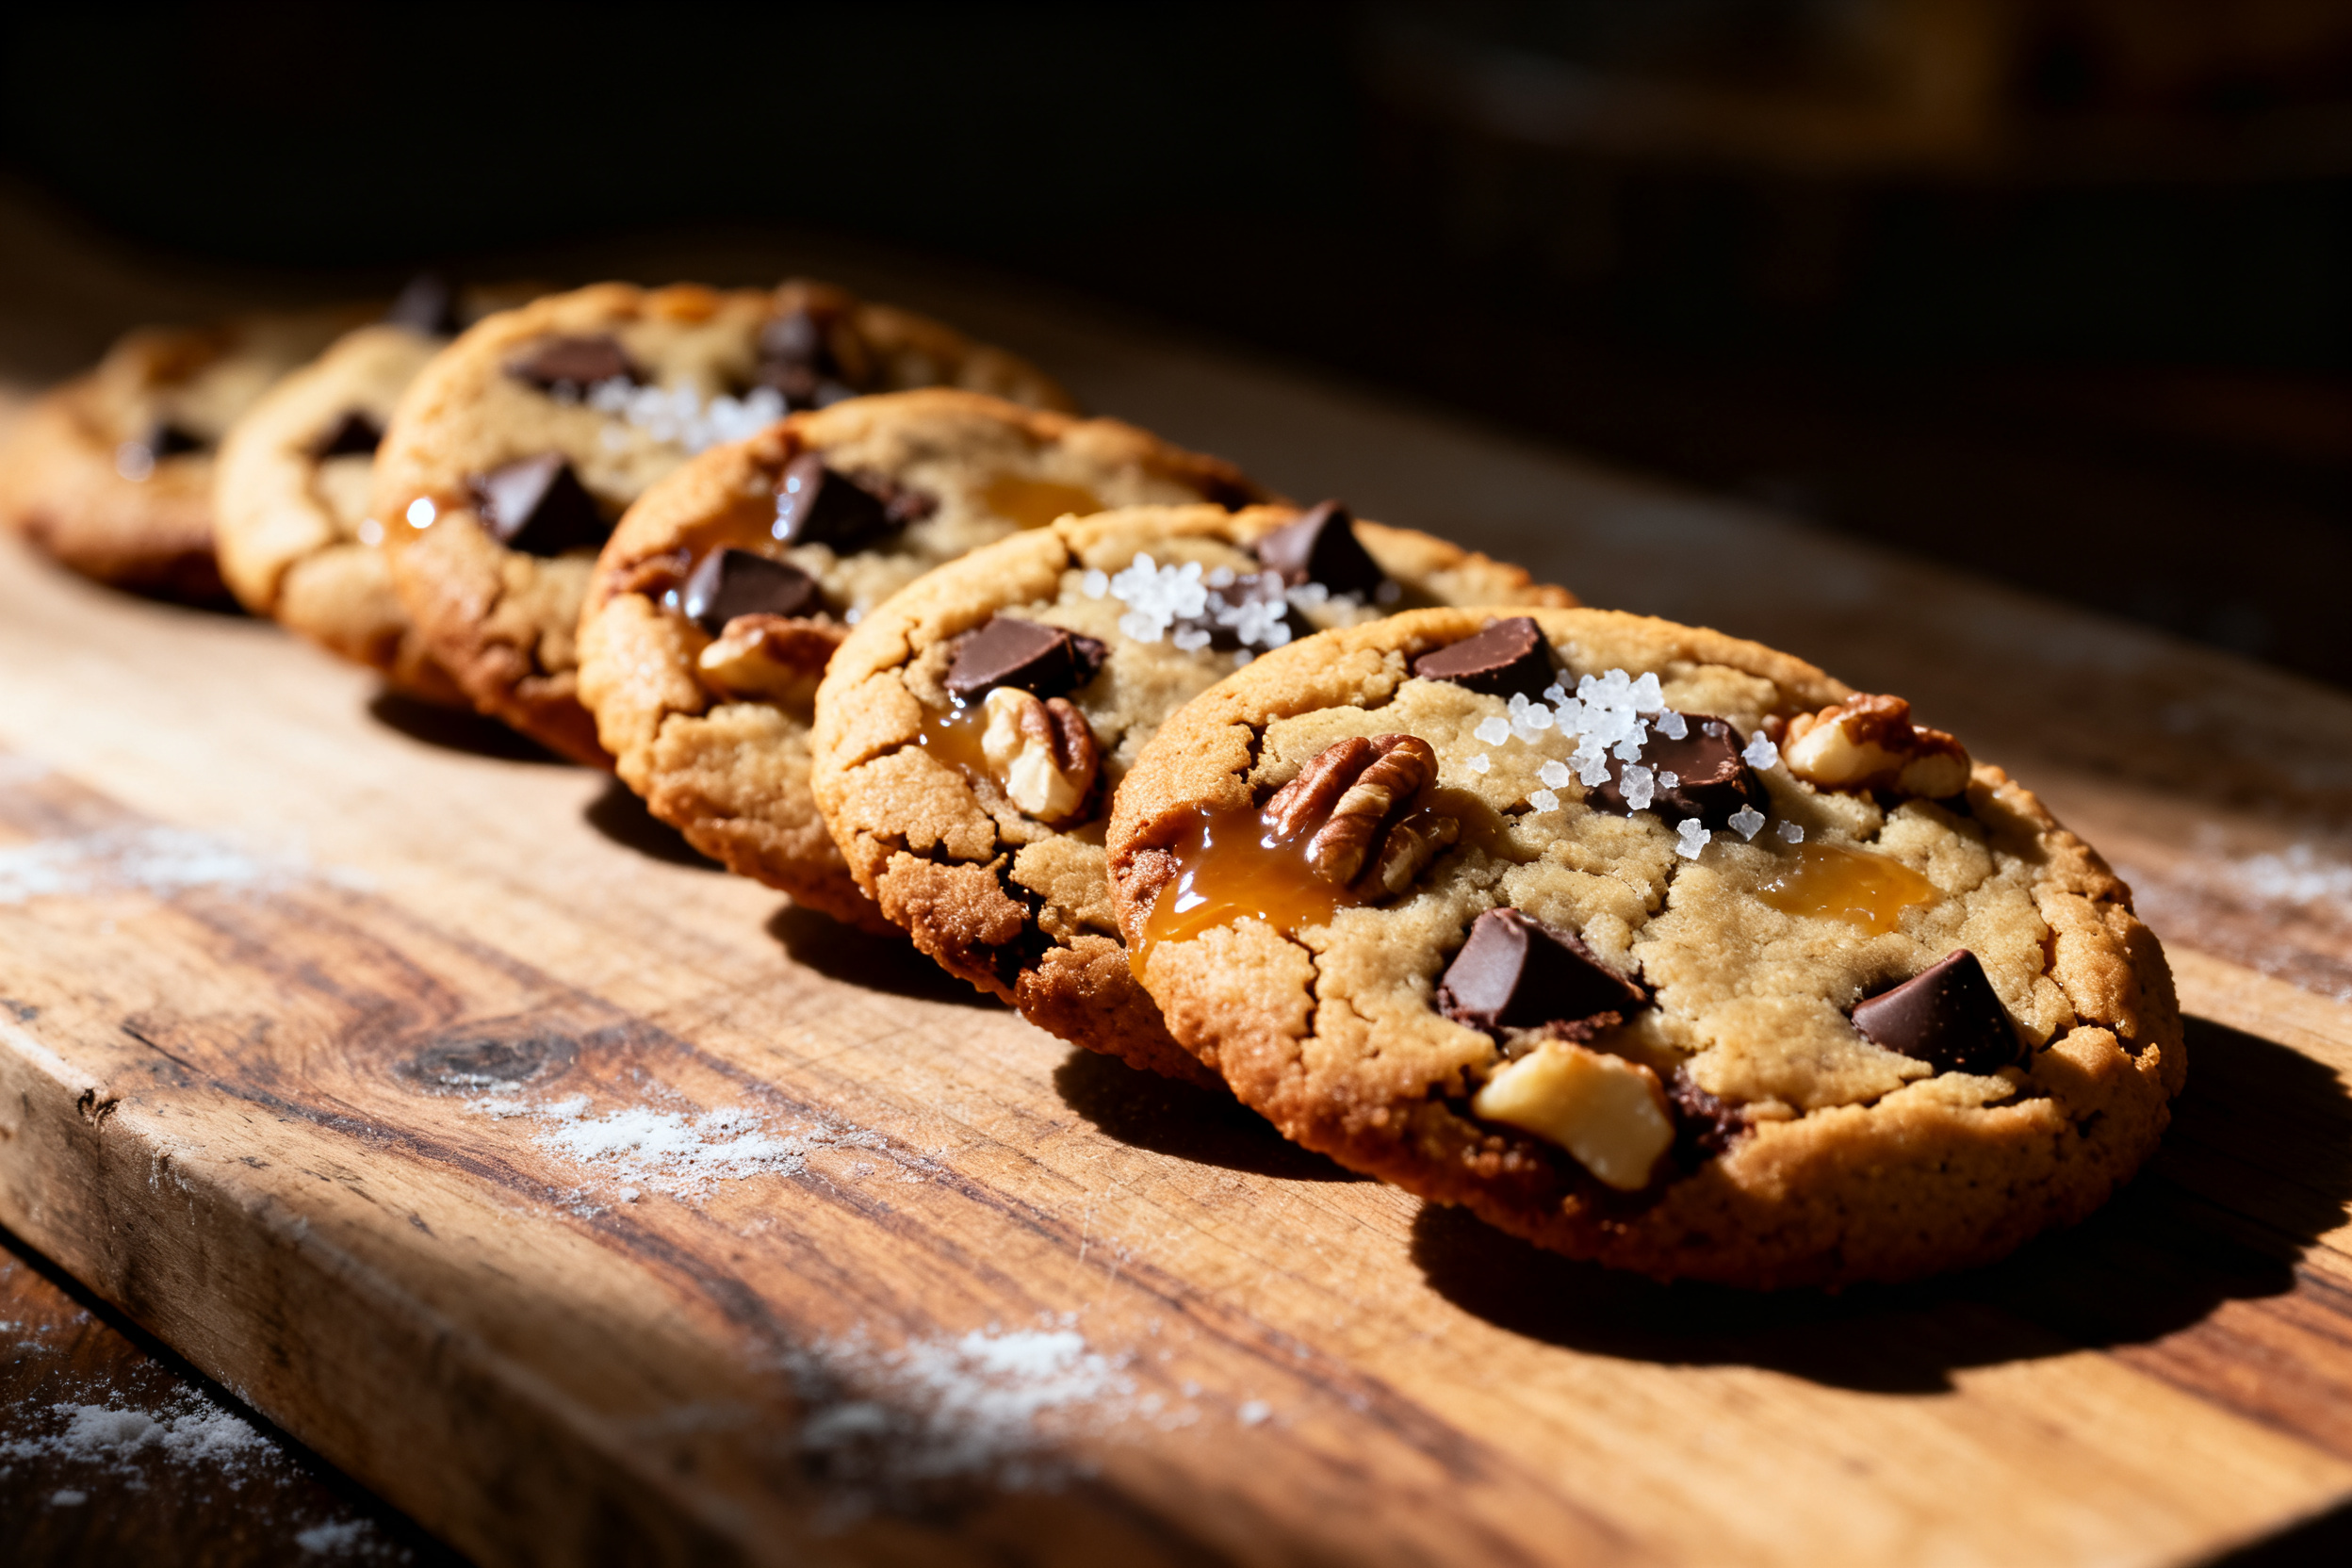
I’d love to see how your Toll House cookies turn out! Snap a photo and tag me on social media, or drop a comment below telling me your favorite add-in—mine is toffee bits.
If this recipe saved you from another cookie catastrophe, share it with a friend who needs it. And while you’re here, subscribe to the newsletter for more classic recipes with a twist.
Now go forth and bake the cookie of your dreams.
This Toll House cookie recipe is the one you’ll come back to again and again. Crispy edges, chewy centers, and a bag of chocolate chips that mysteriously empties before the cookies are done. It’s real, it’s simple, and it works every time.
Whether you’re baking for a school bake sale, a cozy weekend, or just because you need a little sweetness, these cookies deliver. Grab your mixer, preheat the oven, and let’s make some memories that taste like vanilla and butter.
Don’t forget to comment below with your results—I read every single one and I’m genuinely curious if you ate the dough raw like I do. Happy baking.
Classic Toll House Cookie Recipe Crispy Chewy Balance
Ingredients
- 2 1/4 cups 270g all-purpose flour
- 1 teaspoon baking soda
- 1 teaspoon salt
- 1 cup 226g unsalted butter, softened
- 3/4 cup 150g granulated sugar
- 3/4 cup 160g packed brown sugar
- 1 teaspoon vanilla extract
- 2 large eggs room temperature
- 2 cups 340g semi-sweet chocolate chips
- Optional: 1 cup chopped walnuts or pecans
Instructions
- In a medium bowl, whisk together the flour, baking soda, and salt. Set aside.
- In a large bowl, beat the softened butter, granulated sugar, brown sugar, and vanilla extract until light and fluffy, about 3-4 minutes with an electric mixer.
- Add the eggs one at a time, beating well after each addition.
- Gradually add the dry ingredients to the wet mixture, mixing on low speed until just combined. Do not overmix.
- Fold in the chocolate chips (and nuts if using) with a spatula until evenly distributed.
- Cover the dough with plastic wrap and refrigerate for at least 2 hours (or up to 3 days).
- Preheat the oven to 375°F (190°C). Line two baking sheets with parchment paper.
- Scoop rounded tablespoons of dough (about 1.5 tablespoons each) and place them 2 inches apart on the prepared sheets.
- Bake for 9-11 minutes, until edges are golden brown and centers are still soft. The cookies will set as they cool.
- Let the cookies rest on the baking sheet for 5 minutes, then transfer to a wire rack to cool completely.
Notes
2. If you don’t have time to chill, bake the cookies immediately but flatten them slightly before baking and reduce bake time by 1 minute.
3. Store baked cookies in an airtight container at room temperature for up to 5 days.
4. Add a slice of bread to keep them soft.
5. Freeze unbaked dough balls on a sheet pan, then transfer to a freezer bag for up to 3 months.
6. Bake from frozen, adding 2 minutes to the bake time.
7. This recipe scales well—double everything for a big batch, but chill the dough for an extra 30 minutes to ensure even baking.