
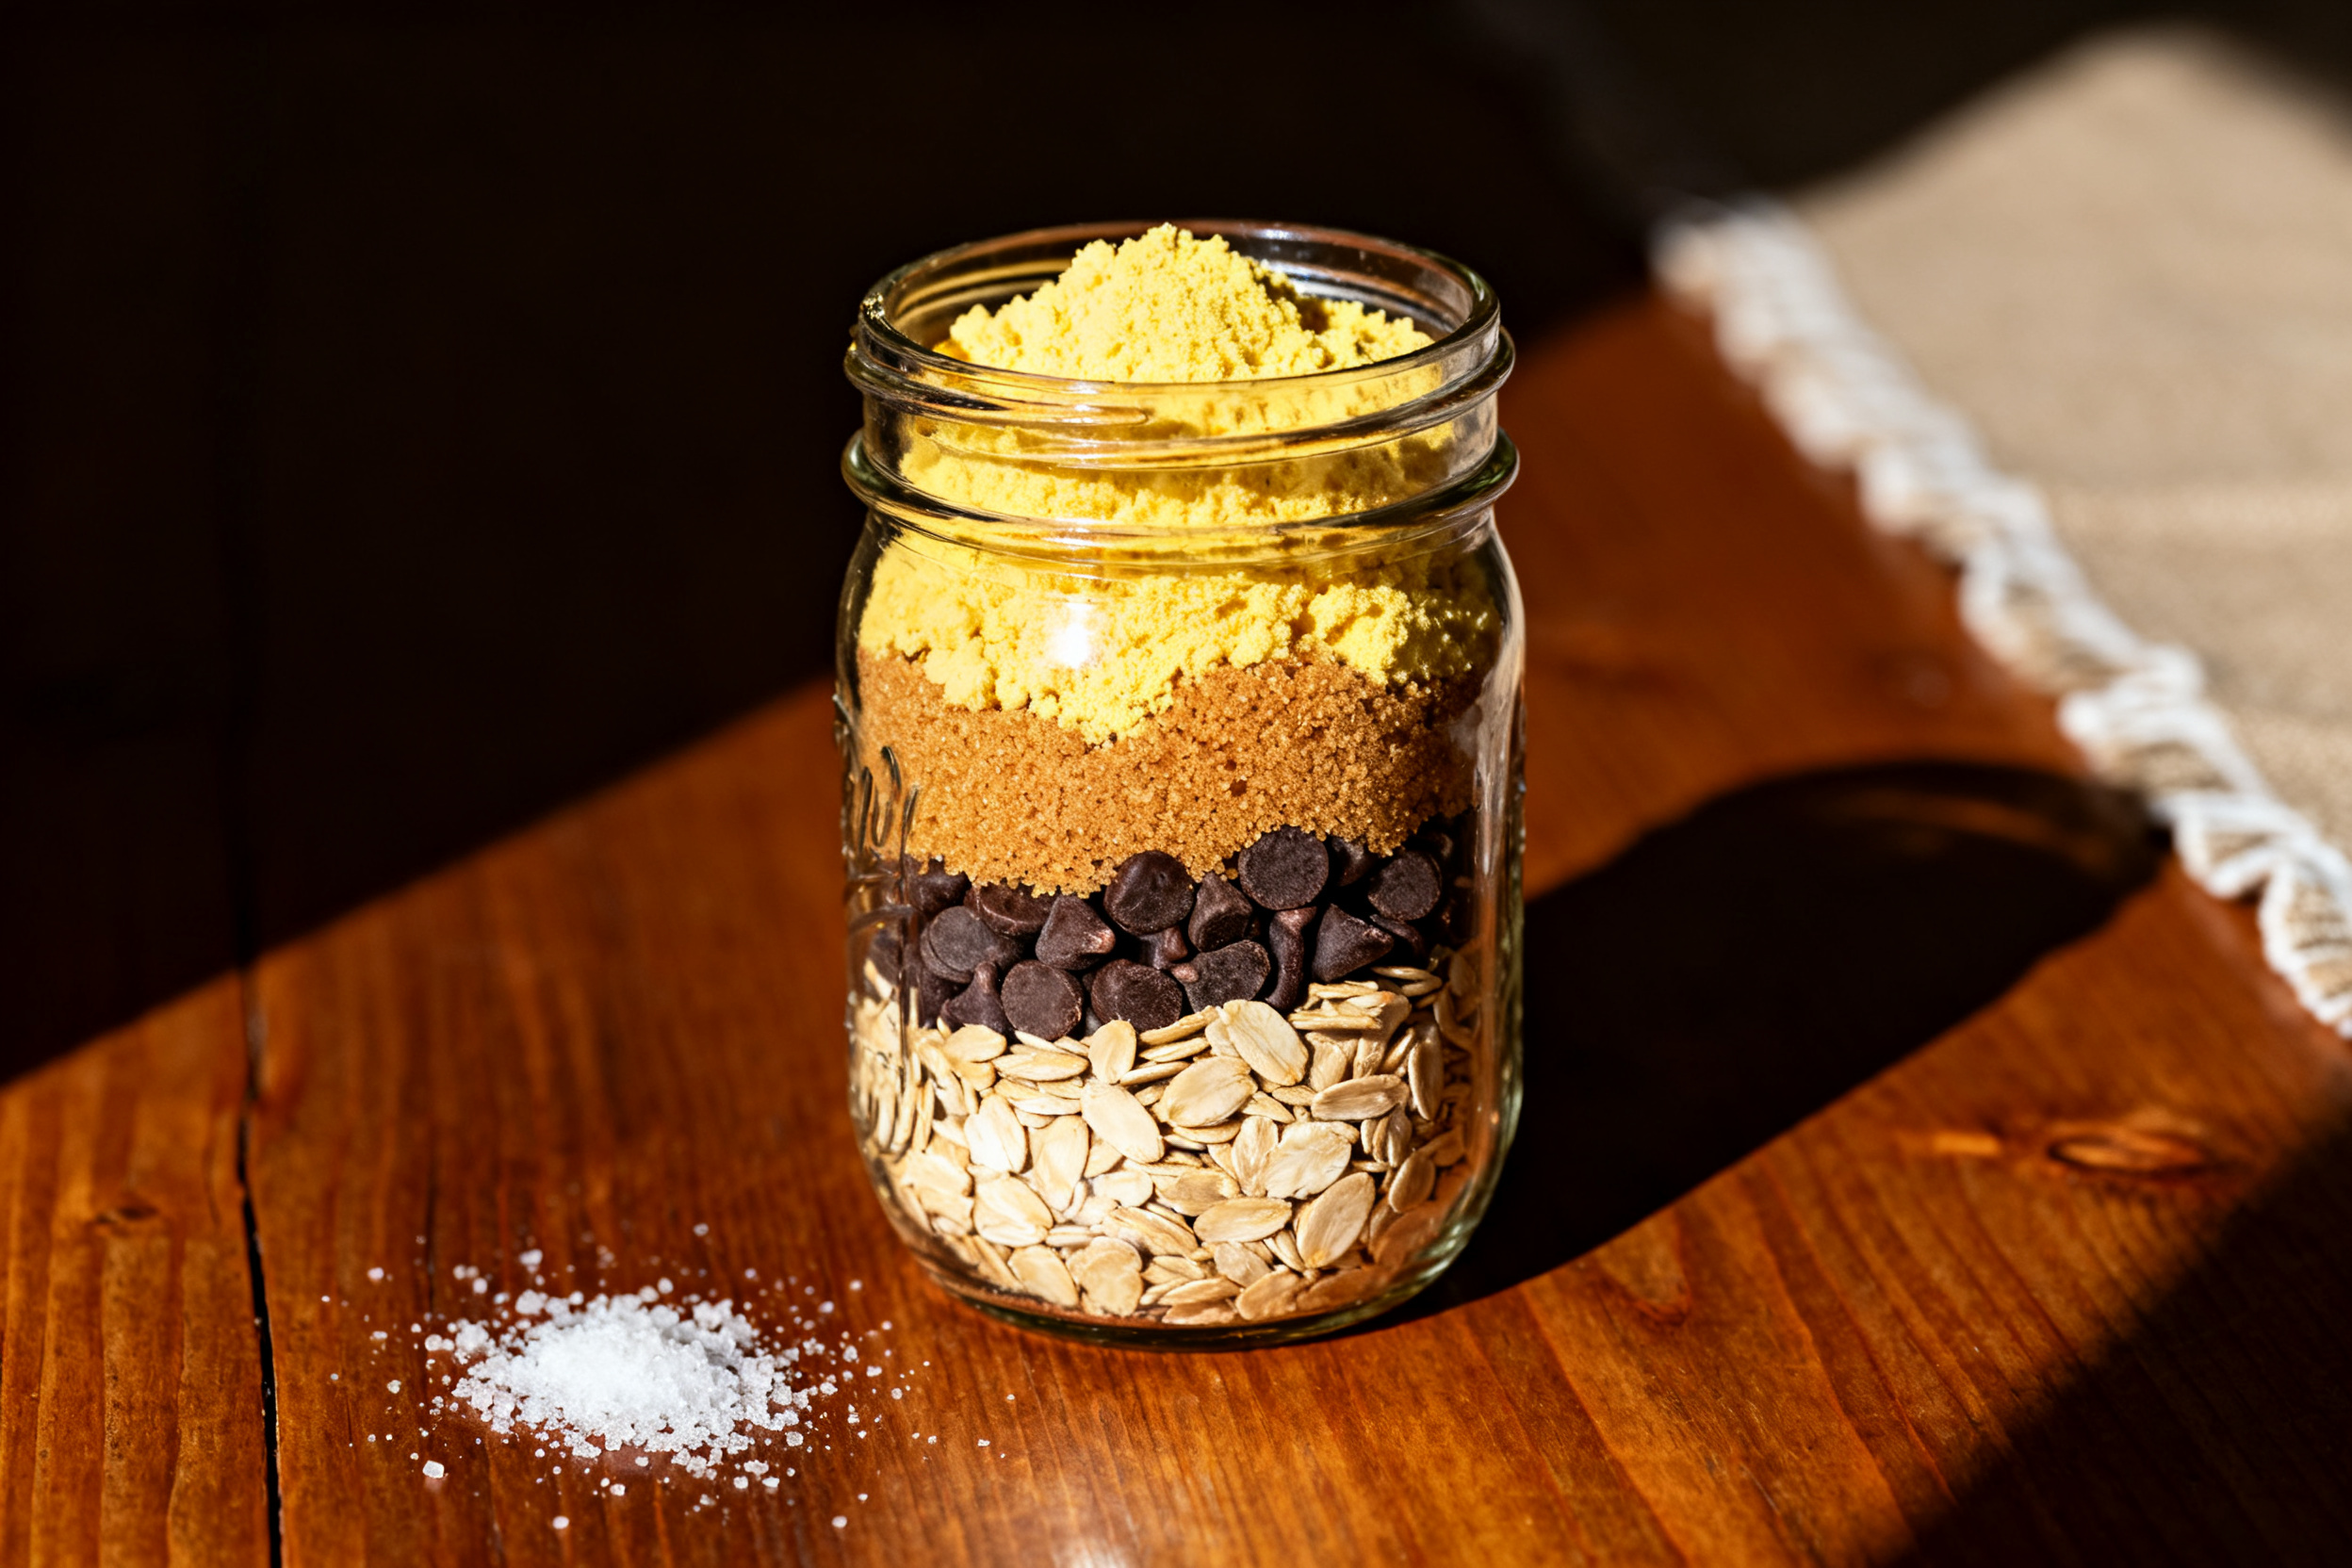
Have you ever stared at a gift-giving occasion and thought, I need something that looks fancy but takes zero brain power? That’s exactly where this mason jar cookie mix recipe comes in. It’s the ultimate “I totally planned this” present, even if you threw it together in ten minutes.
Not only does it make a gorgeous gift, but it also means you can have fresh cookies any time you want. Just hand over the jar, or keep it for yourself. I won’t judge.
Yes, this is a mason jar cookie mix recipe that actually works. No weird ingredients, no complicated layers. Just good old-fashioned cookie magic in a cute glass jar.
1. Allergens
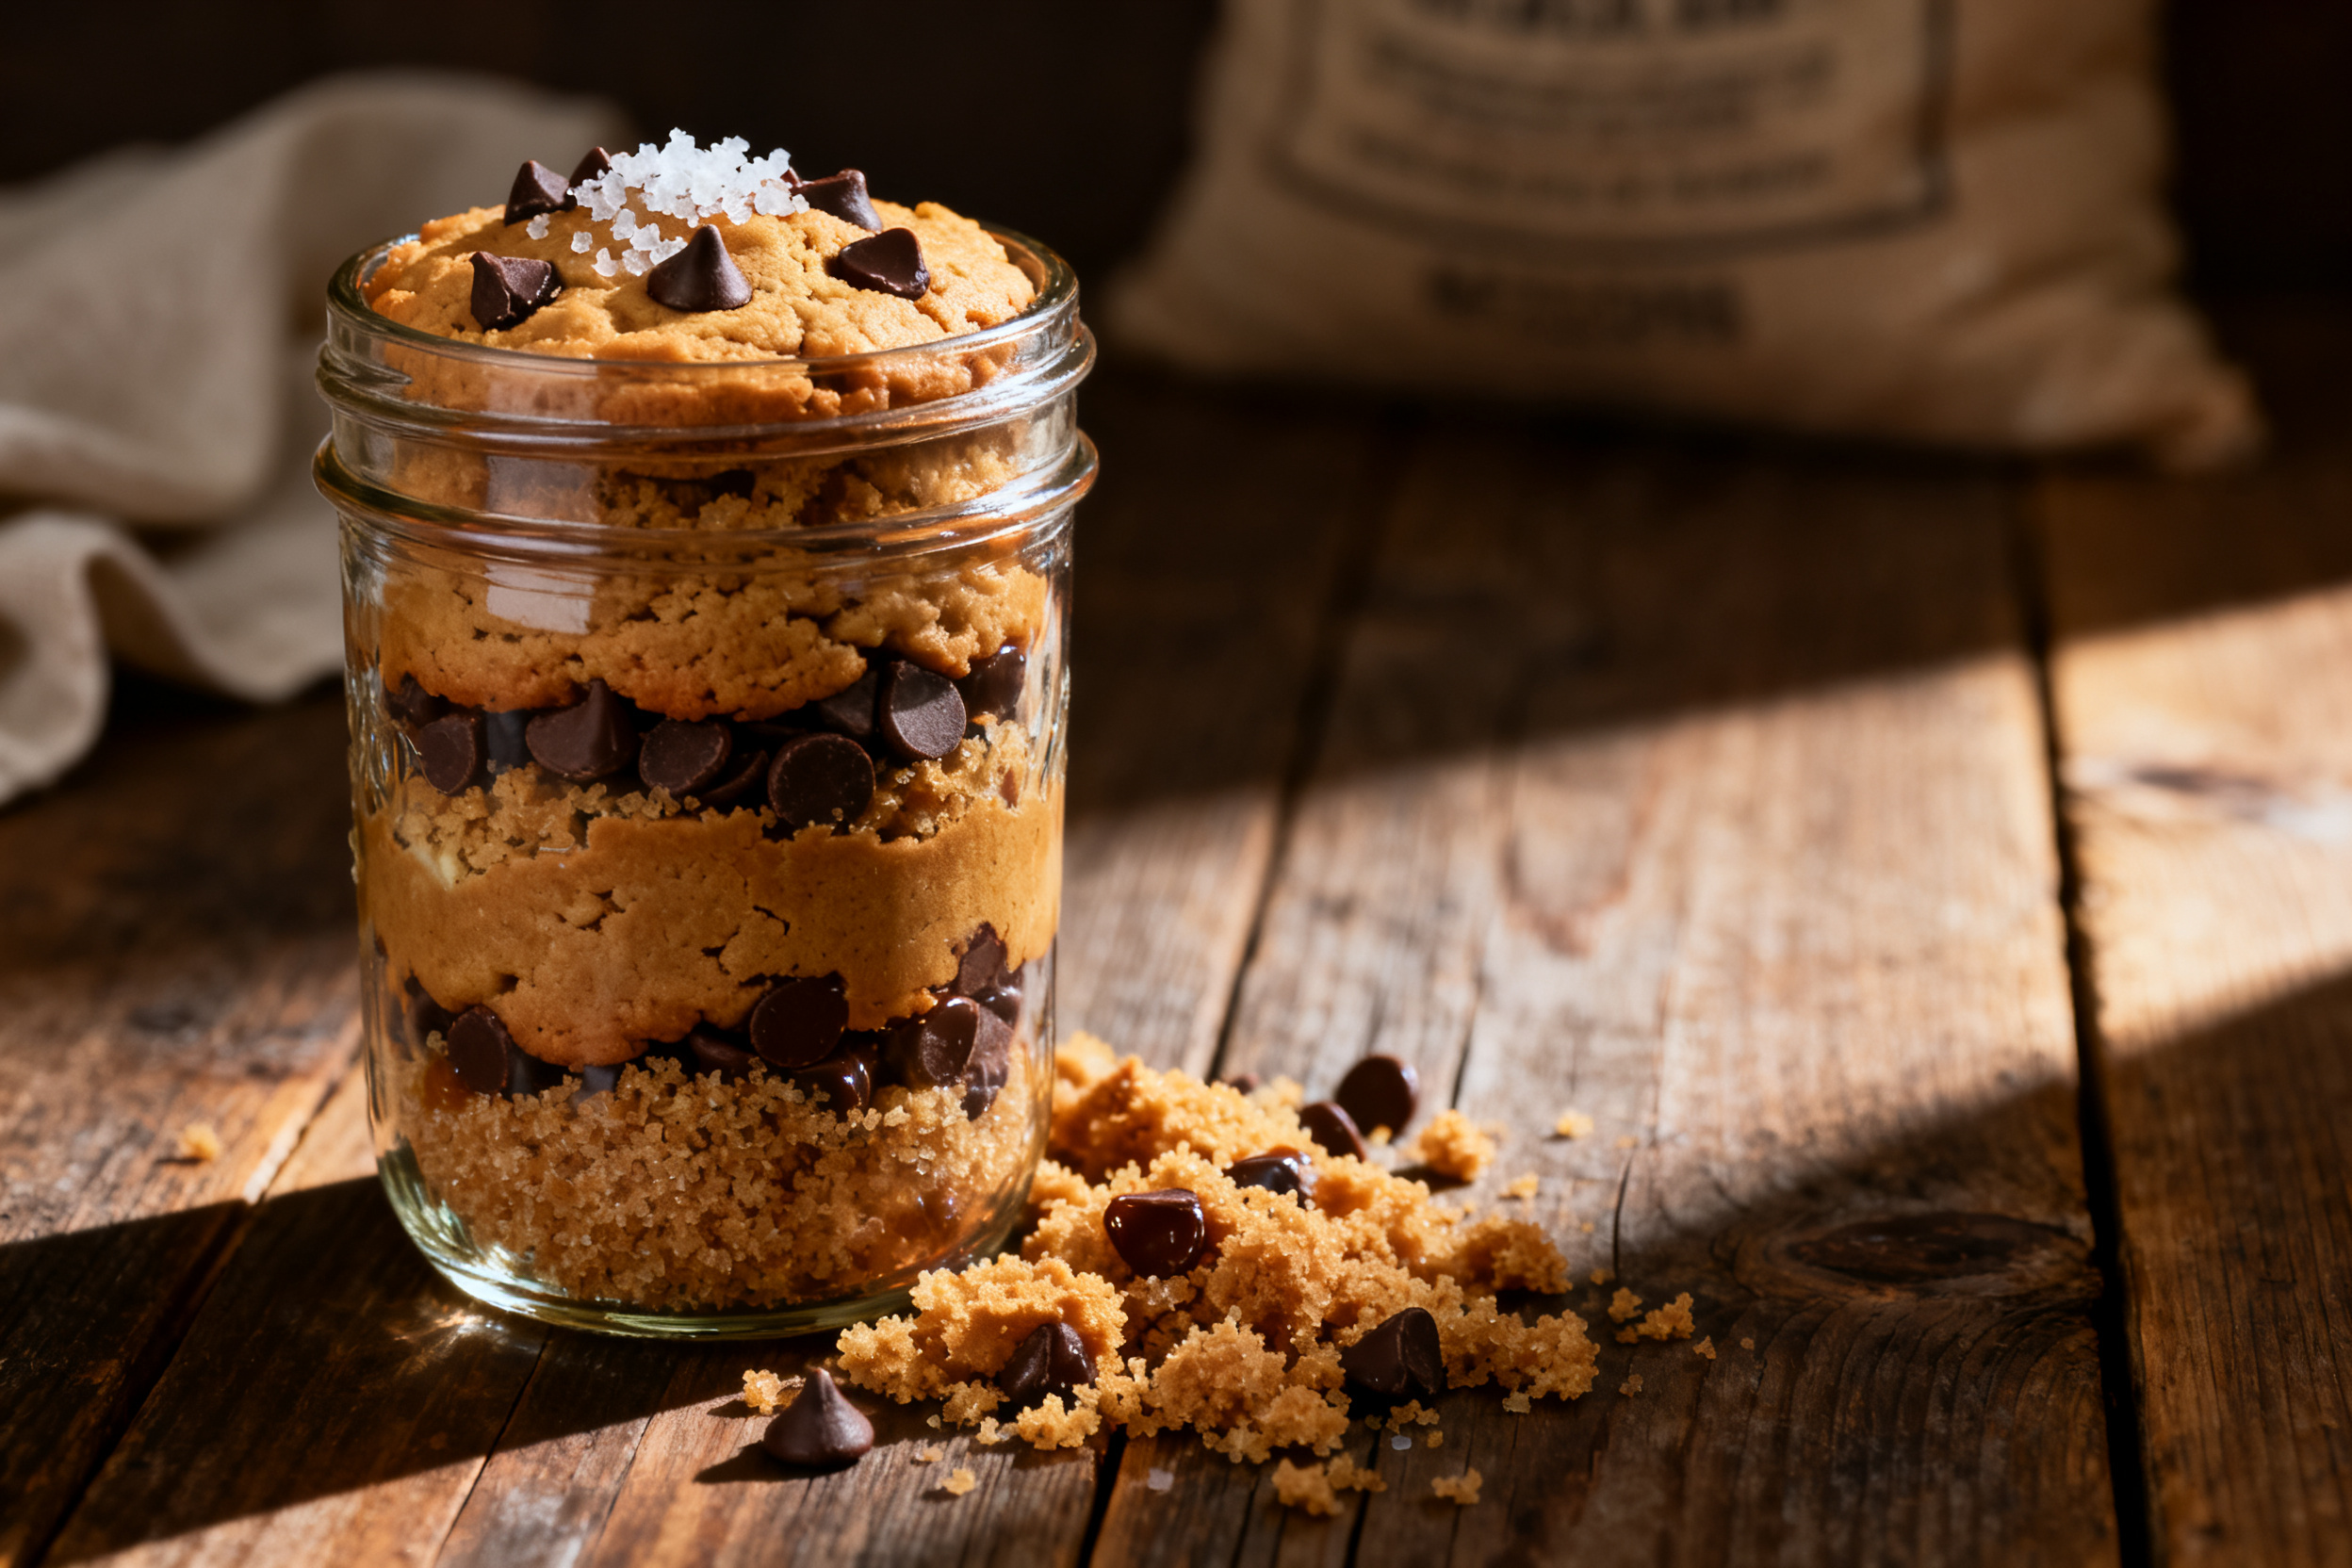
This recipe contains wheat gluten, dairy (butter, milk), and eggs. If you’re baking for someone with allergies, swap the all-purpose flour for a certified gluten-free blend. Use vegan butter and a flax egg for dairy-free and egg-free versions.
Beware of cross-contamination if you use shared equipment. The jar itself is a great way to label allergens clearly, so write them on the tag.
2. Ingredient Notes & Substitutions
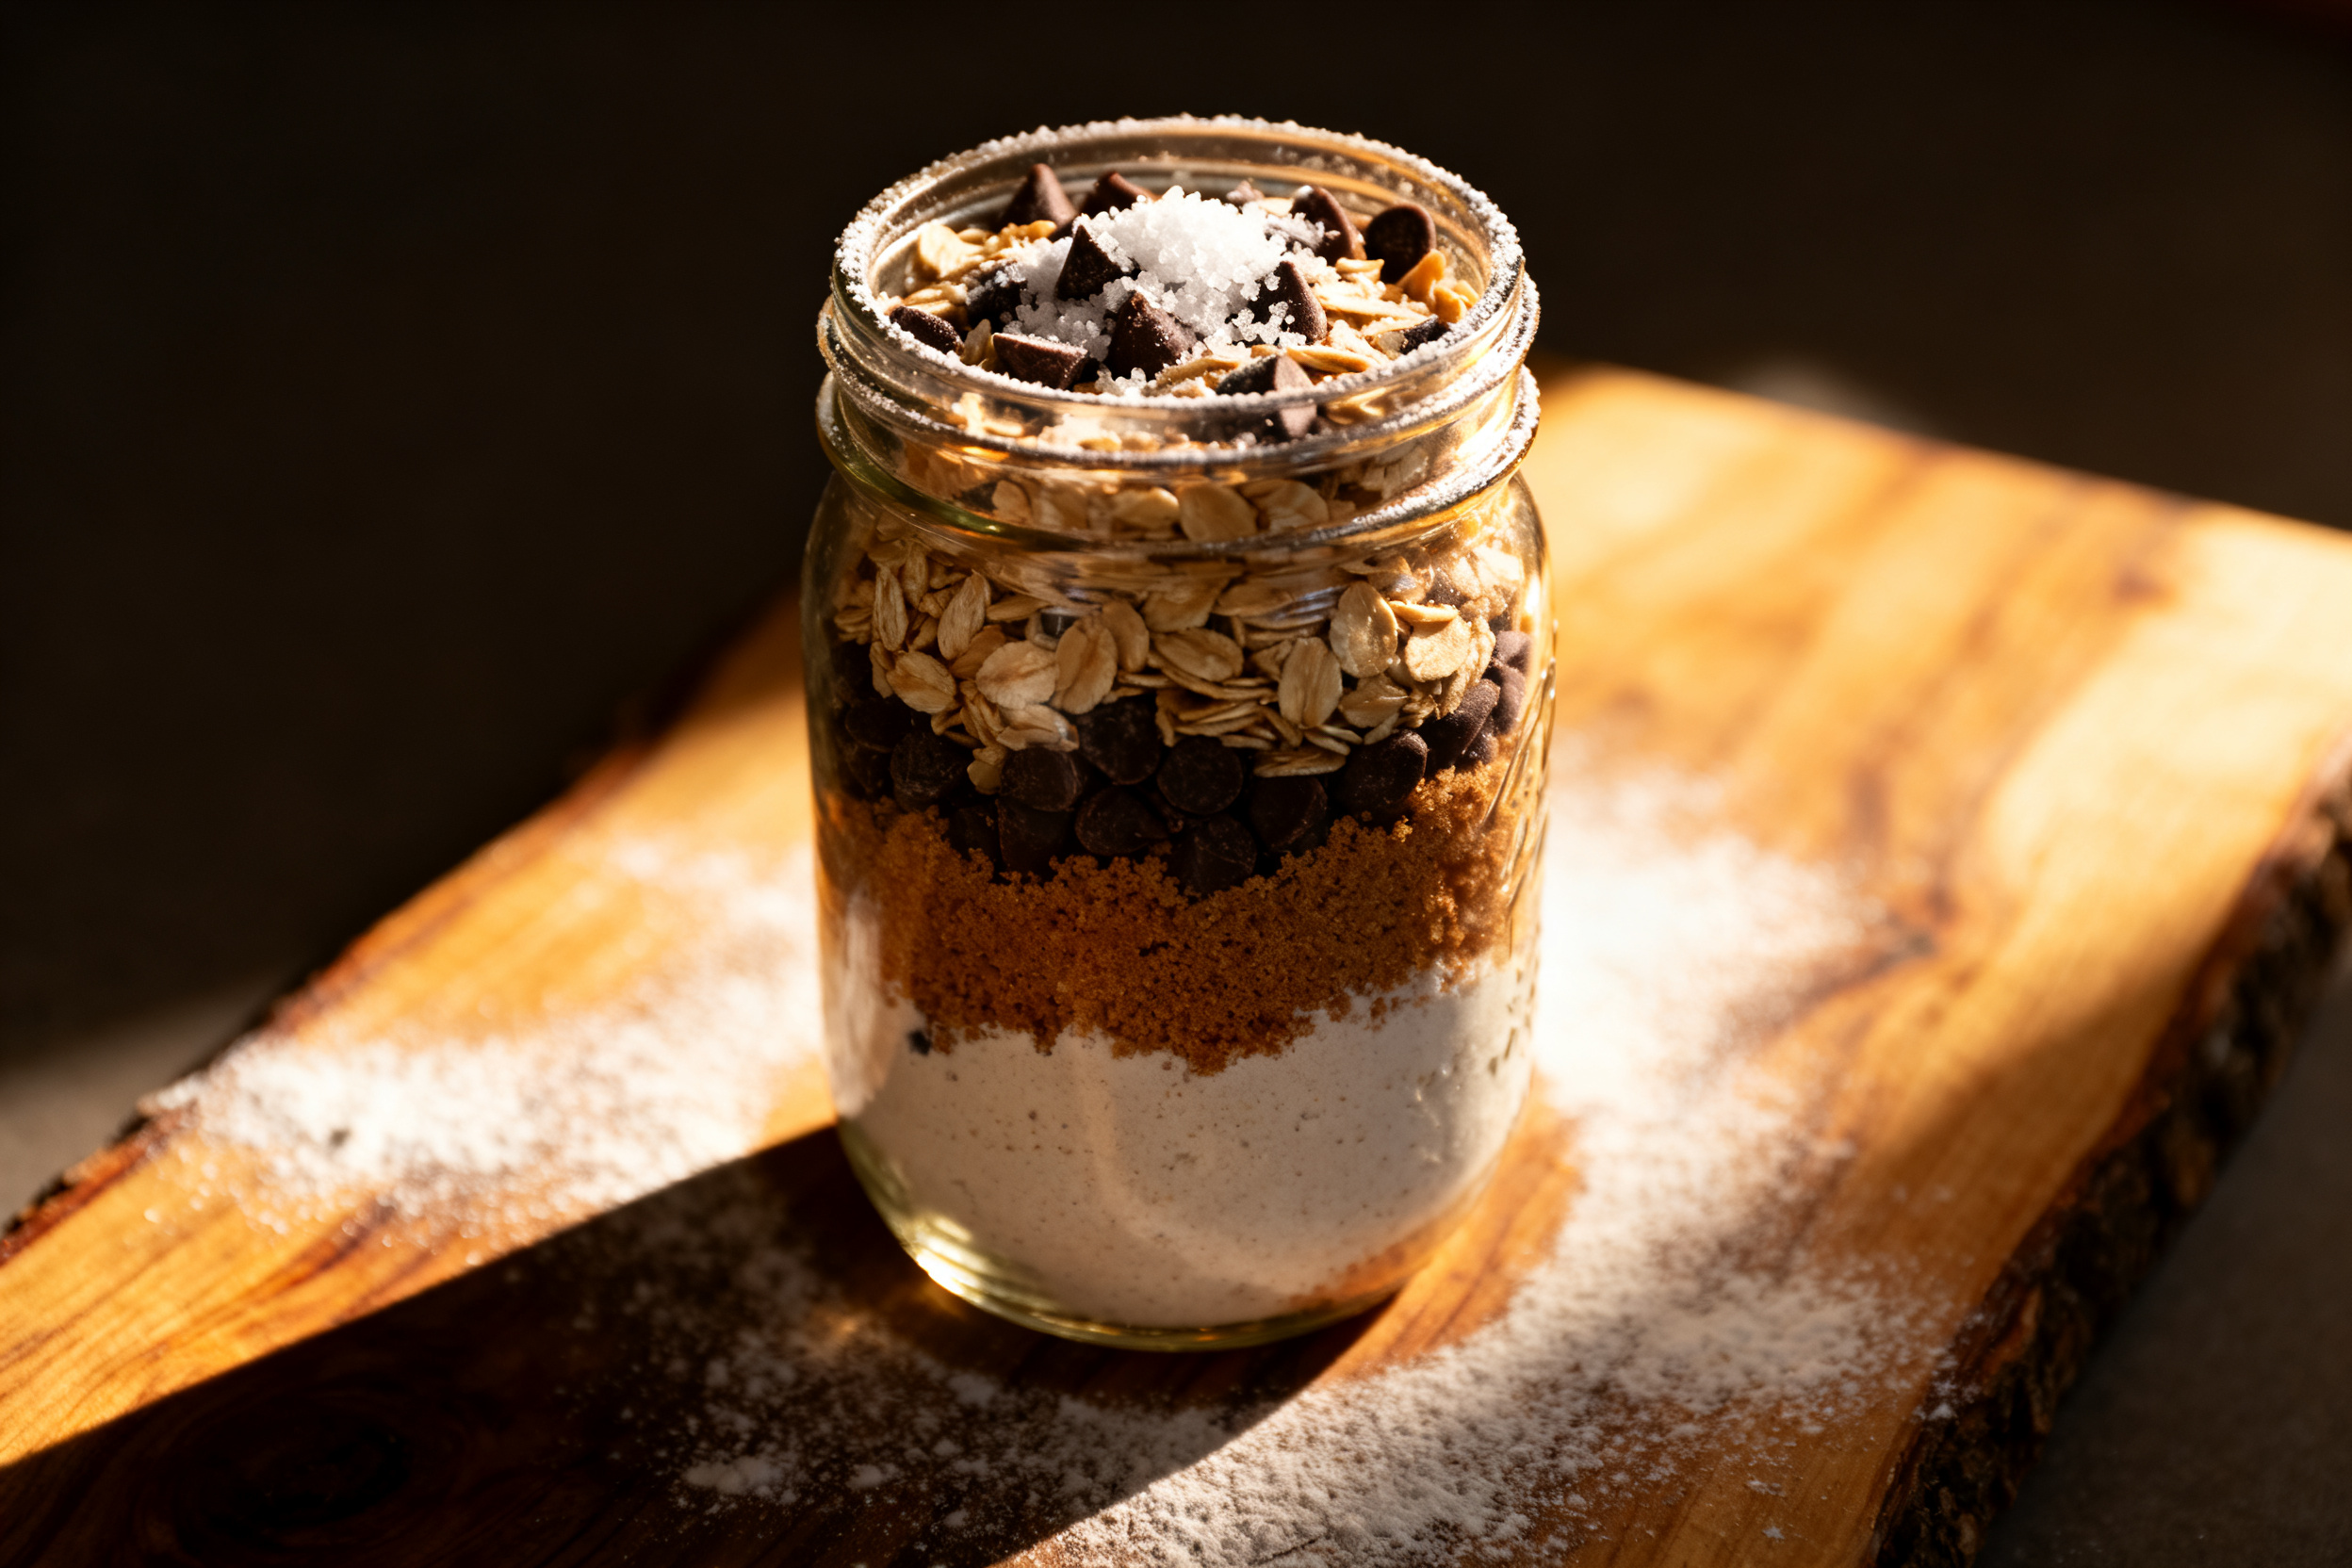
You need all-purpose flour, granulated sugar, brown sugar, chocolate chips, baking soda, and salt. That’s it. Semi-sweet chips work best, but milk chocolate or dark chocolate are fine too.
If you want to switch things up, try white chocolate chips, butterscotch chips, or even chopped nuts. Just remember that nuts add a common allergen, so note that on the jar.
For a lower sugar version, use a sugar substitute like monk fruit blend. Keep in mind that the texture might change slightly, but the cookies will still be tasty.
Don’t skip the salt – it balances the sweetness. A pinch of flaky sea salt on top before baking is a game changer.
Using fresh baking soda is crucial. Old baking soda won’t give you the lift you need, and your cookies will turn out flat and sad.
3. Pro Tips
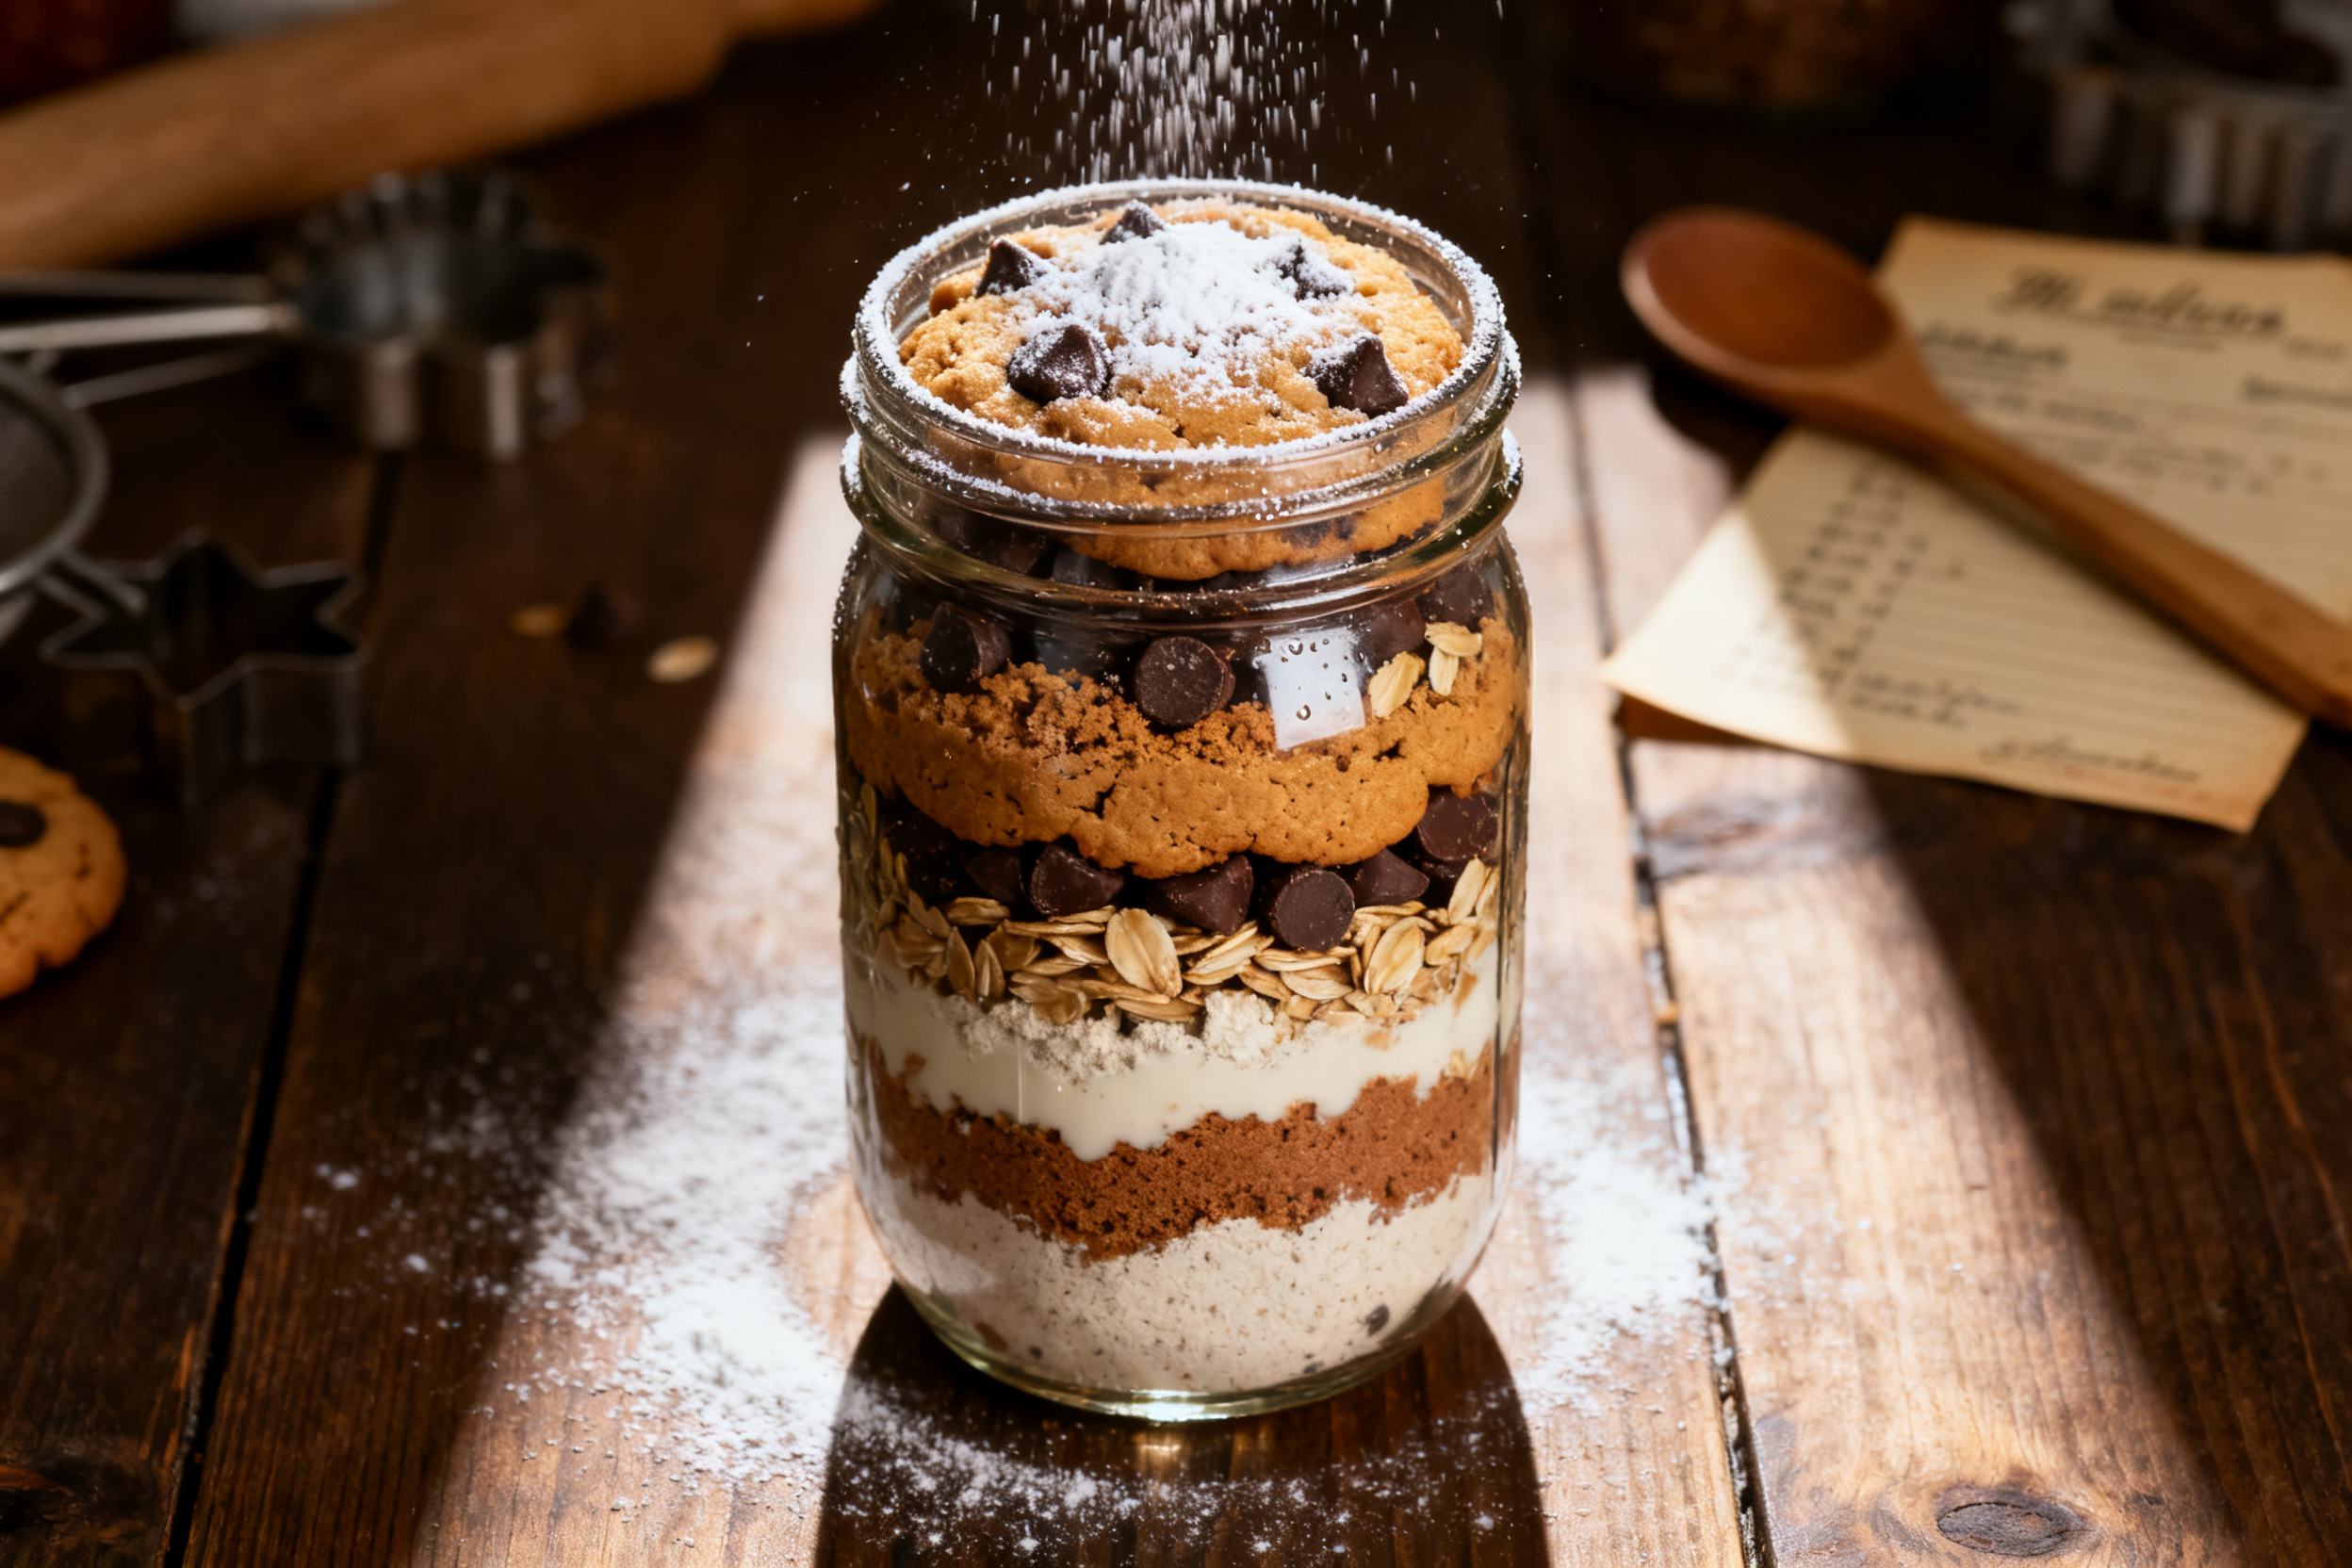
Layer the ingredients in the jar in the order listed. Start with the dry ingredients that need to stay separate, like flour, then sugar, then brown sugar, then baking soda and salt, then chocolate chips on top. This keeps the brown sugar from clumping against the flour.
Use a funnel to avoid mess. A wide-mouth funnel makes the layers neat and Instagram-worthy.
Pack each layer down lightly with the back of a spoon. This ensures the jar looks full and the layers stay distinct.
Attach a tag with the baking instructions: empty the jar into a bowl, add softened butter, an egg, and vanilla extract. Mix, scoop, bake at 350°F for 10-12 minutes.
If you’re gifting the jar, wrap it in a cute ribbon and include a small cookie scoop. That’s a thoughtful touch.
Always test one cookie first before baking the whole batch. Every oven is different, and you want to avoid a burnt surprise.
4. Storage & Make-Ahead
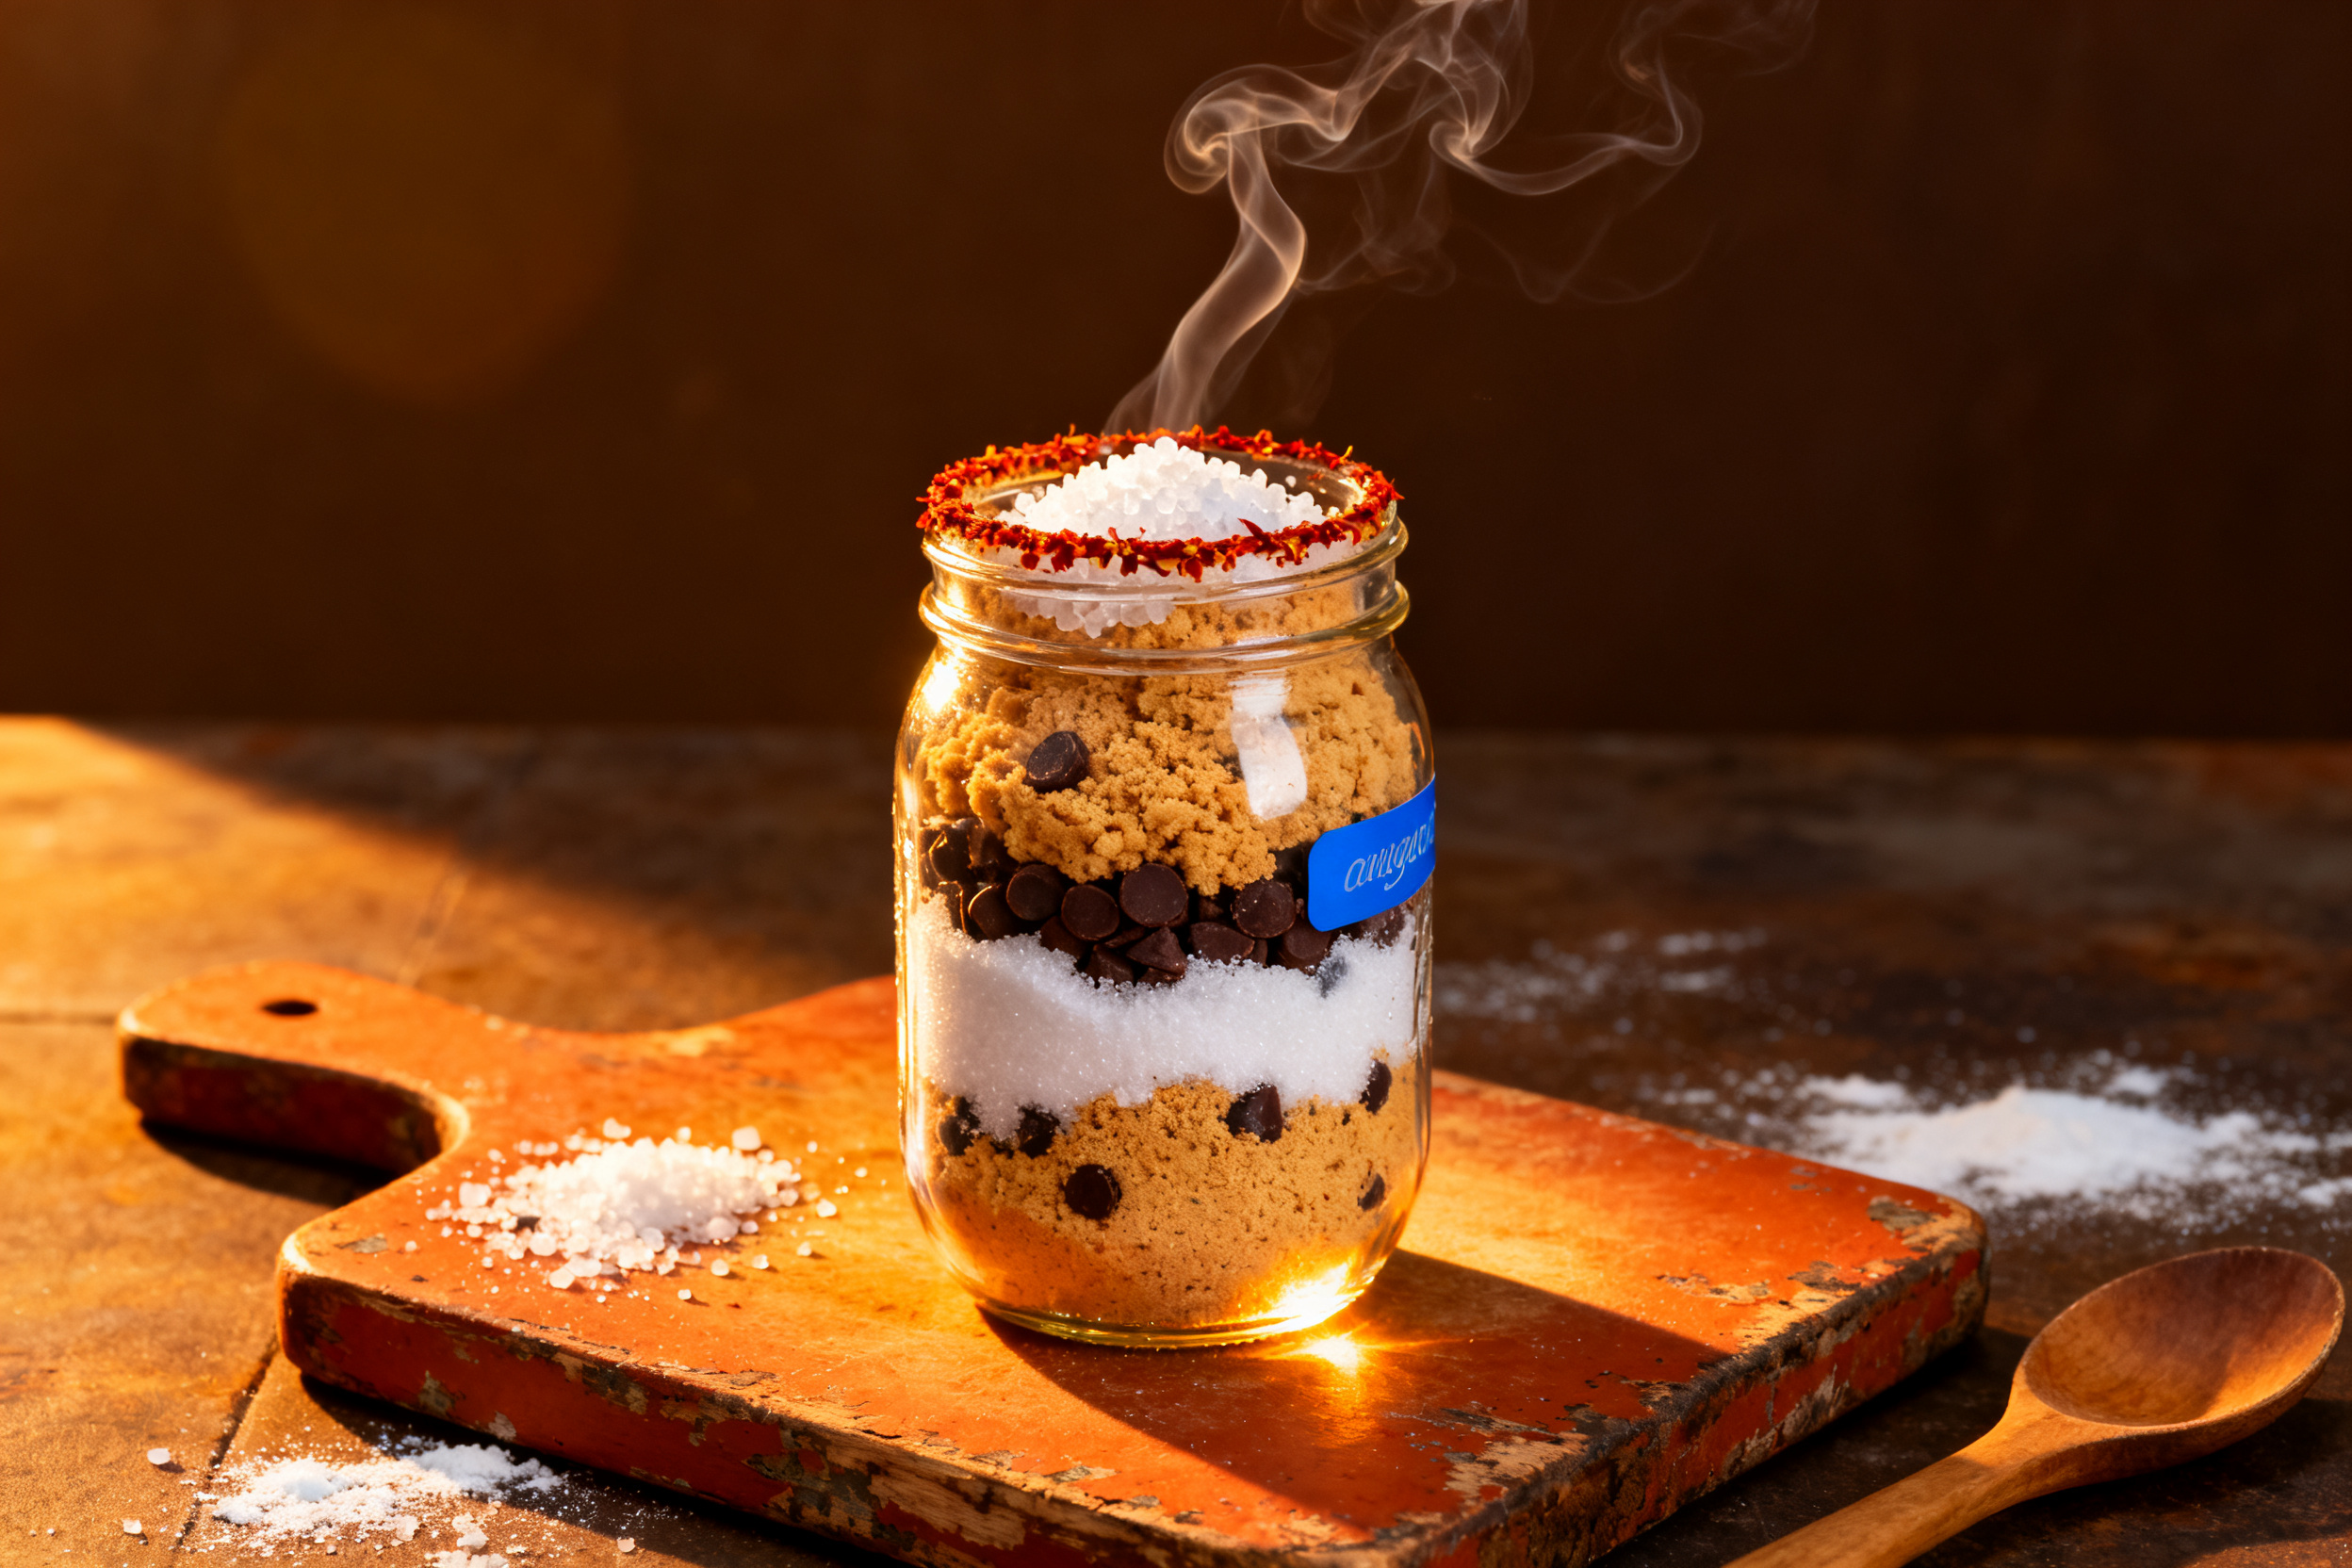
Store the mason jar in a cool, dry place away from direct sunlight. Do not refrigerate the dry mix – moisture can cause the sugar to clump and the flour to get funky.
The jar will keep for up to 6 months if sealed tightly. I recommend writing the date on the bottom so you don’t forget.
You can prepare multiple jars ahead of time for holiday gifting. Just stack them in a cupboard and attach the tags when you’re ready to give them away.
5. Serving Suggestions
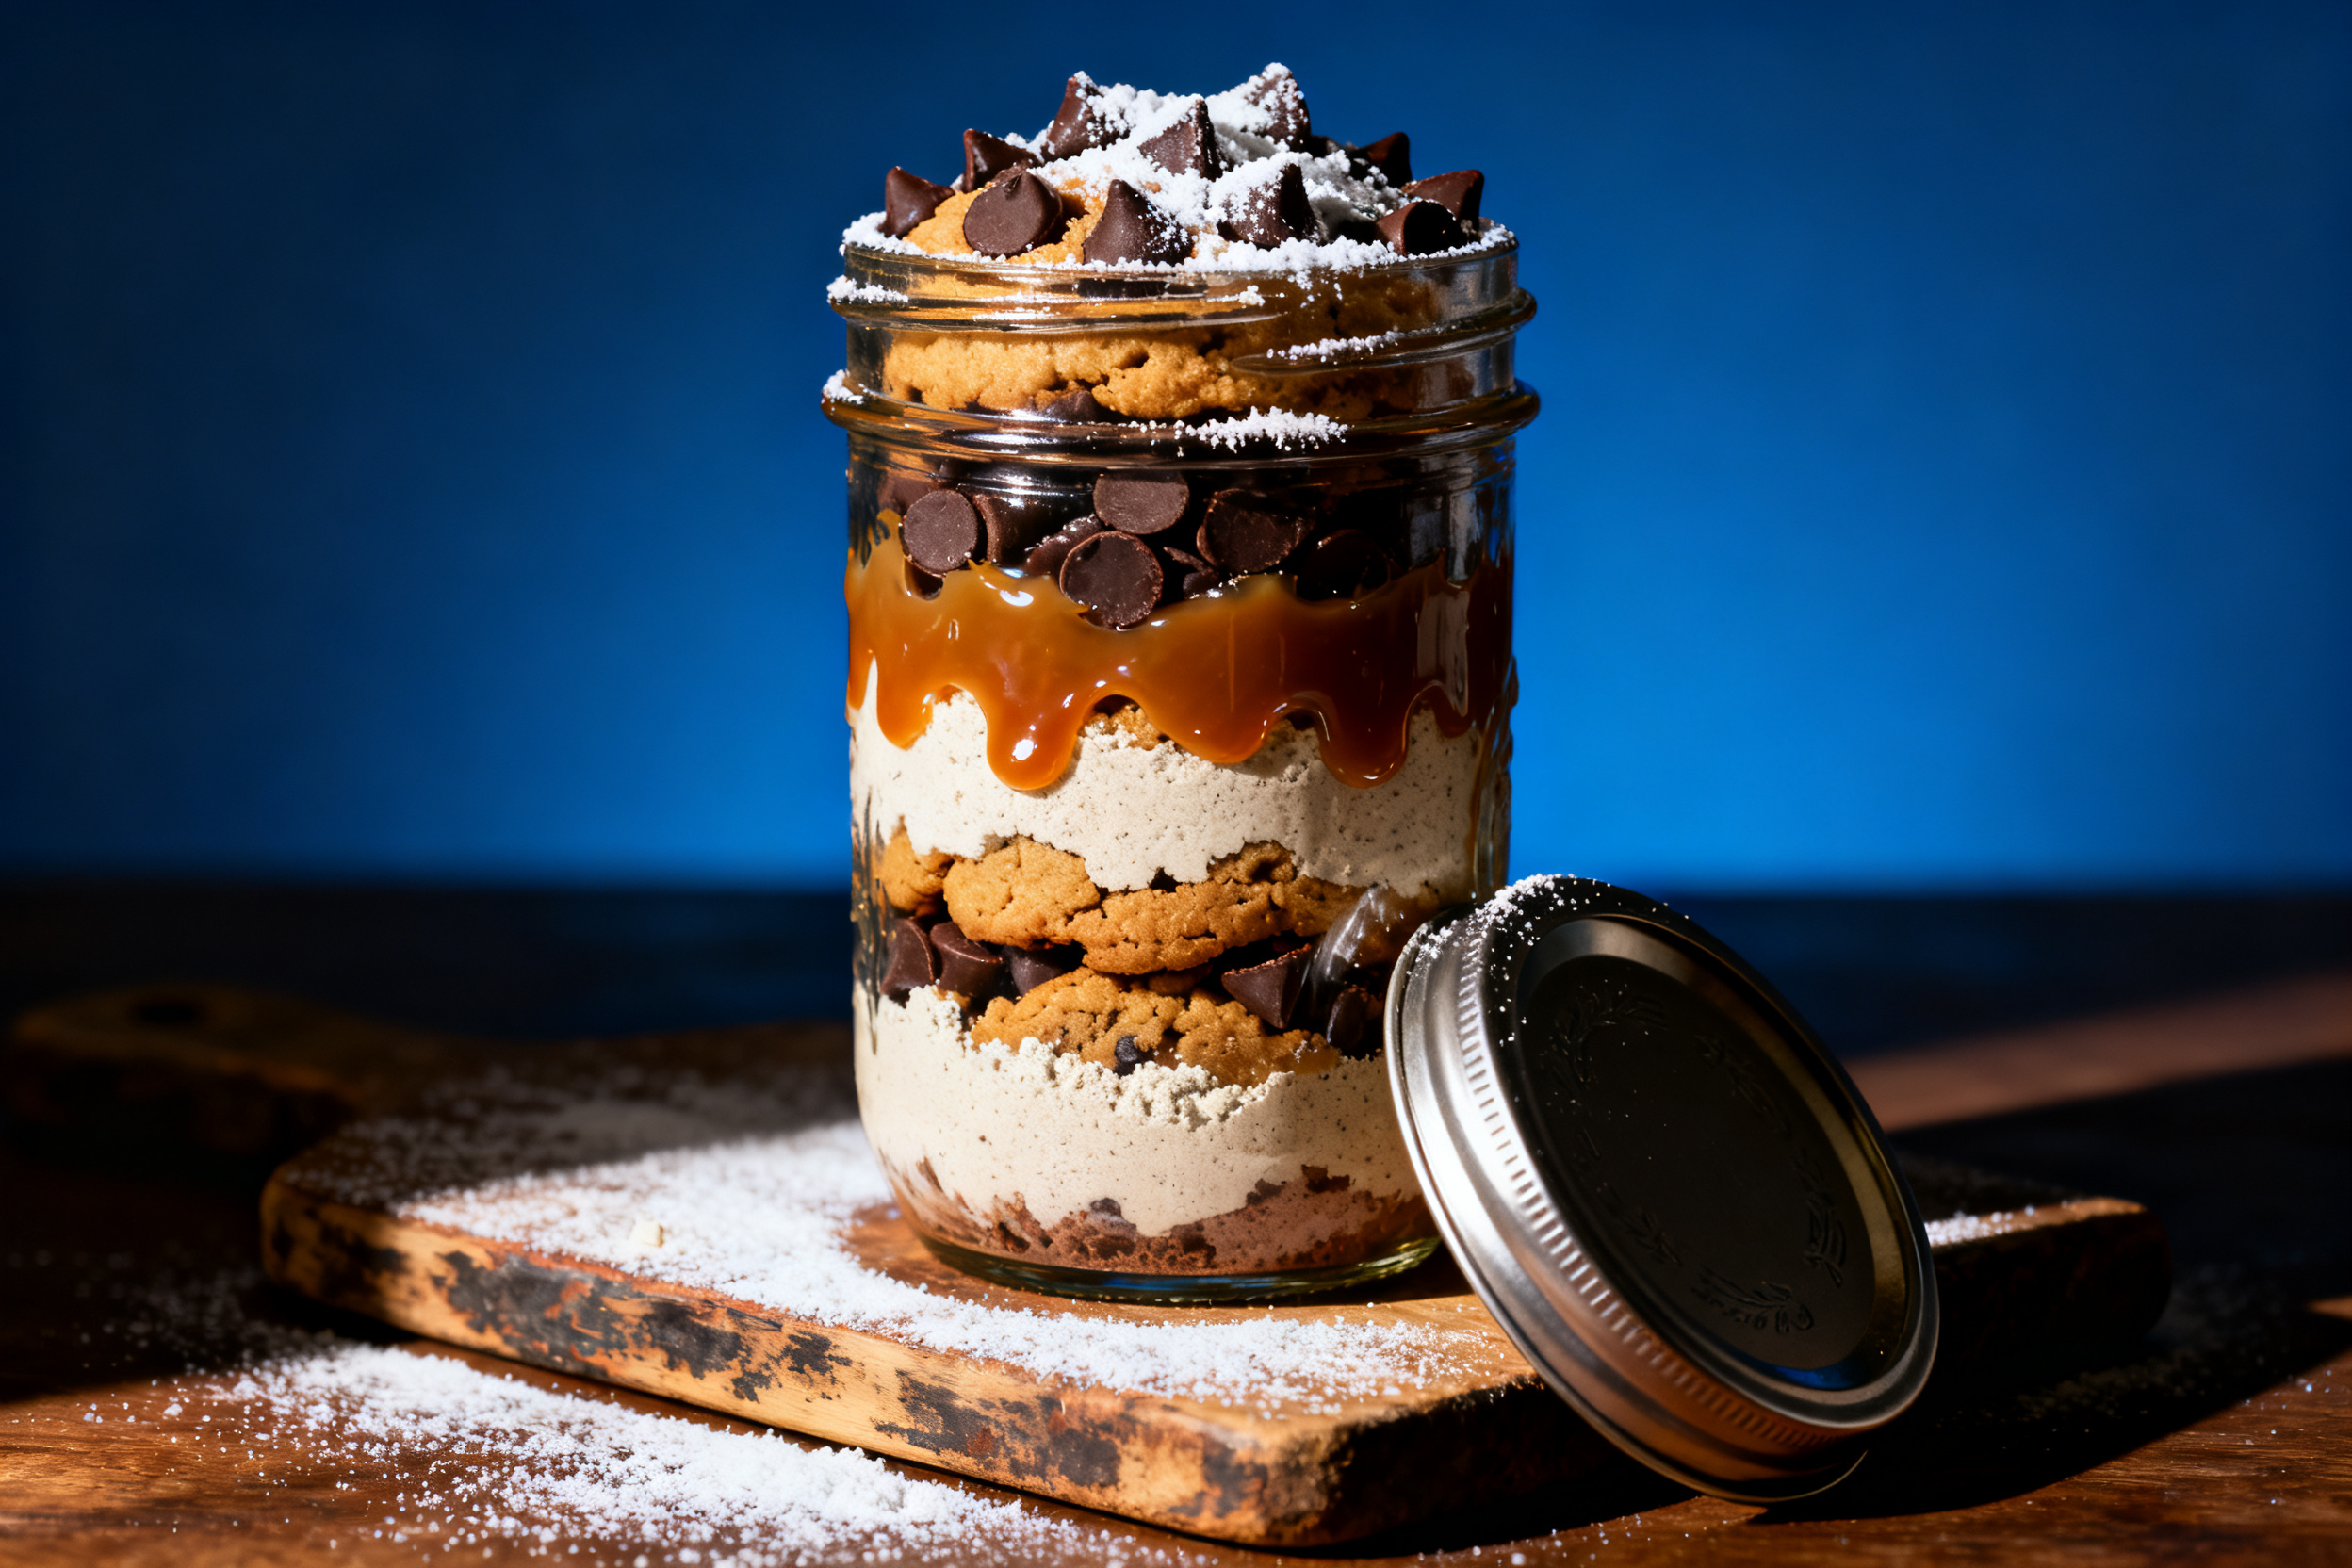
These cookies are perfect on their own, but serve them warm with a glass of cold milk and you’ll be a hero. For a dessert platter, pair them with vanilla ice cream and a drizzle of chocolate sauce.
6. Use Your Leftovers
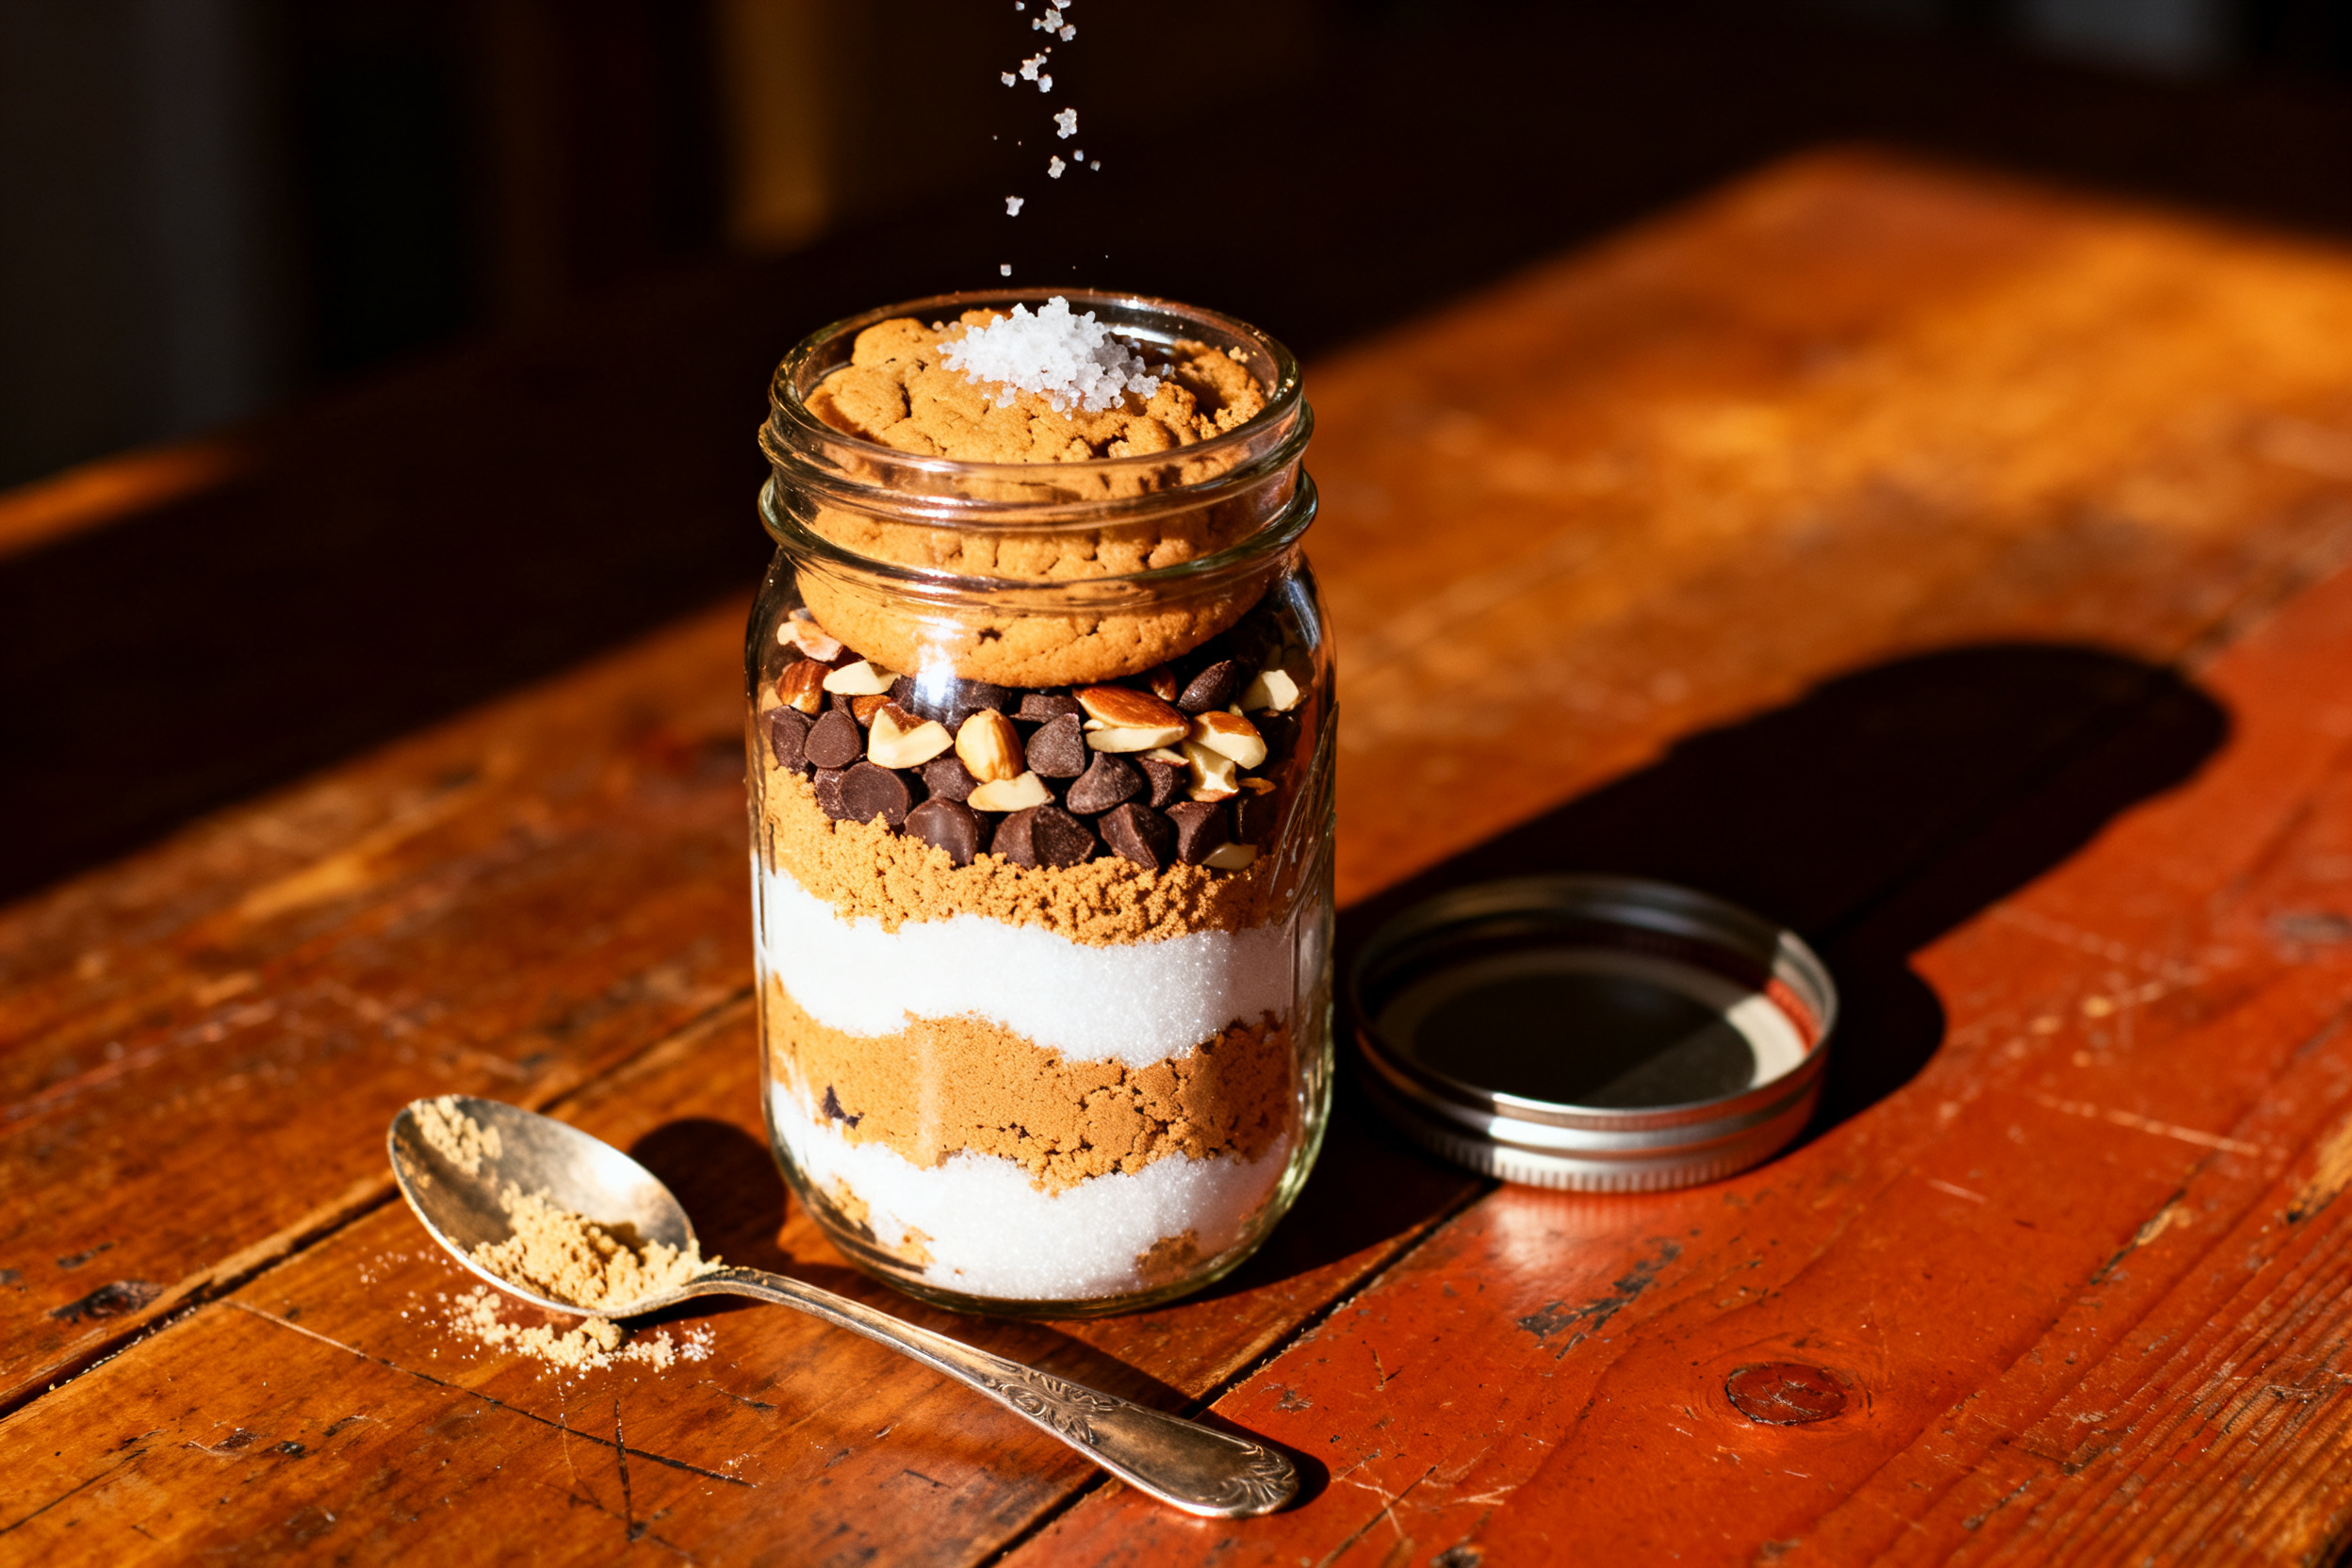
If you have leftover dry mix after filling a jar (maybe you made a double batch), store it in a ziplock bag labeled with the baking instructions. You can also use it as a crumble topping for ice cream or fruit crisps. Just sprinkle it over apples or peaches, dot with butter, and bake.
Don’t toss the extra – it’s basically a cookie emergency kit.
Leftover baked cookies? Freeze them in a ziplock bag for up to 3 months. They thaw in minutes at room temperature.
Crush the cookies and use them as a crust for a cheesecake or a no-bake pie. That’s a genius move.
7. Common Mistakes & How to Fix Them
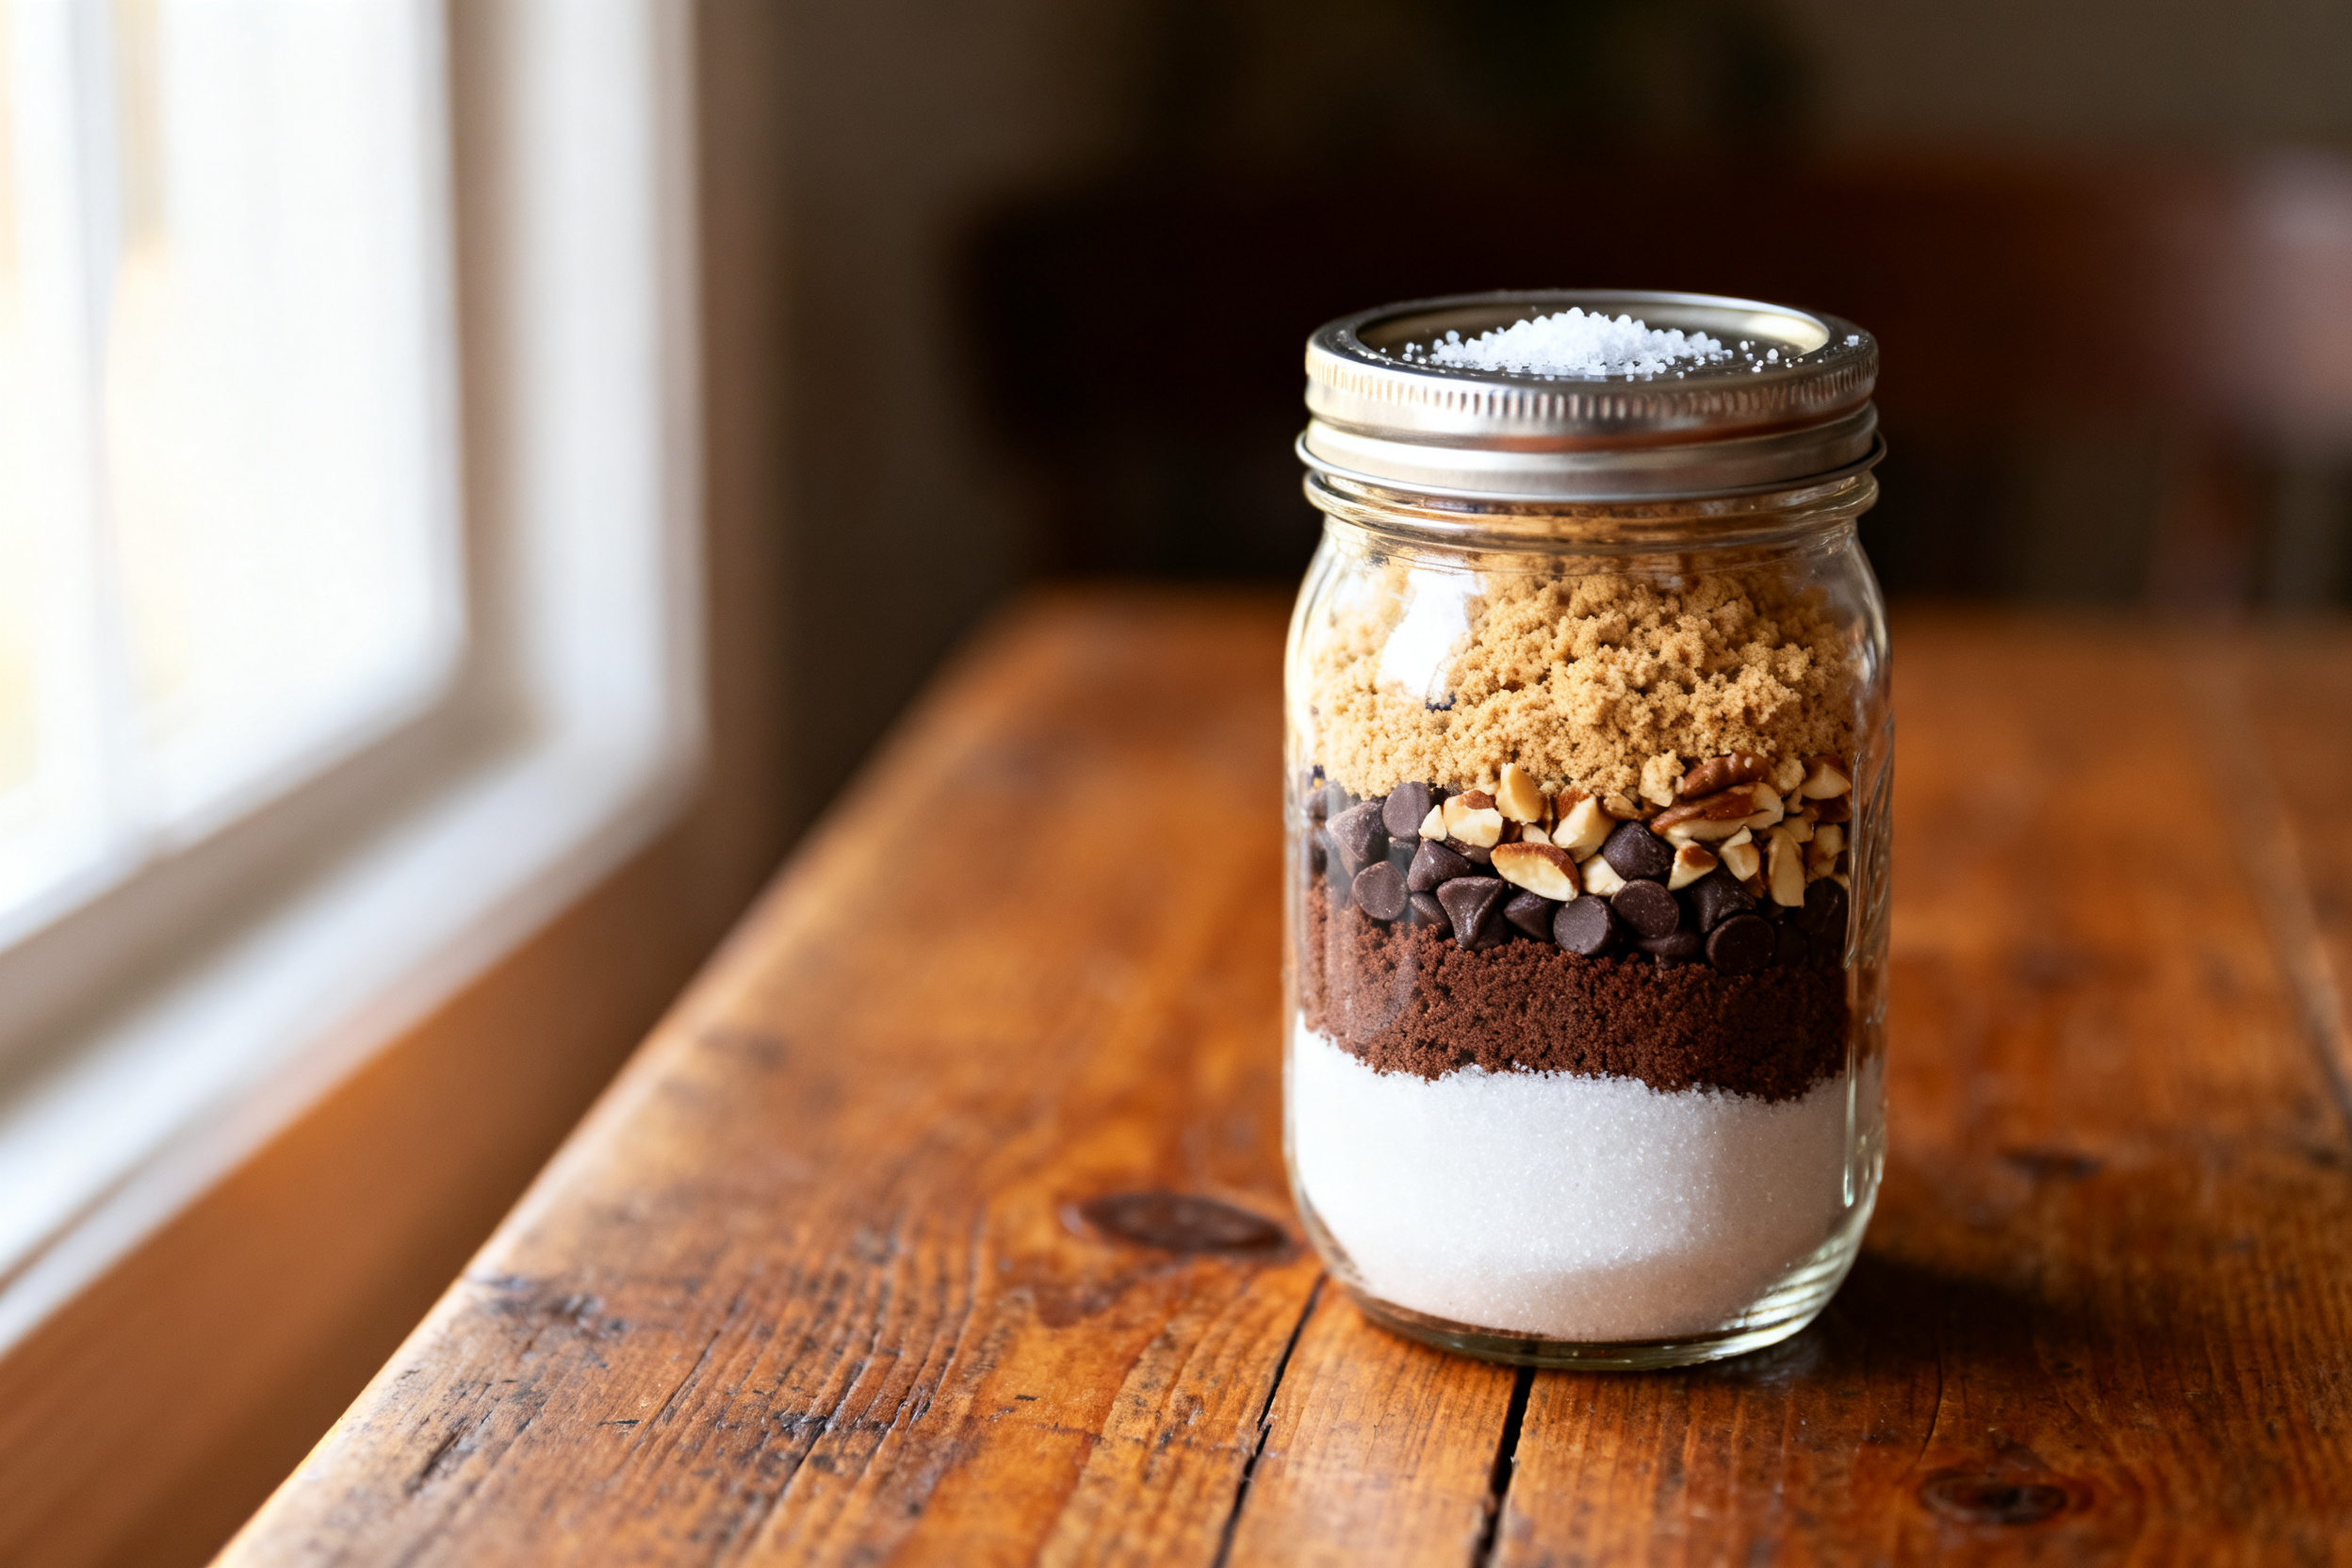
Mistake: The cookies spread too much. This usually means the butter was too warm or the dough wasn’t chilled. Fix: Refrigerate the dough for 30 minutes before baking.
Mistake: The layers mixed together in the jar. That’s actually fine for baking, but it looks messy for gifting. To avoid it, tap the jar gently after each layer to settle without shaking.
8. Variations by Diet or Flavor Profile
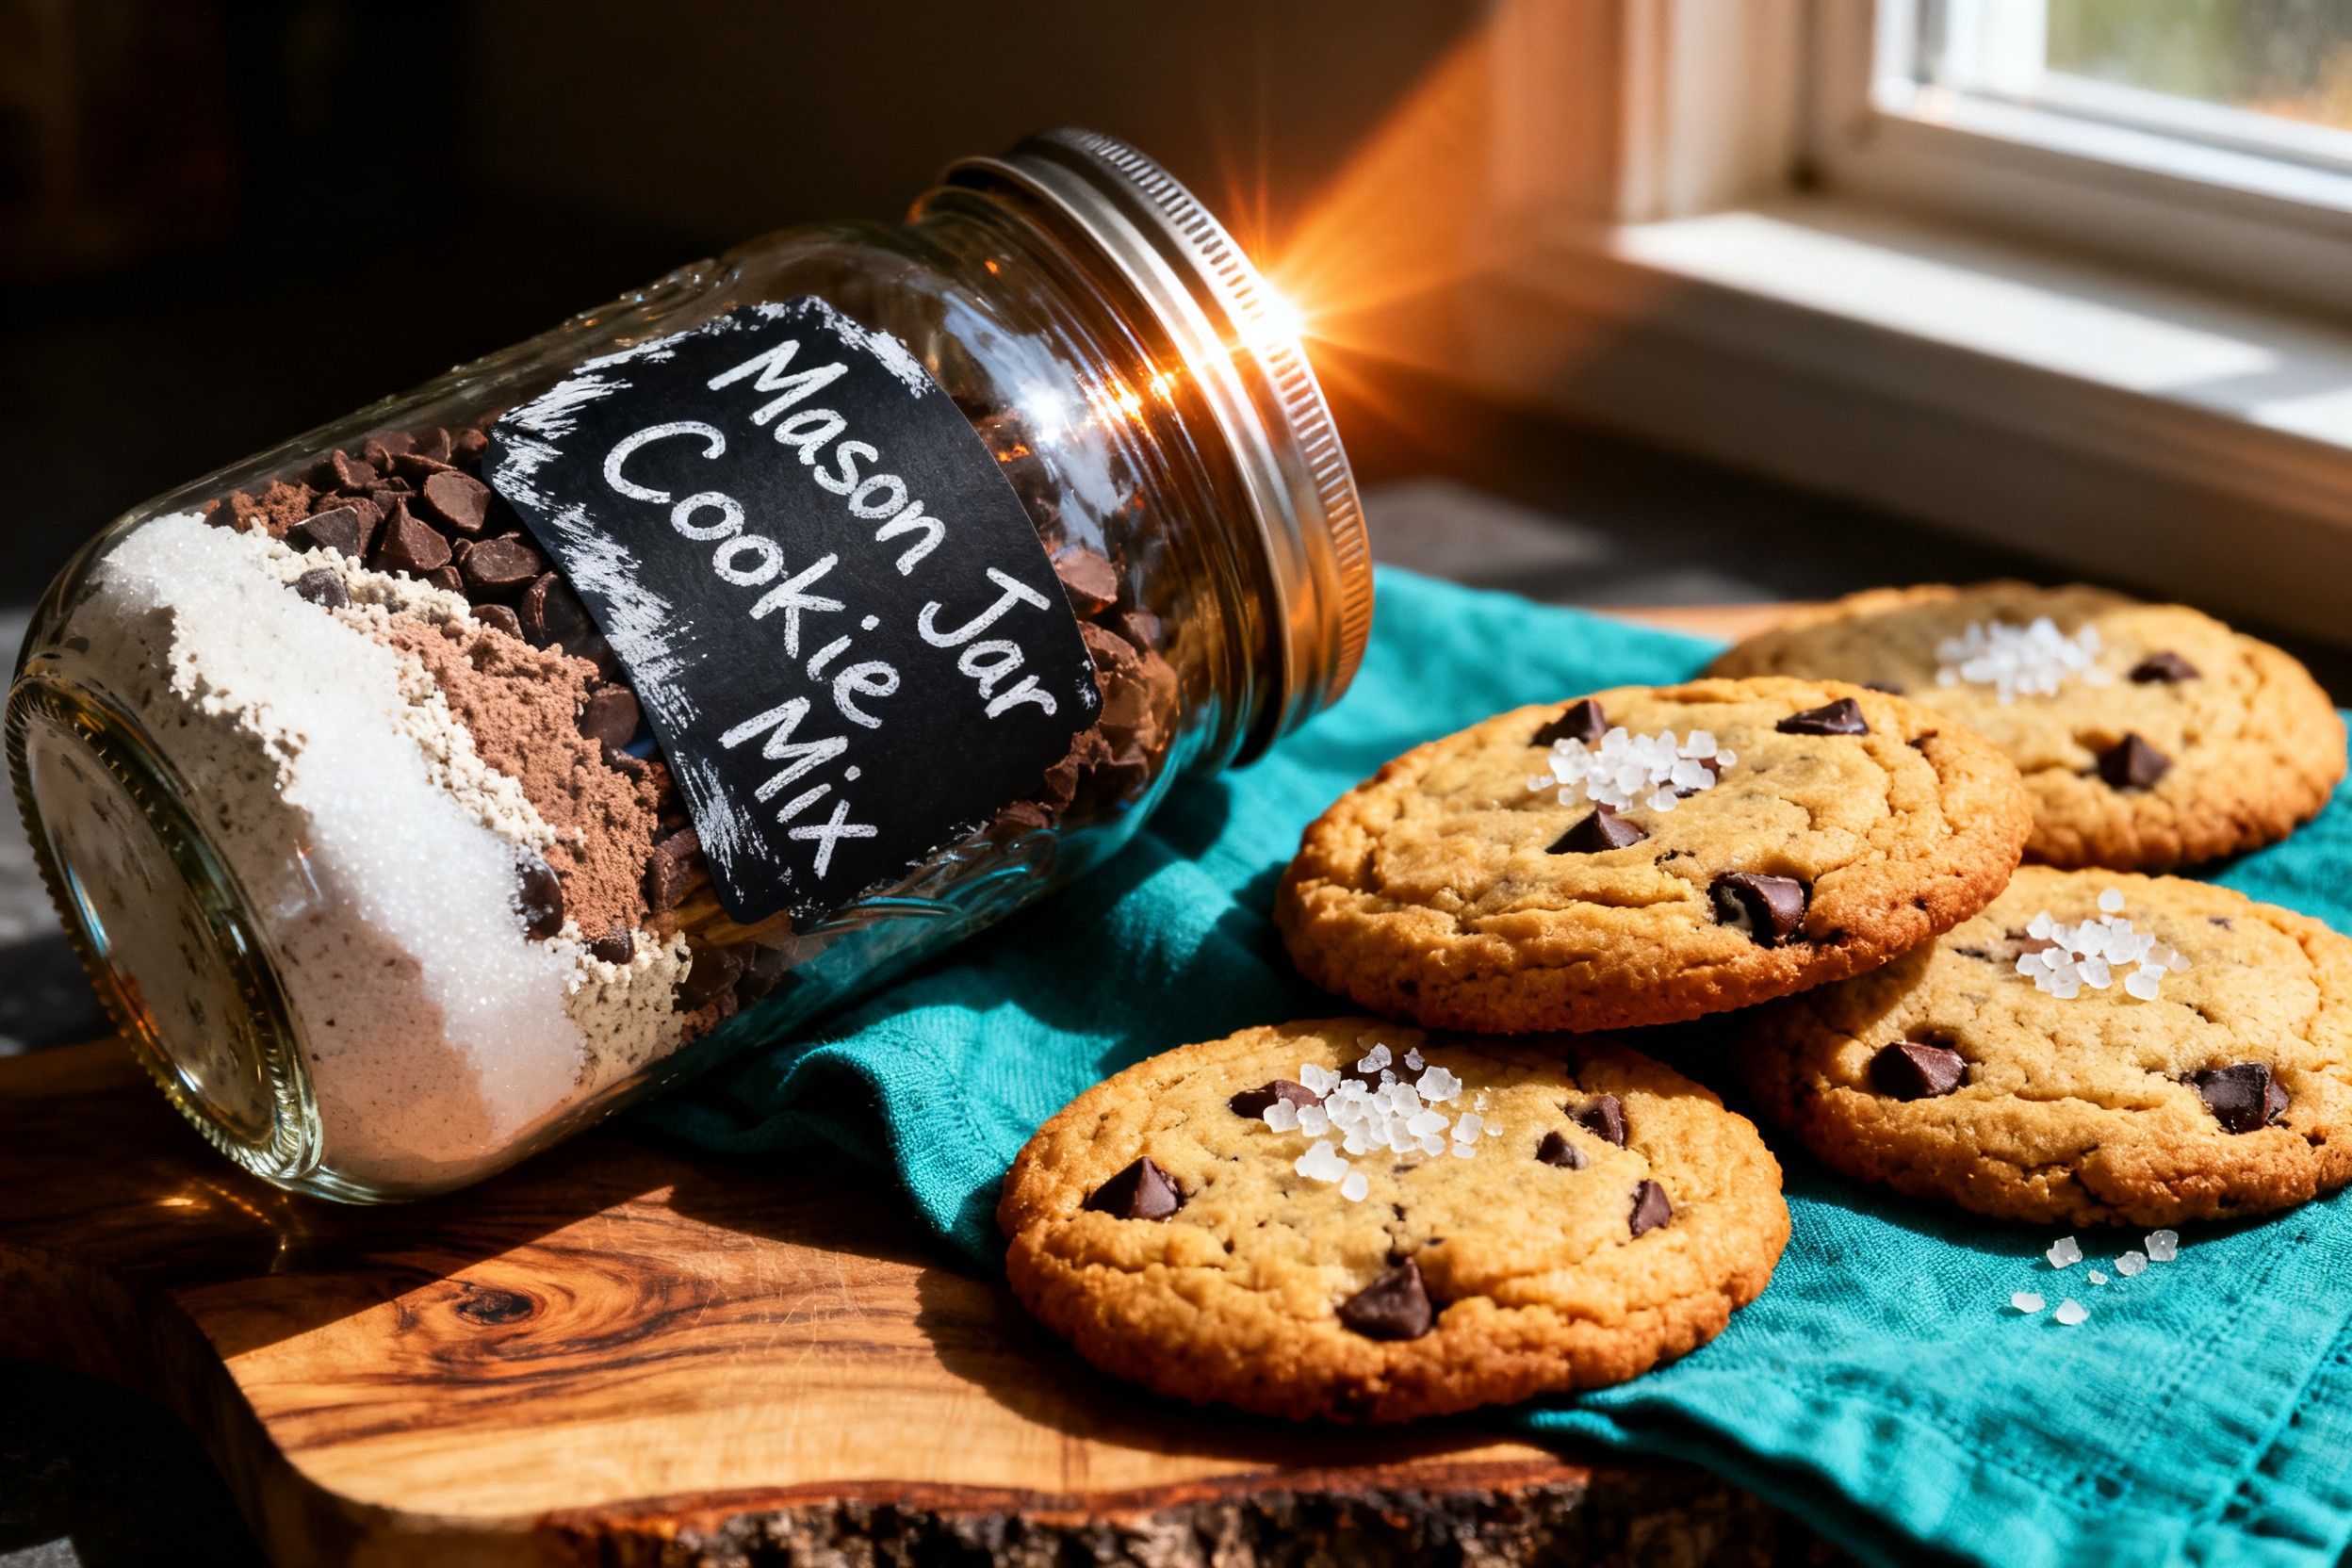
For a vegan mason jar cookie mix, use dairy-free chocolate chips and include a note to use a flax egg (1 tbsp ground flax + 3 tbsp water) and vegan butter. The dry mix stays the same.
Gluten-free version: Substitute the all-purpose flour with a 1:1 gluten-free baking blend. Add 1/4 teaspoon xanthan gum if your blend doesn’t already contain it.
Flavor twist: Add 1/2 teaspoon of cinnamon and a pinch of nutmeg to the flour layer for a snickerdoodle vibe. Or use peanut butter chips and a handful of crushed pretzels for a salty-sweet combo.
Double chocolate: Replace 1/4 cup of the flour with unsweetened cocoa powder and use white chocolate chips. That’s a decadent treat.
Low sugar: Use a sugar substitute like erythritol for both sugars. Note that the cookies will be less chewy, but still delicious.
9. Why This Recipe Works / The Science
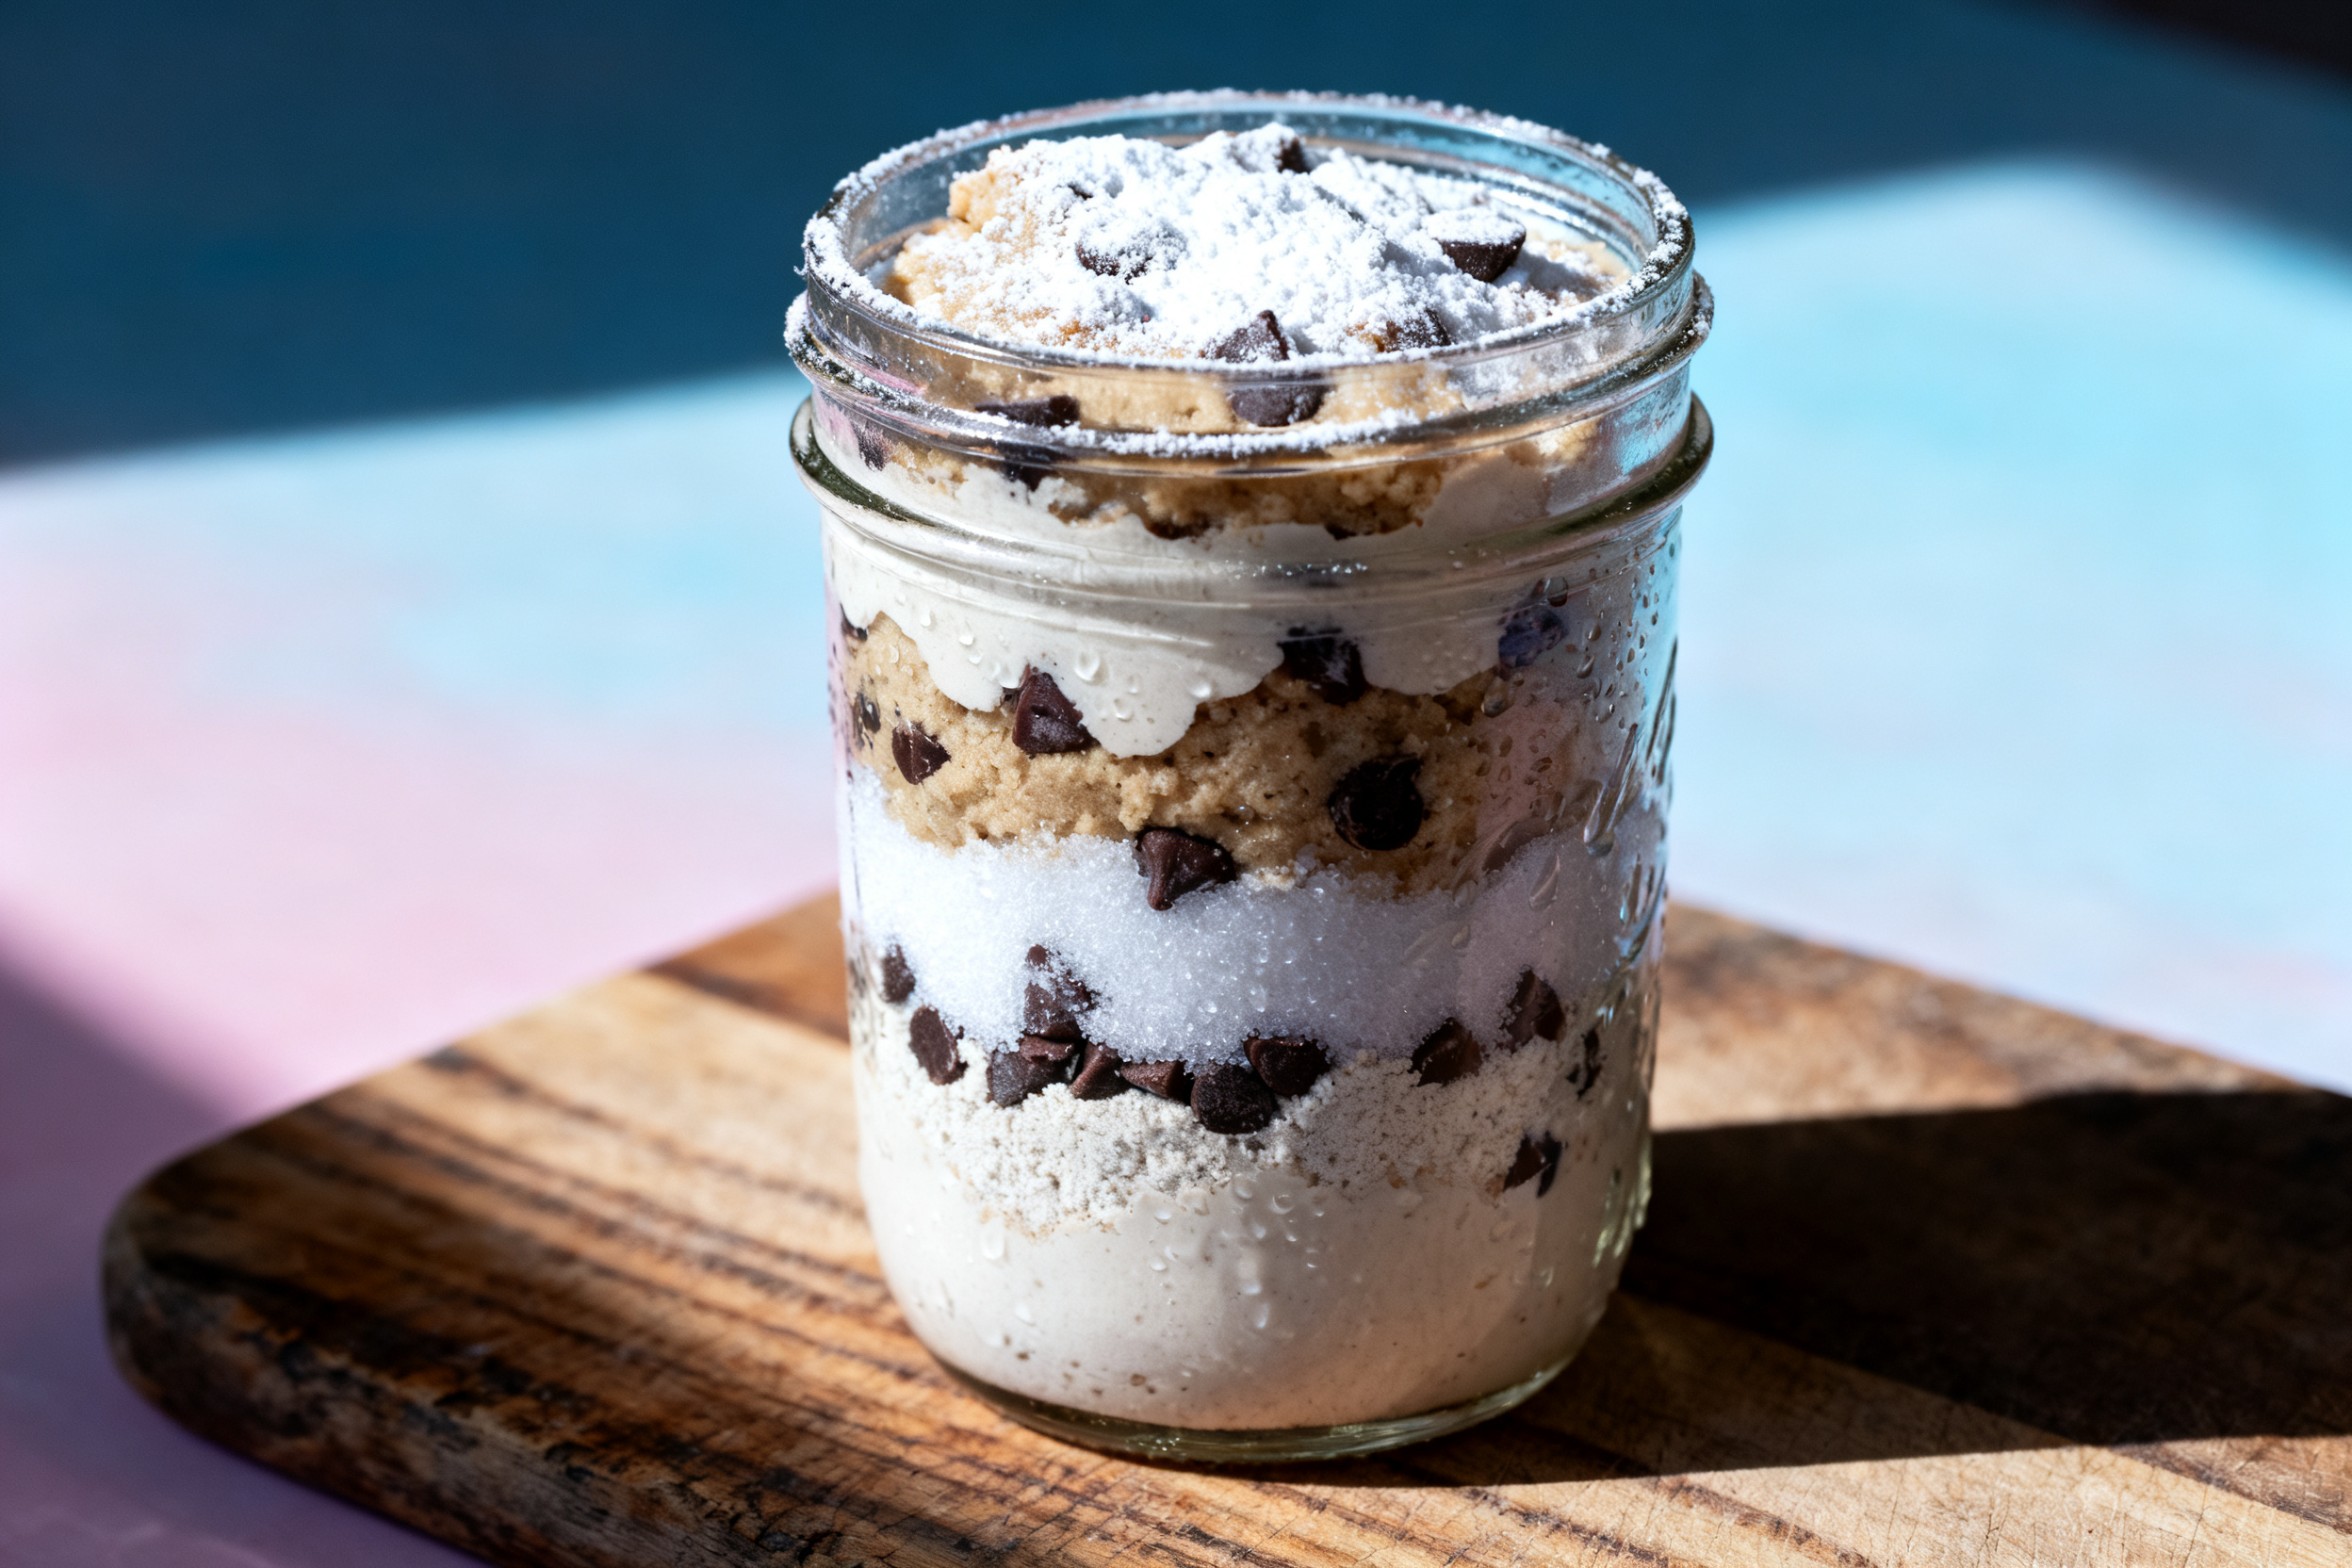
The layered dry mix works because each ingredient is shelf-stable and doesn’t react until liquid is added. The brown sugar stays moist from the sealed jar, which keeps the cookies chewy.
The ratio of flour to sugar is designed to produce a cookie that spreads just enough, with a soft center and crispy edges. Baking soda reacts with the brown sugar’s acidity to create lift.
By keeping the chocolate chips on top of the flour layer, they don’t get crushed or embedded in the dry mix. That means you get whole chips in every bite.
Room temperature ingredients are key when you finally bake. Cold butter won’t cream properly with the sugar, leading to dense cookies. Let the butter sit out for 30 minutes before mixing.
This recipe has been tested a dozen times to ensure the dry mix stays fresh for months. You can trust the layers.
10. Frequently Asked Questions
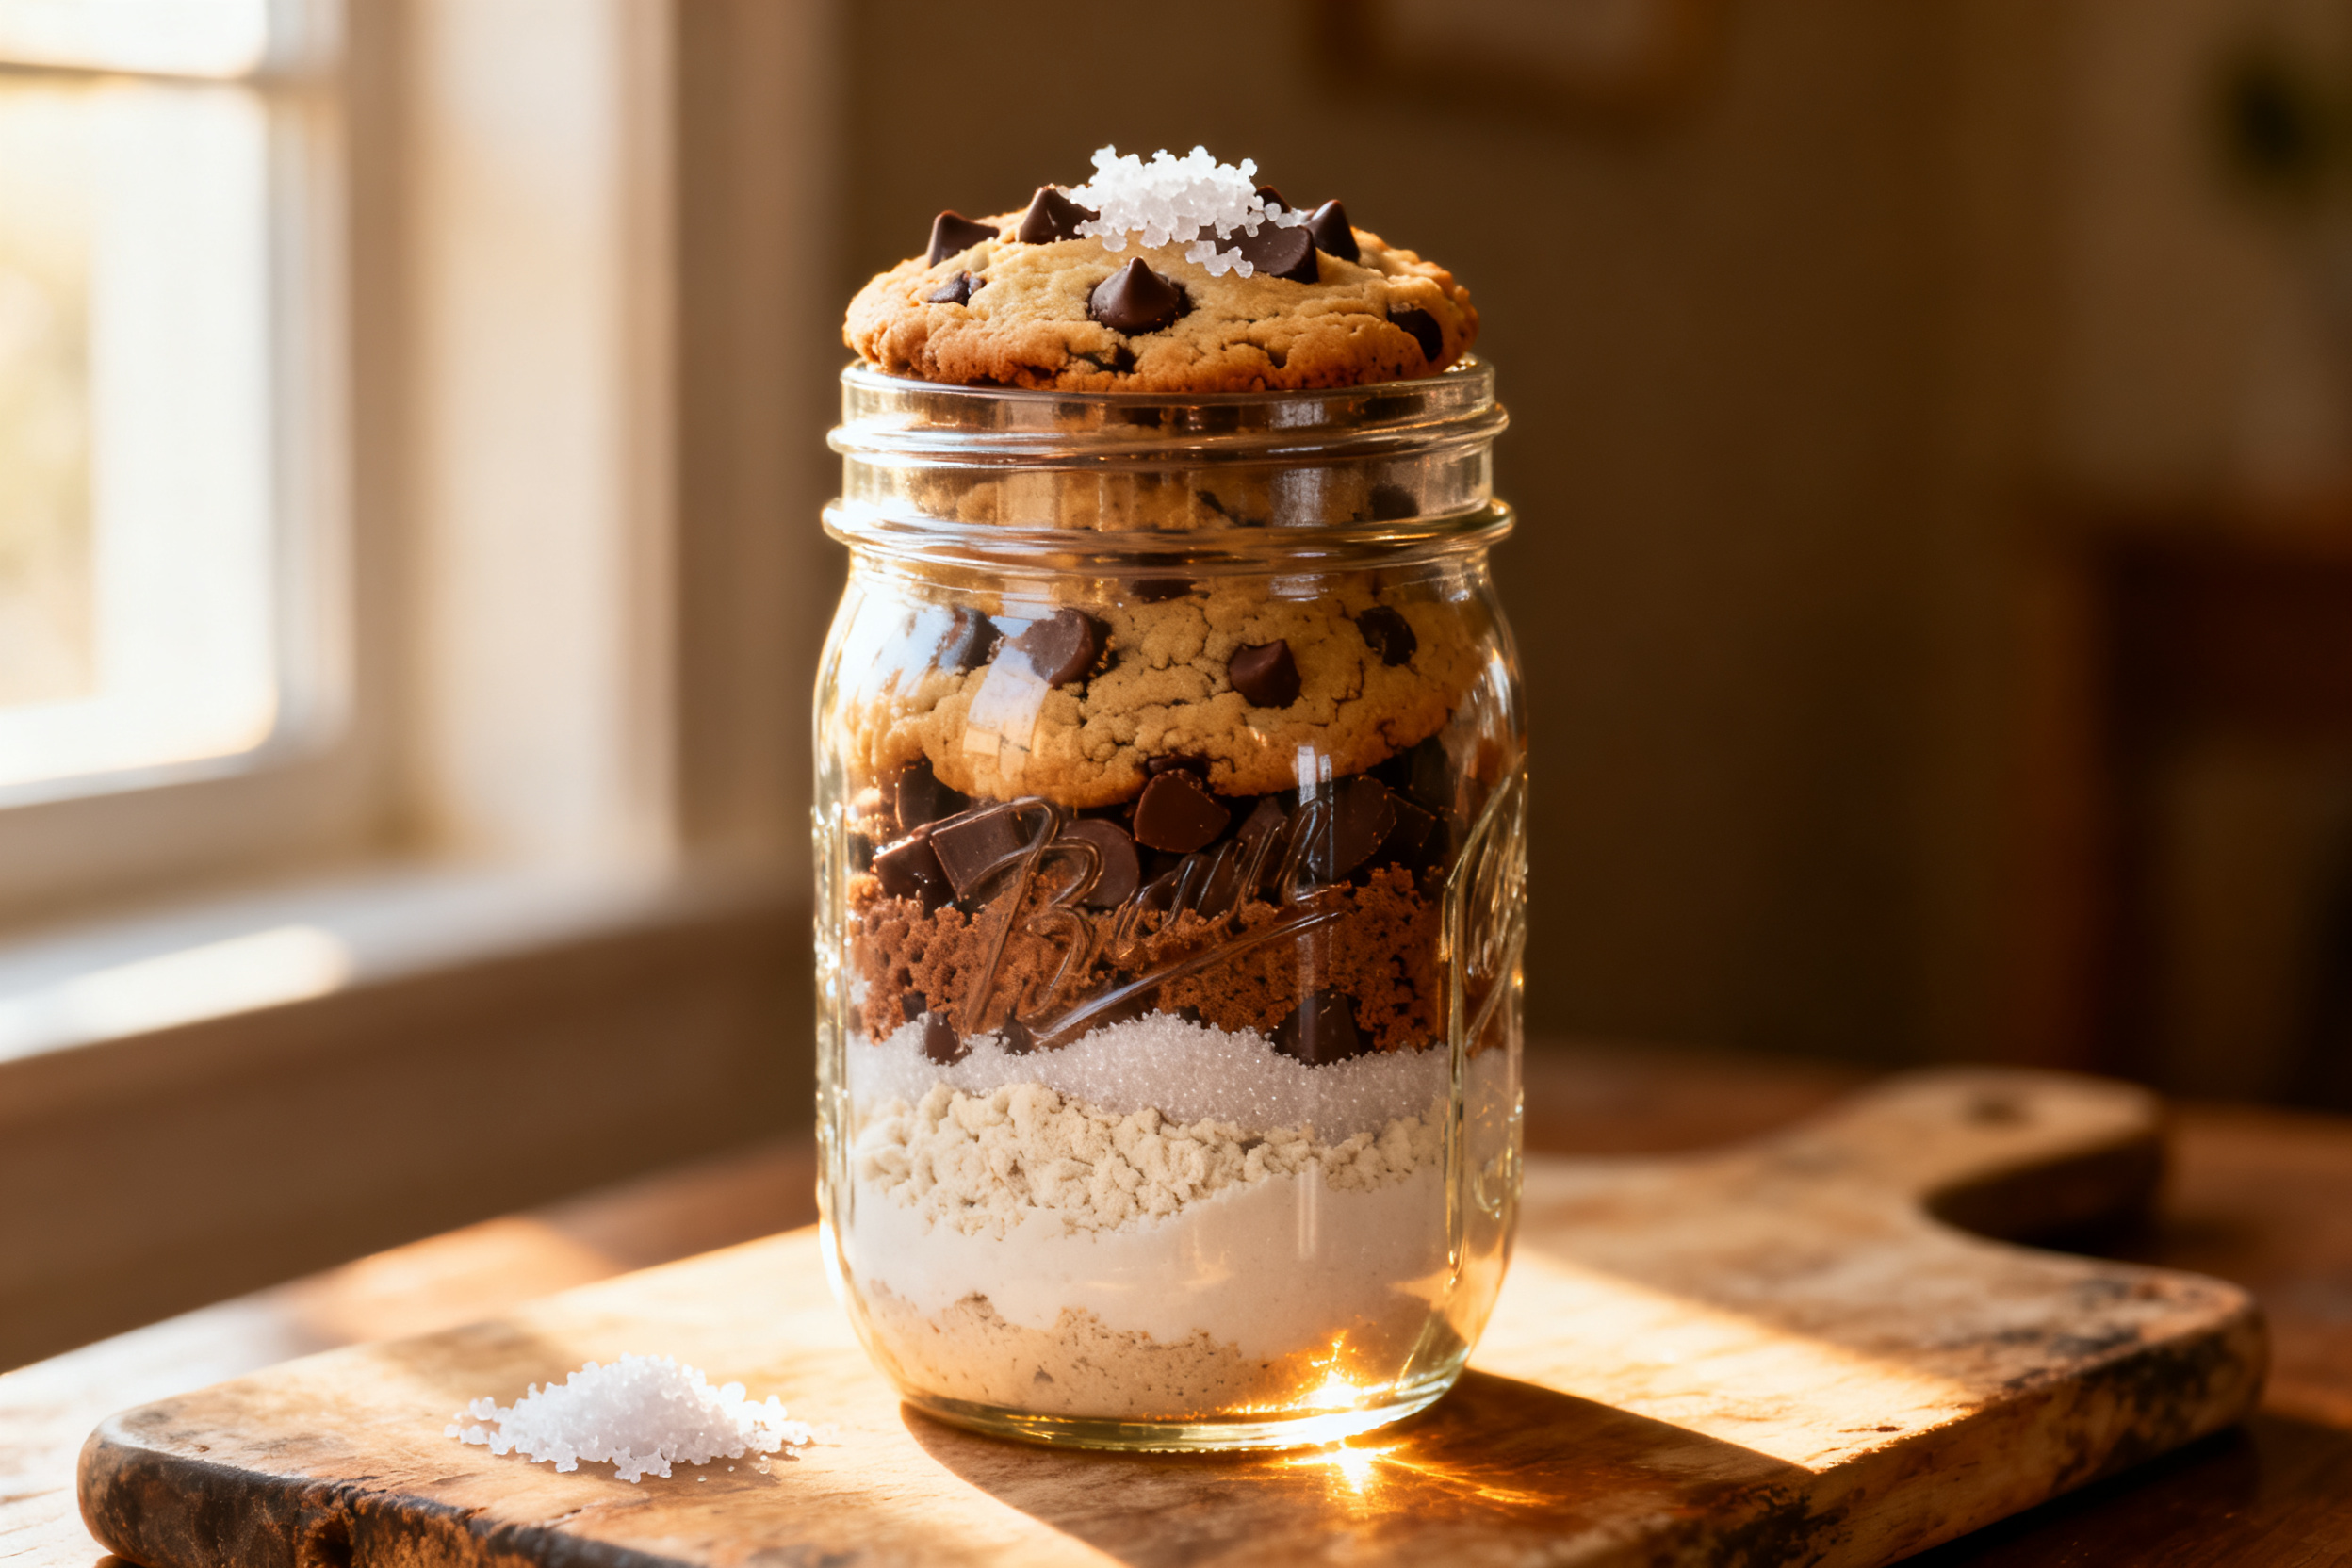
Can I use a different type of jar? Yes, any airtight container works. Just make sure it’s sealed well to keep moisture out.
Do I have to layer the ingredients exactly? No, you can dump everything in a bowl and mix. But the layered look is the whole point of a mason jar gift.
How long do the cookies stay fresh after baking? Store them in an airtight container at room temperature for up to 5 days. They’ll be gone long before that, I promise.
11. Call to Action
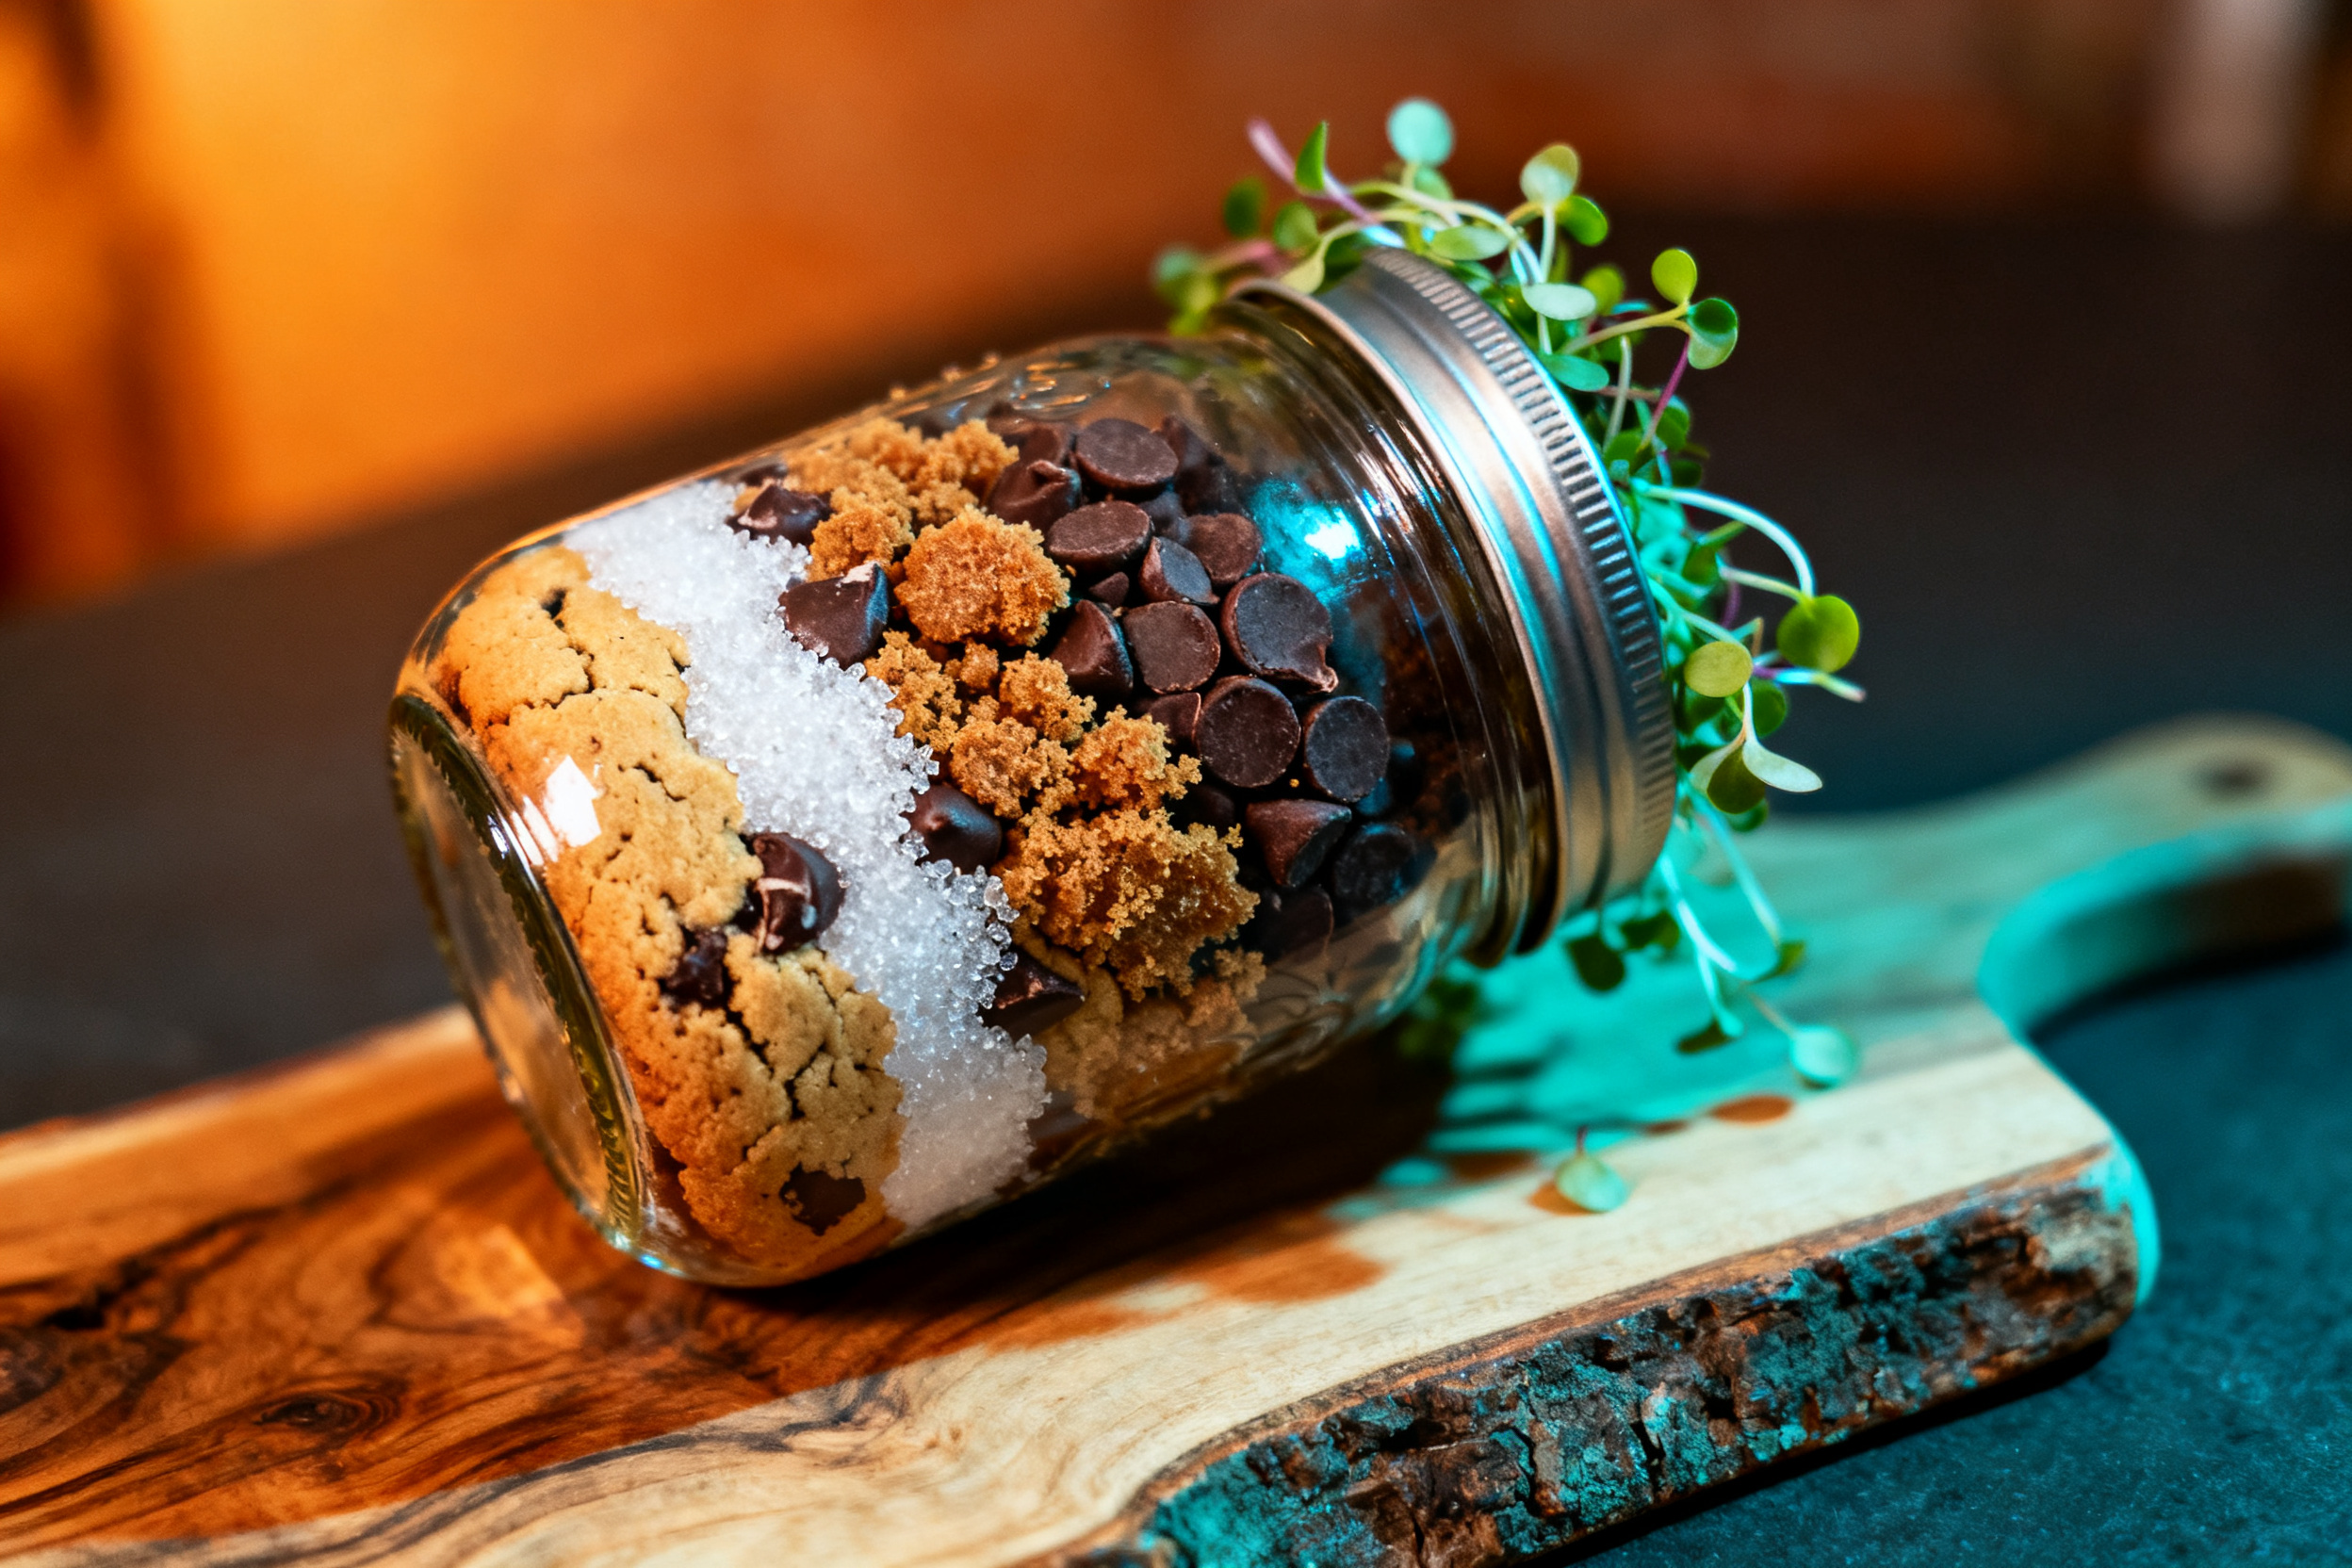
Now you have everything you need to create the perfect gift or treat. I’d love to see your jars – comment below with your favorite mix-in combinations.
If you found this post helpful, share it with a friend who loves baking and gifting. And don’t forget to subscribe for more easy, fun recipes.
Happy layering, and may your cookie jar always be full.
This mason jar cookie mix recipe is the kind of thing that makes you look like a pro without any effort. The layers are gorgeous, the cookies are delicious, and the whole process is practically foolproof. Whether you’re gifting it or keeping it for yourself, you’ll end up with warm, chewy cookies that taste like love.
So grab a jar, some flour, and a few chocolate chips. You’re about to become the most popular baker in your circle.
Don’t be shy – leave a comment with your best cookie hack. I’m always looking for new ideas.
Mason Jar Cookie Mix Recipe
Ingredients
- 1 1/2 cups all-purpose flour
- 1/2 teaspoon baking soda
- 1/2 teaspoon salt
- 1/2 cup granulated sugar
- 1/2 cup packed brown sugar
- 1 cup semi-sweet chocolate chips
- 1/2 cup softened butter for baking
- 1 large egg for baking
- 1 teaspoon vanilla extract for baking
Instructions
- In a 1-quart mason jar, layer the dry ingredients in this order: flour, baking soda, salt, granulated sugar, brown sugar, and chocolate chips. Press each layer down lightly with the back of a spoon.
- Seal the jar with a lid. Attach a tag with the following baking instructions: Preheat oven to 350°F. Empty the jar contents into a large bowl. Add 1/2 cup softened butter, 1 large egg, and 1 teaspoon vanilla extract. Mix until combined. Drop rounded tablespoons of dough onto a parchment-lined baking sheet. Bake for 10-12 minutes or until golden brown. Cool on the sheet for 5 minutes, then transfer to a wire rack.
- To bake, follow the instructions on the tag. Enjoy warm.
Notes
2. For a gluten-free version, use a 1:1 gluten-free flour blend.
3. To make vegan, use dairy-free chocolate chips and include a note to use a flax egg and vegan butter.
4. If the brown sugar feels hard, break it up with a fork before layering.