
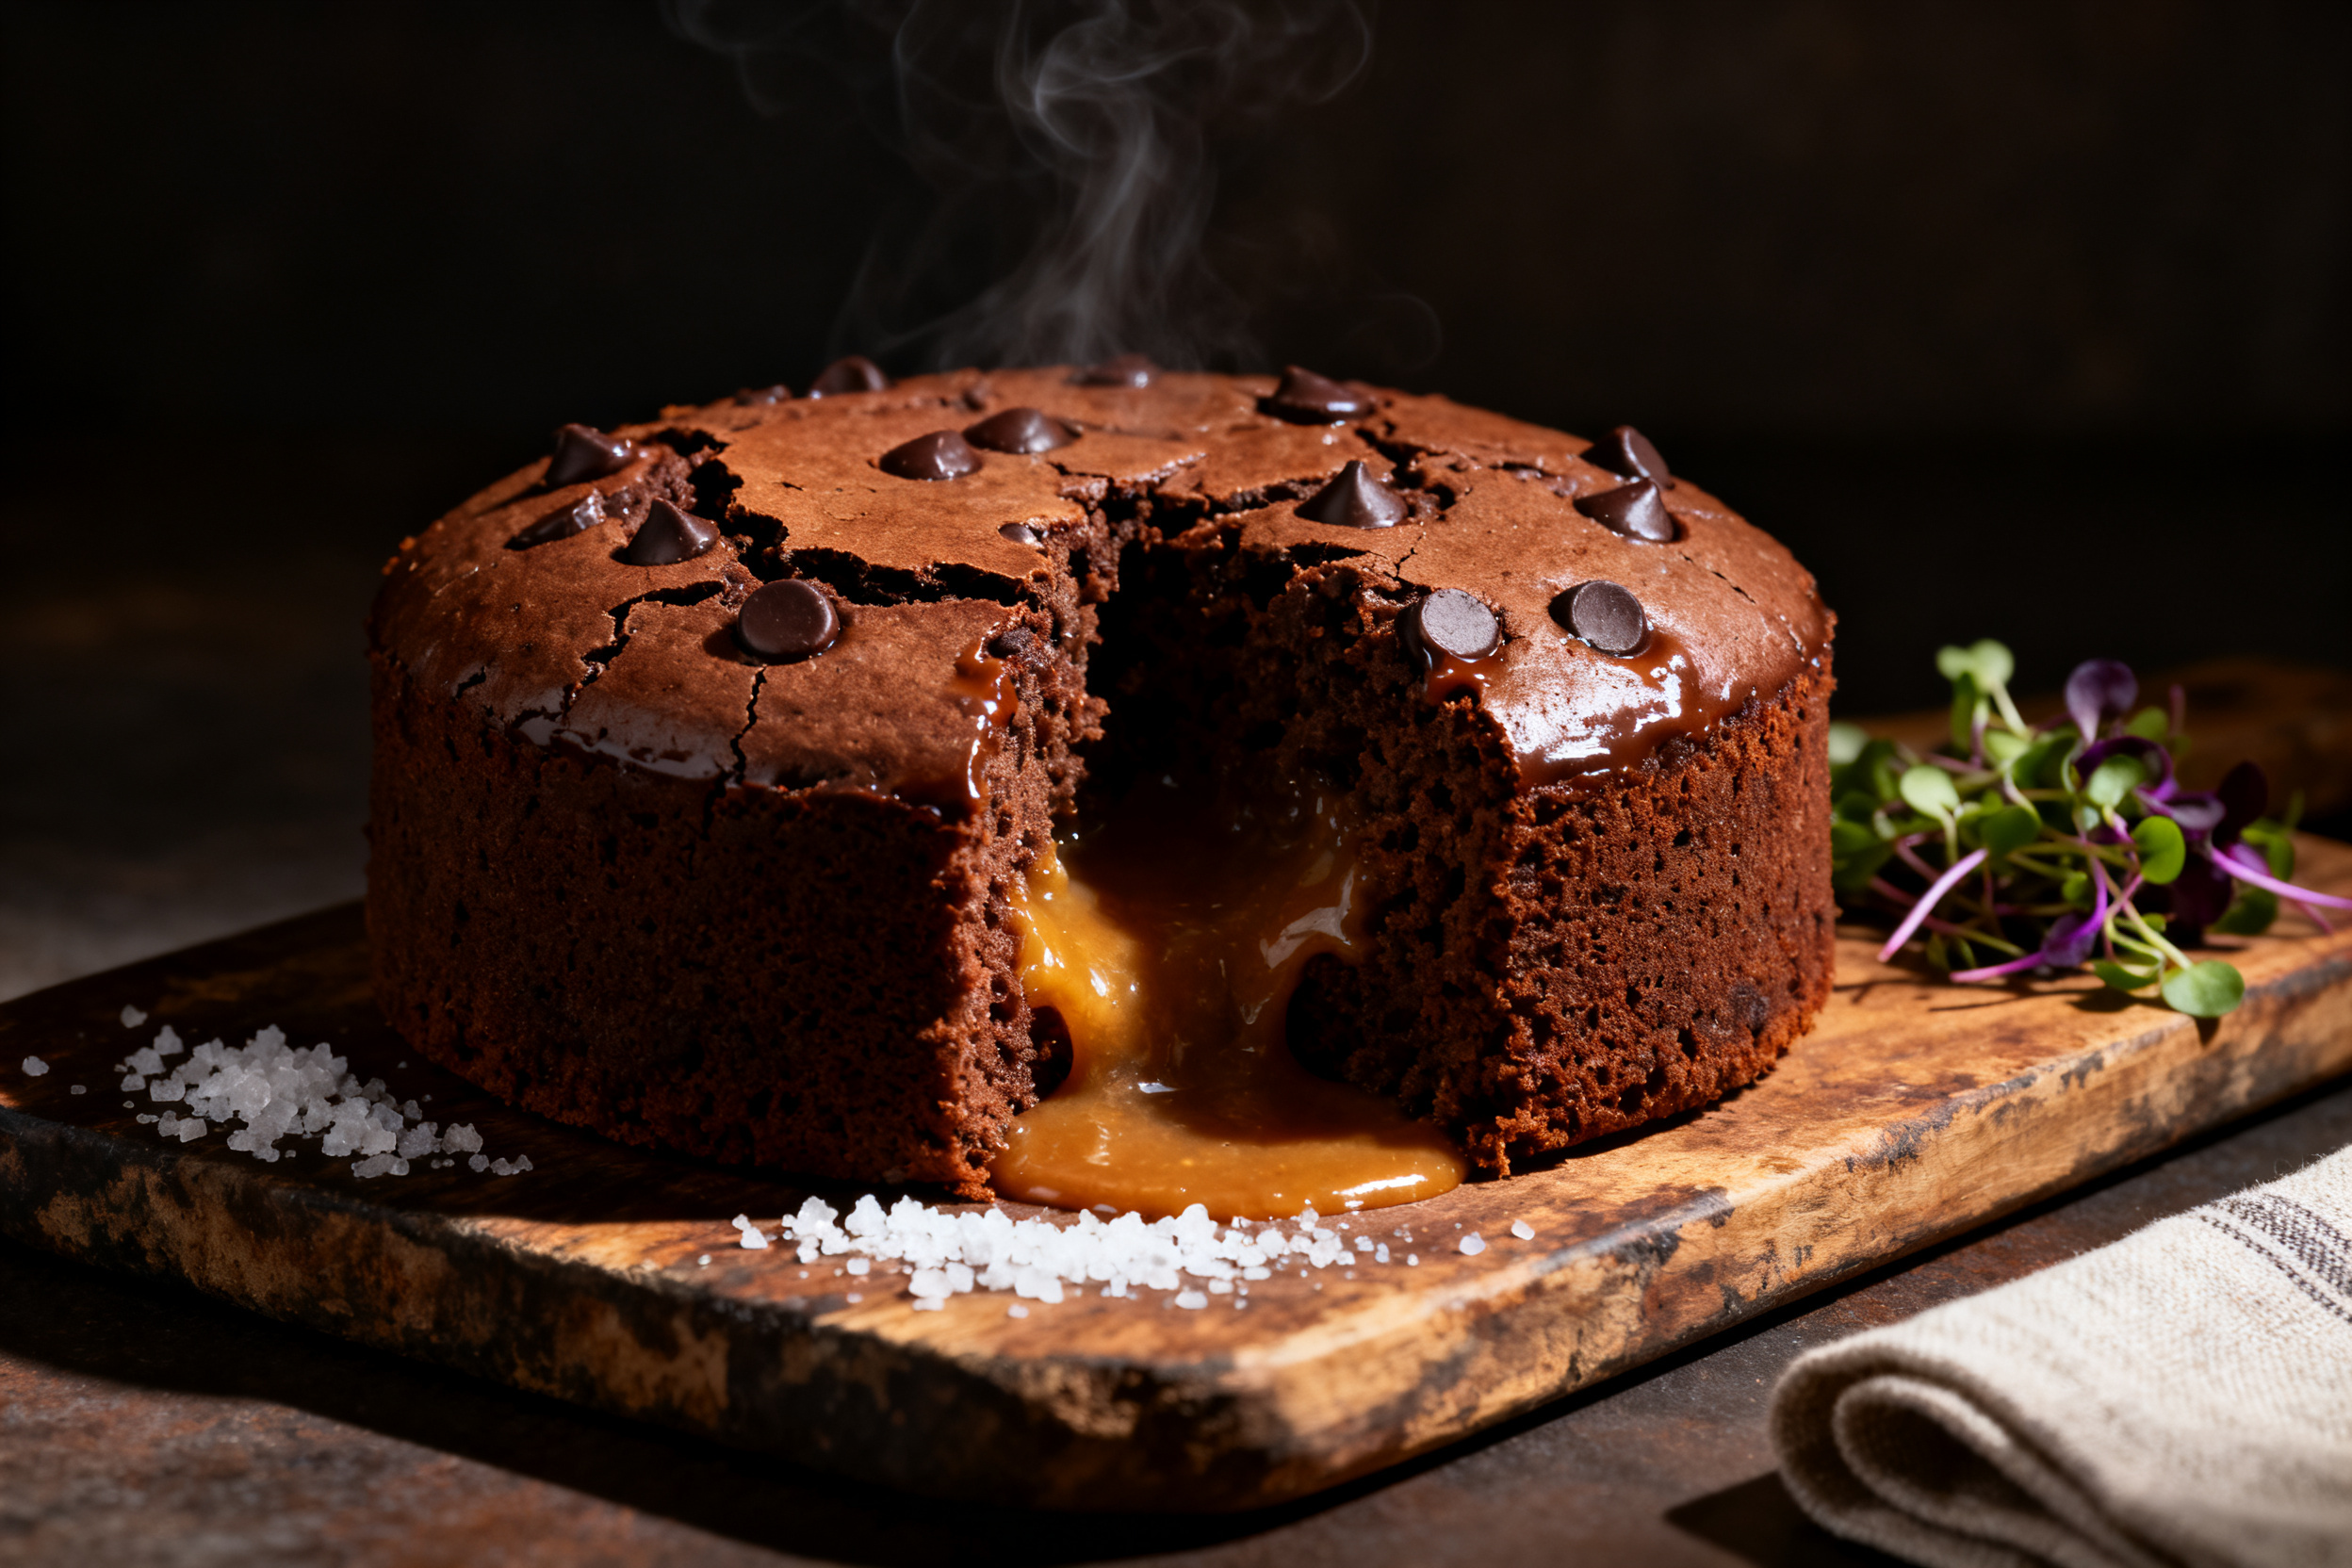

Let me guess. You bought a box of brownie mix, made it exactly like the back said, and got something dry, crumbly, or just meh. I have been there. It is a kitchen tragedy that happens way too often. That is exactly why I started playing with chocolate cake mix recipes that turn out fudgier, richer, and way more satisfying than any boxed brownie ever could. Trust me, once you try this, you will never look at a brownie box the same way again.
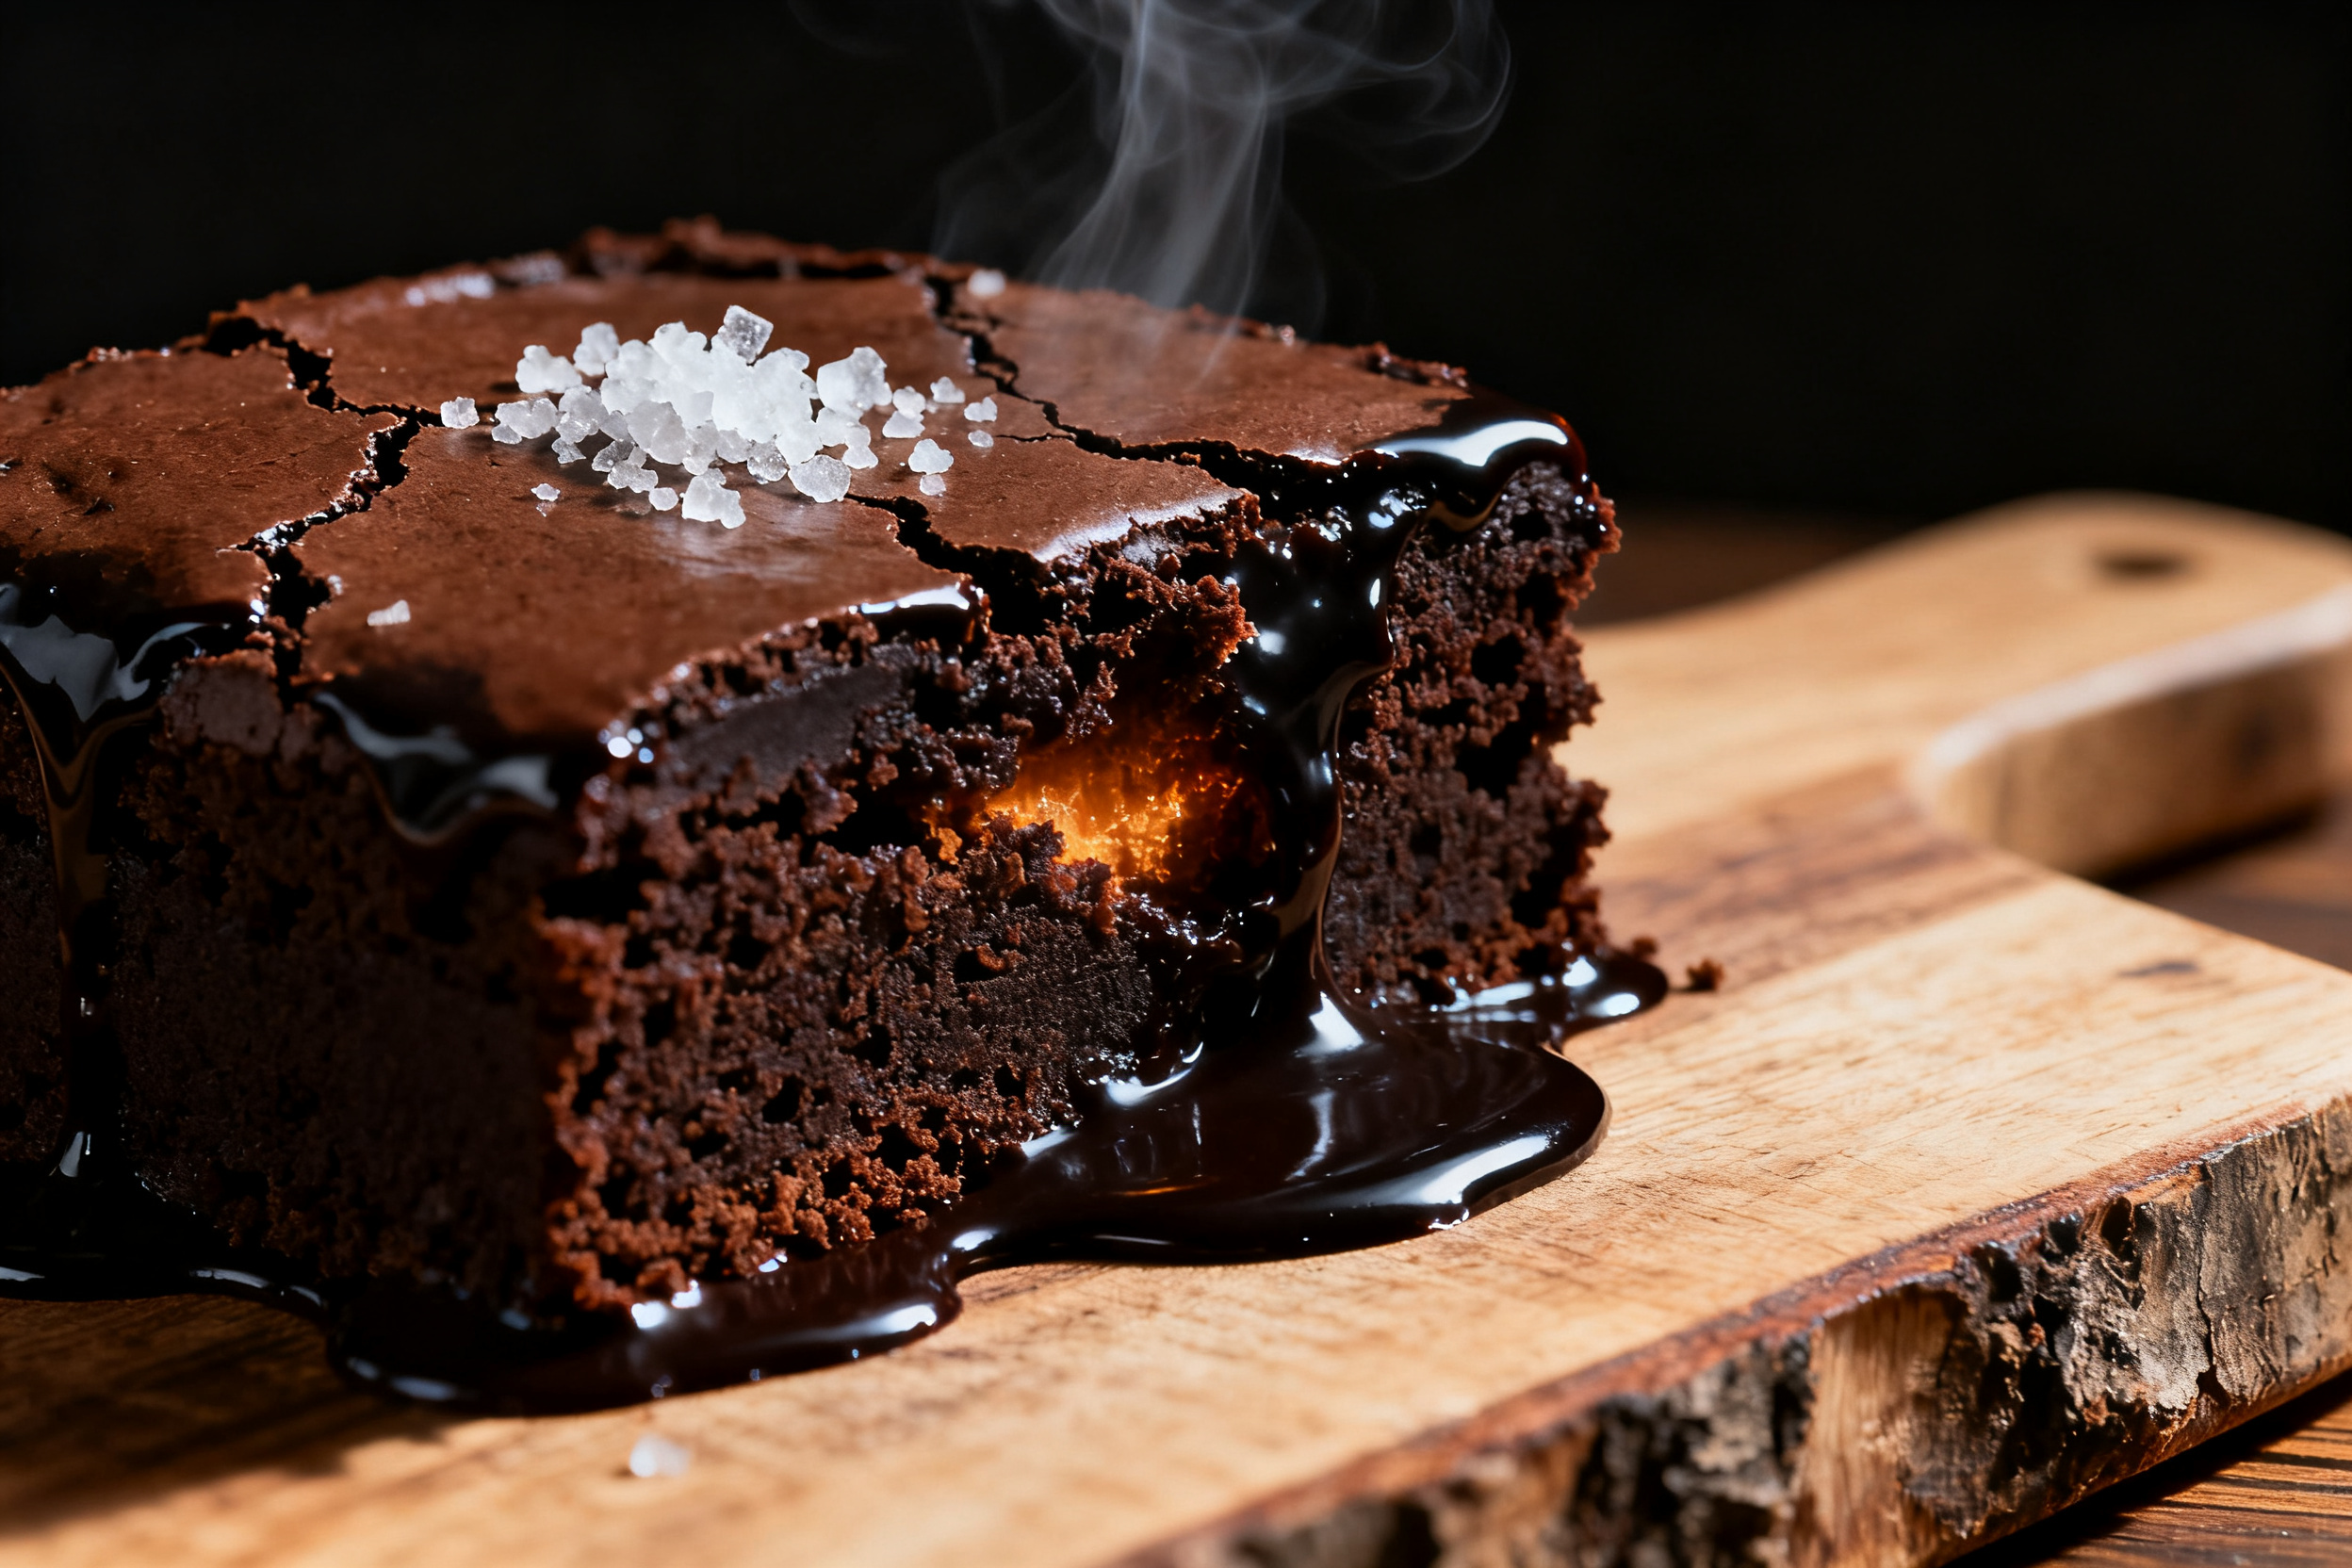
This isn’t just another cake mix hack. This is the one that makes people ask for the recipe at parties. It uses a simple chocolate cake mix, but we swap the boring instructions for a few smart tweaks. The result? A dense, chewy, crackly-topped brownie that tastes like it came from a fancy bakery. Ready to ditch the box drama?
1. Allergens
This recipe uses a standard chocolate cake mix, which usually contains wheat flour, soy lecithin, and sometimes milk ingredients. Always check your specific box label for hidden allergens.
For a dairy-free version, use a vegan cake mix and replace the butter with a plant-based alternative like coconut oil or vegan butter. The eggs can stay, or you can use a flax egg for a fully vegan option.
If you need a gluten-free brownie, pick a certified gluten-free chocolate cake mix. Just note that gluten-free mixes often need a little extra liquid, so add a tablespoon of milk or water if the batter feels too thick.
2. Ingredient notes & substitutions
You will need one standard box of chocolate cake mix (about 15.25 ounces). Do not use a “super moist” or “extra fudge” variety unless you want a cakier texture — stick with classic devil’s food or dark chocolate.
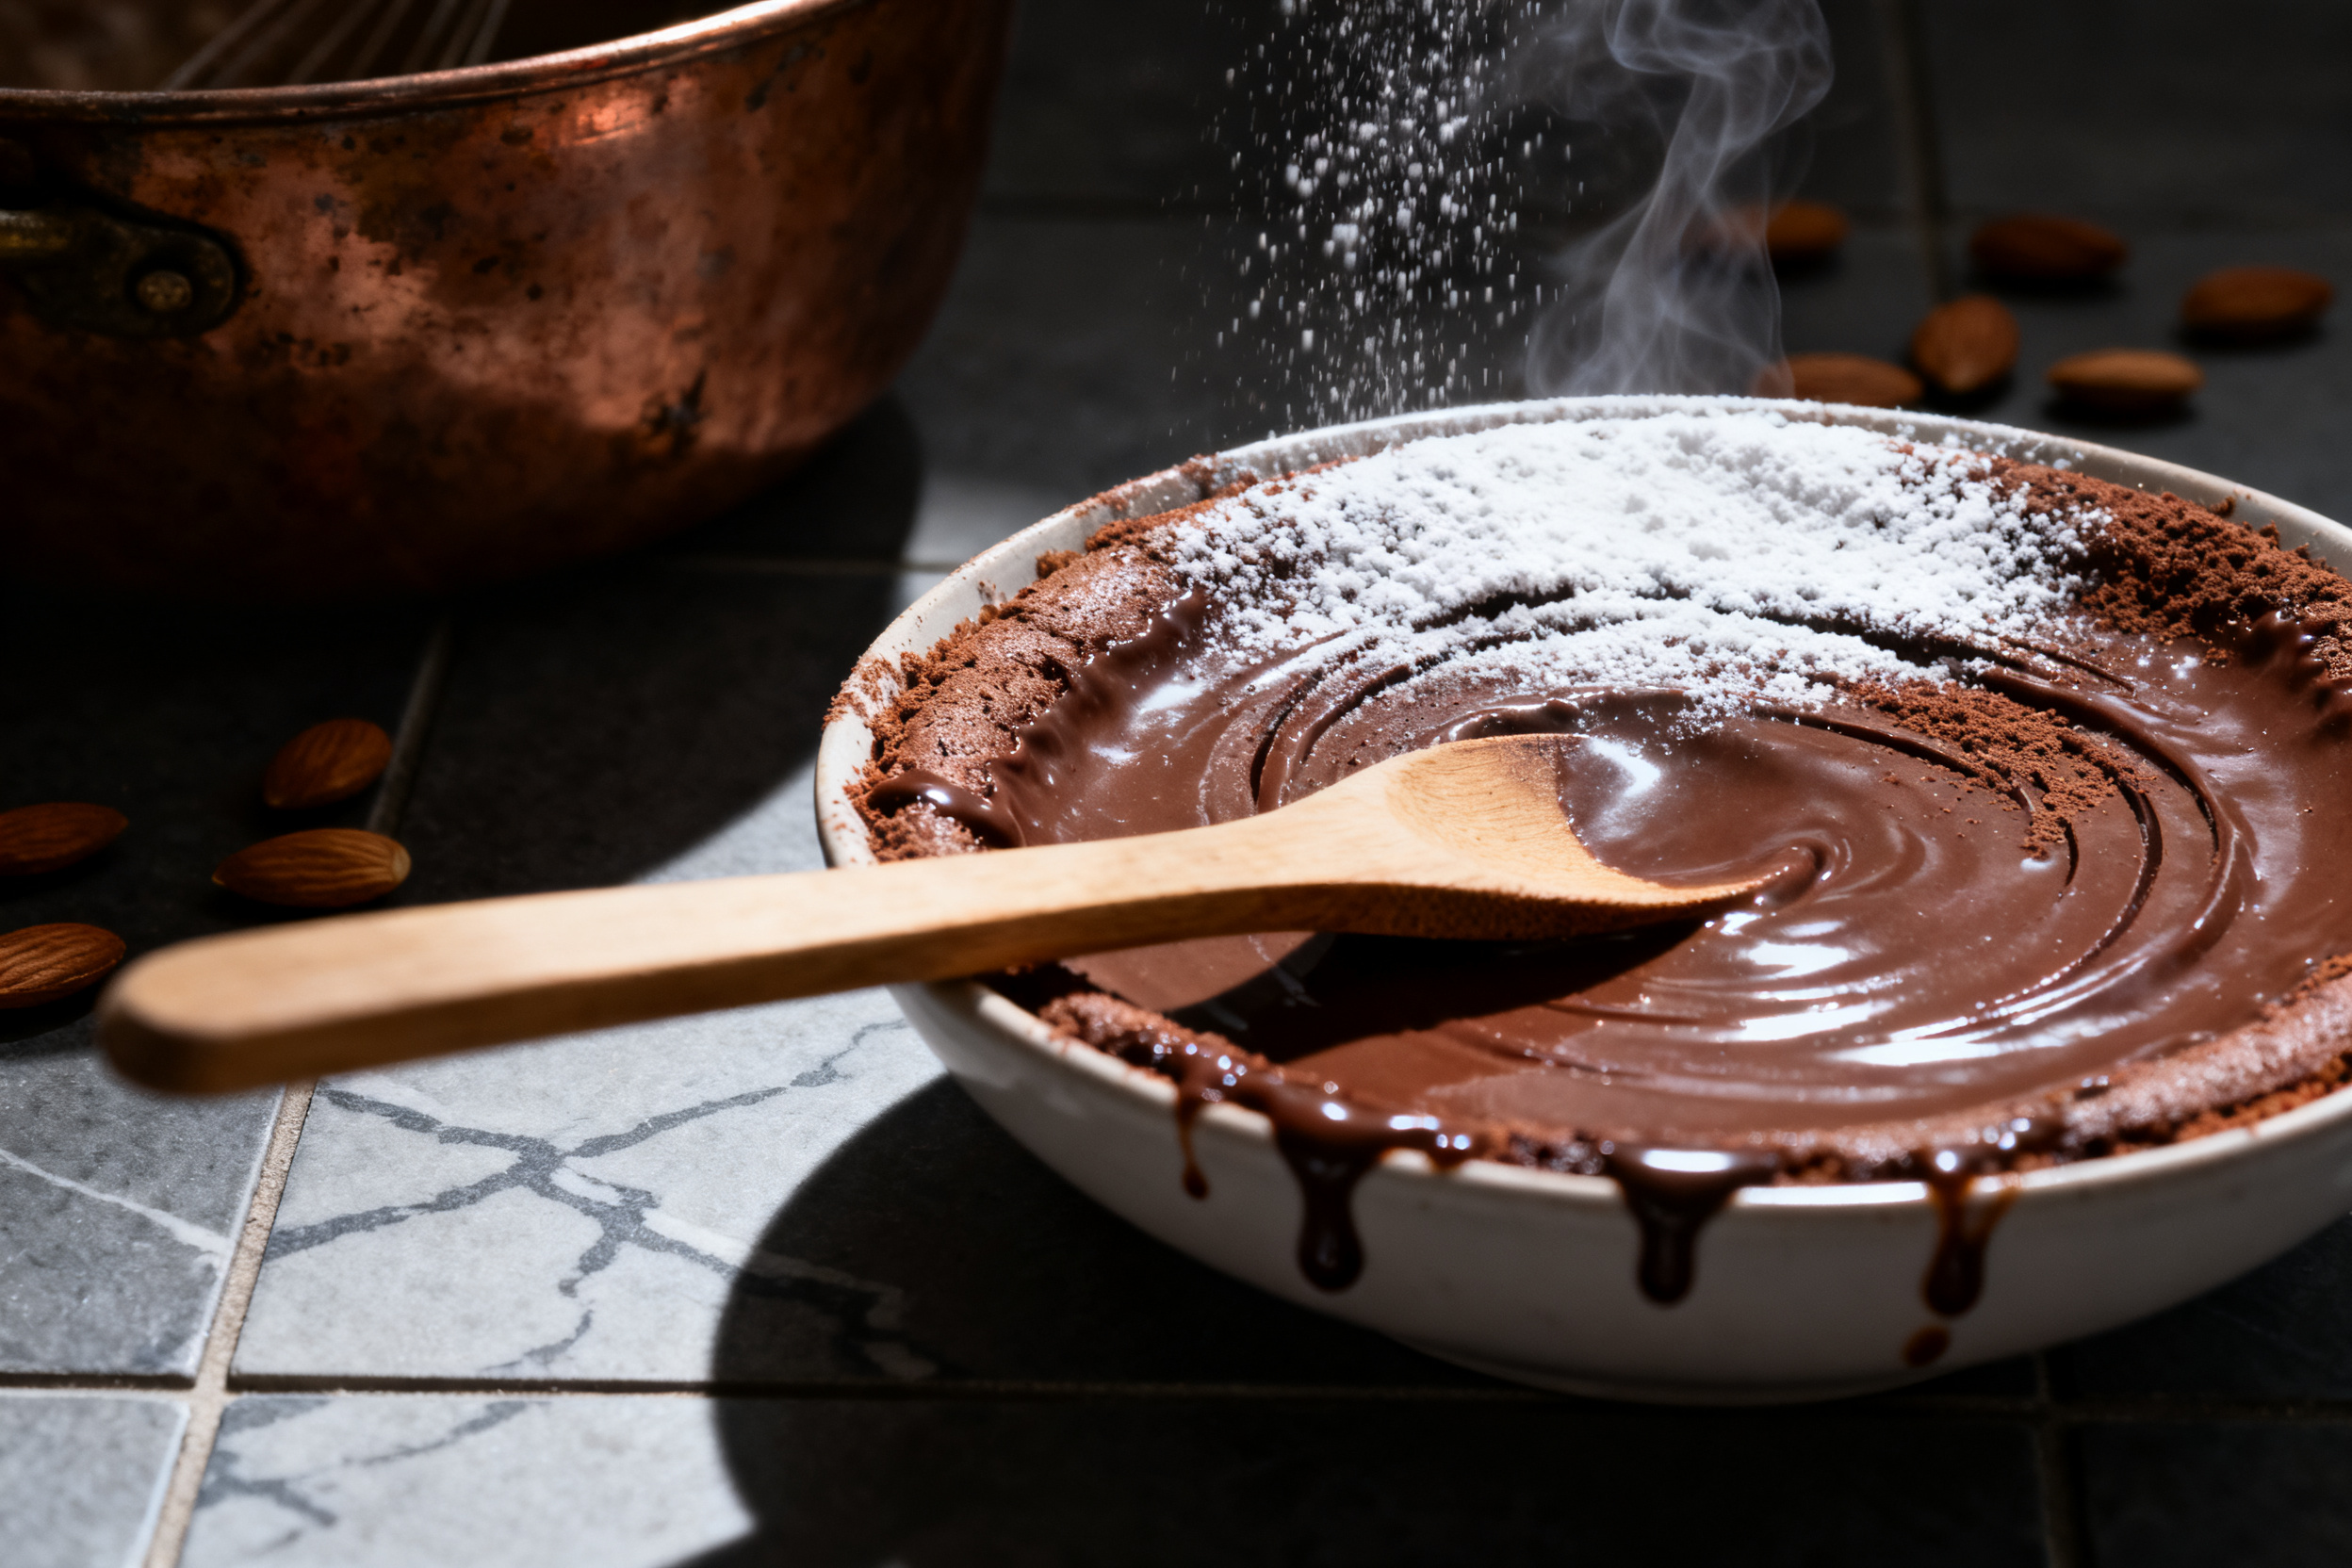
Instead of the oil called for on the box, use melted butter. This is the secret weapon for that rich, chewy texture. Swap water for whole milk or buttermilk for extra moisture and a slight tang.
Add one extra egg yolk. This boosts the fat content and gives you that dense, fudgy center. For a deeper flavor, throw in a teaspoon of vanilla extract and a pinch of flaky sea salt.
3. Pro tips
Do not overmix the batter. Stir just until the dry ingredients disappear, or you will activate the gluten and get tough brownies.
Line your baking pan with parchment paper, leaving an overhang on two sides. This makes lifting the whole slab out super easy — no broken edges, no stuck corners.
Let the brownies cool completely in the pan before slicing. I know it is hard, but warm brownies crumble. Use a sharp knife and wipe it clean between cuts for perfect squares.
4. Storage & make-ahead
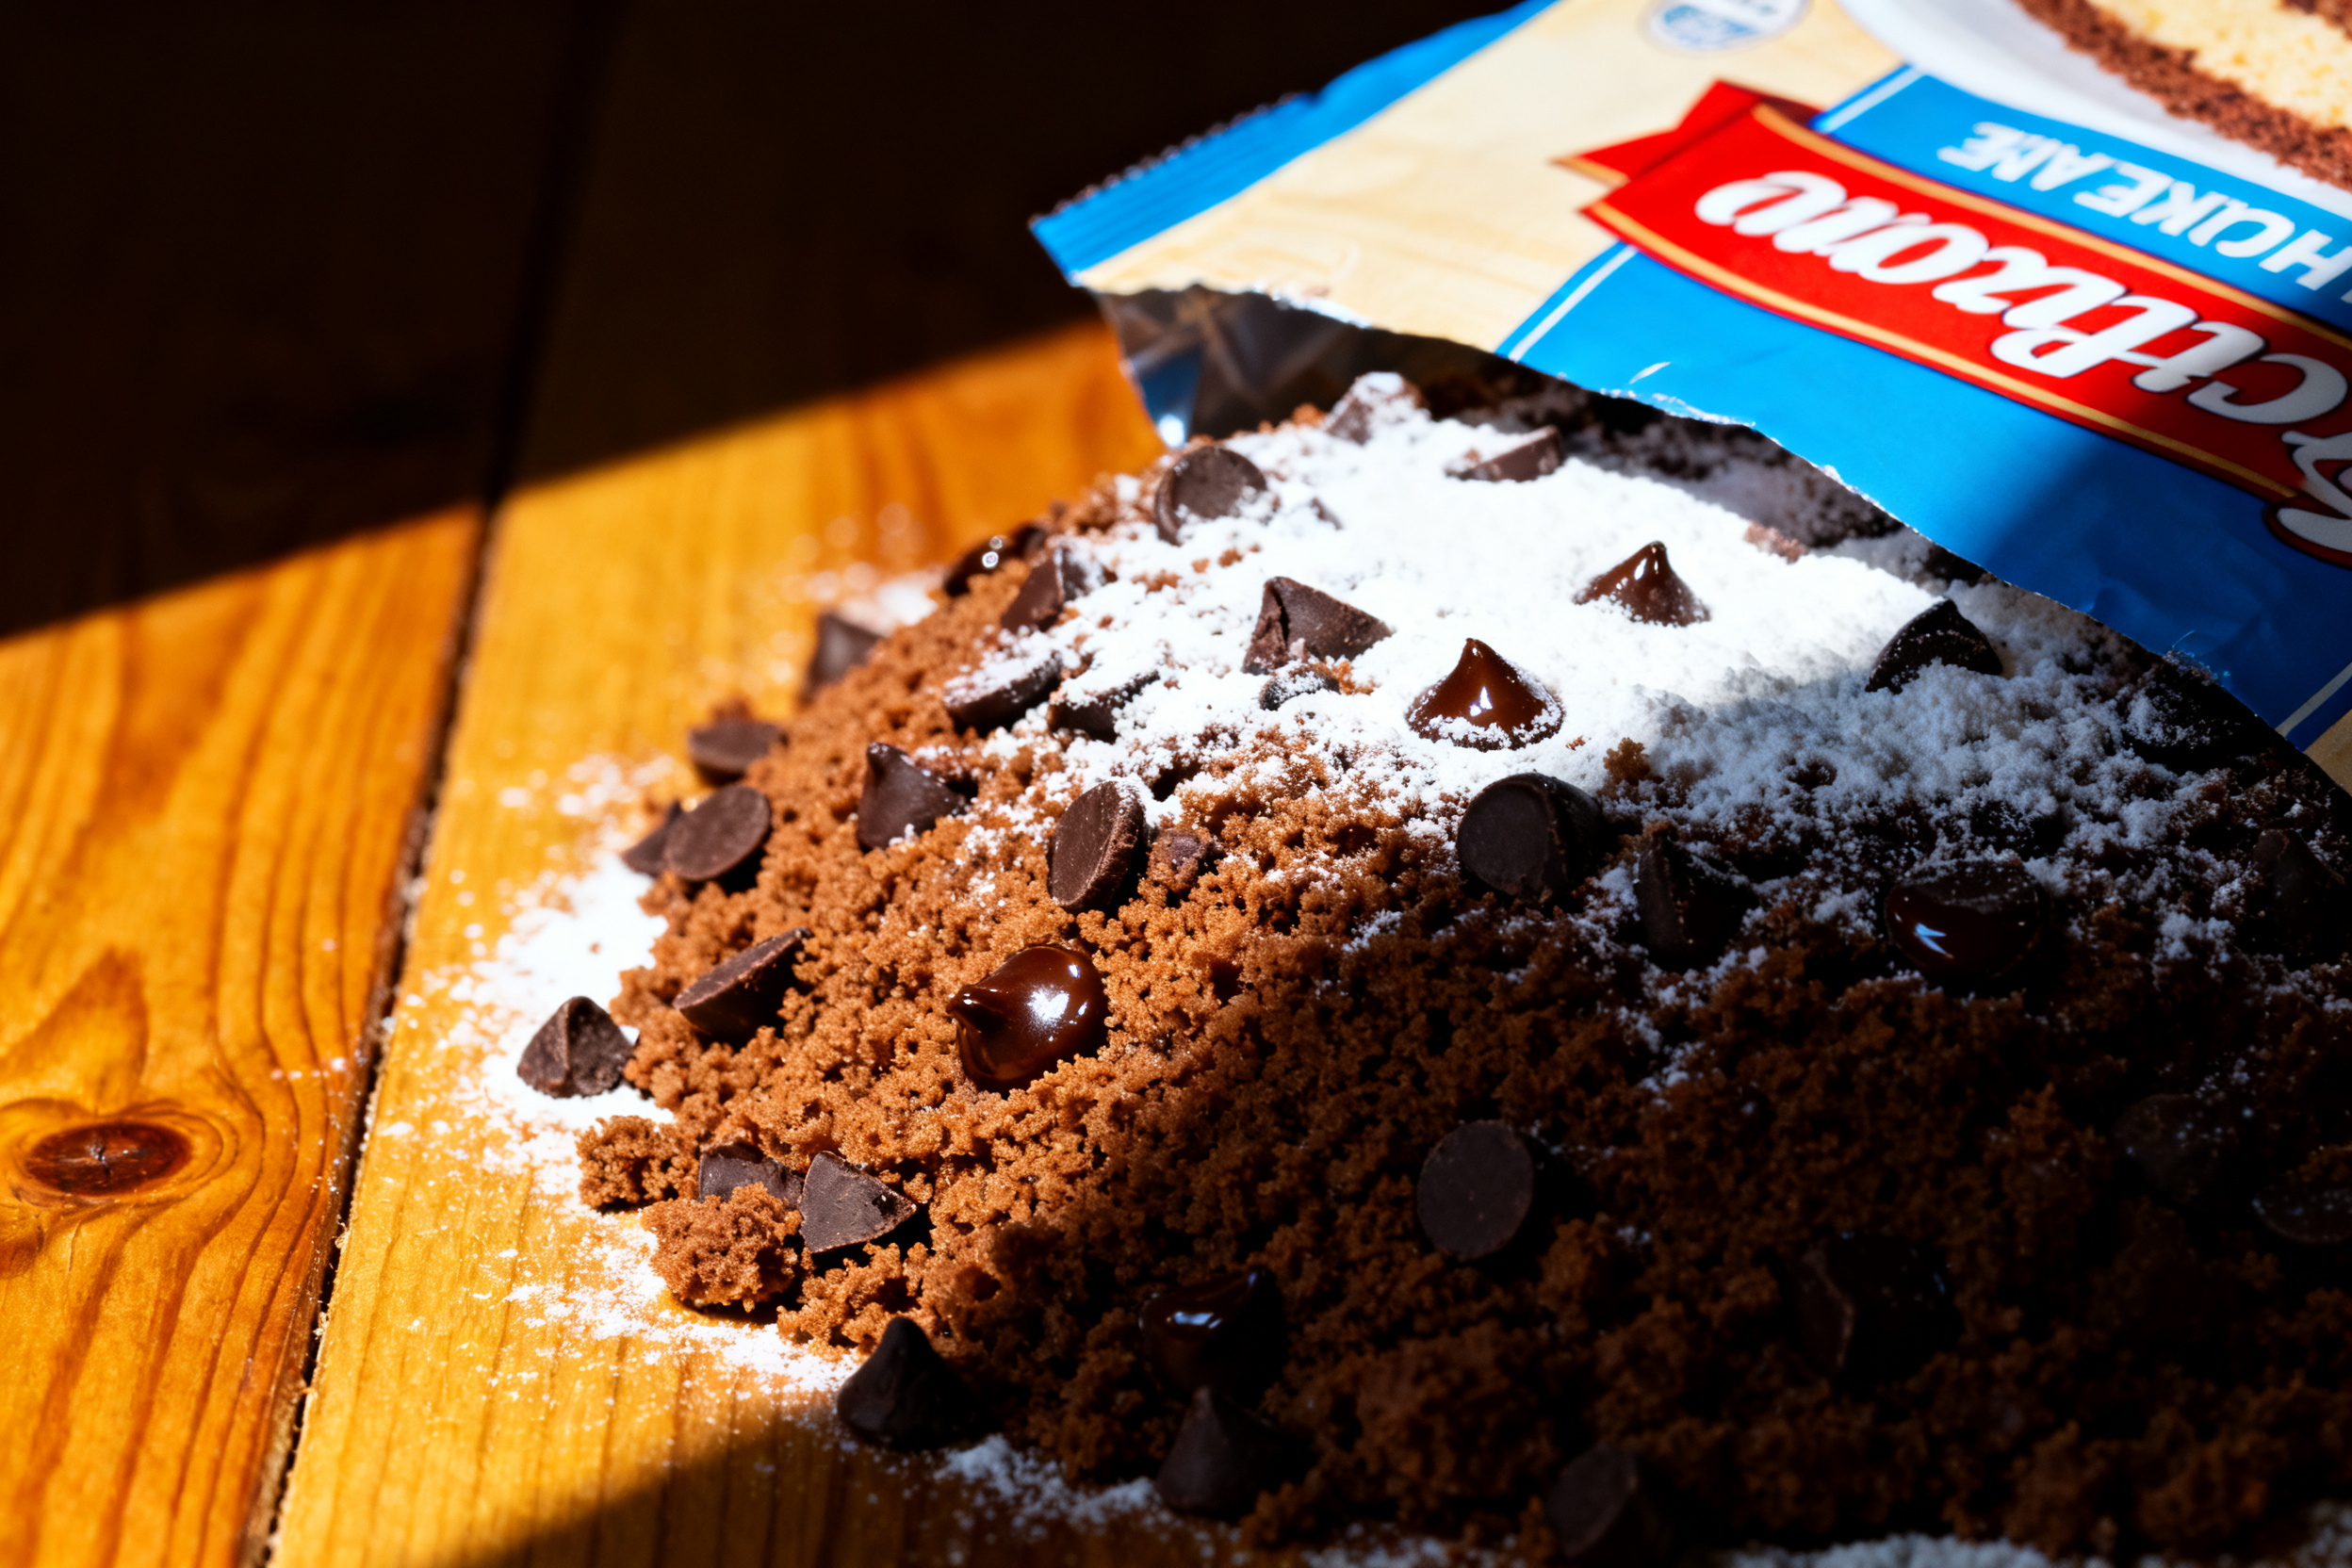
Store these brownies in an airtight container at room temperature for up to 4 days. They actually get more fudgy on day two.
You can freeze the baked and cooled brownies for up to 3 months. Wrap each square individually in plastic wrap, then pop them in a freezer bag. Thaw at room temp for about 30 minutes.
To make ahead, prep the batter and refrigerate it in the pan (covered) for up to 24 hours before baking. Add an extra 5 minutes to the bake time if the batter is cold.
5. Serving suggestions
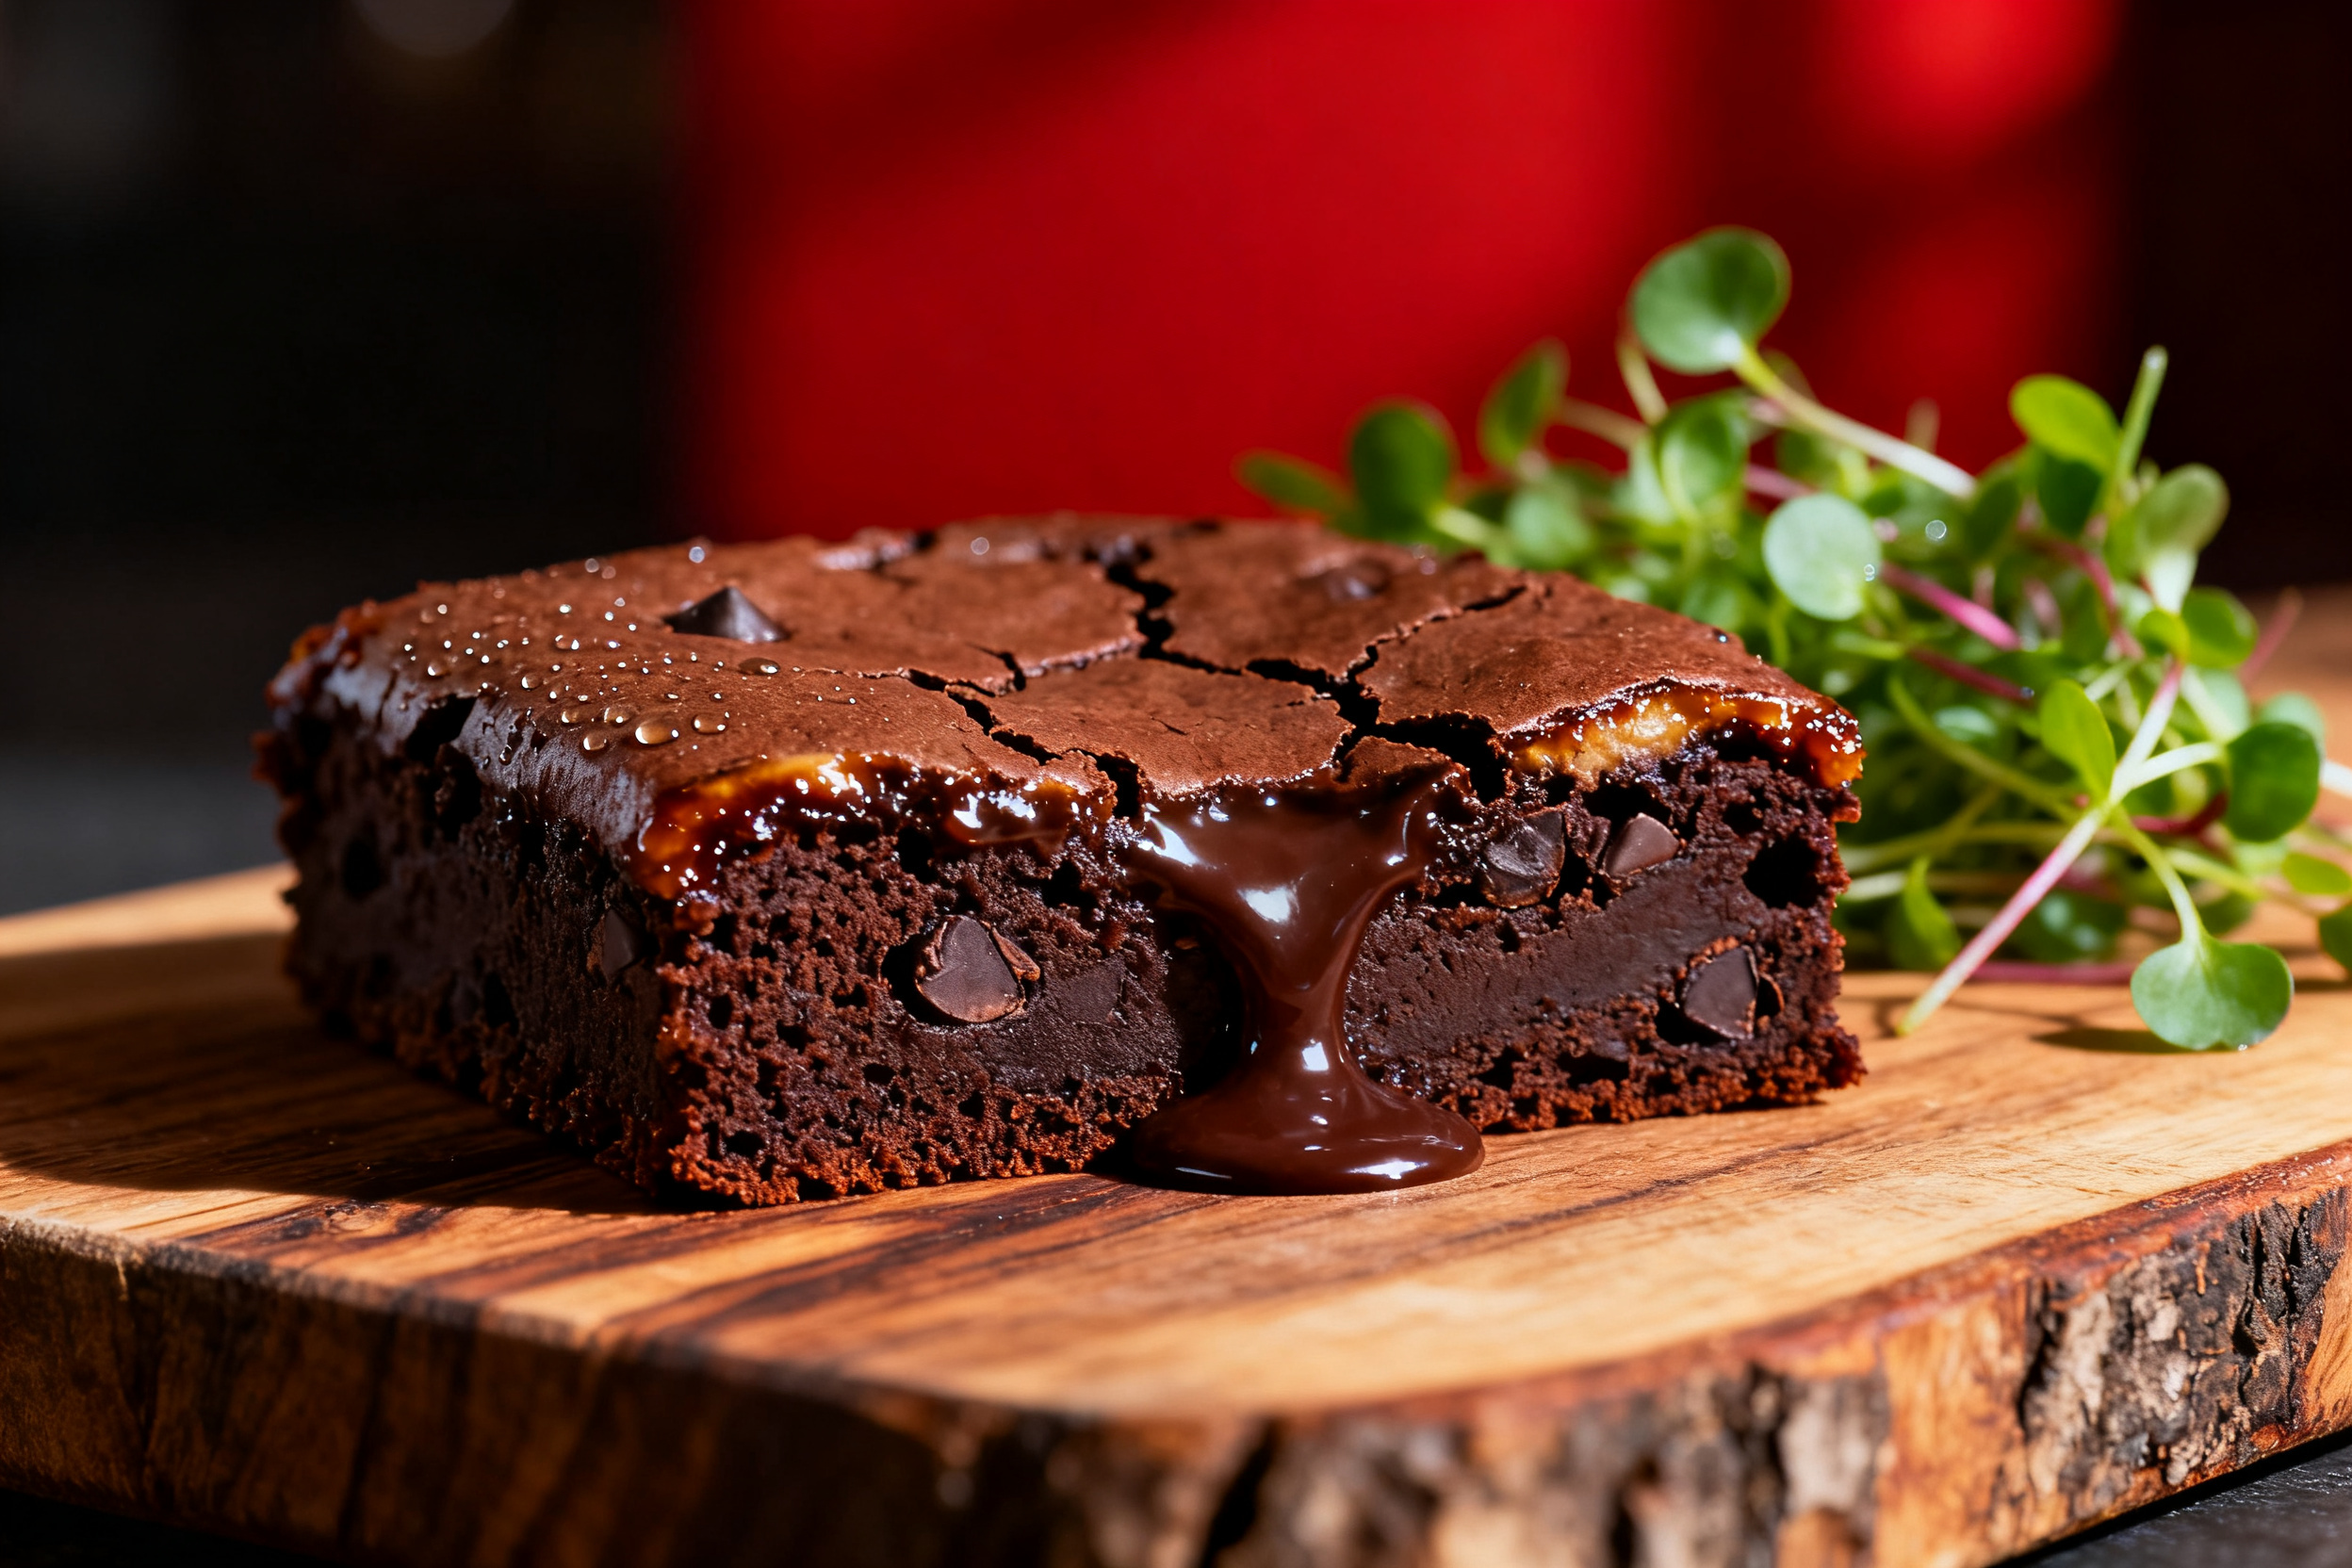
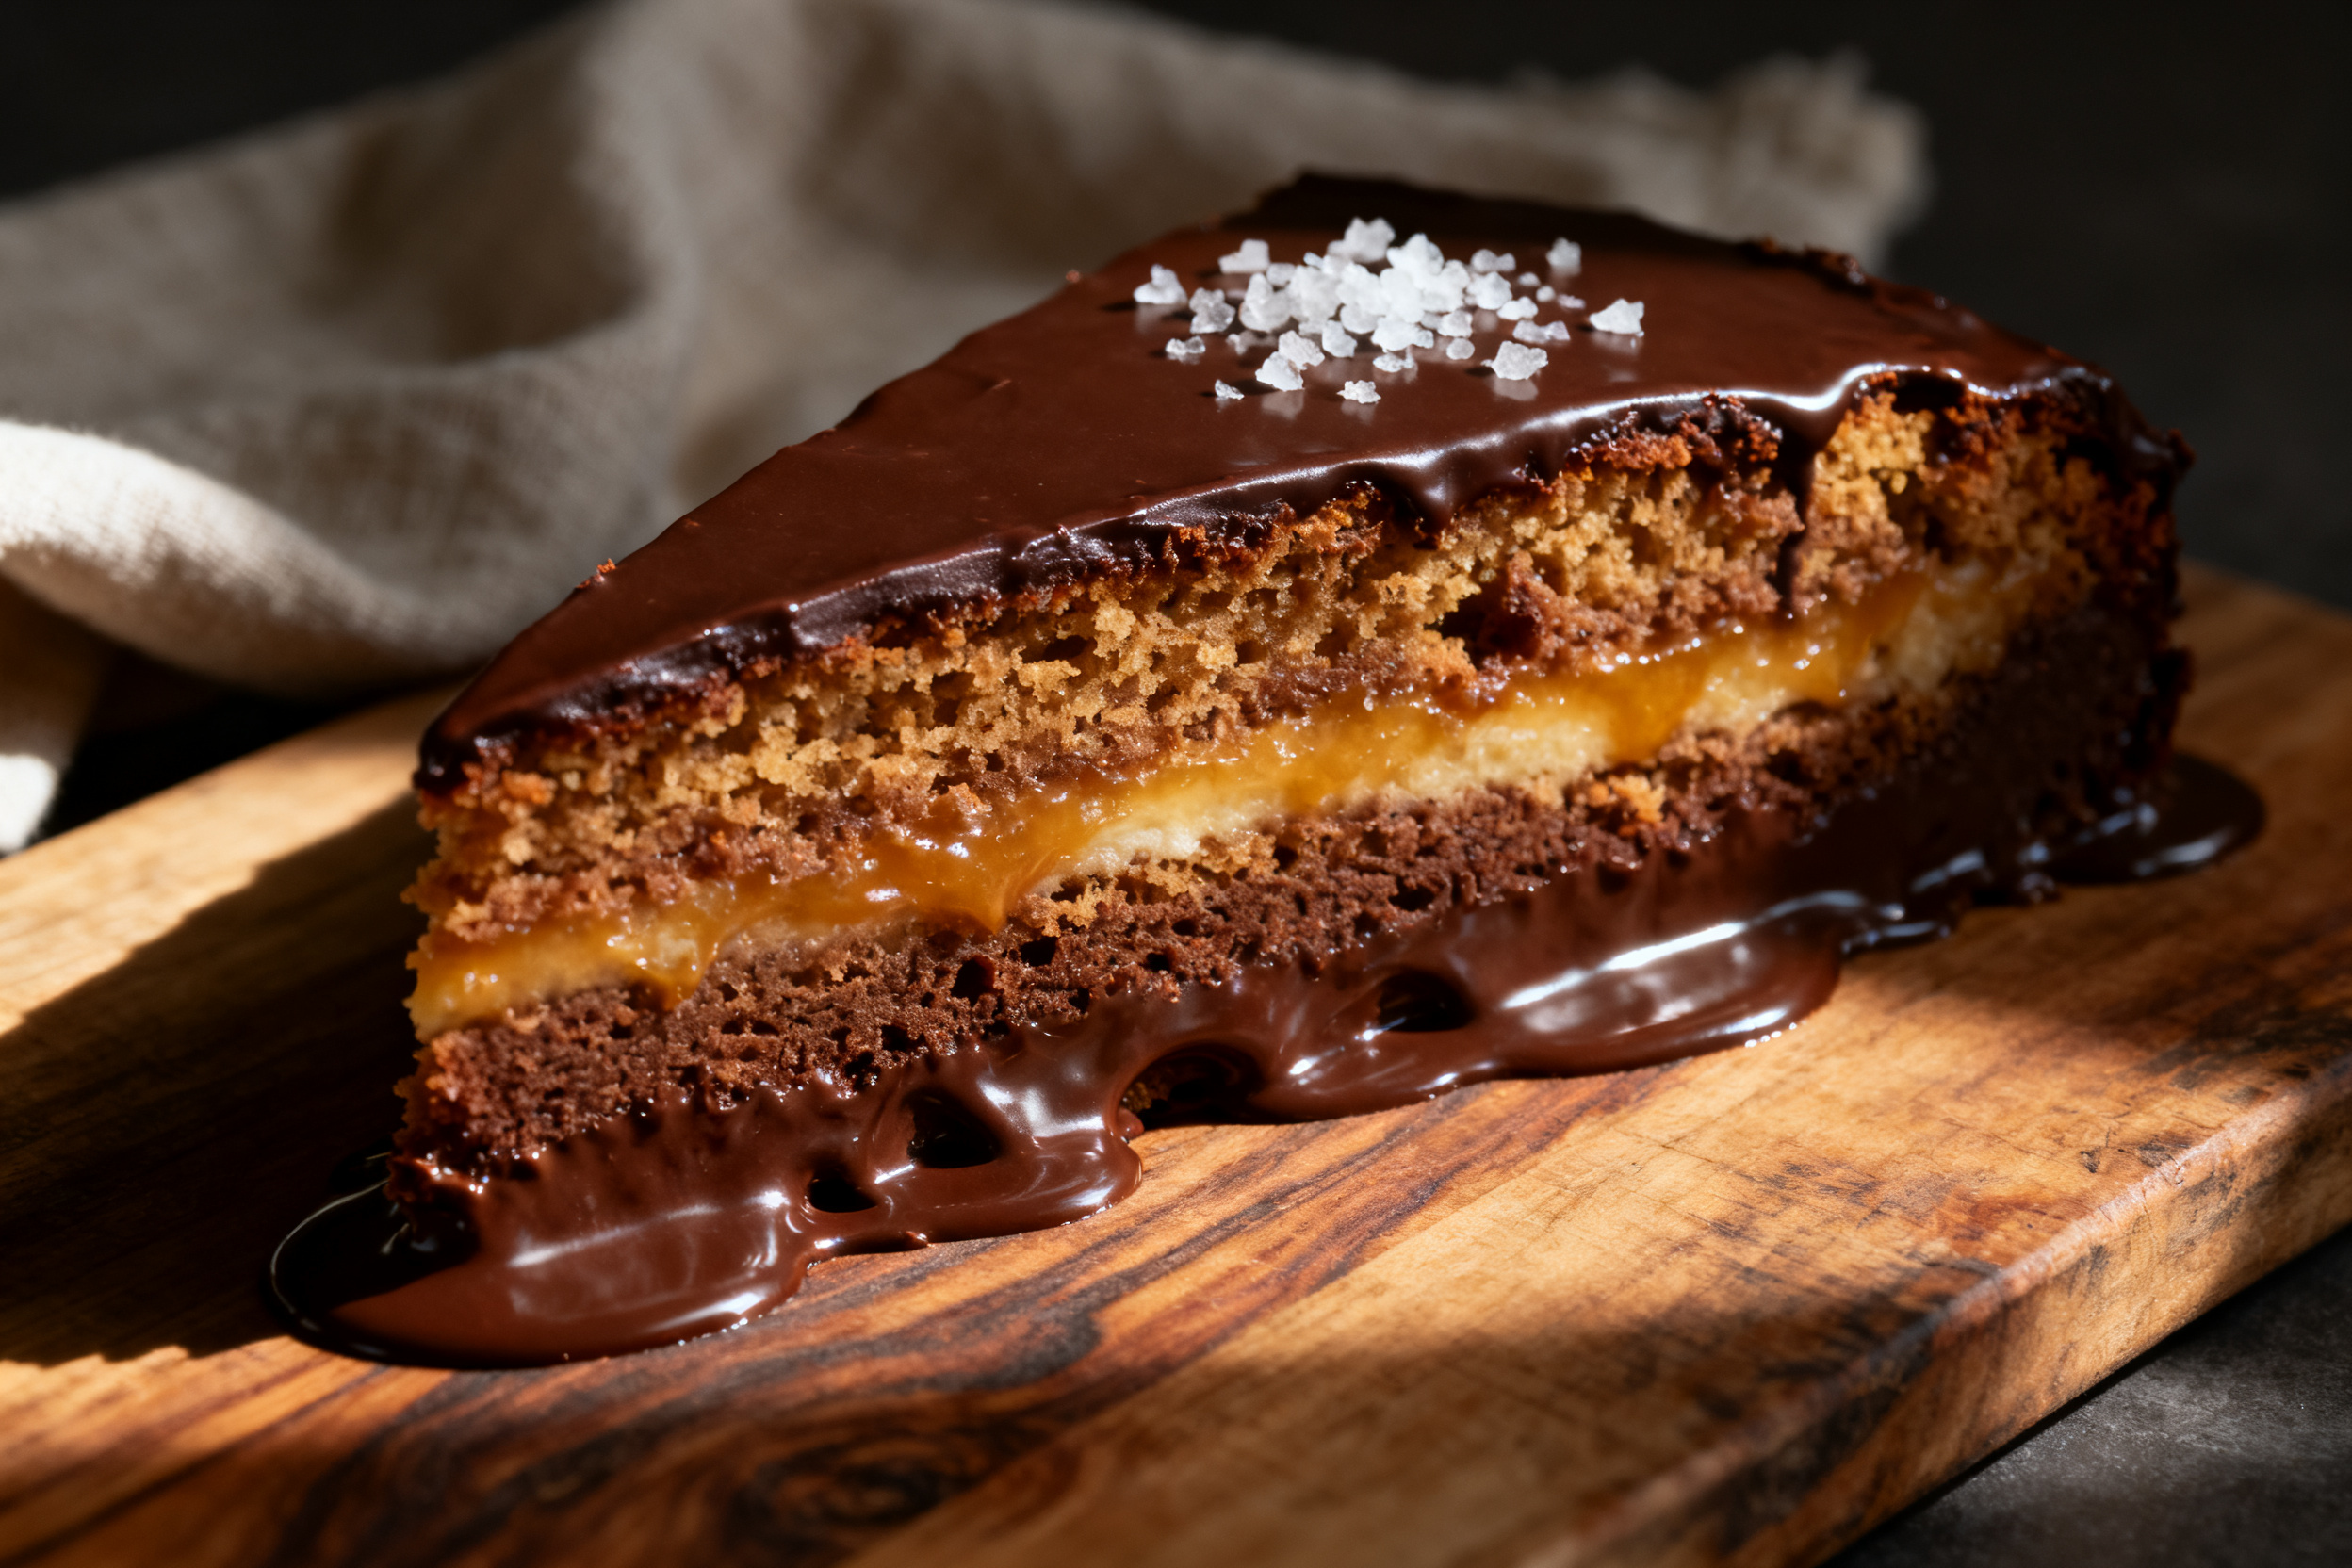
These brownies are amazing on their own, but a scoop of vanilla ice cream and a drizzle of warm chocolate sauce takes them over the top.
For a dessert board, cut them into small bites and serve alongside fresh berries, salted caramel, and a dusting of powdered sugar. Great for parties or movie nights.
Pair with a cold glass of milk or a strong cup of coffee. The bitterness of coffee really balances the sweetness of the brownie.
6. Use your leftovers
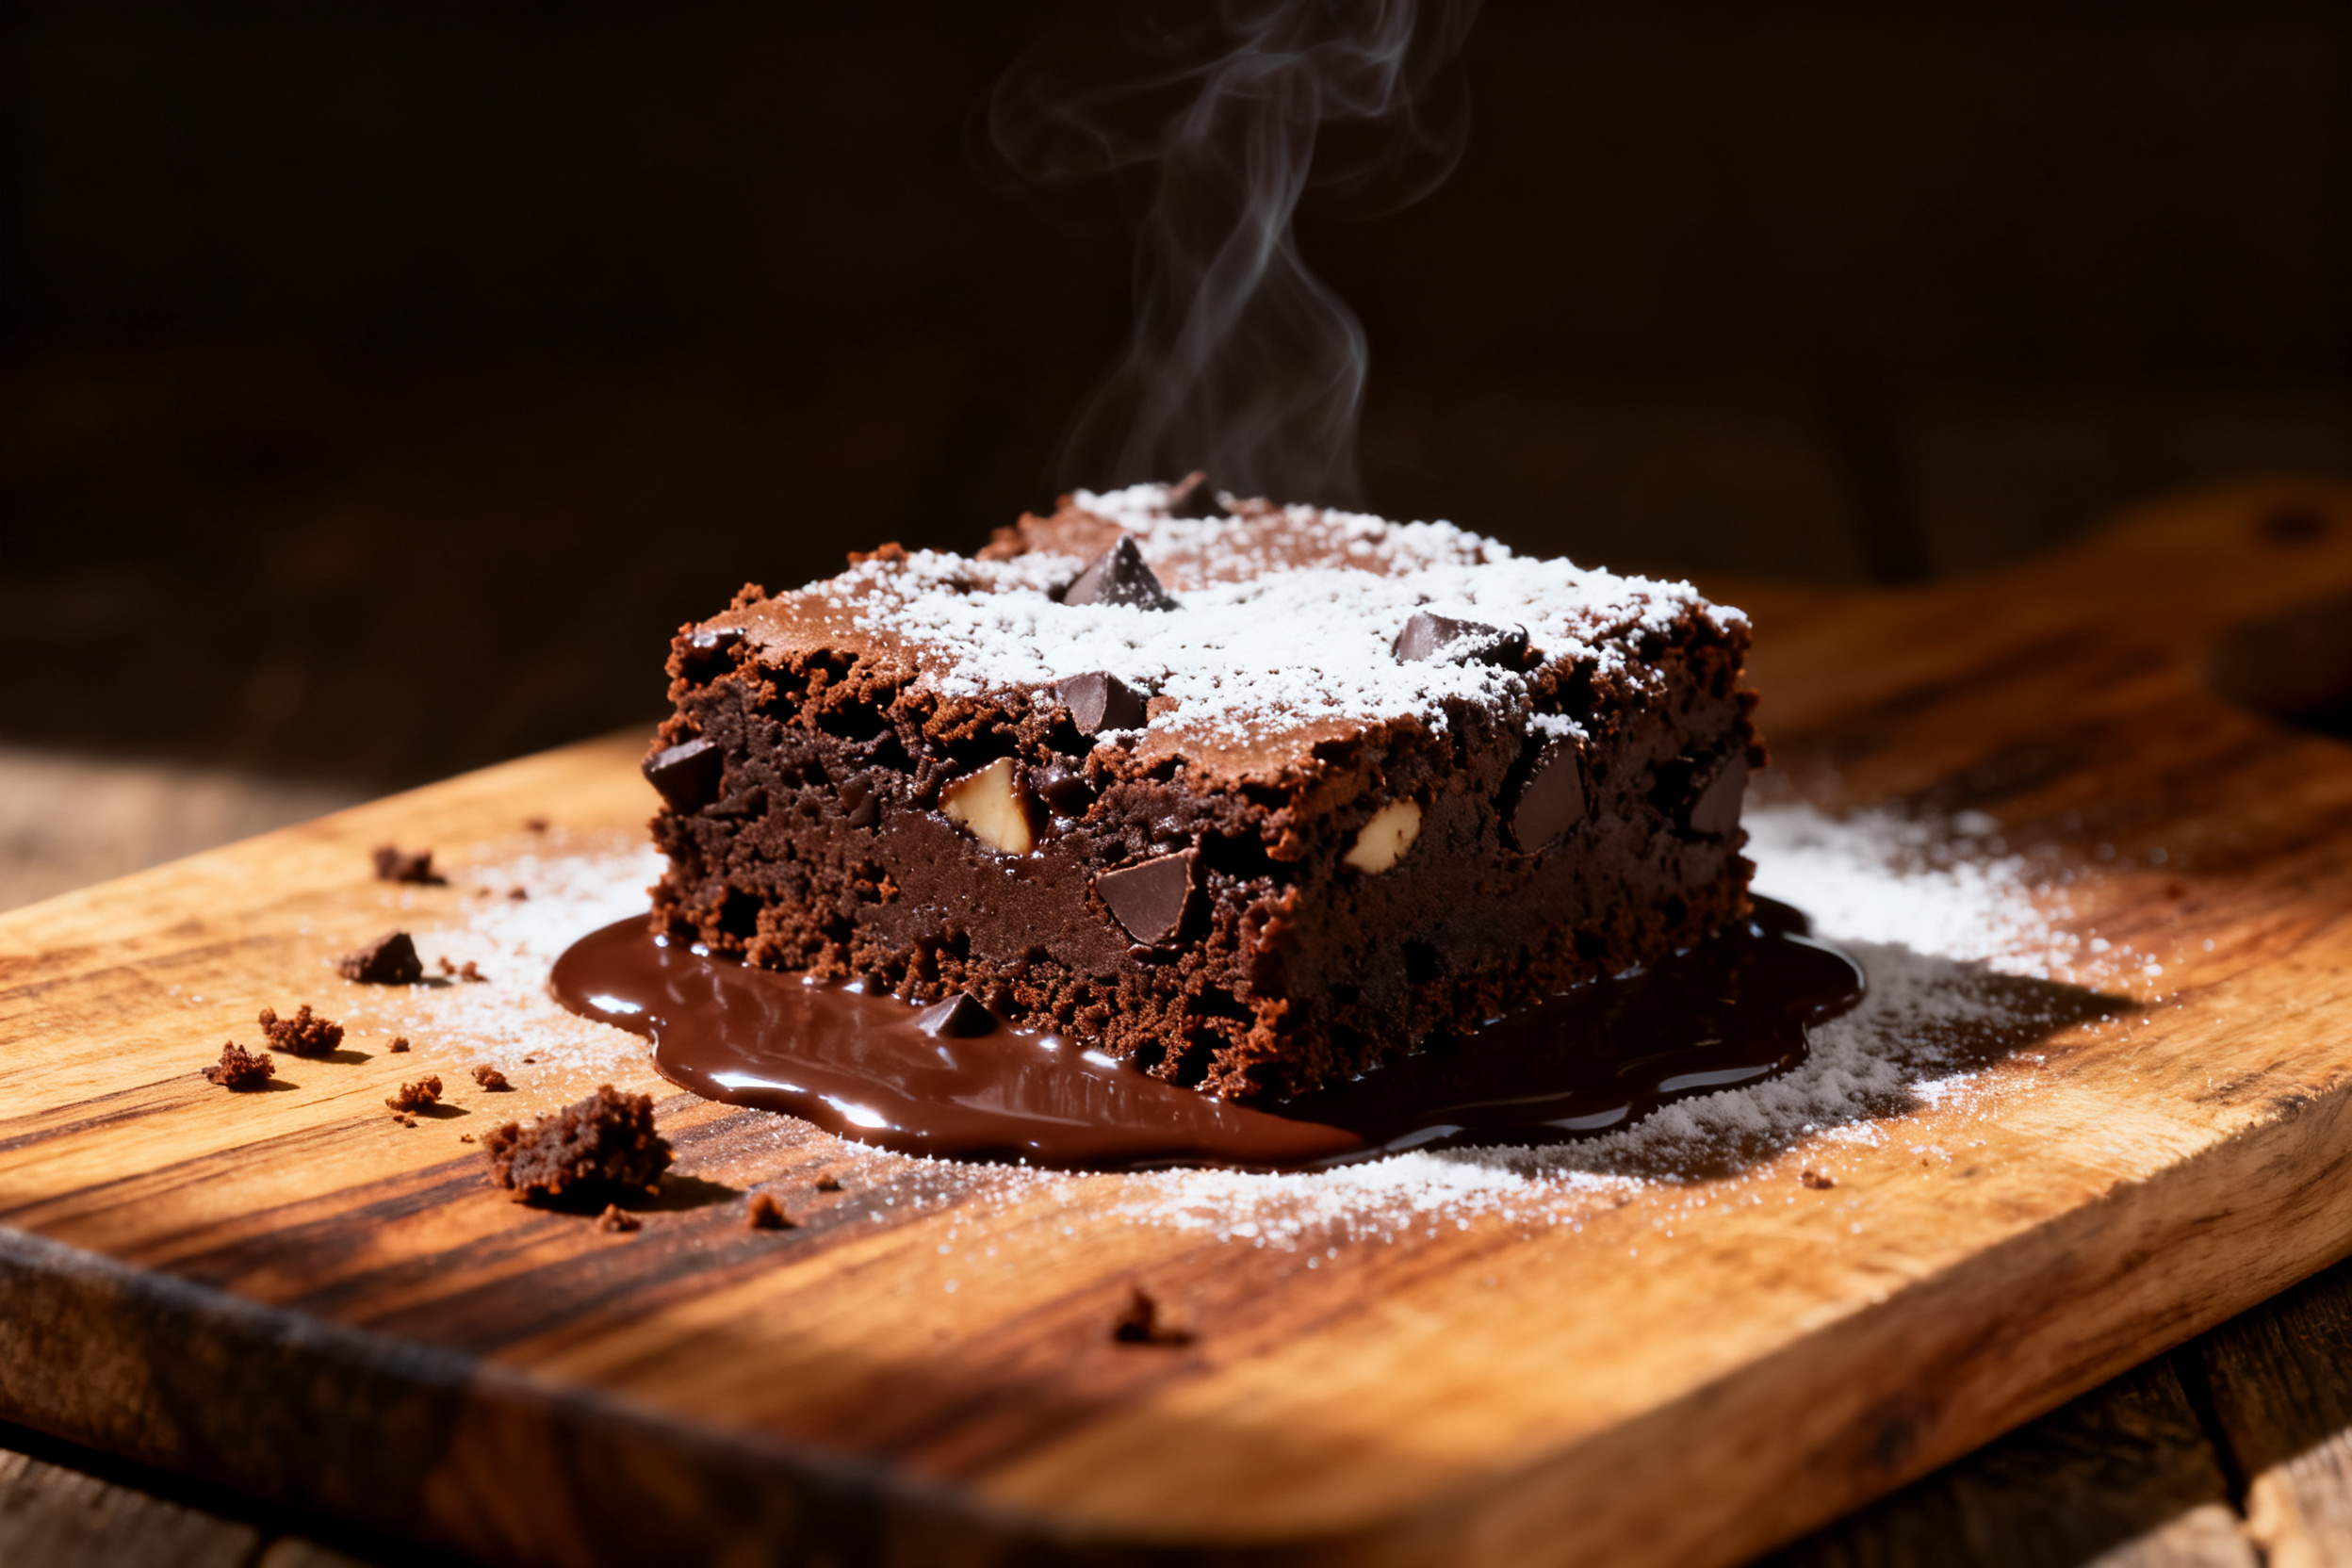
Crumble leftover brownies over vanilla ice cream for an instant sundae topping. Toast the crumbs in a dry pan for extra crunch.
Blend a brownie square into a milkshake with milk and a scoop of ice cream. It is dangerously good.
Layer crumbled brownies with whipped cream and chocolate pudding in a jar for a quick trifle. No one will know you did not bake from scratch.
7. Common mistakes & how to fix them
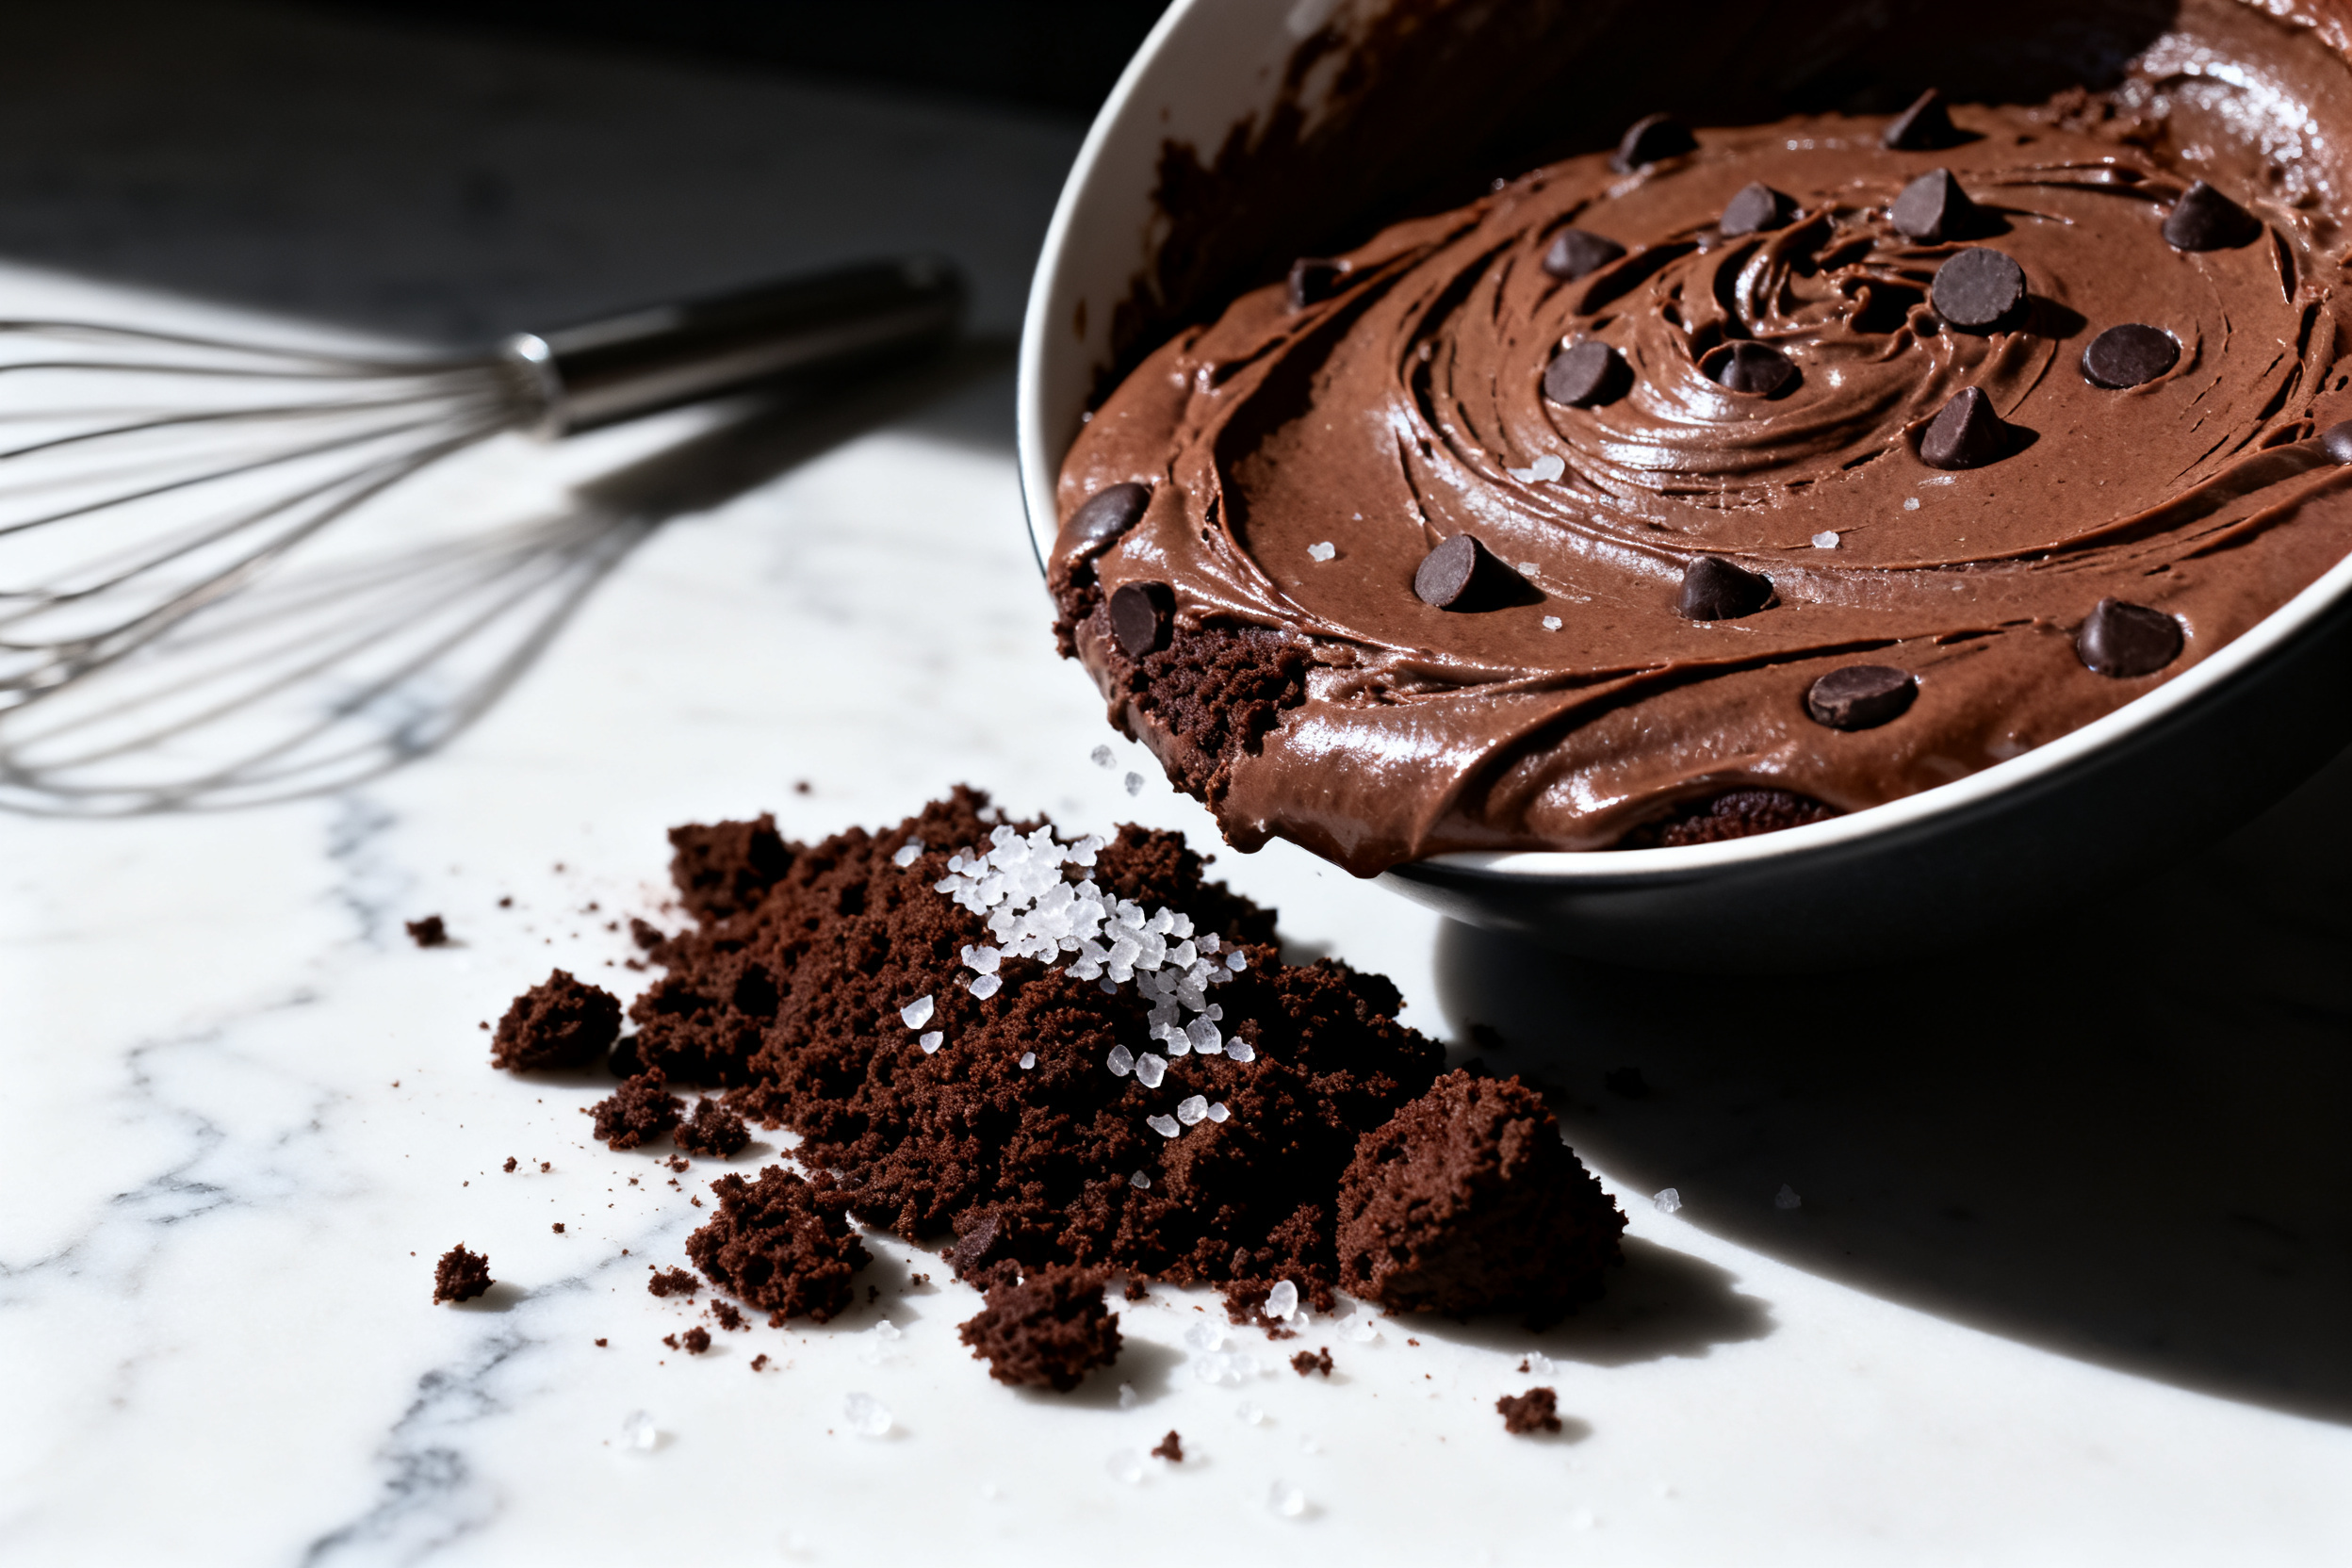
If your brownies turned out cakey and dry, you probably used too much oil or overbaked them. Next time, use melted butter and check for doneness at the minimum bake time.
Brownies that are too gooey in the center might need a longer rest. Let them cool fully — they continue to set as they cool. If they are still soupy after cooling, you might have underbaked them by a lot.
If the top is cracked and the edges are hard, your oven runs hot. Invest in an oven thermometer, because most home ovens lie about the actual temperature.
8. Variations by diet or flavor profile
For a mint chocolate version, fold 1/2 cup of chopped Andes mints into the batter before baking. The little green bits melt into pockets of minty goodness.
Go peanut butter by swirling 1/3 cup of creamy peanut butter into the batter right before it goes in the oven. Use a knife to make pretty swirls on top.
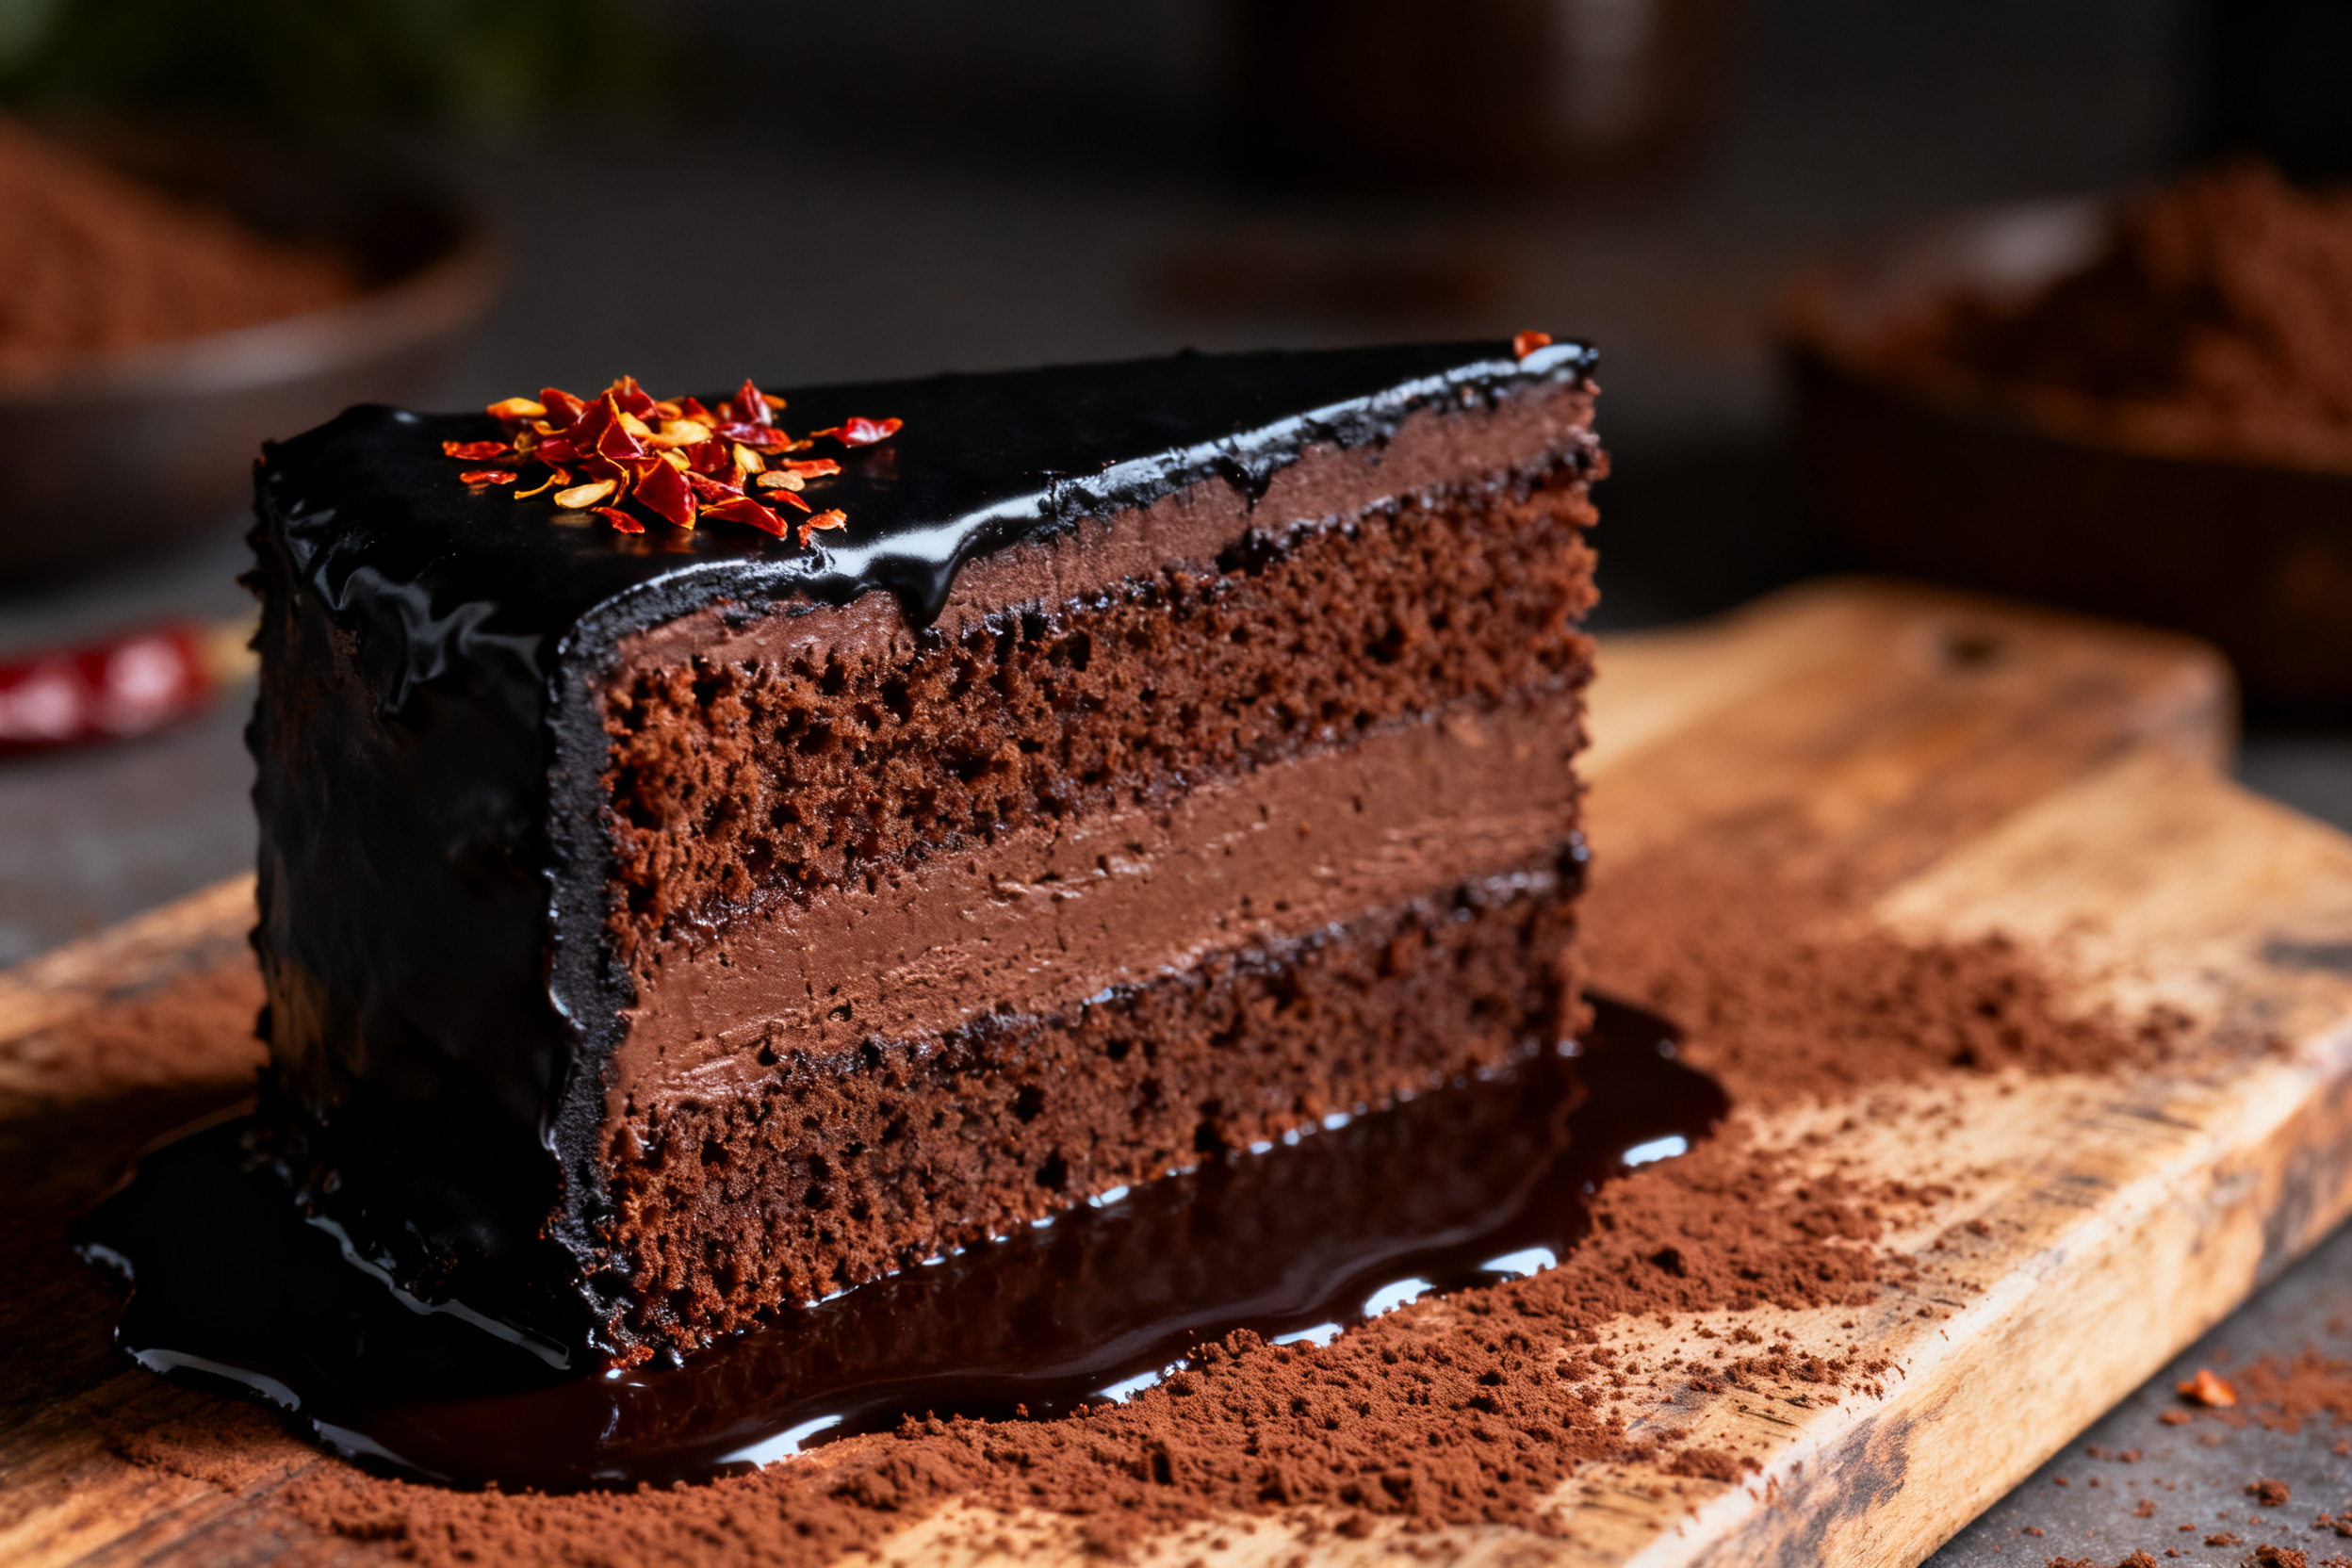
For a spicy Mexican chocolate brownie, add 1 teaspoon of cinnamon and 1/8 teaspoon of cayenne pepper to the dry mix. Top with a sprinkle of sea salt when they come out of the oven.
9. Why this recipe works
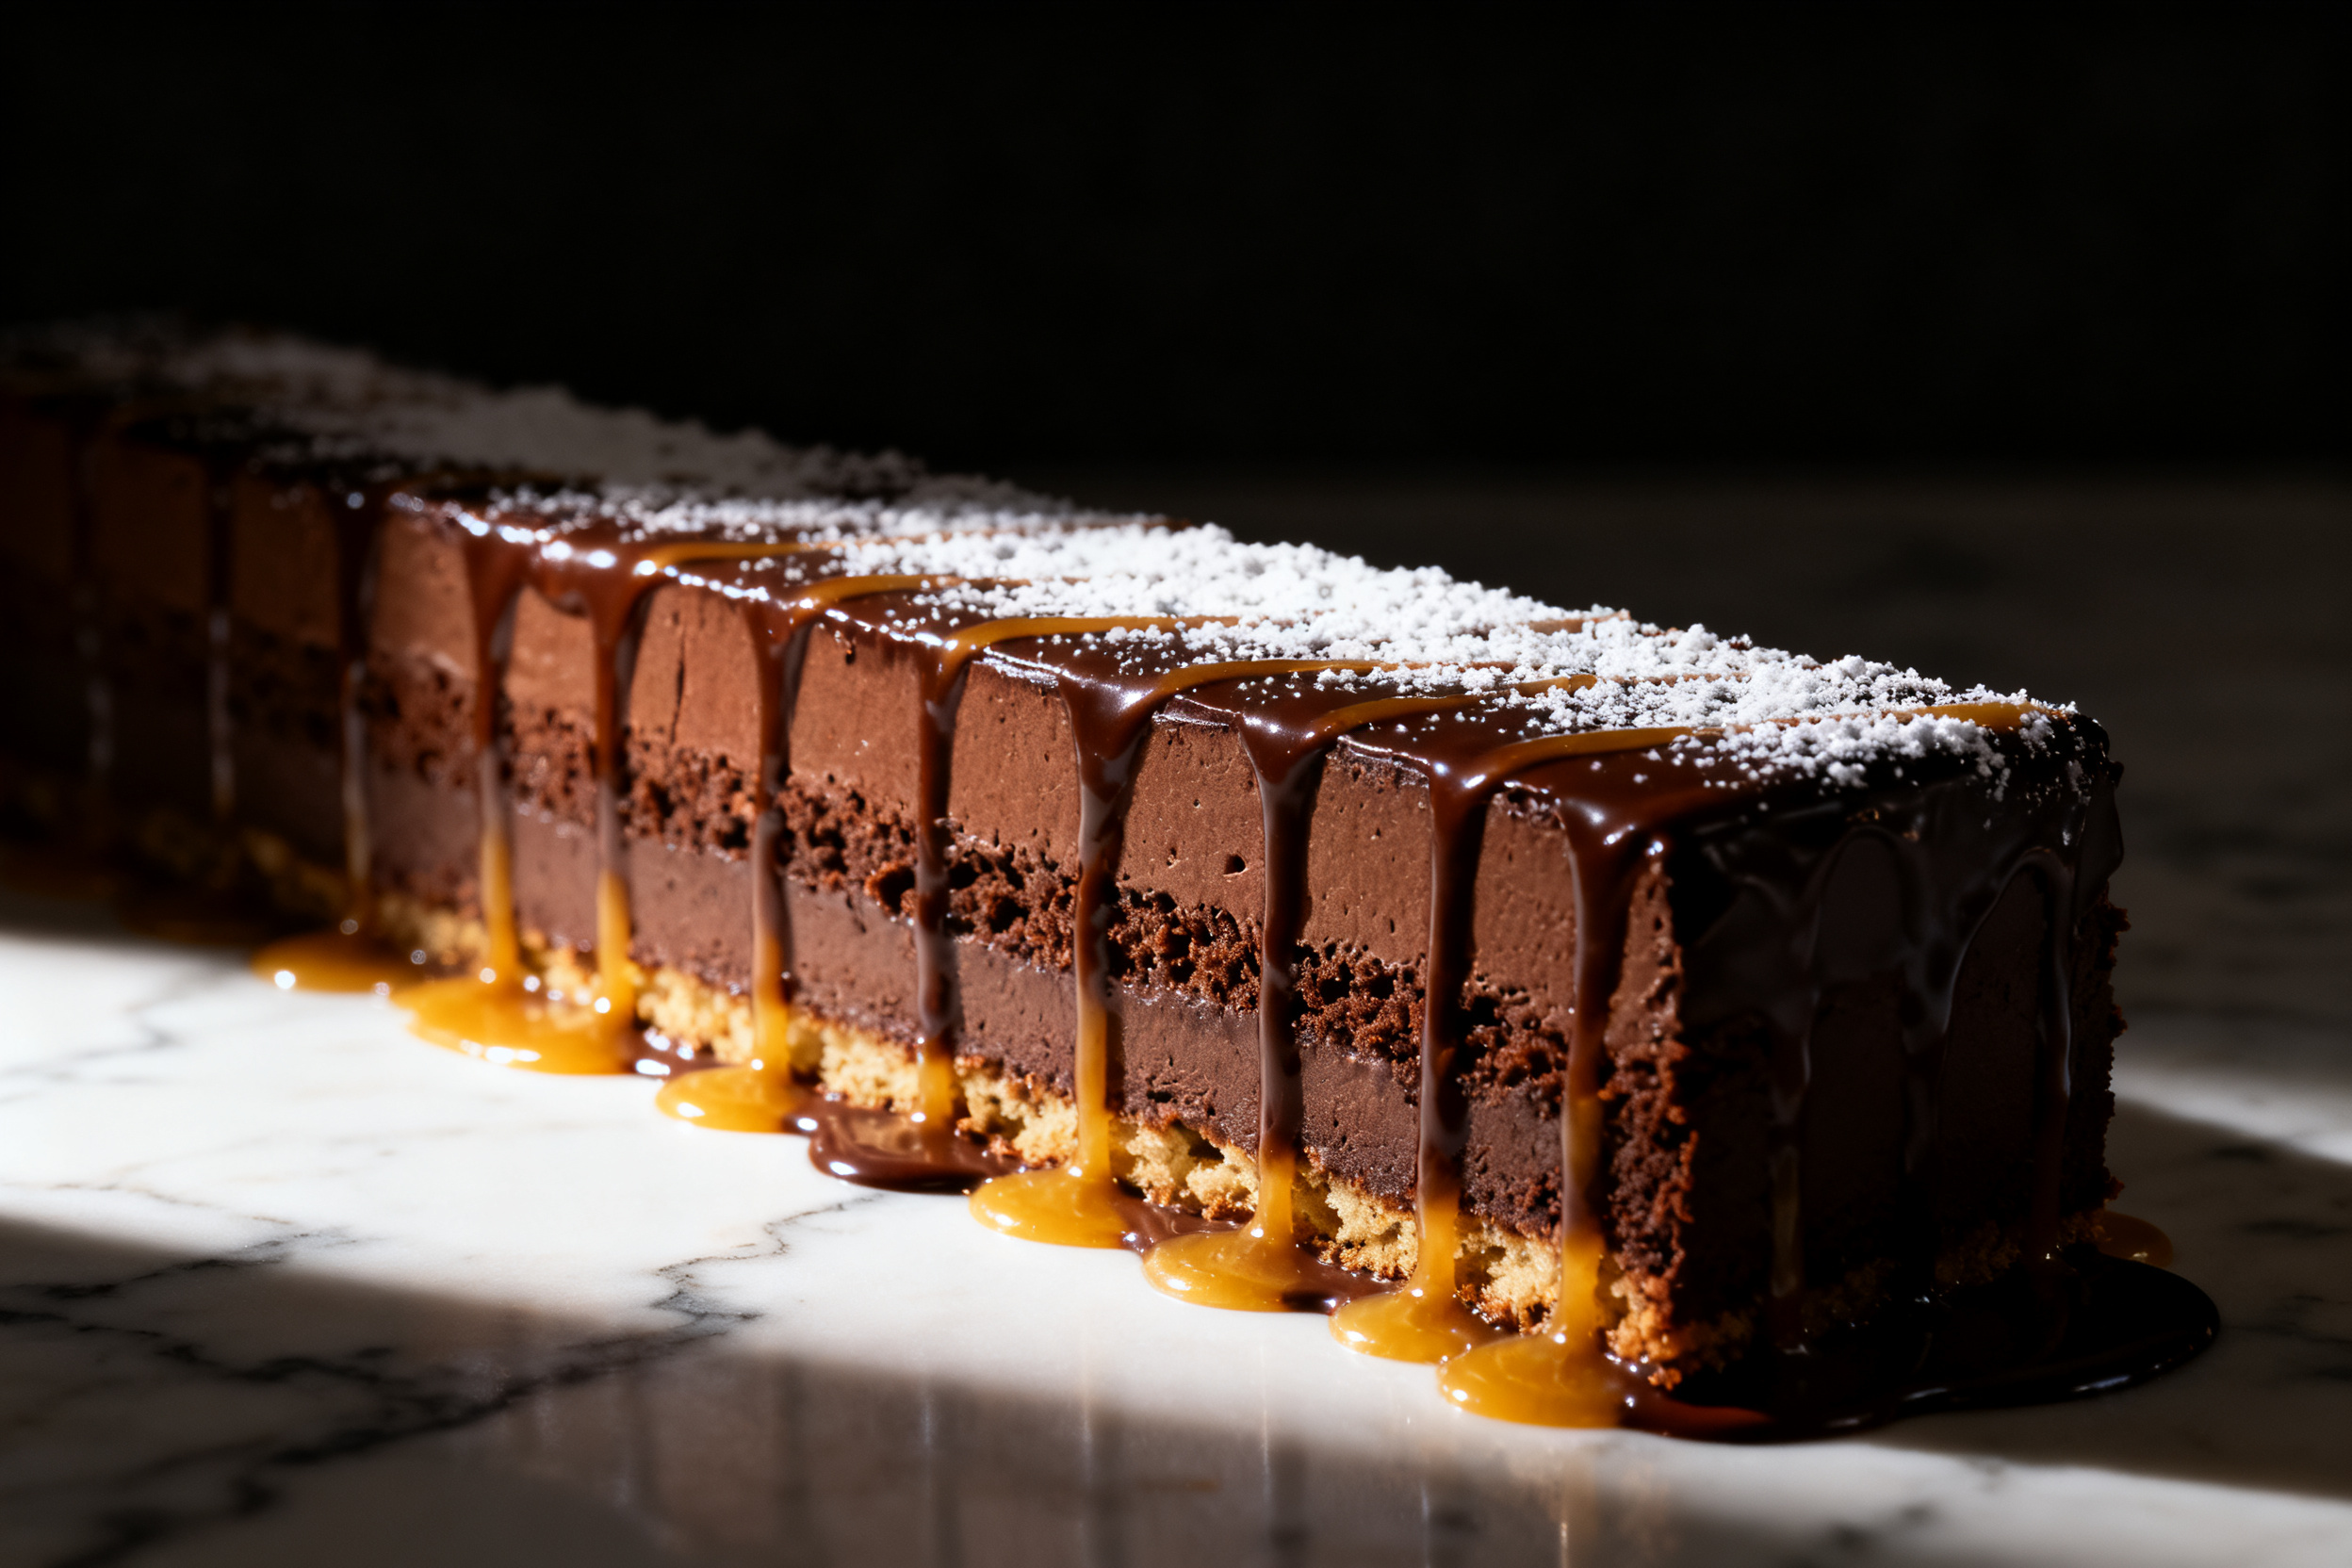
The magic is in the fat and moisture ratio. Boxed brownie mixes are designed to use oil and water, which produce a lighter, cakier crumb. By swapping in melted butter and milk, you add more fat and less water, which inhibits gluten development and keeps the brownies dense and tender.
The extra egg yolk adds emulsifiers called lecithin, which help the fat and water blend smoothly. This gives you that silky, fudgy texture that brownie lovers crave.
The lower baking temperature (325°F instead of 350°F) allows the center to cook through without the edges drying out. The result is a uniformly chewy brownie from corner to corner.
10. Frequently Asked Questions (FAQ)
Can I use a sugar-free or keto cake mix? Yes, but you may need to adjust the liquid. Sugar-free mixes often need an extra tablespoon of milk or butter to keep from drying out.
Why are my brownies sticking to the pan? Either you did not line the pan with parchment, or you did not grease it enough. Always use parchment paper with overhang for the easiest release.
How do I know when they are done? Insert a toothpick into the center — it should come out with a few moist crumbs clinging to it, not wet batter. The edges will look set and slightly pulled away from the pan.
Can I double this recipe? Absolutely. Bake it in a 9×13-inch pan and add 5-8 minutes to the bake time. Check for doneness with the toothpick test.
11. Call to action
Have you tried this chocolate cake mix recipe yet? I would love to hear how it turned out for you. Drop a comment below and let me know if you added any fun mix-ins or toppings.
If you liked this post, share it with a friend who always complains about boxed brownies. And do not forget to subscribe to the newsletter so you never miss a recipe that actually works.
Happy baking, and remember — you are now officially better than a box.
Conclusion
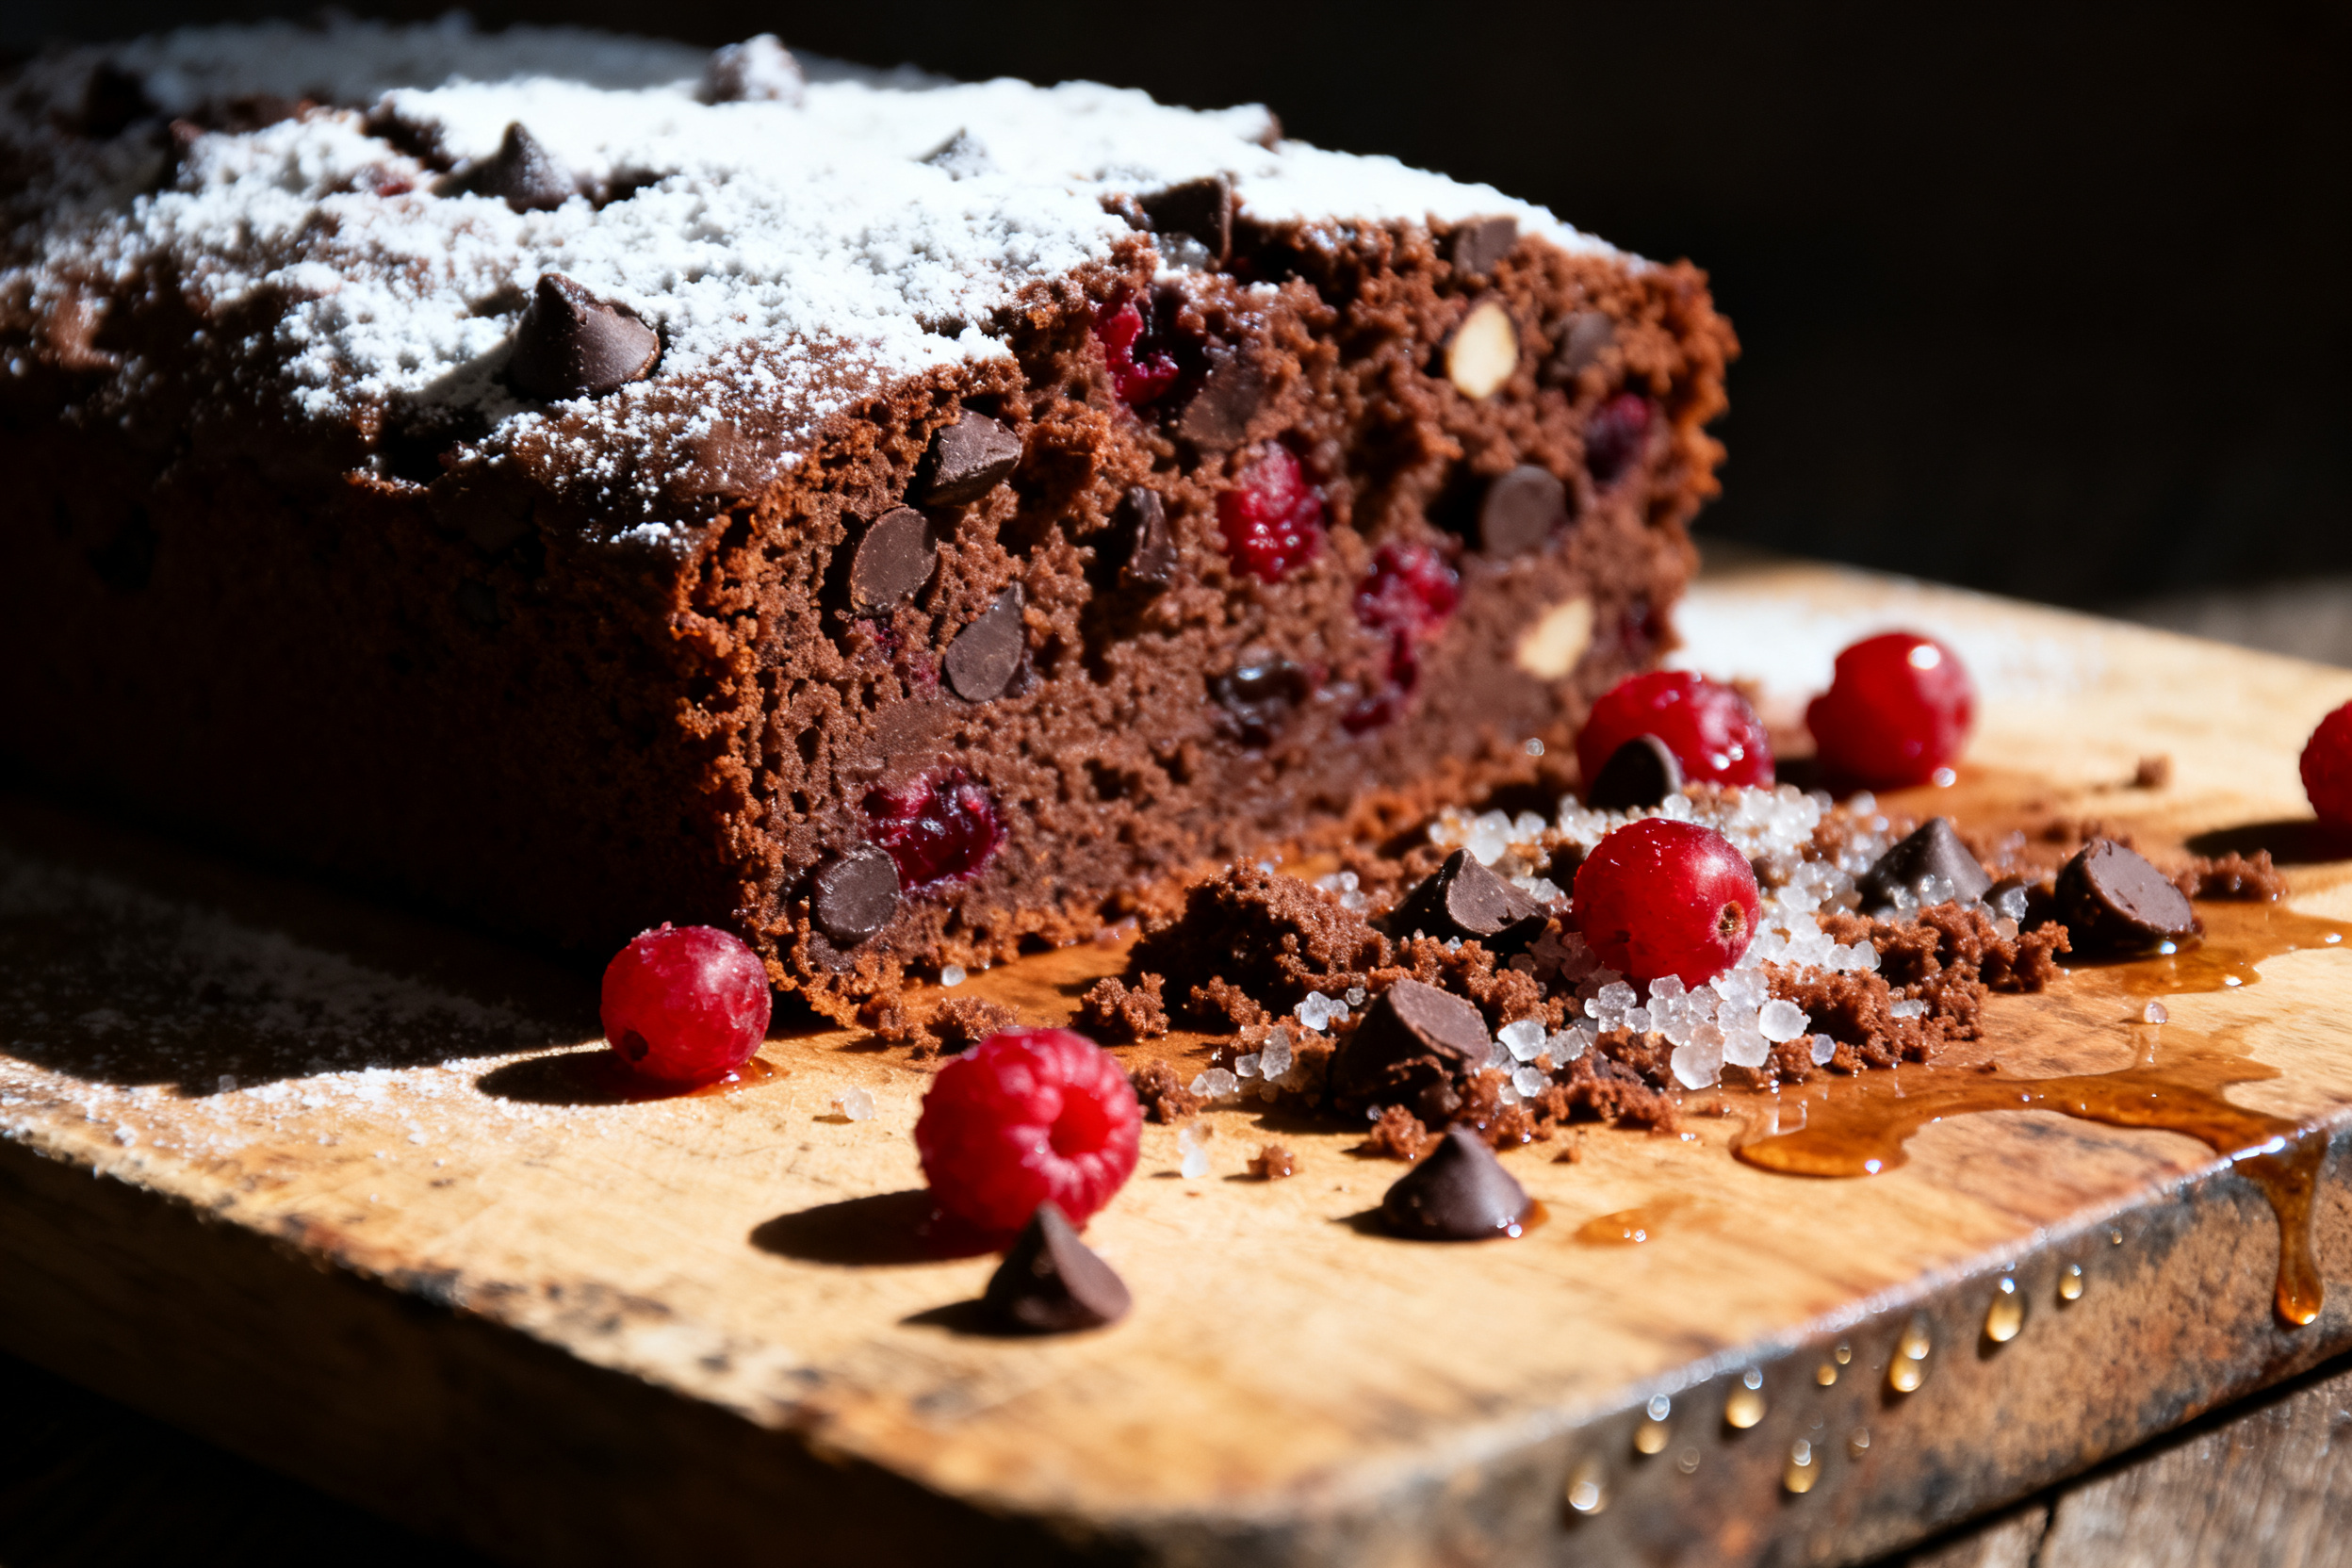
These chocolate cake mix brownies are the perfect shortcut for when you want a fudgy, decadent treat without the hassle of baking from scratch. They come together in minutes, use pantry staples, and deliver way better results than the instructions on the box ever could. I honestly think they are the best thing you can make with a cake mix.
So go ahead, grab that box of cake mix in your pantry and give this a try. Your family will think you spent hours in the kitchen. Let me know in the comments if you are team corner piece or center piece — I am team corner, obviously.
Fudgy Chocolate Cake Mix Brownies
Ingredients
- 1 box 15.25 oz standard chocolate cake mix (devil’s food or dark chocolate)
- 1/2 cup 1 stick unsalted butter, melted
- 1/4 cup whole milk or buttermilk
- 1 large egg plus 1 large egg yolk
- 1 teaspoon vanilla extract
- 1/4 teaspoon fine sea salt
- Optional: 1 cup mix-ins chocolate chips, nuts, etc.
Instructions
- Preheat your oven to 325°F. Line an 8×8-inch baking pan with parchment paper, leaving an overhang on two sides. Lightly spray the parchment with nonstick spray.
- In a large bowl, whisk together the melted butter, milk, egg, egg yolk, and vanilla extract until smooth.
- Add the cake mix and salt to the wet ingredients. Stir with a spatula just until no dry streaks remain. Do not overmix. Fold in any mix-ins now if using.
- Pour the thick batter into the prepared pan and spread it evenly with the spatula. It will be very thick — press it into the corners.
- Bake for 28-32 minutes, or until a toothpick inserted in the center comes out with a few moist crumbs (not wet batter). The edges should look set.
- Let the brownies cool completely in the pan on a wire rack (about 1 hour). Use the parchment overhang to lift the slab out. Slice into 16 squares with a sharp knife, wiping the blade clean between cuts.
Notes
2. Freezing: Wrap individual brownies in plastic wrap, then foil.
3. Freeze for up to 3 months.
4. Thaw at room temperature for 30 minutes.
5. Substitutions: For dairy-free, use vegan butter and a non-dairy milk.
6. For gluten-free, use a certified gluten-free cake mix and add 1 extra tablespoon of milk.
7. Tip: For extra fudgy brownies, chill the baked brownies in the fridge for 30 minutes before slicing.