
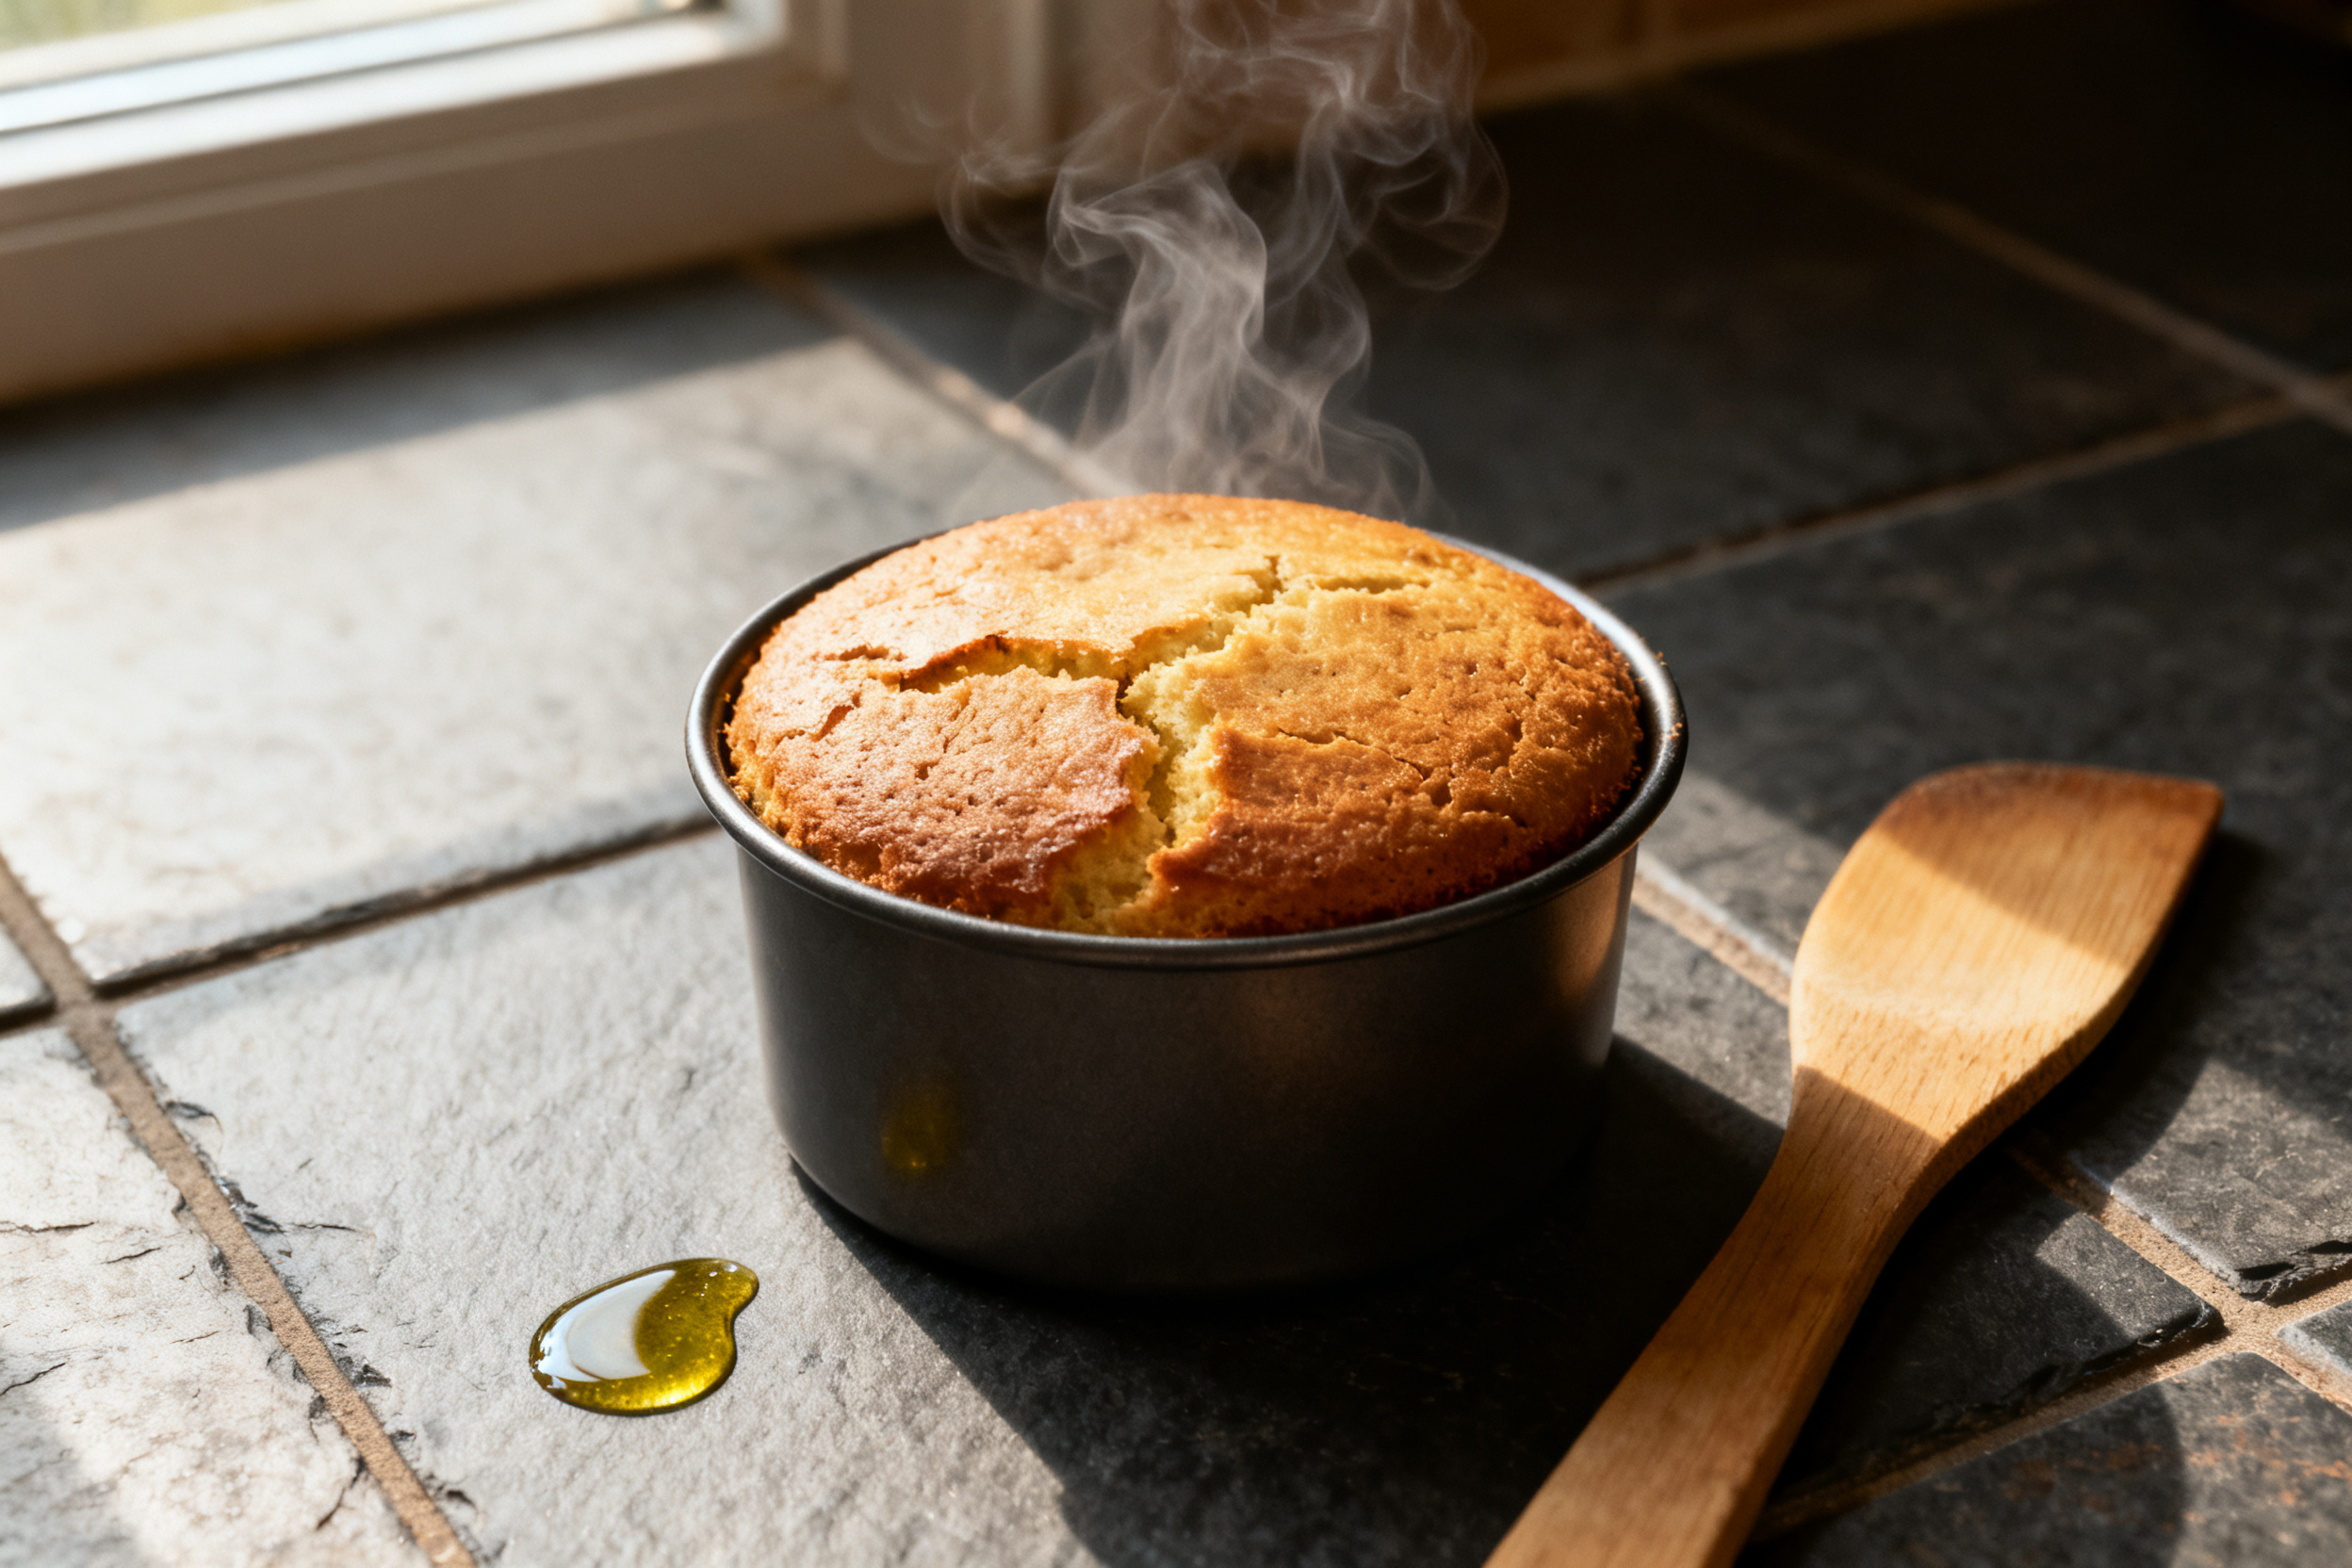

Let’s be honest, full-sized cakes are a commitment. You need a crowd, a special occasion, and a serious plan to eat the leftovers before they go stale. But mini cakes? They are pure, unadulterated joy in a tiny package. I’m talking about those little loaves, petite bundts, and single-serving wonders that make you feel like you’re baking for a dollhouse dinner party.
I got my first mini cake pan as a joke gift, and it honestly changed my baking life. Suddenly, I could make a “cake” on a Tuesday night without feeling guilty. This post is your ultimate guide to mini cake pan recipes that are as fun to make as they are to eat. We’ll cover everything from ingredient swaps to saving your batter from disaster.
So grab your smallest pan and let’s get baking. Trust me, your inner child (and your portion control) will thank you.
1. Allergens
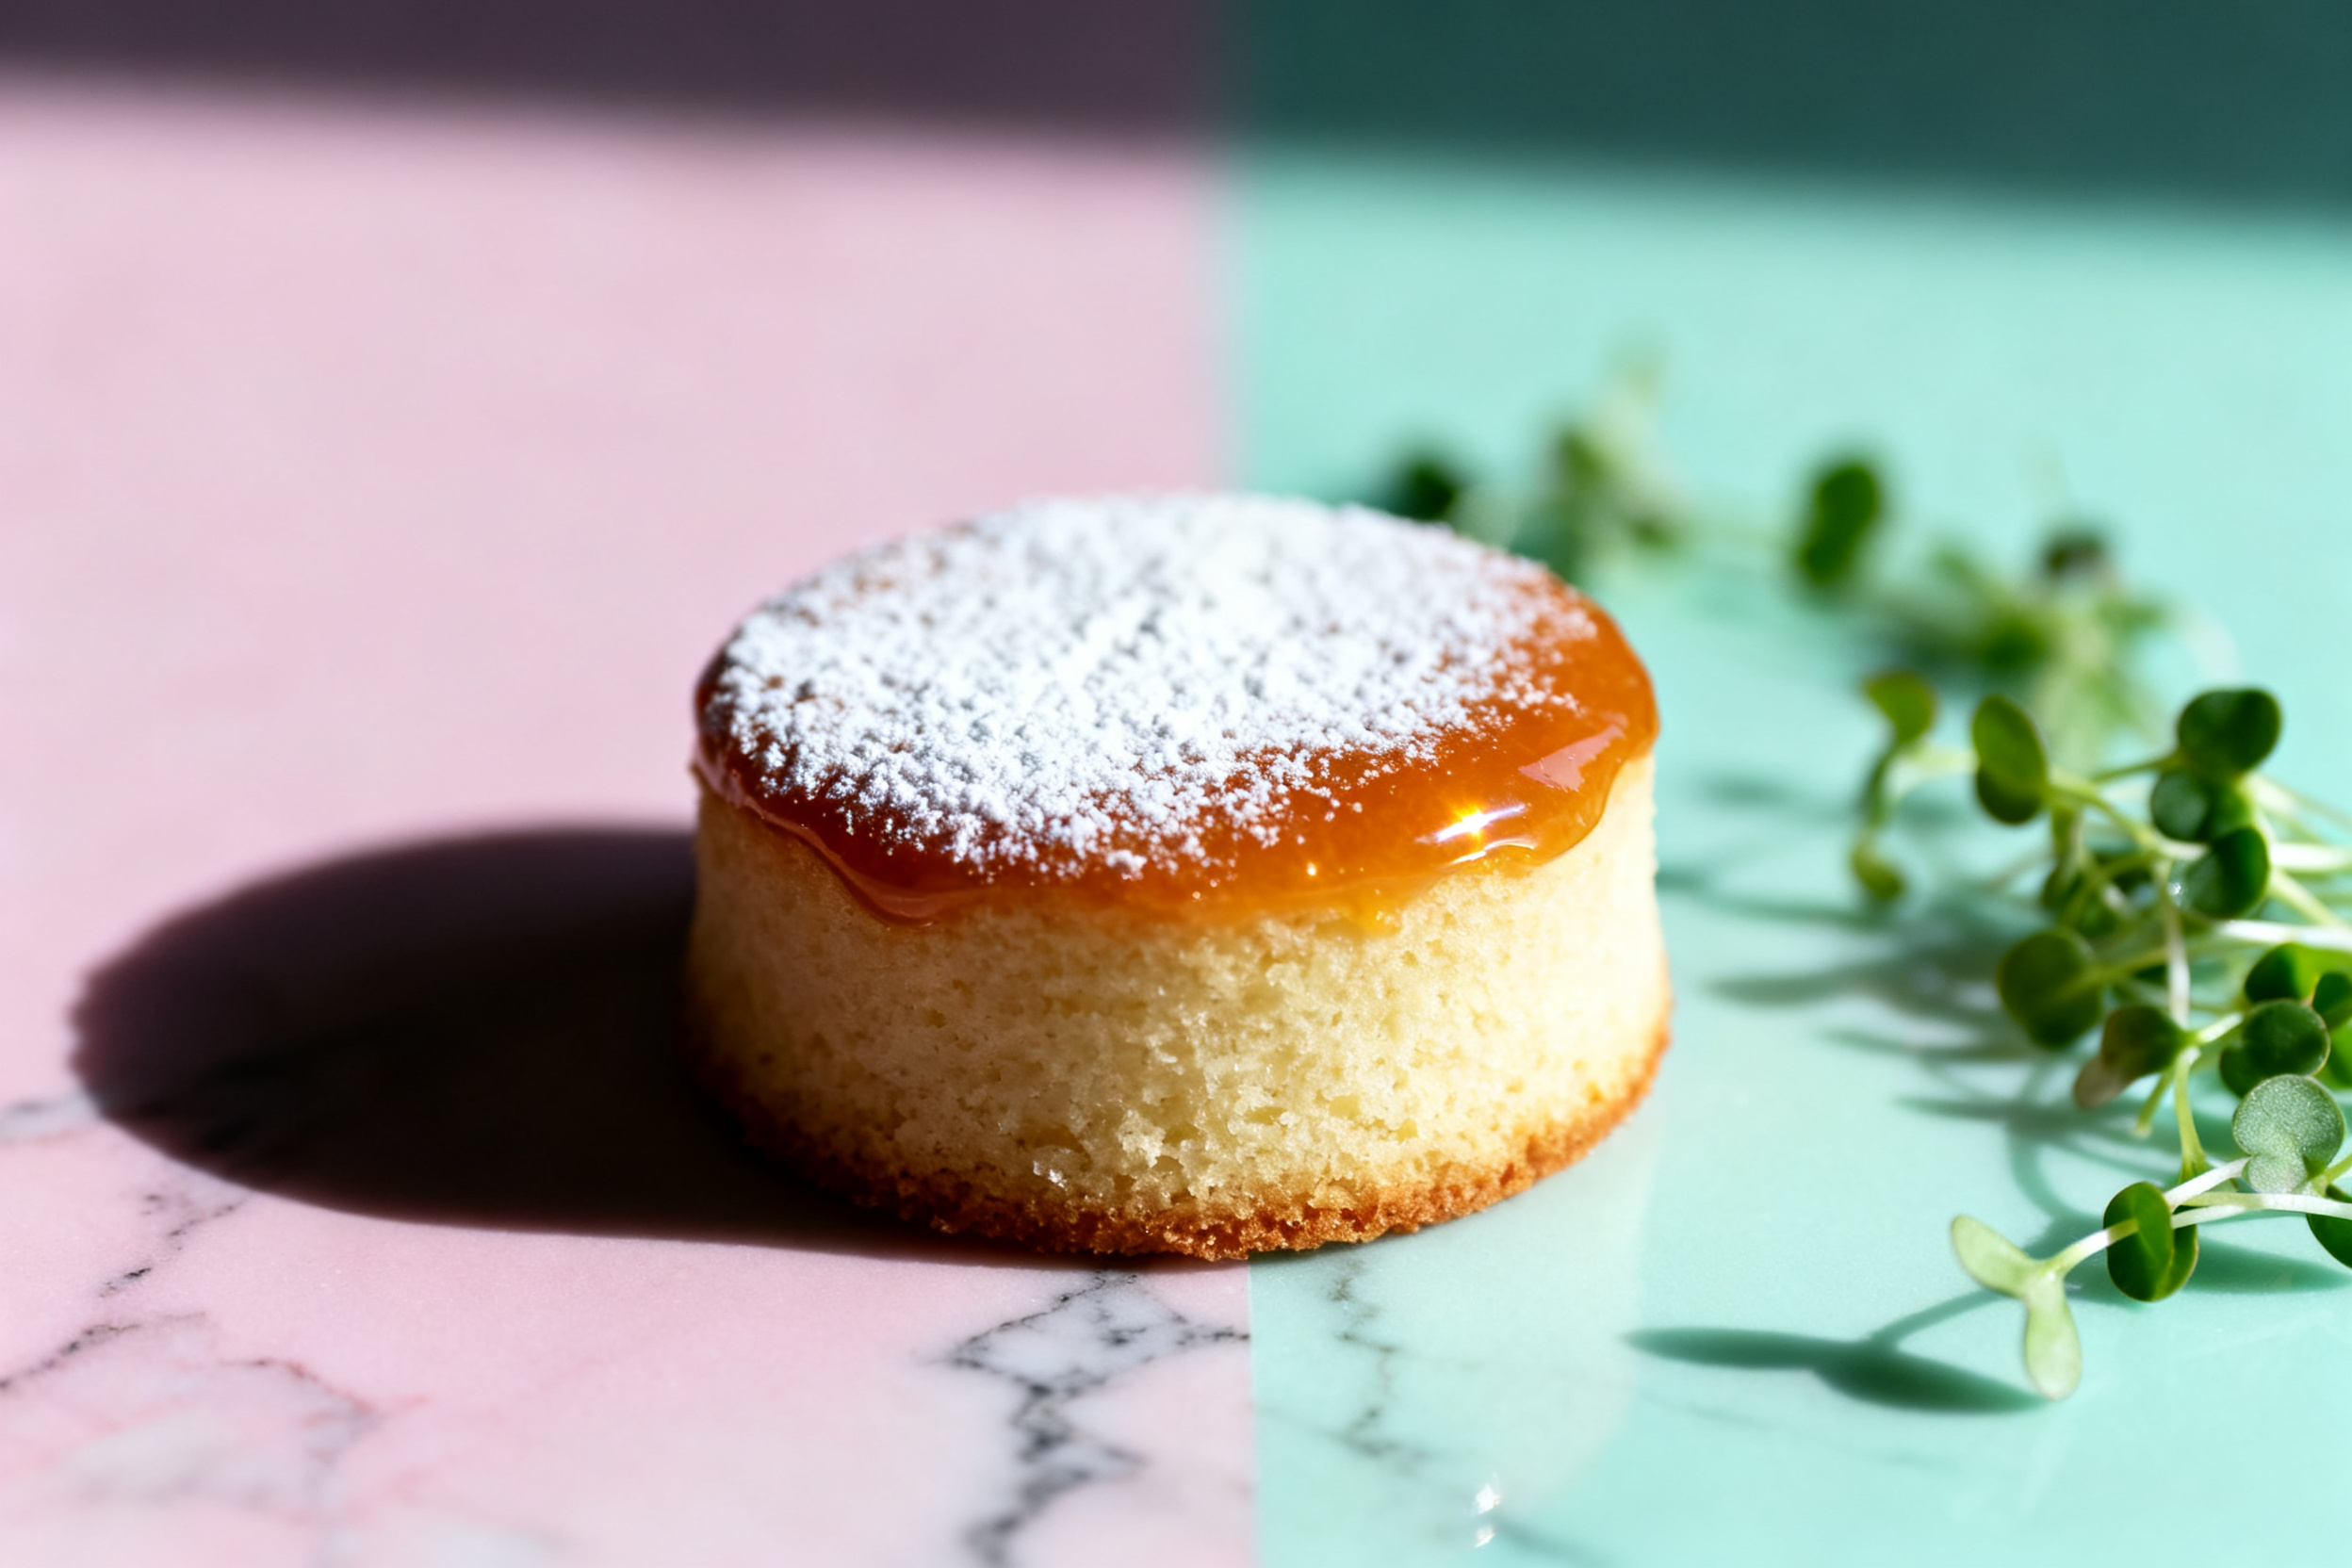
Accuracy here is super important because no one wants a surprise trip to the ER. Most standard mini cake recipes rely on wheat flour, eggs, dairy (butter and milk), and sometimes nuts. That covers the big eight allergens right there.
If you are baking for someone with celiac disease, you cannot just swap in any gluten-free flour. You need a 1:1 gluten-free baking blend that contains xanthan gum. For dairy, use a plant-based butter and milk alternative, but watch the fat content.
Always check your specific ingredients, like baking powder (some brands contain cornstarch) and chocolate chips (often processed on shared equipment). When in doubt, ask your guest directly. A little caution goes a long way.
2. Ingredient notes & substitutions
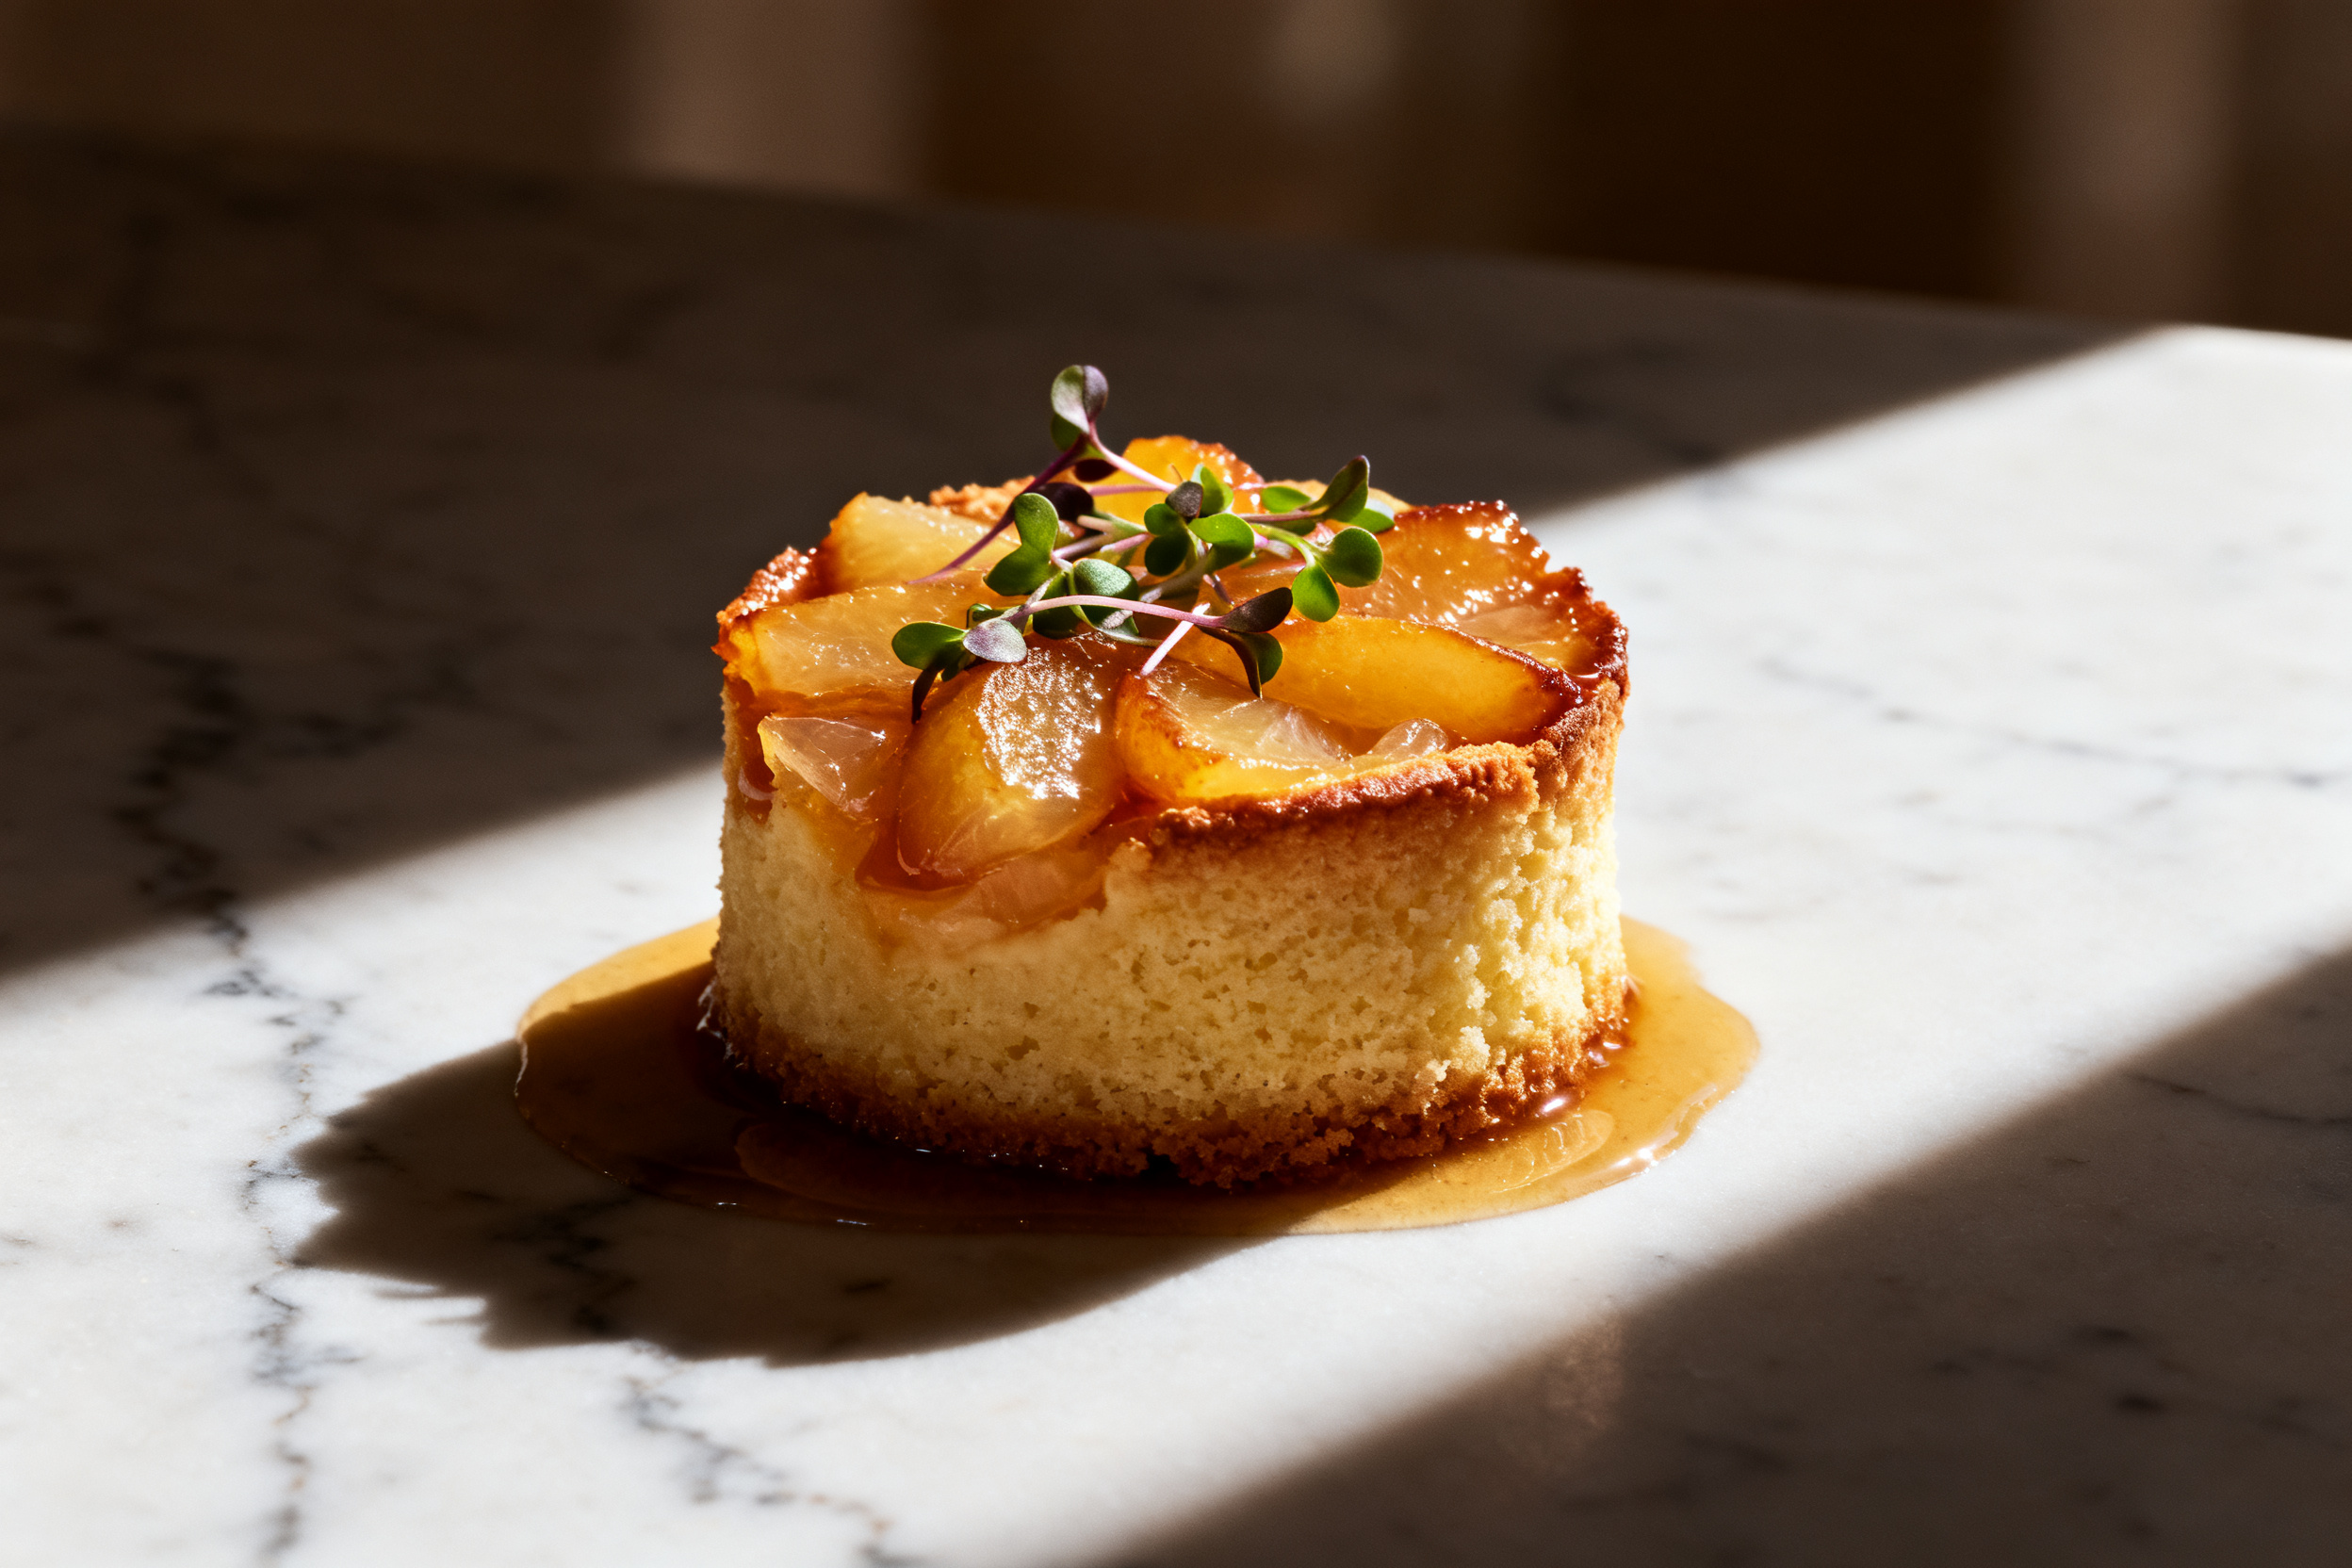
The beauty of mini cakes is that they forgive almost everything. If you are out of buttermilk, just add a teaspoon of lemon juice or vinegar to regular milk and let it sit for five minutes. It works like a charm.
Swapping fats is easy. Use melted coconut oil instead of butter for a dairy-free version, or try applesauce for a lower-fat option. Just keep in mind that applesauce makes the crumb slightly denser, which is actually perfect for mini loaves that need to hold their shape.
For sugar, you can reduce the amount by about 25% without ruining the texture. Brown sugar adds moisture and a deeper flavor, while white sugar gives a crisper top. Mix and match as you please.
3. Pro tips
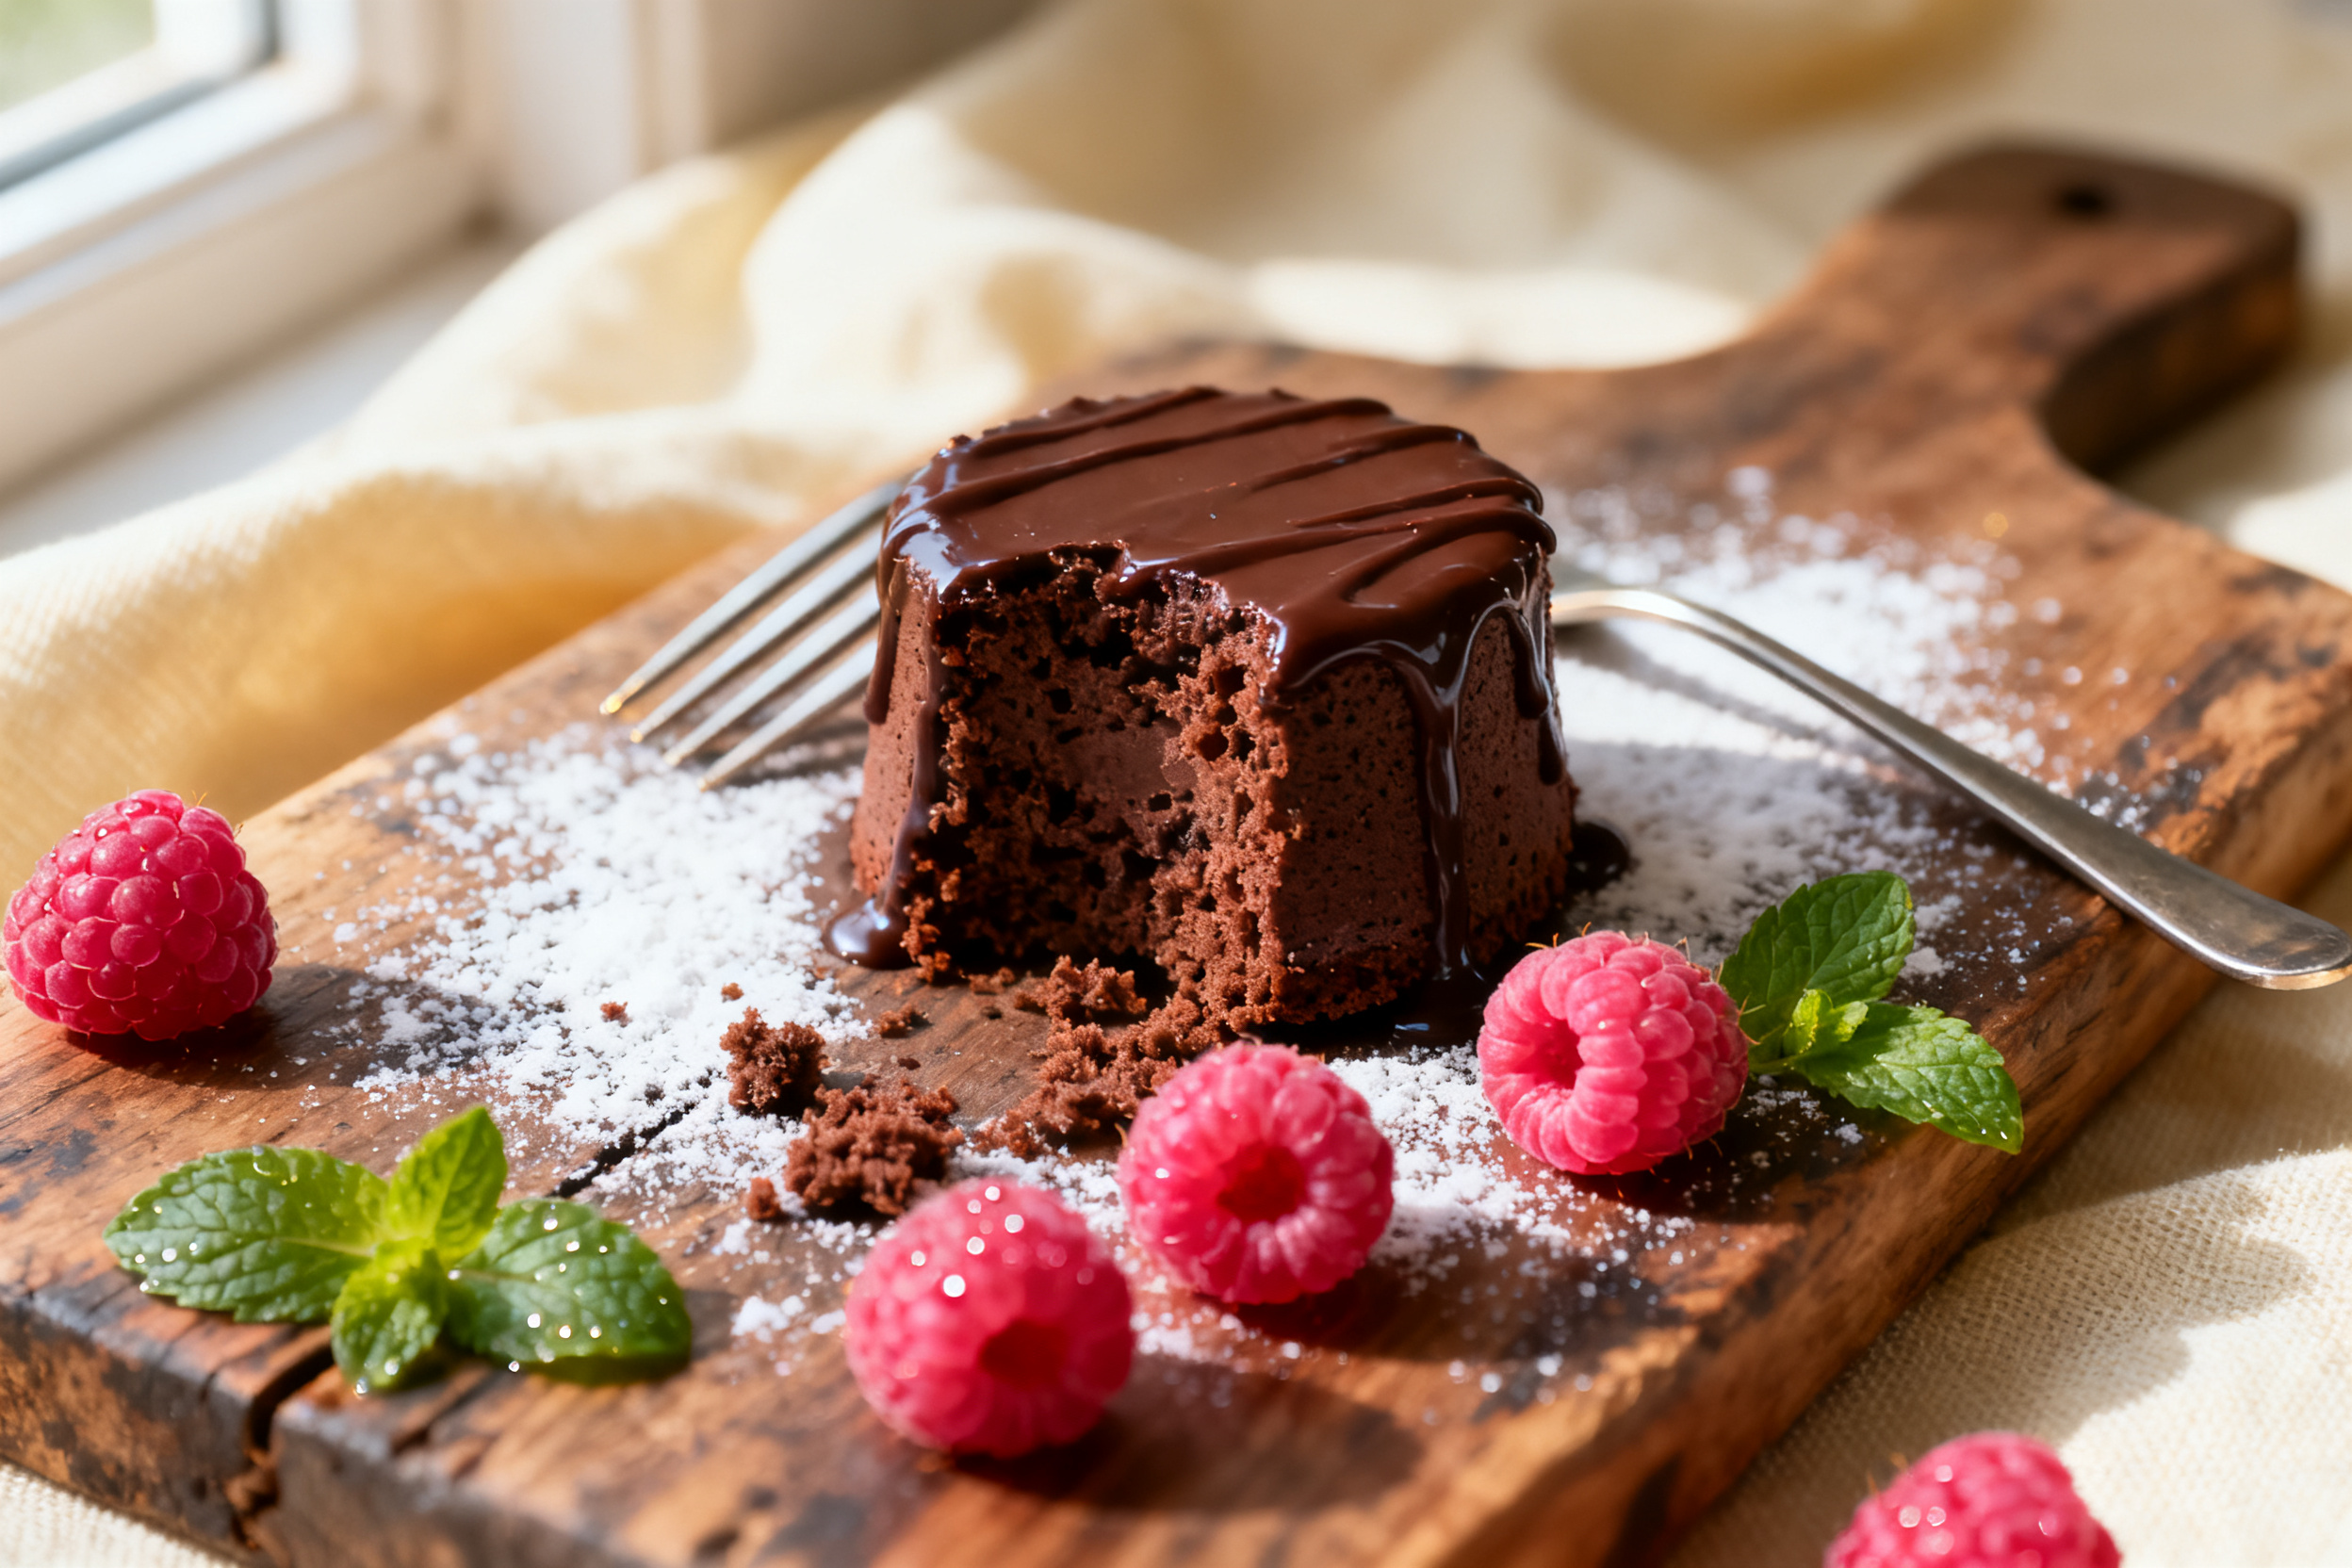
Grease your pans like your life depends on it. Mini pans have a high surface area to volume ratio, meaning cakes stick easily. Use a baking spray with flour (like Baker’s Joy) or butter the pan and dust it with cocoa powder instead of flour to avoid white streaks.
Do not overfill the cavities. Fill them two-thirds to three-quarters full at most. They rise fast and will spill over into a messy, burnt puddle if you get greedy.
Rotate the pan halfway through baking. Ovens have hot spots, and mini cakes bake so quickly that a hot spot can burn one side while the other is still raw. A quick spin ensures even golden goodness.
4. Storage & make-ahead
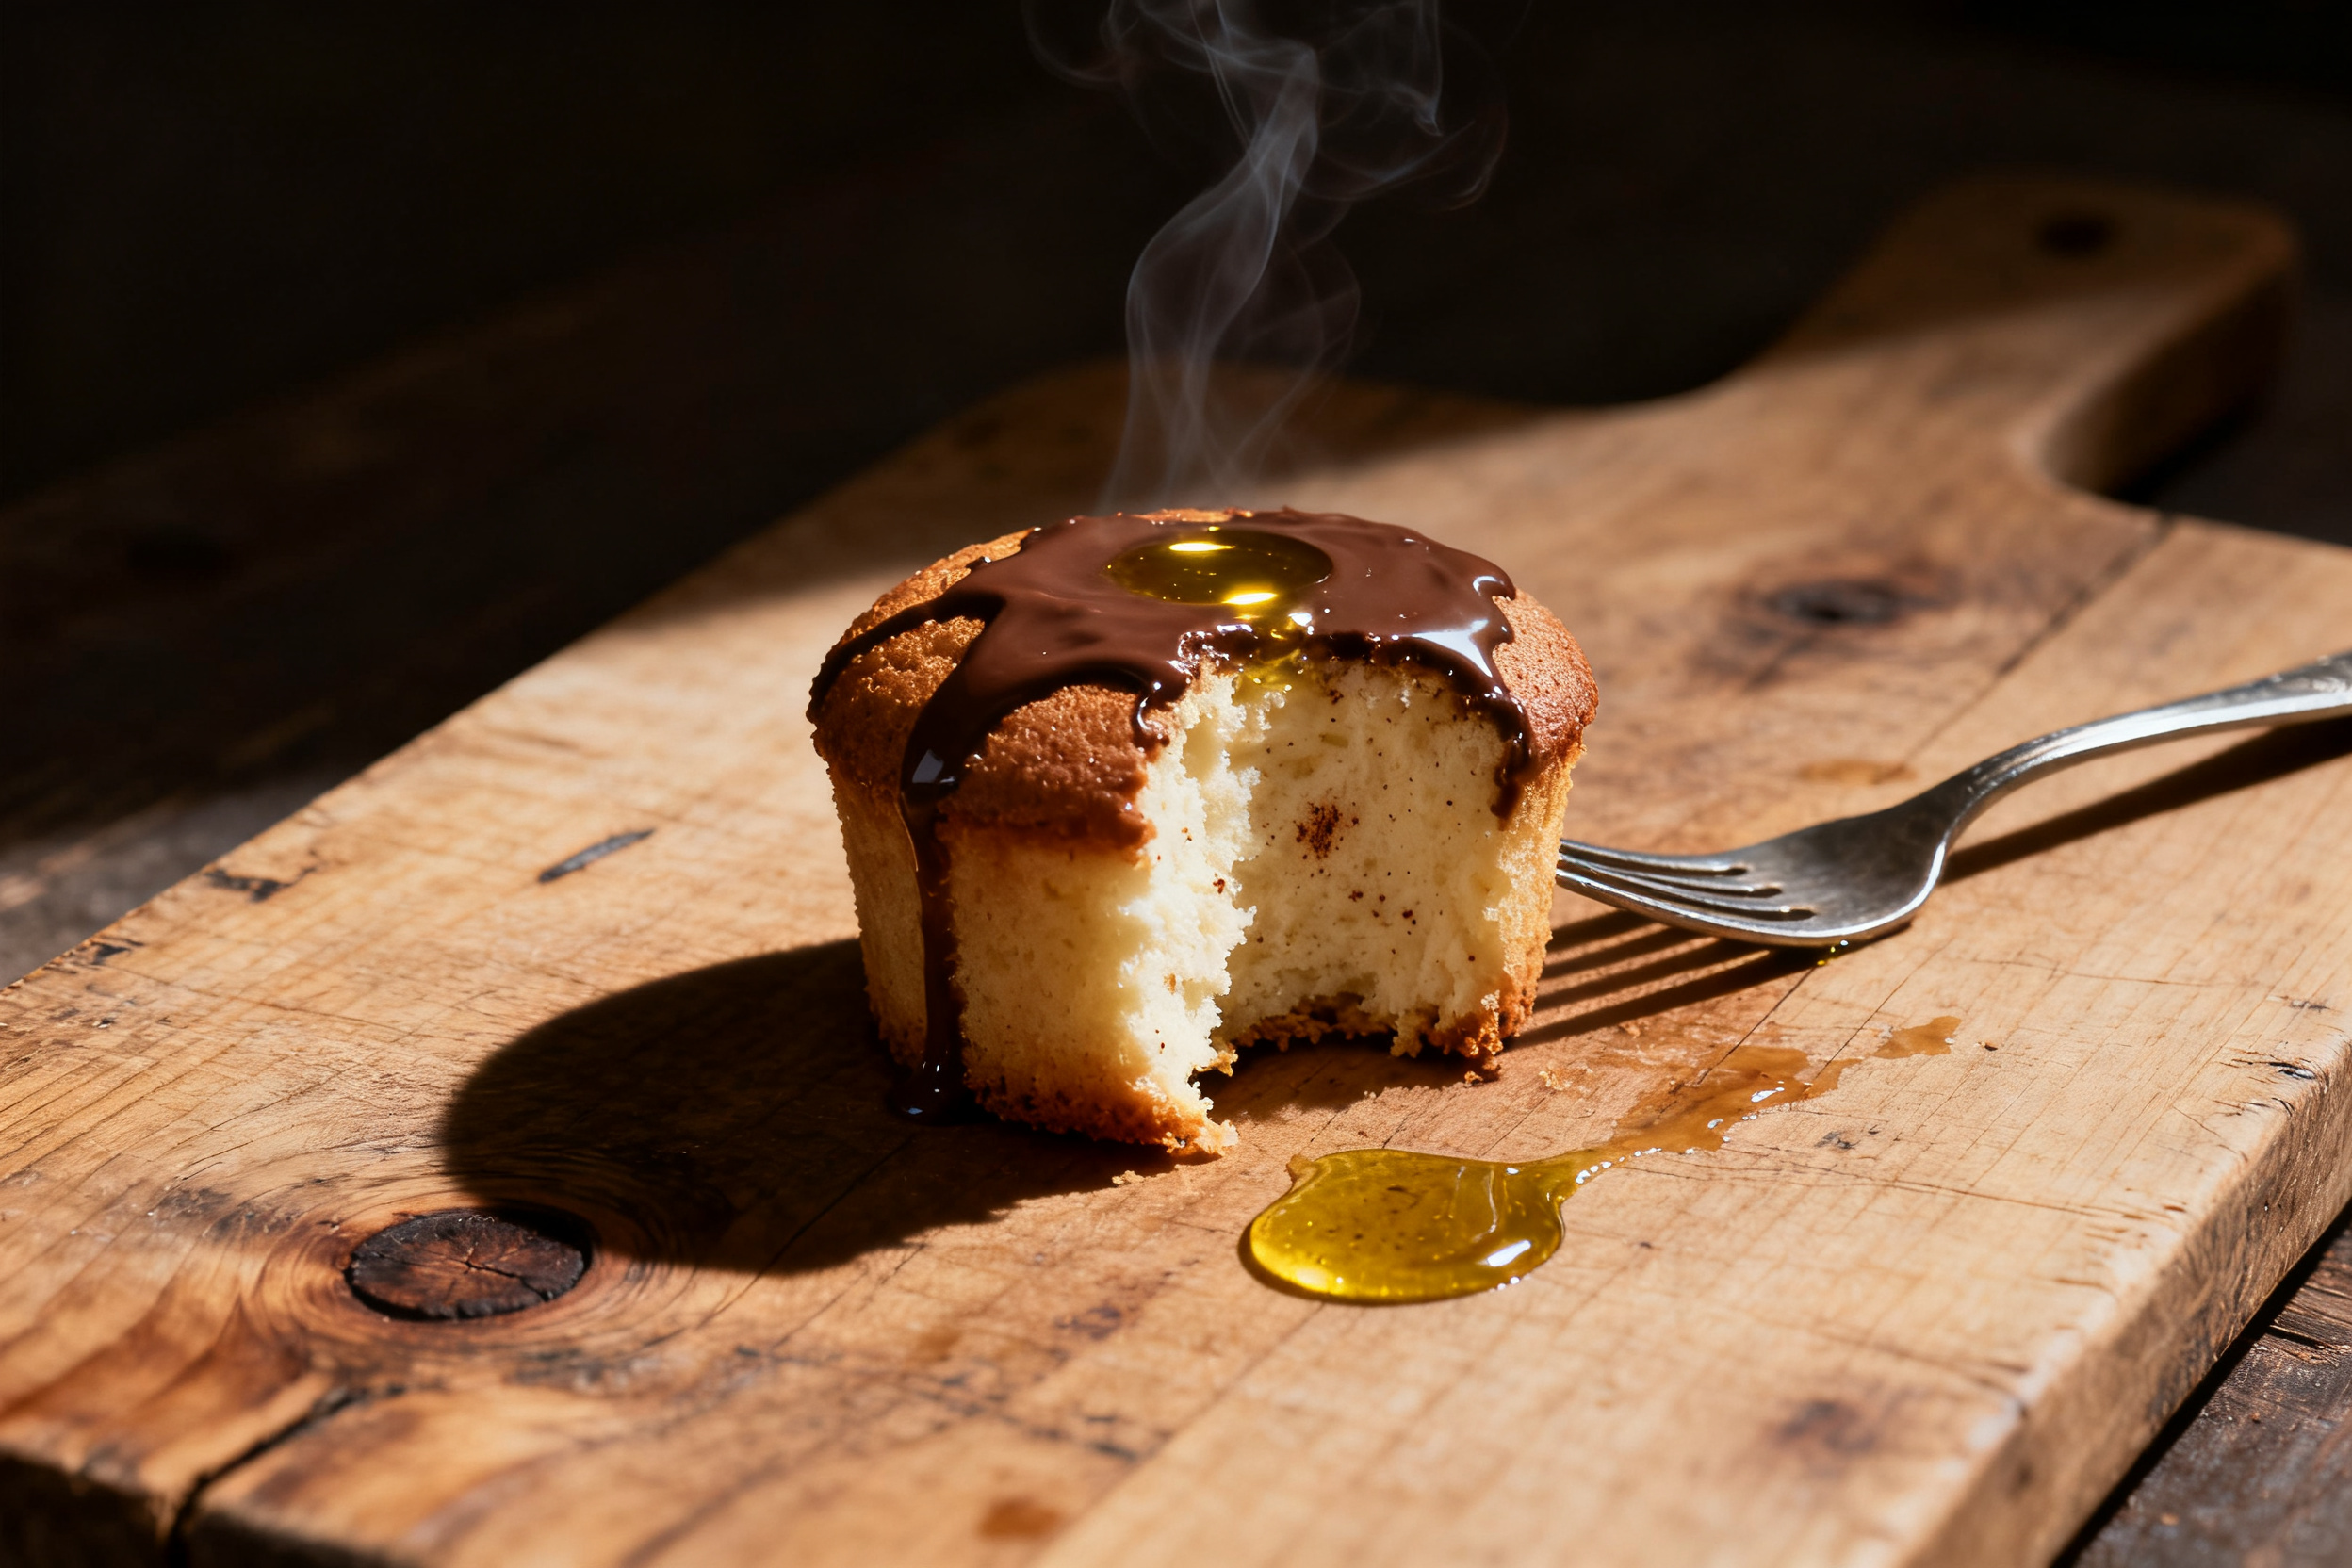
Mini cakes are the ultimate make-ahead dessert. Once completely cool, wrap each one tightly in plastic wrap, then place them in a freezer-safe bag. They freeze beautifully for up to three months.
To thaw, just leave them on the counter for an hour. You can even pop them in the microwave for 10-15 seconds for a “fresh from the oven” vibe. Do not frost them before freezing. Add glaze or buttercream after they thaw for the best texture.
At room temperature, they stay fresh for about 2-3 days in an airtight container. If you live in a humid area, add a slice of bread to the container to absorb excess moisture.
5. Serving suggestions
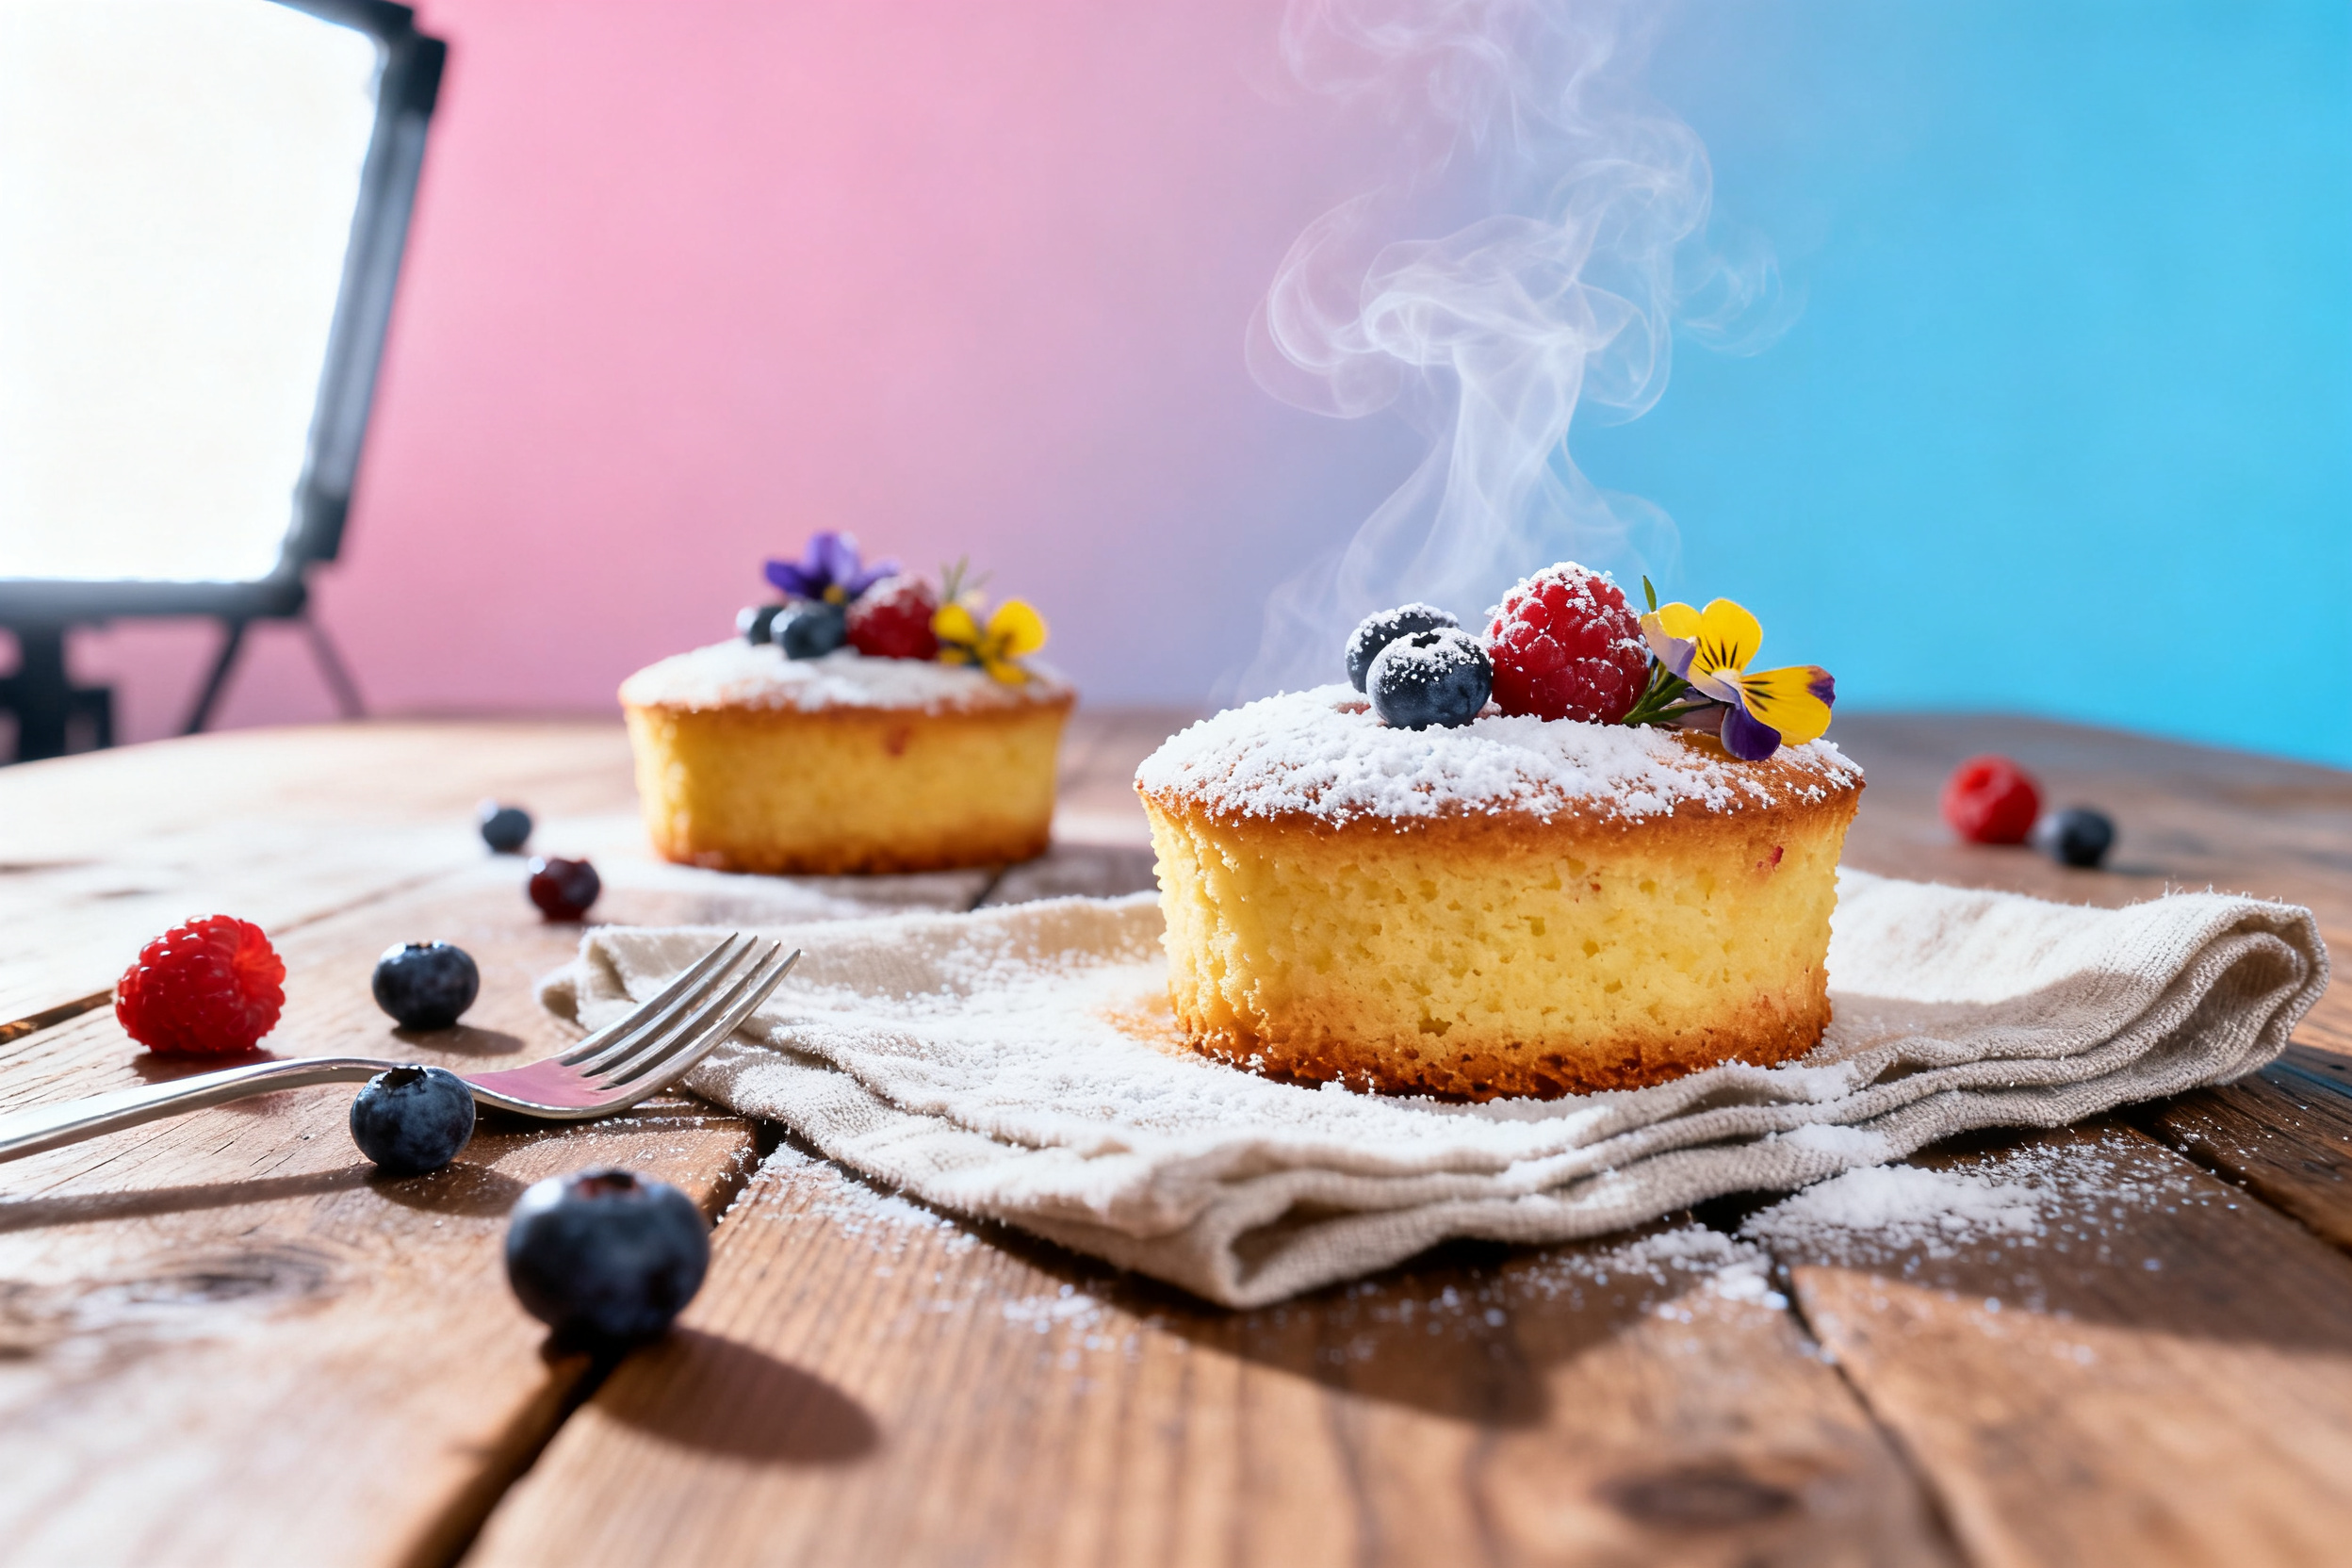
Mini cakes are perfect for a brunch spread. Serve them alongside fresh berries, a dollop of whipped cream, and a hot cup of coffee. They look adorable on a tiered stand.
For a dessert board, arrange them with chocolate truffles, dried fruit, and a drizzle of caramel sauce. They are also fantastic as a light lunchbox treat or a post-dinner bite that doesn’t require a plate and fork.
Pair them with ice cream for an instant sundae. A warm mini brownie cake with a scoop of vanilla is basically a hug in a bowl.
6. Use your leftovers
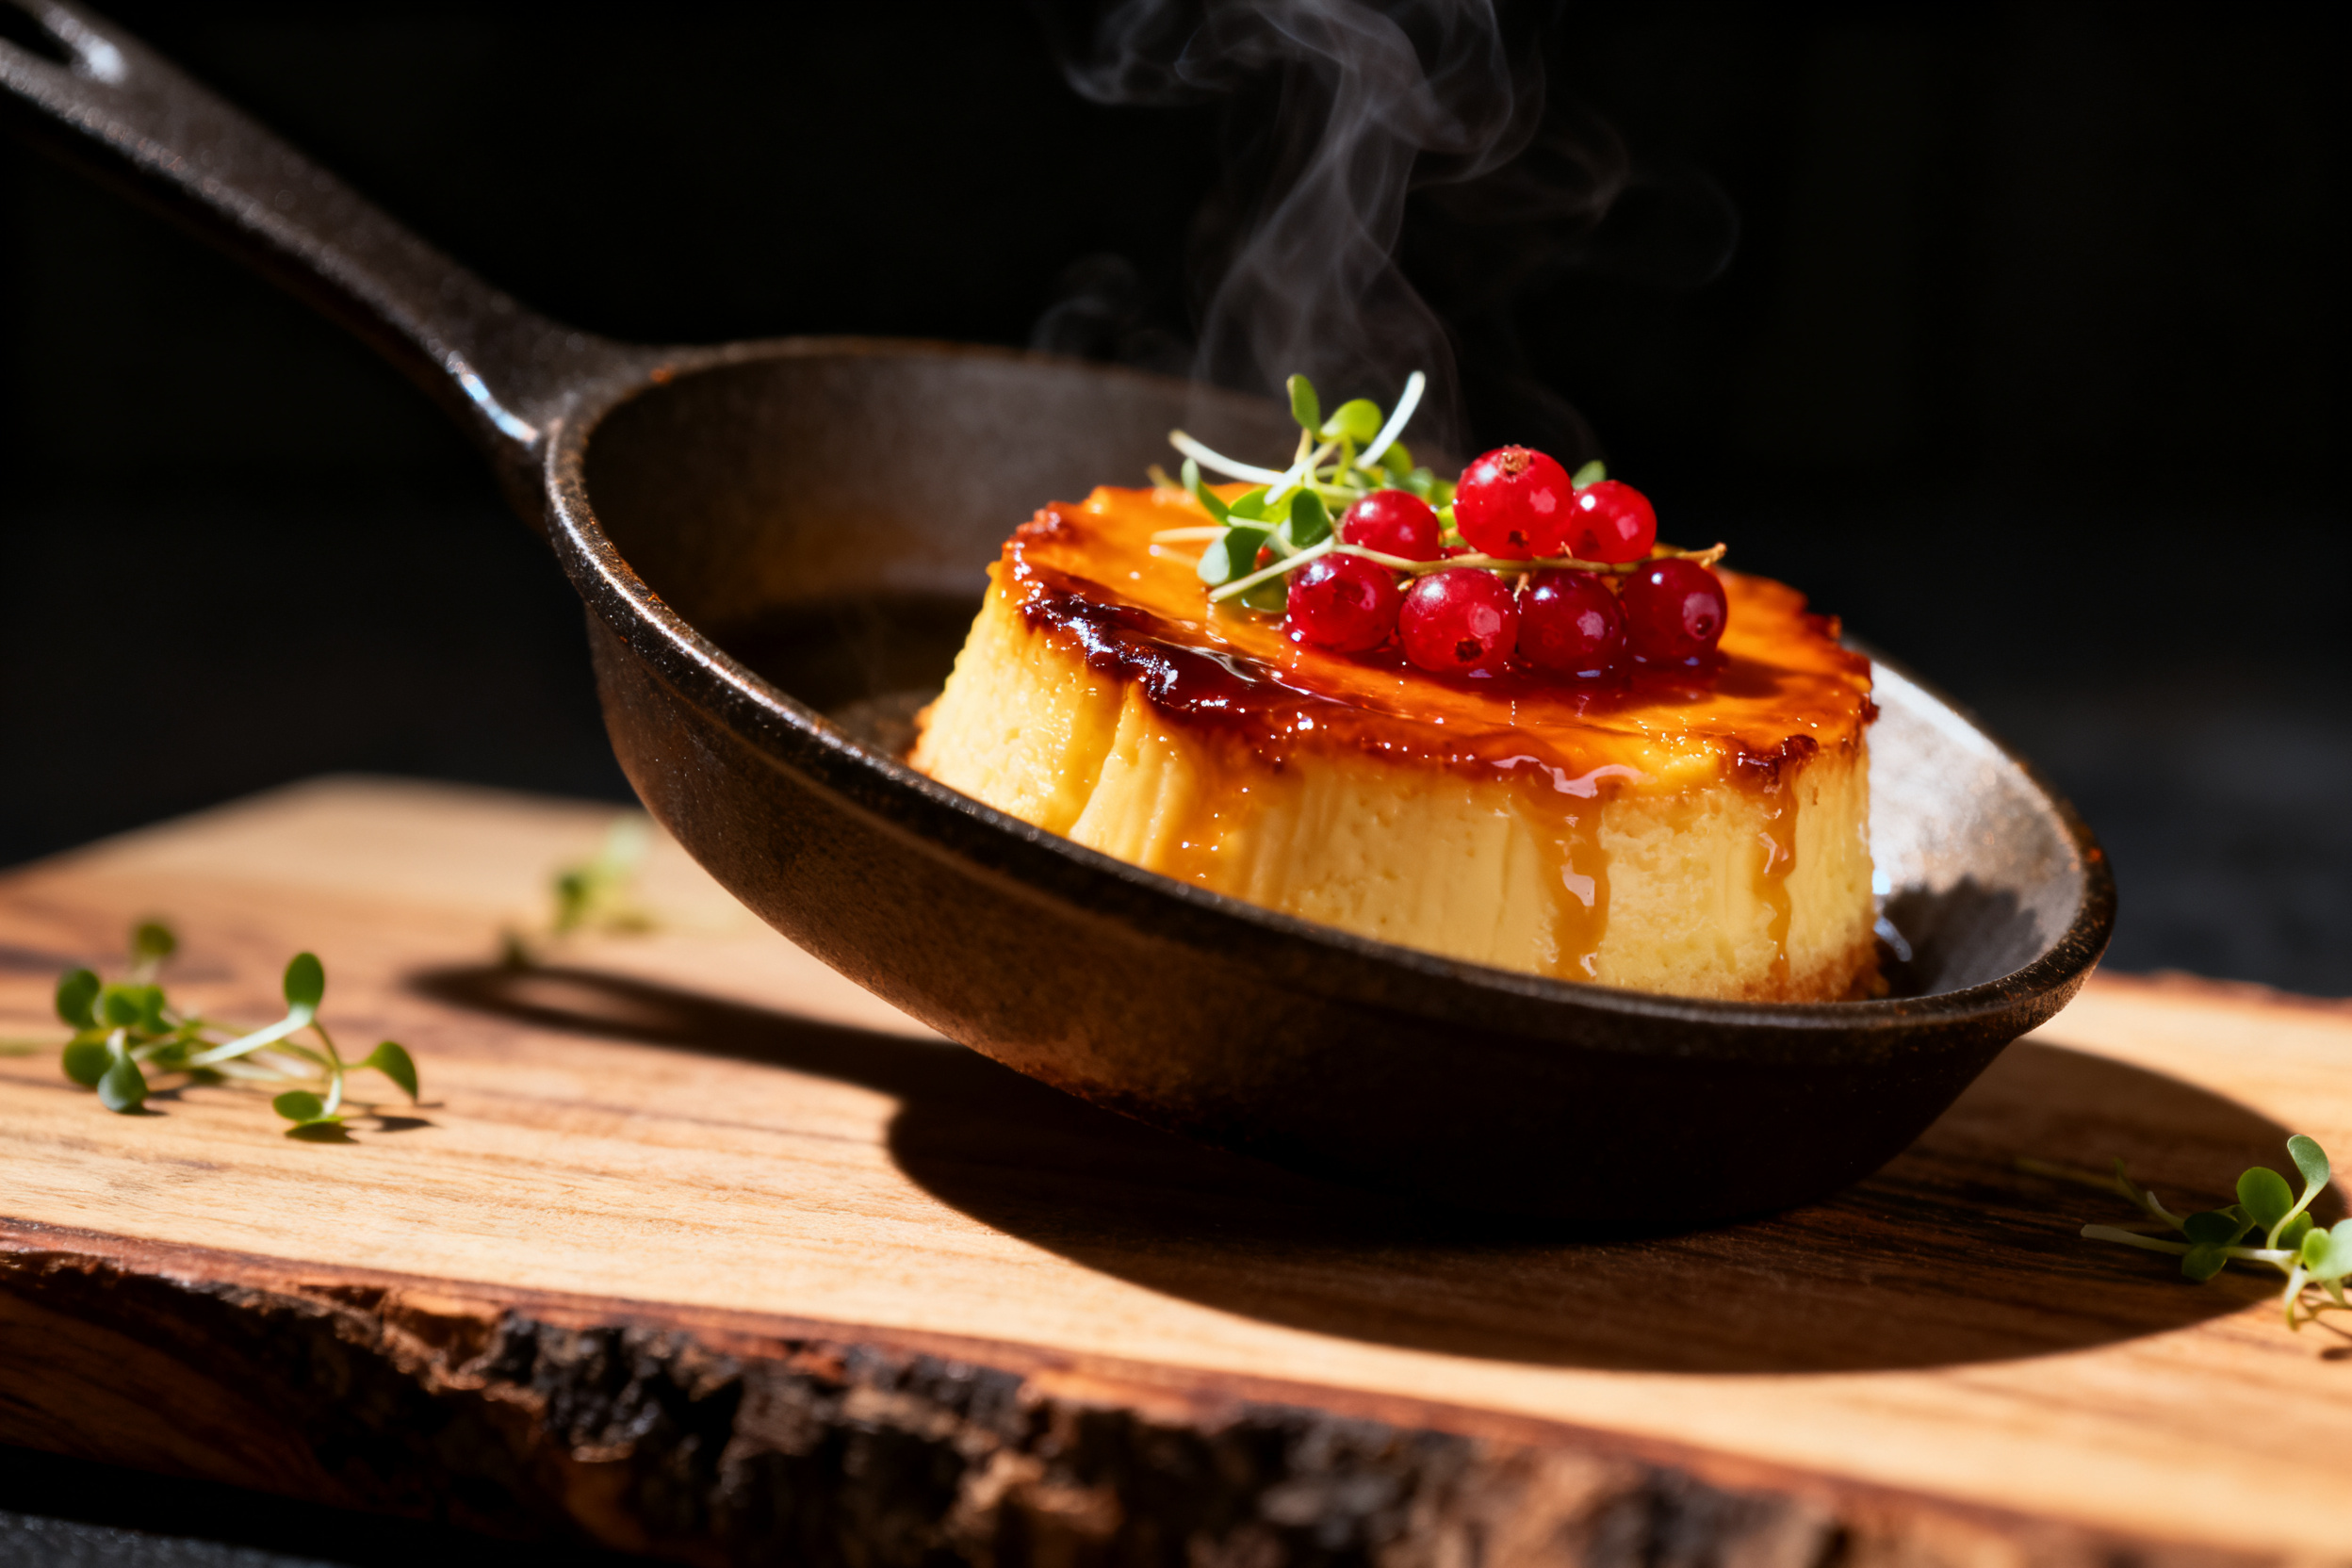
Leftover mini cakes are a gift. Crumble them up and toast the crumbs in a pan with a little butter for a crunchy ice cream topping. You can also use them as the base for a quick trifle.
Make cake pops. Crumble the cake, mix with a tablespoon of frosting, roll into balls, and dip in melted chocolate. It is a fantastic way to use up slightly stale cake.
Cube them and bake them at 300°F for 10 minutes to make crunchy croutons for a fruit salad or yogurt parfait. Waste not, want not.
7. Common mistakes & how to fix them
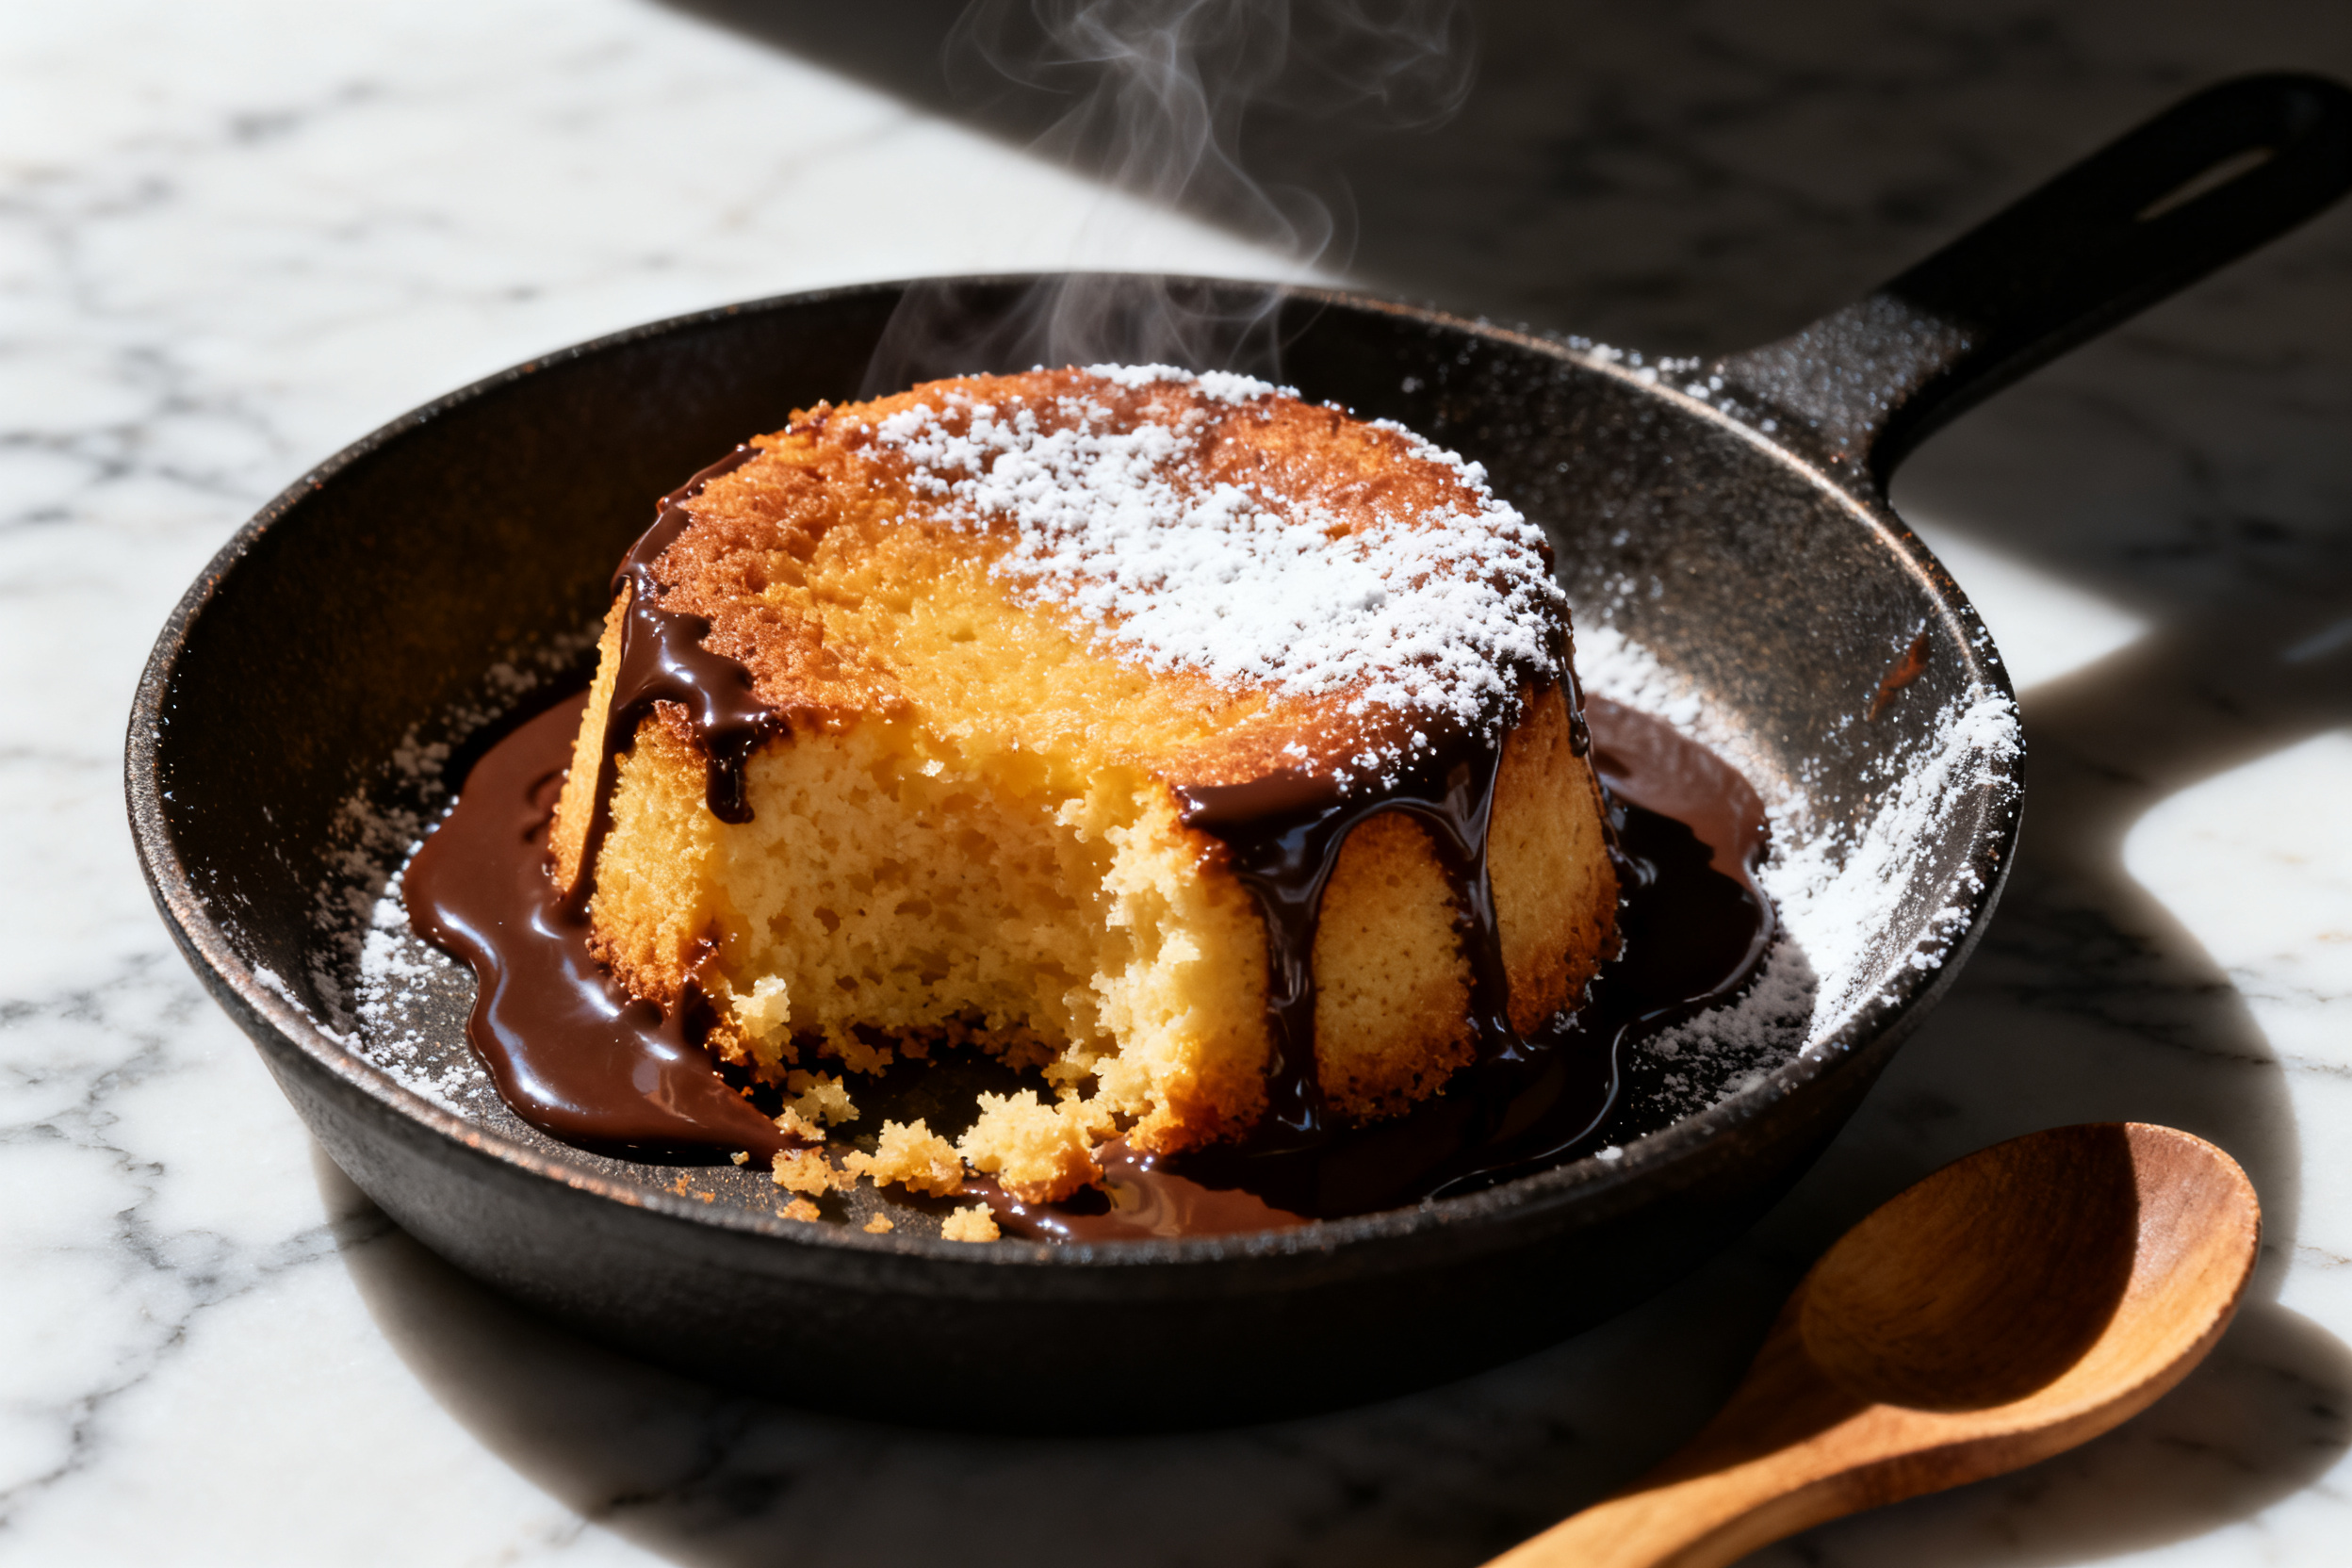
Sinking centers happen when you open the oven door too early or the batter is too wet. Resist the urge to peek for the first 15 minutes of baking. If they sink anyway, fill the hole with frosting or fruit and call it a “filled cake.”
Dry, crumbly cakes usually mean you overbaked them. Since mini cakes bake fast, start checking for doneness 5 minutes before the recipe says. A toothpick should come out with a few moist crumbs, not clean.
Sticking to the pan is the worst. If it happens, let the pan cool completely before trying to remove the cakes. Run a thin knife around the edge and tap the pan firmly on the counter. If all else fails, serve them in the pan with a spoon and call it a “cake dip.”
8. Variations by diet or flavor profile
For a vegan version, use flax eggs (1 tablespoon ground flaxseed + 3 tablespoons water per egg) and plant-based milk. The texture will be slightly denser but still delicious.
Gluten-free is easy with a good 1:1 flour blend. Add an extra tablespoon of milk to compensate for the extra absorbency of gluten-free flours.
For a flavor twist, try adding a teaspoon of instant espresso powder to chocolate batter for a deeper mocha taste. Lemon zest and poppy seeds make a bright spring version, while pumpkin puree and pumpkin spice scream fall.
9. Why this recipe works
Small pans mean faster, more even heat distribution. The sides and center of a mini cake cook at nearly the same rate, preventing the dreaded raw middle and burnt edge scenario. This is the science behind the perfect crumb.
The smaller volume also means less gluten development. You mix the batter less, resulting in a tender, delicate cake that stays moist longer. It is basically foolproof.
Portion control is built in. You get exactly one serving per cake, which makes it easier to enjoy a treat without overindulging. Or you can eat three and pretend they are one. I won’t tell.
10. Frequently Asked Questions
Can I use a regular cake recipe in a mini pan? Yes, but adjust the baking time. Start checking at 12-15 minutes instead of the original 30. The batter amount per cavity should be about 1/4 to 1/3 cup.
Do I need a special mini cake pan? Not at all. You can use mini loaf pans, a muffin tin, or even a cupcake pan. Just adjust the bake time based on the size. A silicone pan is great for easy release, but metal pans give a crisper crust.
Why are my mini cakes dome-shaped? That is normal! The batter rises and creates a dome. If you want flat tops for stacking or frosting, just slice the dome off with a serrated knife. Use the scraps for cake pops.
11. Call to action
I want to see your tiny cake creations! Drop a comment below and tell me which flavor you tried first. Did you go classic vanilla or get wild with a chocolate peanut butter combo?
If you loved this guide, share it with a friend who needs a little baking joy in their life. And do not forget to subscribe to the newsletter for more adorable recipes delivered straight to your inbox.
Happy baking, and remember: good things come in small packages.
So there you have it. Mini cakes are the perfect solution for when you want a homemade treat without the towering leftovers. They are quick, forgiving, and endlessly customizable. Whether you are baking for a party or just a quiet night in, these little guys deliver big flavor.
I hope this post gave you the confidence to pull out that mini pan and experiment. The best part is that even if they don’t turn out perfect, they still taste amazing. And at the end of the day, that is all that matters. Now go make some mini magic.
Classic Vanilla Mini Loaf Cakes Recipe
Ingredients
- 1 1/2 cups all-purpose flour
- 1 teaspoon baking powder
- 1/4 teaspoon salt
- 1/2 cup unsalted butter softened
- 3/4 cup granulated sugar
- 2 large eggs room temperature
- 1 teaspoon vanilla extract
- 1/2 cup whole milk room temperature
Instructions
- Preheat your oven to 350°F (175°C). Grease a 6-cavity mini loaf pan thoroughly with baking spray.
- In a medium bowl, whisk together the flour, baking powder, and salt.
- In a large bowl, beat the softened butter and sugar together with an electric mixer until light and fluffy, about 2-3 minutes.
- Add the eggs one at a time, beating well after each addition. Stir in the vanilla extract.
- Add the dry ingredients to the butter mixture in three additions, alternating with the milk. Start and end with the dry ingredients. Mix until just combined. Do not overmix.
- Divide the batter evenly among the prepared mini loaf cavities, filling each about 2/3 full.
- Bake for 16-18 minutes, or until a toothpick inserted into the center comes out with a few moist crumbs. Rotate the pan halfway through baking.
- Let the mini loaves cool in the pan for 5 minutes, then turn them out onto a wire rack to cool completely before frosting or glazing.
Notes
2. Substitution: For a dairy-free version, use plant-based butter and oat milk.
3. For a gluten-free version, use a 1:1 gluten-free baking blend.
4. Flavor variations: Add 1/2 cup chocolate chips, 1 tablespoon lemon zest, or 1 teaspoon cinnamon to the batter for a different twist.
5. Pan note: If using a silicone mini loaf pan, place it on a baking sheet for stability before filling and baking.