
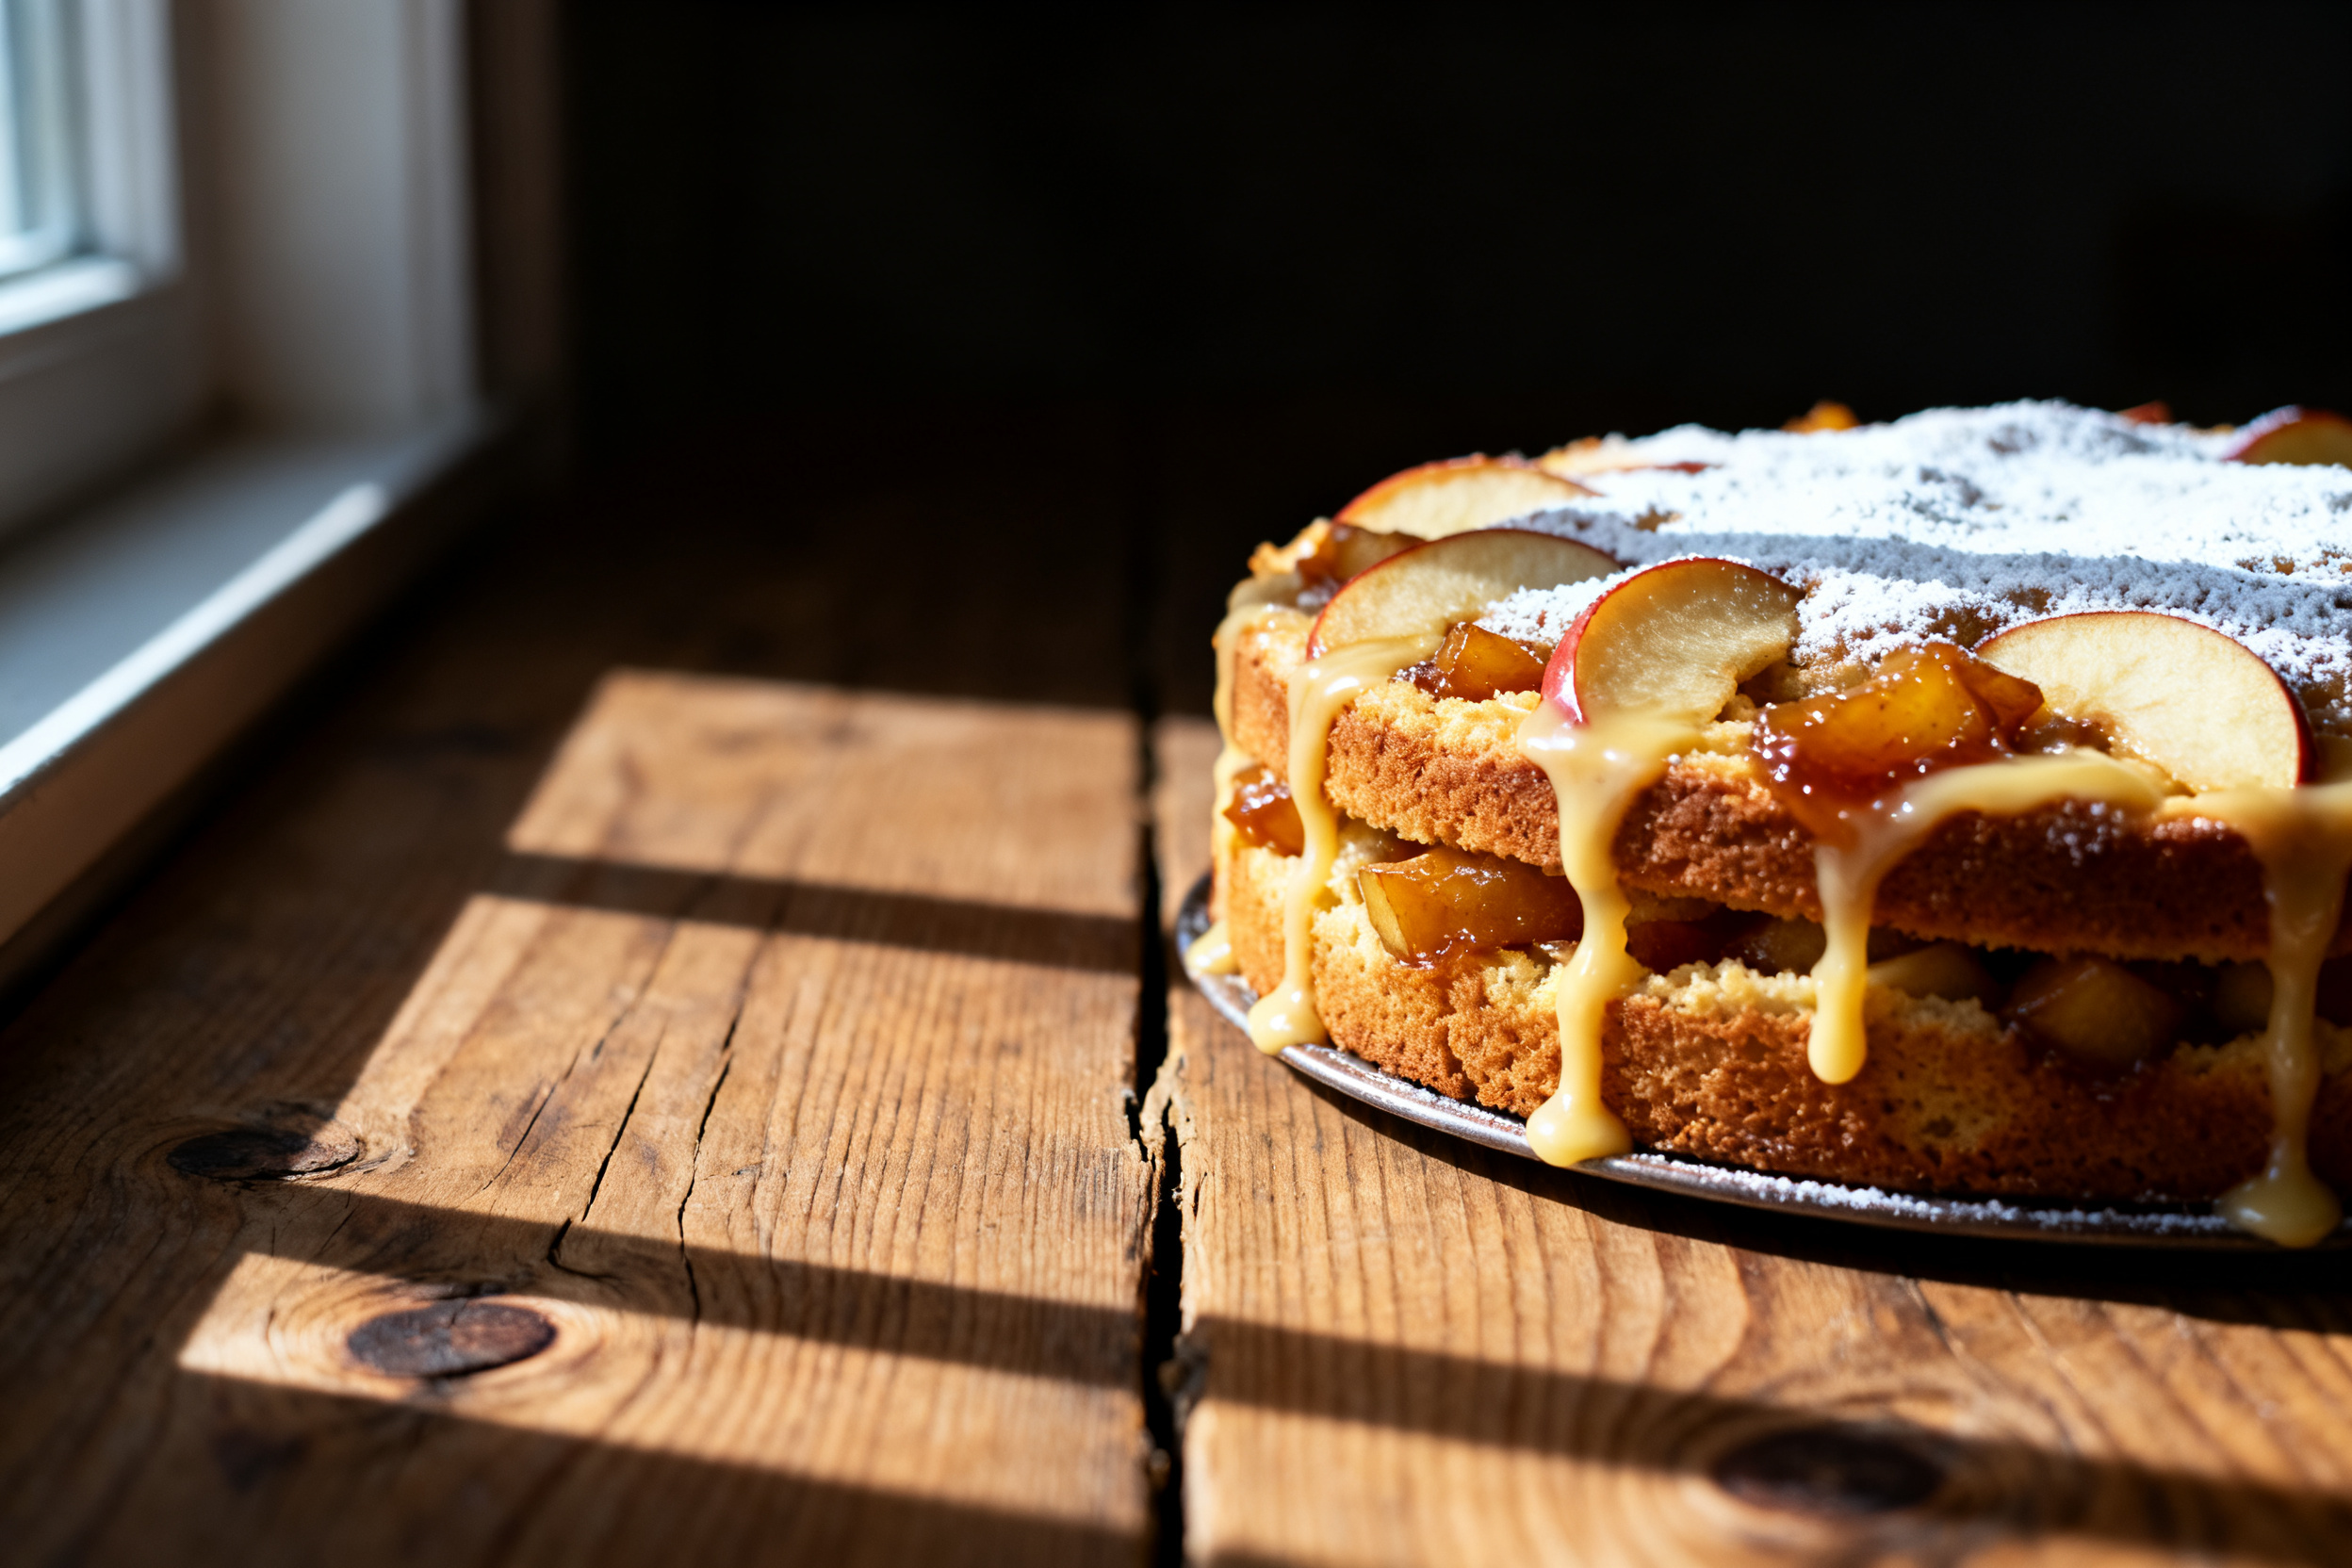

Let’s be honest — a dry apple cake is a tragedy. You want that tender crumb, that buttery richness, and apples that practically melt into the batter. I’ve chased that perfect slice for years, and after many so-so attempts, I nailed it. Today I’m sharing everything you need to nail it too.
This isn’t just any apple cake. It’s a moist, buttery, cinnamon-spiced wonder that tastes like autumn in a pan. No complicated steps, no obscure ingredients. Just pure, homey goodness. Ready to bake something that’ll make your kitchen smell like a bakery? Let’s get into it.
Allergens
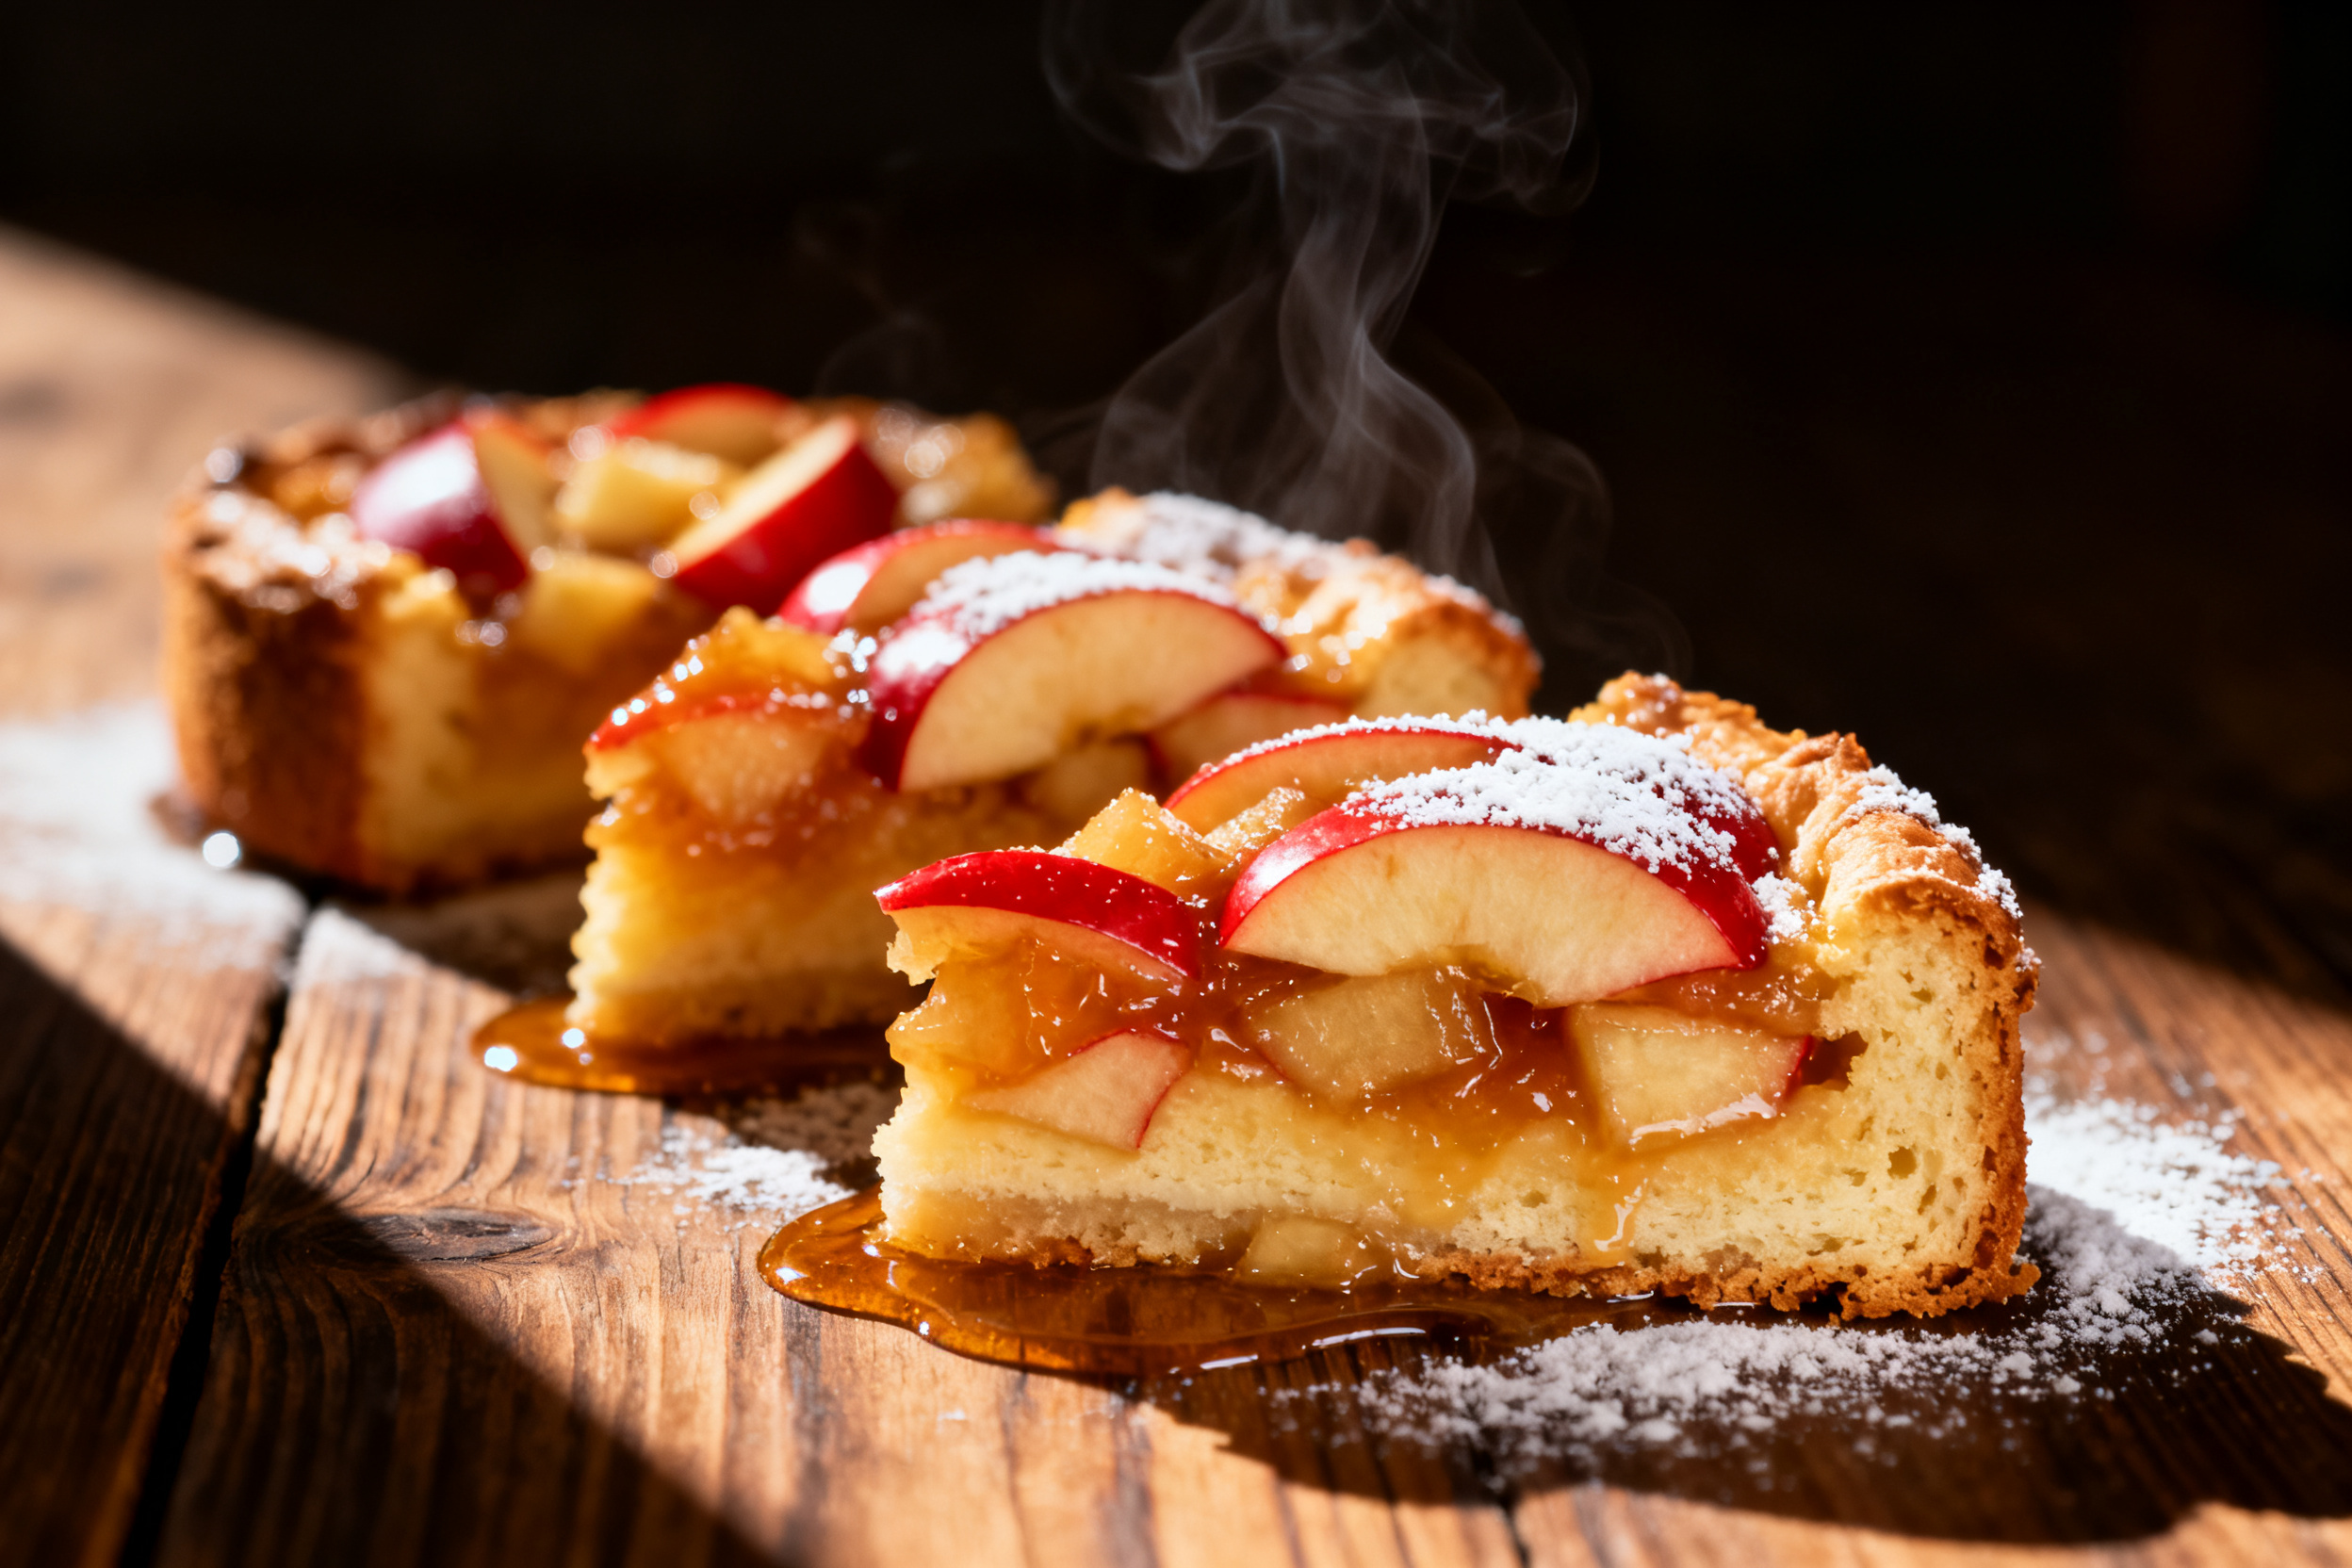
This recipe contains wheat (gluten), dairy (butter, milk), and eggs. It also uses tree nuts if you add the optional walnuts. For a nut-free version, simply omit them. For a dairy-free swap, use plant-based butter and your favorite non-dairy milk — the texture will still be lovely.
Ingredient notes & substitutions
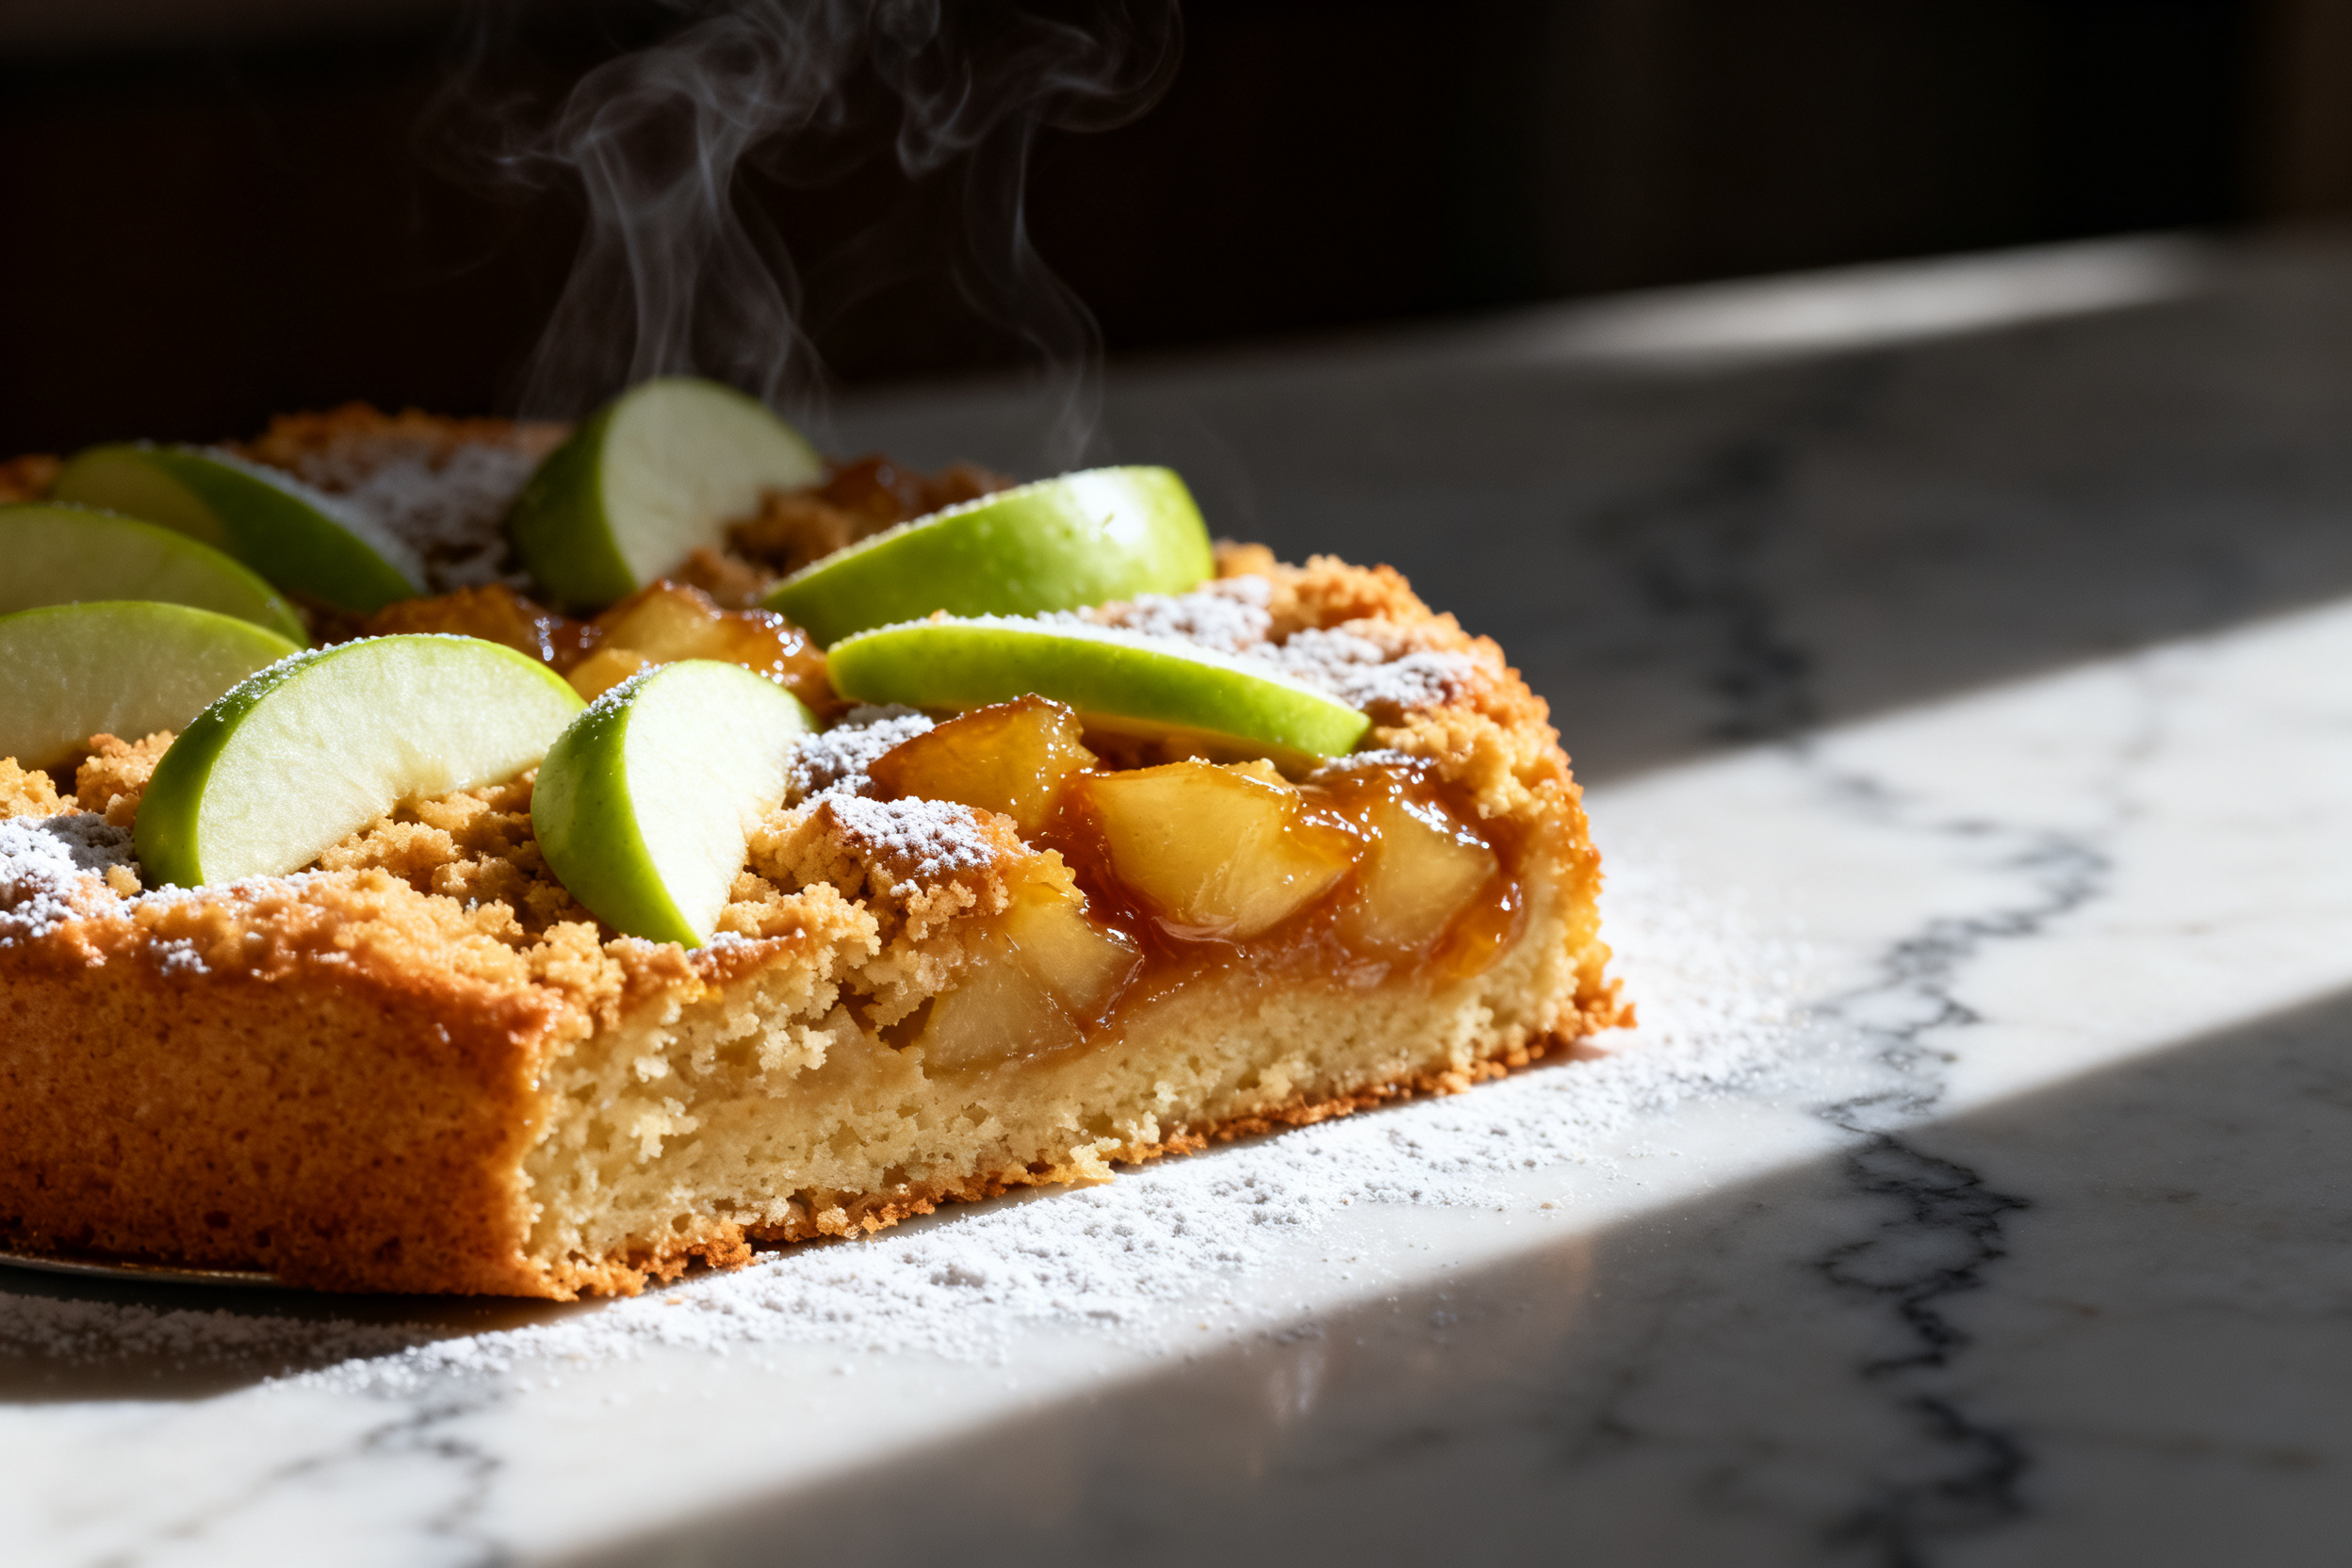
Start with all-purpose flour. It gives the perfect structure. You can swap in a 1:1 gluten-free baking blend if needed, but avoid coconut flour — it’s too absorbent.
Use unsalted butter so you control the salt. If you only have salted, reduce the added salt by ¼ teaspoon. The butter should be at room temperature — cold butter won’t cream properly and you’ll lose that airy crumb.
Pick firm, tart apples like Granny Smith, Honeycrisp, or Braeburn. They hold their shape during baking and balance the sweetness. Avoid mealy or overly soft apples — they’ll turn to mush.
Sugar is a mix of granulated and light brown sugar. The brown sugar adds moisture and a subtle molasses note. If you’re out of brown sugar, mix 1 cup white sugar with 2 tablespoons molasses. Easy fix.
Storage & make-ahead
This cake stays moist for days at room temperature. Wrap it tightly in plastic wrap or store it in an airtight container. It’ll be perfect for up to 3 days. If your kitchen runs warm, pop it in the fridge after day two.
You can also freeze the cake for up to 3 months. Let it cool completely, then wrap it in a layer of plastic wrap, a layer of foil, and slide it into a freezer bag. Thaw overnight in the fridge, then bring to room temp before serving.
To make ahead, bake the cake a day in advance. The flavors actually meld and deepen overnight. Just keep it covered on the counter. No need to refrigerate unless your house is hot.
If you’re prepping the batter ahead, don’t. The baking powder activates immediately, and the apples will start to release juice. Better to bake now and store the finished cake.
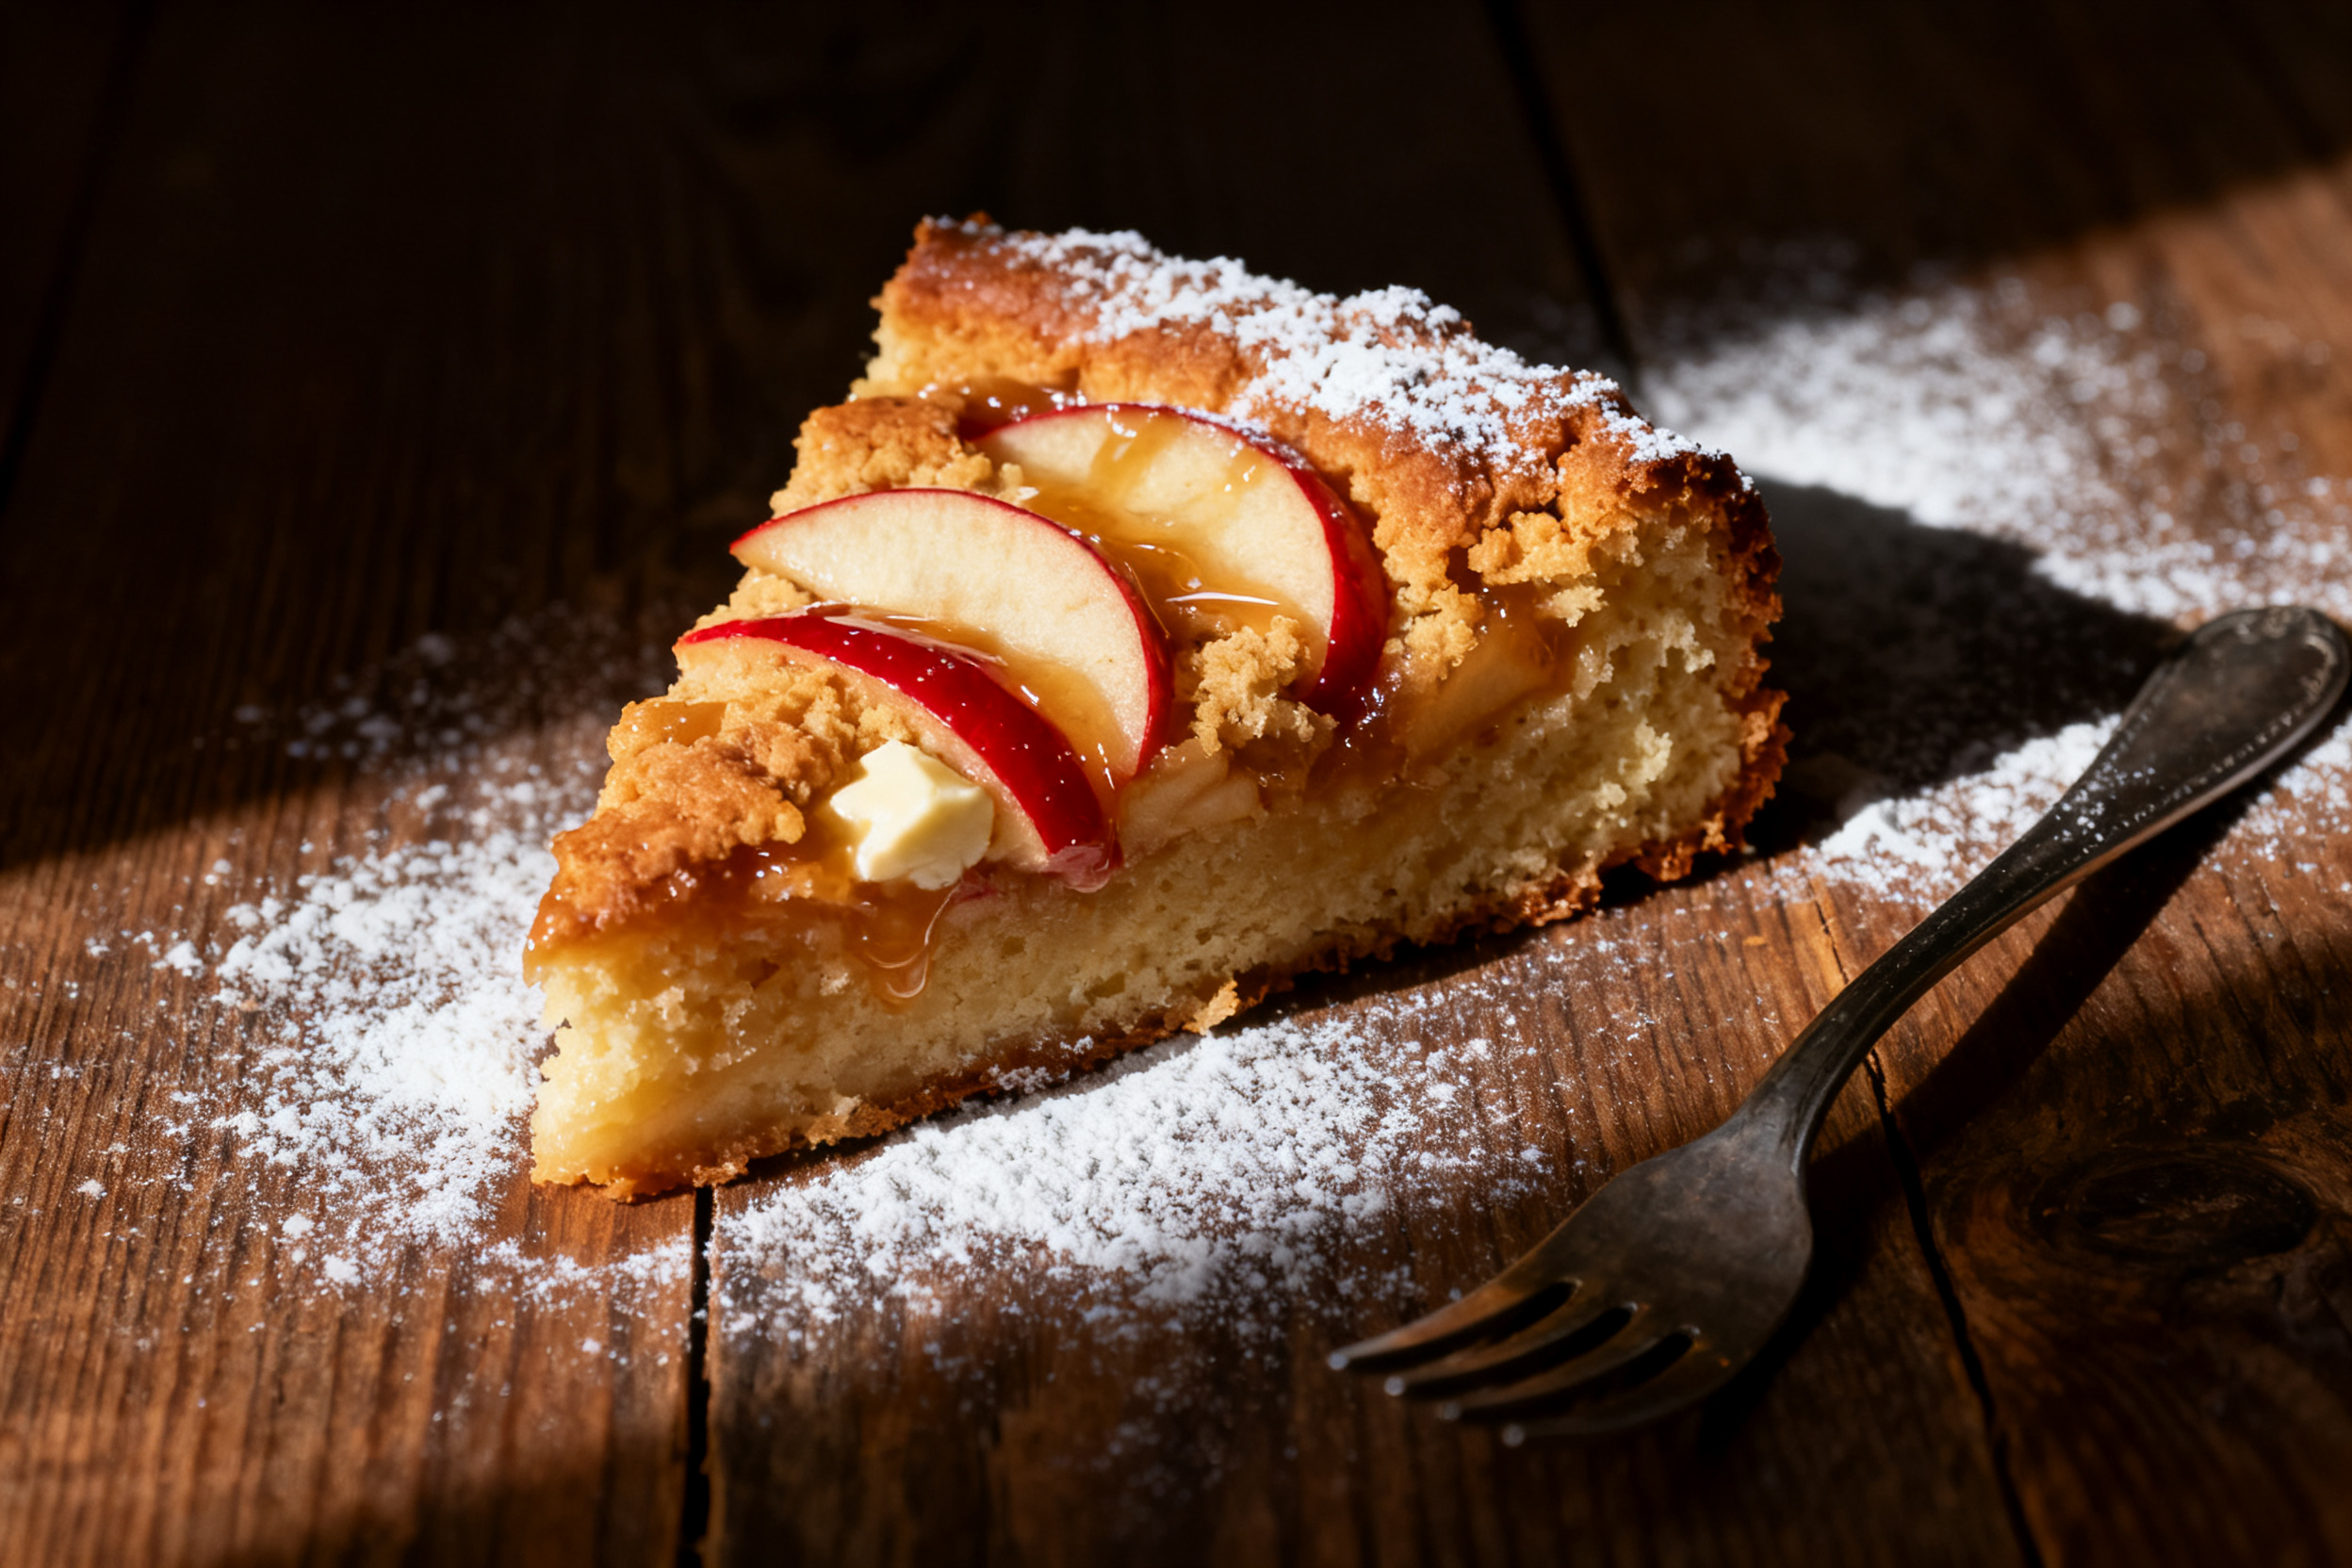
For a quick reheat, pop slices in a 300°F oven for 5 minutes or microwave for 15 seconds. Add a pat of butter on top — you’re welcome.
Serving suggestions
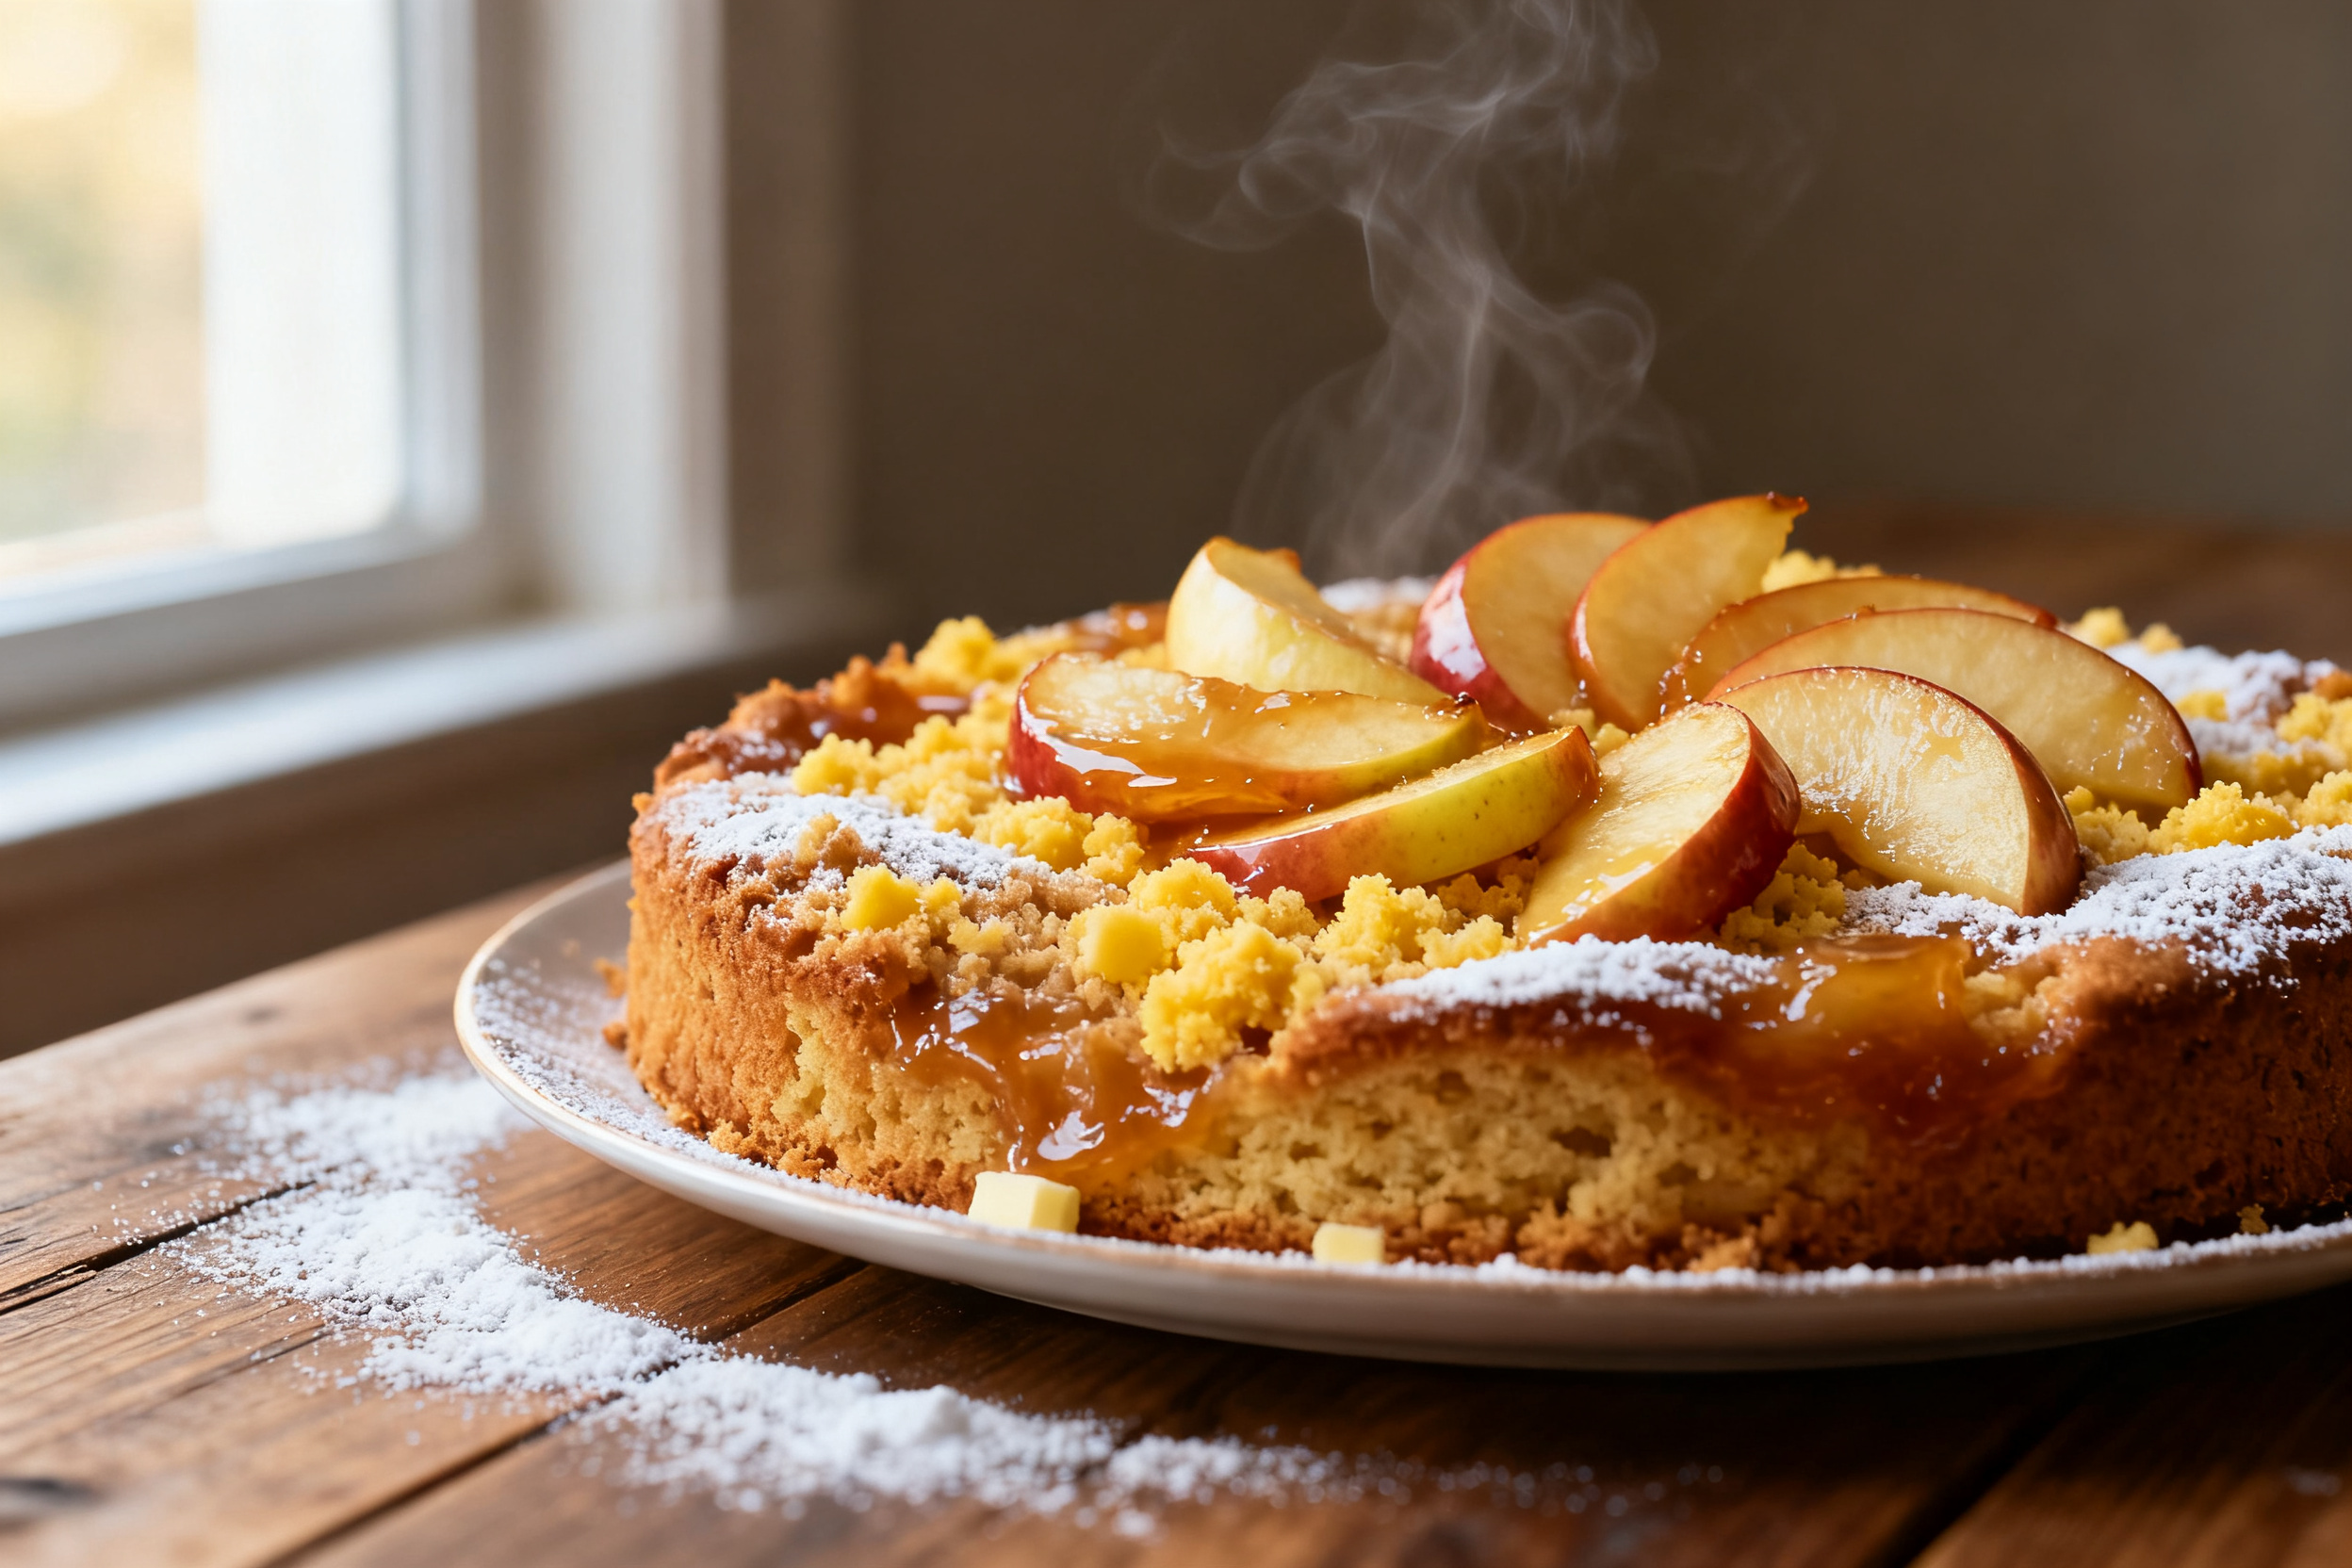
A plain slice of this apple cake is already a knockout. But if you want to go full dessert mode, serve it warm with a scoop of vanilla ice cream. The cold cream melting into the warm cake is pure magic.
For a brunch spread, cut the cake into squares and dust with powdered sugar. A few fresh apple slices on the side make it look fancy. No one needs to know it took you 15 minutes of active work.
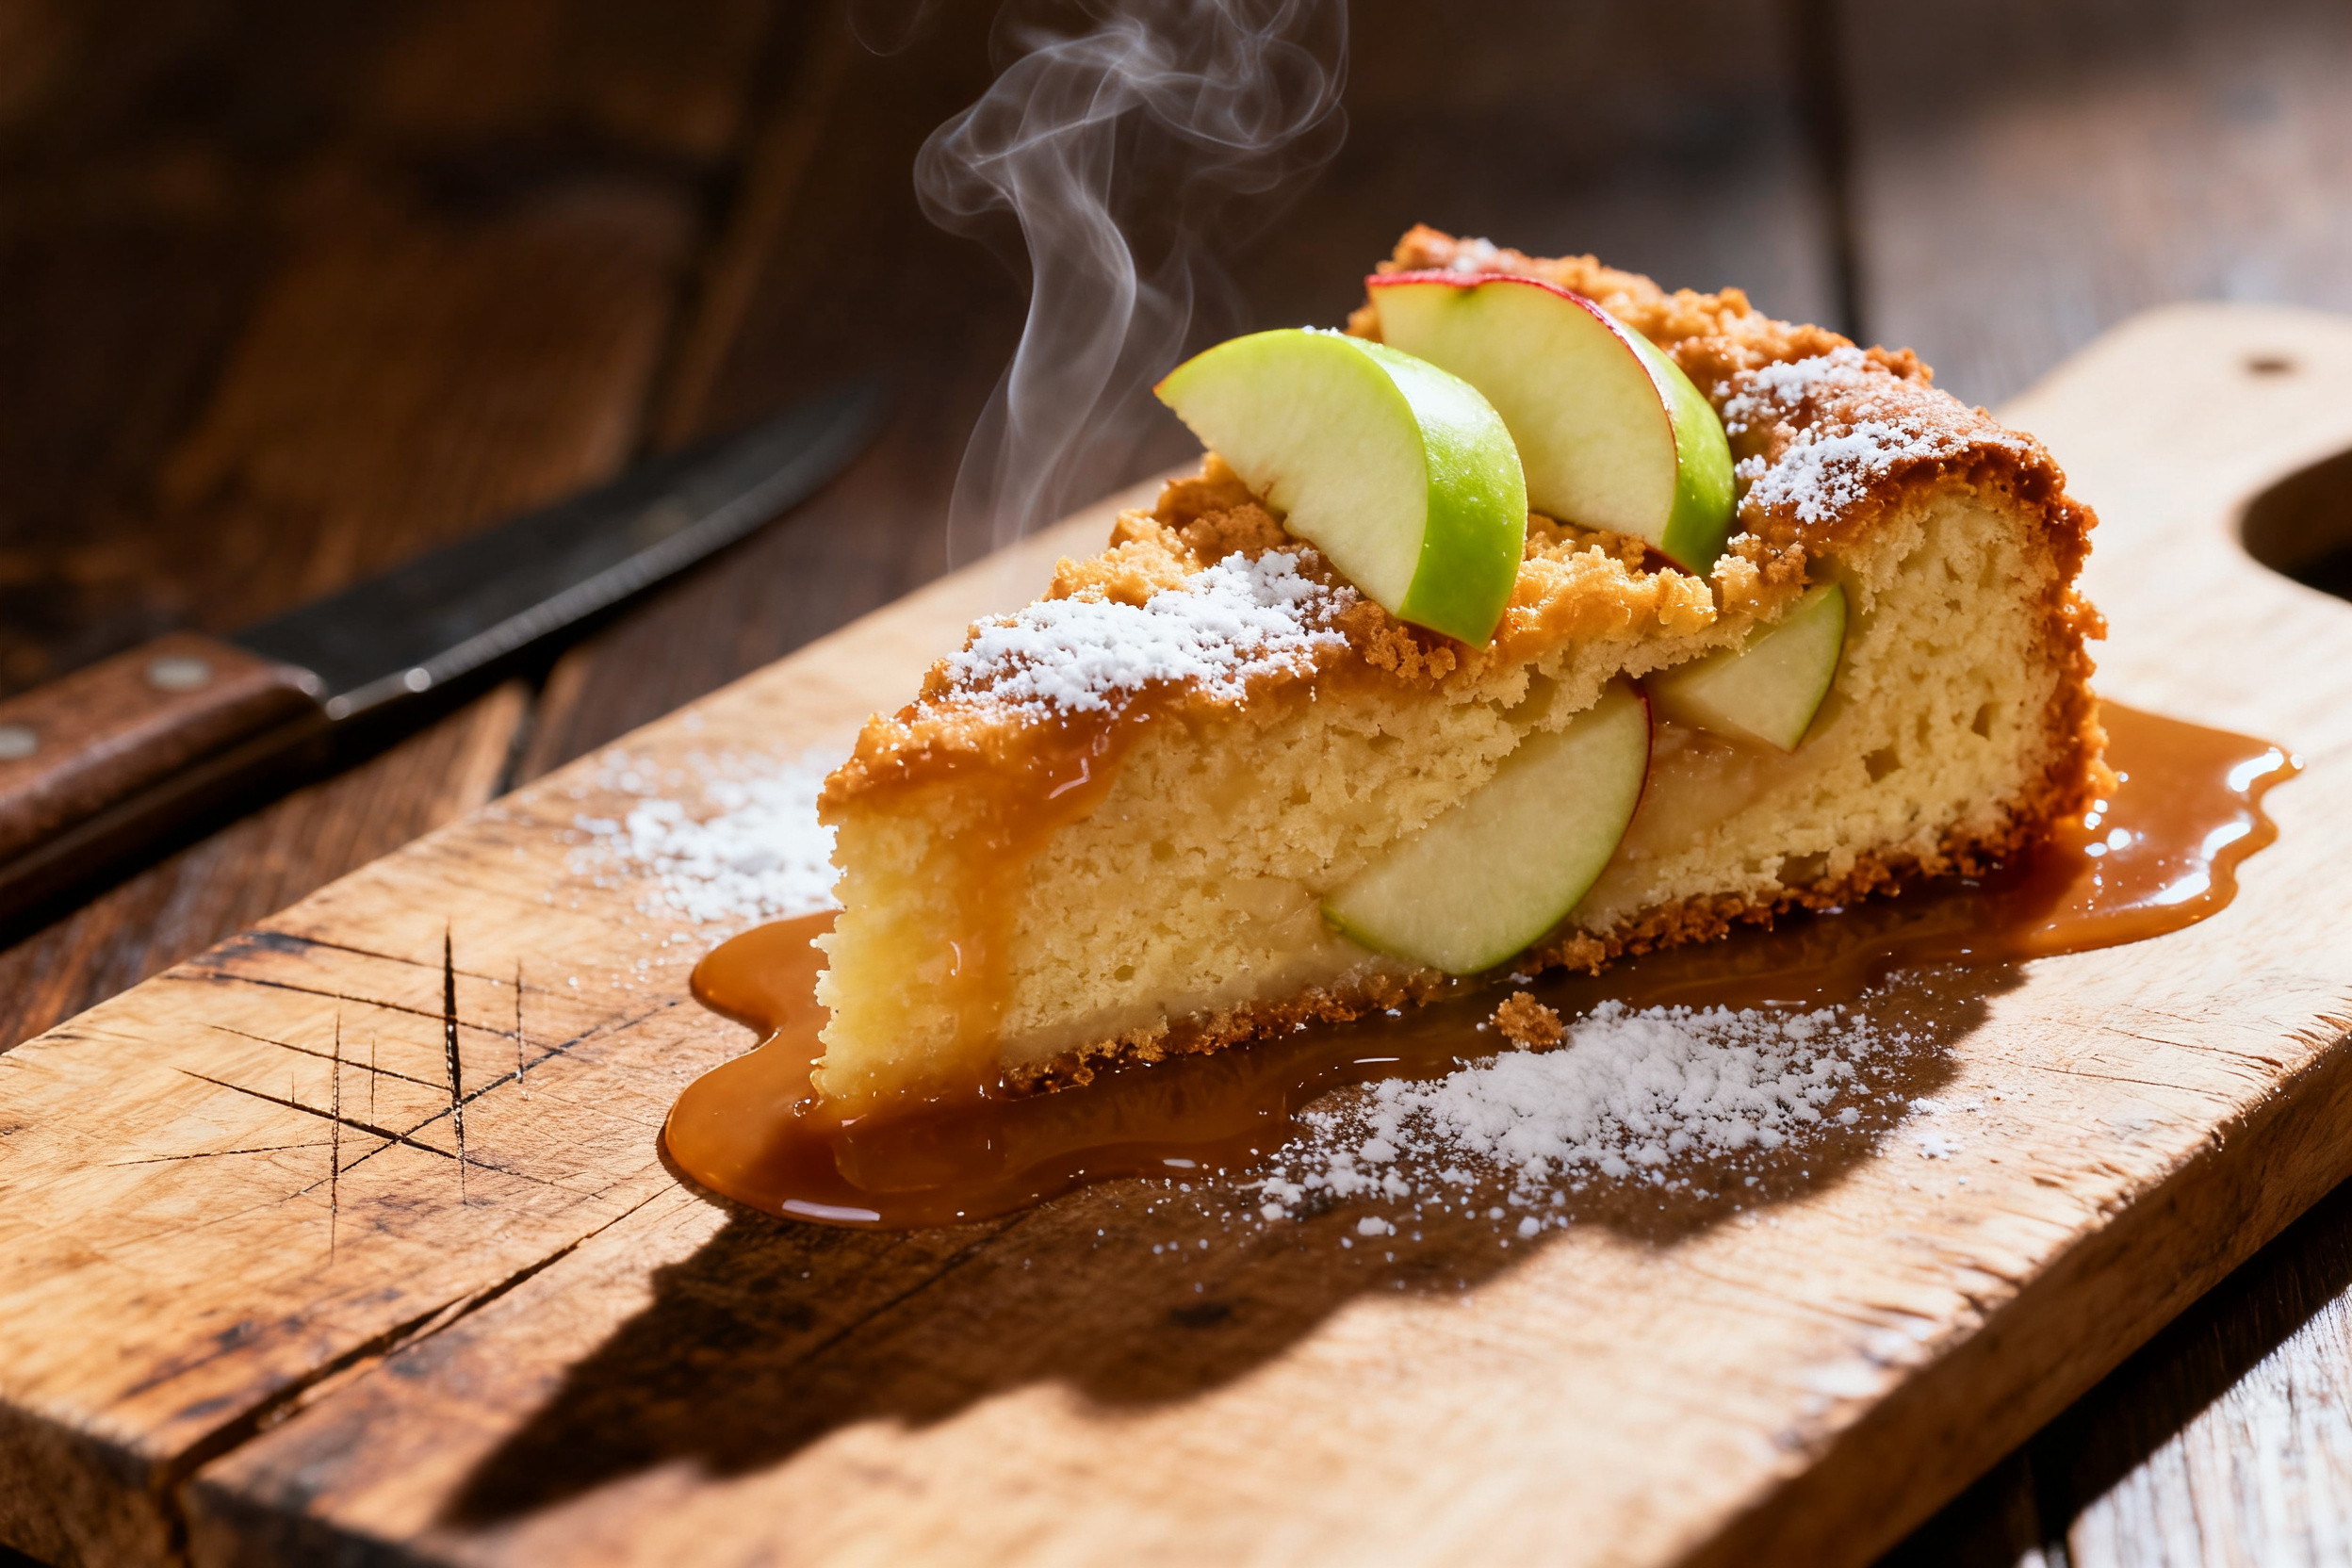
Drizzle with caramel sauce for an extra indulgence. Store-bought is fine, but homemade is next-level. You can also drizzle a simple icing made from powdered sugar and a splash of milk.
Pair it with coffee or tea — obviously. A cinnamon latte or a cup of Earl Grey complements the apple-spice notes beautifully. I personally go for a dark roast black coffee.
This cake also works as a coffee cake for a casual gathering. Set it out on a pretty platter and let people grab slices. It’s not too sweet, so it’s perfect for morning or afternoon.
If you’re feeling extra, add a crumble topping before baking. Mix ¼ cup flour, ¼ cup brown sugar, 3 tablespoons cold butter, and a pinch of cinnamon. Sprinkle over the batter and bake. Crispy, buttery, irresistible.
Use your leftovers
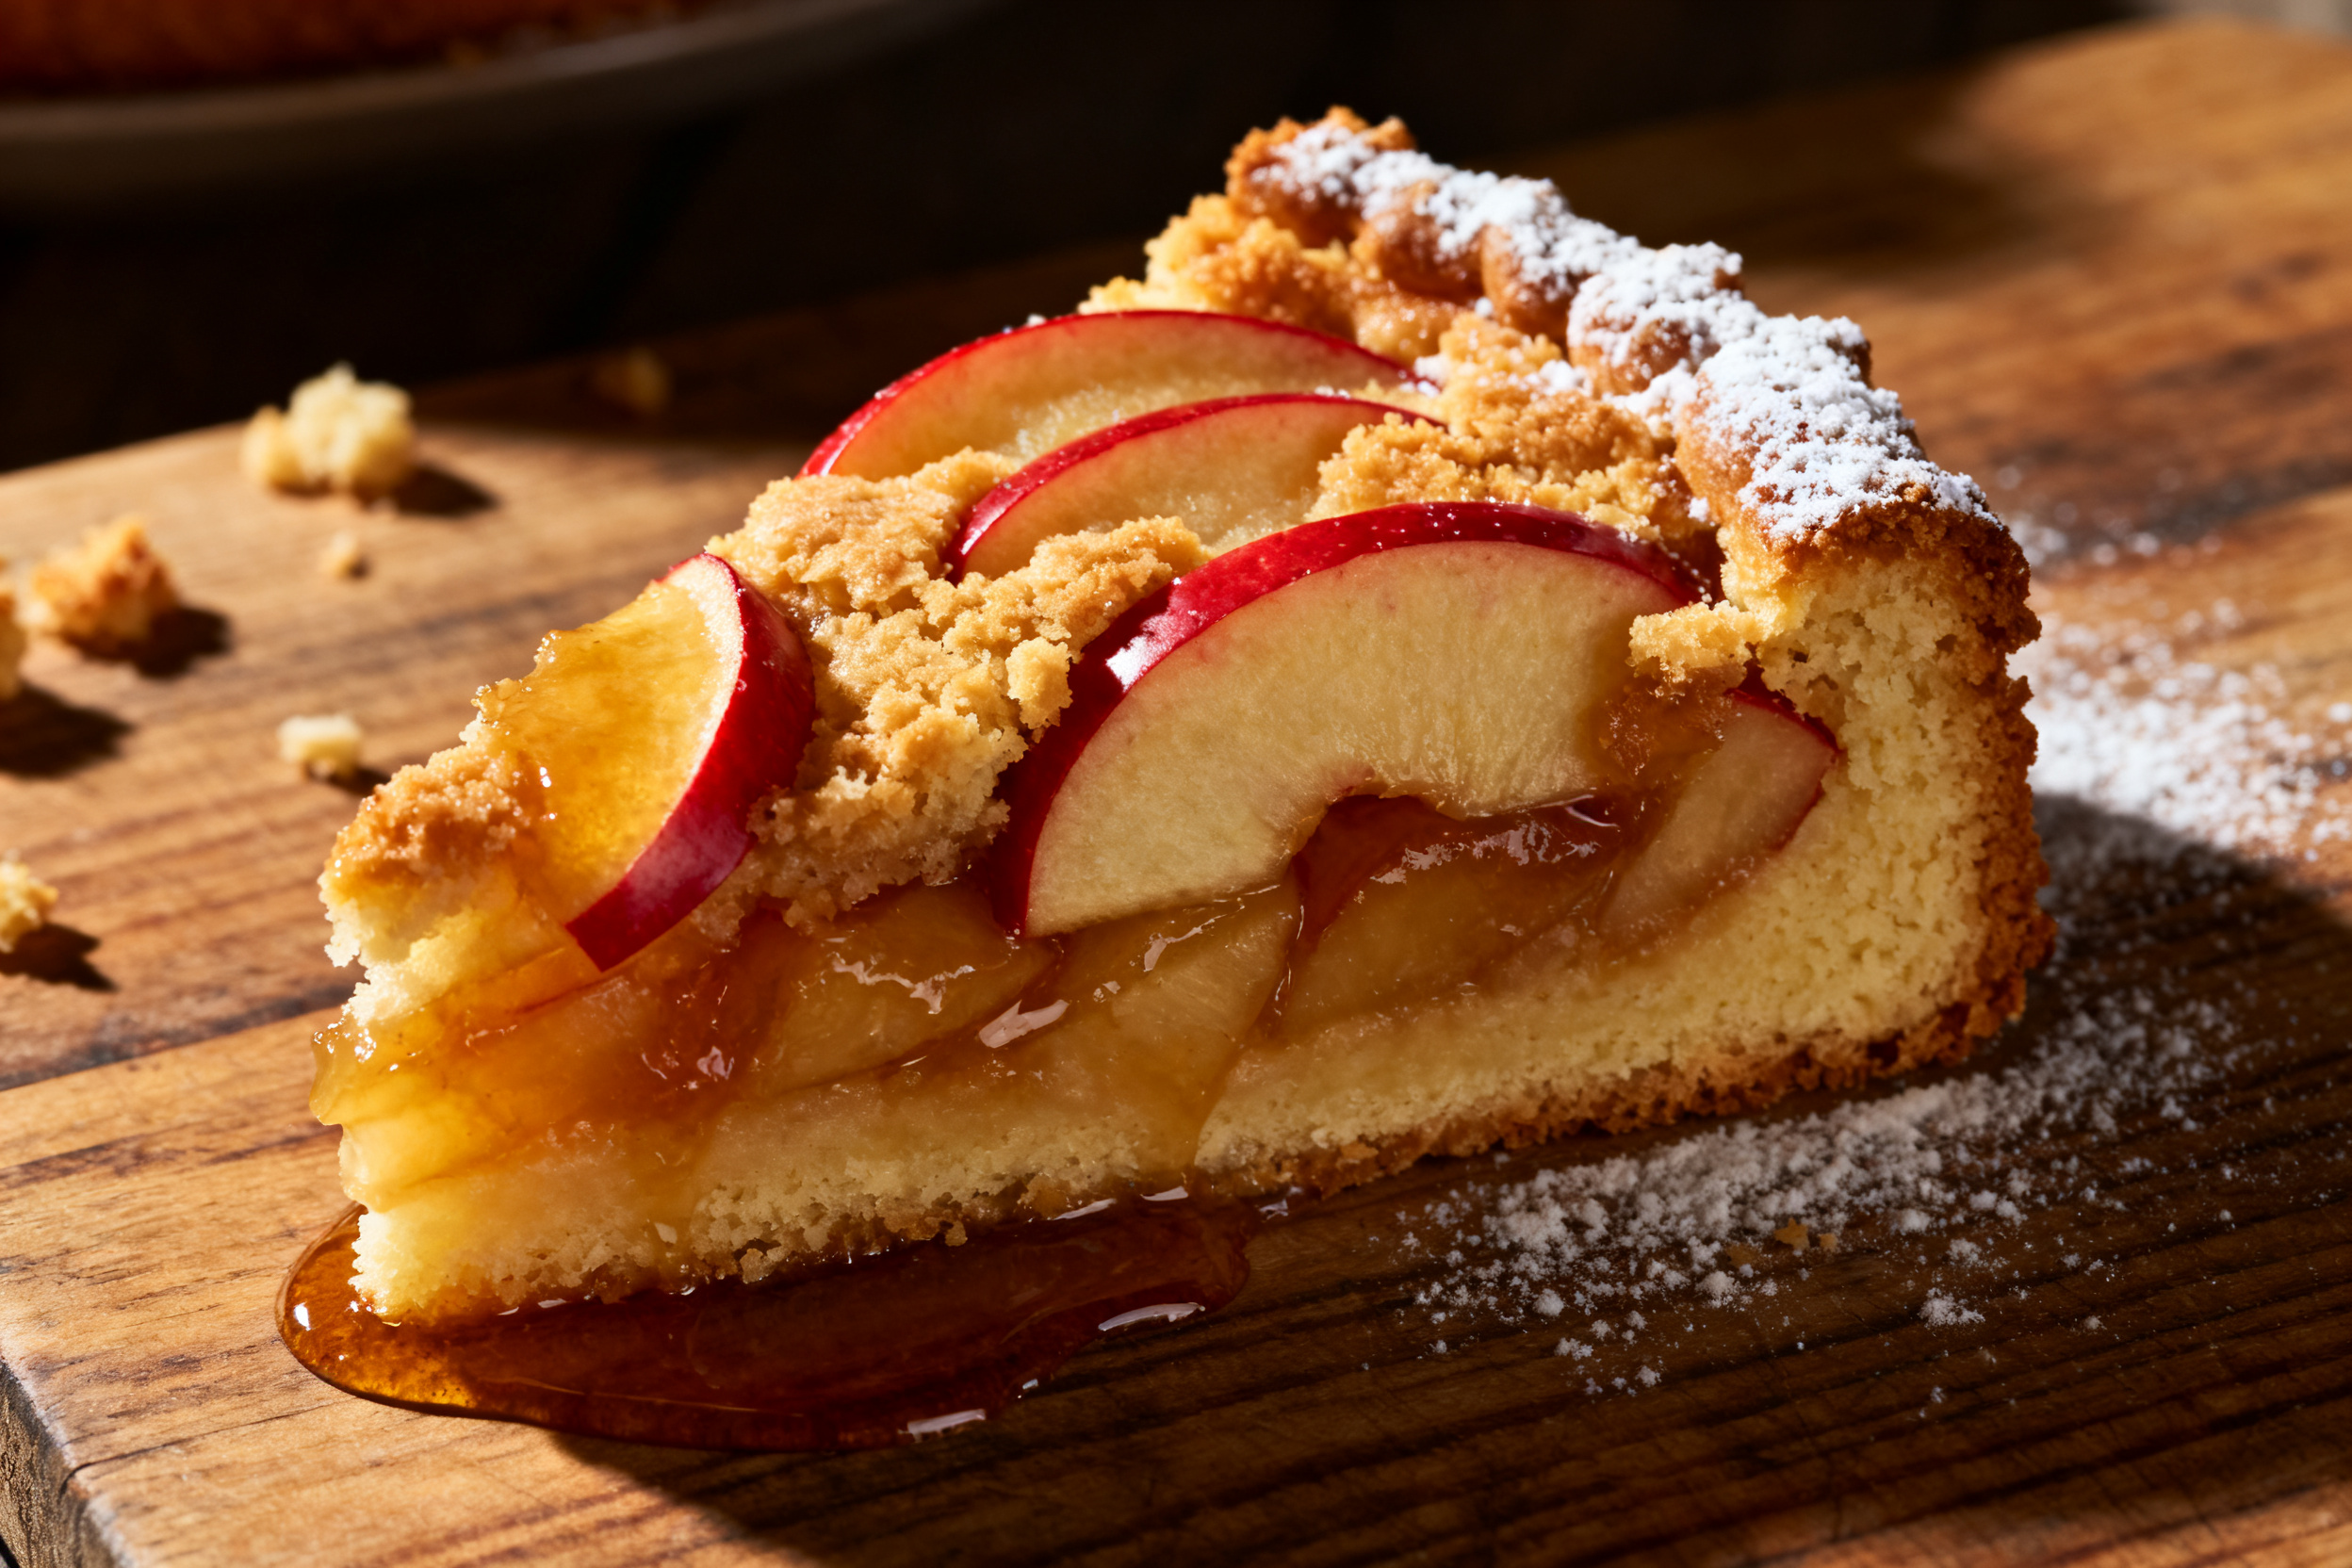
Got leftover cake? Cube it up and toast it for a makeshift bread pudding. Toss cubes with a custard of milk, eggs, sugar, and vanilla, then bake at 350°F until set. Easy and delicious.
You can also crumble it over yogurt or oatmeal for a breakfast treat. It’s like having apple crisp on your morning bowl. Just break it into small pieces and sprinkle on top.
If you have only a few sad slices, blitz them into cake pops. Crumble, mix with a little cream cheese frosting, roll into balls, and dip in chocolate. Dangerous, but worth it.
Common mistakes & how to fix them
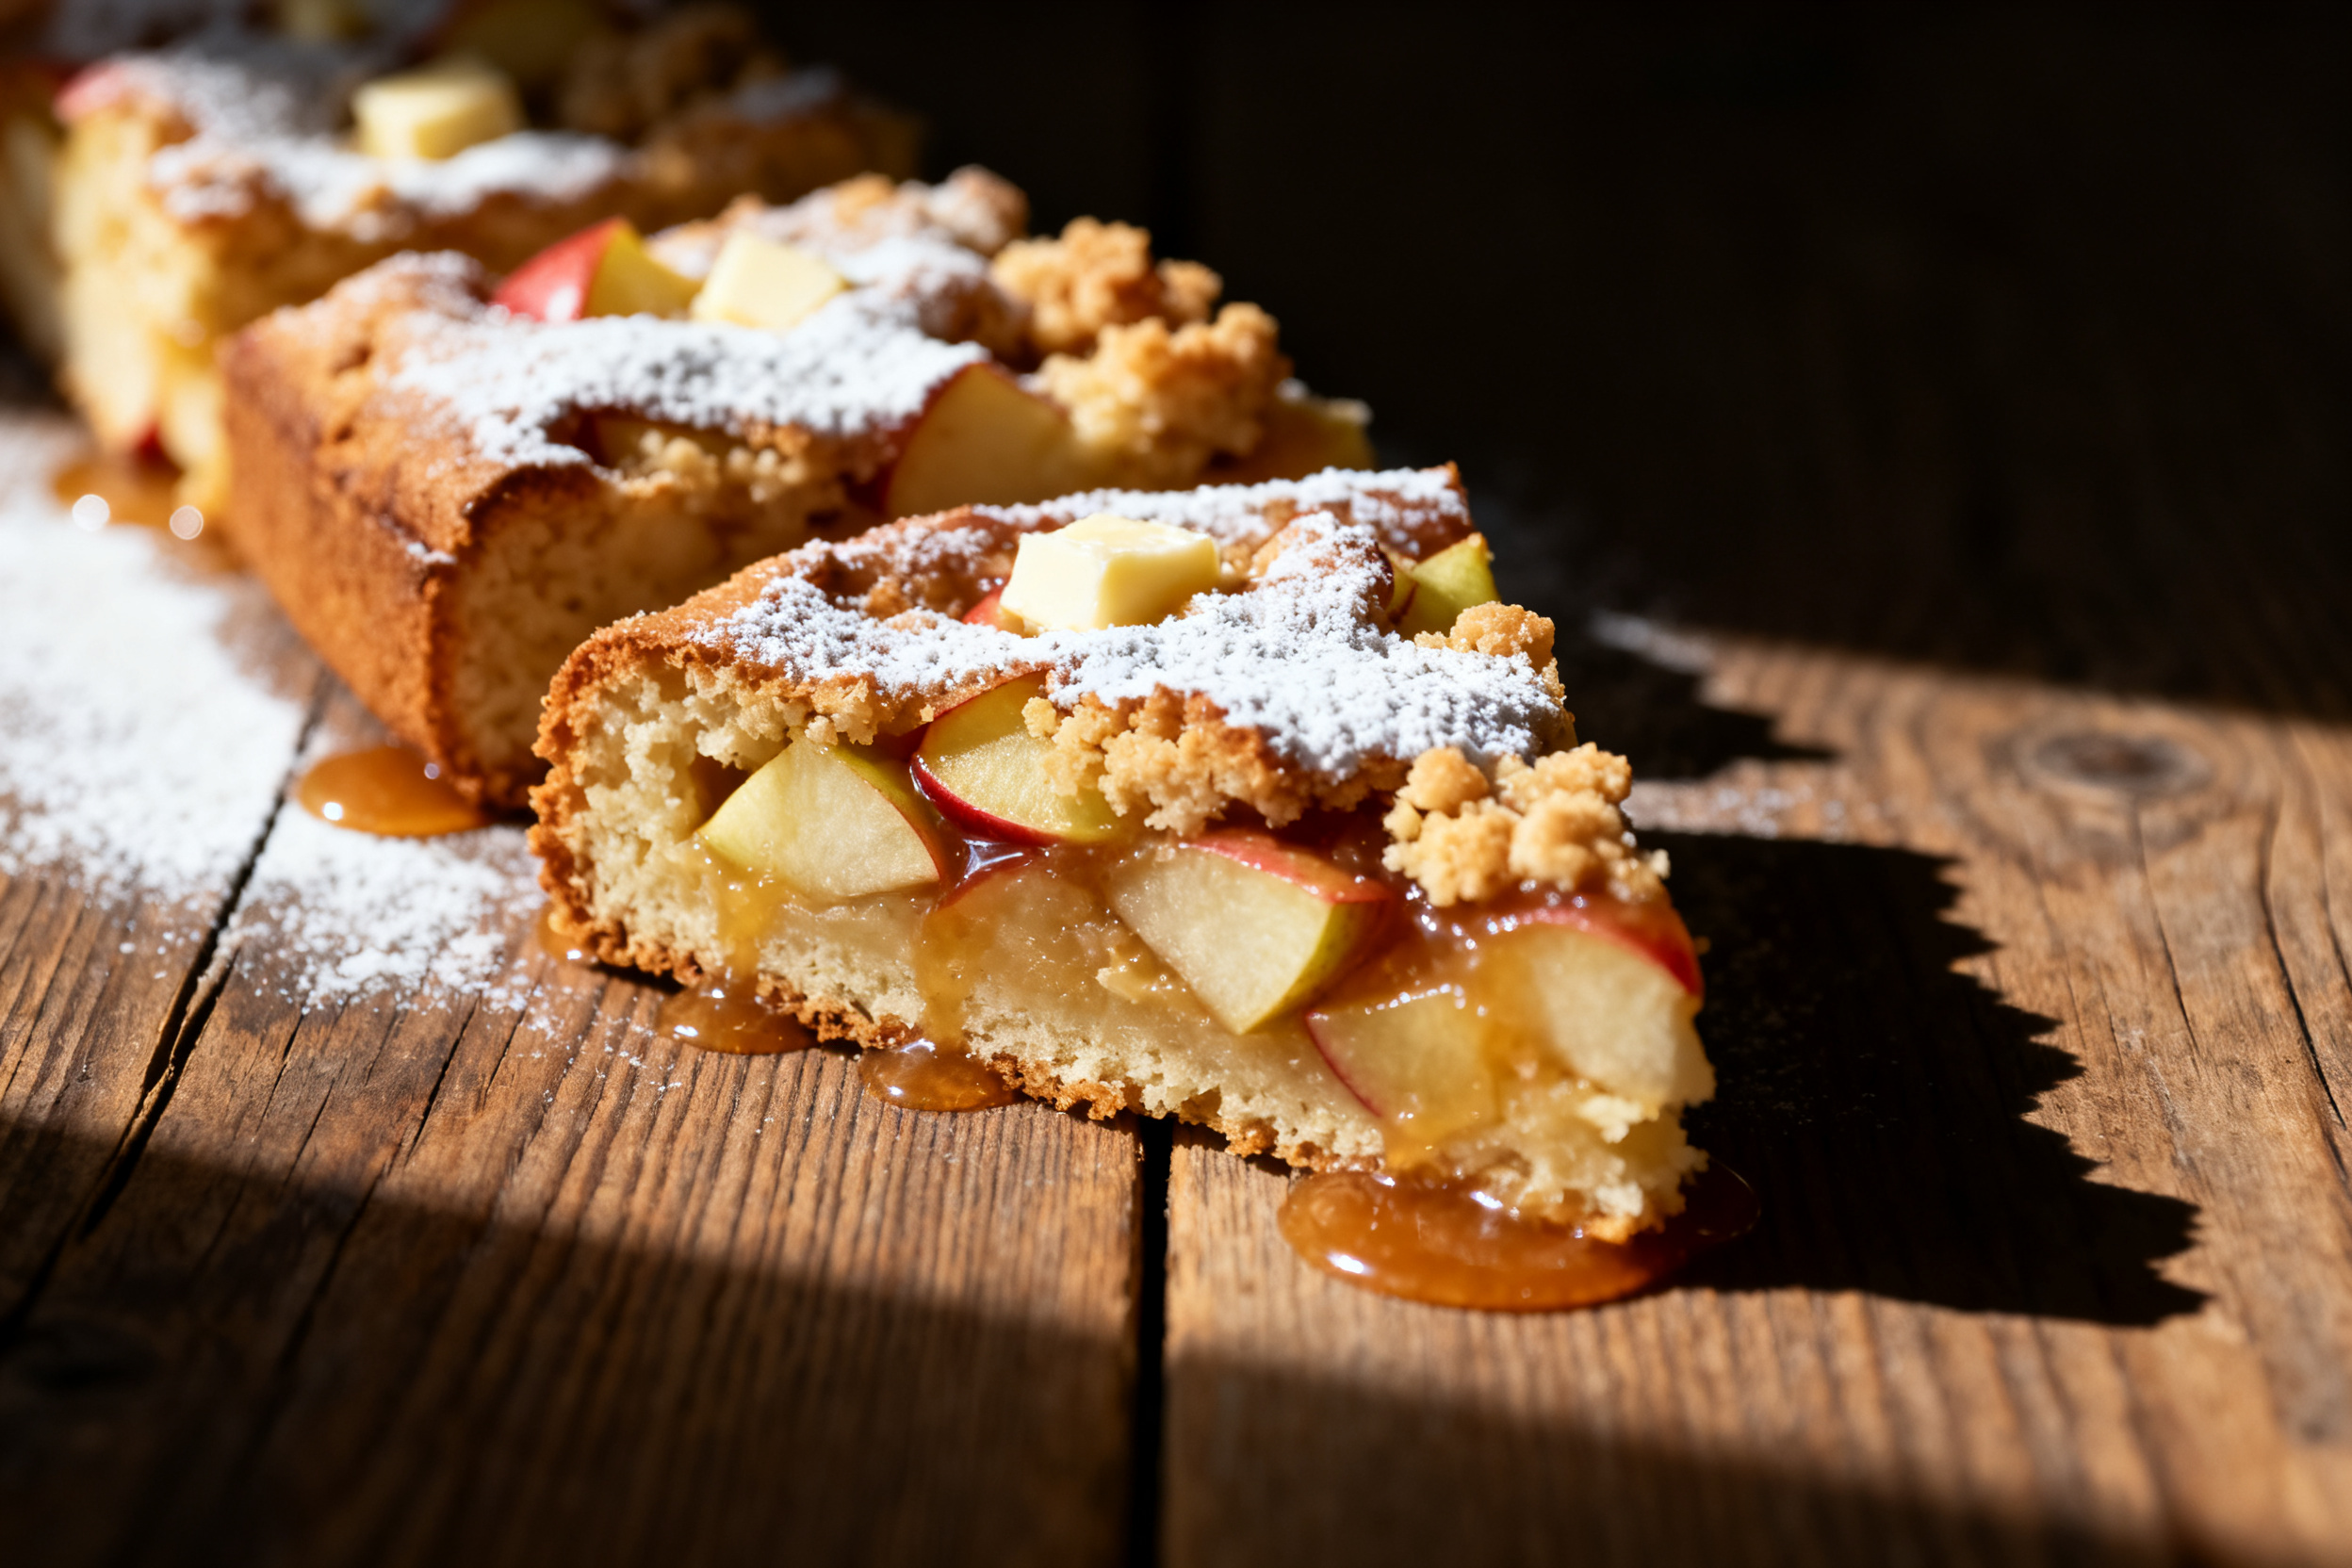
The biggest mistake is using the wrong apples. Red Delicious and Gala turn into watery mush. Stick with firm, tart varieties. Also, don’t skip the salt — it balances the sweetness and enhances the apple flavor. If your cake sinks in the middle, you probably overcreamed the butter and sugar or opened the oven door too early. Bake it longer next time, and don’t peek until the 40-minute mark.
Variations by diet or flavor profile
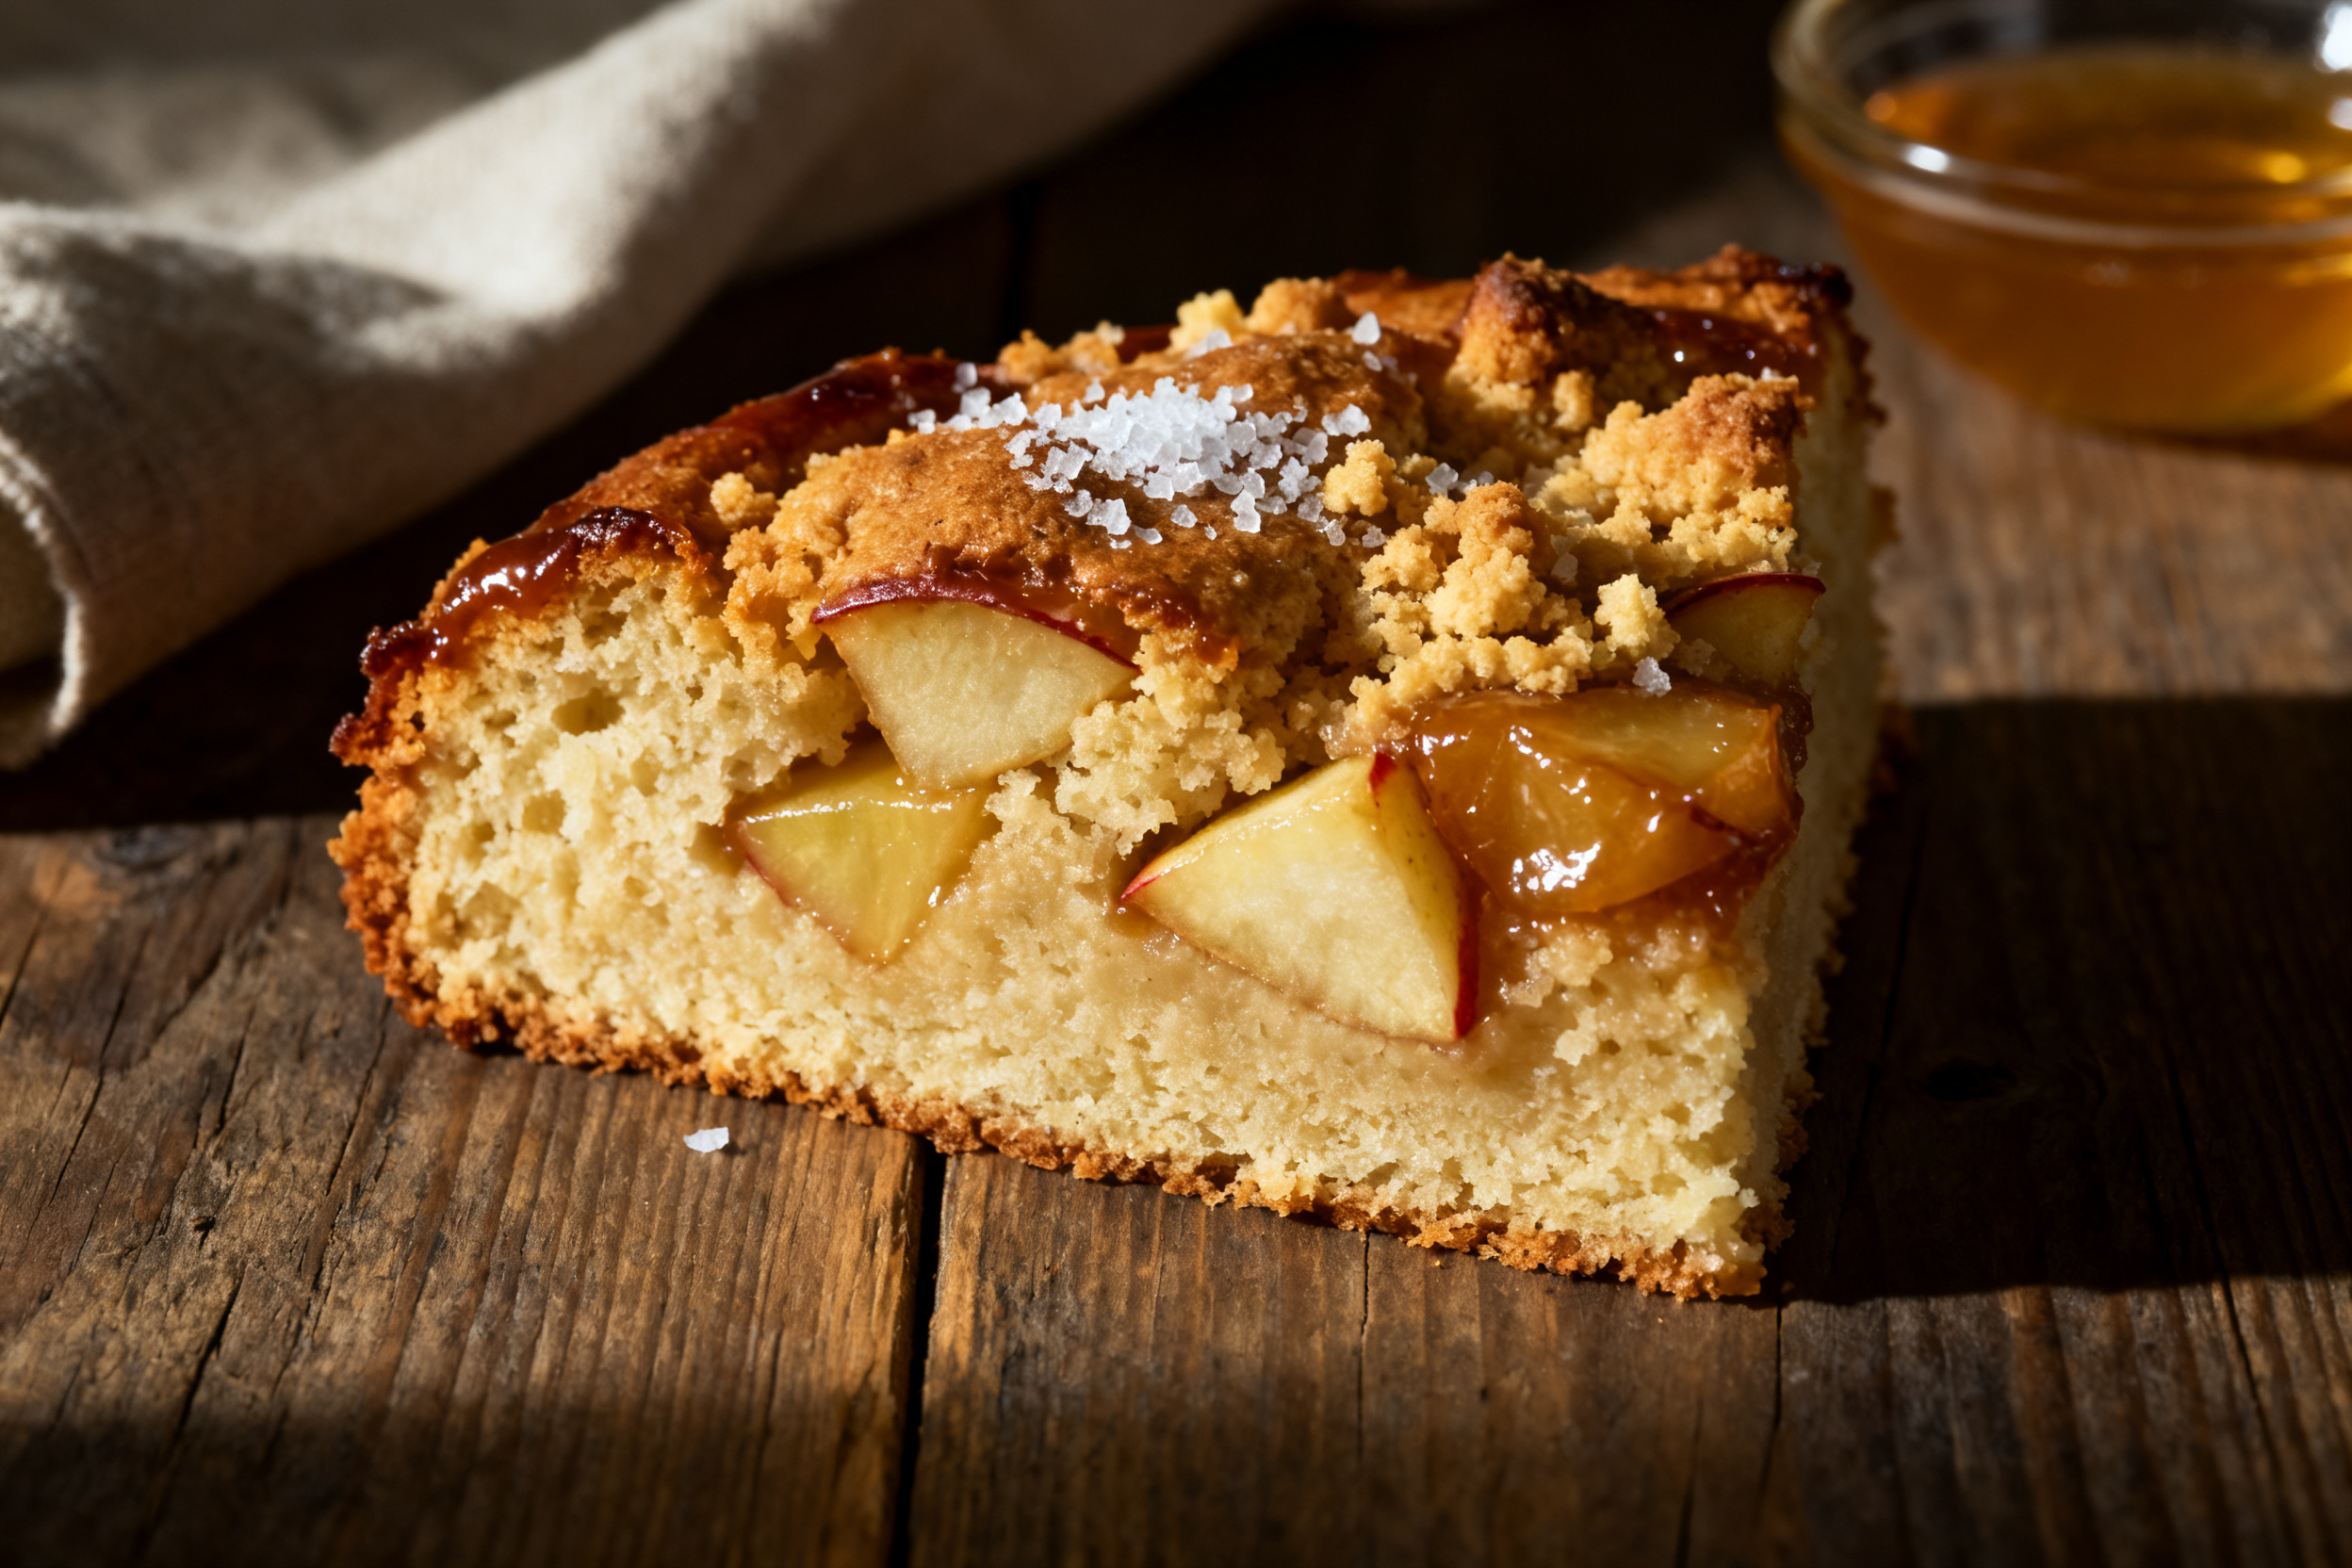
For a vegan version, replace the eggs with flax eggs (1 tbsp ground flax + 3 tbsp water per egg) and use vegan butter and non-dairy milk. The cake will be slightly denser but still deliciously moist.
If you want a gluten-free option, swap the all-purpose flour with a 1:1 gluten-free baking blend that contains xanthan gum. Cup4Cup and King Arthur both work well. Add an extra tablespoon of milk to help the batter bind.
For a lower-sugar version, reduce the granulated sugar to ½ cup and use a sugar substitute like monk fruit or coconut sugar. Keep the brown sugar for moisture — you can use a brown sugar alternative too.
Flavor-wise, try adding a handful of dried cranberries or raisins. They plump up during baking and add little bursts of tartness. Or swap the cinnamon for chai spice blend — ginger, cardamom, cloves, and cinnamon. It’s a game changer.
Why this recipe works
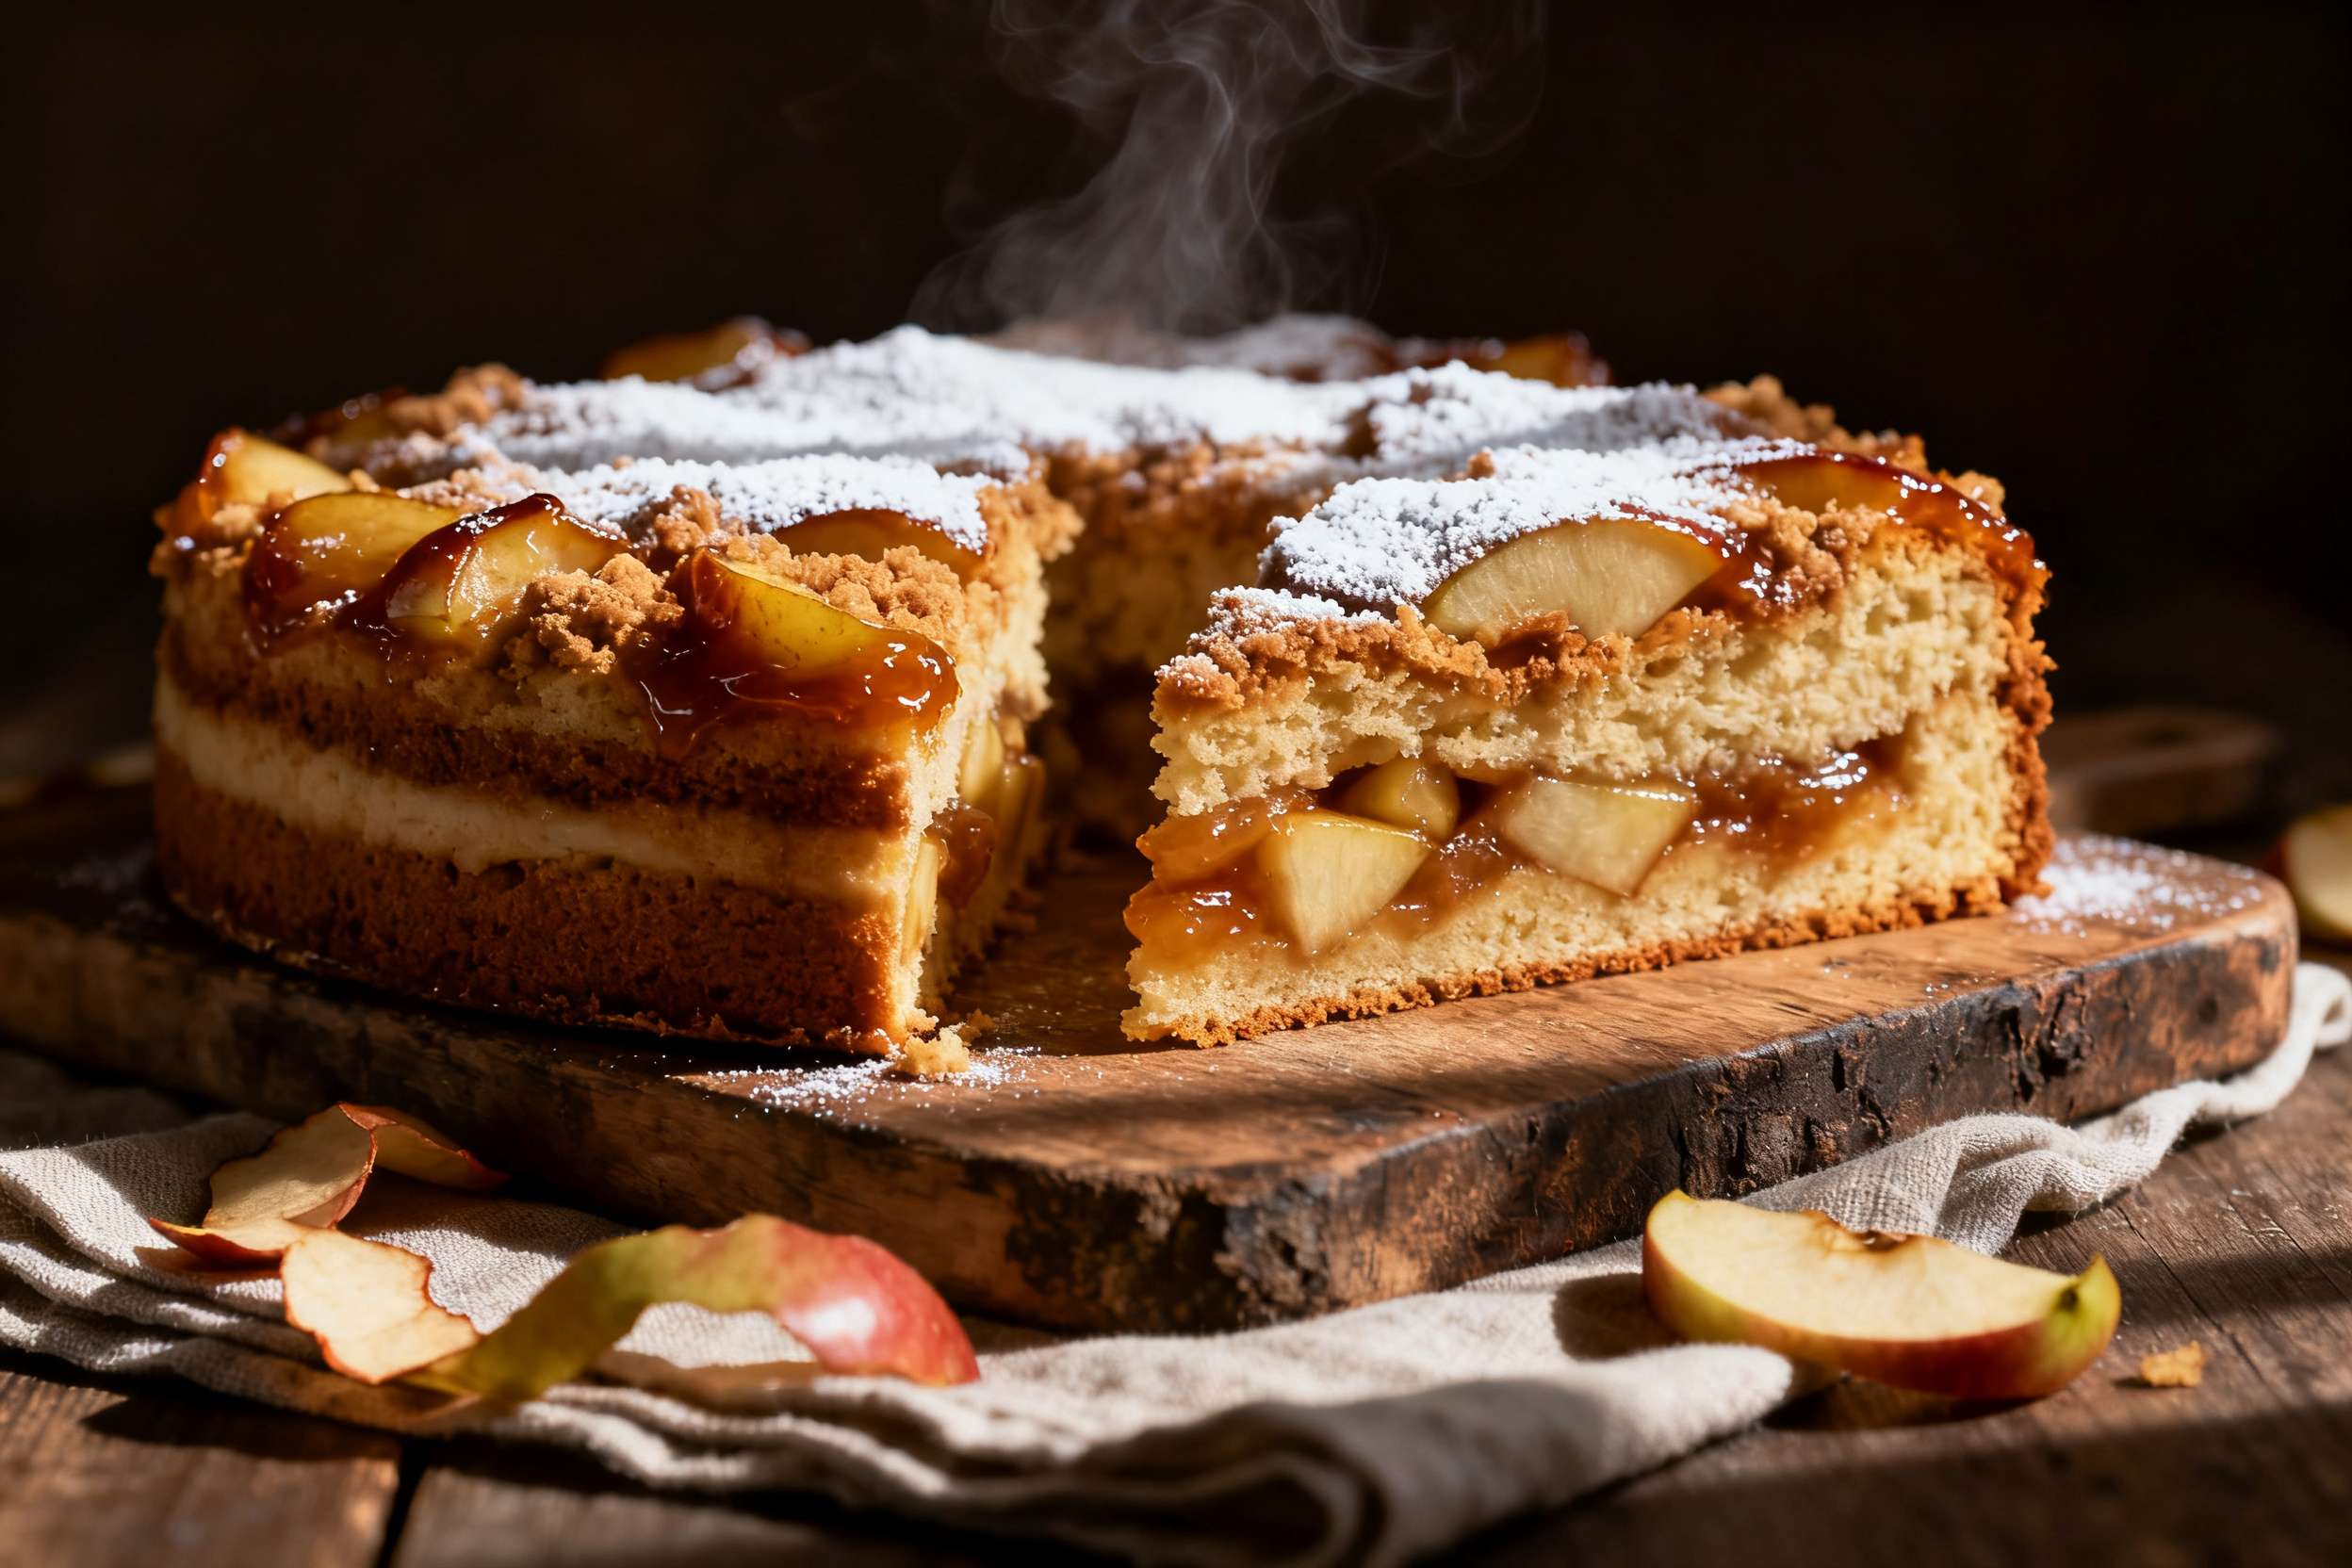
The secret lies in creaming the butter and sugar until light and fluffy. This traps air, giving the cake a tender, springy crumb. Then the apples release their moisture during baking, keeping the cake from drying out.
Another key is using both granulated and brown sugar. Brown sugar is hygroscopic, meaning it attracts and holds moisture. That’s why your cake stays soft for days, not hours. The combination of fats (butter) and acid (apples) also helps tenderize the gluten.
Frequently Asked Questions
Can I use oil instead of butter? Yes, but the flavor won’t be as rich. Use ½ cup neutral oil like canola or avocado. The cake will be a bit more moist, but less buttery. I’d still stick with butter for the best taste.
Why did my cake turn out dense? You likely overmixed the batter or used too much flour. Spoon and level your flour — don’t scoop directly from the bag. Also, make sure your baking powder is fresh (test it by dropping a spoonful into hot water — it should fizz).
Can I add nuts or raisins? Absolutely. Fold in ½ cup chopped walnuts, pecans, or raisins along with the apples. Toast the nuts first for extra flavor. Just be careful not to overmix them in.
How do I know when the cake is done? Insert a toothpick into the center — it should come out with a few moist crumbs, not wet batter. The top should be golden brown and spring back when lightly pressed. If you use a metal pan, check at 40 minutes; glass or ceramic may take longer.
Can I bake this in a loaf pan? Yes, use a 9×5-inch loaf pan. Bake for 50–60 minutes, checking at 50. The loaf will be taller and need a bit more time. You can also halve the recipe for a smaller loaf.
Call to action
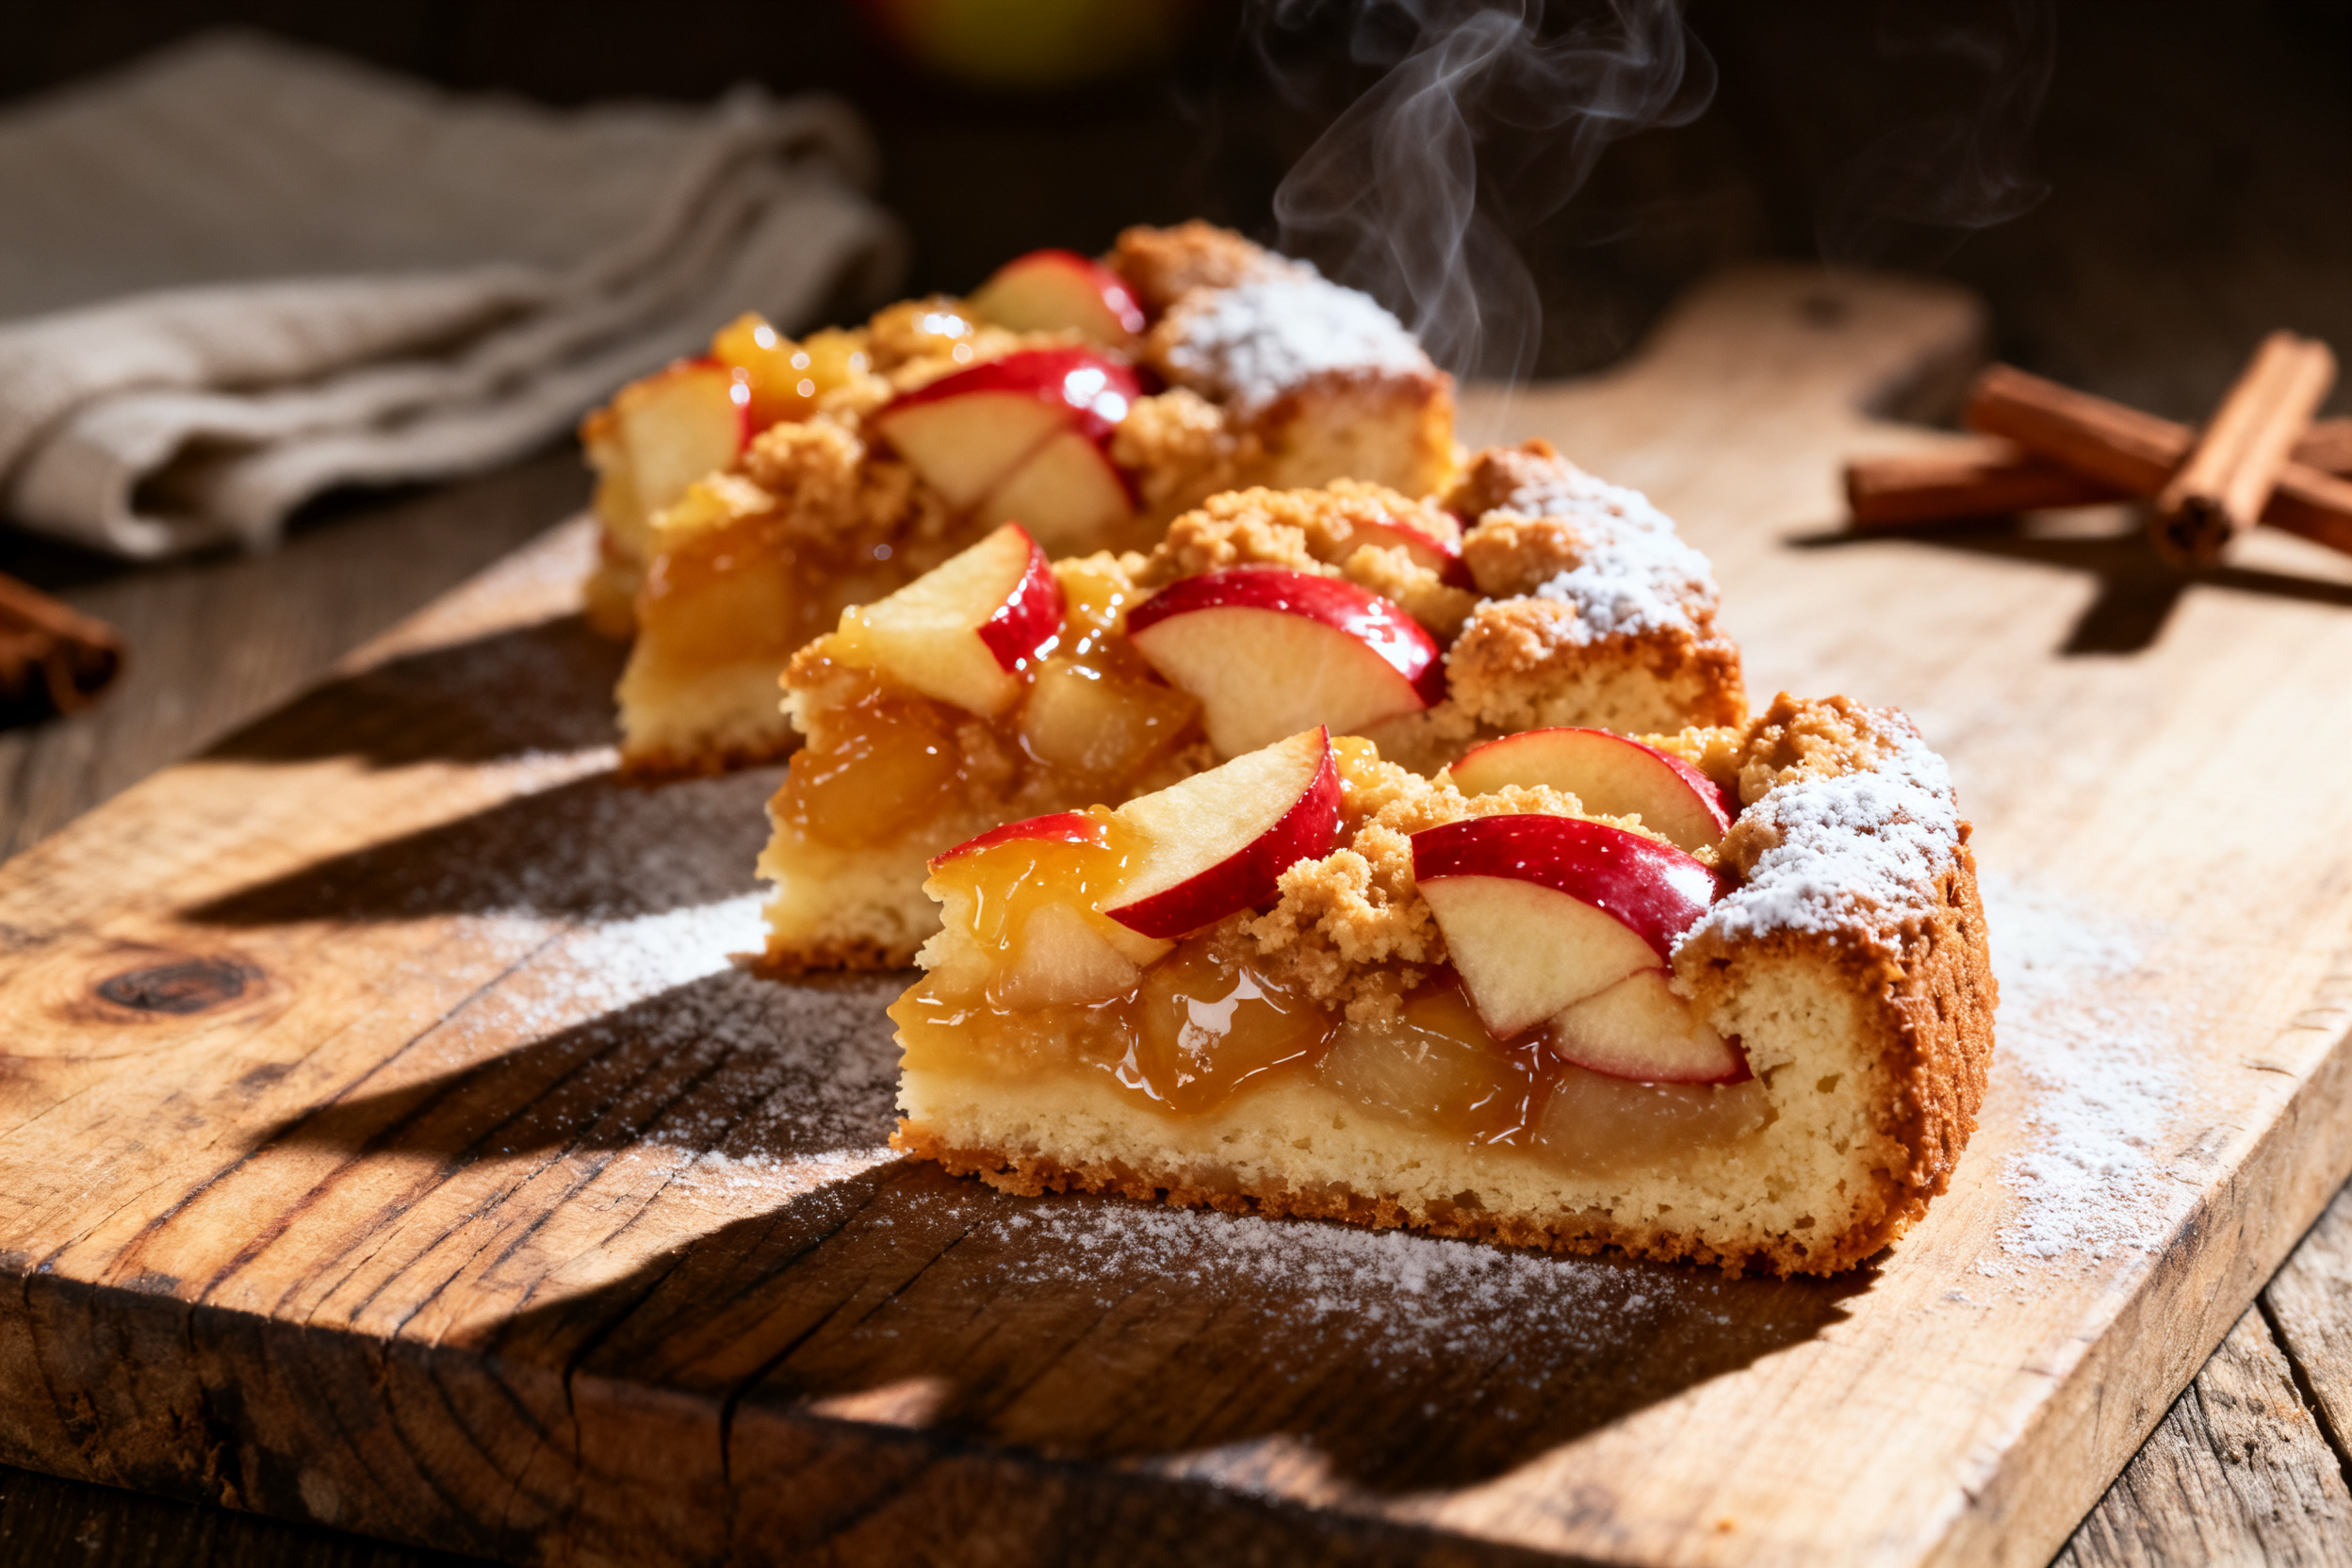
Now it’s your turn. I want to see your apple cake masterpiece! Snap a photo of your slice and tag me on Instagram or leave a comment below. Tell me which apple variety you used — I’m always curious.
If you loved this recipe, share it with a friend who needs a little fall baking inspiration. Just send them the link. They’ll thank you when their kitchen smells like heaven.
And don’t forget to subscribe to my newsletter for more cozy, from-scratch desserts. You’ll get a free printable baking cheat sheet when you sign up. No spam, just recipes that actually work.
While you’re here, browse around for more apple recipes — apple crisp, apple muffins, and an apple butter that’ll change your life. This site is basically a shrine to apples, and I’m okay with that.
One last thing: leave a star rating if you tried the recipe. It helps other home cooks find it and tells me what you enjoy. Five stars are always appreciated, but honest feedback is gold too.
Happy baking, friend. May your cake be moist, your butter be plentiful, and your apples always be tart. See you in the comments.
Conclusion
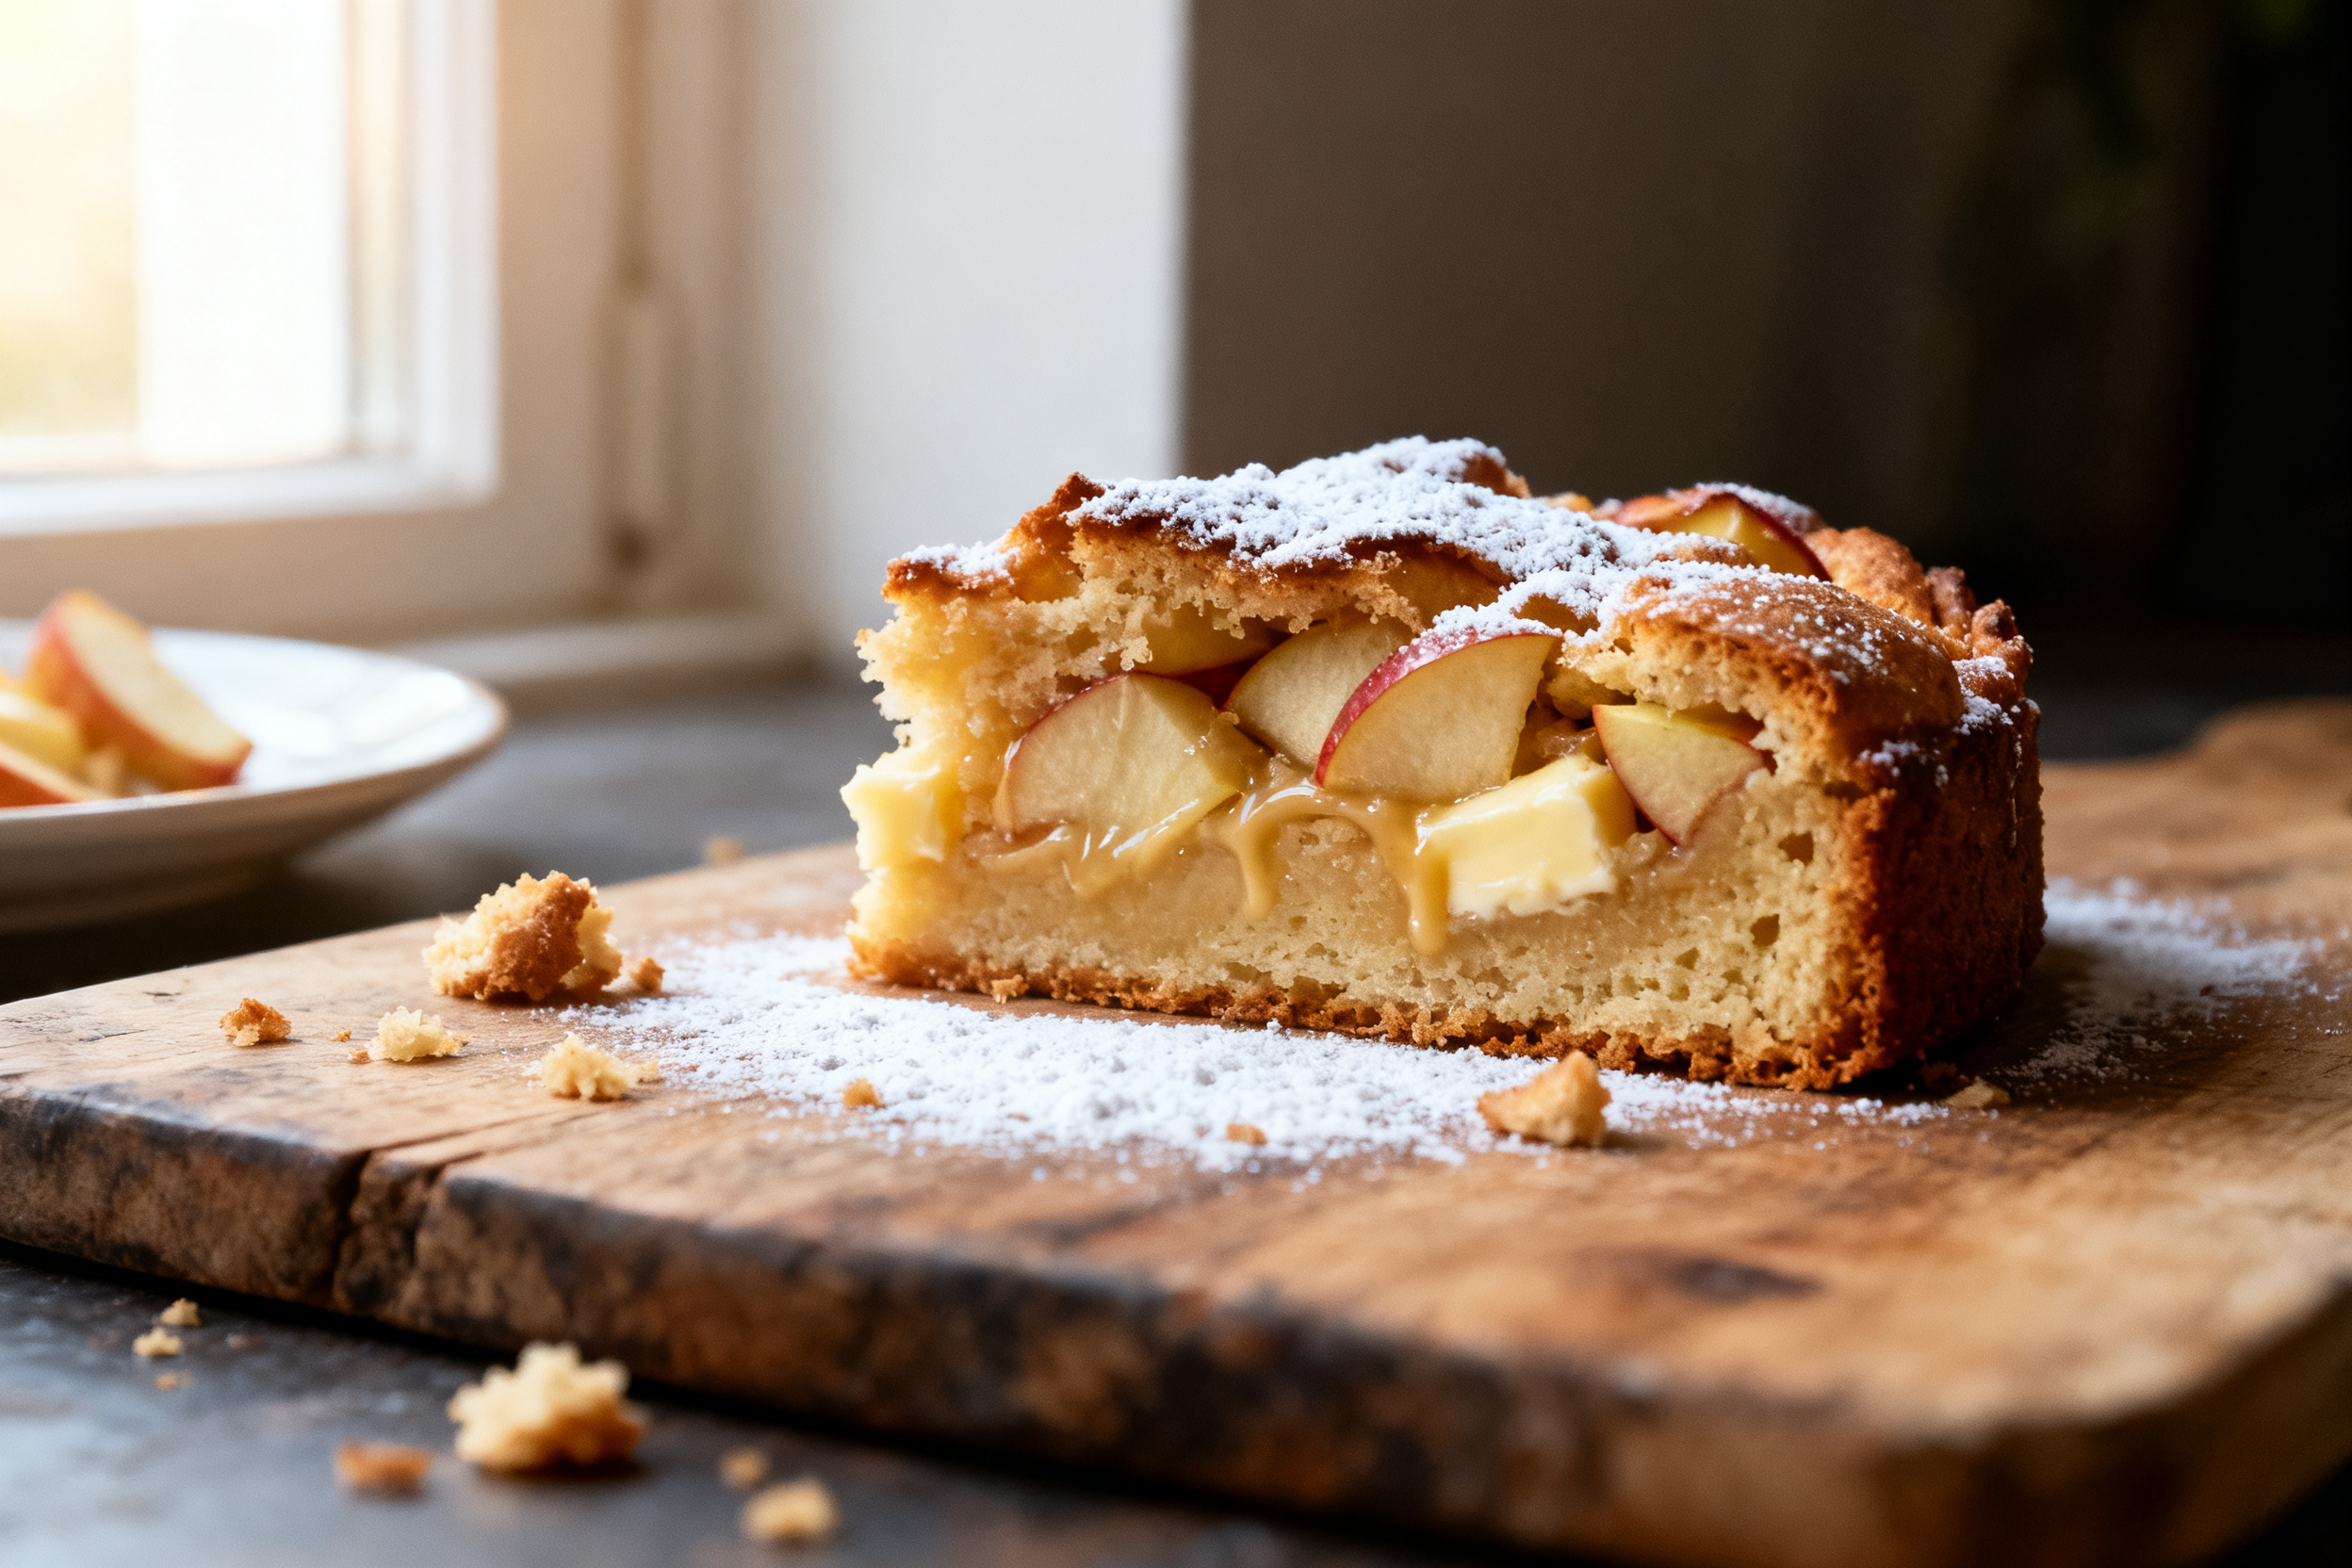
This buttery apple cake is everything you want in a fall dessert — moist, tender, and packed with real apple flavor. It’s simple enough for a weekday treat and impressive enough for a holiday table. No fuss, no fail.
I hope you give it a try and make it your own. Whether you serve it with ice cream, a dusting of sugar, or just a fork and a smile, it’s bound to become a favorite. Now go preheat that oven.
Don’t forget to rate, comment, and share your results. I can’t wait to see your beautiful apple cake. Happy baking.
Moist Buttery Apple Cake Recipe
Ingredients
- 2 ½ cups 315 g all-purpose flour
- 2 teaspoons baking powder
- ½ teaspoon baking soda
- 1 teaspoon ground cinnamon
- ½ teaspoon salt
- ½ cup 113 g unsalted butter, softened
- 1 cup 200 g granulated sugar
- ½ cup 100 g packed light brown sugar
- 2 large eggs at room temperature
- 1 teaspoon vanilla extract
- 1 cup 240 ml buttermilk (or 1 cup milk + 1 tbsp lemon juice, let sit 5 minutes)
- 3 cups about 3 medium peeled, cored, and diced tart apples (Granny Smith or Honeycrisp)
- Optional: ½ cup chopped walnuts or pecans
Instructions
- Preheat your oven to 350°F (175°C). Grease a 9×13-inch baking pan or line it with parchment paper for easy removal.
- In a medium bowl, whisk together the flour, baking powder, baking soda, cinnamon, and salt. Set aside.
- In a large bowl, beat the softened butter, granulated sugar, and brown sugar with an electric mixer on medium speed until light and fluffy, about 3 minutes. Scrape down the sides as needed.
- Add the eggs one at a time, beating well after each addition. Mix in the vanilla extract.
- With the mixer on low speed, add the flour mixture in three additions, alternating with the buttermilk. Start and end with the flour. Mix until just combined — do not overmix.
- Gently fold in the diced apples (and nuts if using) with a rubber spatula. The batter will be thick.
- Spread the batter evenly into the prepared pan. Bake for 40–45 minutes, or until a toothpick inserted in the center comes out with a few moist crumbs. The top should be golden brown.
- Cool the cake in the pan on a wire rack for 15 minutes. Then lift it out (if using parchment) or slice directly in the pan. Serve warm or at room temperature.
Notes
2. Freezing: Cool completely, wrap in plastic wrap then foil, and freeze for up to 3 months. Thaw in the fridge overnight.
3. Substitutions: For a dairy-free version, use vegan butter and plant-based milk with a splash of lemon juice.
4. For gluten-free, use a 1:1 gluten-free baking blend (add 1 tbsp extra milk).
5. Apple choice: Stick with firm, tart apples like Granny Smith, Honeycrisp, or Braeburn. Avoid Red Delicious or Gala.
6. Make ahead: Bake the cake a day in advance — the flavors meld overnight. Keep covered at room temperature.
7. Don’t overmix the batter.
8. Stir until the flour just disappears — overmixing develops gluten and makes the cake tough.
9. You want tender, not chewy.
10. Fold in the apple chunks by hand with a spatula.
11. Line your pan with parchment paper and leave a two-inch overhang on two sides.
12. That way you lift the whole cake out cleanly.
13. No more crumbly edges stuck to the pan, I promise.