
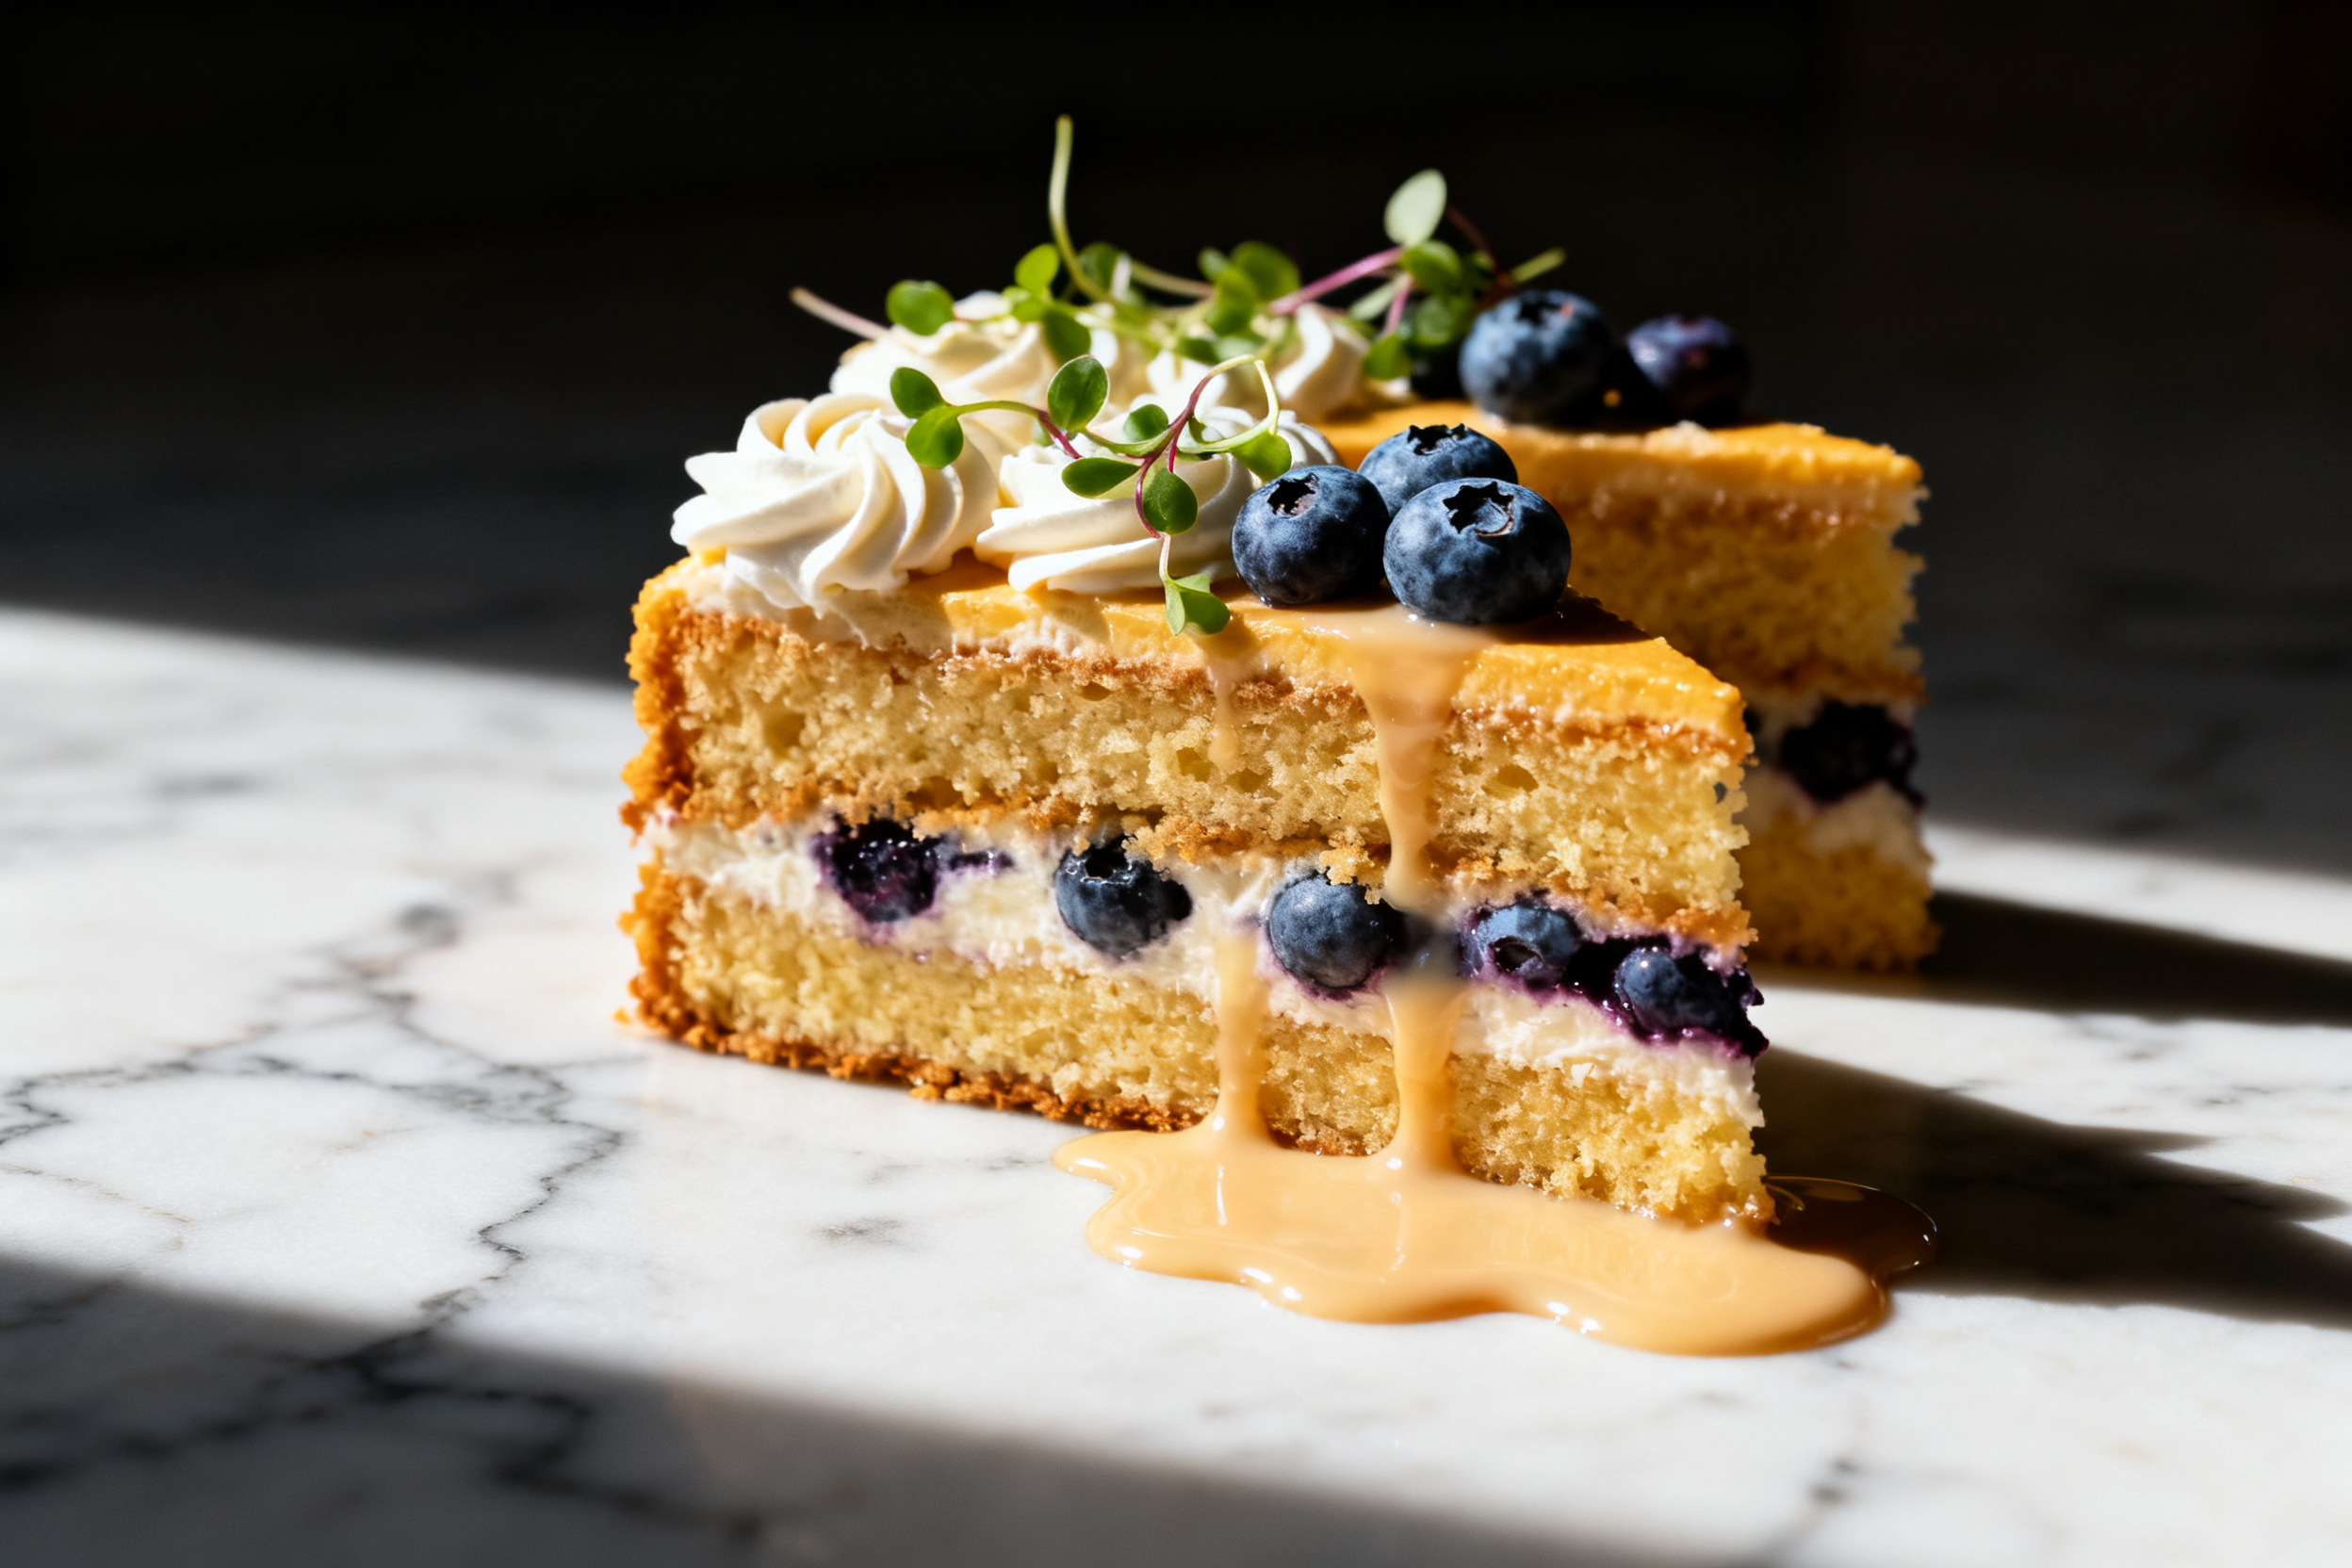

You know that feeling when you poke a cake and it just absorbs all that sweet, creamy goodness? Yeah, that’s the stuff dreams are made of. And when you bring condensed milk into the mix, you’re not just making dessert — you’re creating a flavor bomb that drips with richness.
I’ve been down the poke cake rabbit hole more times than I care to admit. But using sweetened condensed milk as your base liquid? That’s the game-changer. It turns an ordinary box mix into something that tastes like you spent hours in the kitchen. Let’s get into it.
1. Allergens
This recipe contains dairy (butter, milk, sweetened condensed milk) and gluten (all-purpose flour or cake mix). It also includes eggs. If you’re serving someone with allergies, swap in a gluten-free cake mix and use dairy-free condensed milk alternatives — yes, those exist and they work beautifully.
For nut allergies, this recipe is naturally nut-free unless you add a topping like chopped almonds or peanut butter drizzle. Always double-check your condensed milk brand for cross-contamination warnings if allergies are severe.
2. Ingredient notes & substitutions
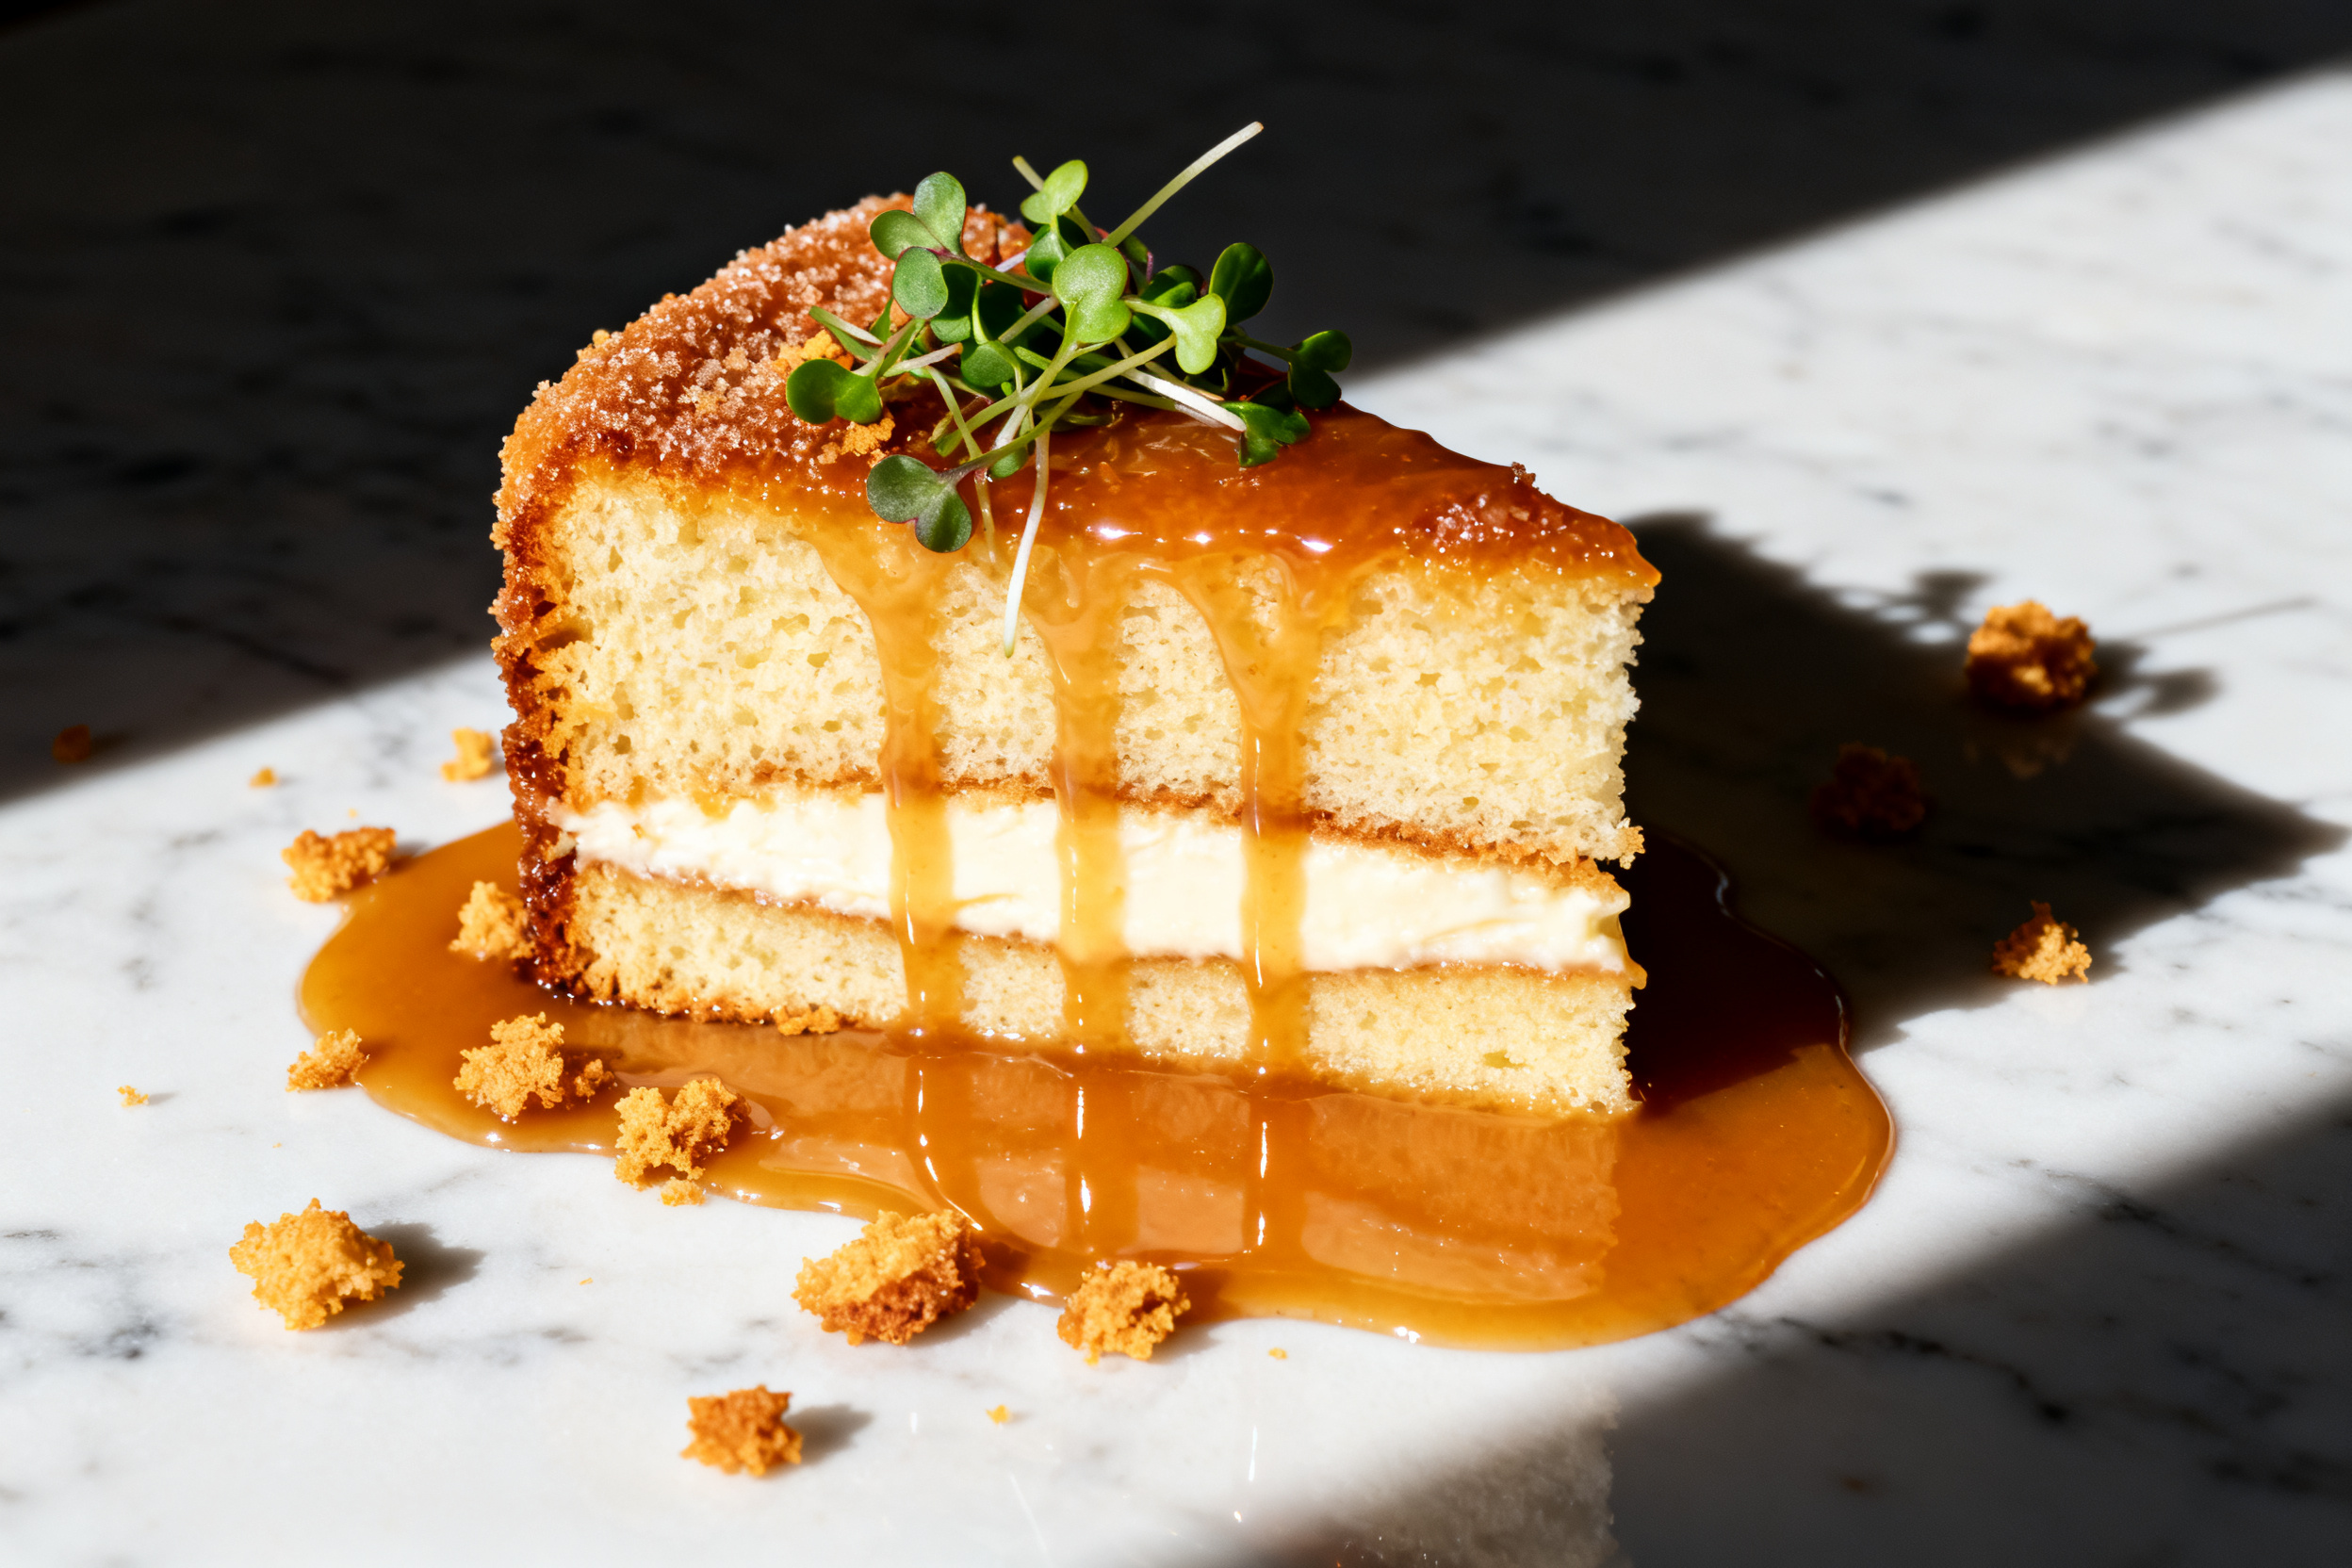
The star here is sweetened condensed milk. Don’t confuse it with evaporated milk — they’re not the same. Condensed milk is thick, sugary, and caramel-like when baked. Evaporated milk is unsweetened and thinner.
You can use a boxed white or yellow cake mix for convenience, or go homemade with a simple vanilla sponge. For the poke holes, a wooden spoon handle or chopstick works perfectly. Just don’t use a straw — it’ll collapse.
3. Pro tips
Poke your holes while the cake is still warm. This lets the condensed milk mixture seep deep into every cranny instead of sitting on top. Cold cake won’t absorb nearly as well.
For the best texture, let the cake sit in the fridge for at least two hours after pouring the condensed milk mixture. Overnight is even better — the flavors meld and the cake becomes incredibly moist.
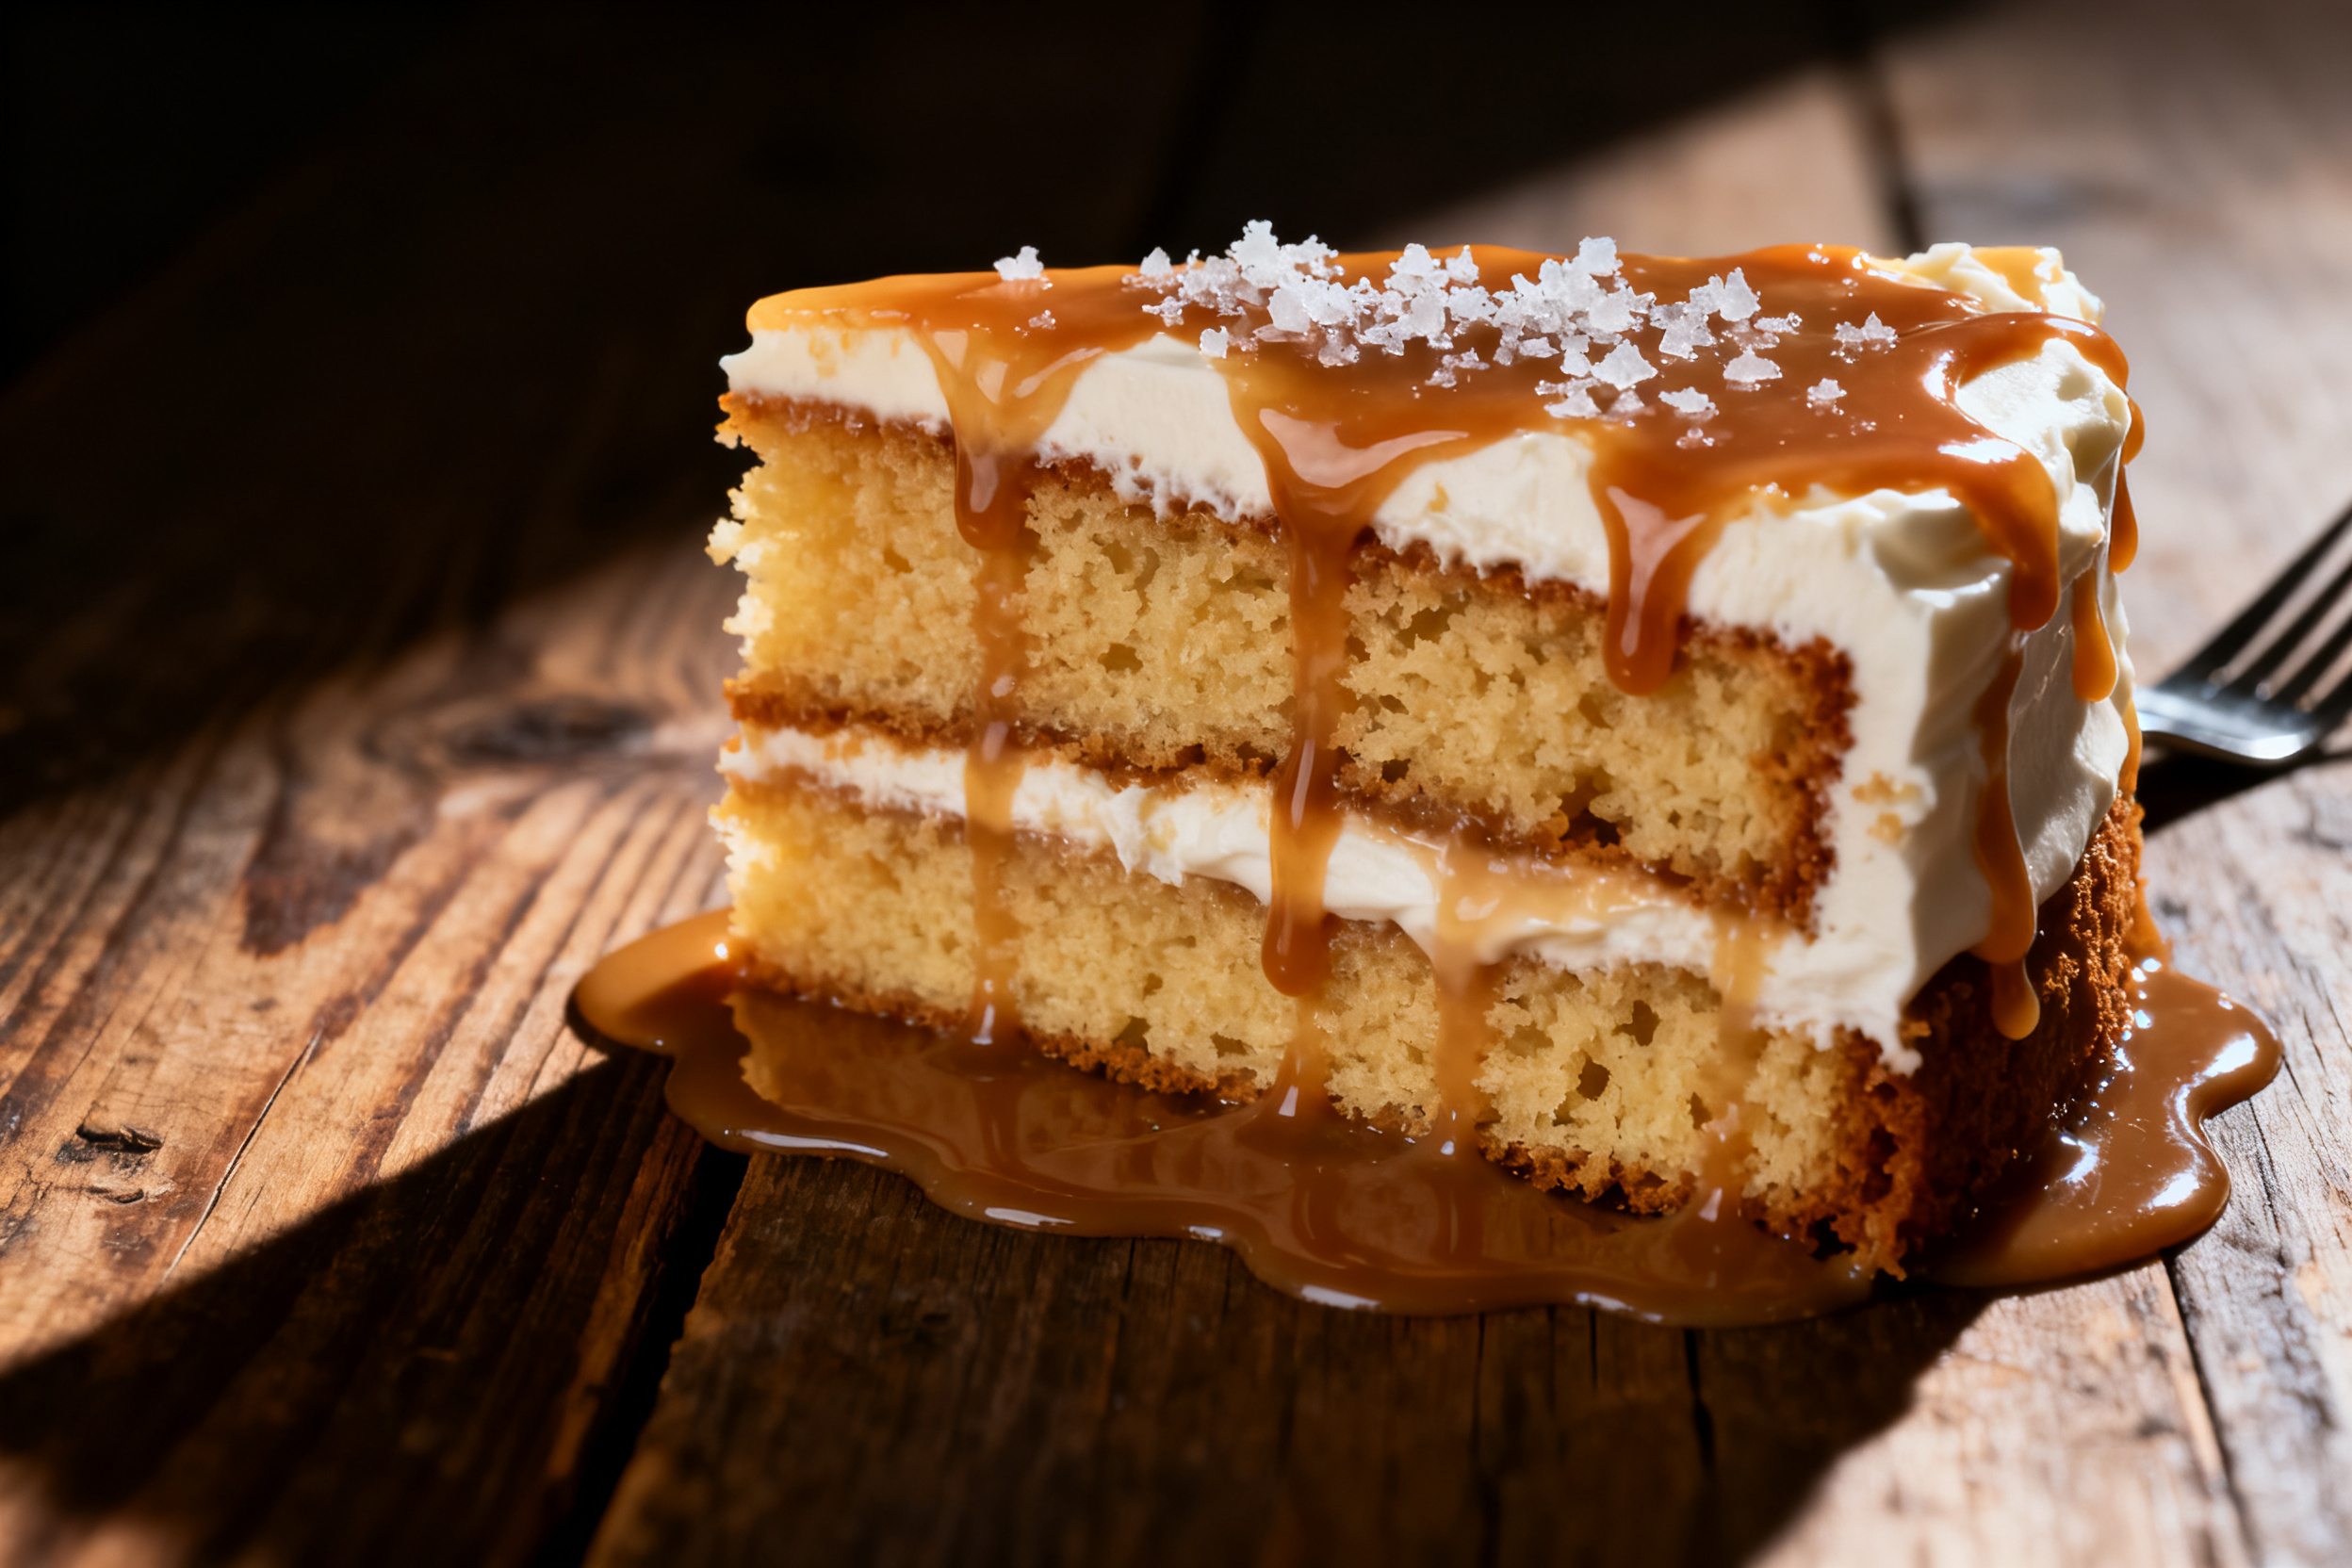
Don’t skimp on the toppings. A dollop of whipped cream, a sprinkle of toasted coconut, or a drizzle of caramel sauce takes this from good to unforgettable.
4. Storage & make-ahead
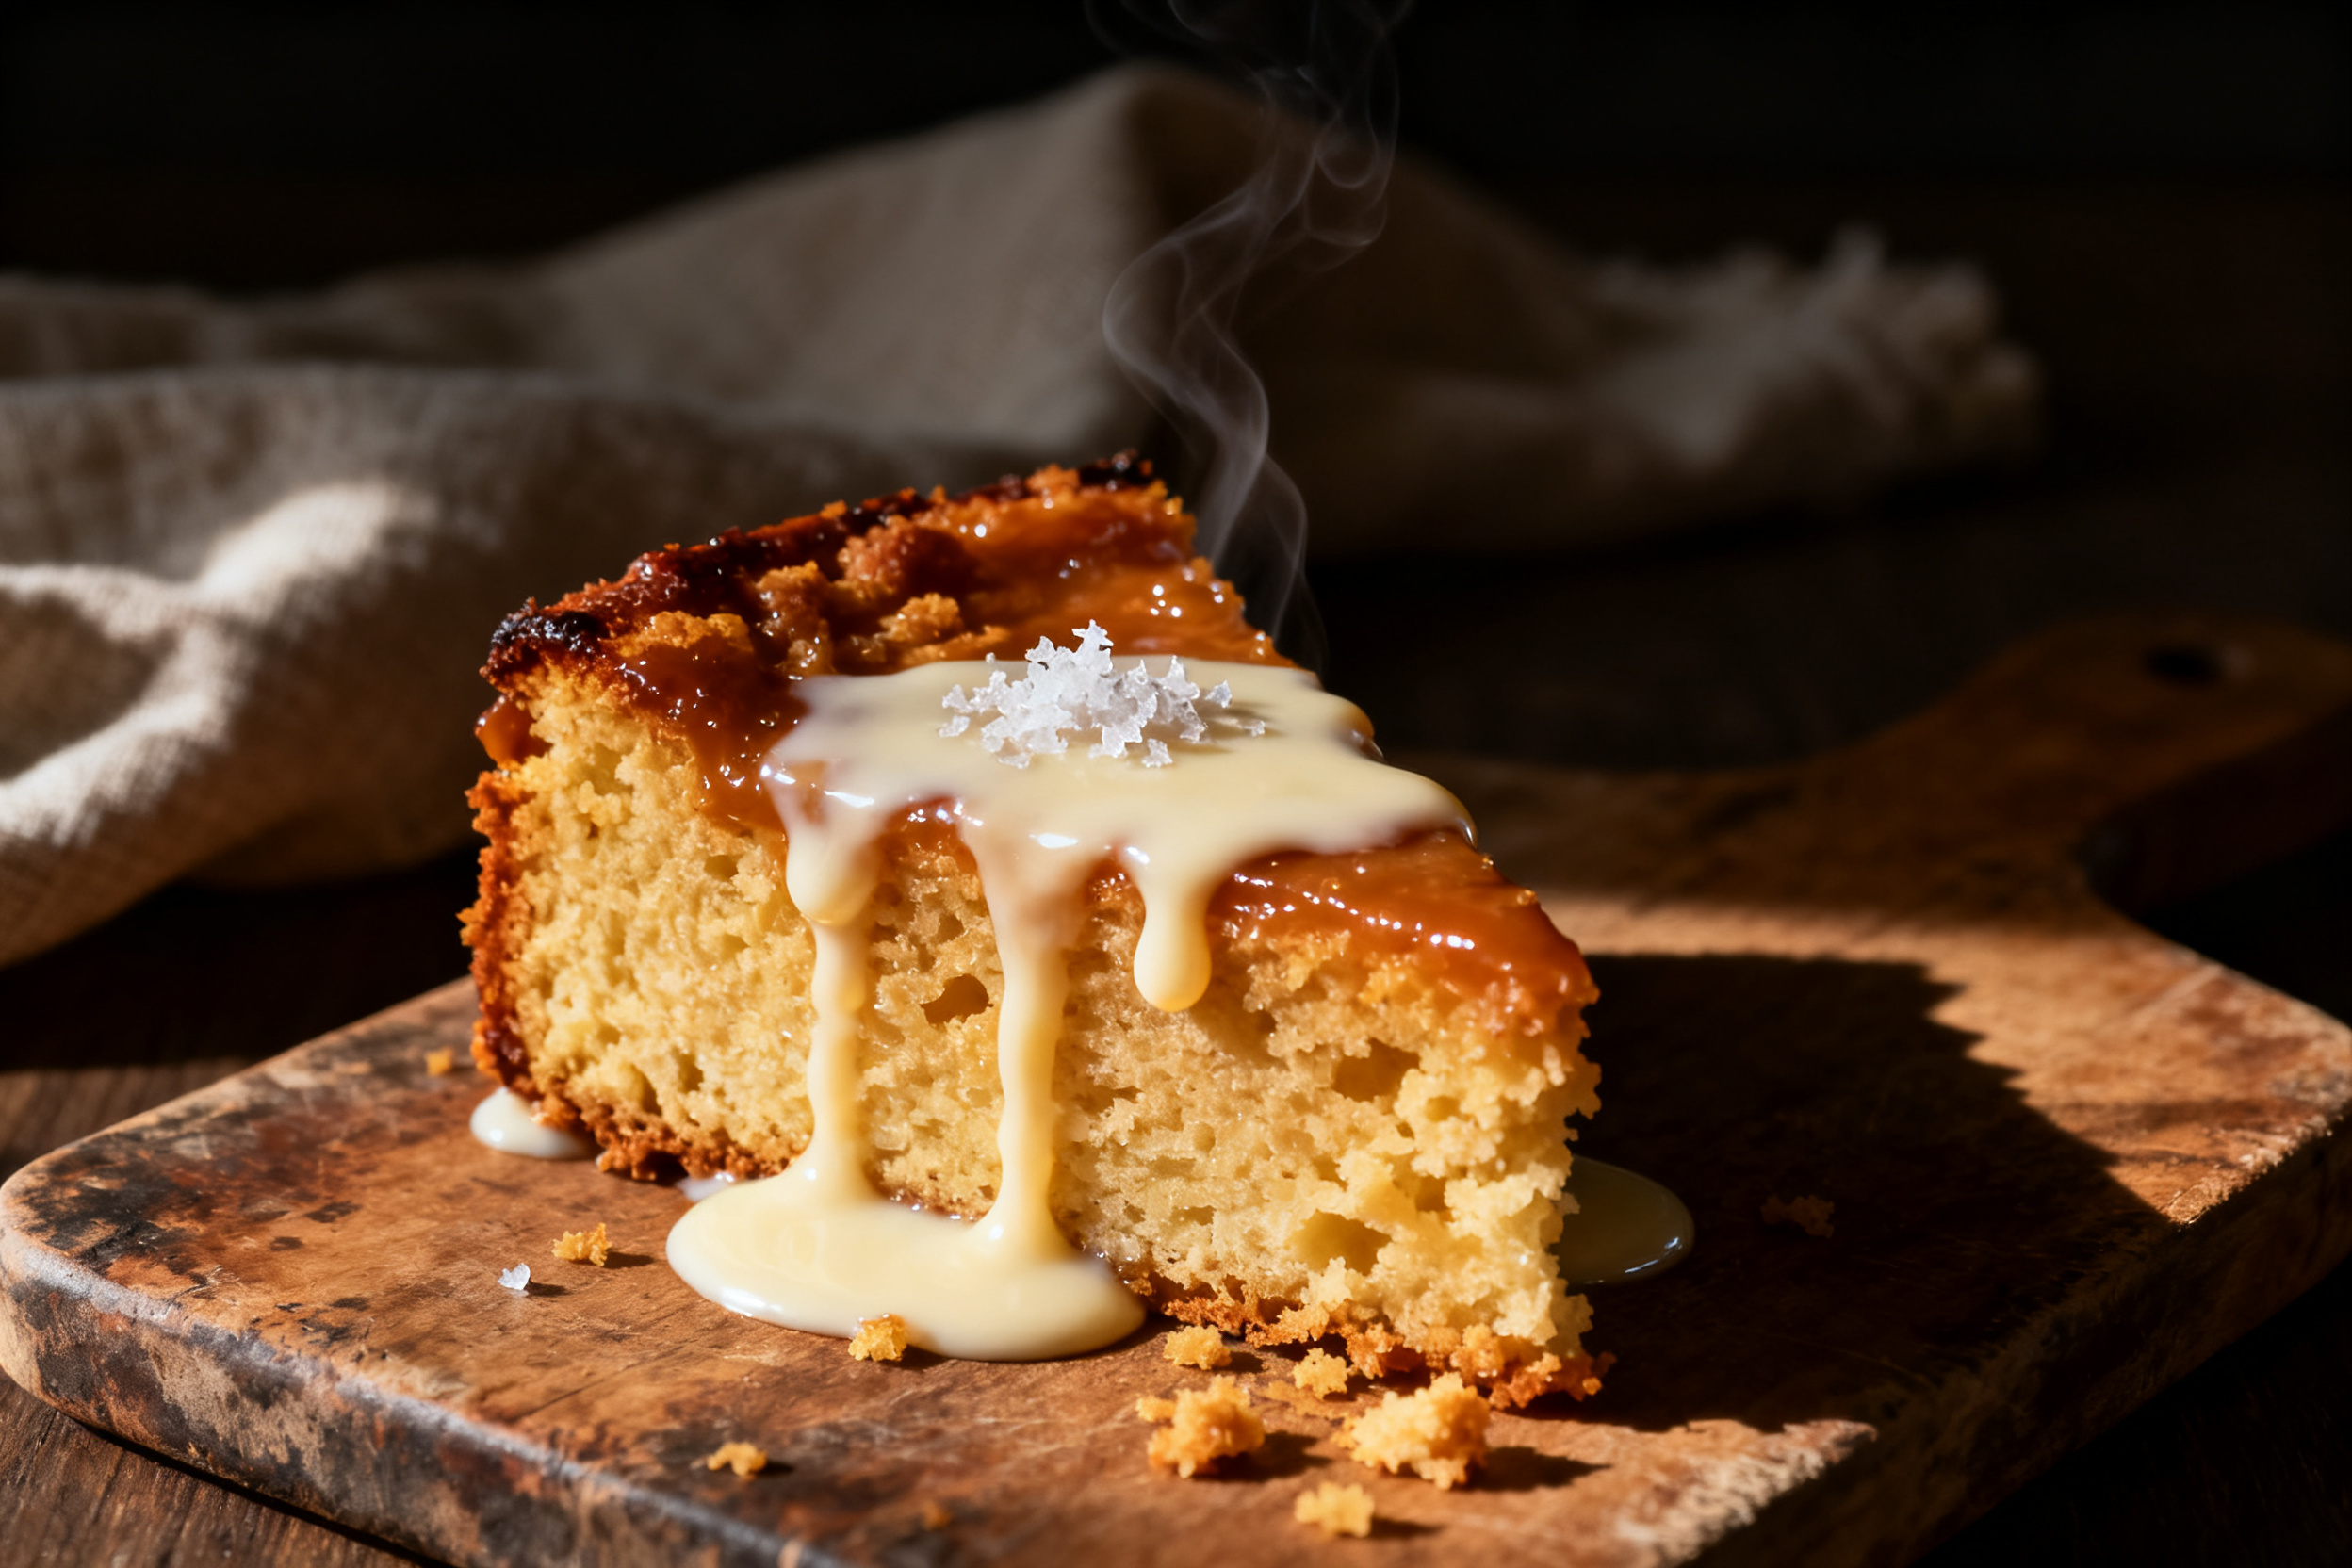
Store your poke cake in an airtight container in the fridge for up to five days. The moisture from the condensed milk keeps it from drying out, so it actually gets better on day two.
You can freeze this cake for up to three months. Wrap it tightly in plastic wrap, then foil. Thaw overnight in the fridge before serving. Just don’t freeze it with the whipped cream topping — add that fresh.
5. Serving suggestions
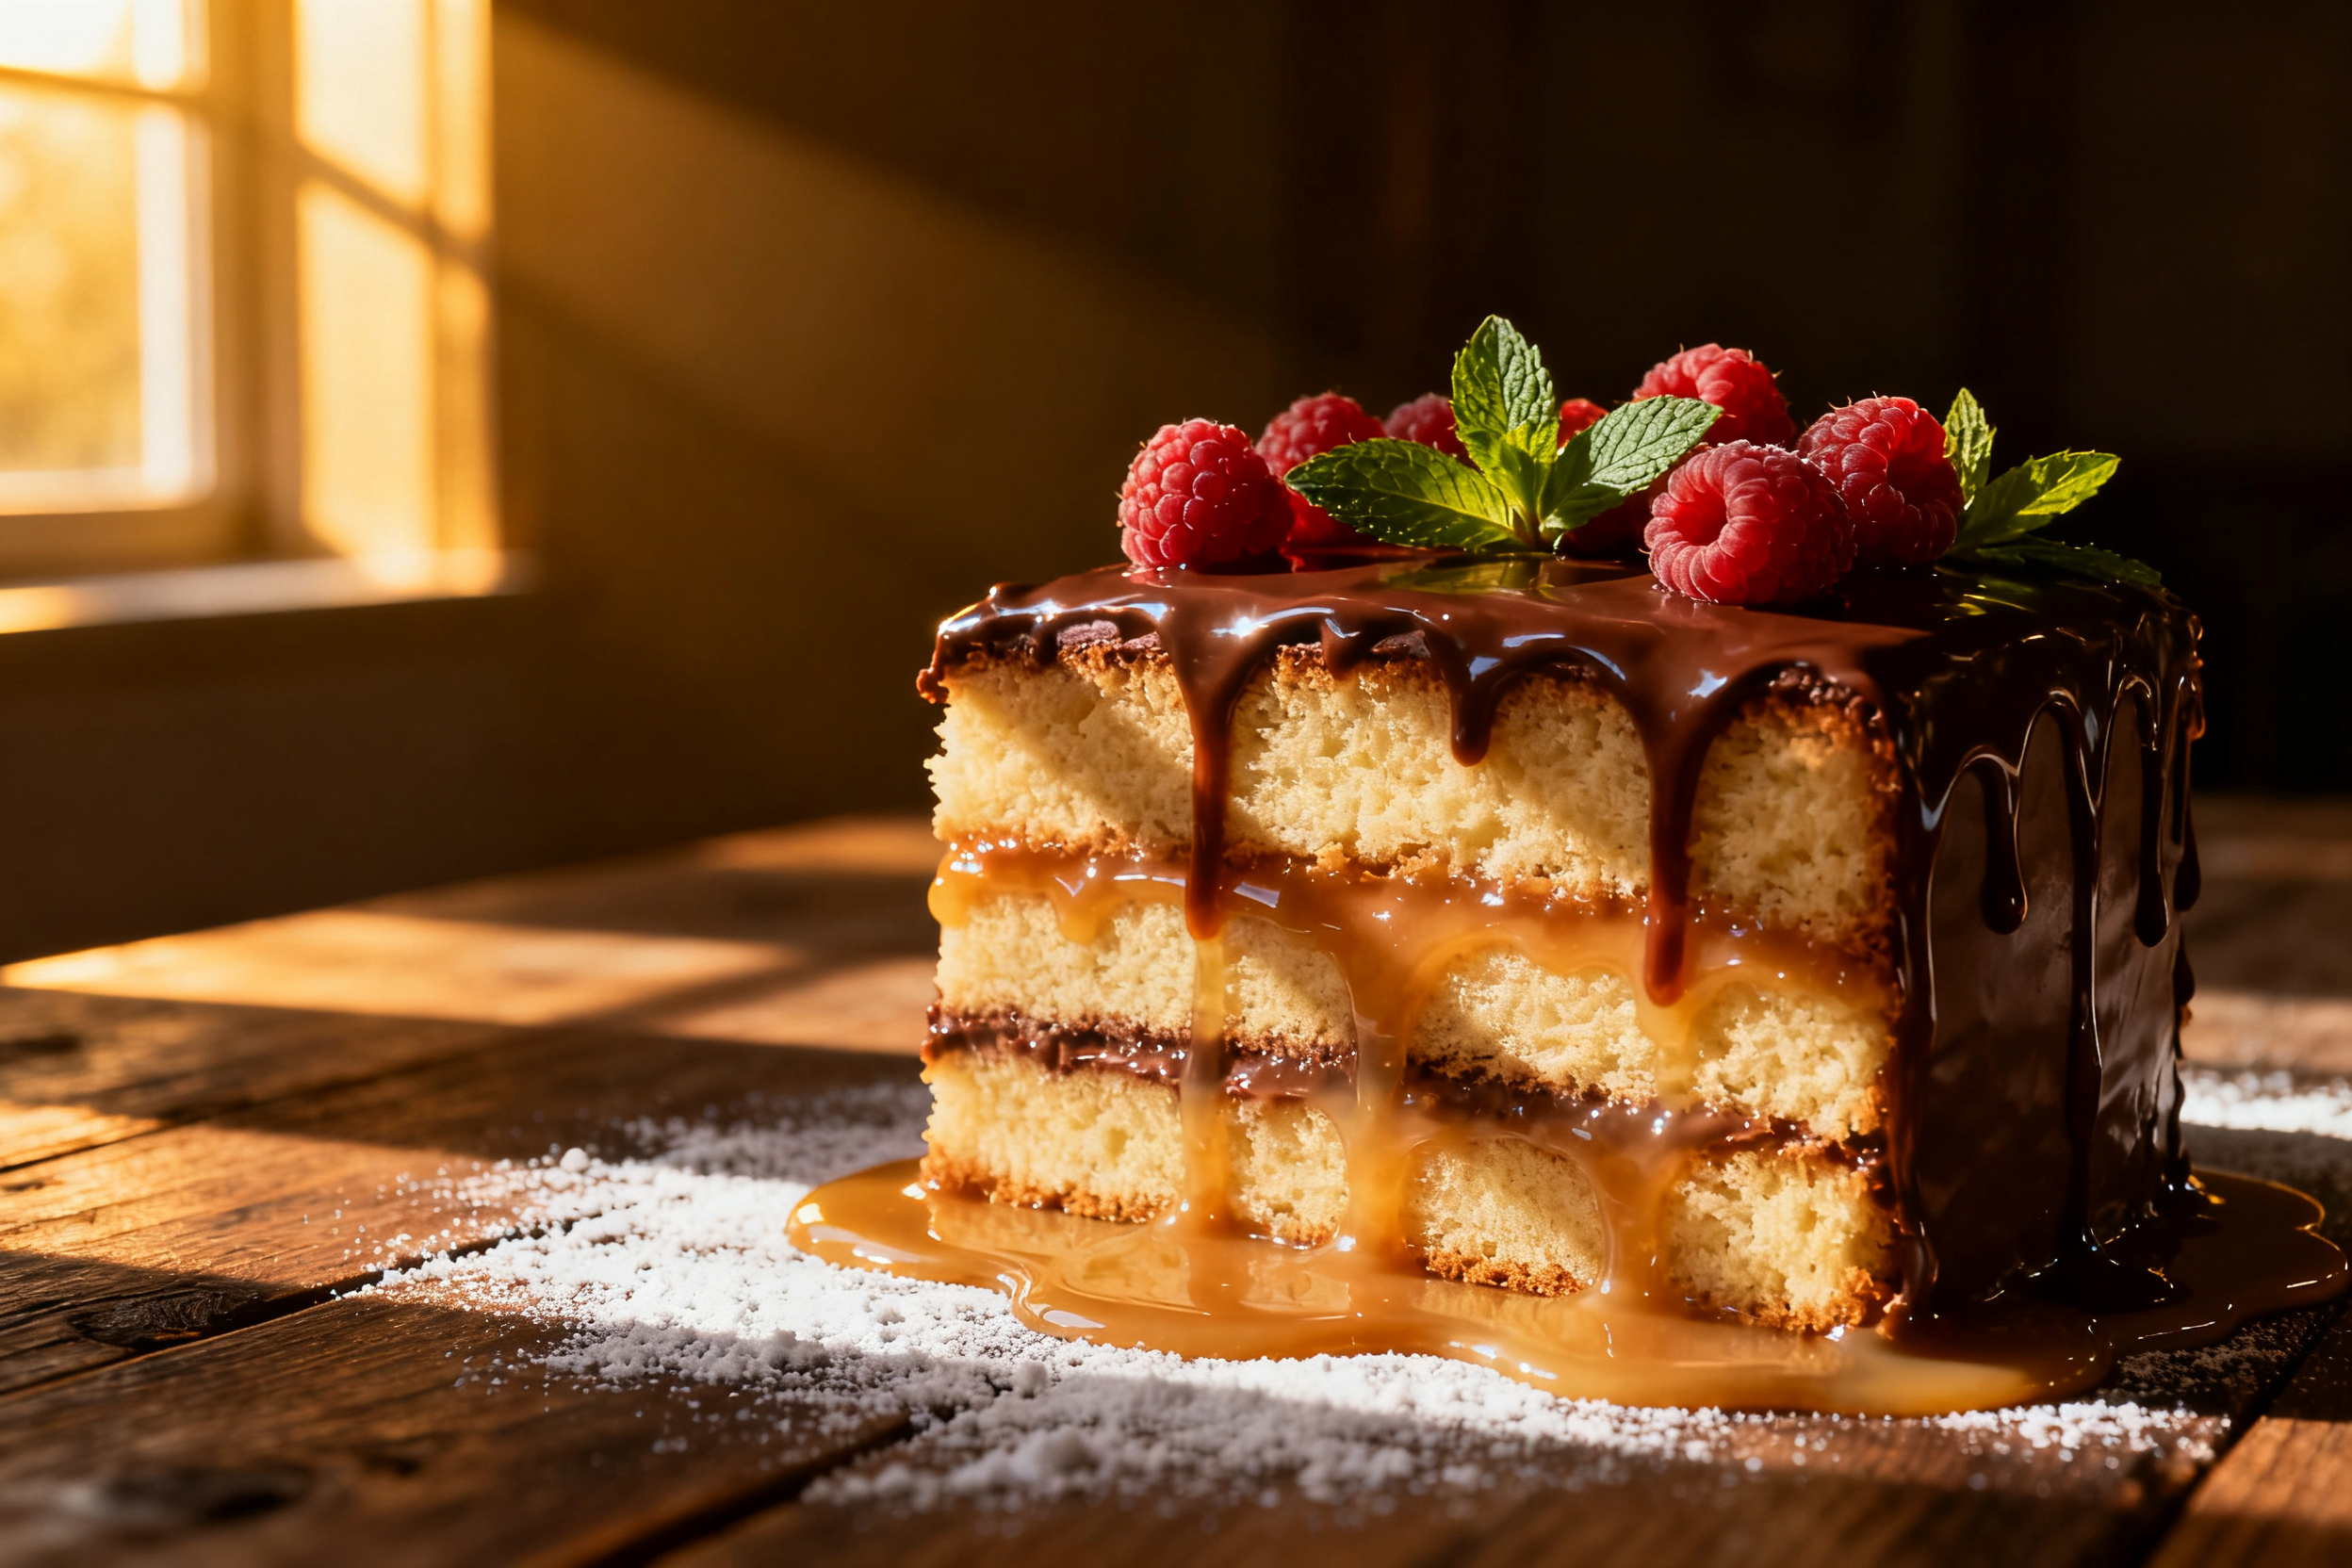
This cake is rich, so serve it in small squares. A scoop of vanilla ice cream on the side cuts through the sweetness perfectly. Fresh berries like strawberries or raspberries add a tart contrast that balances everything out.
For a brunch spread, pair it with a strong cup of black coffee or an espresso. The bitterness of the coffee plays off the sweet, creamy cake like a charm. Your guests will think you’re a pastry chef.
6. Use your leftovers
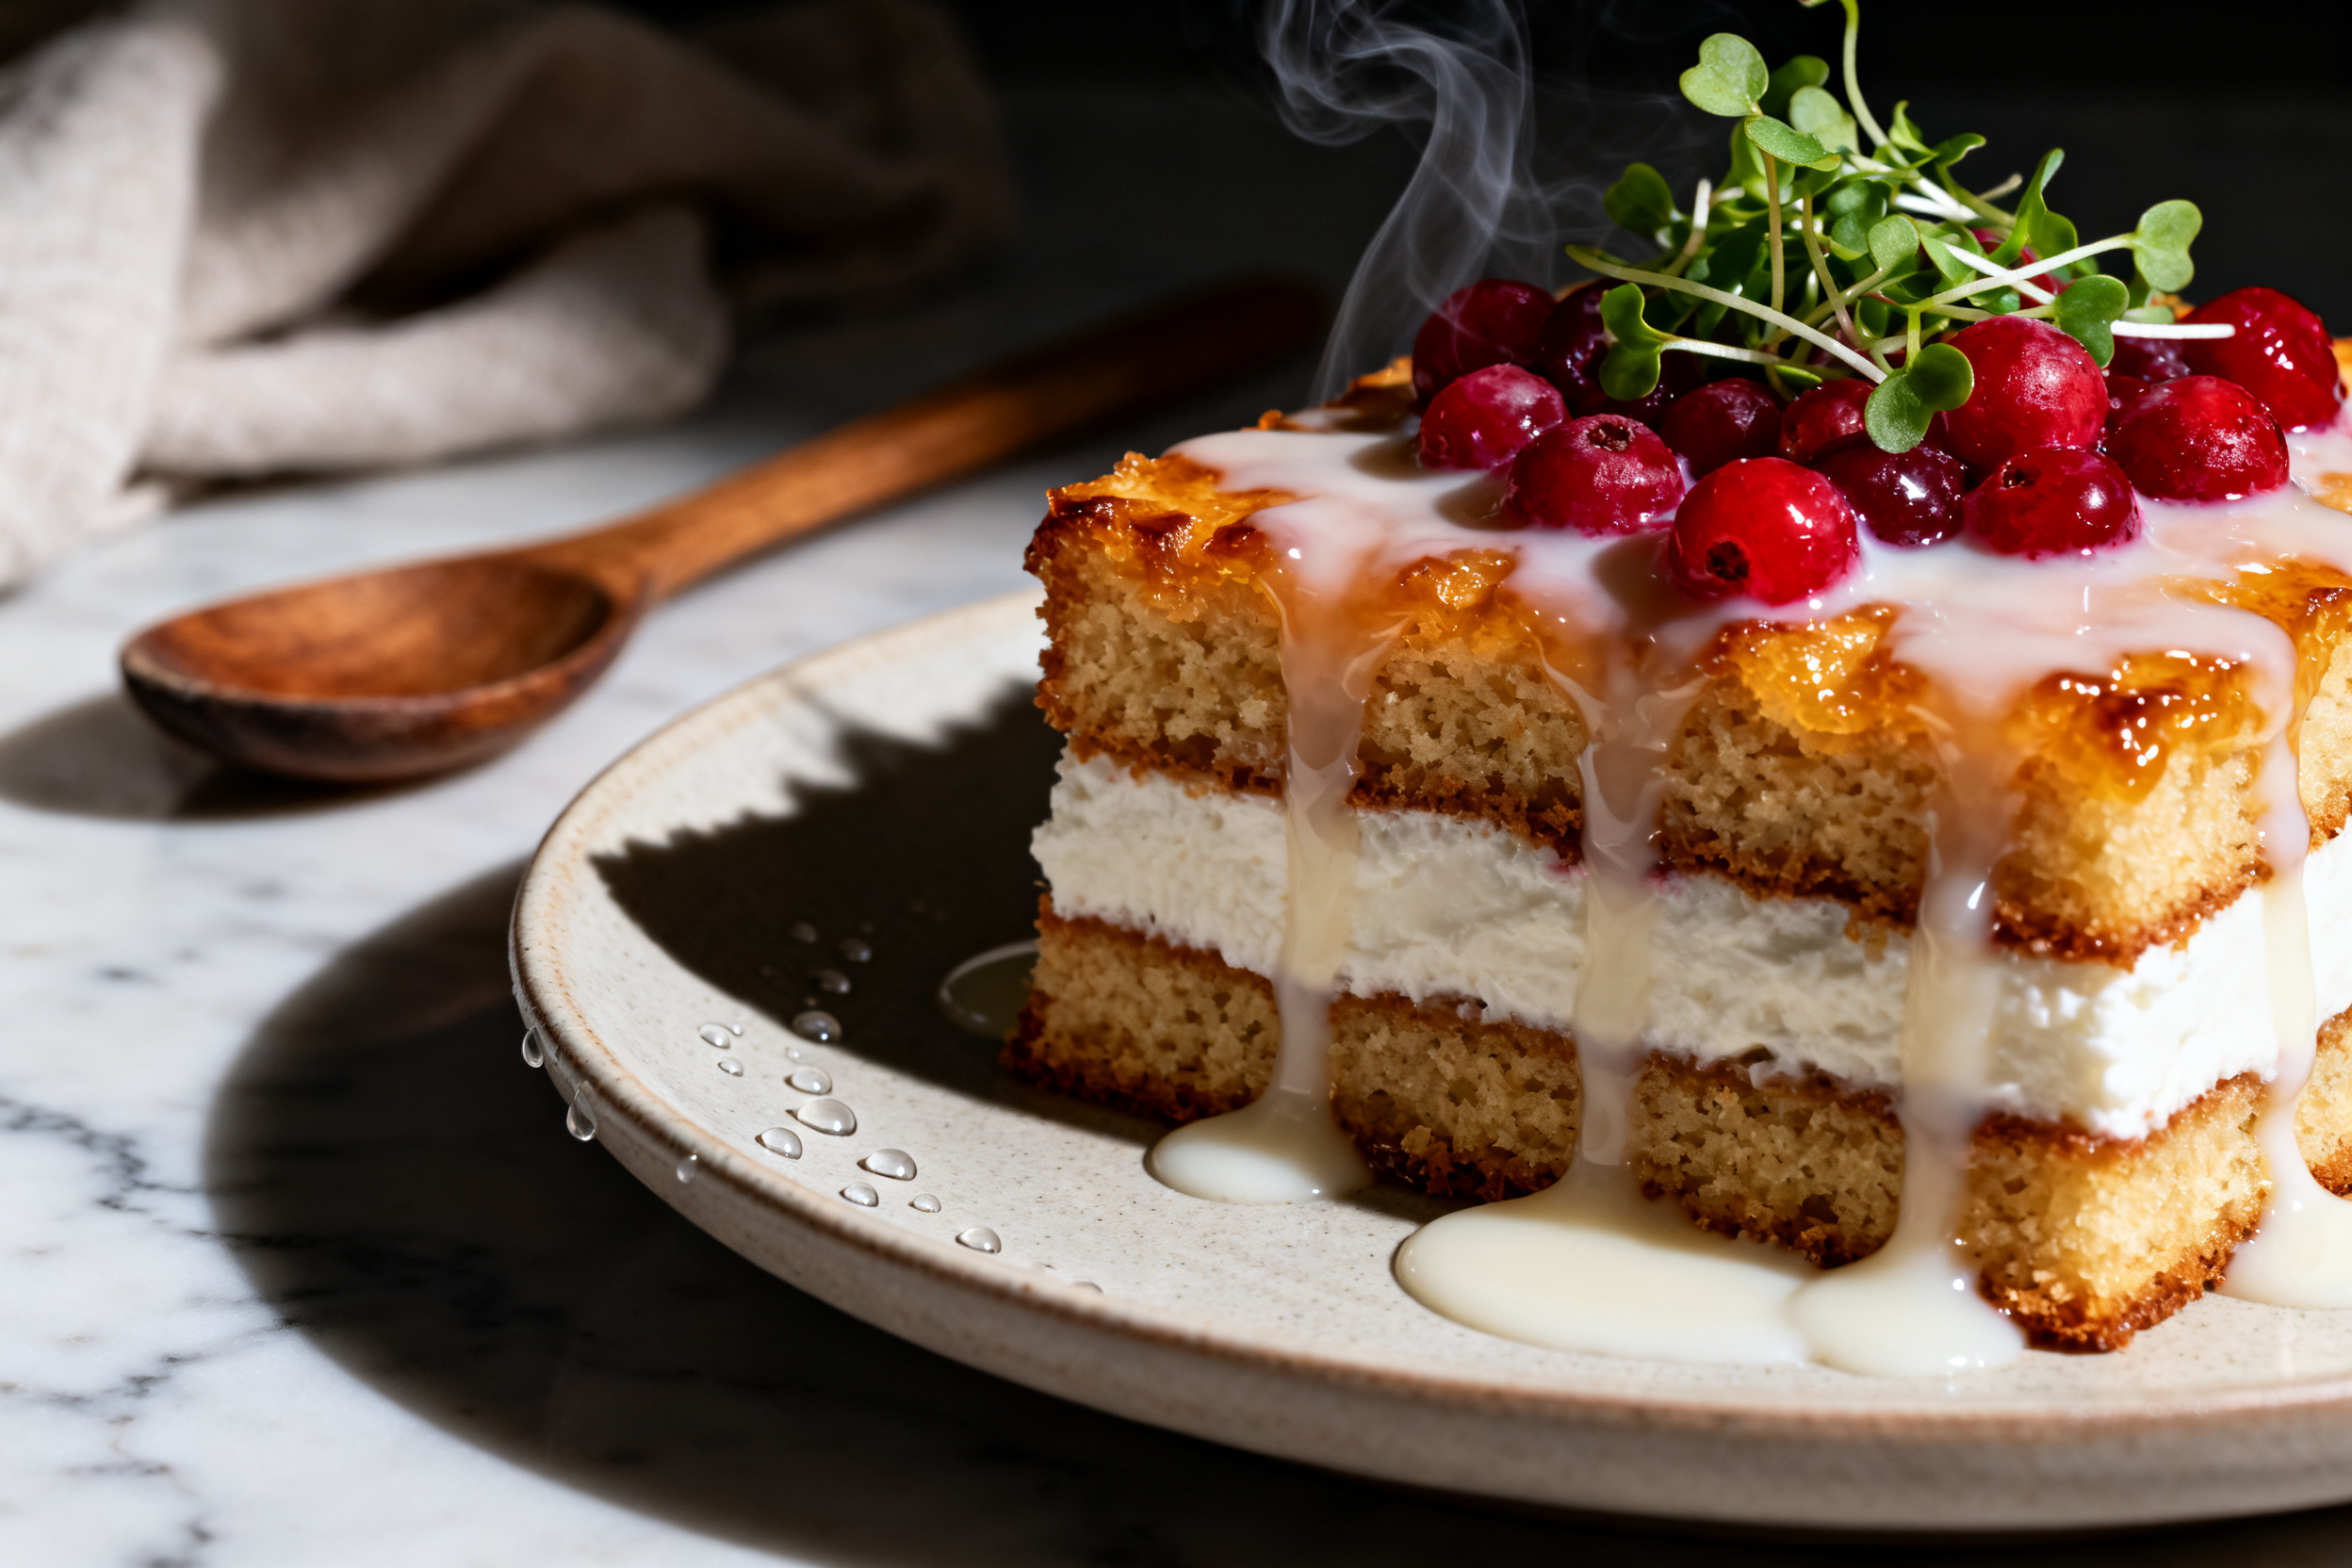
Got leftover poke cake? Crumble it up and layer it in a glass with whipped cream and berries for a quick trifle. You can also freeze individual slices for emergency dessert cravings — just wrap each piece in plastic.
Another trick: cube the leftover cake and toast it lightly in a pan with a little butter. Serve it as a warm, caramelized treat with a drizzle of extra condensed milk. Waste not, want not.
7. Common mistakes & how to fix them
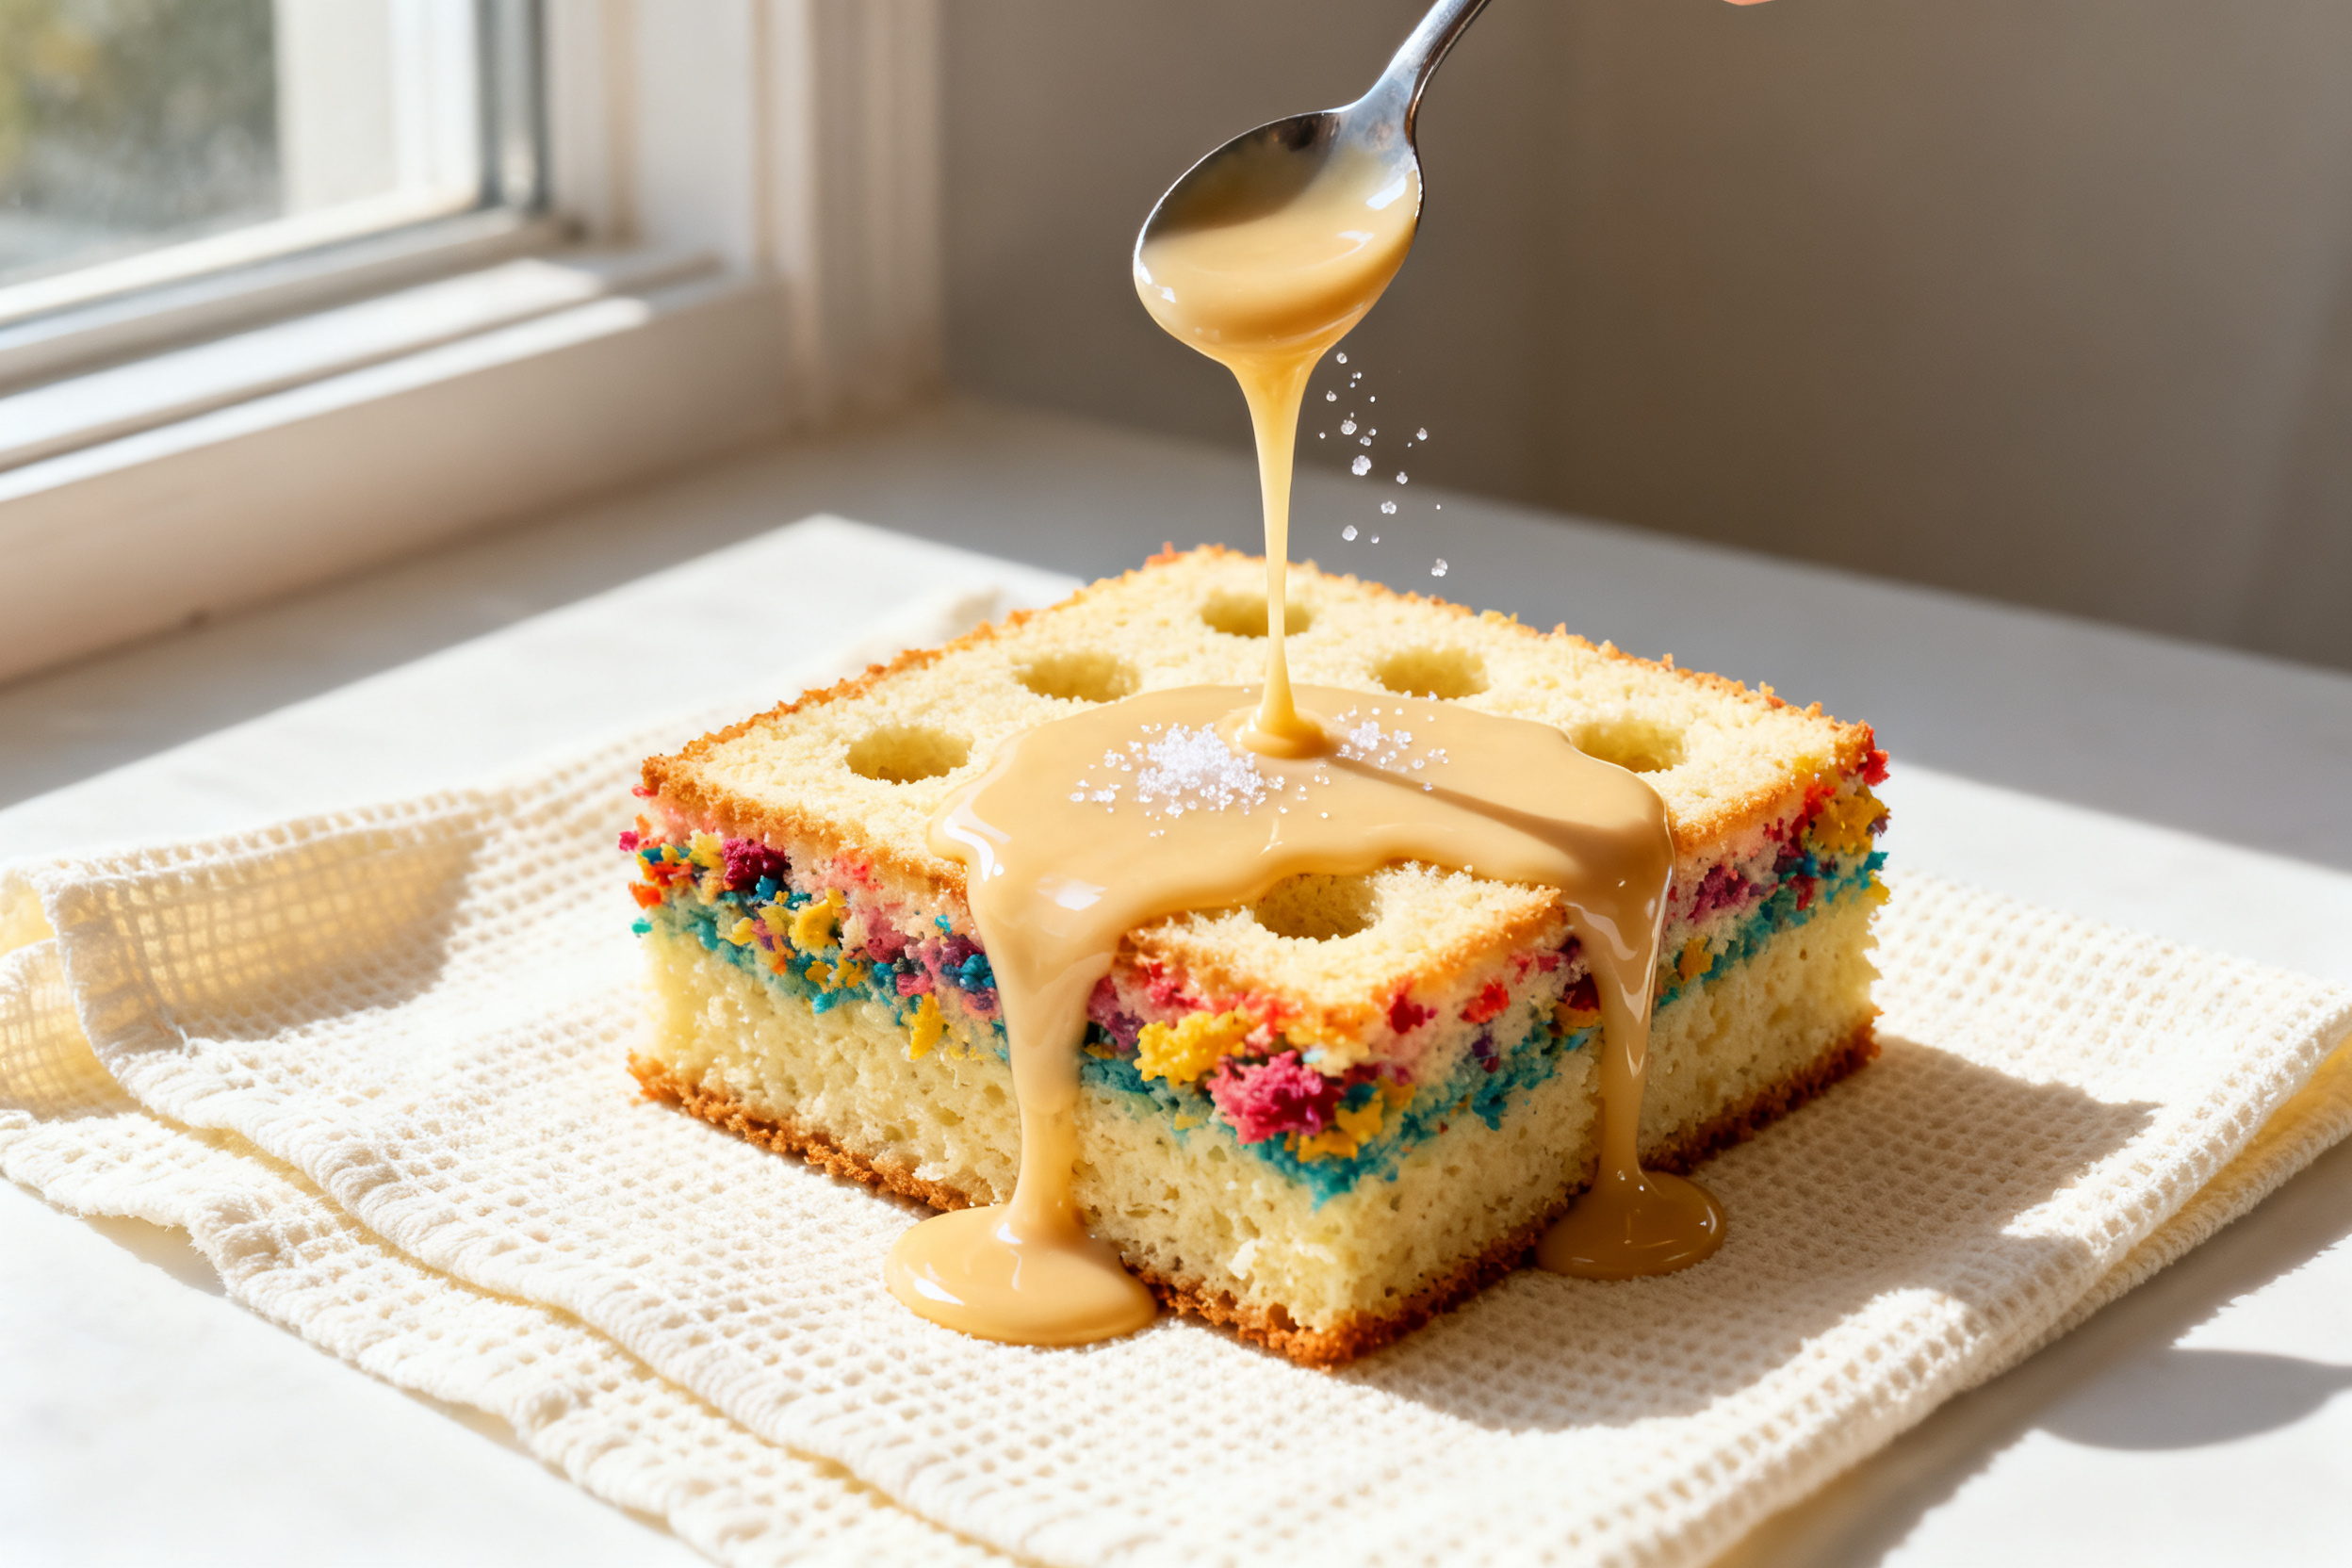
Poking holes that are too small is a classic oops. Your holes need to be at least half an inch wide so the condensed milk mixture can flow in easily. Use the handle of a wooden spoon, not a fork.
Pouring the condensed milk mixture too fast can cause it to pool on top instead of soaking in. Pour slowly, a little at a time, and let it absorb between pours. Patience pays off here.
If your cake comes out too dense, you probably overmixed the batter. Mix just until the flour disappears — lumps are okay. Overmixing develops gluten and makes the cake tough instead of tender.
8. Variations by diet or flavor profile
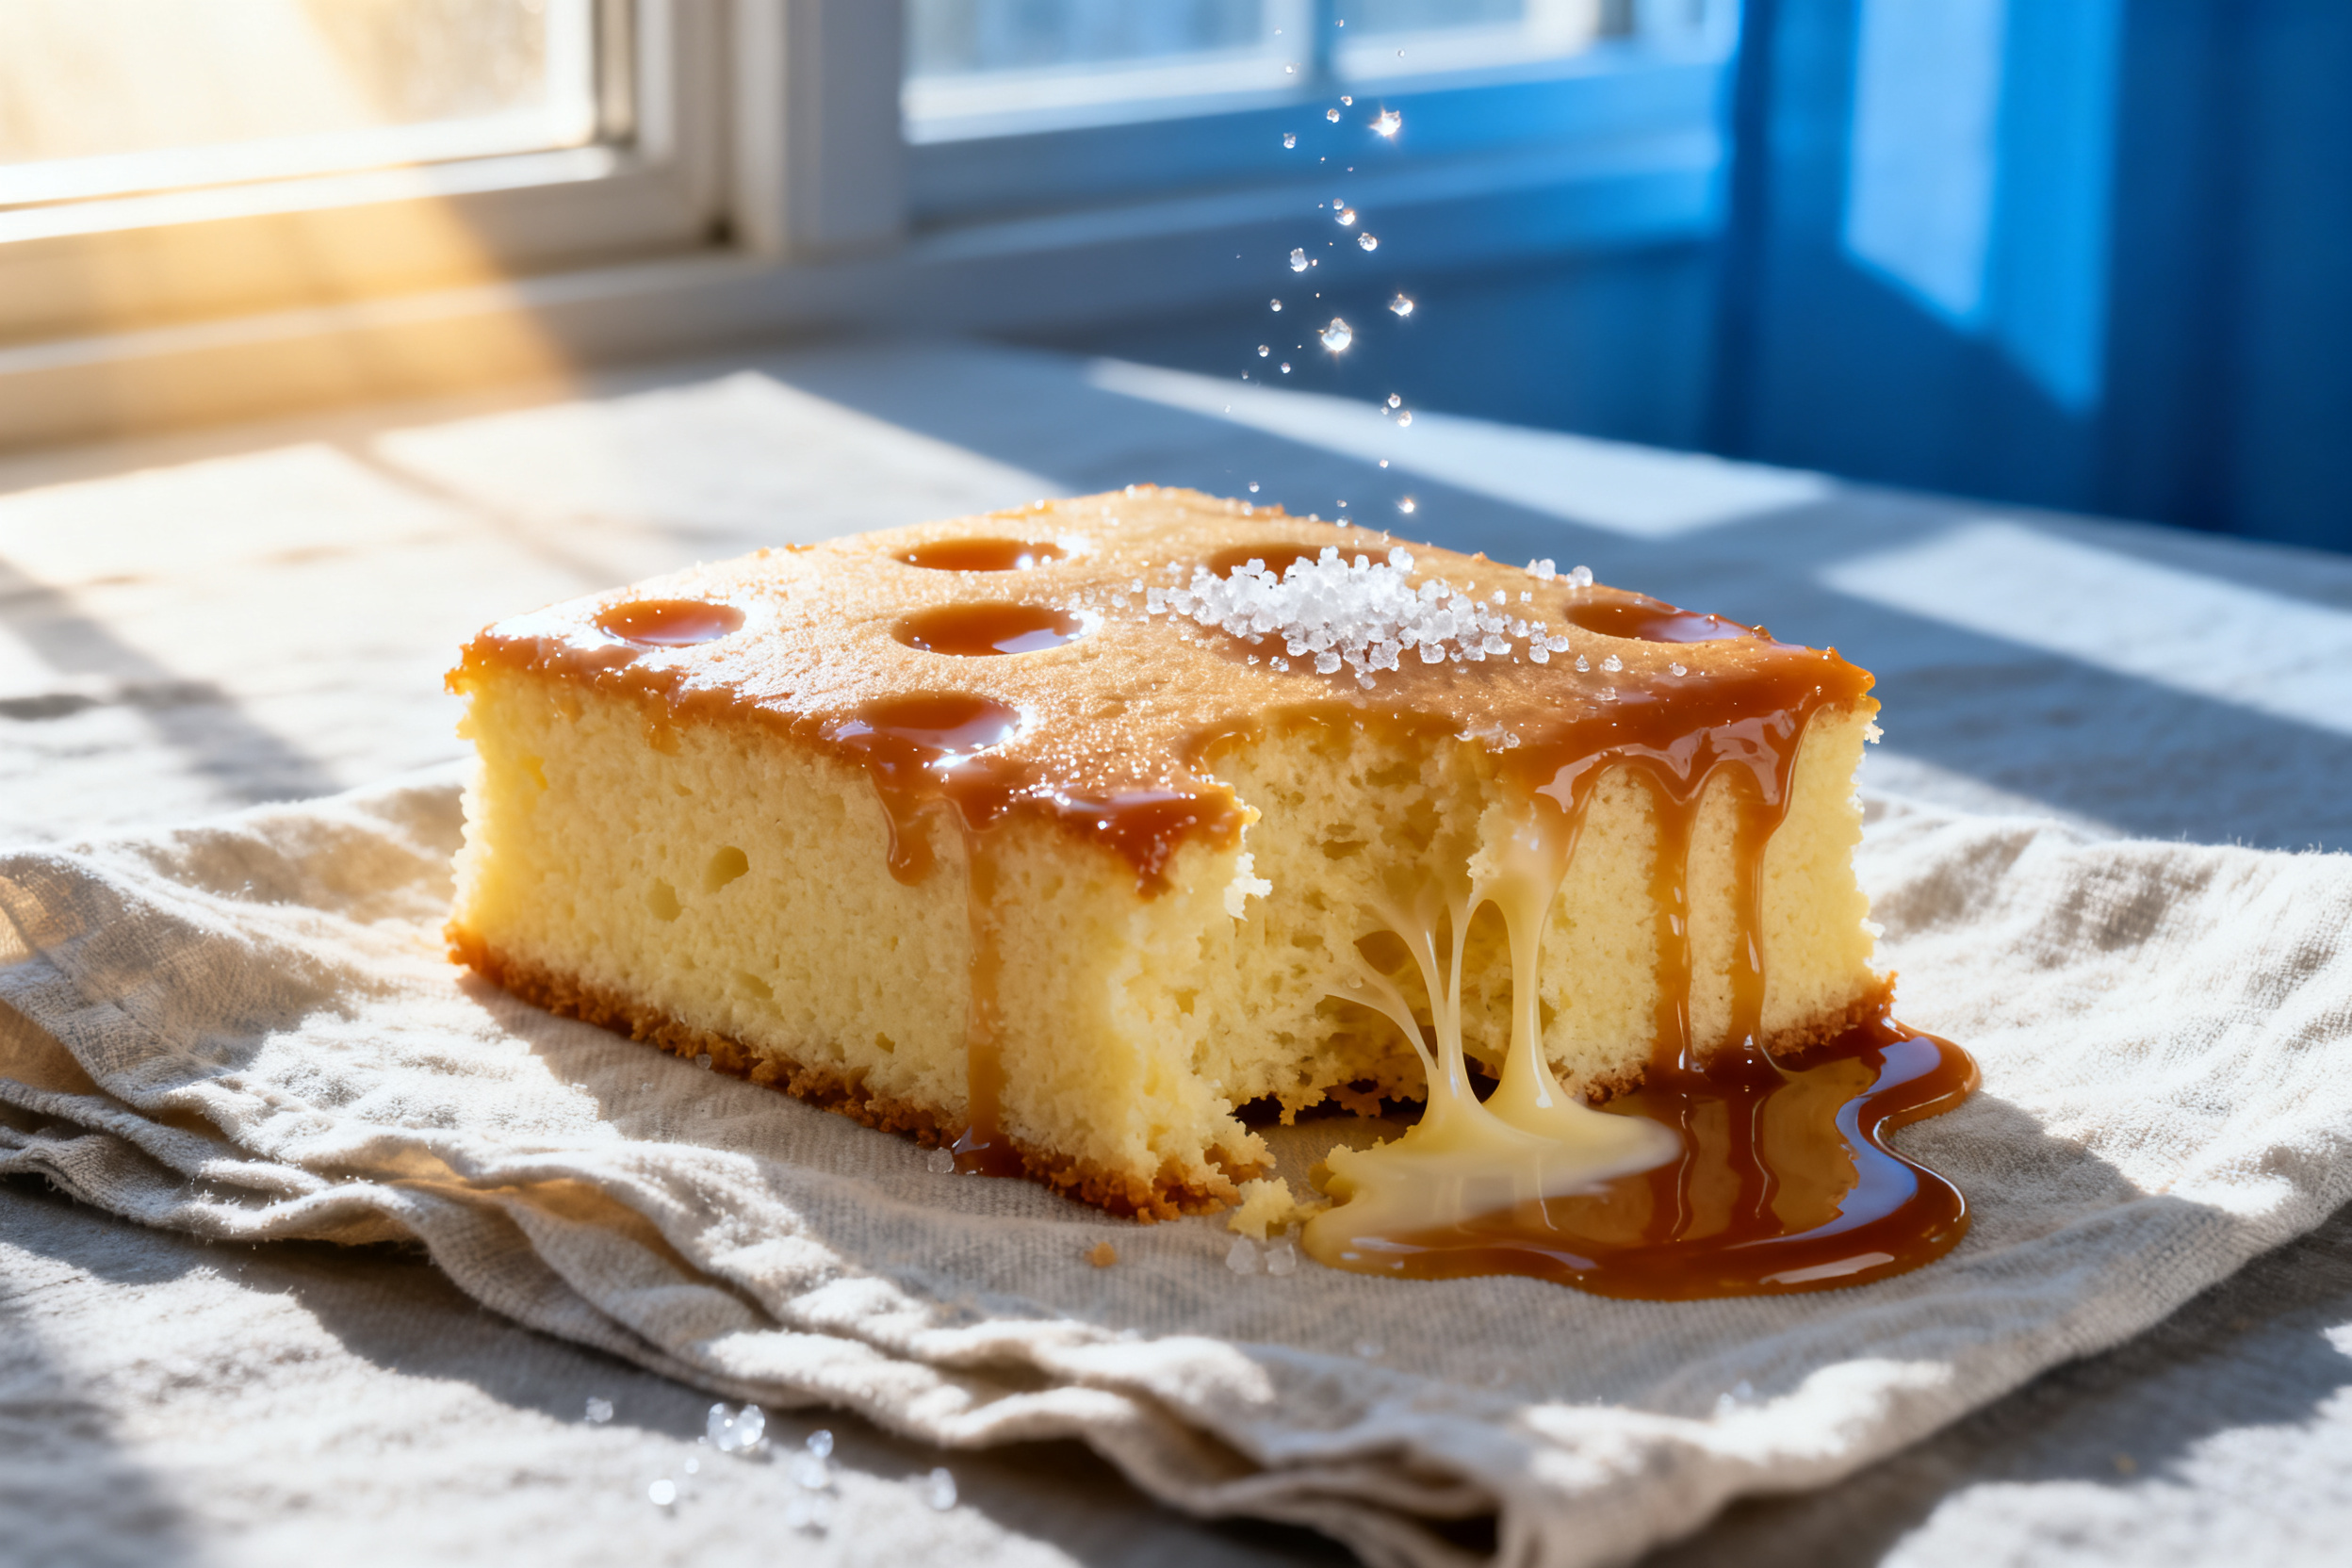
For a chocolate lover’s dream, use a chocolate cake mix and add a tablespoon of cocoa powder to the condensed milk mixture. Top with chocolate shavings and whipped cream. It’s basically a fudge cake in disguise.
Going tropical? Use a coconut cake mix, poke with a mixture of condensed milk and coconut cream, then top with toasted coconut and mango chunks. It’s like a vacation on a plate.
For a lighter version, use a sugar-free cake mix and a can of low-fat sweetened condensed milk. The texture will be slightly less decadent, but still miles better than a dry cake.
9. Why this recipe works
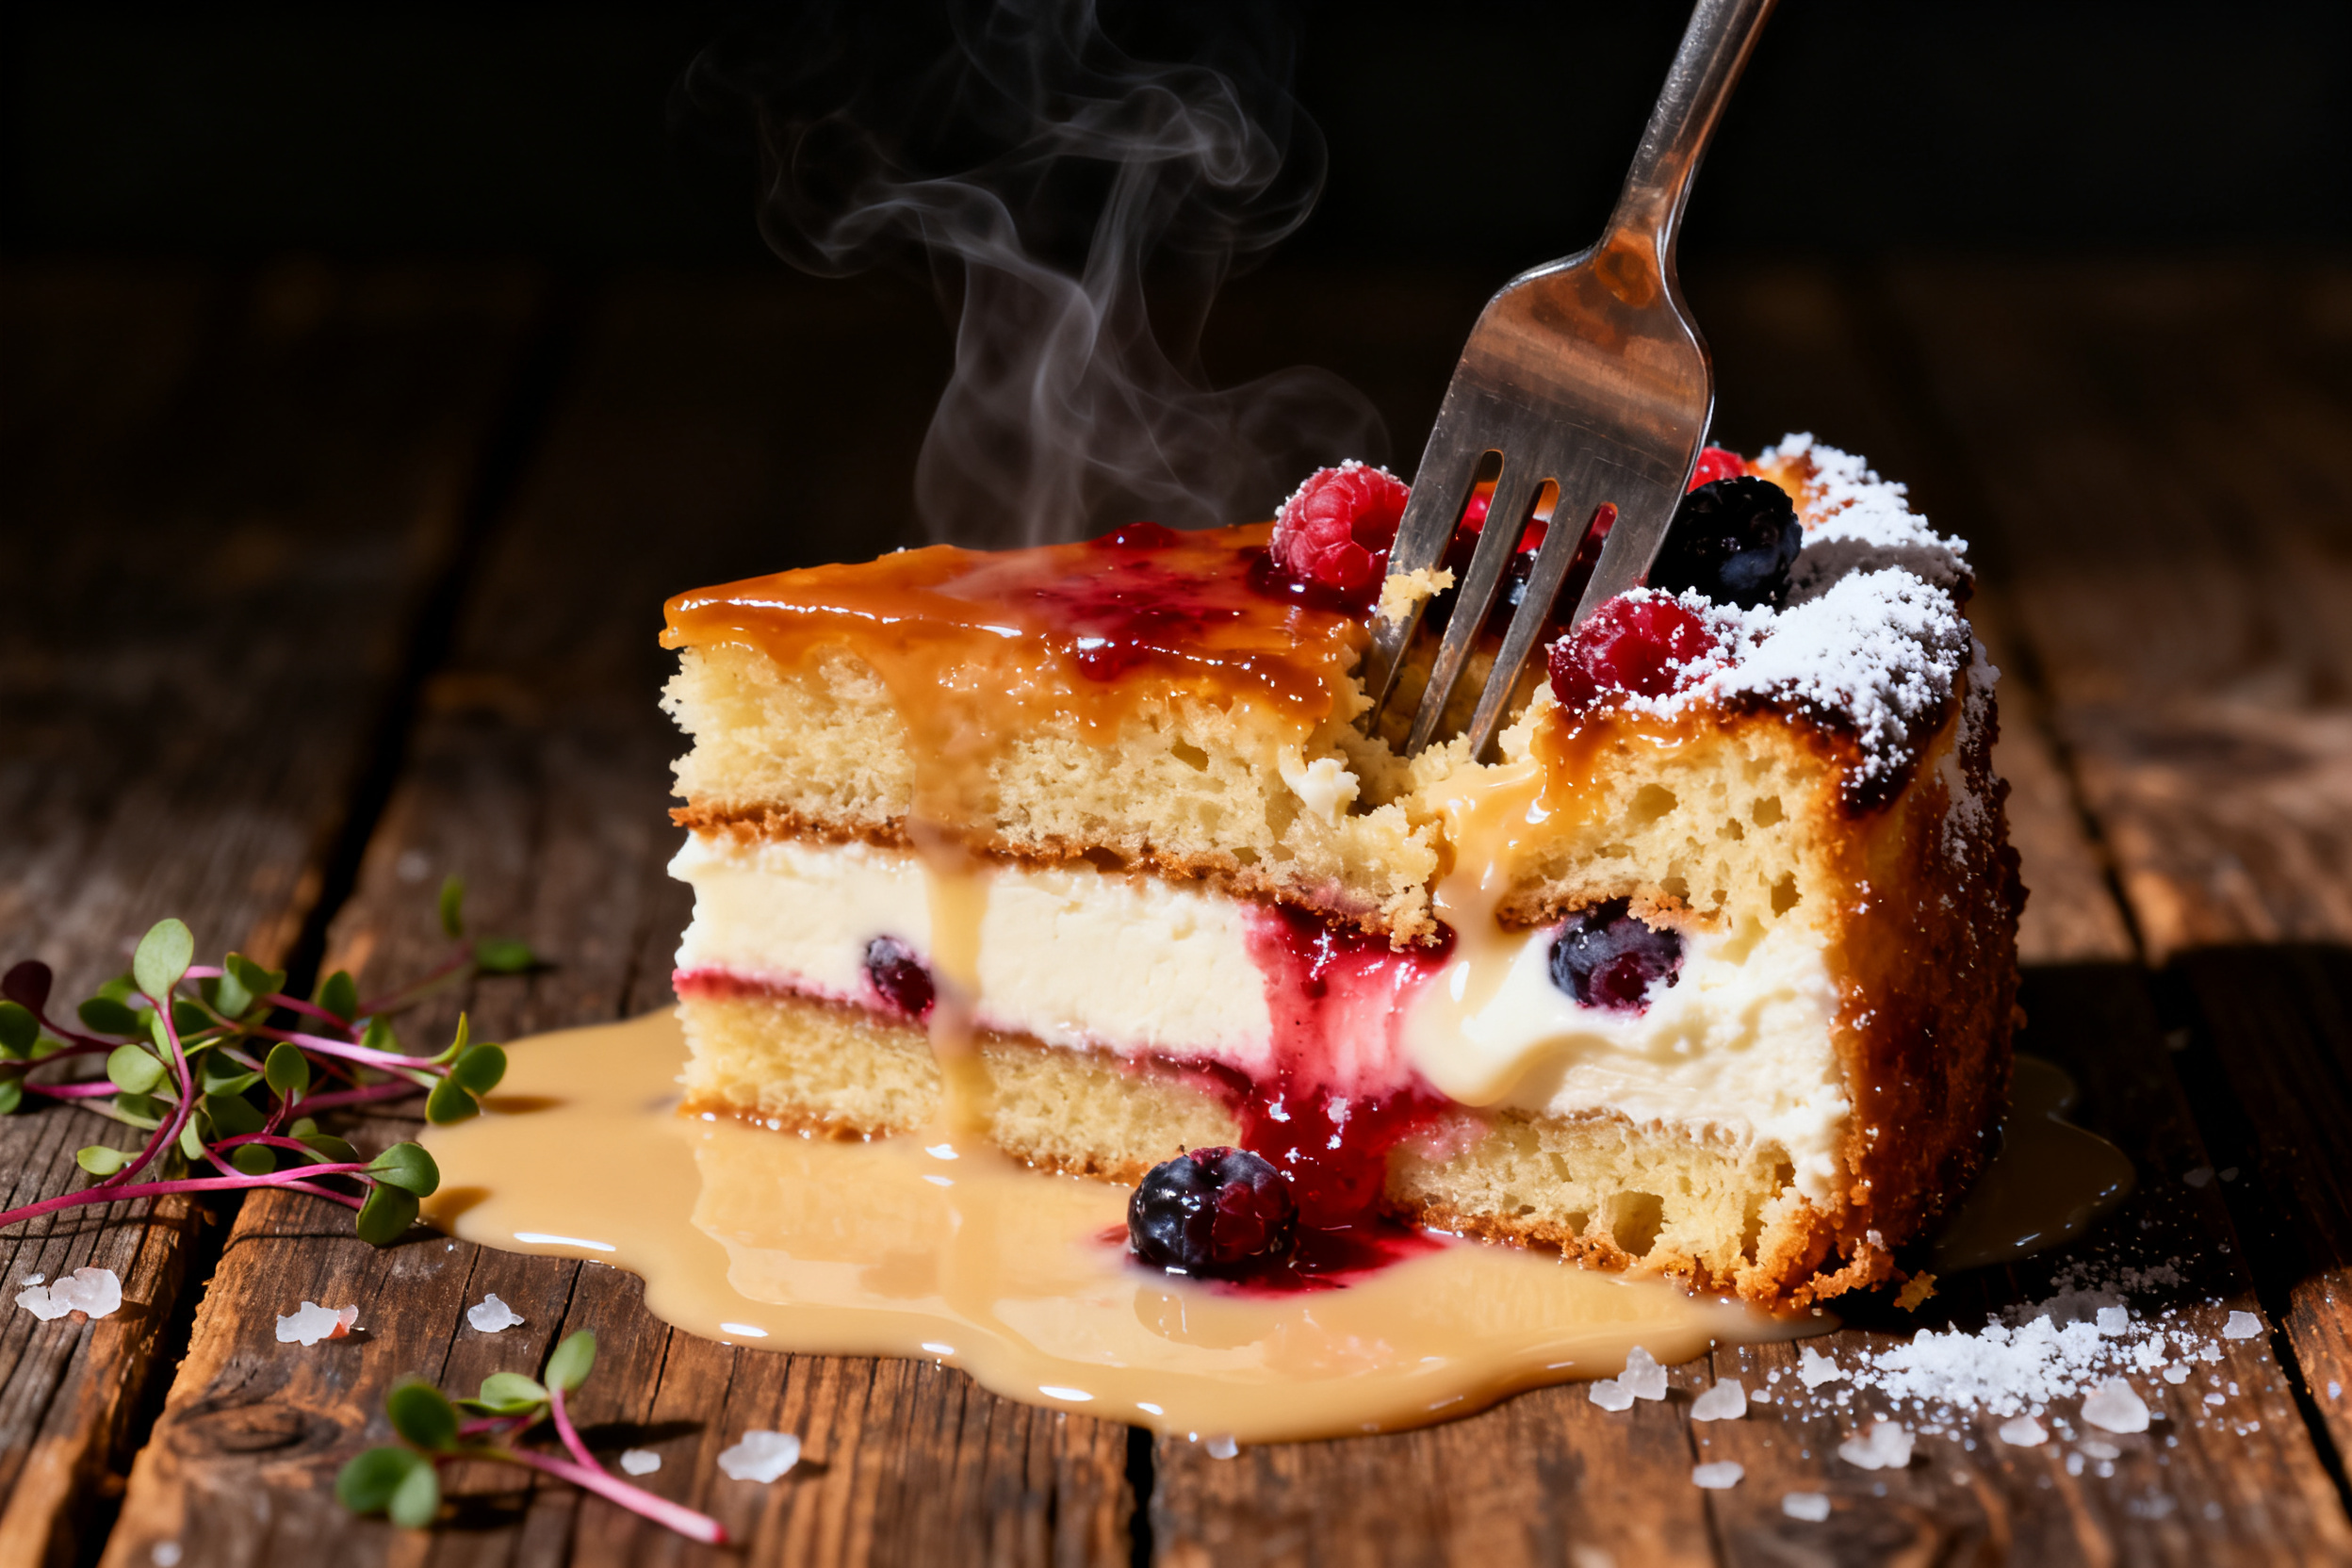
The science here is simple but brilliant. Sweetened condensed milk is high in sugar and fat, which means it stays liquid even when chilled. As it seeps into the cake, it replaces some of the moisture lost during baking.
That sugar also acts as a humectant — it pulls moisture from the air and locks it into the cake. That’s why a condensed milk poke cake stays moist for days, not hours. The fat from the milk coats the flour proteins, preventing them from forming a tough gluten network.
And let’s not forget the caramelization. When the condensed milk hits the warm cake, it begins to caramelize slightly, creating those deep, buttery notes that make you go “mmm” with every bite.
10. Frequently Asked Questions
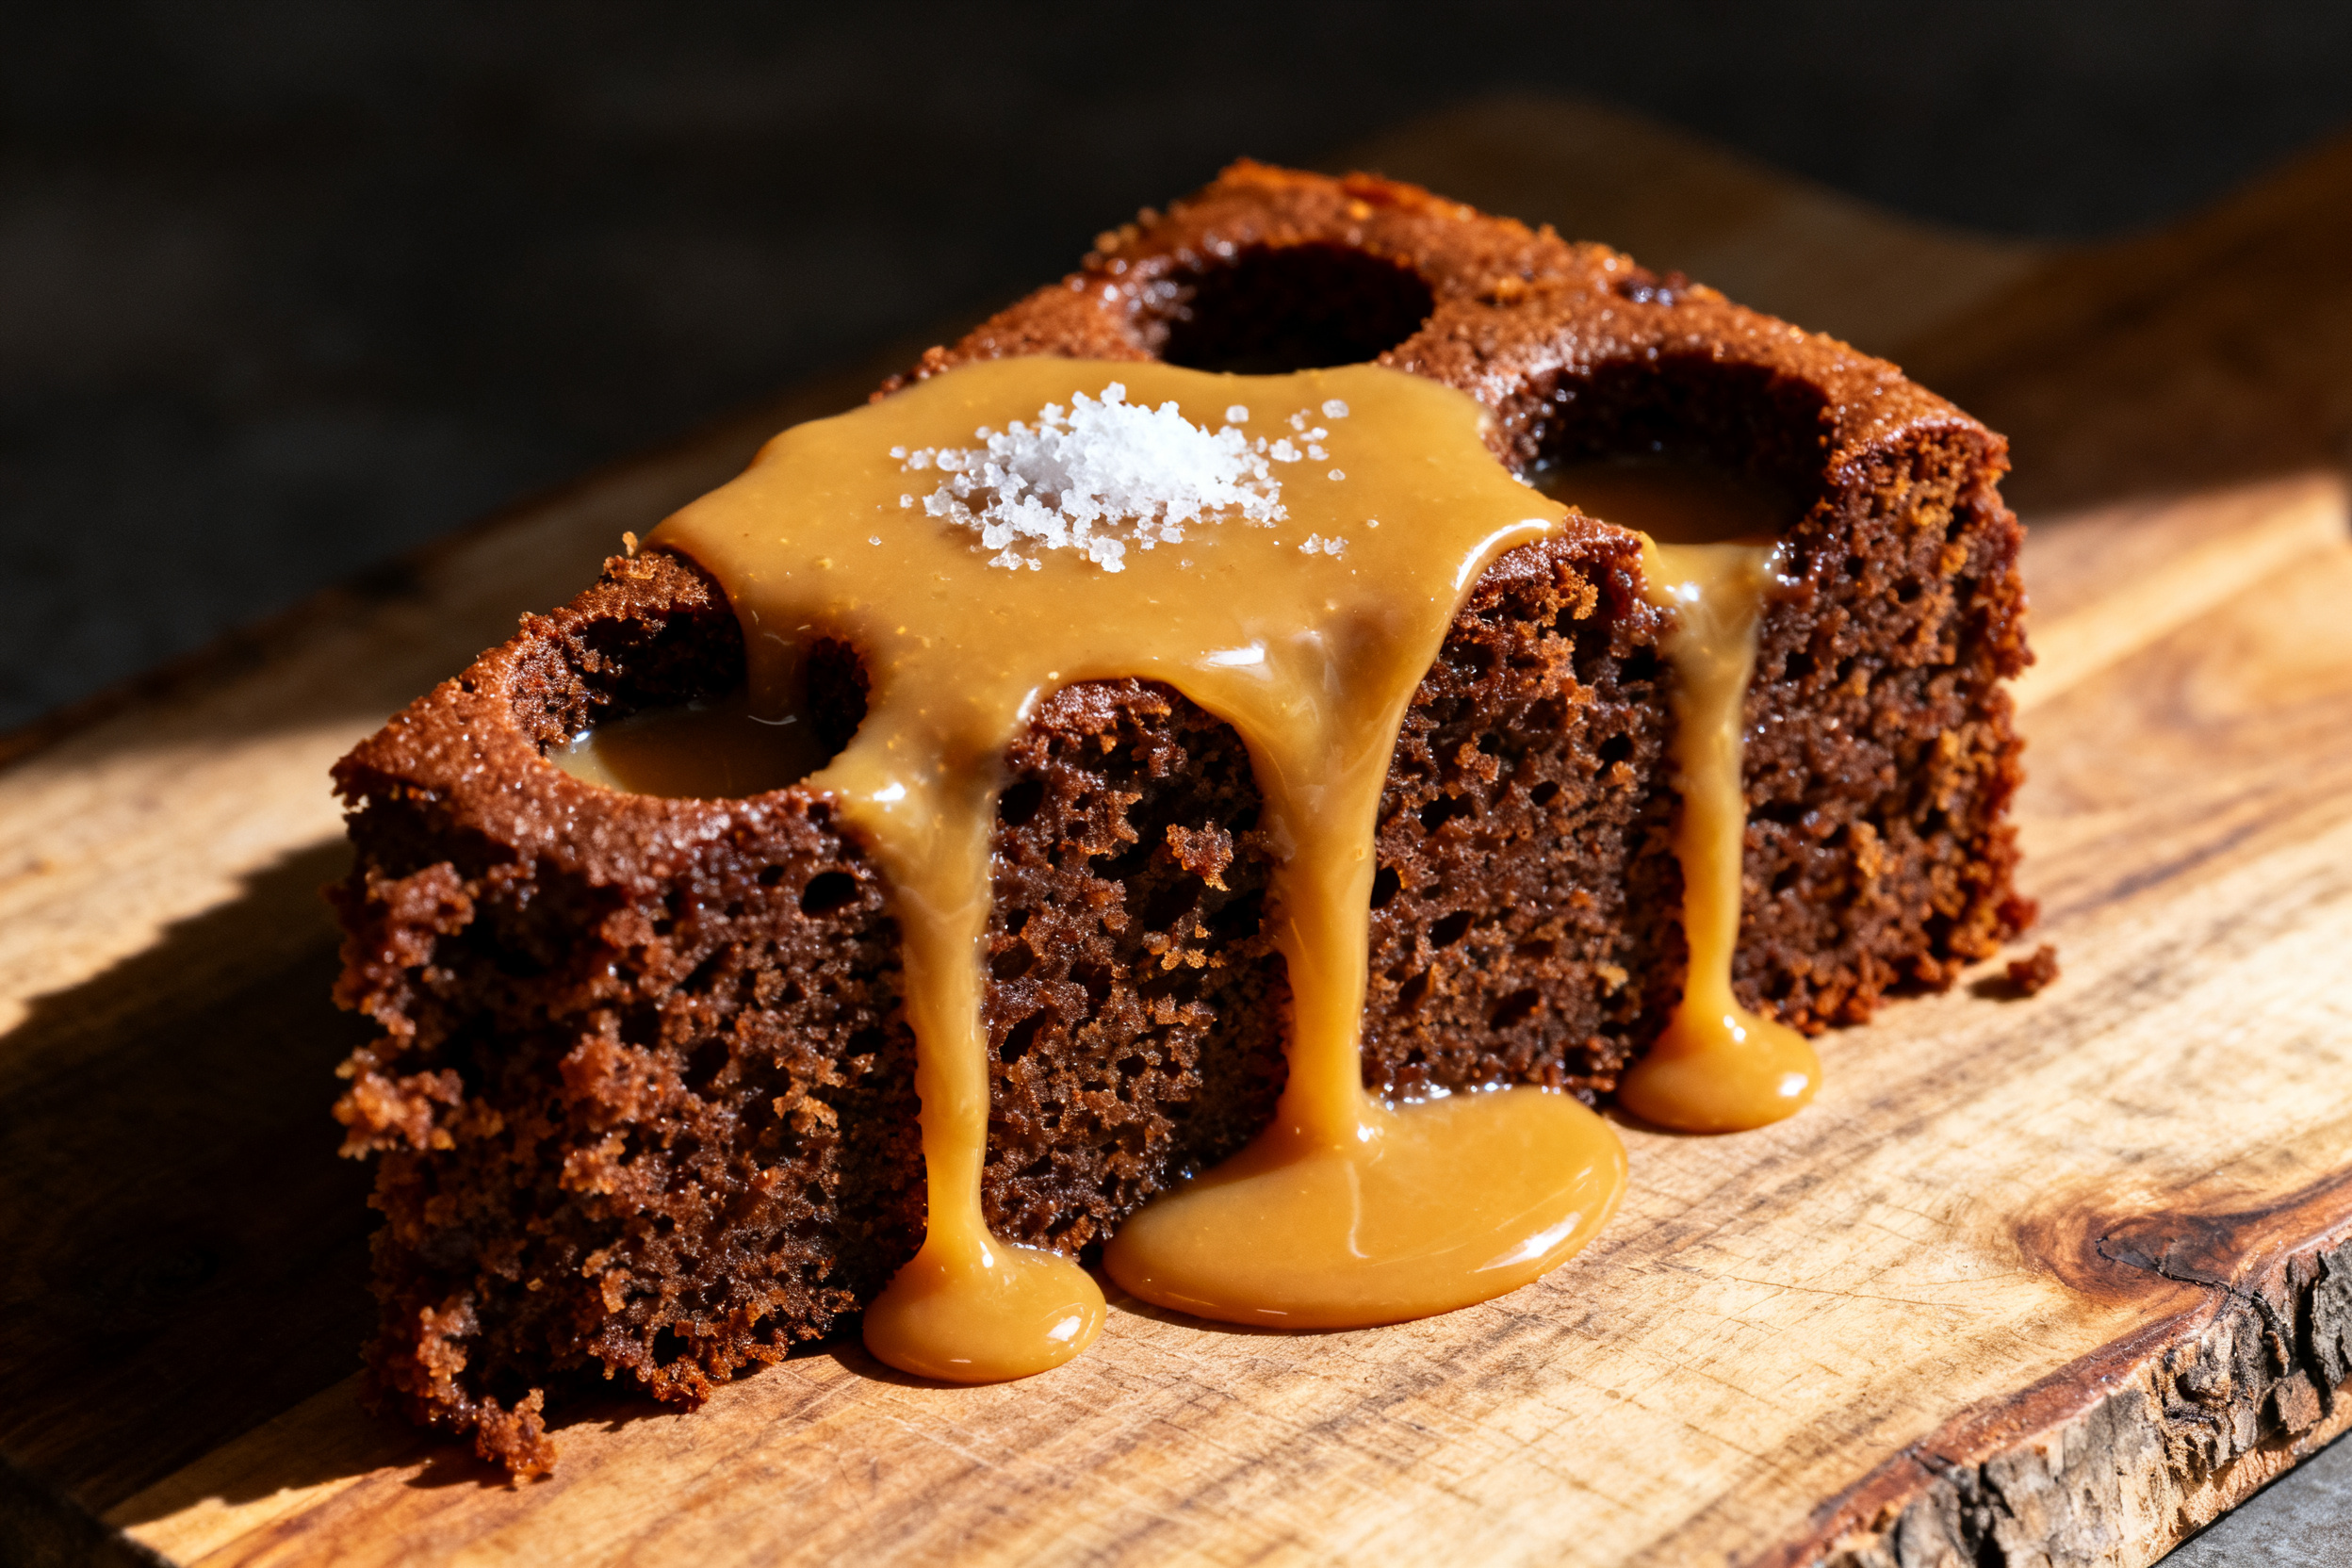
Can I use evaporated milk instead of condensed milk? No — evaporated milk is unsweetened and thinner. Your cake will be soggy and bland. Stick with sweetened condensed milk for the real deal.
Do I have to refrigerate this cake? Yes, because of the dairy in the condensed milk and any whipped topping. It’s safe at room temperature for a few hours, but after that, keep it chilled.
Can I make this gluten-free? Absolutely. Use a gluten-free cake mix and double-check that your condensed milk is gluten-free (most brands are). The process is exactly the same.
11. Call to action
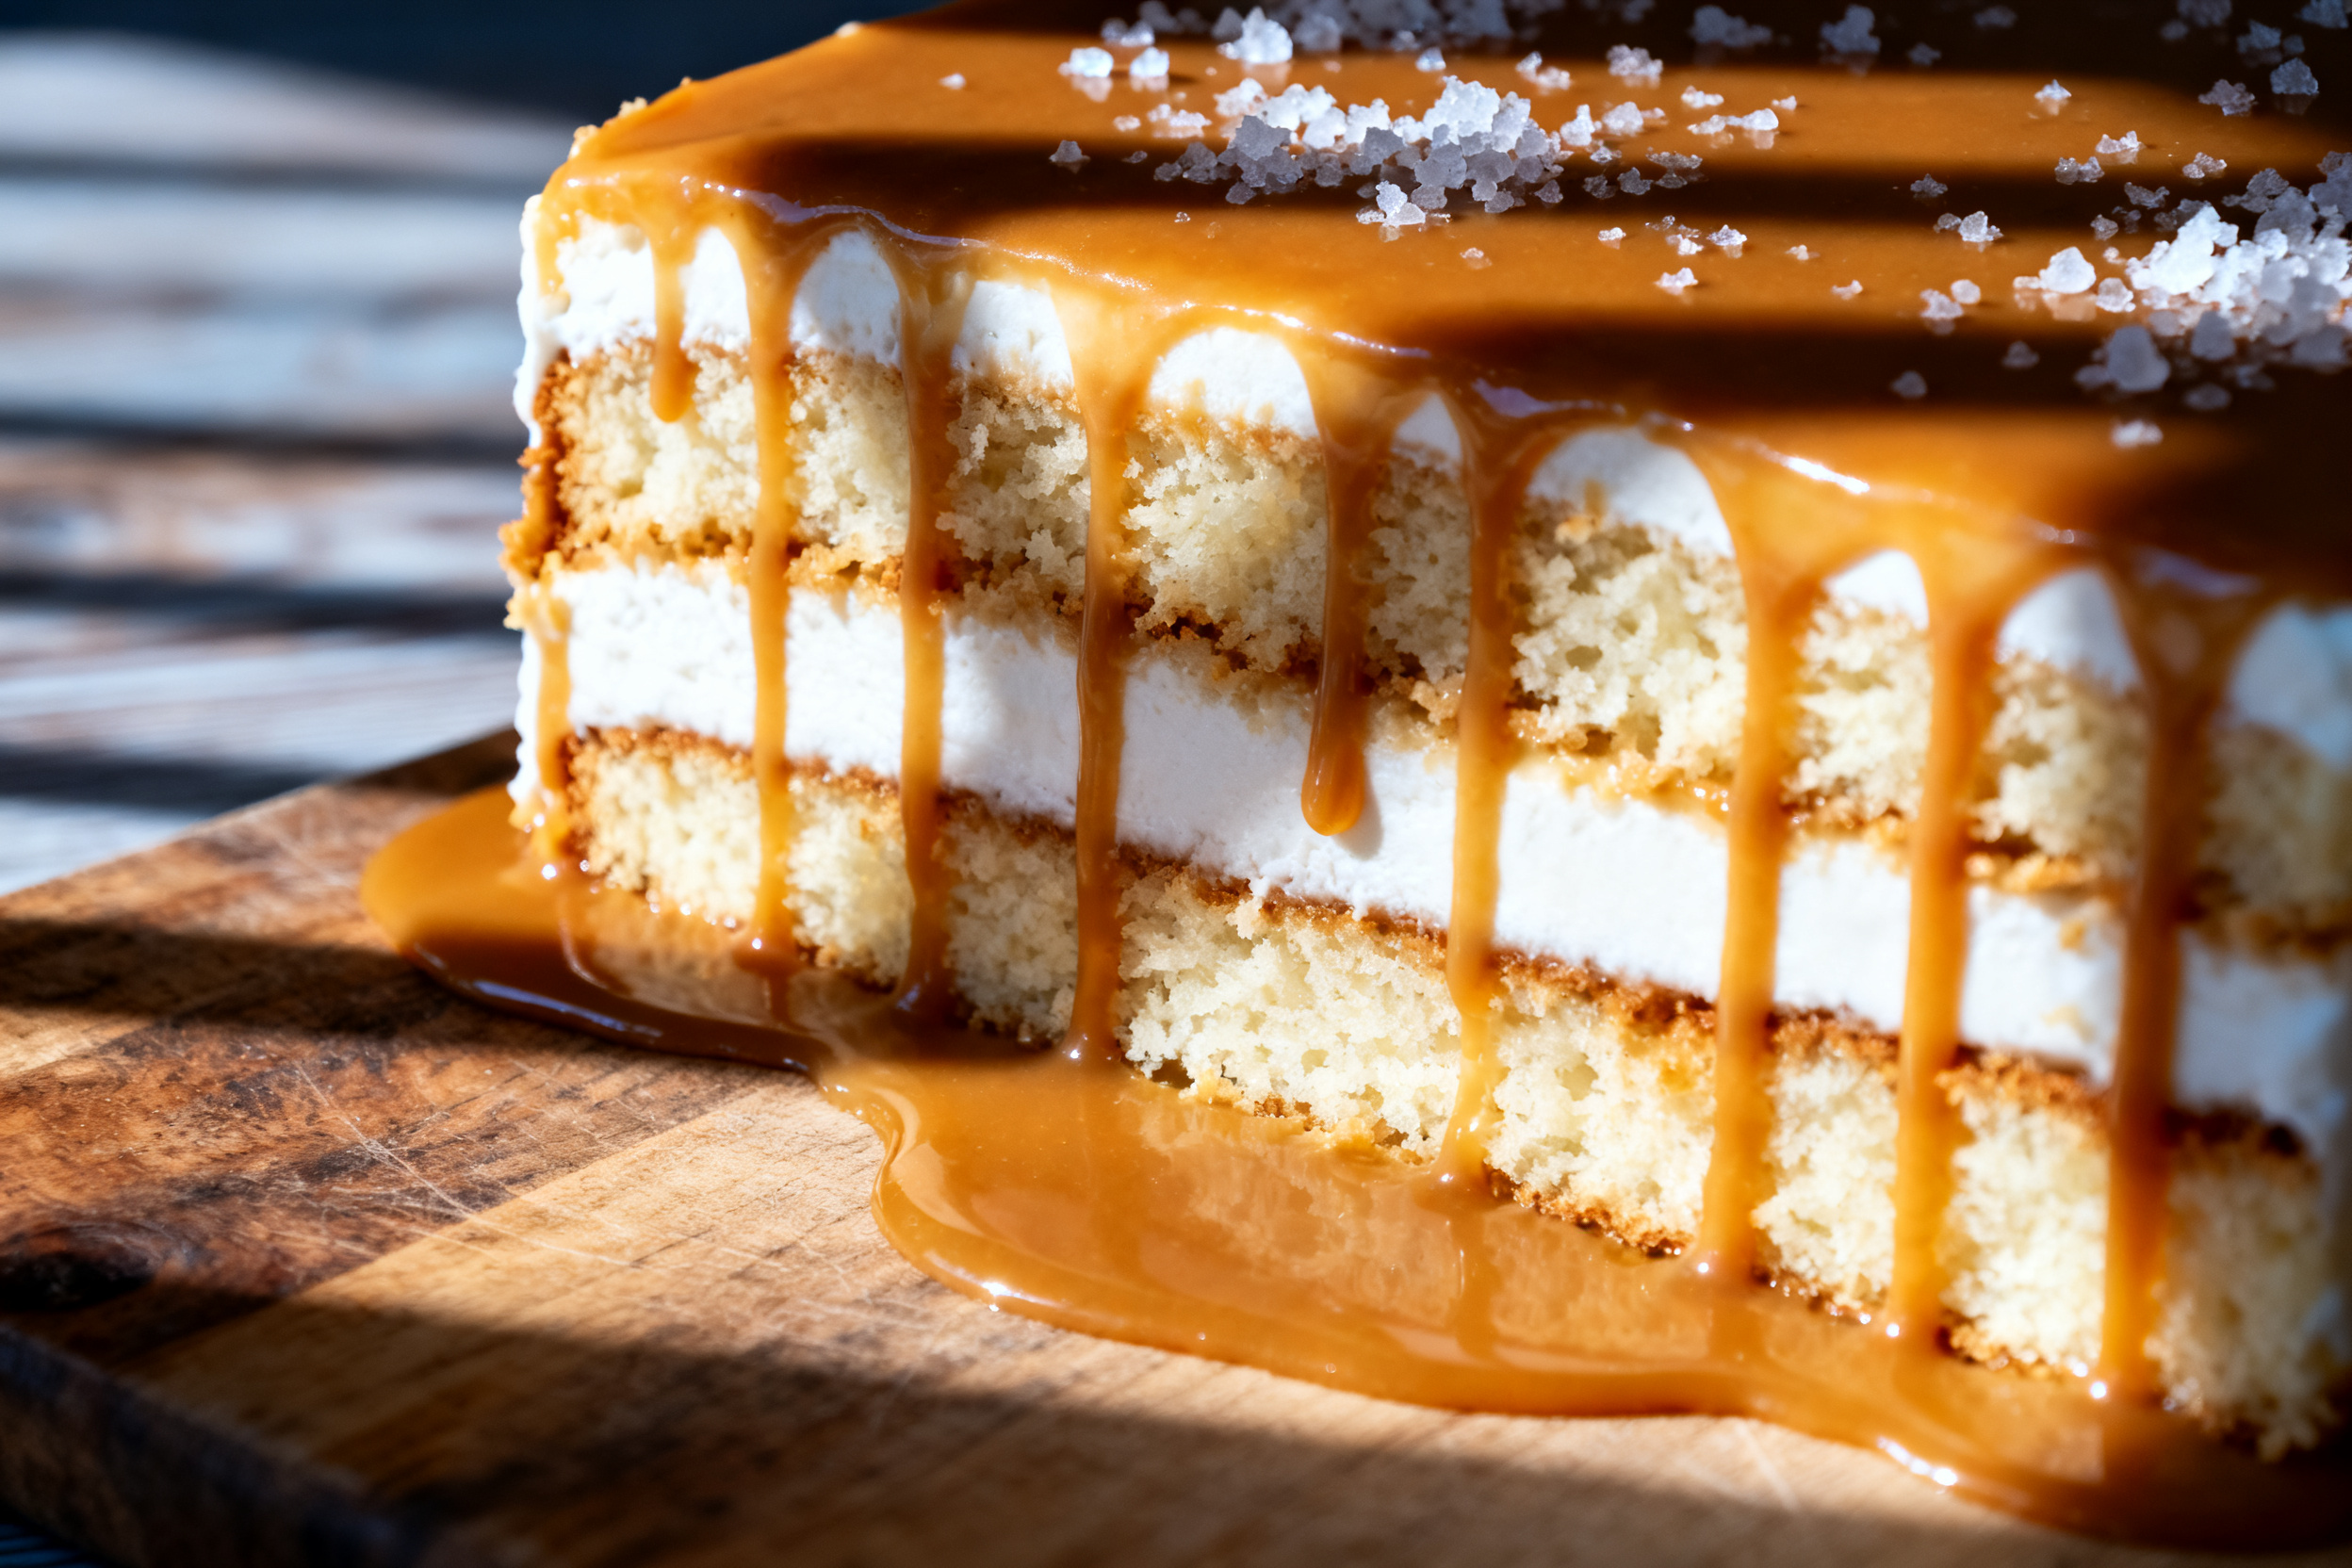
I want to see your poke cake creations! Drop a comment below telling me which flavor variation you tried or how you customized yours. Did you add a secret ingredient? Spill the beans — I’m all ears.
If this recipe made you look like a baking genius, share it with a friend who needs a dessert win. And don’t forget to subscribe so you never miss a new recipe. Your next favorite dessert is just one click away.
So there you have it — a poke cake that’s rich, creamy, and absolutely dripping with flavor. The condensed milk does all the heavy lifting, turning a simple cake into something that tastes like a bakery splurge. It’s forgiving, it’s flexible, and it’s guaranteed to impress.
Next time you need a dessert that looks fancy but takes almost no effort, this is your go-to. Poke it, pour it, and watch the magic happen. Your fork is waiting.
Now go make that cake — and don’t forget to share a slice with someone you love. Or don’t. I won’t tell.
Condensed Milk Poke Cake Recipe
Ingredients
- 1 box 15.25 oz white or yellow cake mix, plus ingredients called for on box (eggs, oil, water)
- 1 can 14 oz sweetened condensed milk
- 1/2 cup whole milk
- 1 teaspoon vanilla extract
- 1 cup heavy whipping cream
- 2 tablespoons powdered sugar
- 1/2 teaspoon vanilla extract for topping
- Optional toppings: toasted coconut chocolate shavings, fresh berries, caramel sauce
Instructions
- Preheat your oven to 350°F (175°C). Grease a 9×13-inch baking dish with butter or nonstick spray.
- Prepare the cake mix according to package directions. Pour the batter into the prepared dish and bake for 25-30 minutes, or until a toothpick inserted in the center comes out clean.
- While the cake bakes, whisk together the sweetened condensed milk, whole milk, and 1 teaspoon vanilla extract in a small bowl. Set aside.
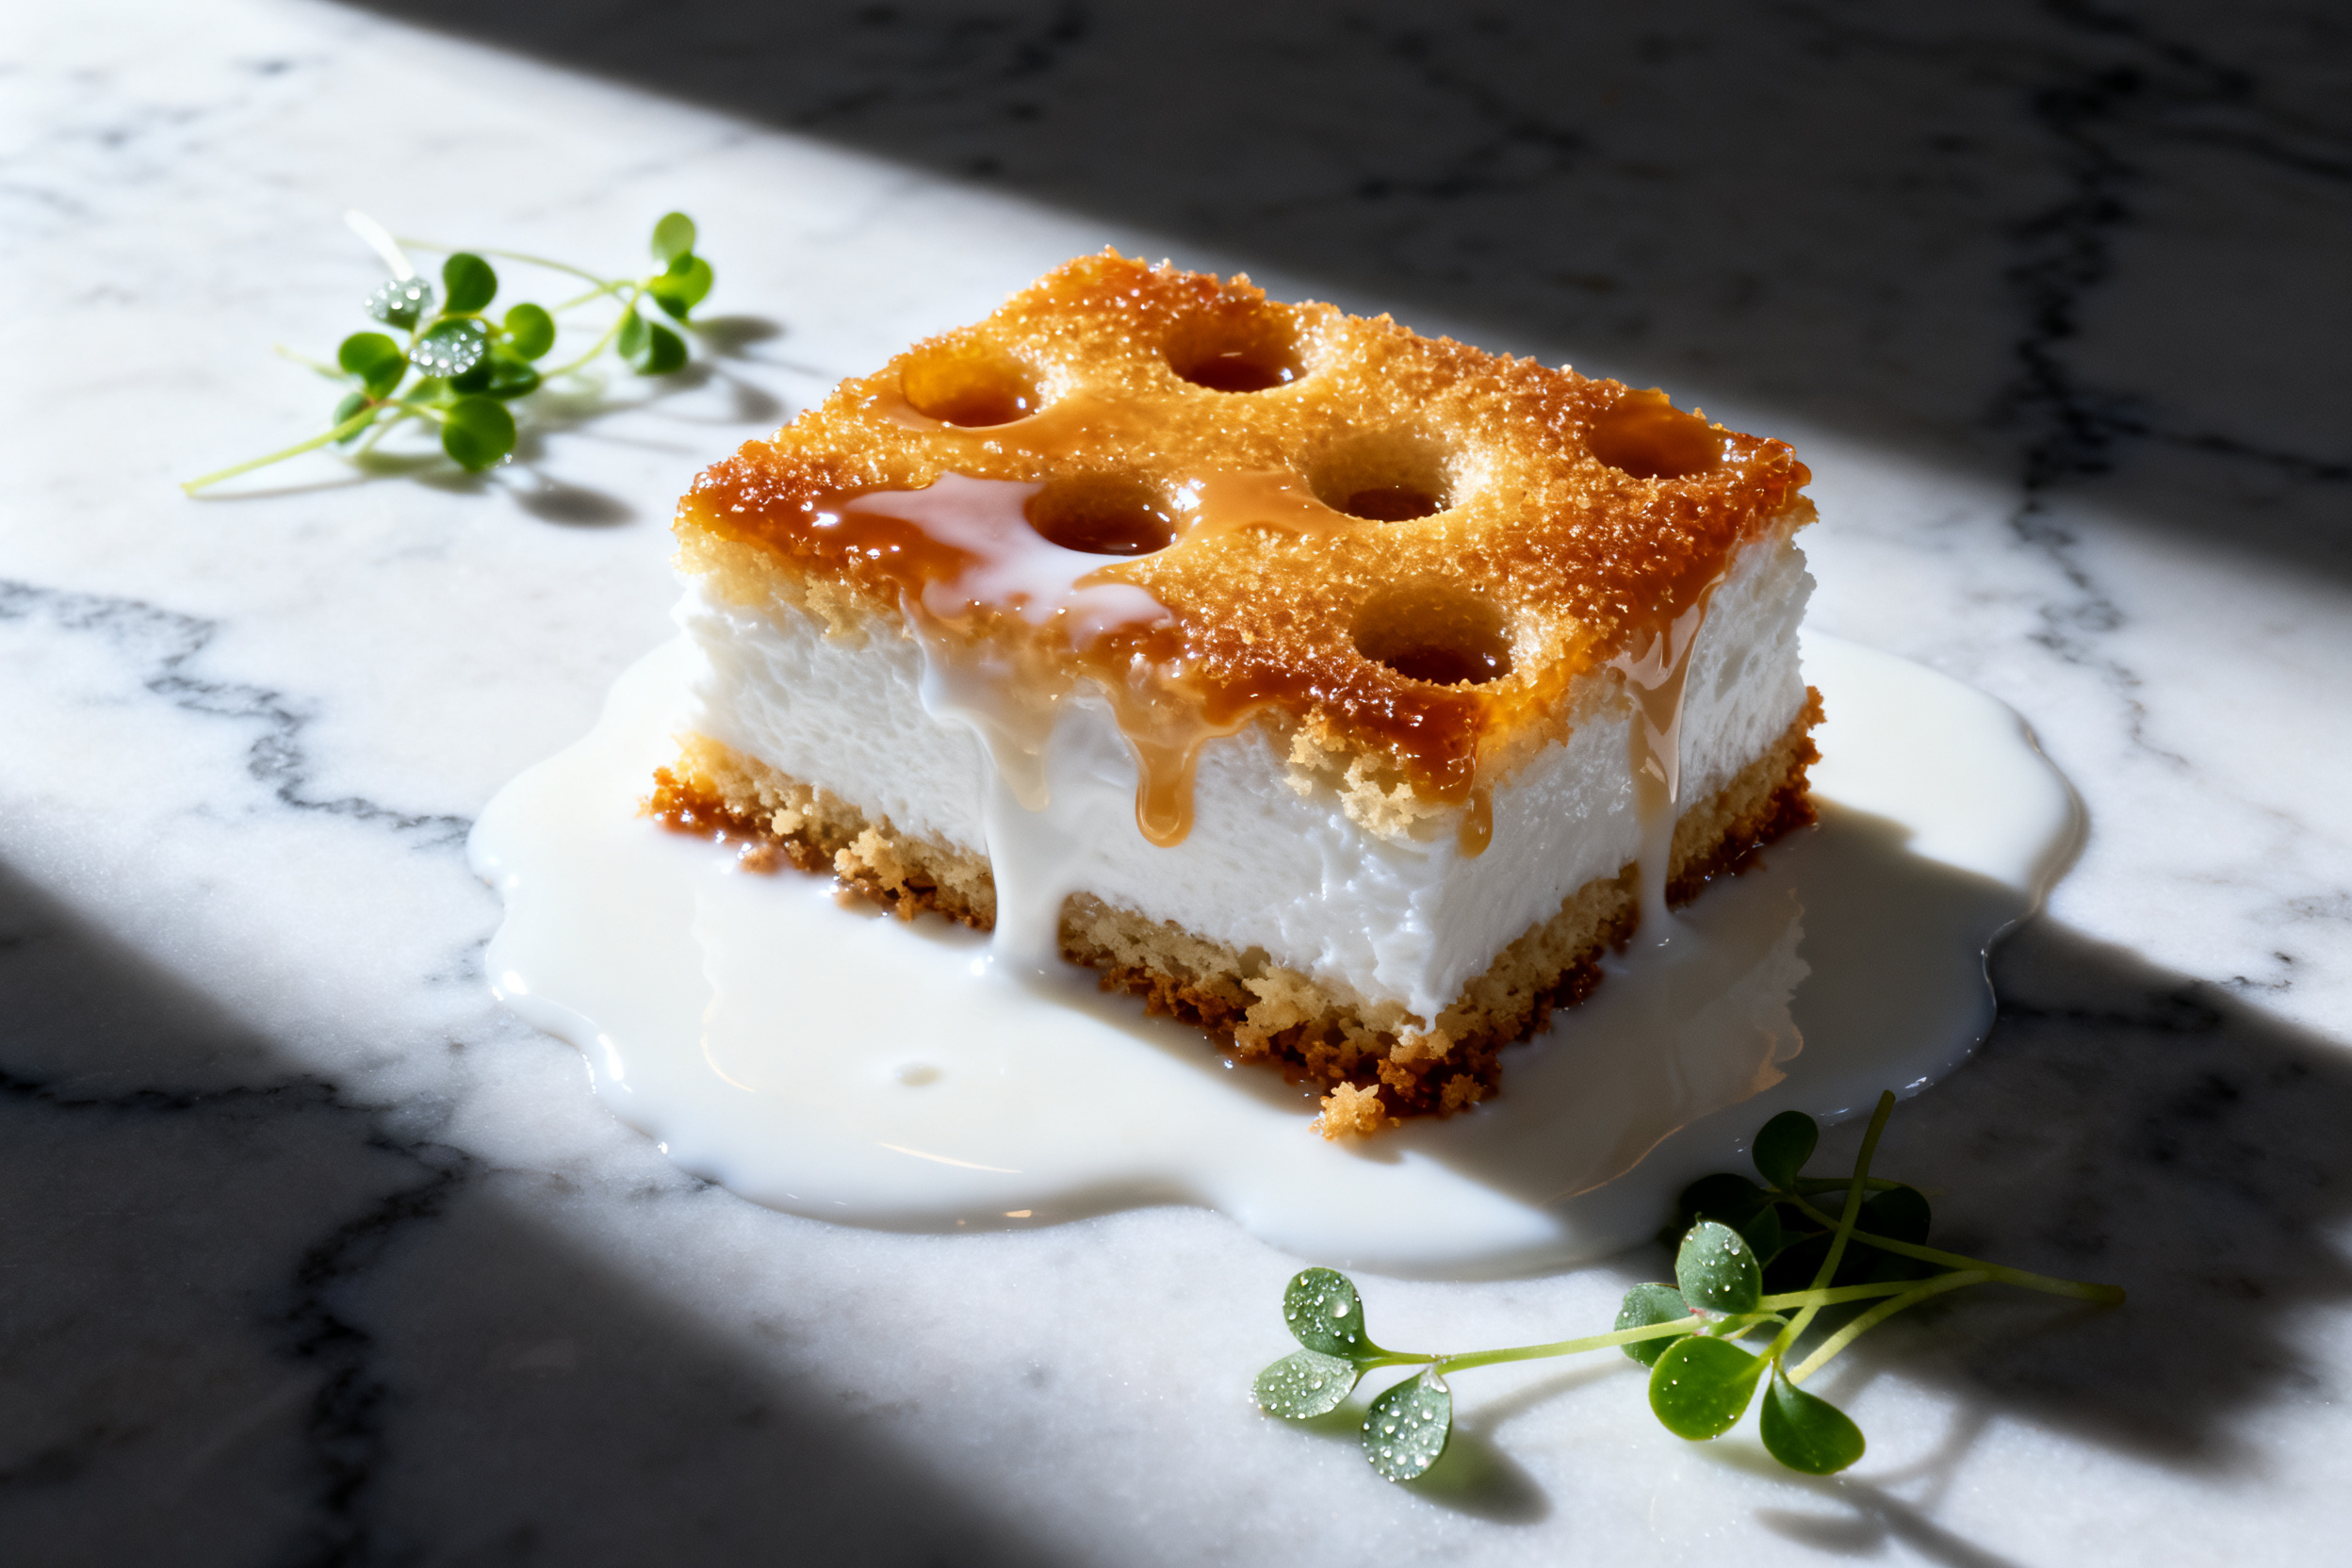
- When the cake comes out of the oven, let it cool for 5 minutes. Use the handle of a wooden spoon or a chopstick to poke holes all over the cake, spacing them about 1 inch apart.
- Slowly pour the condensed milk mixture over the warm cake, making sure it fills every hole. Let the cake cool completely at room temperature, then refrigerate for at least 2 hours (or overnight).
- When ready to serve, make the whipped cream. In a large bowl, beat the heavy whipping cream, powdered sugar, and 1/2 teaspoon vanilla extract with an electric mixer until stiff peaks form.
- Spread the whipped cream over the chilled cake. Add any optional toppings you like. Slice and serve cold.
Notes
2. To make this dairy-free, use a dairy-free cake mix, dairy-free sweetened condensed milk (like Nature’s Charm), and coconut cream instead of whipped cream.
3. Store leftovers in an airtight container in the fridge for up to 5 days. The cake gets more moist as it sits.
4. To freeze, wrap the un-topped cake tightly in plastic wrap and foil.
5. Thaw overnight in the fridge, then add whipped cream and toppings before serving.
6. If you prefer a less sweet cake, use a yellow cake mix (which is less sweet than white) and reduce the vanilla in the condensed milk mixture.