
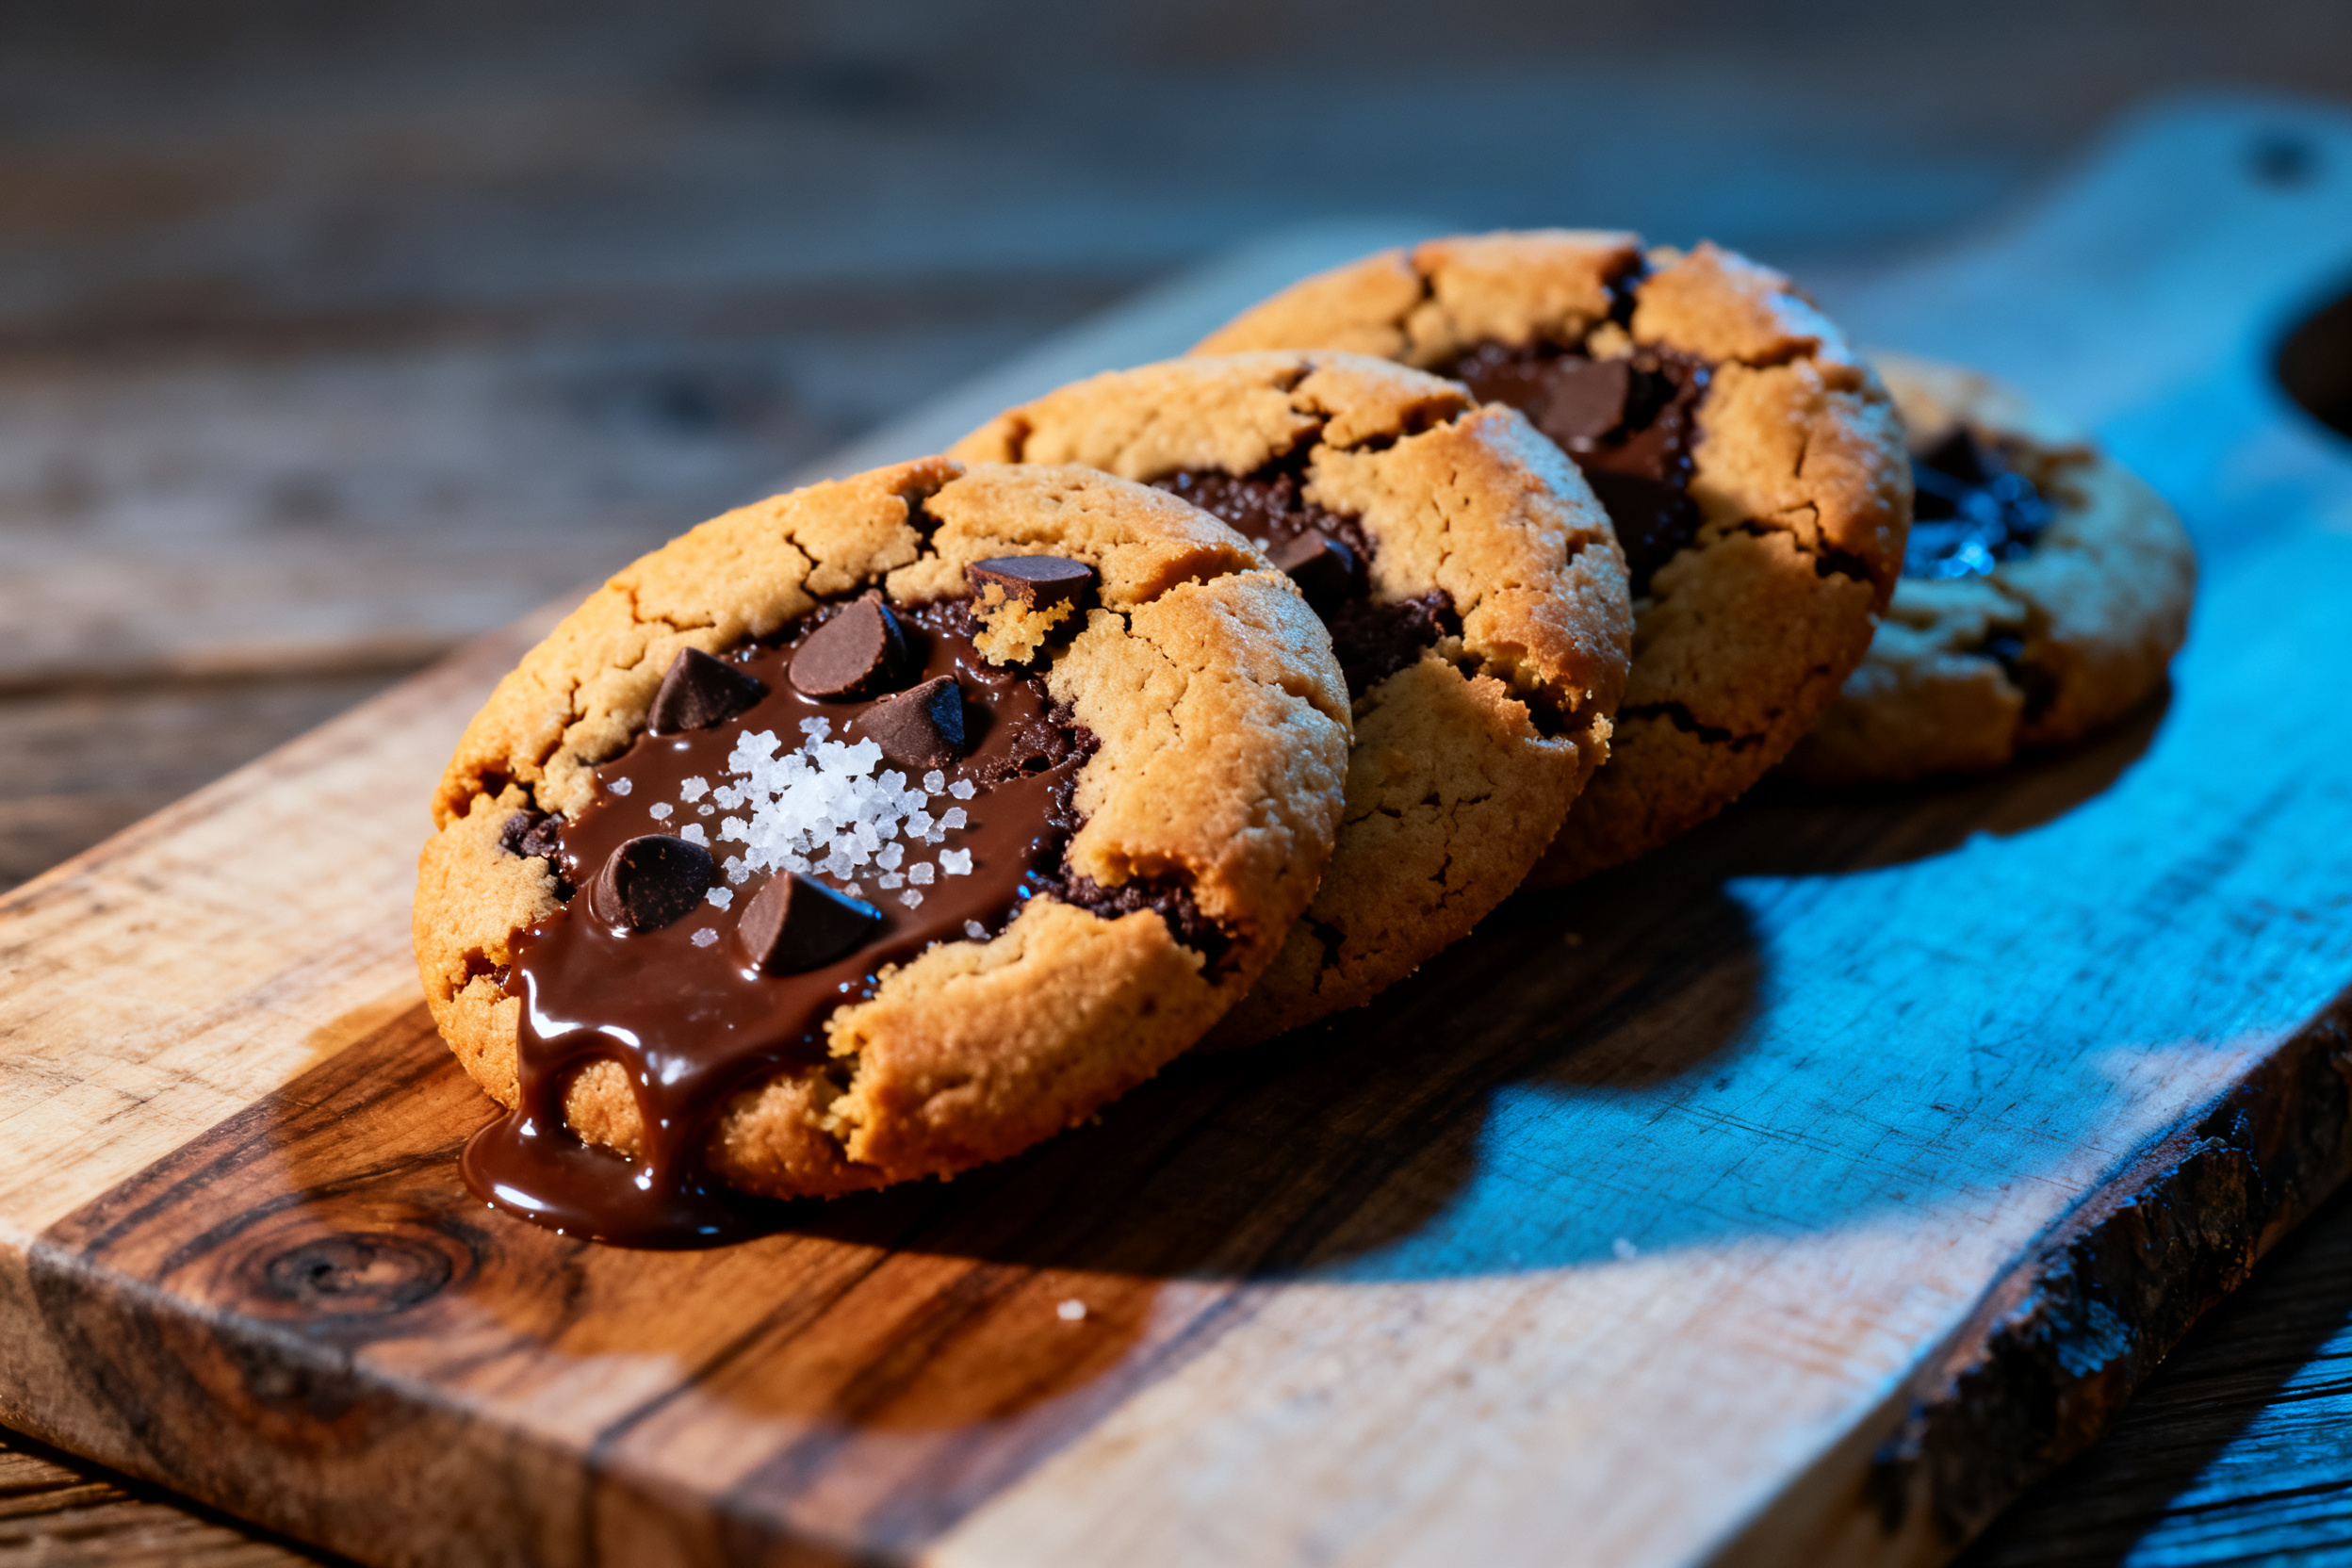
I’ve got a confession: I’ve spent way too much money on bakery cookies that promised to be gooey but turned out sad and flat. So I decided to make my own version — and it’s more gooey than any bakery’s version. These Cookie Monster Cookies are basically a sugar rush wrapped in a blue cookie hug.
Why “Cookie Monster”? Because they’re bright blue, loaded with chocolate chips, and absolutely irresistible. And the best part? They stay soft and chewy for days — if they last that long. Ready to ditch the bakery and become the hero of your own kitchen?
1. Allergens
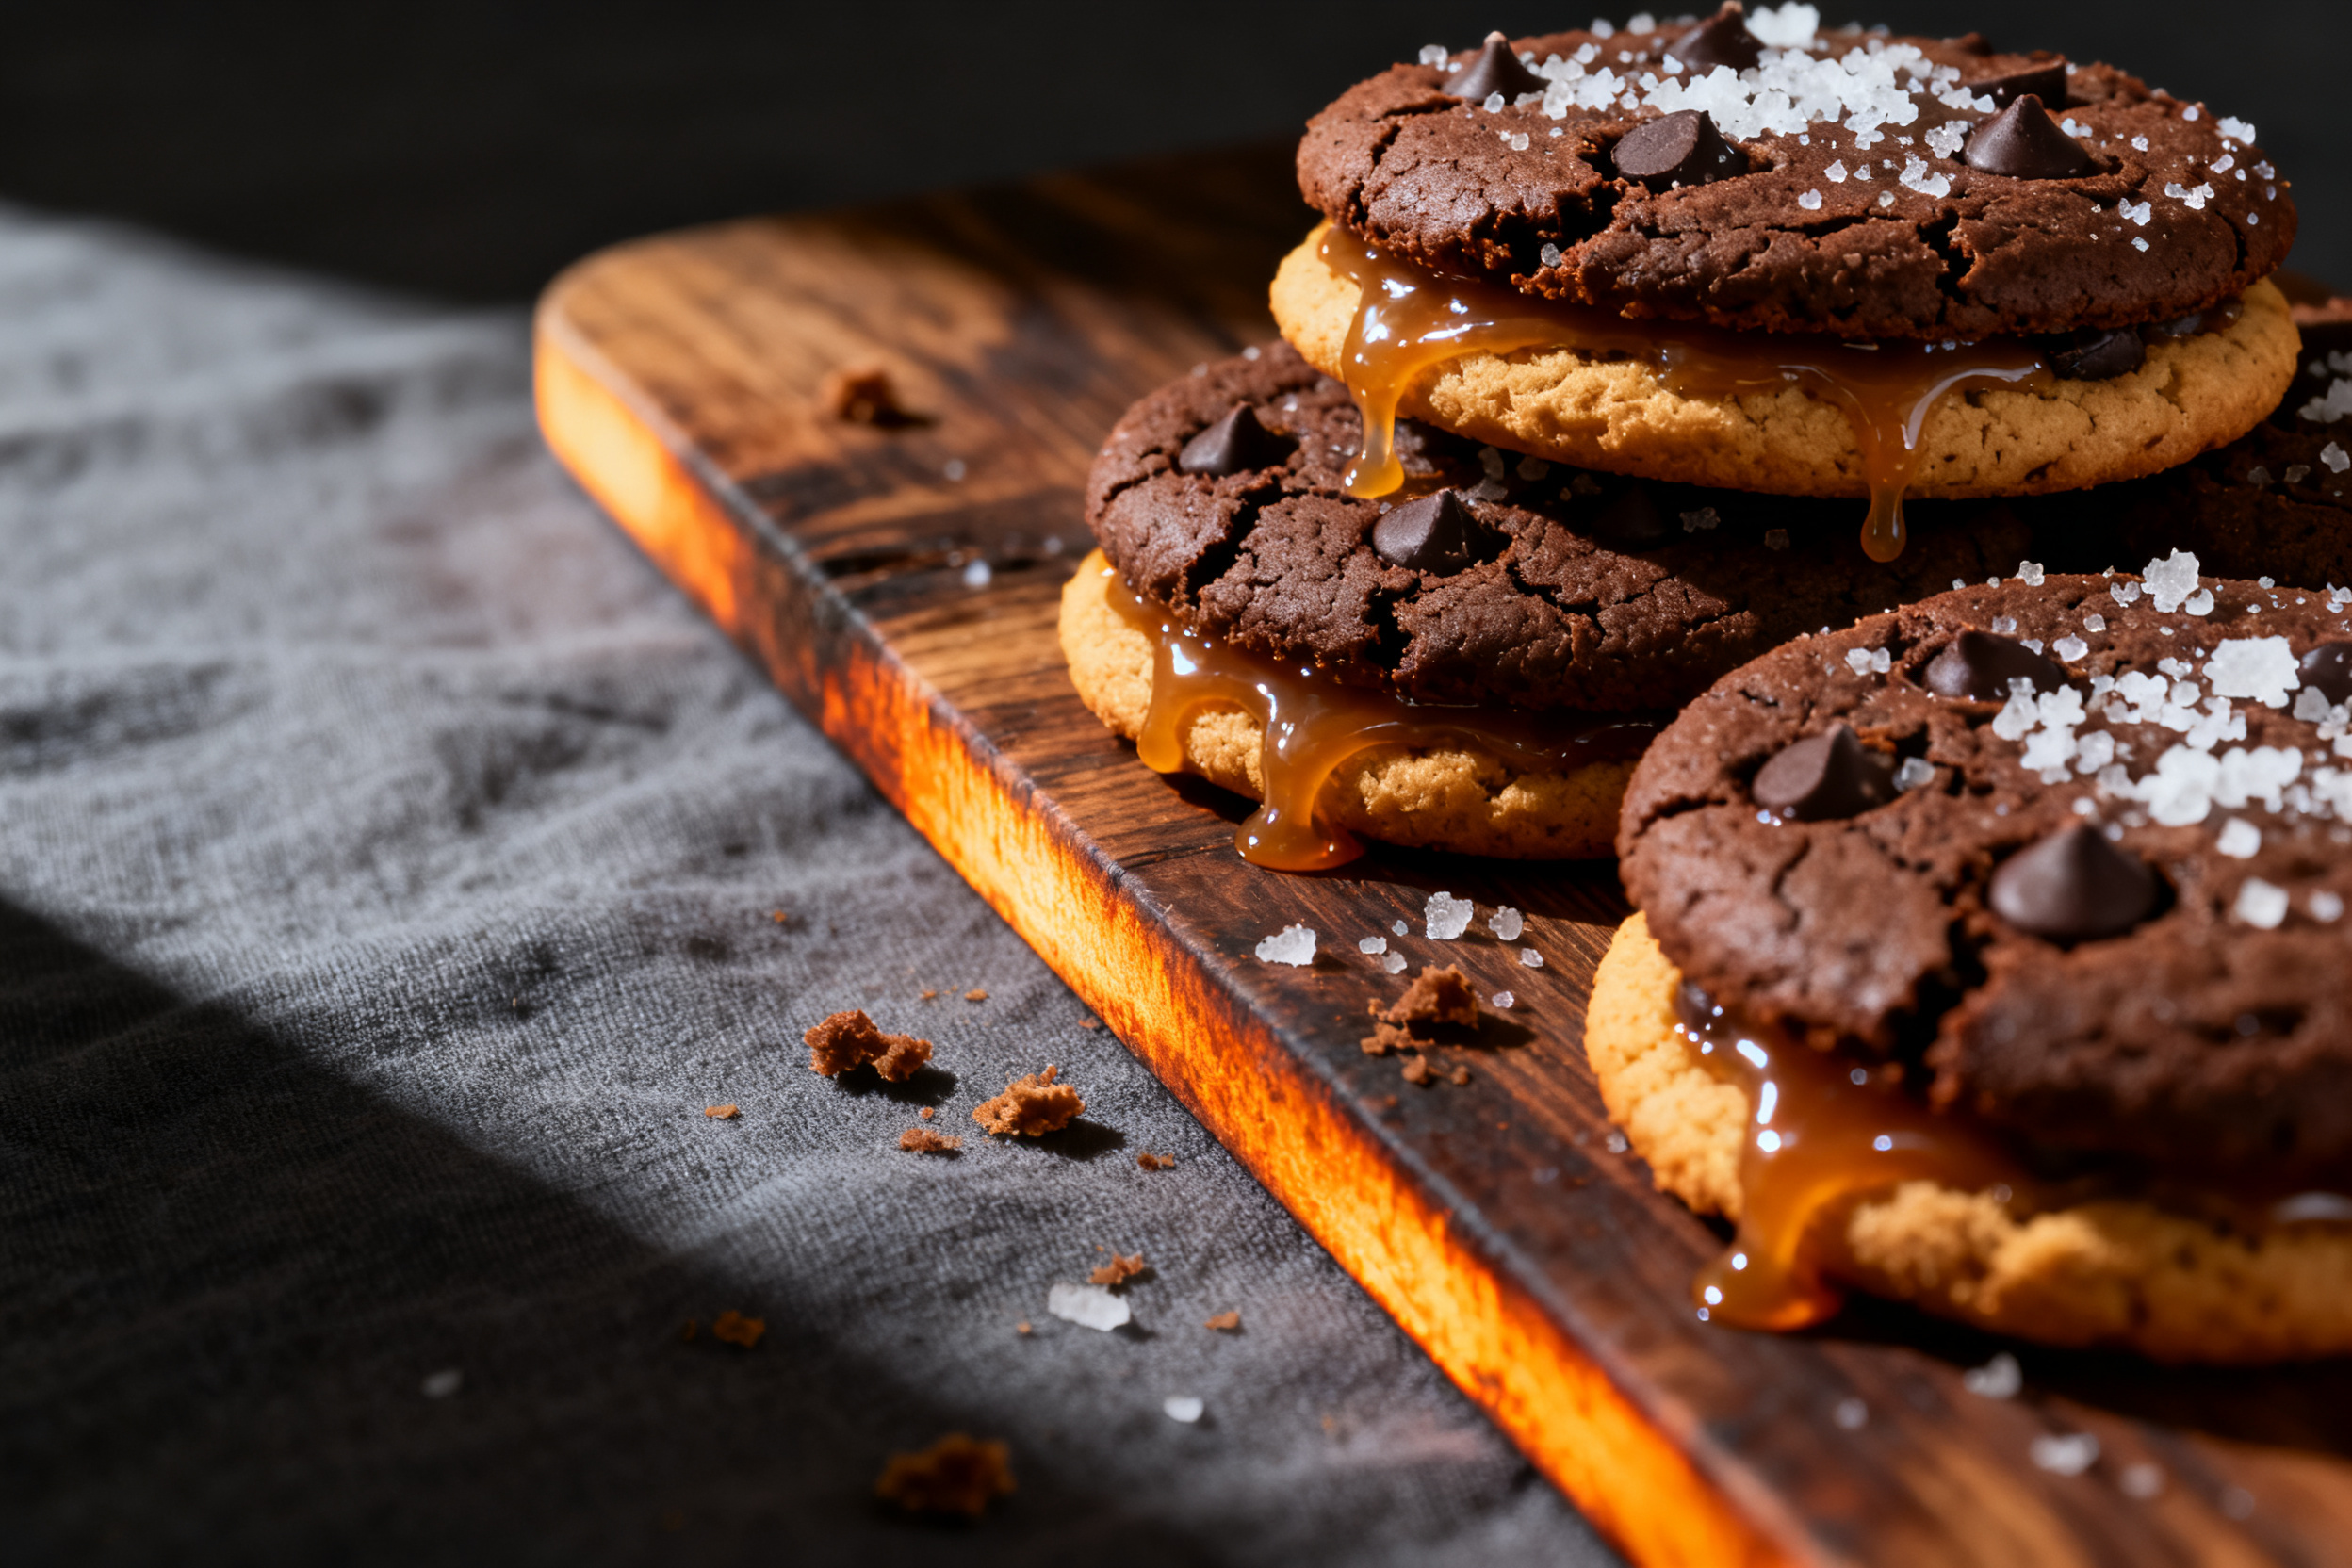
This recipe contains gluten (all-purpose flour), dairy (butter, chocolate chips), and eggs. If you have a nut allergy, you’re in luck — there are no nuts in this version. But always double-check your chocolate chip labels for cross-contamination warnings.
For a dairy‑free swap, use vegan butter and dairy‑free chocolate chips. Just note that the texture might be slightly less gooey. I’ve tested it with plant‑based alternatives, and it still delivers a solid cookie experience.
2. Ingredient notes & substitutions
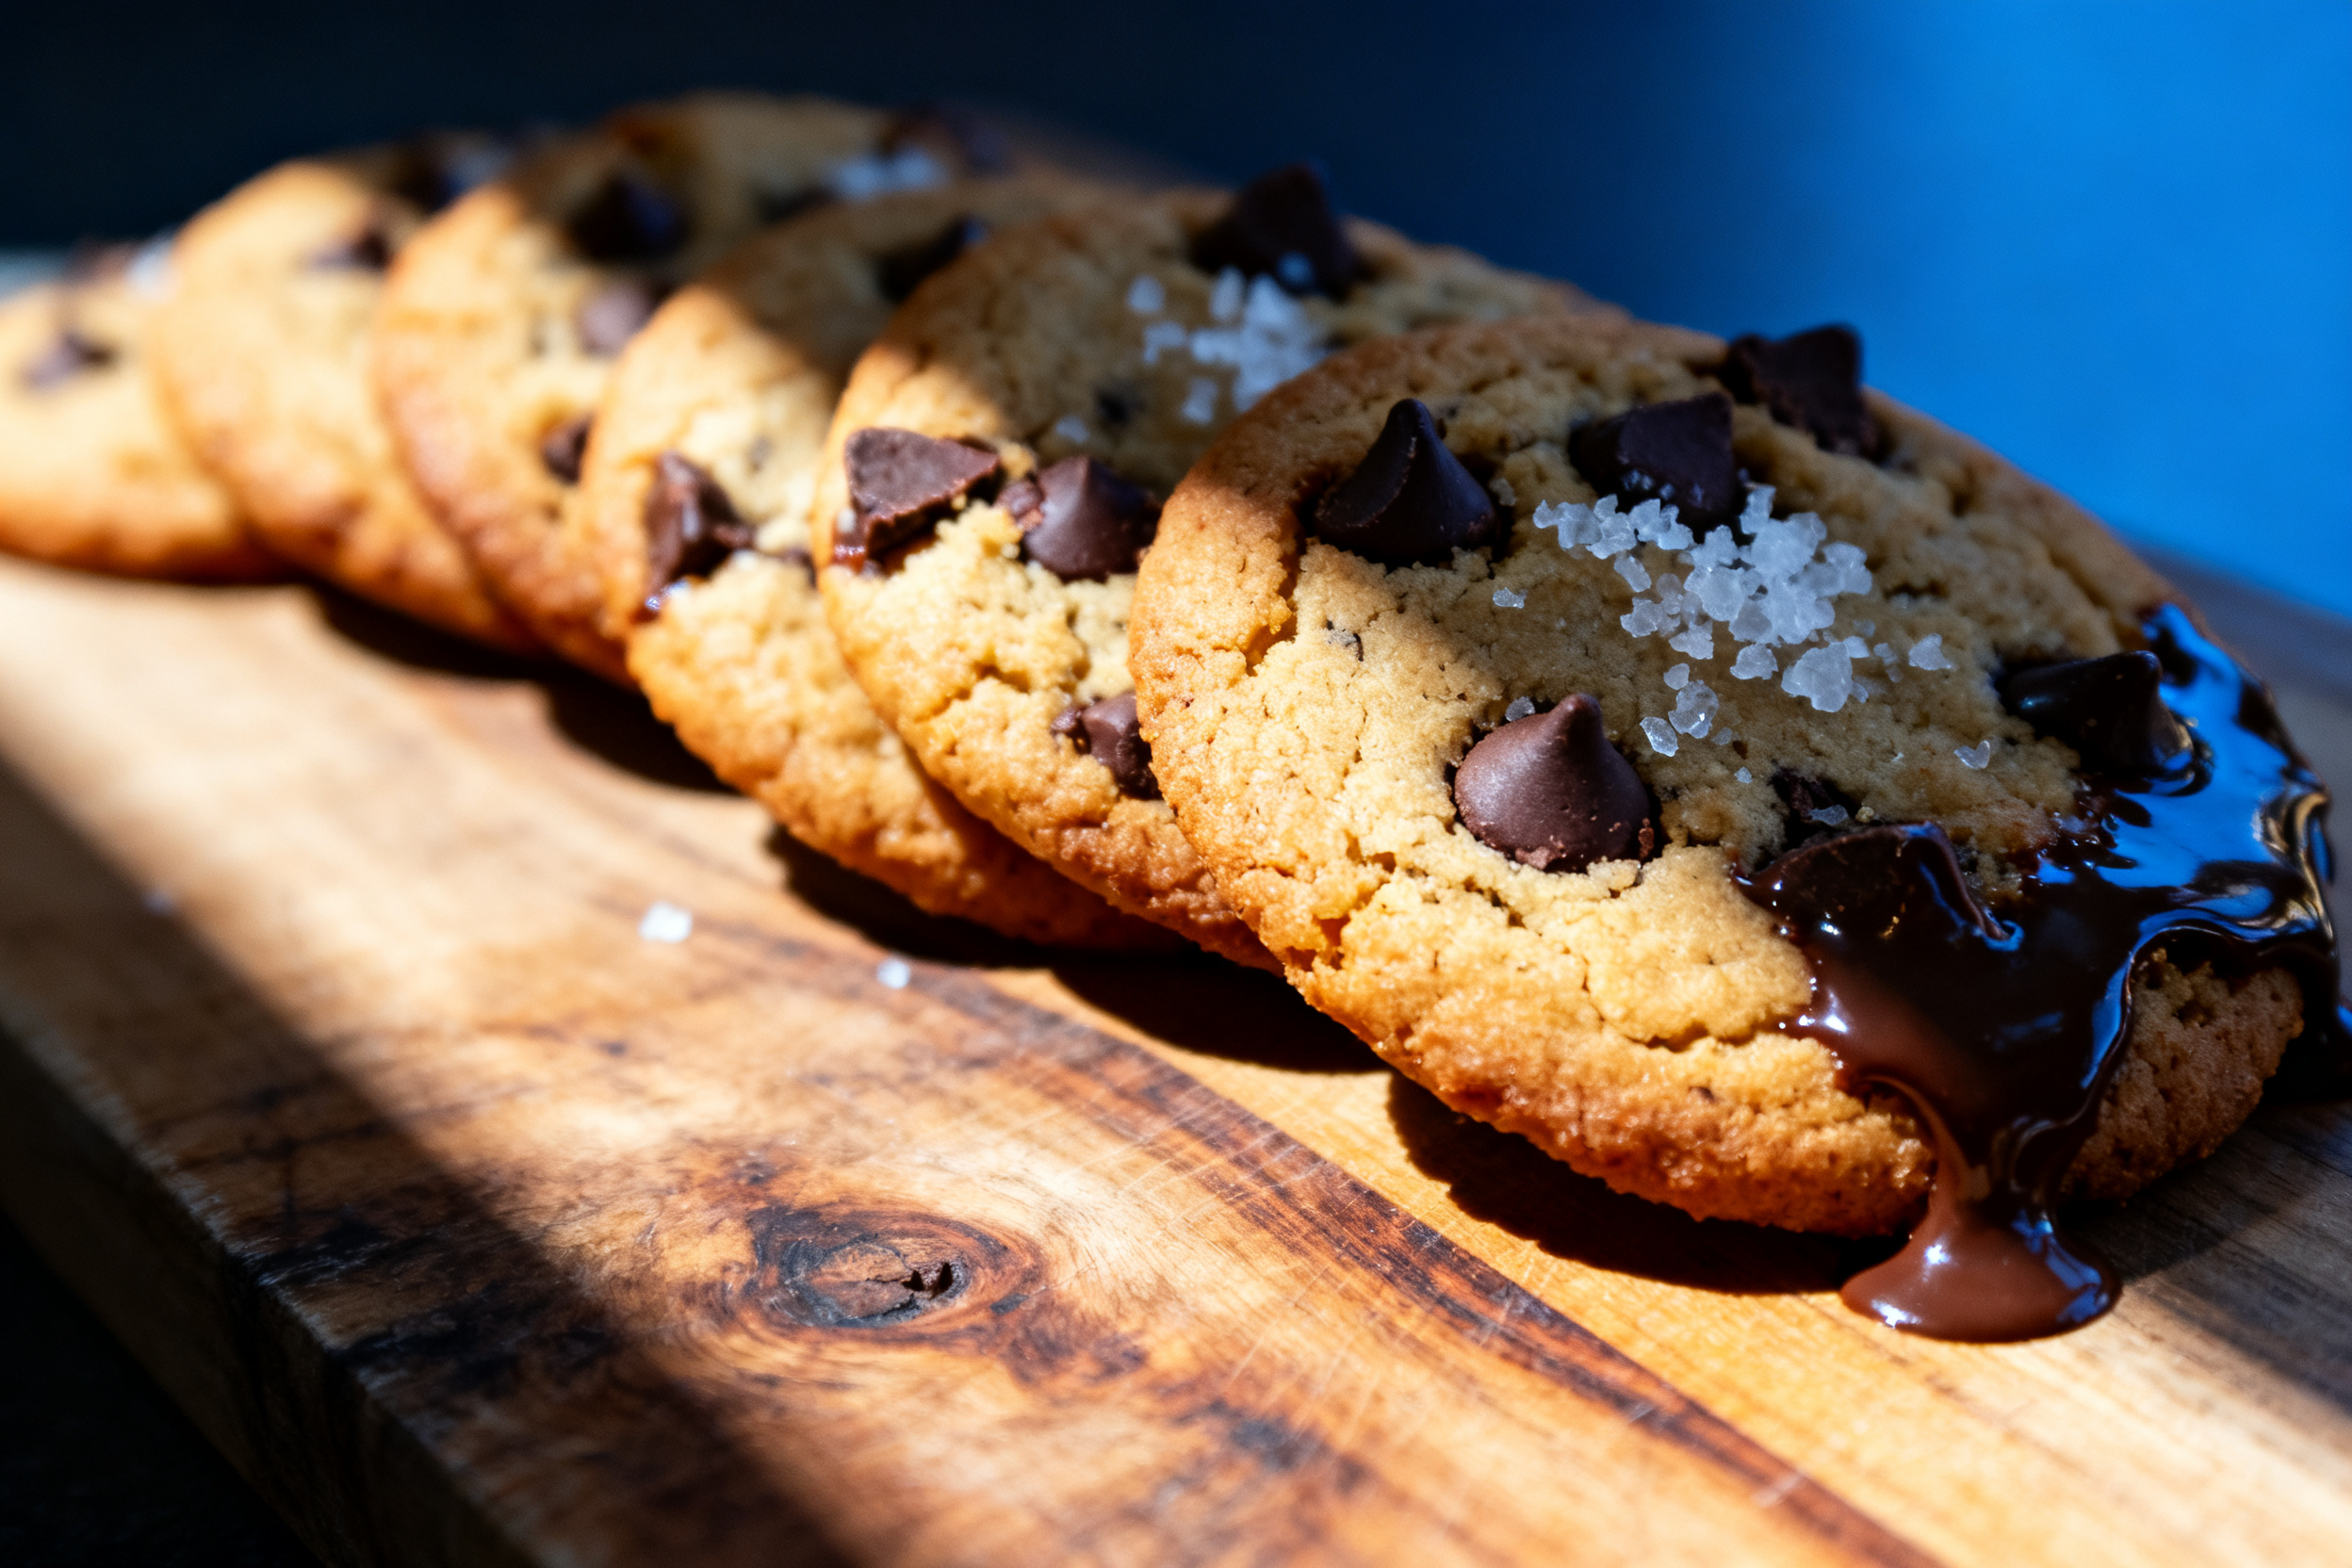
The star of the show is brown butter — it adds a nutty depth that store‑bought cookies just can’t match. Don’t skip it unless you’re in a severe time crunch. Use unsalted butter so you control the salt level.
For the blue color, gel food coloring works best. Liquid drops can thin out the dough and mess up the texture. You’ll need about 1/2 teaspoon for a vibrant Cookie Monster shade.
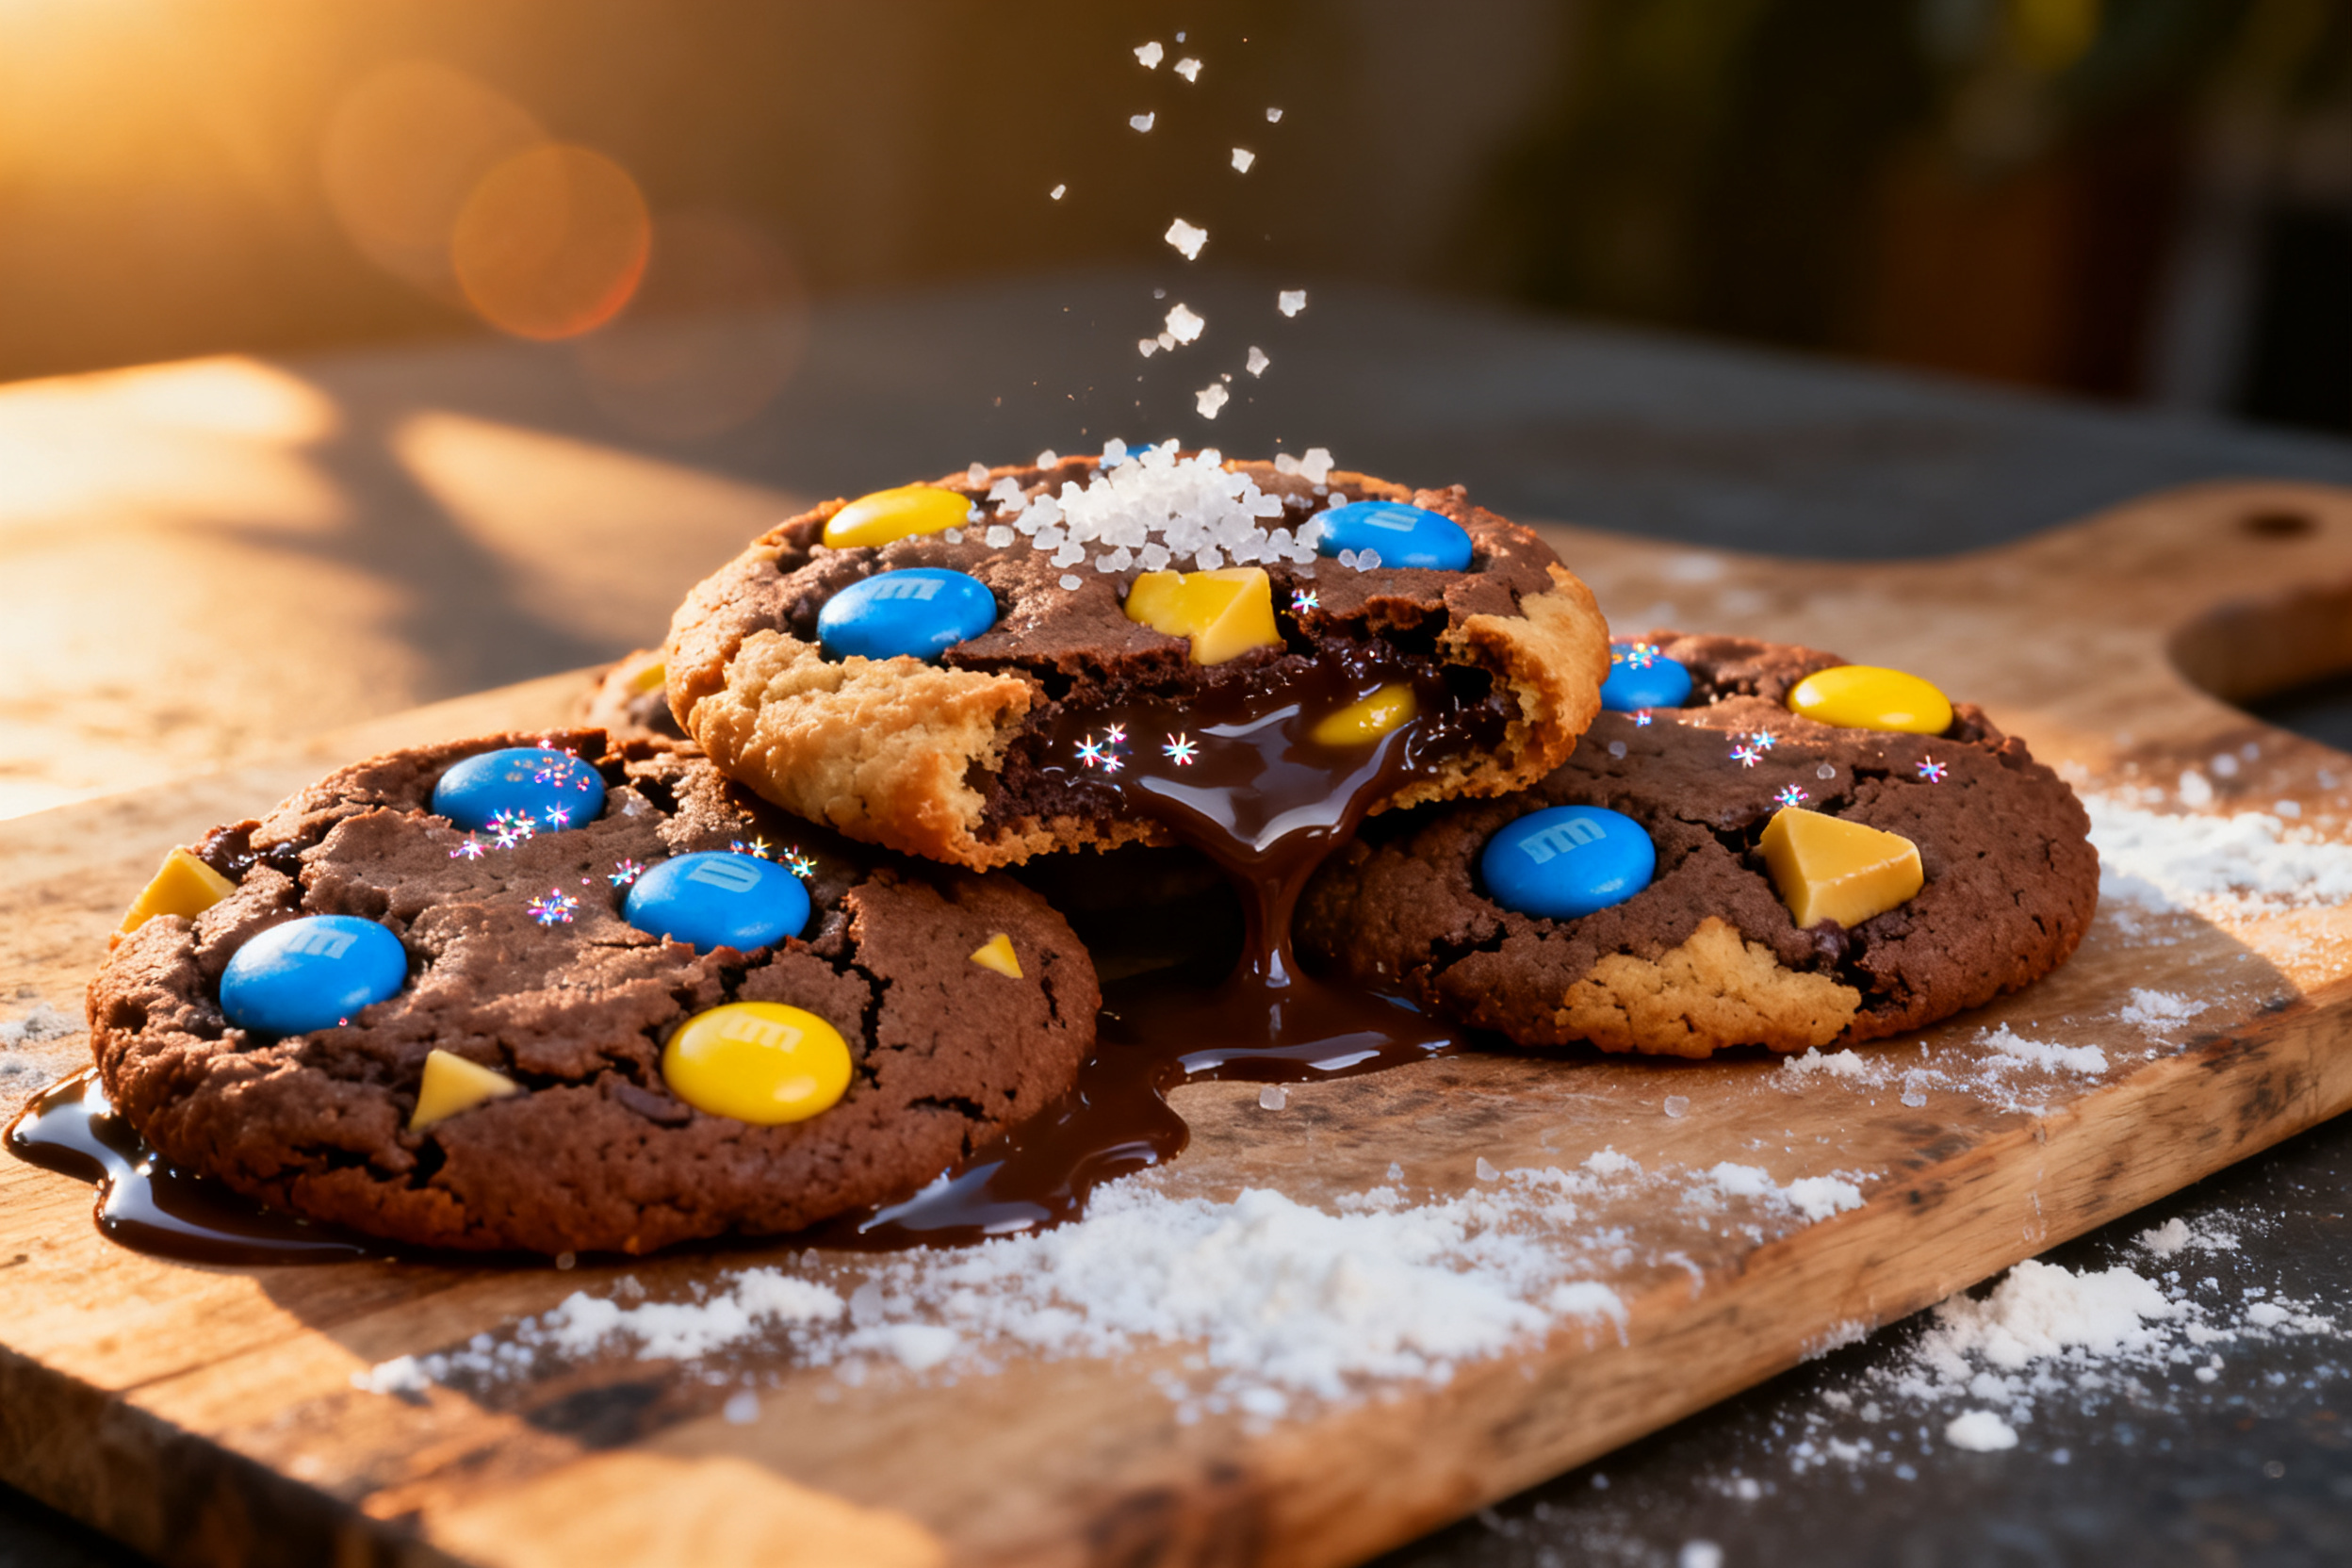
Chocolate chips: go with semi‑sweet for balance. White chocolate chips add a nice contrast, but you can swap in milk chocolate if you prefer a sweeter cookie. M&Ms are optional but make the cookies look extra playful.
If you’re out of all‑purpose flour, bread flour works in a pinch — it gives a slightly chewier result. Just don’t use whole wheat; the cookies will turn out too dense.
Egg size matters: use one large egg plus one egg yolk. The extra yolk adds richness and helps keep the cookies soft. No egg substitute here unless you’re going vegan, then use a flax egg with a bit of cornstarch.
3. Pro tips
Chill the dough for at least 30 minutes before baking. This prevents spreading and gives you that thick, bakery‑style dome. I know it’s tempting to skip, but trust me — your cookies will thank you.
Use a cookie scoop for uniform size. Uneven cookies bake unevenly, and nobody wants a burnt edge next to a raw center. Aim for 2‑tablespoon scoops.
Underbake slightly — pull the cookies out when the edges are set but the centers still look soft and slightly puffy. They’ll continue cooking on the hot sheet pan for another 2 minutes.
Let the cookies cool on the pan for 5 minutes before transferring to a wire rack. This allows them to firm up without drying out. If you move them too soon, they’ll fall apart.
For extra gooeyness, press a few extra chocolate chips onto the tops of the cookies right after they come out of the oven. It looks pretty and ensures every bite has a melty chip.
Room temperature ingredients are non‑negotiable. Cold eggs or butter won’t cream properly, leading to a dense, flat cookie. Set them out 30 minutes before starting.
4. Storage & make‑ahead (fridge/freezer)
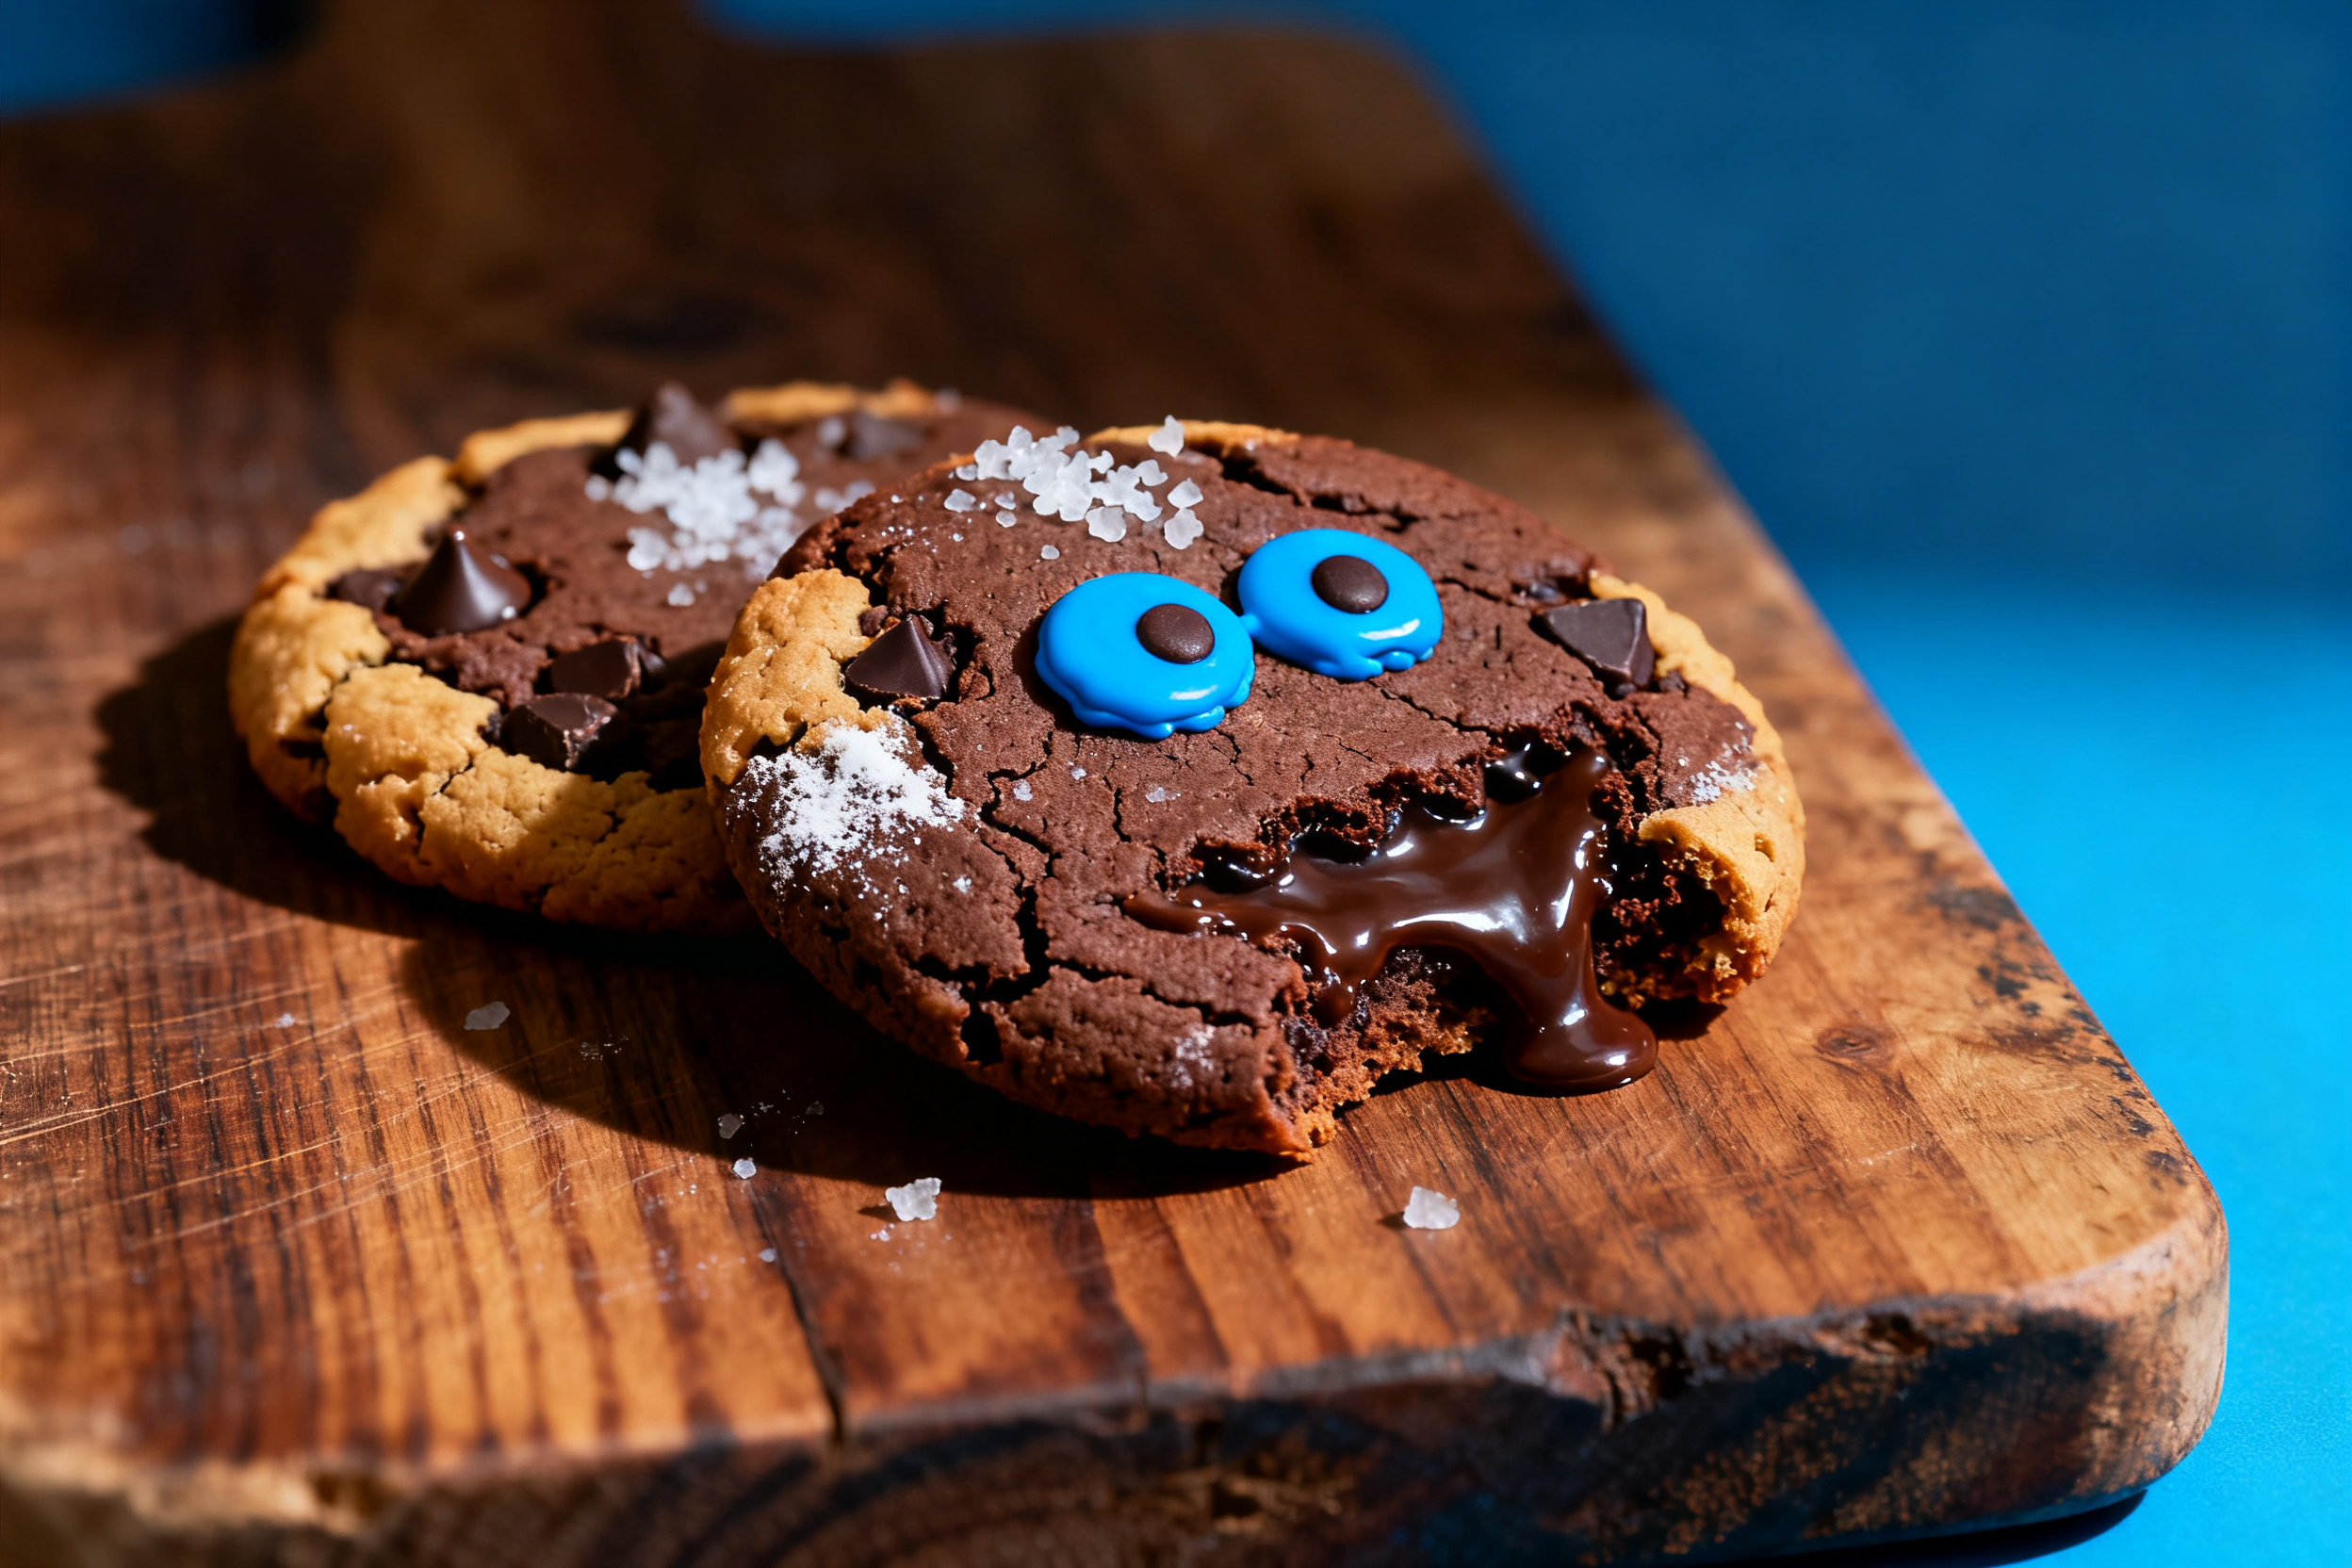
Store baked cookies in an airtight container at room temperature for up to 5 days. Add a slice of bread to the container to keep them soft — the bread absorbs excess air and releases moisture.
For the fridge: place cookies in a sealed container with a paper towel at the bottom. They’ll last up to a week, but the texture gets slightly firmer. Reheat in the microwave for 10 seconds to restore gooeyness.
Freeze the dough for up to 3 months. Scoop into balls, freeze on a tray, then transfer to a zip‑top bag. Bake directly from frozen, adding 2 minutes to the bake time. No need to thaw.
5. Serving suggestions (complete the meal)
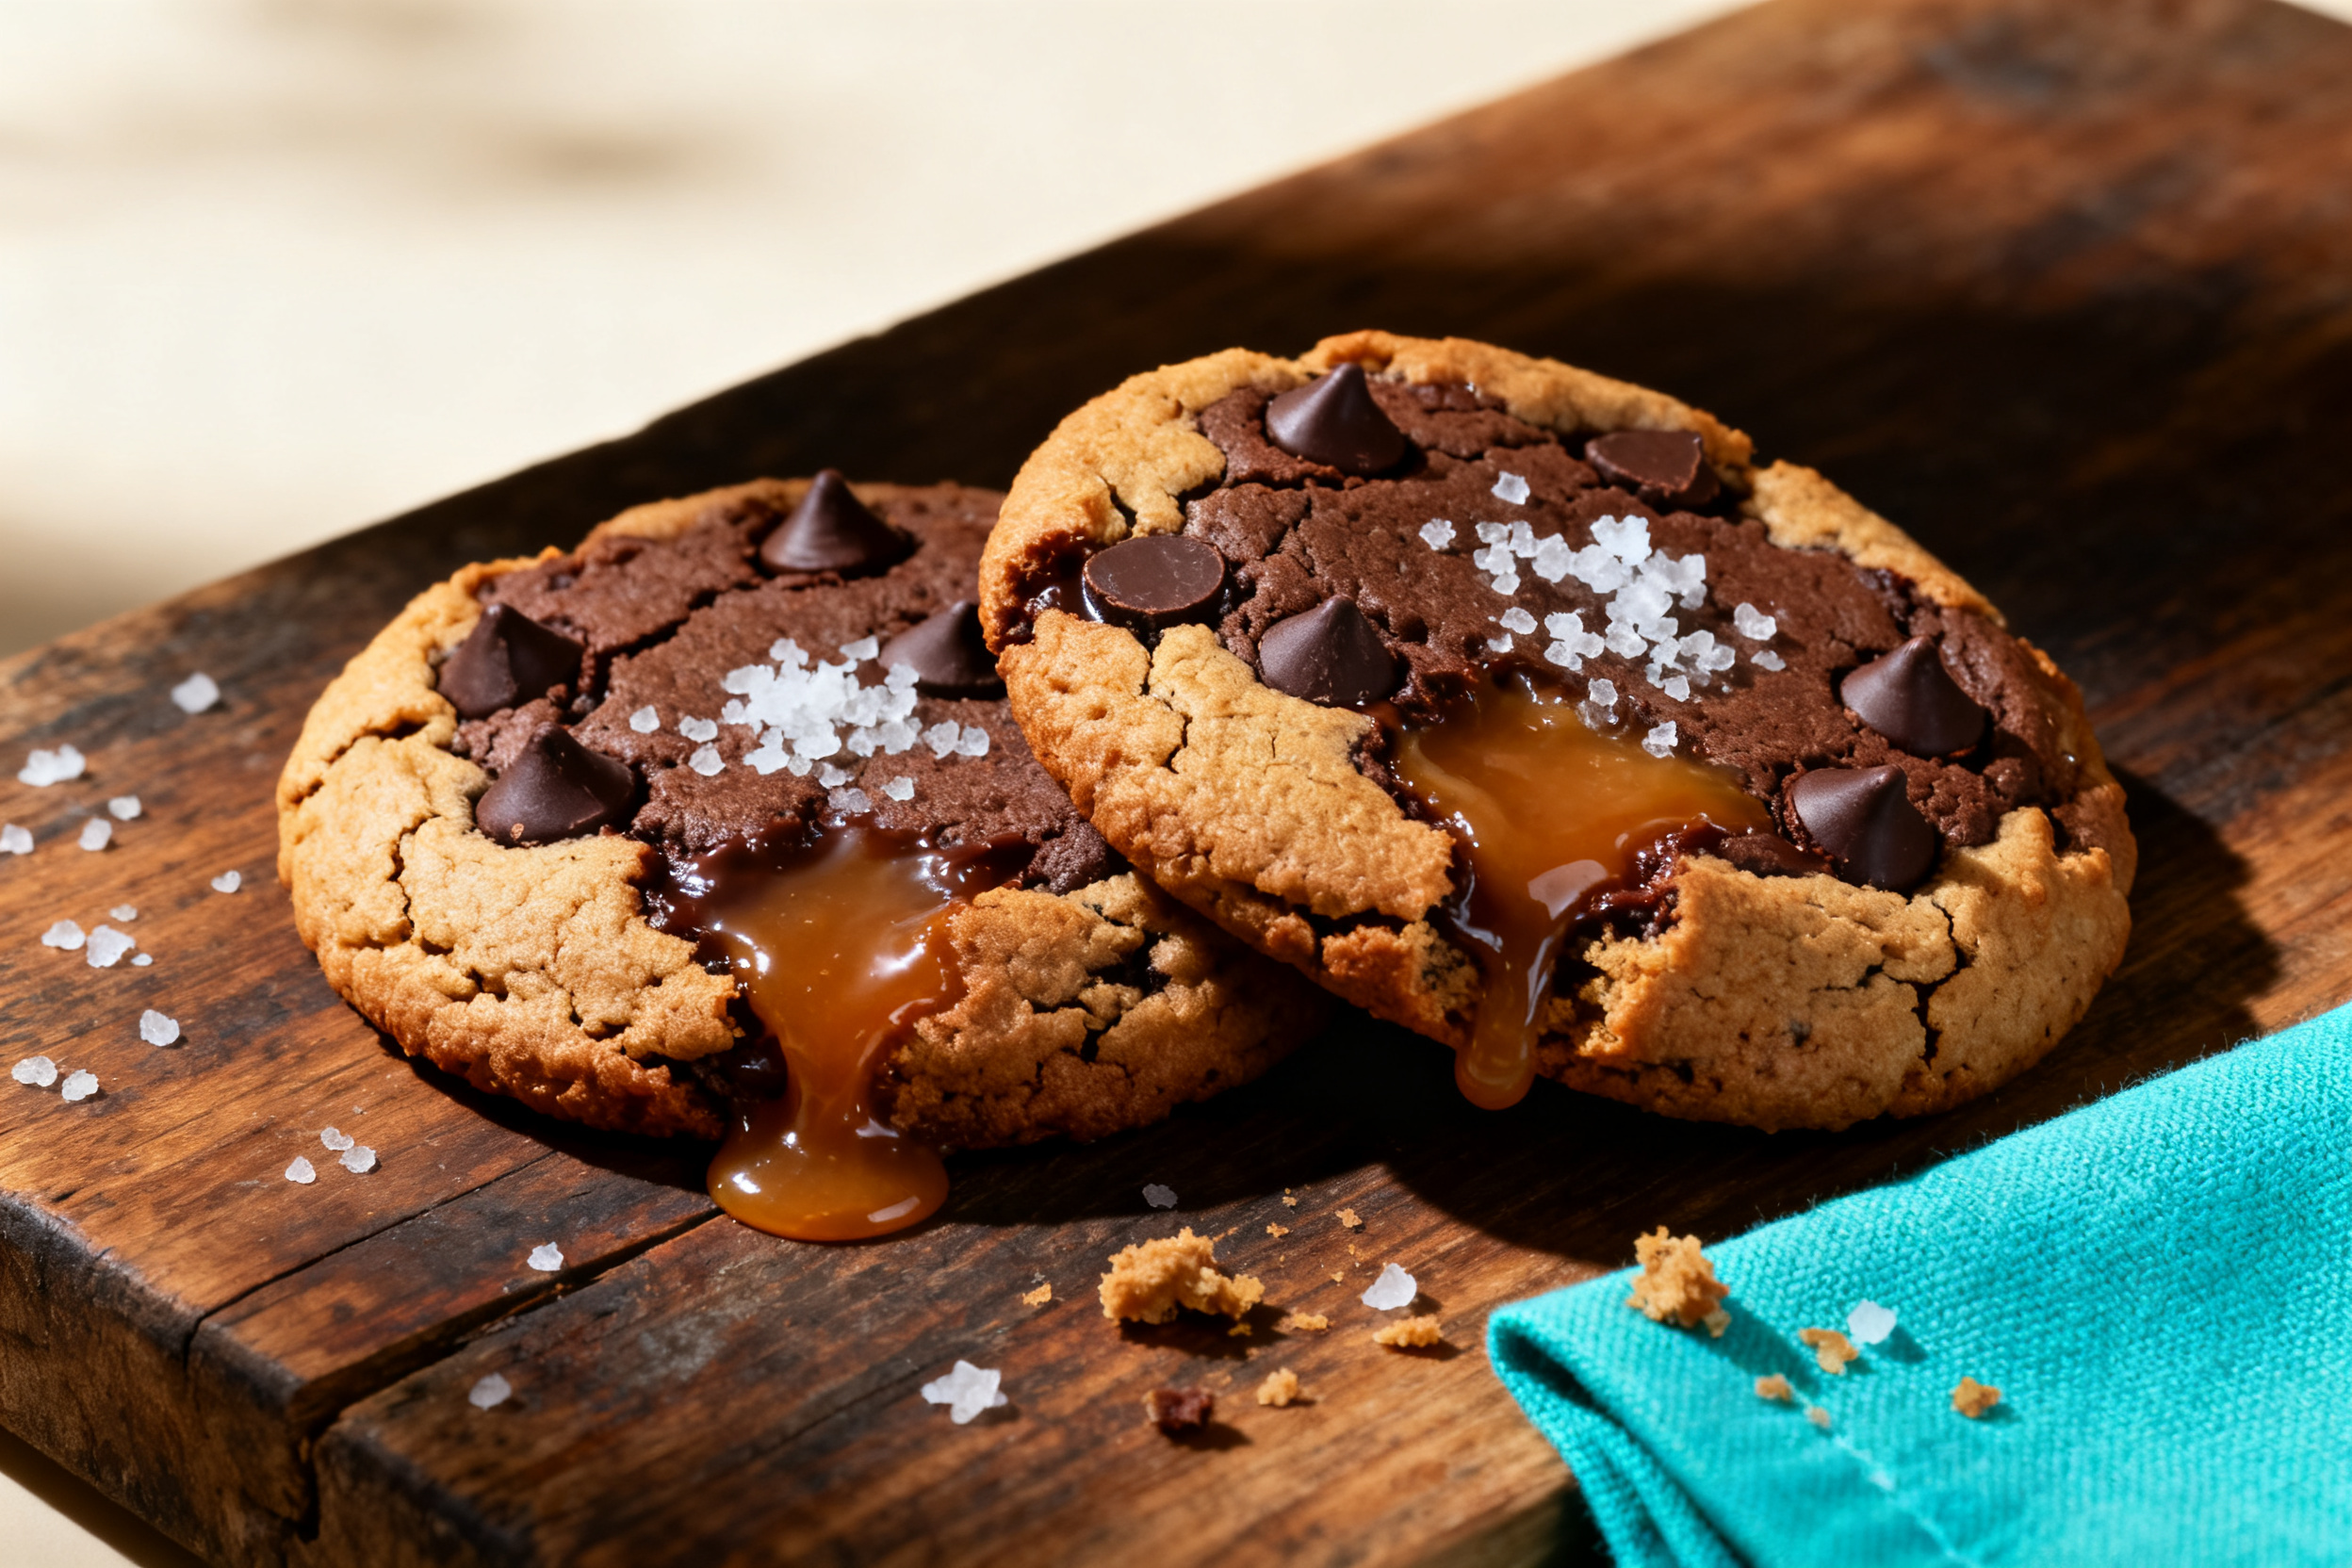
These cookies are the star, so keep the accompaniment simple. A tall glass of cold milk is the classic pairing — the creaminess cuts through the sweetness perfectly.
For a dessert platter, serve them alongside vanilla ice cream and a drizzle of chocolate sauce. The warm cookie + cold ice cream combo is unbeatable. Or sandwich two cookies with a scoop of ice cream for an instant cookie monster ice cream sandwich.
6. Use your leftovers
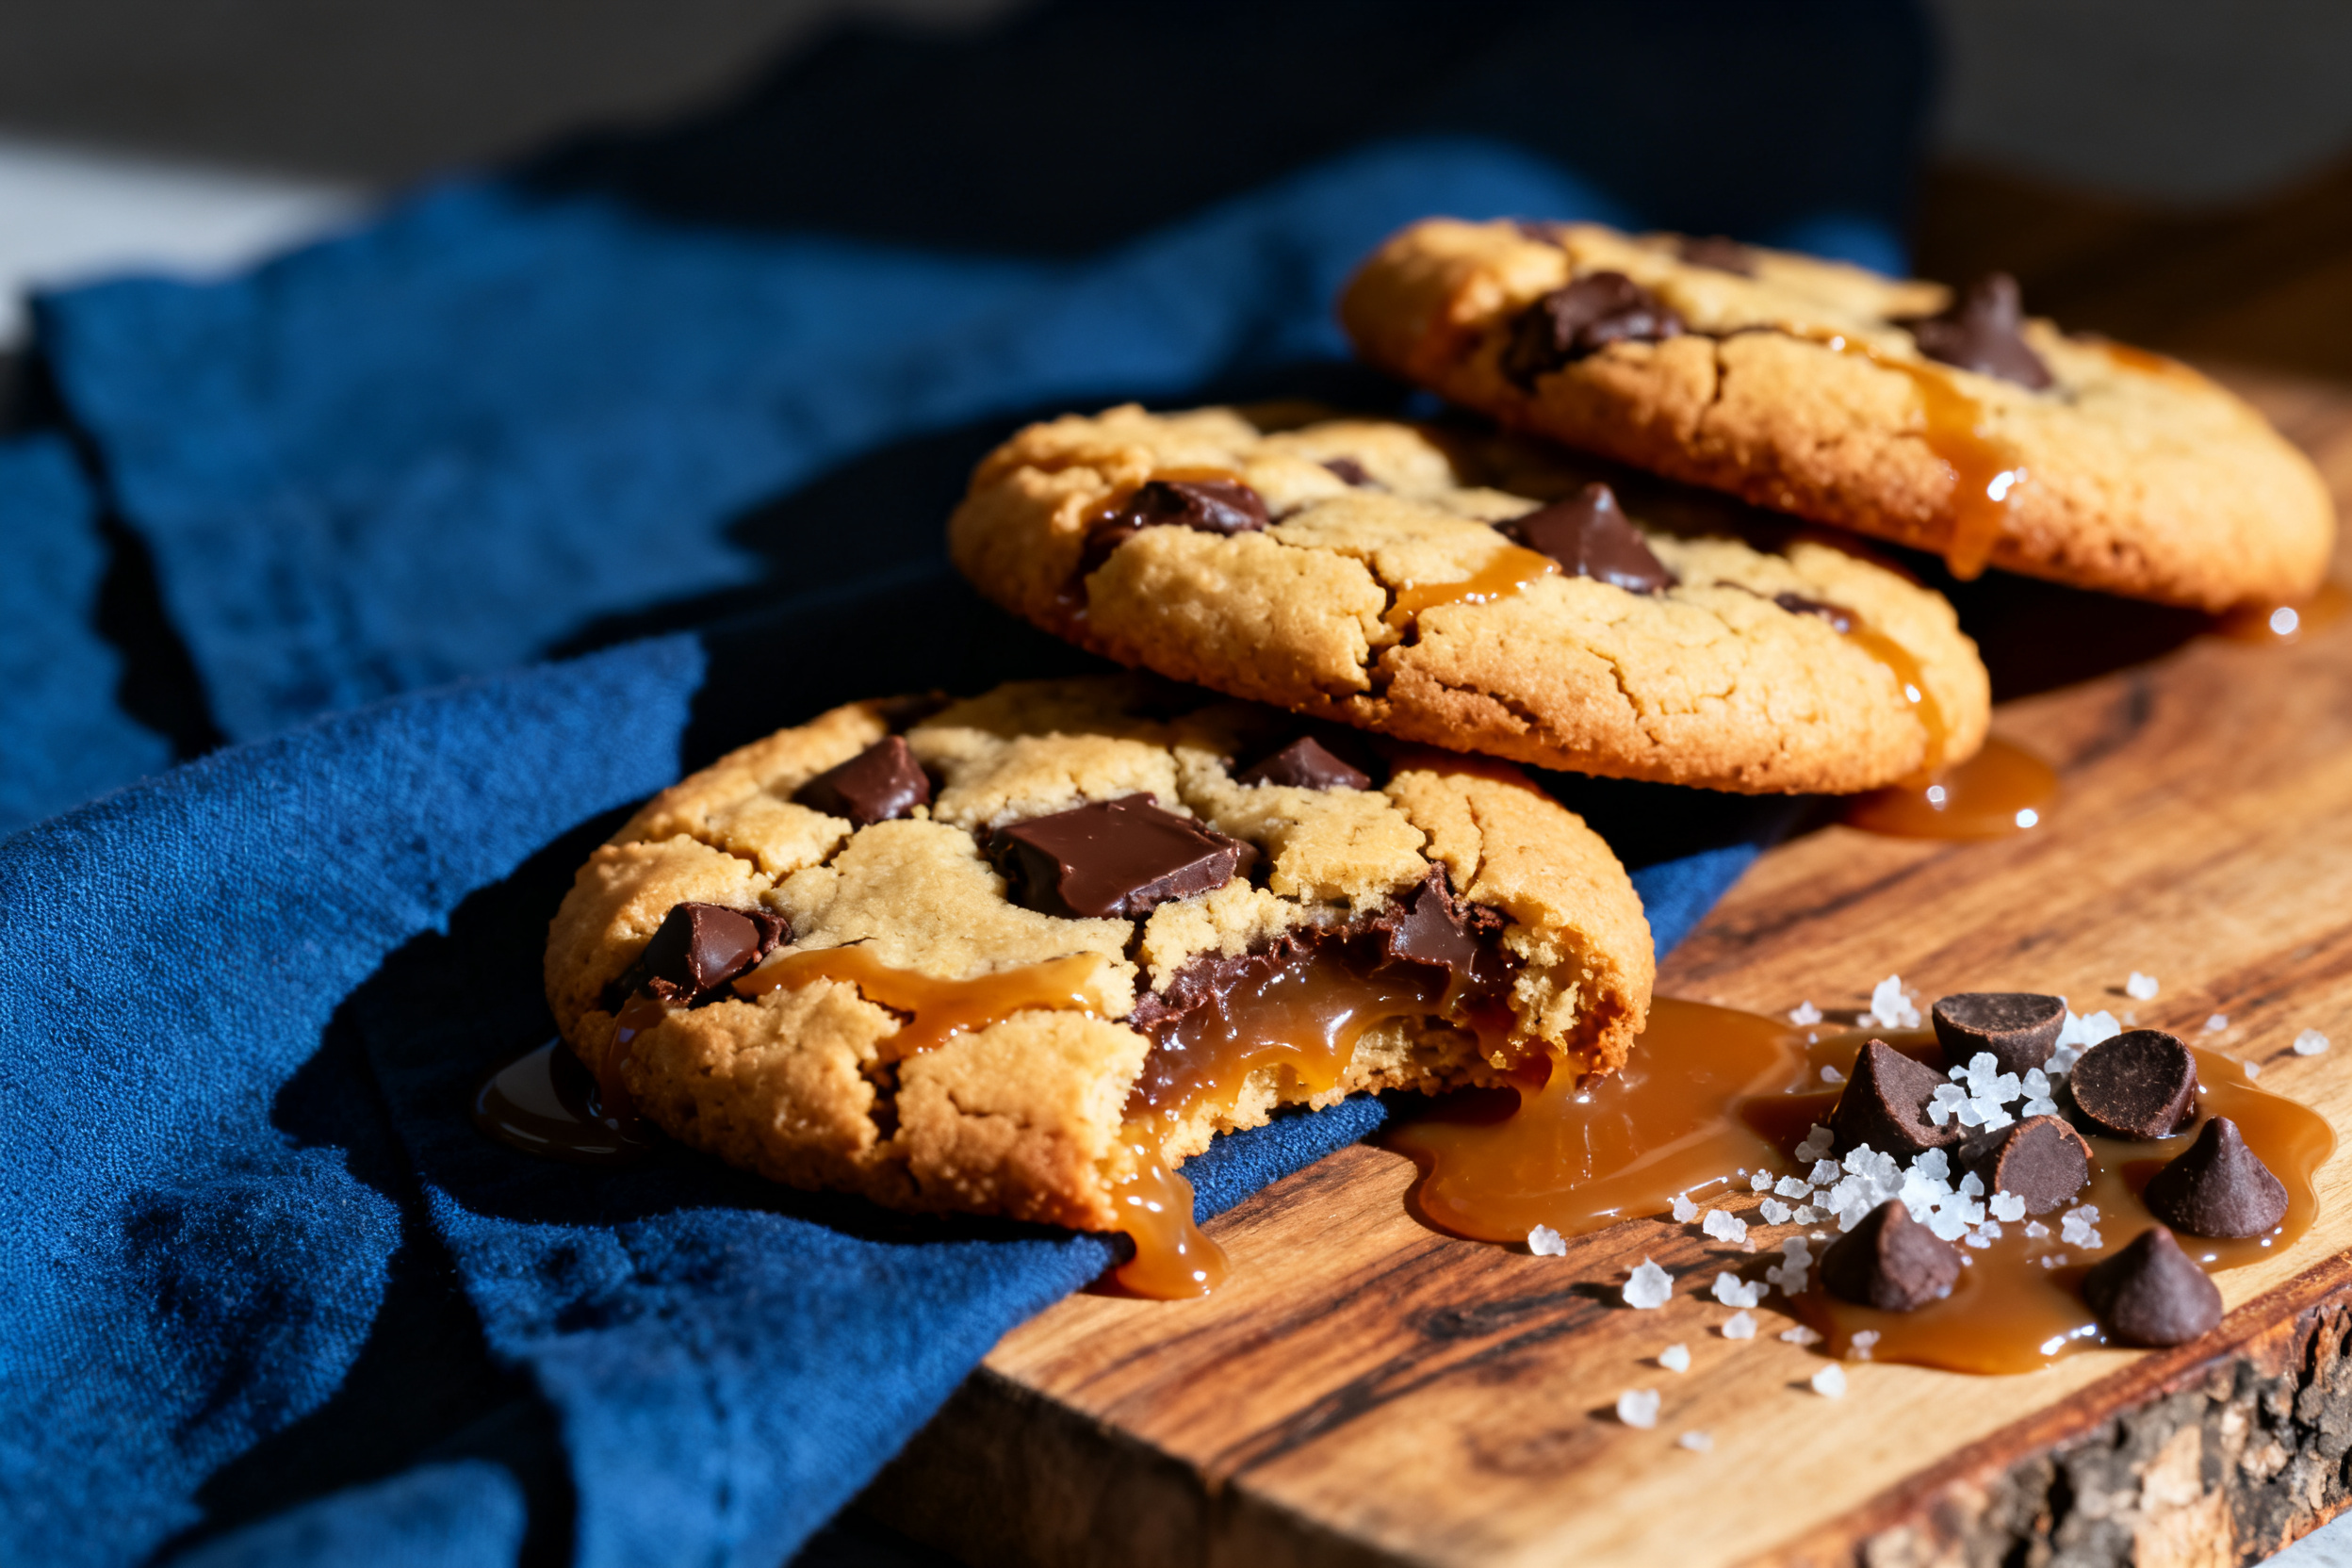
If you somehow have leftover cookies (unlikely, but possible), crumble them over yogurt or ice cream for a fun topping. They also make a great base for cookie‑inspired milkshakes — blend with milk and a scoop of ice cream.
Stale cookies can be revived by microwaving for 10 seconds or popping in a 300°F oven for 3 minutes. Or turn them into cookie crumbs for a cheesecake crust. Just crush with a rolling pin and mix with melted butter.
7. Common mistakes & how to fix them
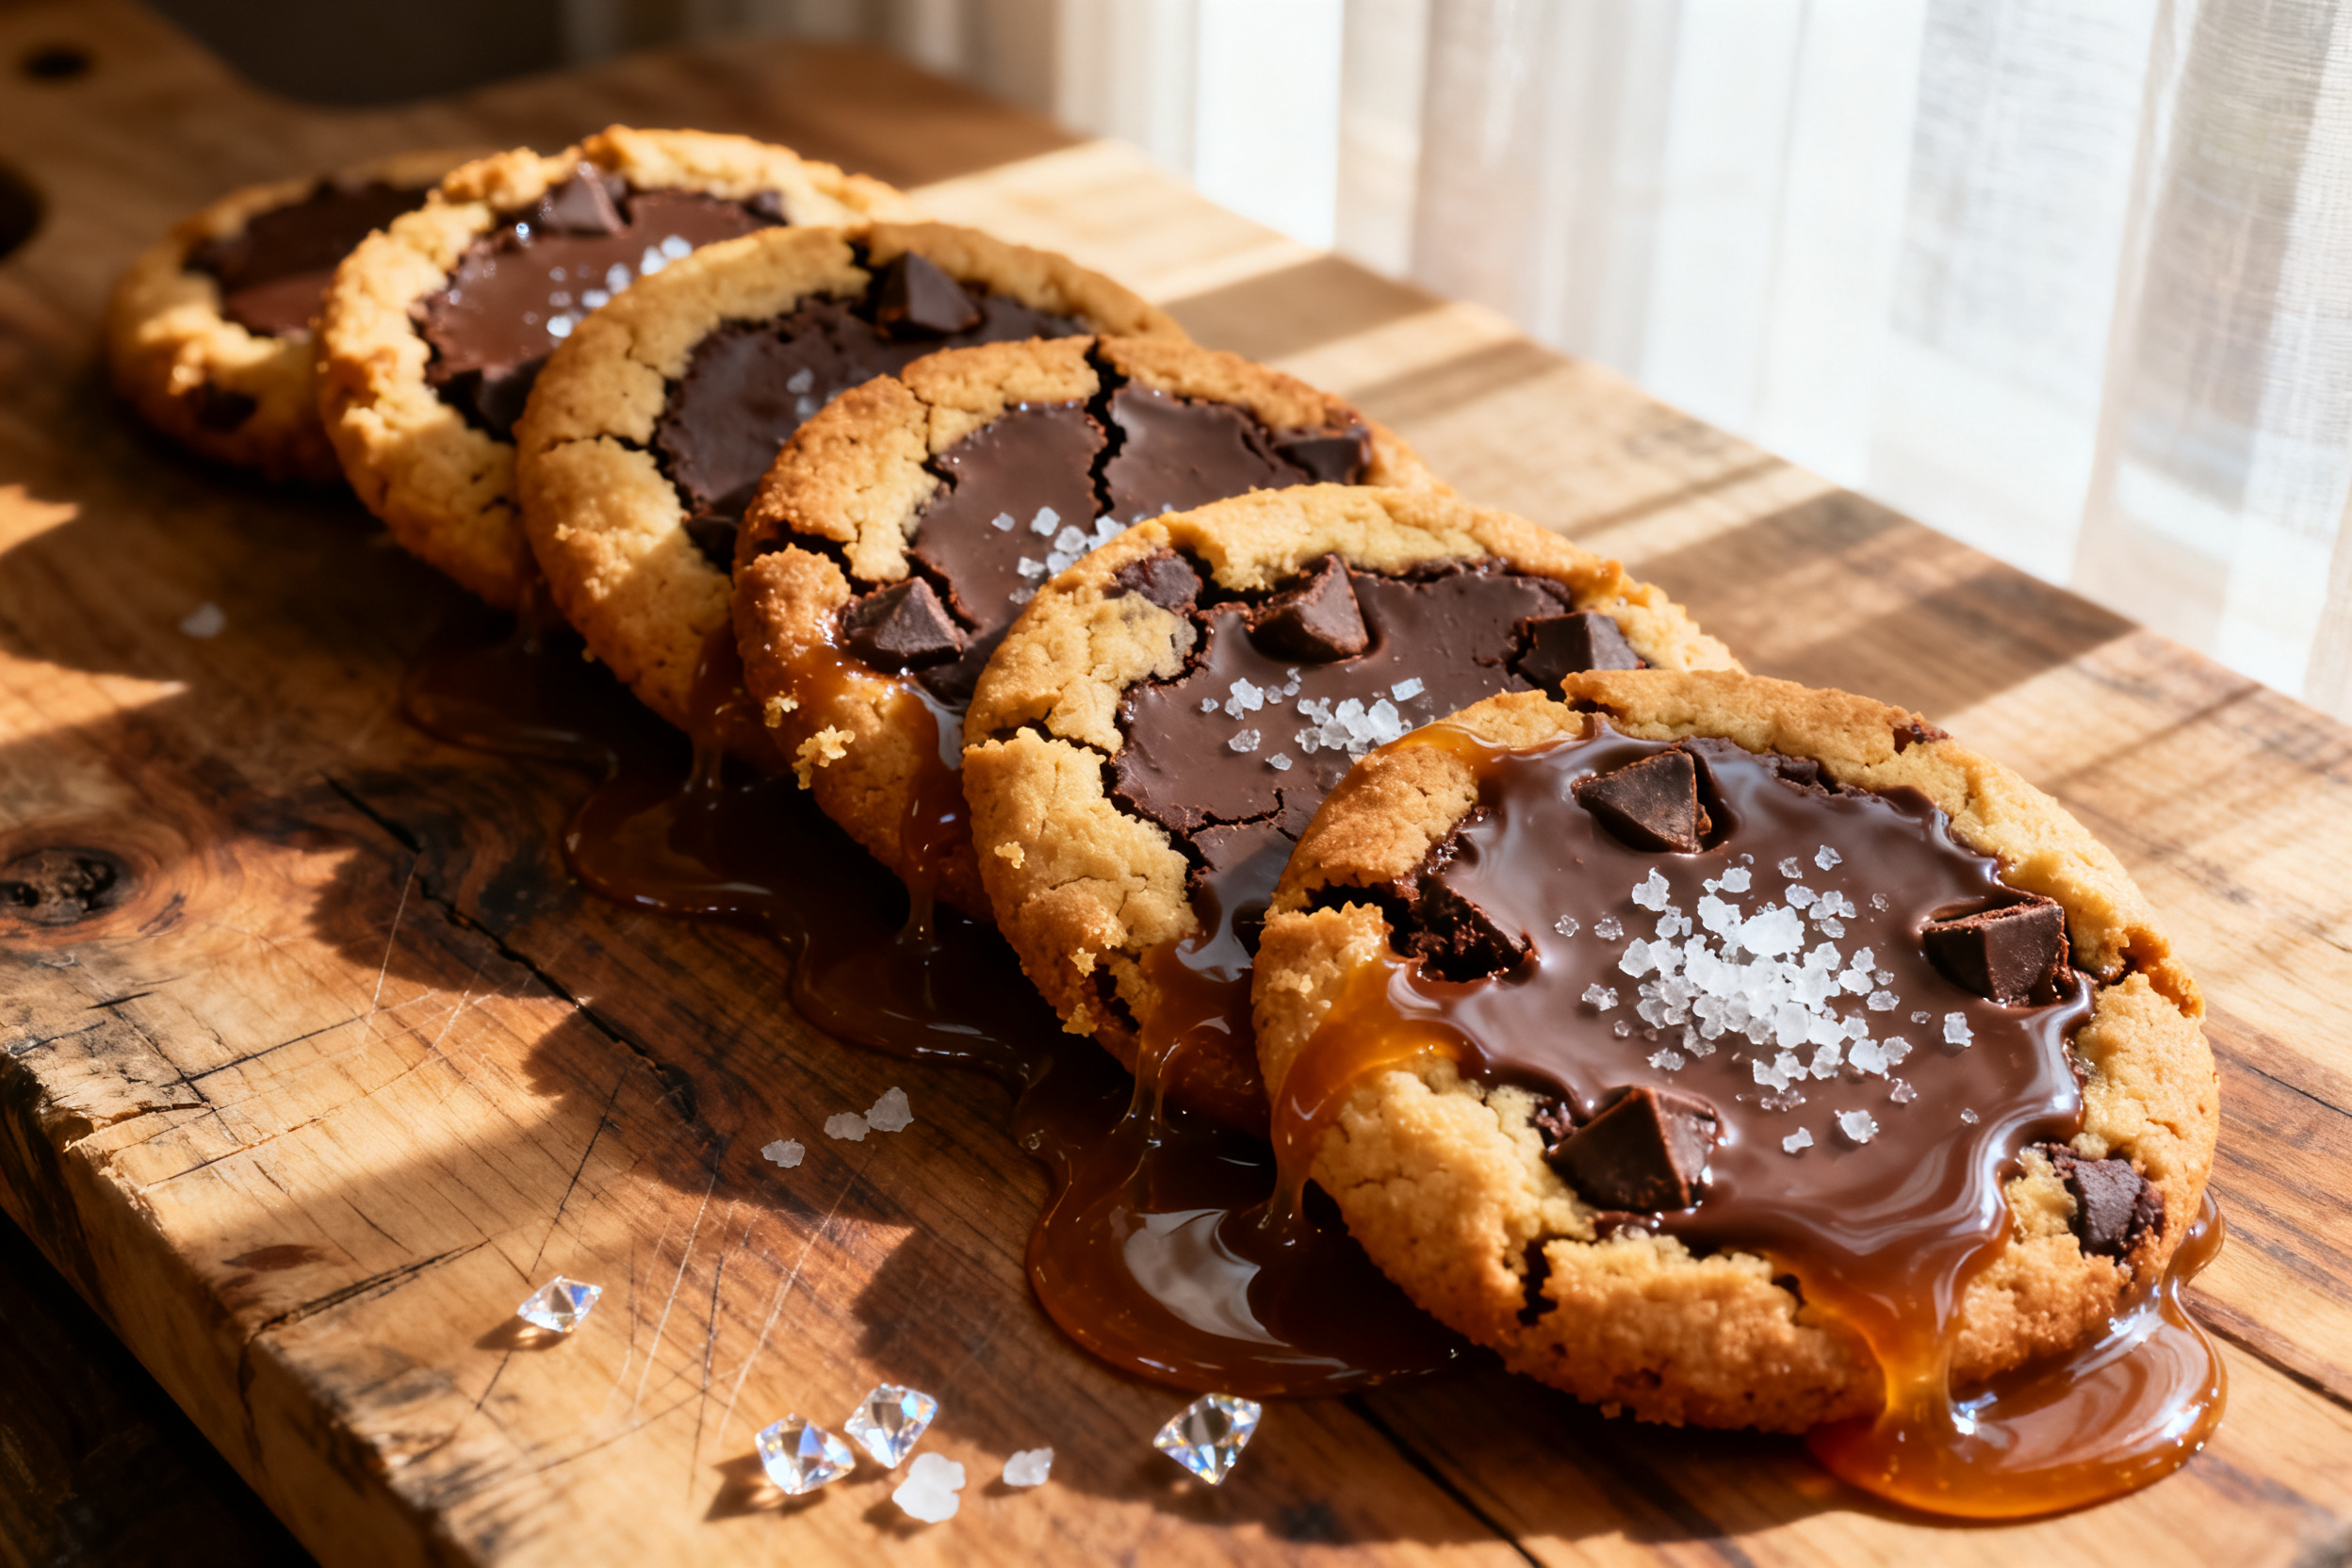
Cookies spread too thin — your dough was too warm or you used too much butter. Chill the dough longer next time, and measure your flour correctly (spoon and level, don’t scoop).
Cookies are too dry — you overbaked them or added too much flour. Next time, pull them out a minute earlier and check your oven temperature with an oven thermometer. Ovens lie.
Blue color is patchy — you didn’t mix the food coloring thoroughly. Add the gel in increments and fold until the dough is uniform. If you see streaks, keep mixing.
Cookies are flat and oily — your butter was too soft or you used margarine. Stick to solid butter and cream it just until light and fluffy. Over‑creaming can also cause greasiness.
Chocolate chips sink to the bottom — the batter was too thin. Chill the dough before adding chips, or toss the chips in a tablespoon of flour before folding them in.
8. Variations by diet or flavor profile
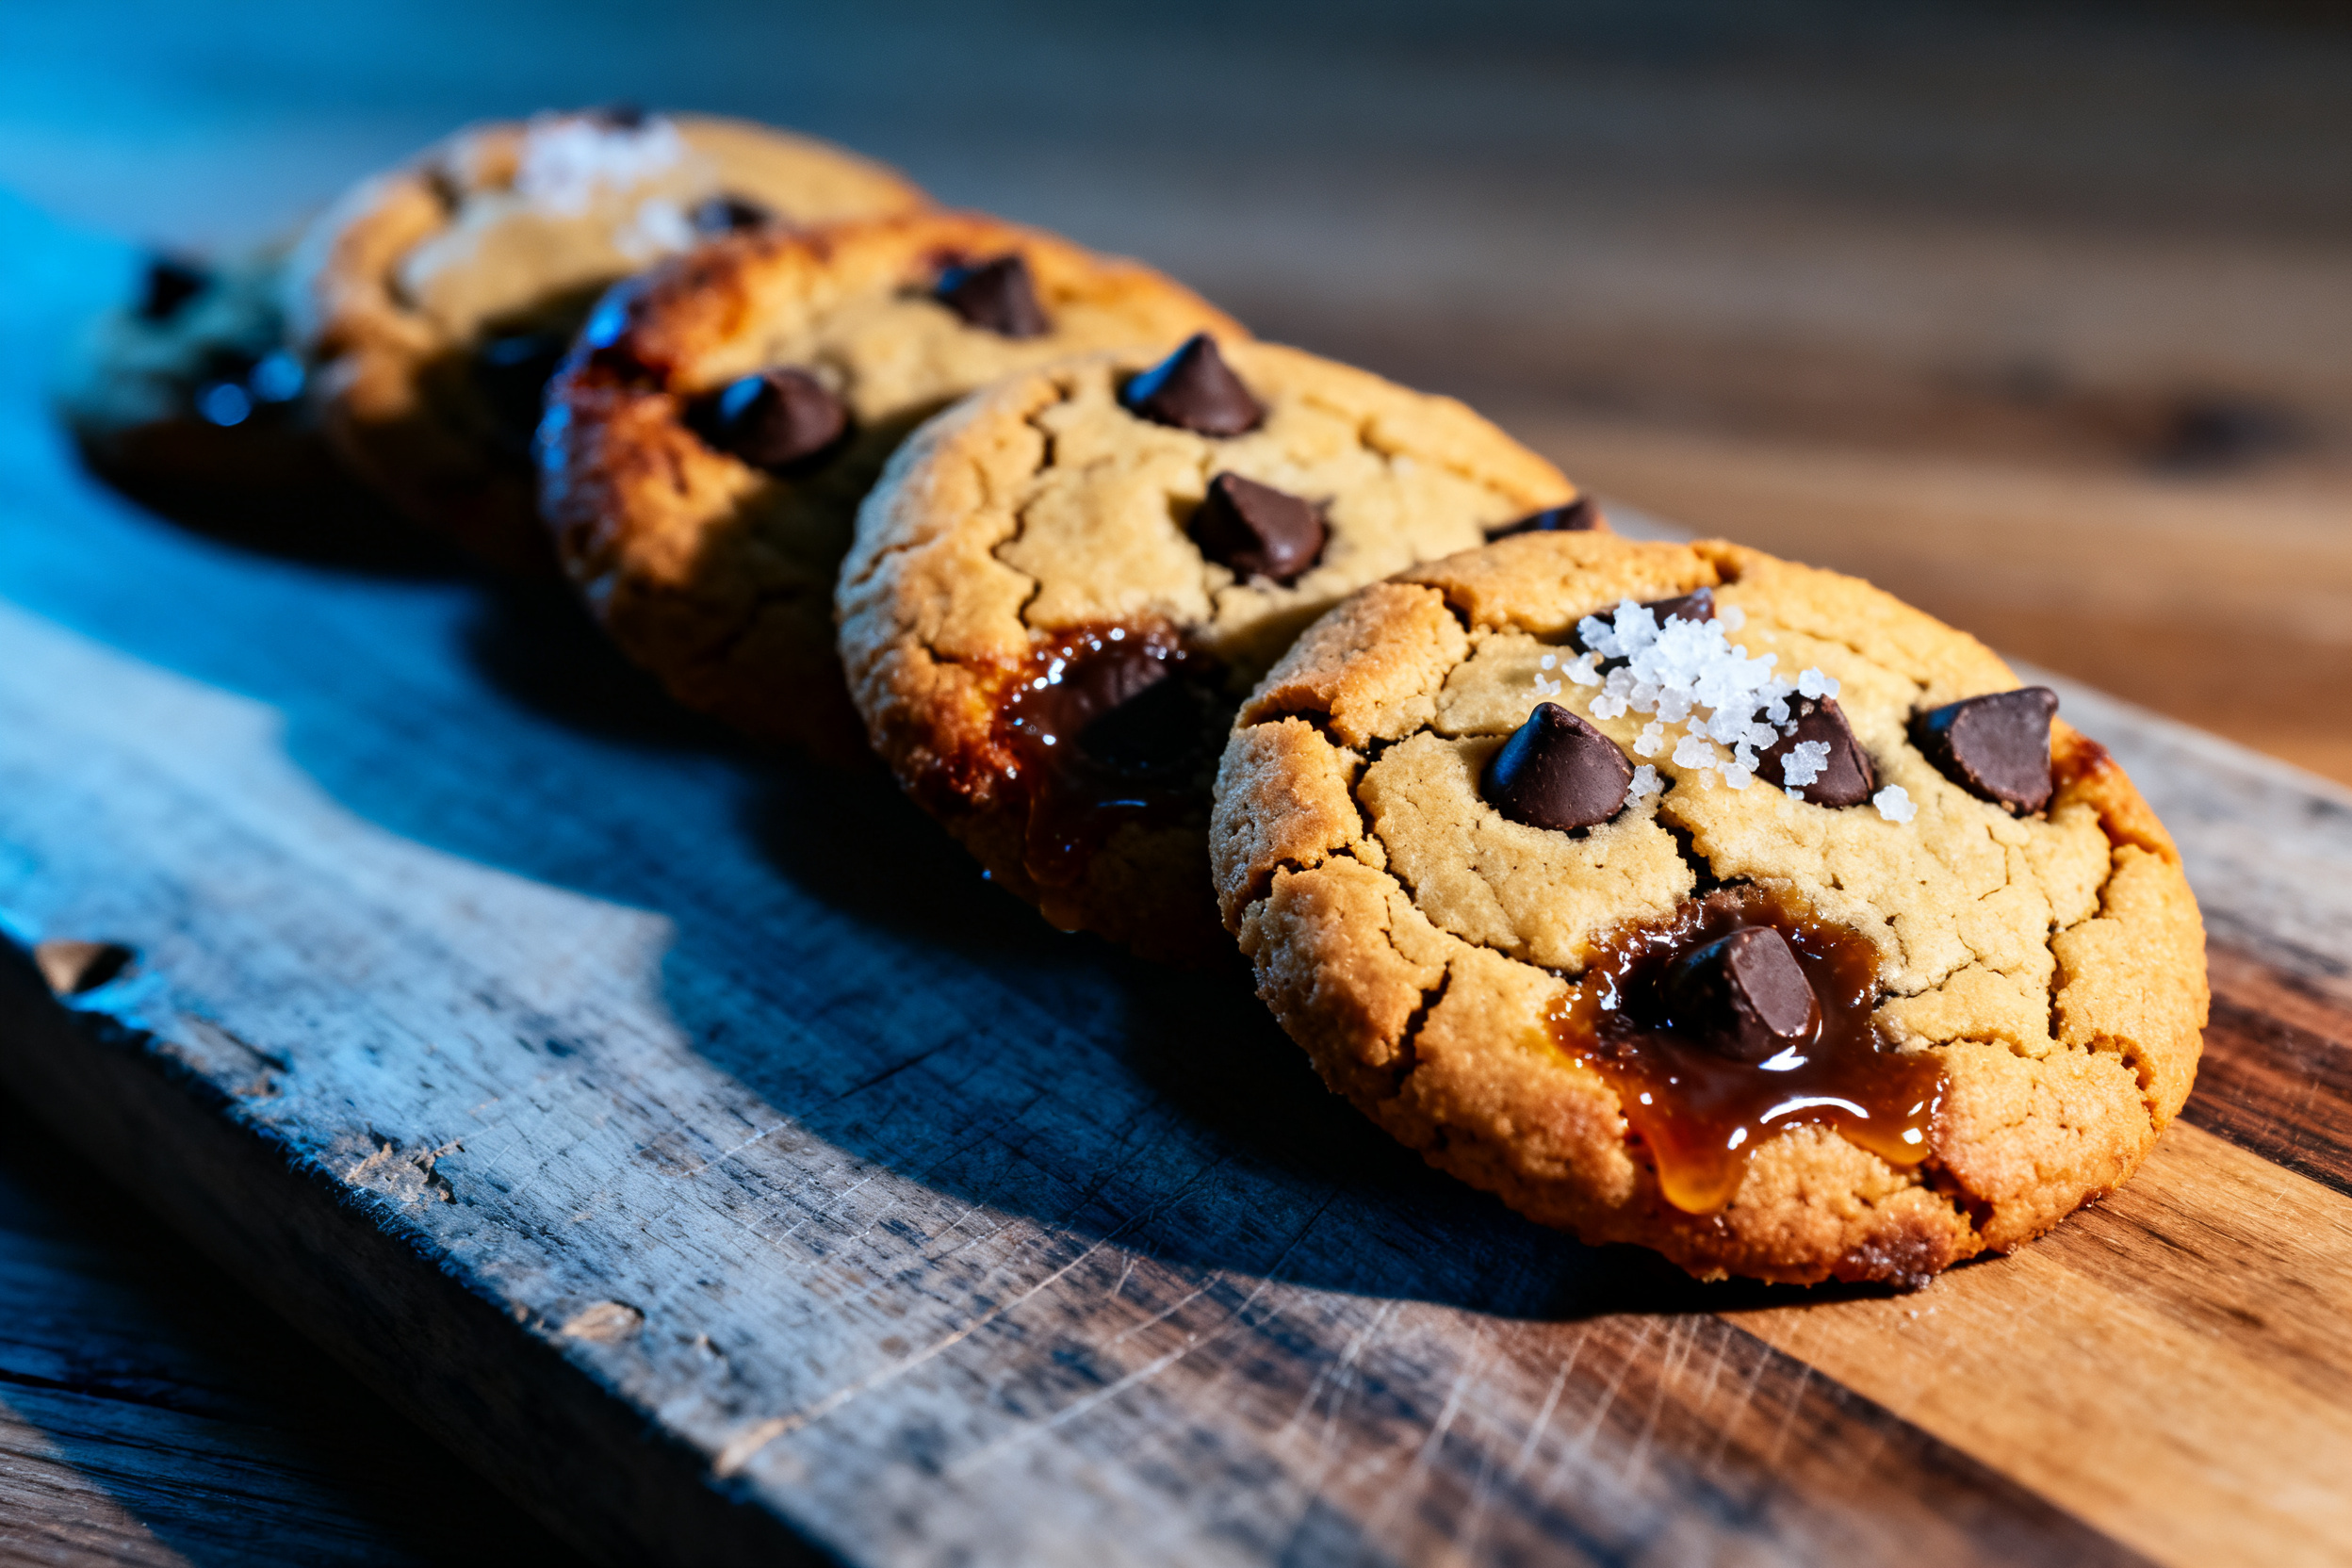
Vegan version: swap butter for vegan butter, use a flax egg (1 tbsp ground flax + 3 tbsp water), and choose dairy‑free chocolate chips. The texture will be slightly cakier, but still delicious.
Gluten‑free: use a 1‑to‑1 gluten‑free flour blend that contains xanthan gum. Avoid almond flour — it’s too heavy. Bake at the same temperature, but check for doneness a minute earlier.
Flavor twists: add 1/2 teaspoon of peppermint extract for a holiday cookie, or swap the semi‑sweet chips for butterscotch chips. You can also stir in crushed pretzels for a salty‑sweet crunch.
Double chocolate: replace 1/4 cup of flour with cocoa powder and use white chocolate chips instead of semi‑sweet. The cookies will be chocolatey with a Cookie Monster blue hue — yes, blue and chocolate work!
9. Why this recipe works / The science
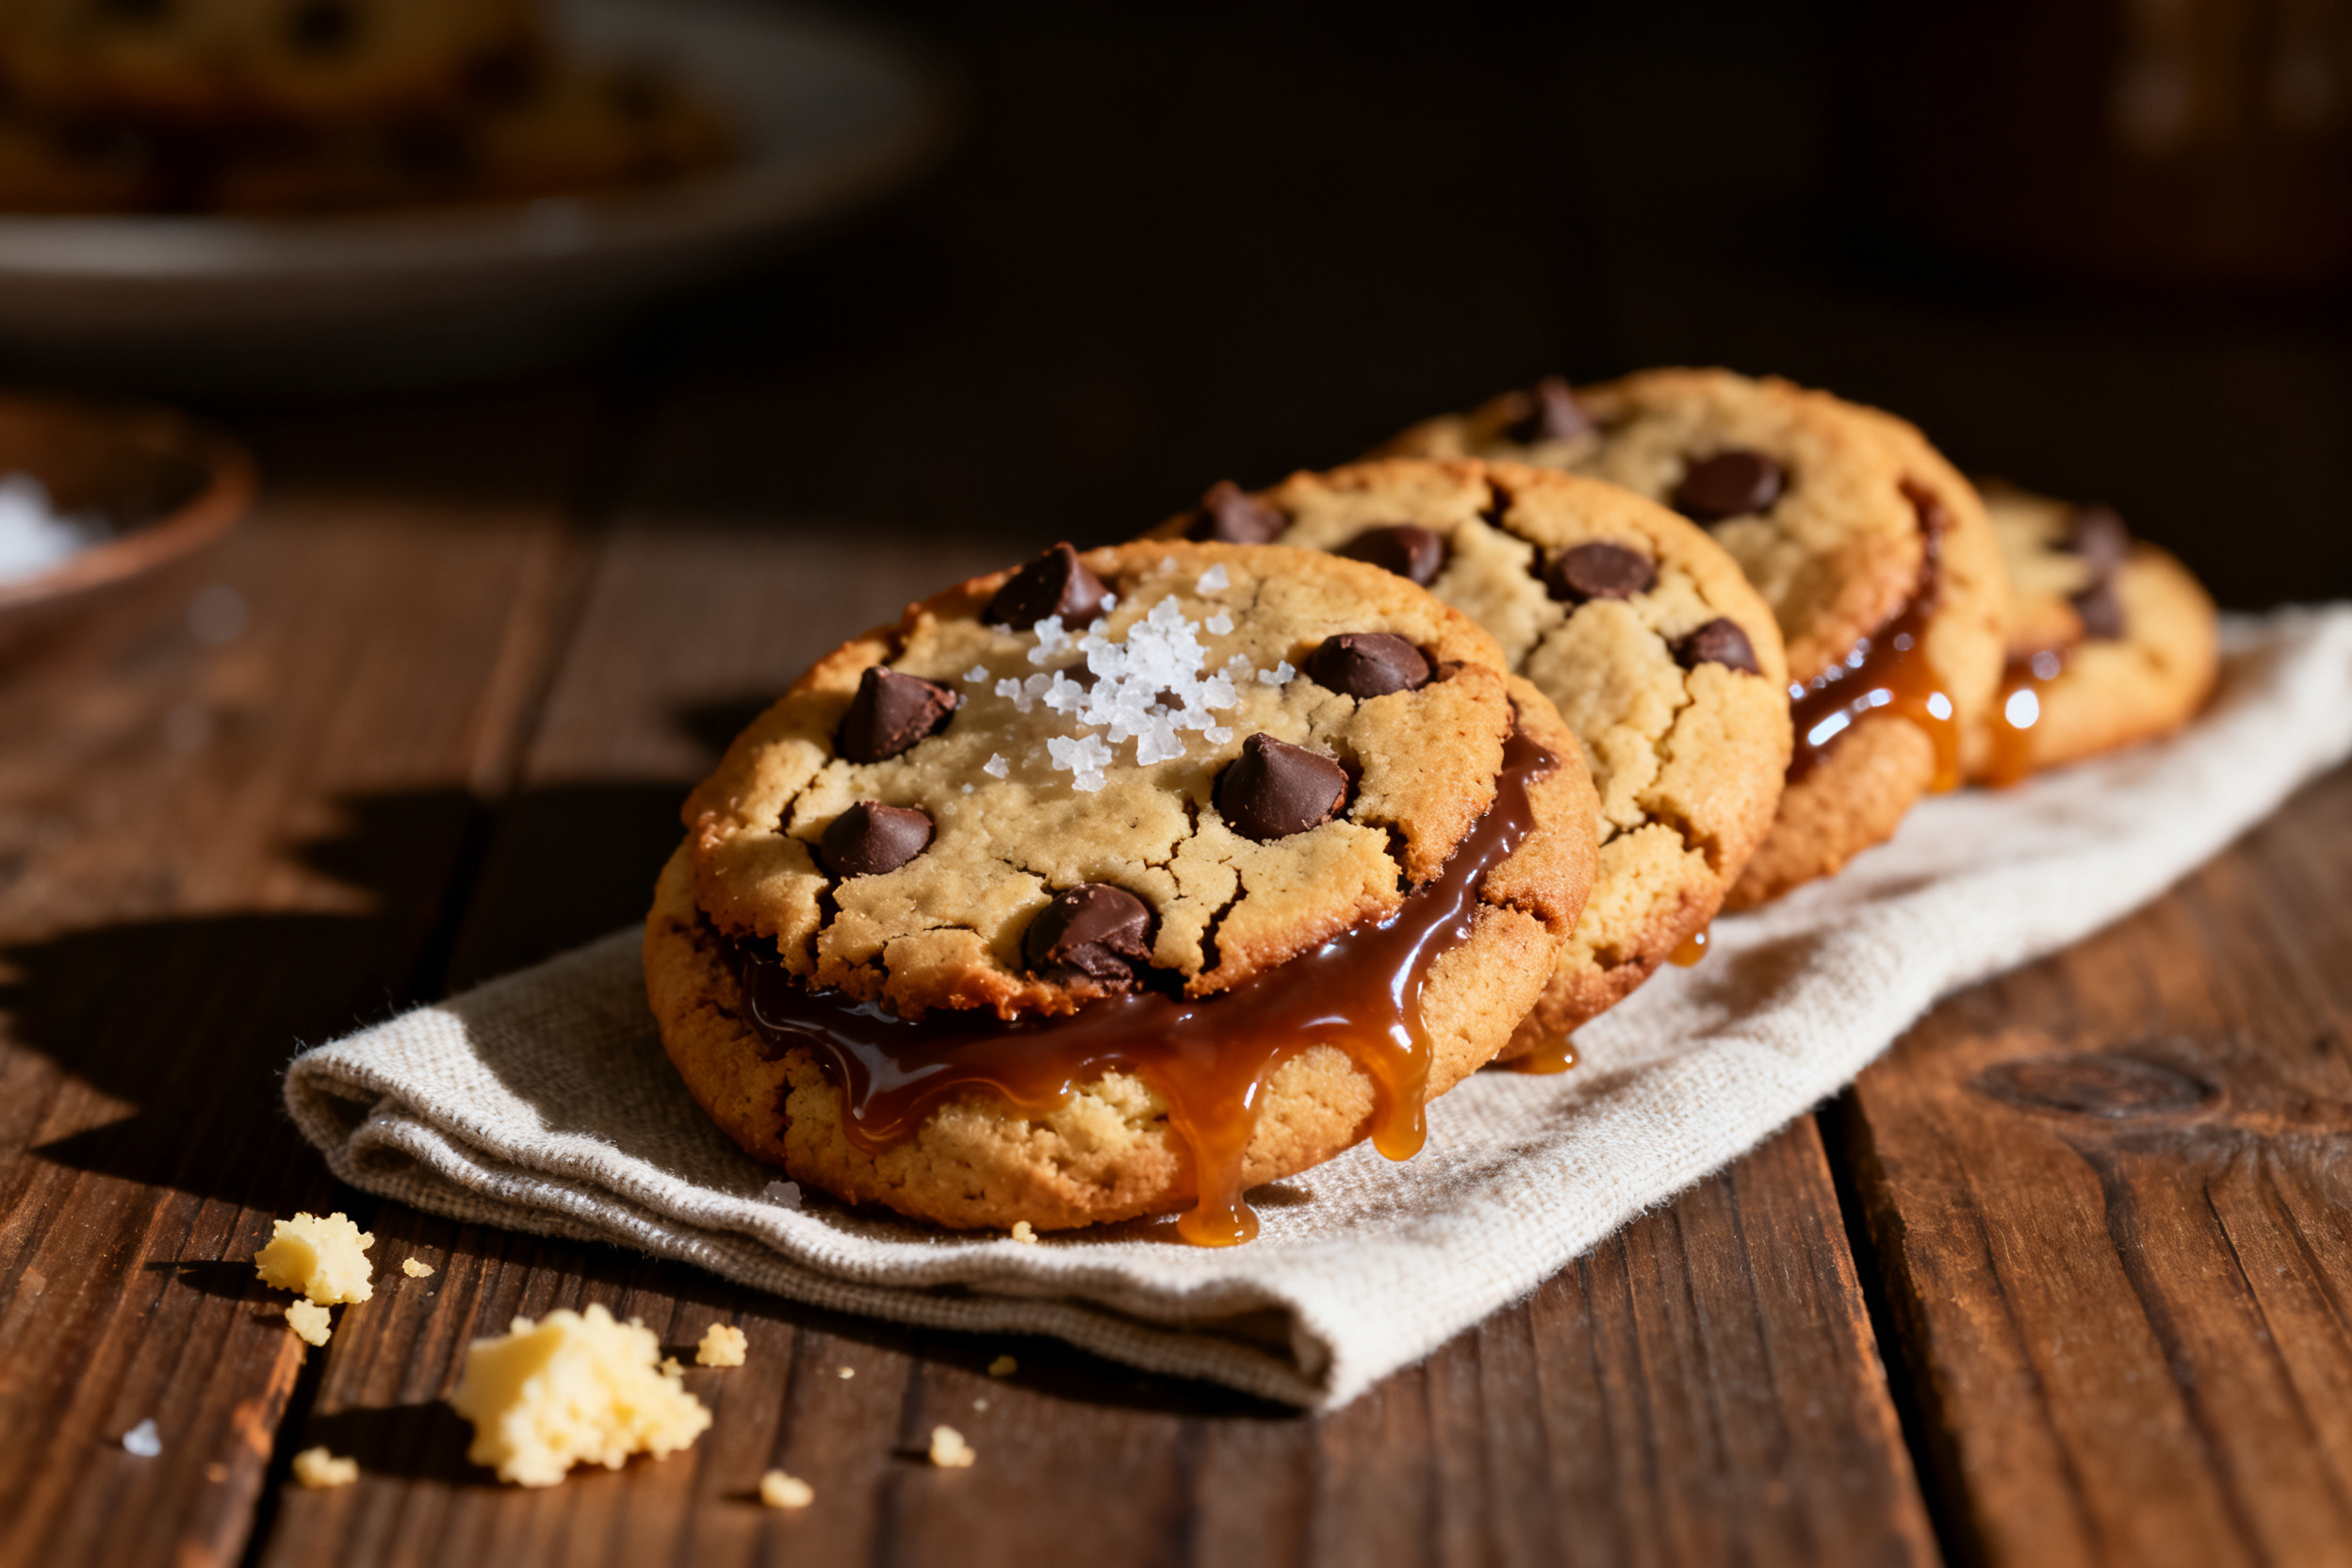
Brown butter is the secret weapon. When you brown butter, you toast the milk solids, creating nutty, caramel‑like compounds that add depth without extra sugar. The water evaporates, concentrating the fat, which makes the cookies tender.
The extra egg yolk adds fat and lecithin, which emulsify the dough and prevent gluten from forming too much. Less gluten means softer, more tender cookies. The yolk also helps retain moisture, keeping them gooey.
Chilling the dough solidifies the fat, so the cookies spread slowly in the oven. This gives them time to rise rather than melt into a puddle. The result is a thick, chewy interior with crisp edges.
10. Frequently Asked Questions (FAQ)
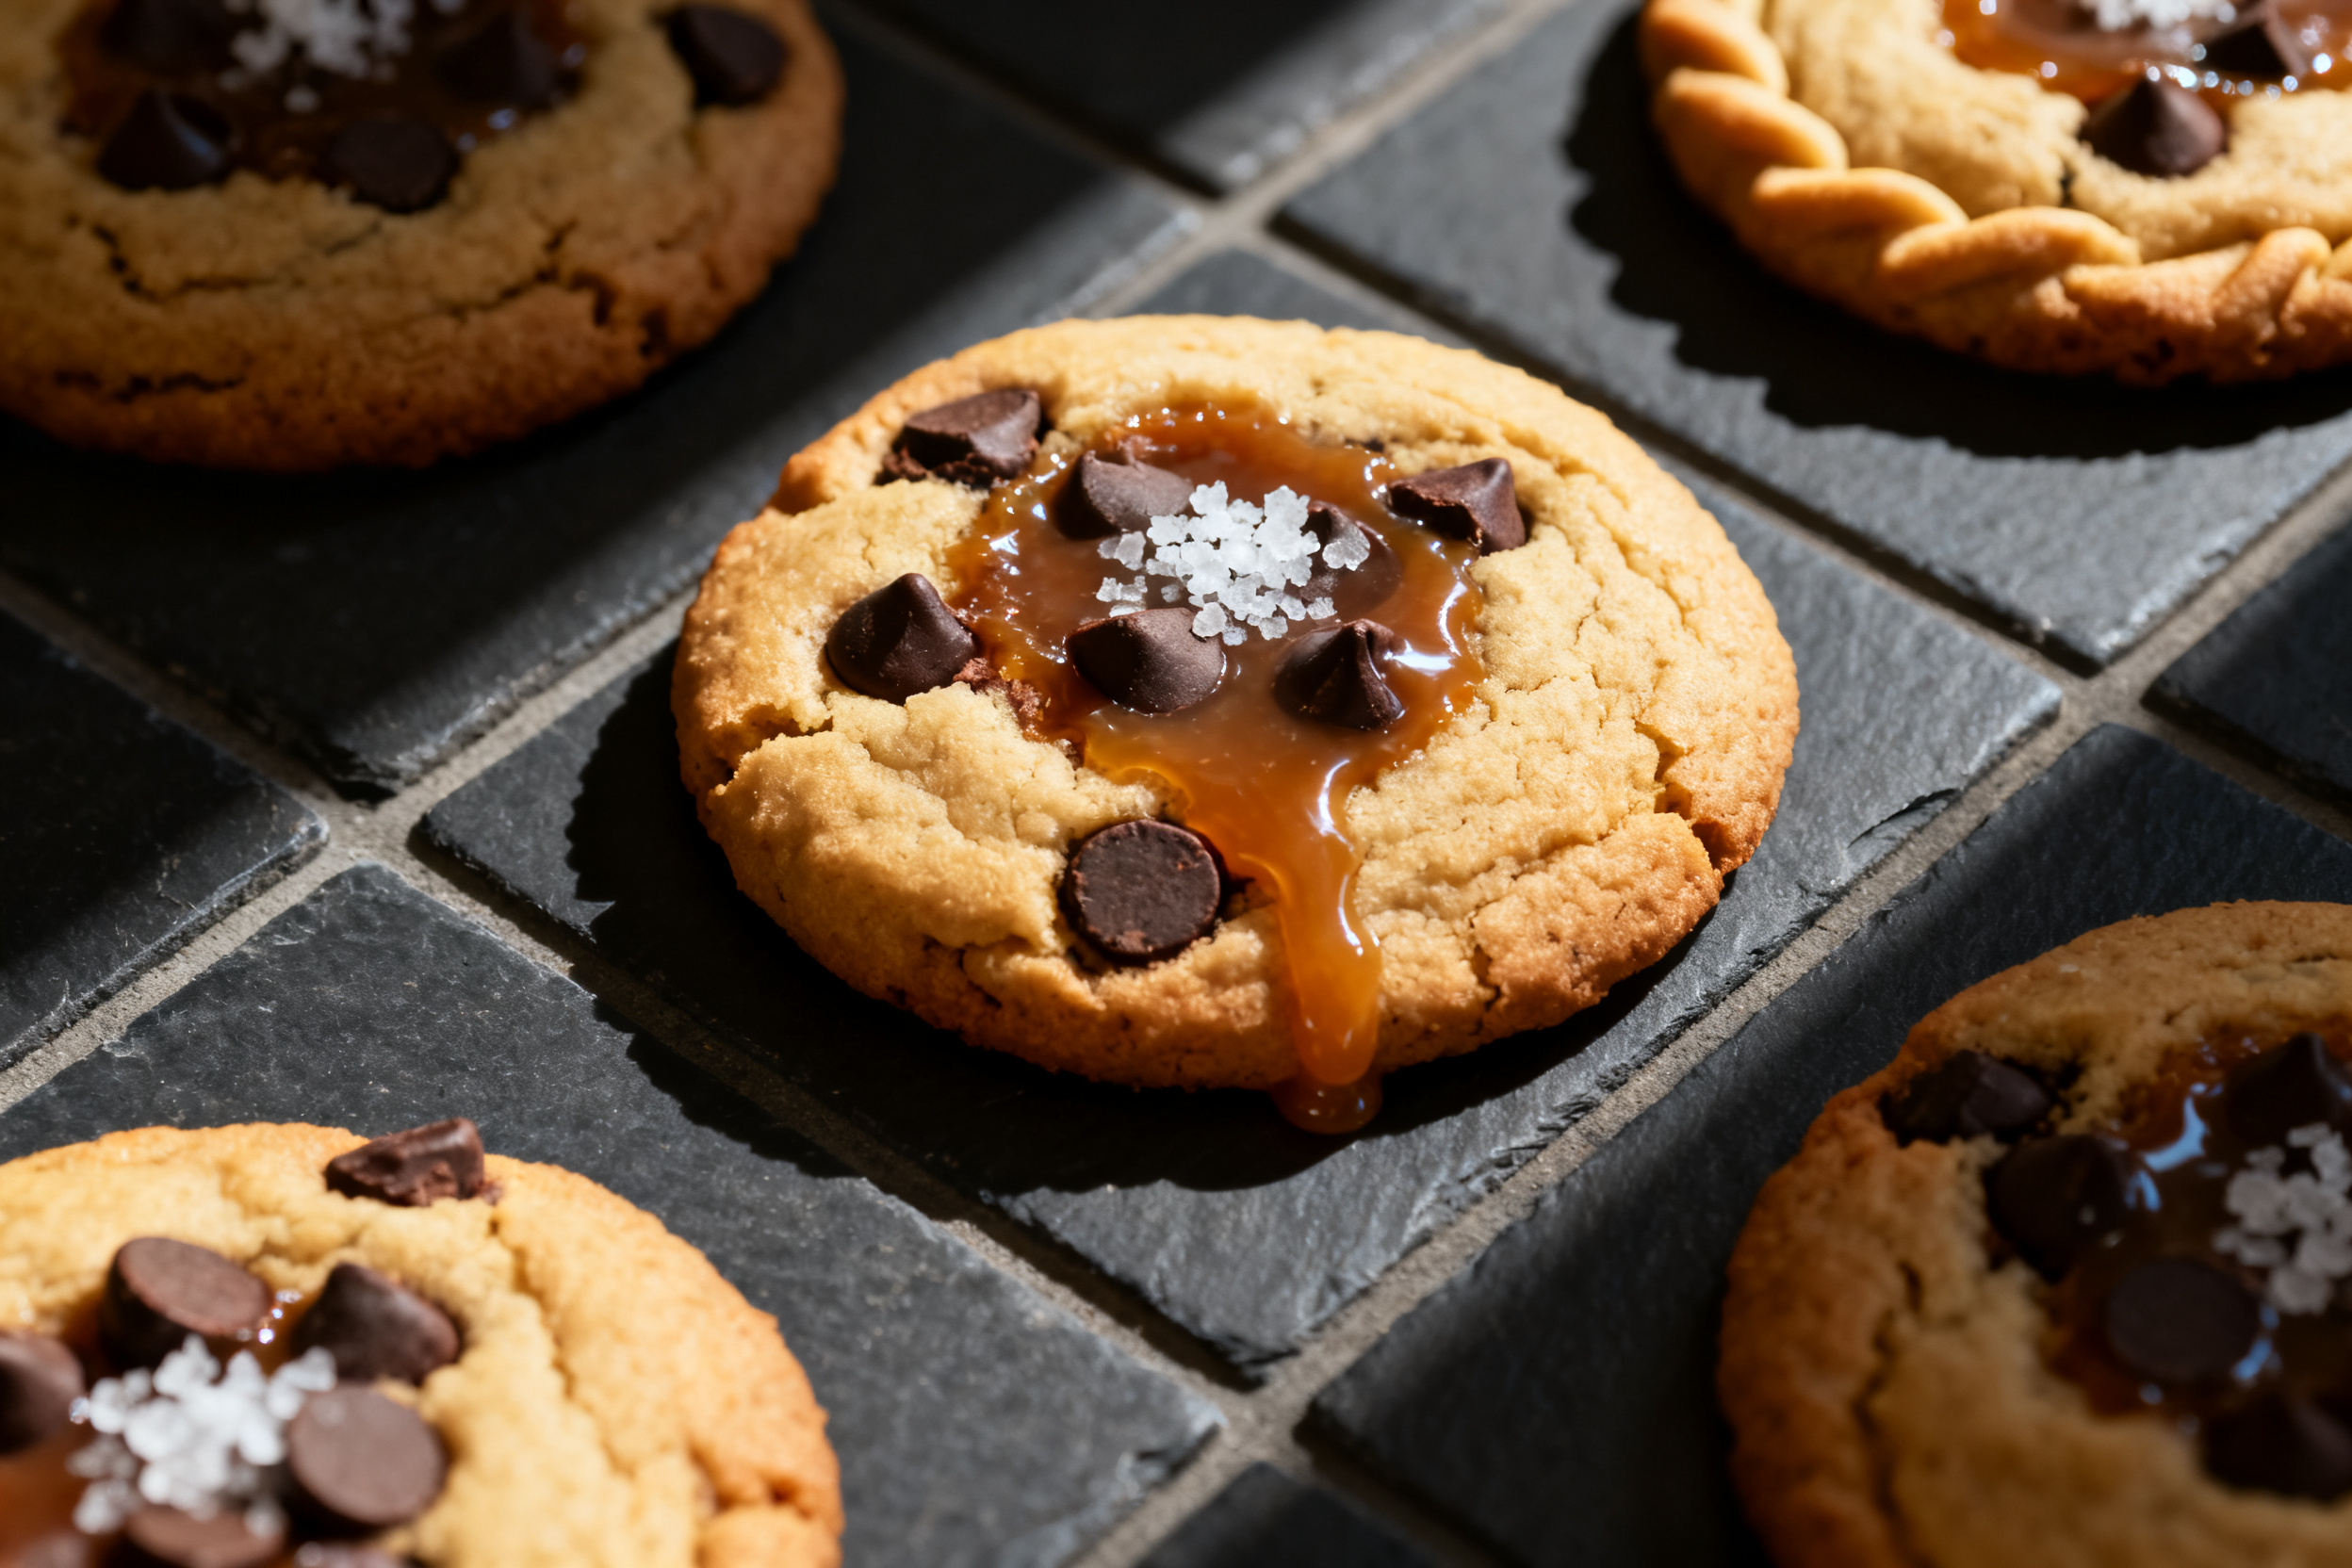
Can I use natural food coloring instead of gel? Yes, but you’ll need more drops to get a vibrant blue, which can add extra liquid. Reduce the egg by 1 teaspoon to compensate, or stick with gel.
Why are my cookies not blue enough? The type of blue food coloring matters. Royal blue gel gives the best result. Avoid neon green‑blue mixes; they turn out teal. Start with 1/2 teaspoon and add more if you want a deeper shade.
Can I make these cookies smaller? Sure. Use a 1‑tablespoon scoop and bake for 8‑9 minutes. Keep an eye on them — smaller cookies burn faster. The yield will be about 36 mini cookies.
How do I know when they’re done? The edges should be lightly golden (yes, even with blue dough, the edges brown slightly). The centers will look puffy and soft, with a few cracks on top. A toothpick inserted in the center should come out with a few moist crumbs.
11. Call to action (comment, share, subscribe)
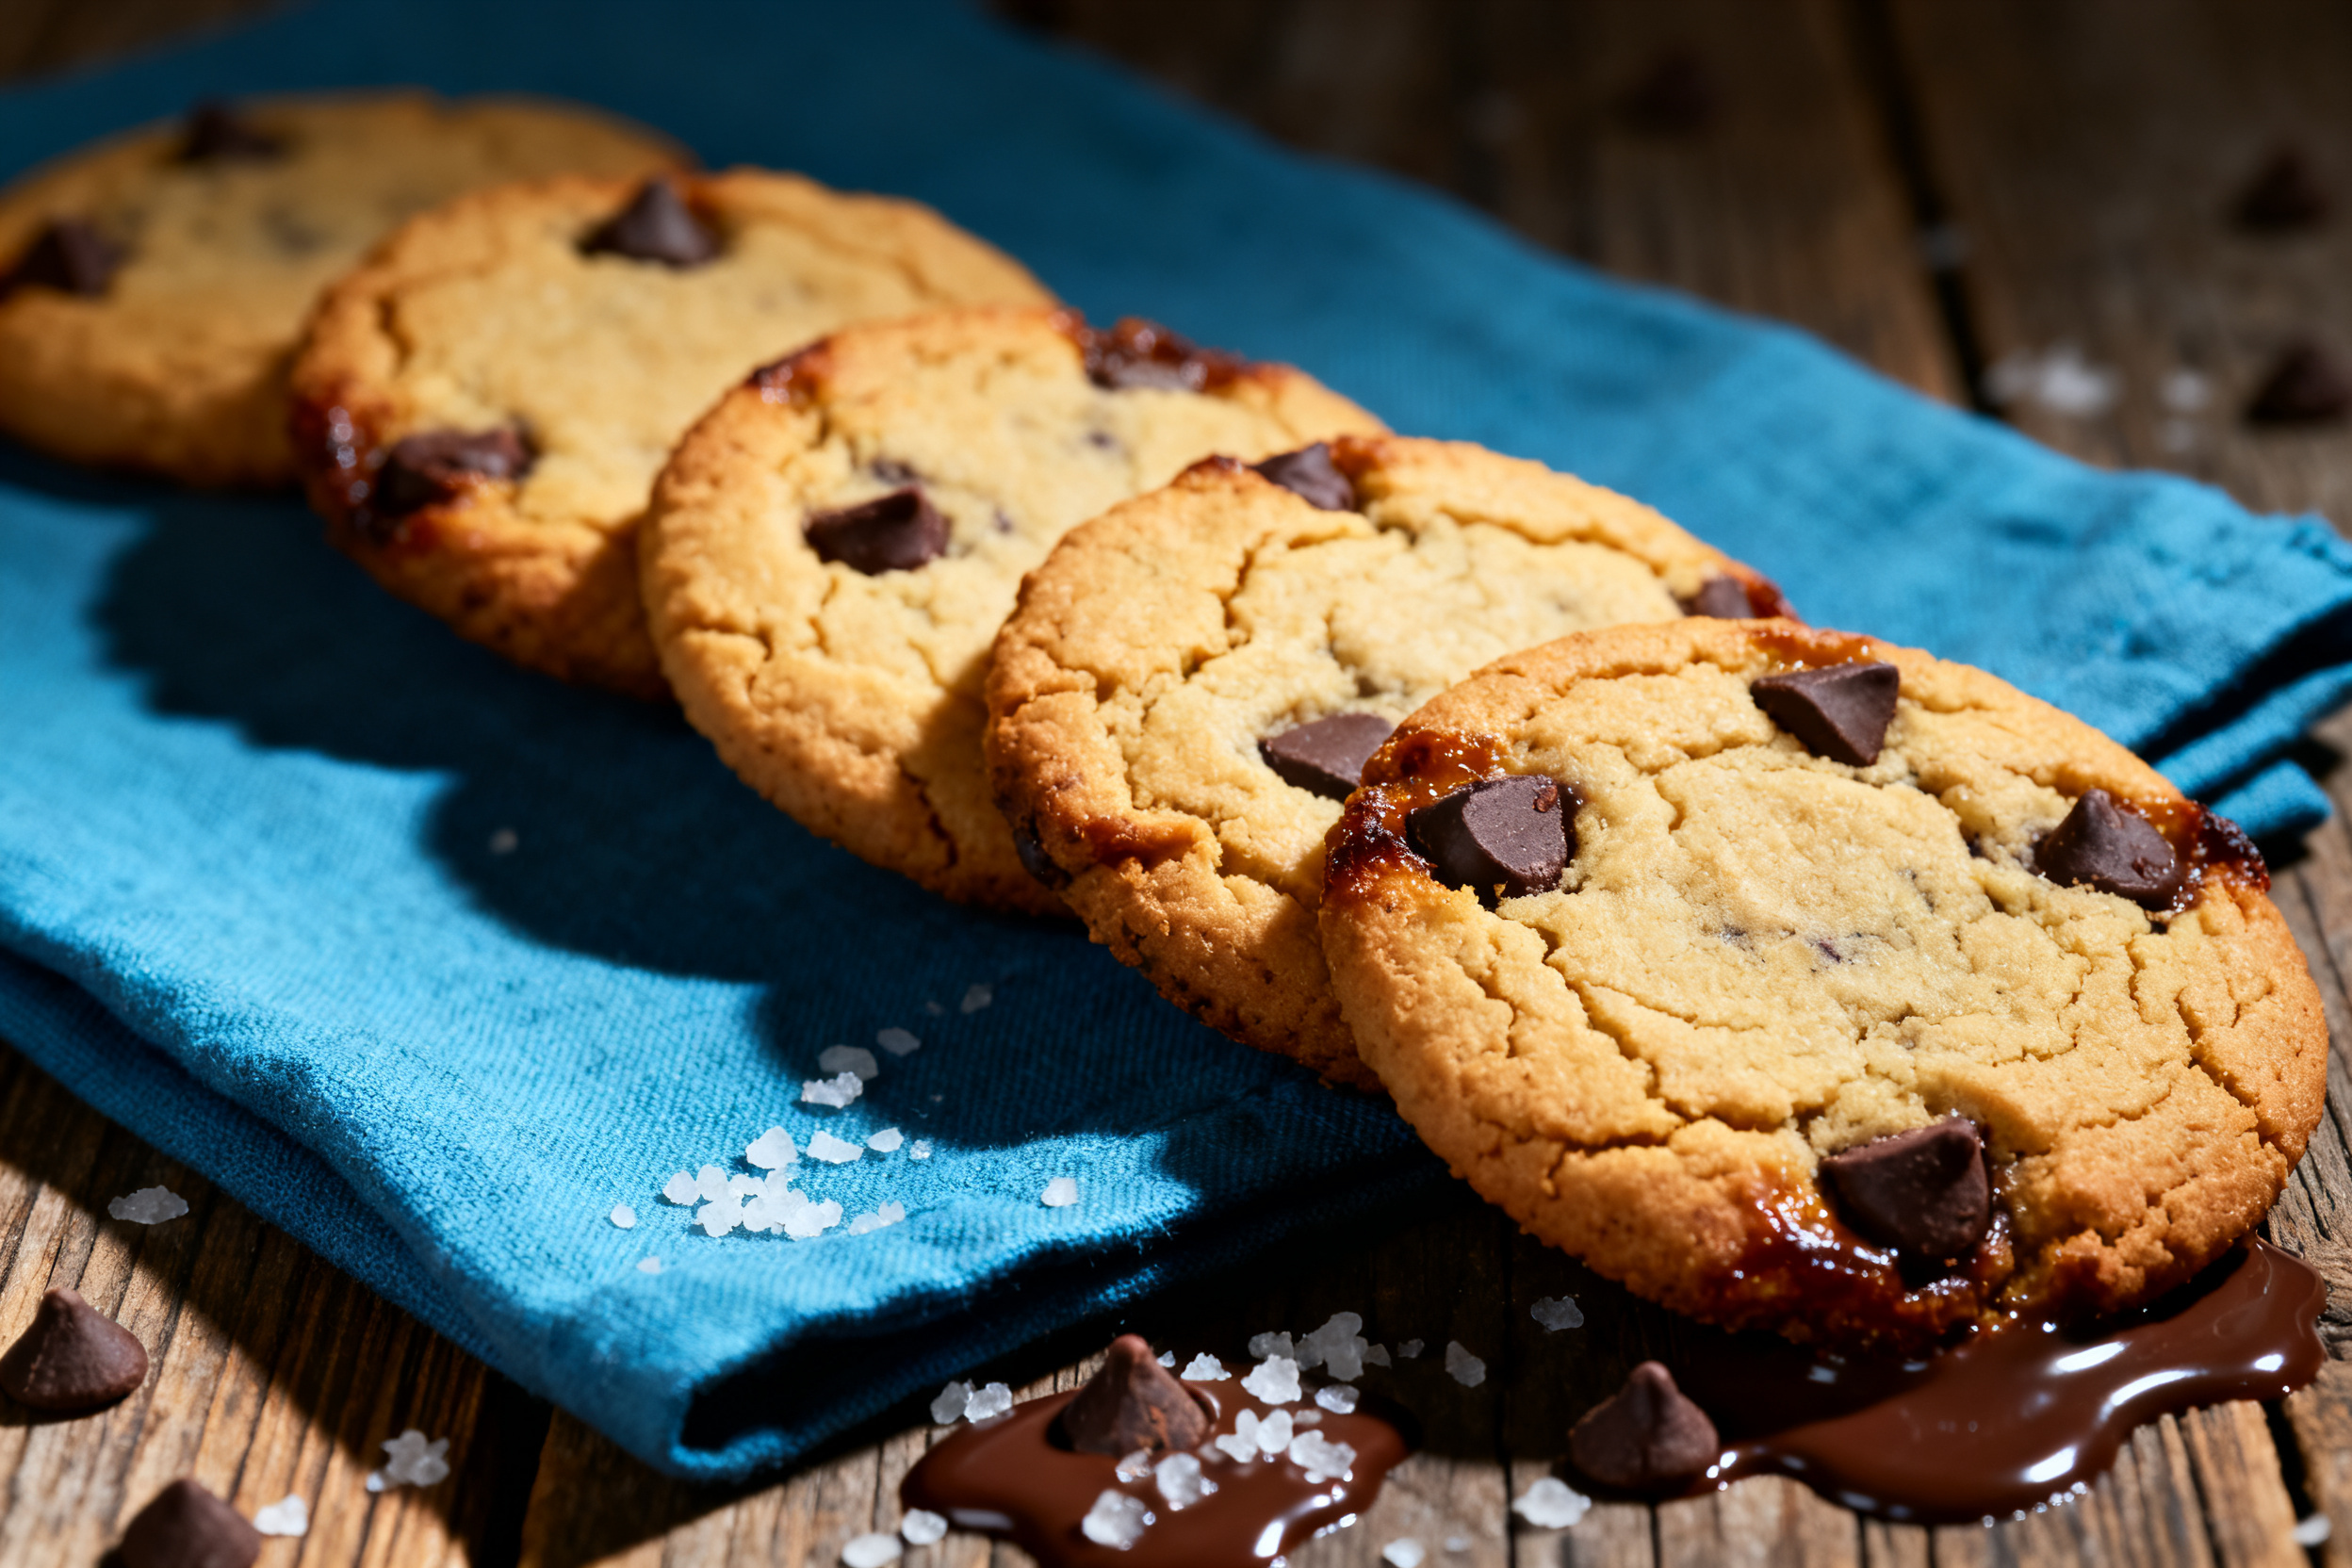
I’d love to hear how your Cookie Monster Cookies turned out! Drop a comment below and tell me if you managed to keep any for the next day — I sure didn’t. If you tweaked the recipe, share your variation so other bakers can try it.
Don’t forget to pin this recipe for later and share it with your fellow cookie‑obsessed friends. And if you’re not already subscribed, hit that button to get more gooey, bakery‑worthy recipes delivered straight to your inbox. Happy baking!
So there you have it — a cookie that’s blue, gooey, and way better than anything you’ll find at a bakery. The best part? You control the ingredients, the color, and the level of chocolate overload. Make a batch this weekend and watch them disappear in minutes.
These Cookie Monster Cookies are proof that you don’t need a fancy pastry degree to create something magical. Just a little butter, a little patience, and a whole lot of blue food coloring. Go ahead — embrace your inner Cookie Monster.
Now go bake some cookies, and remember: the only thing better than a warm cookie is a warm cookie shared with someone you love. Unless you’re me. Then it’s a warm cookie all to yourself. No judgment.
Cookie Monster Cookies Recipe (Gooey Blue Cookies)
Ingredients
- 1 cup 2 sticks unsalted butter
- 1 cup packed light brown sugar
- 1/2 cup granulated sugar
- 1 large egg + 1 large egg yolk
- 2 teaspoons vanilla extract
- 2 1/4 cups all-purpose flour
- 1 teaspoon baking soda
- 1/2 teaspoon salt
- 1/2 teaspoon royal blue gel food coloring or more for deeper color
- 1 cup semi-sweet chocolate chips
- 1/2 cup white chocolate chips
- 1/2 cup mini M&Ms optional
Instructions
- Brown the butter: In a medium saucepan over medium heat, melt the butter. Continue cooking, stirring frequently, until the butter turns golden brown and smells nutty (about 5-7 minutes). Immediately pour into a heatproof bowl and let cool to room temperature (about 15 minutes).
- In a large bowl, whisk together the browned butter, brown sugar, and granulated sugar until smooth. Add the egg, egg yolk, and vanilla extract, and whisk until well combined.
- In a separate bowl, whisk the flour, baking soda, and salt. Gradually add the dry ingredients to the wet mixture, stirring with a spatula until just combined. Do not overmix.
- Add the blue gel food coloring and fold until the dough is uniformly blue. Stir in the semi-sweet chocolate chips, white chocolate chips, and mini M&Ms (if using).
- Cover the dough with plastic wrap and refrigerate for at least 30 minutes, or up to 3 days.
- Preheat the oven to 350°F (175°C). Line two baking sheets with parchment paper.
- Using a 2-tablespoon cookie scoop, portion the dough into balls and place them 2 inches apart on the prepared sheets. Do not flatten.
- Bake for 10-12 minutes, until the edges are set and lightly golden, but the centers are still soft and puffy. Remove from the oven and let cool on the baking sheet for 5 minutes.
- Transfer to a wire rack to cool completely. For extra gooeyness, press a few additional chocolate chips onto the tops while still warm.
Notes
2. Add a slice of bread to maintain softness.
3. Freezing dough: Scoop raw dough balls onto a tray, freeze until solid, then transfer to a zip-top bag.
4. Bake from frozen, adding 2 minutes to the bake time.
5. Color adjustment: If you want a deeper blue, add up to 1 teaspoon of gel food coloring.
6. Avoid liquid food coloring as it can thin the dough.
7. Substitutions: For a dairy-free version, use vegan butter and dairy-free chocolate chips.
8. For a gluten-free version, use a 1-to-1 gluten-free flour blend that contains xanthan gum.
9. Underbaking tip: The cookies will look slightly underdone when you pull them out – that’s intentional.
10. They will set as they cool on the hot pan.