
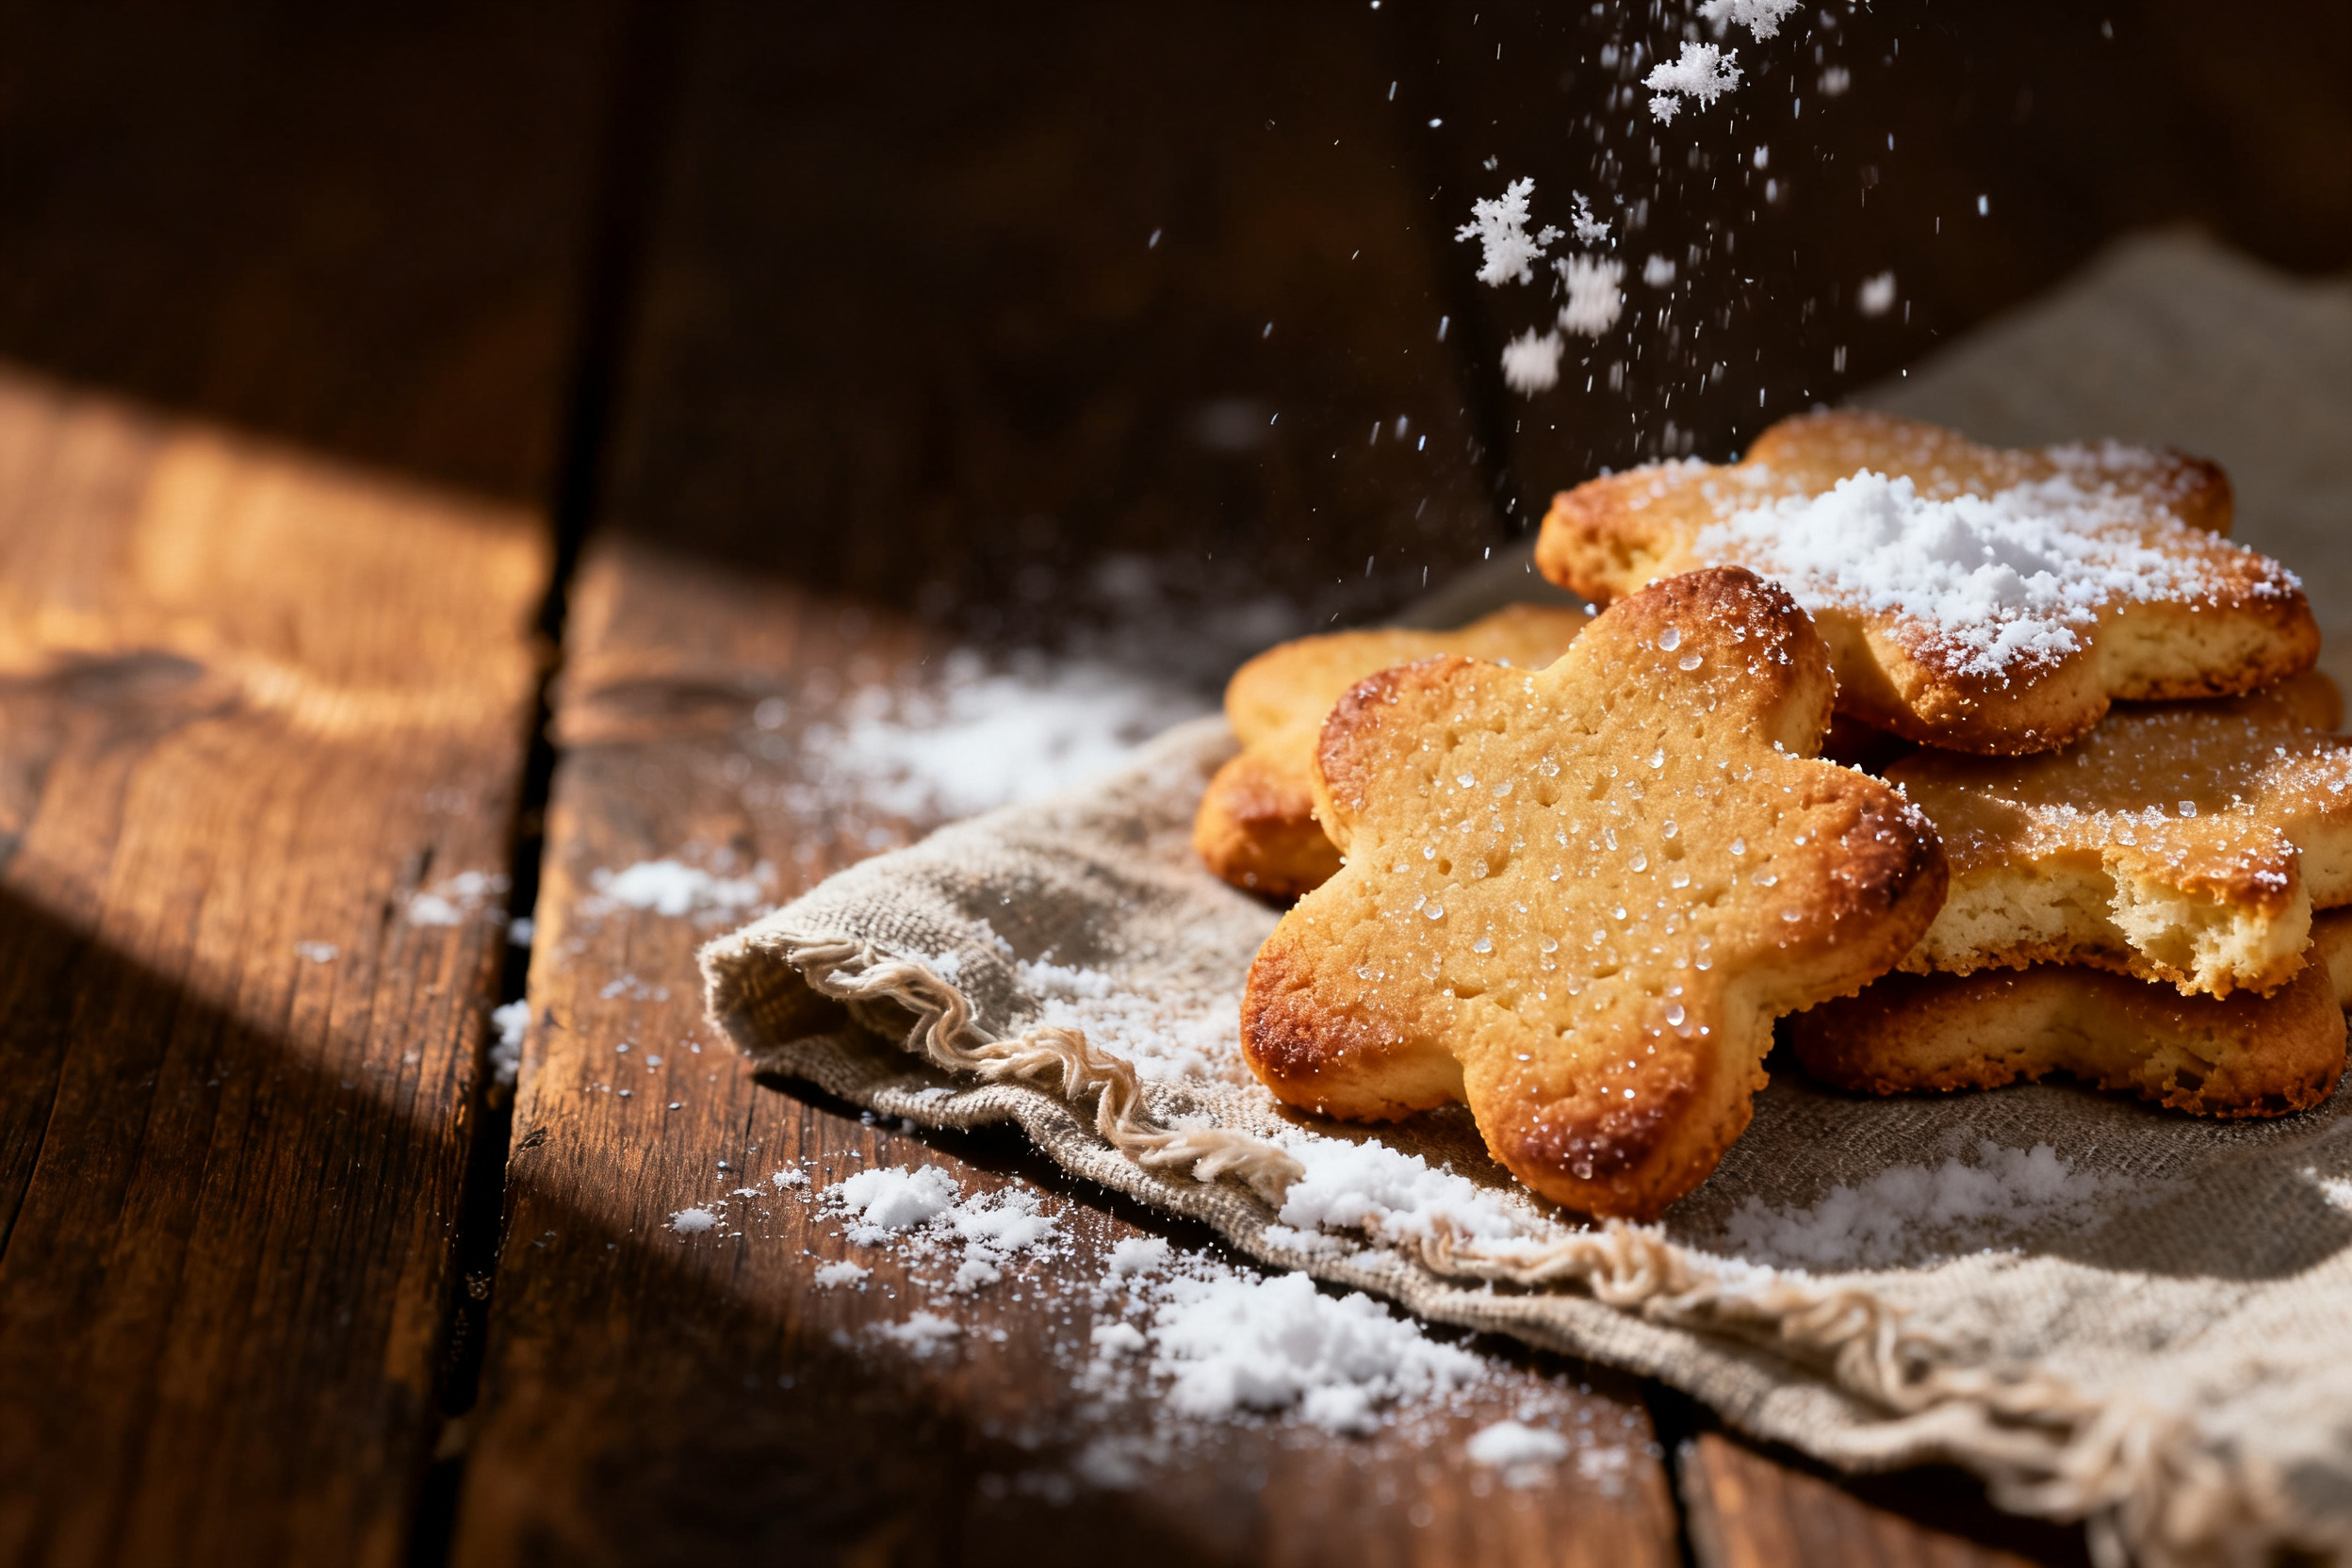
If you’ve ever wrestled with a batch of sugar cookies that looked more like hockey pucks than delicate little bites of heaven, you’re in the right place. I’ve been there, rolling dough that refused to cooperate and ending up with cookies that tasted like flour and regret. This sugar cookie cutout recipe changes everything. It’s the kind of cookie that actually melts on your tongue, leaving behind a whisper of butter and vanilla.
You deserve a cookie that holds its shape for cutting but still feels tender and soft. No more crisp-edged, break-your-tooth disasters. We’re going for tender, buttery, and just sweet enough. Ready to bake something that looks as good as it tastes?
1. Allergens
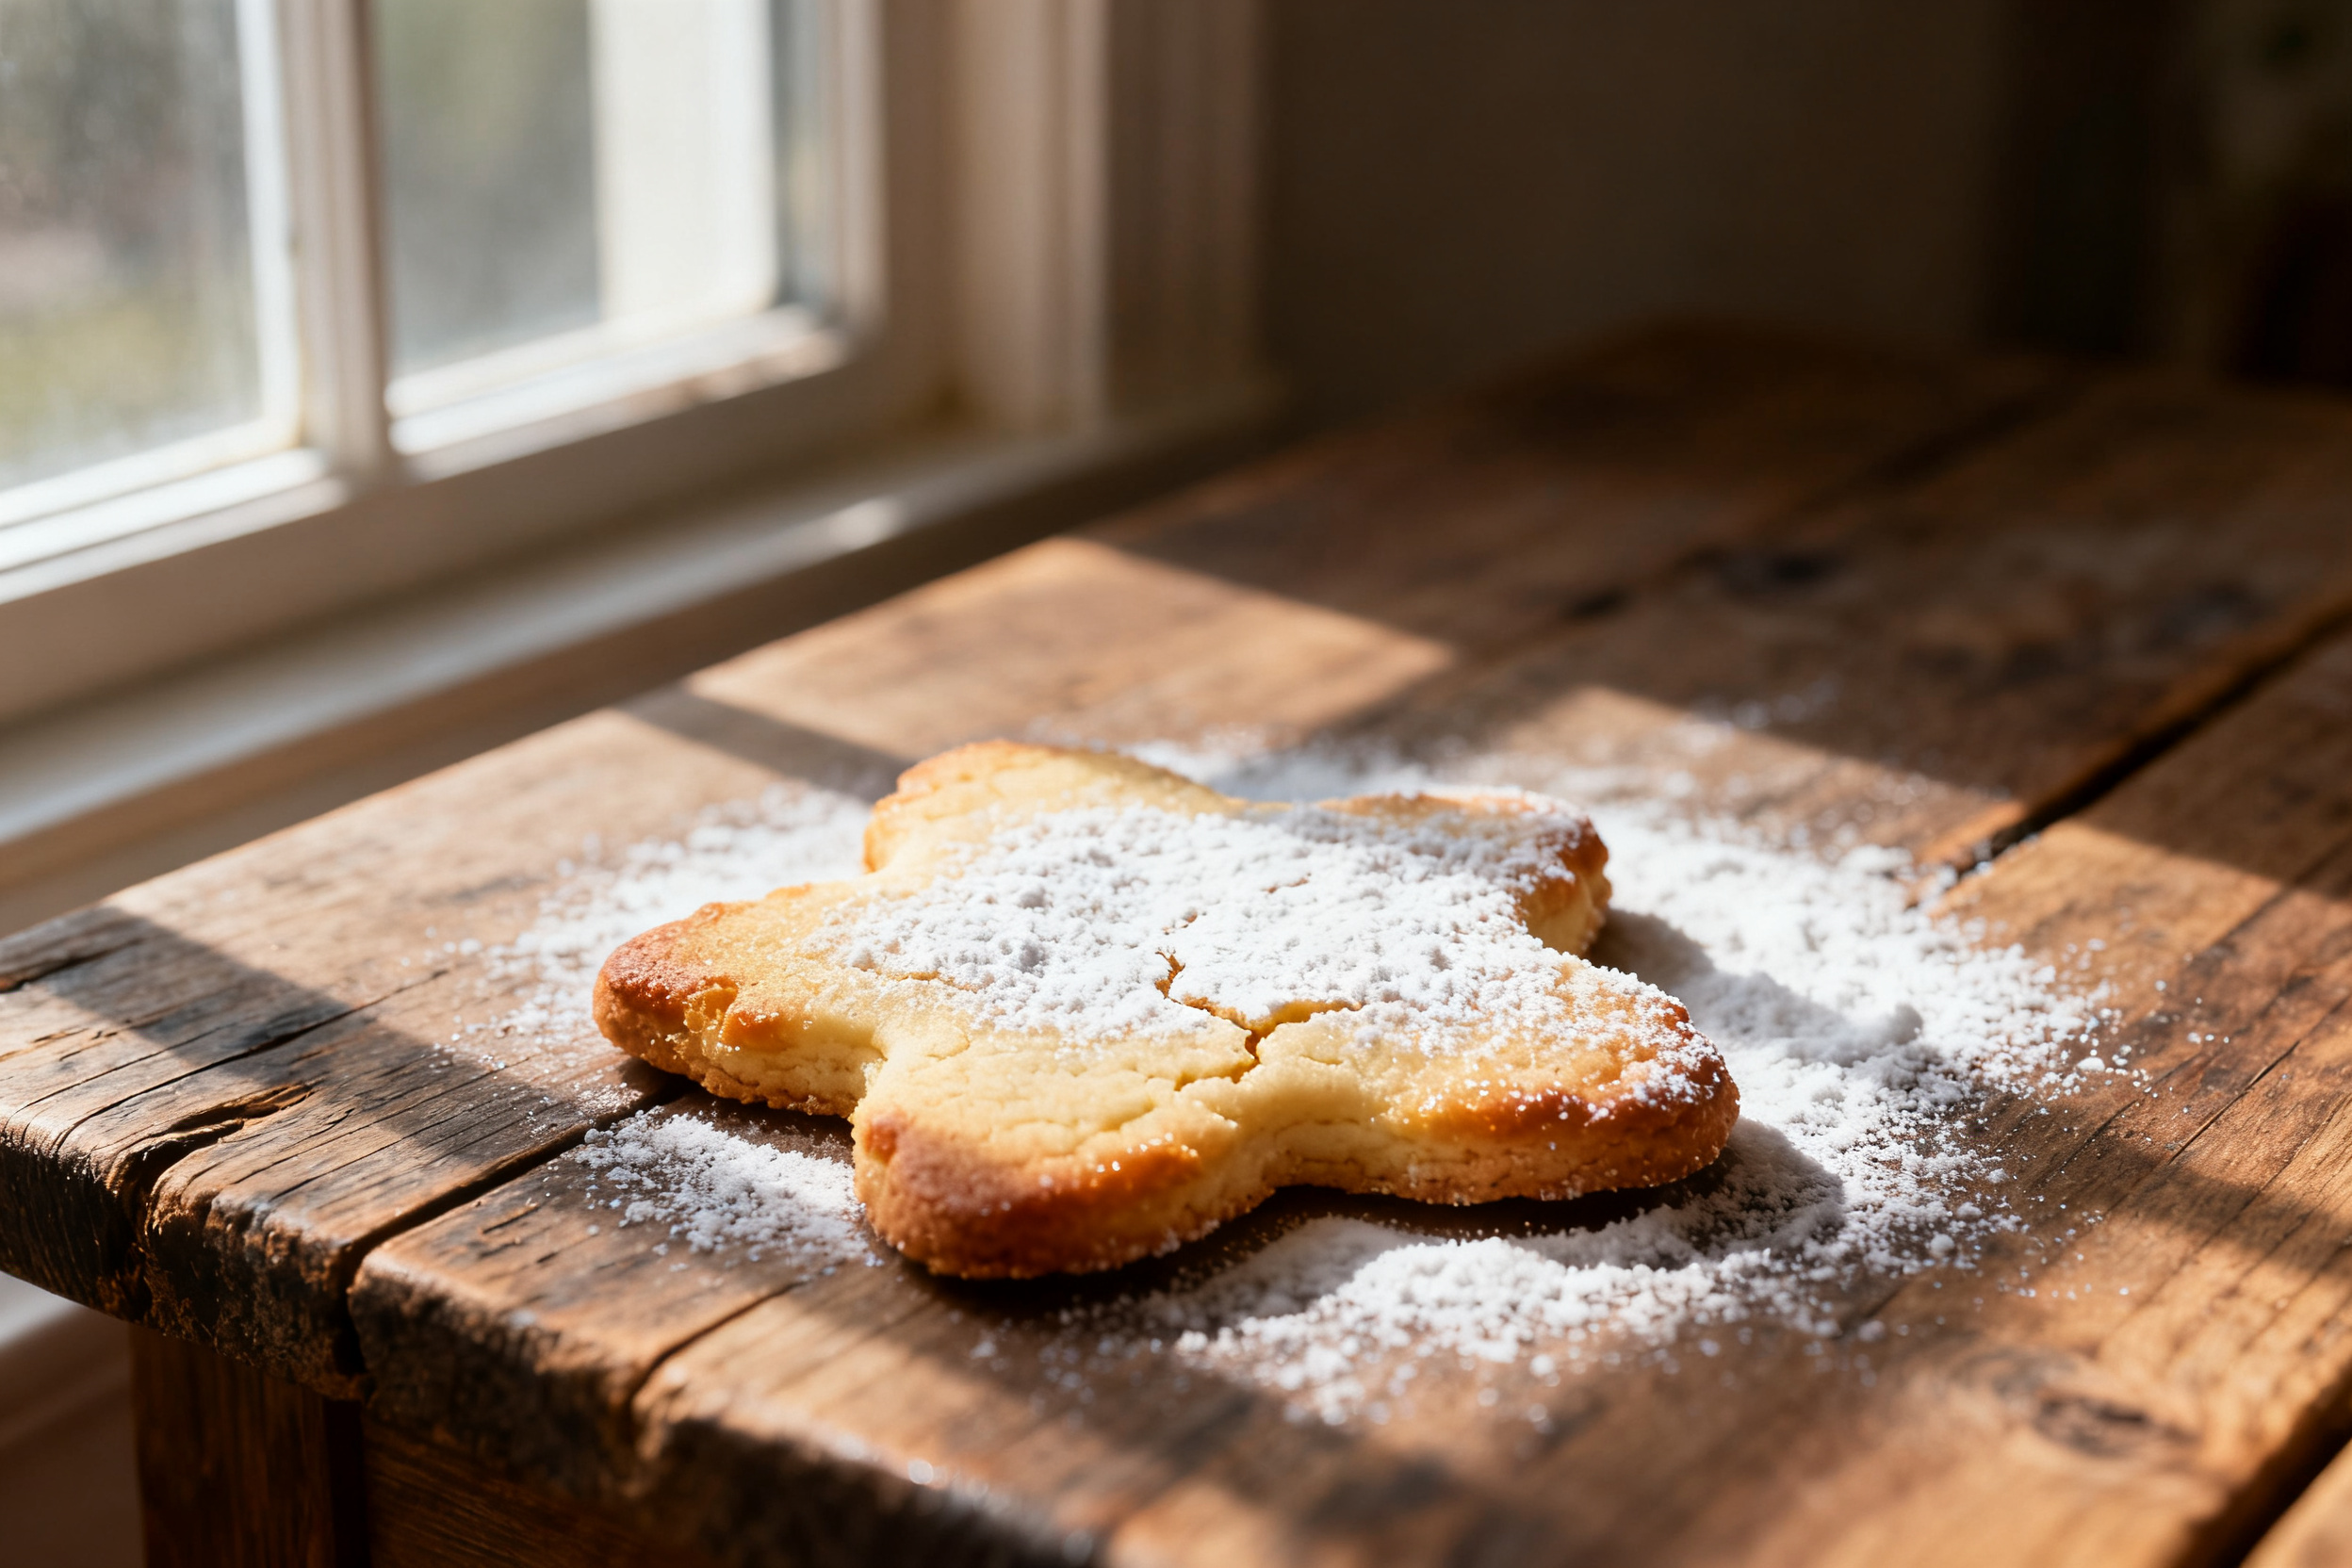
These cookies contain milk (butter), eggs, and wheat flour. They are not dairy-free or egg-free as written.
For a dairy-free option, swap the butter for a high-quality vegan butter stick (like Earth Balance) and use a plant-based milk in the glaze. For egg-free, try a flax egg (1 tablespoon ground flax mixed with 3 tablespoons water, rested for 5 minutes).
FYI, most store-bought sprinkles contain traces of soy or wheat, so check labels if you’re serving someone with celiac disease. IMO, it’s worth finding certified gluten-free sprinkles if you’re also going gluten-free by using a 1:1 gluten-free flour blend.
2. Ingredient notes & substitutions
Use real unsalted butter, not margarine. The fat content matters for that melt-in-your-mouth texture. If you only have salted butter, reduce the added salt to 1/4 teaspoon.
Room temperature eggs are non-negotiable. Cold eggs will make the dough stiff and tough to roll. Set them out an hour before you start.
3. Pro tips
Chill the dough for at least two hours, but overnight is better. This firms up the butter so the cookies keep their shape during baking.
Roll the dough between two sheets of parchment paper. No extra flour on the counter, no sticking, and no dry, streaky dough.
Always use a metal spatula to transfer cut-out shapes to the baking sheet. A thin, flexible spatula lets you lift the cookies without warping them.
Bake one sheet at a time on the middle rack. Rotating the pan halfway through ensures even browning.
Let the cookies cool on the pan for exactly five minutes, then move them to a wire rack. If you rush, they’ll crumble. If you wait too long, they’ll stick.
4. Storage & make-ahead
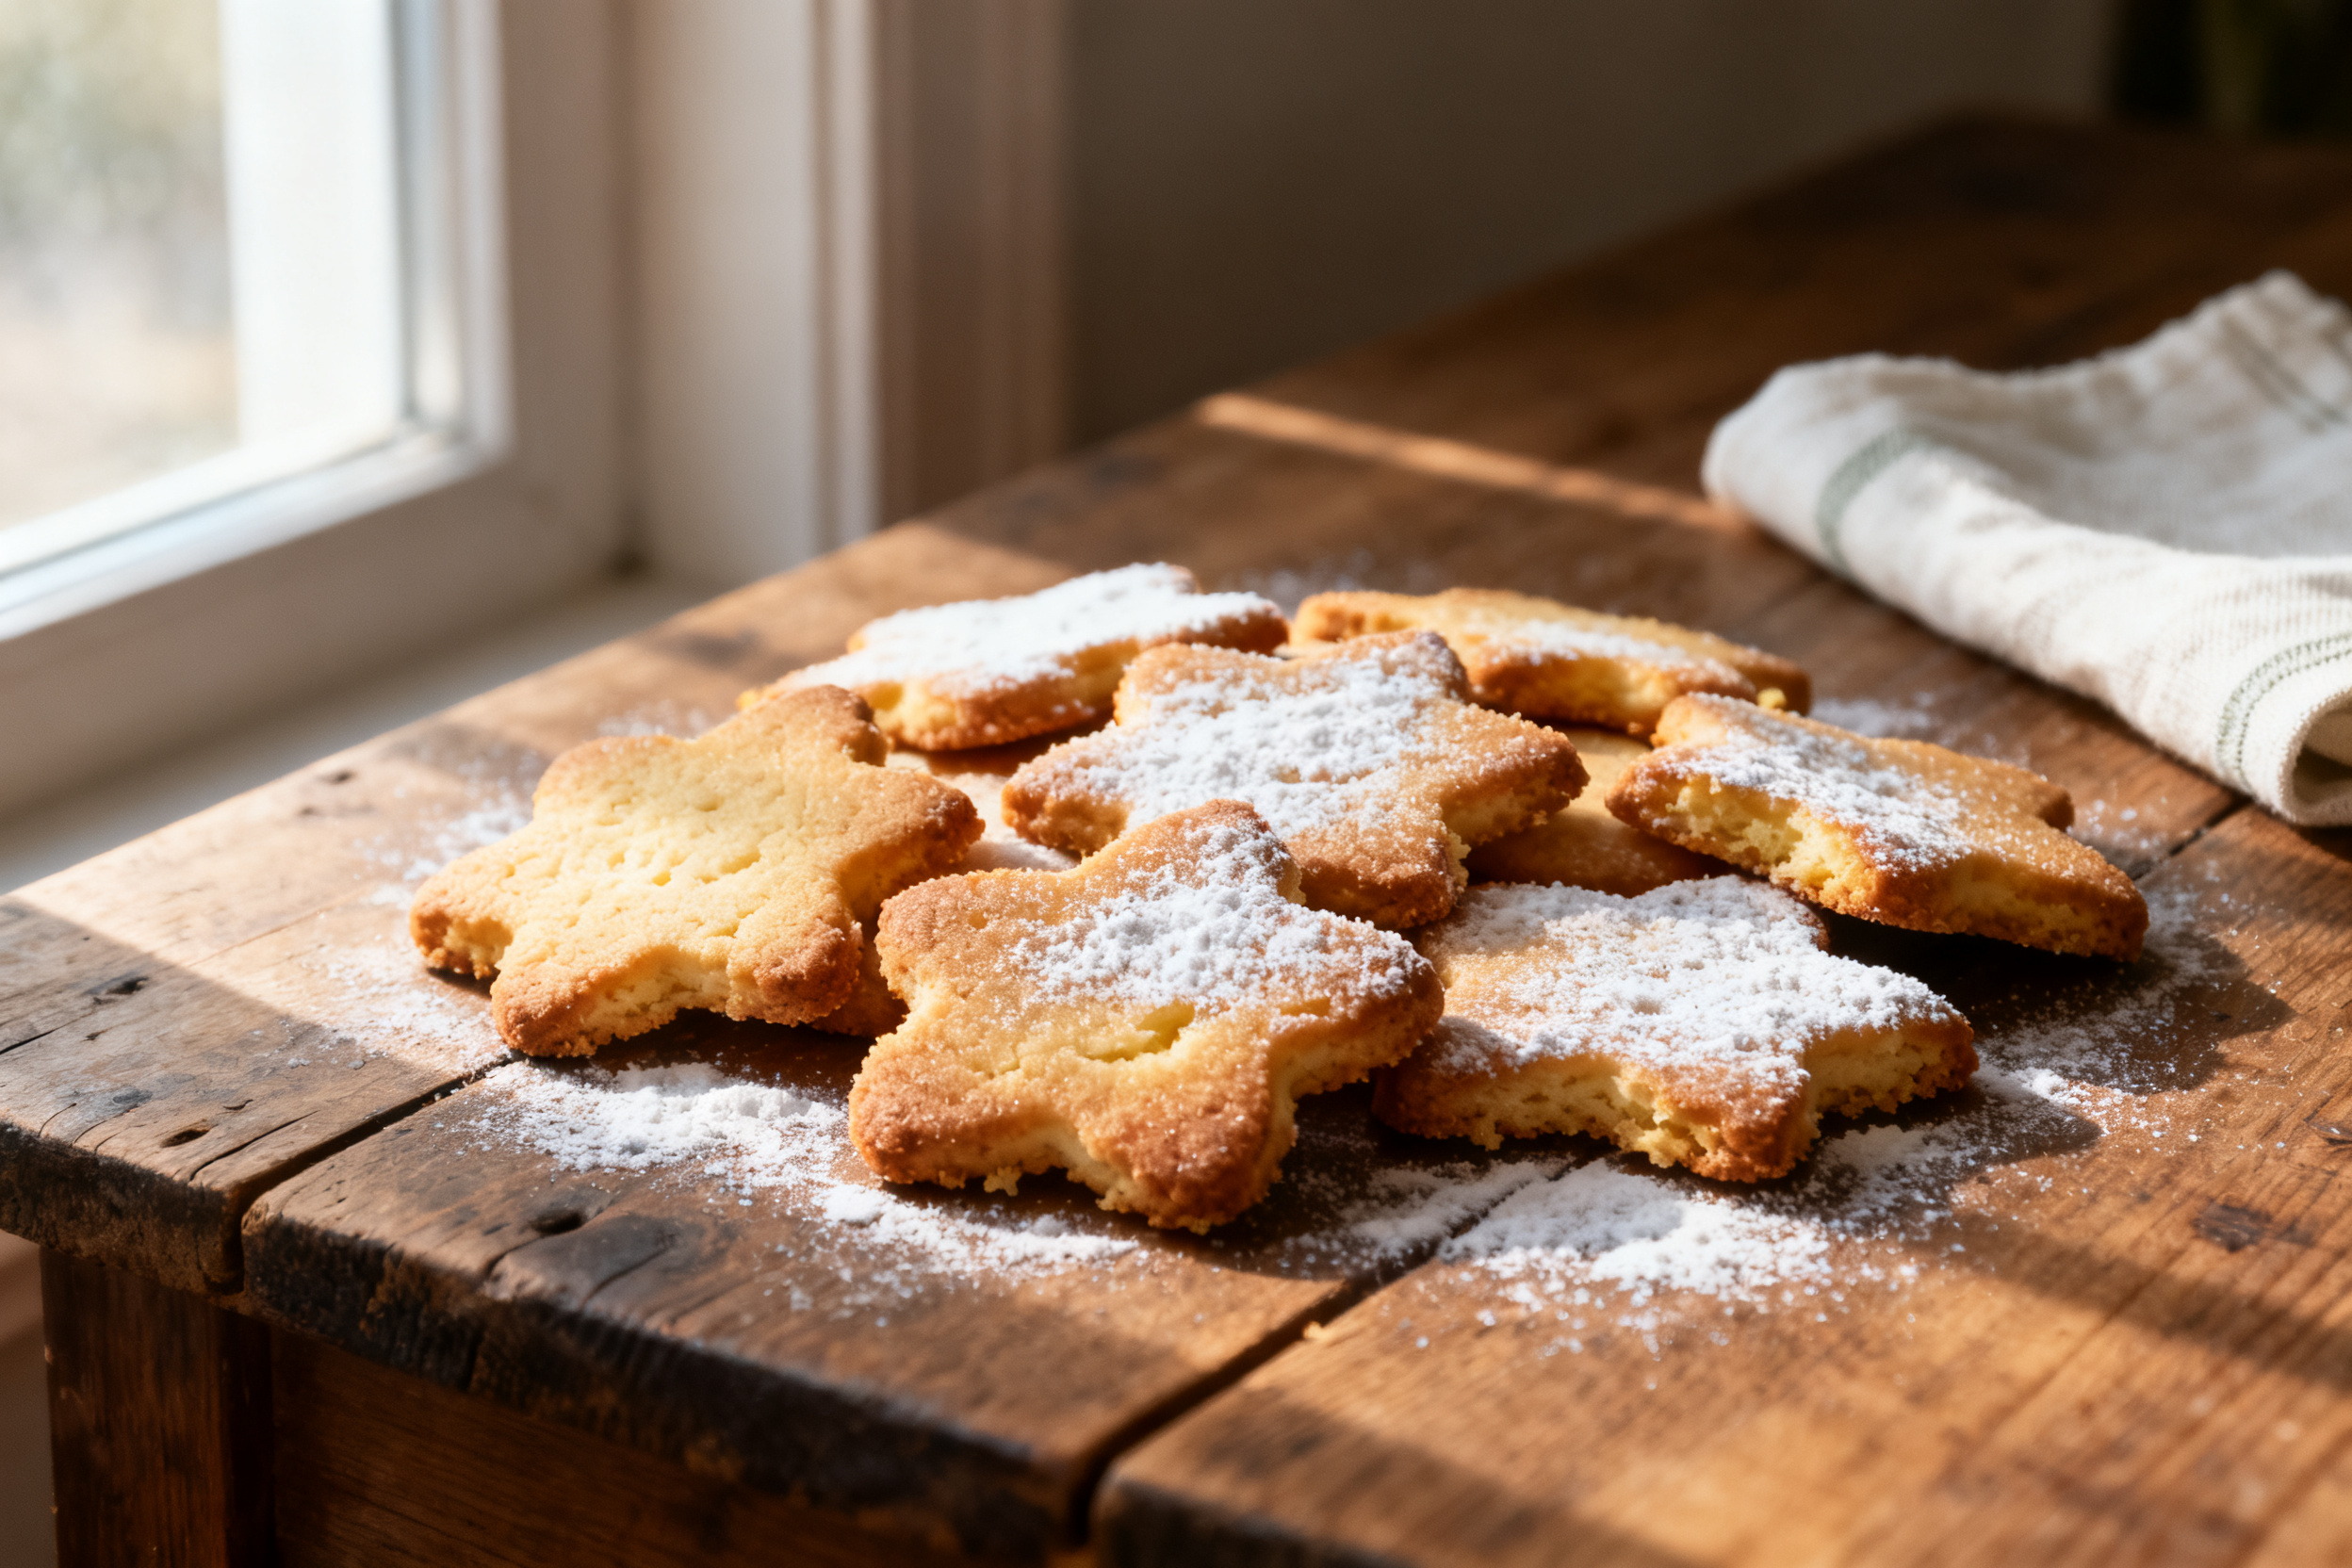
Baked, undecorated cookies stay fresh in an airtight container at room temperature for up to one week. Layer them between sheets of wax paper to prevent sticking.
You can freeze the unbaked dough for up to three months. Shape it into a disk, wrap tightly in plastic wrap, then foil. Thaw overnight in the fridge before rolling and cutting.
For baked cookies, freeze them in a single layer on a baking sheet, then transfer to a freezer bag. They’ll keep for two months. Decorate after thawing, not before.
If you’re prepping for a holiday, make the dough a week ahead and keep it in the fridge. The flavor actually improves as the vanilla and butter hang out together.
One more thing: store leftover royal icing in the fridge in a sealed container with plastic wrap pressed directly onto the surface. It lasts about a week.
Never store decorated cookies in a humid environment. The icing will get sticky and the cookies will soften. A cool, dry pantry is your friend.
5. Serving suggestions
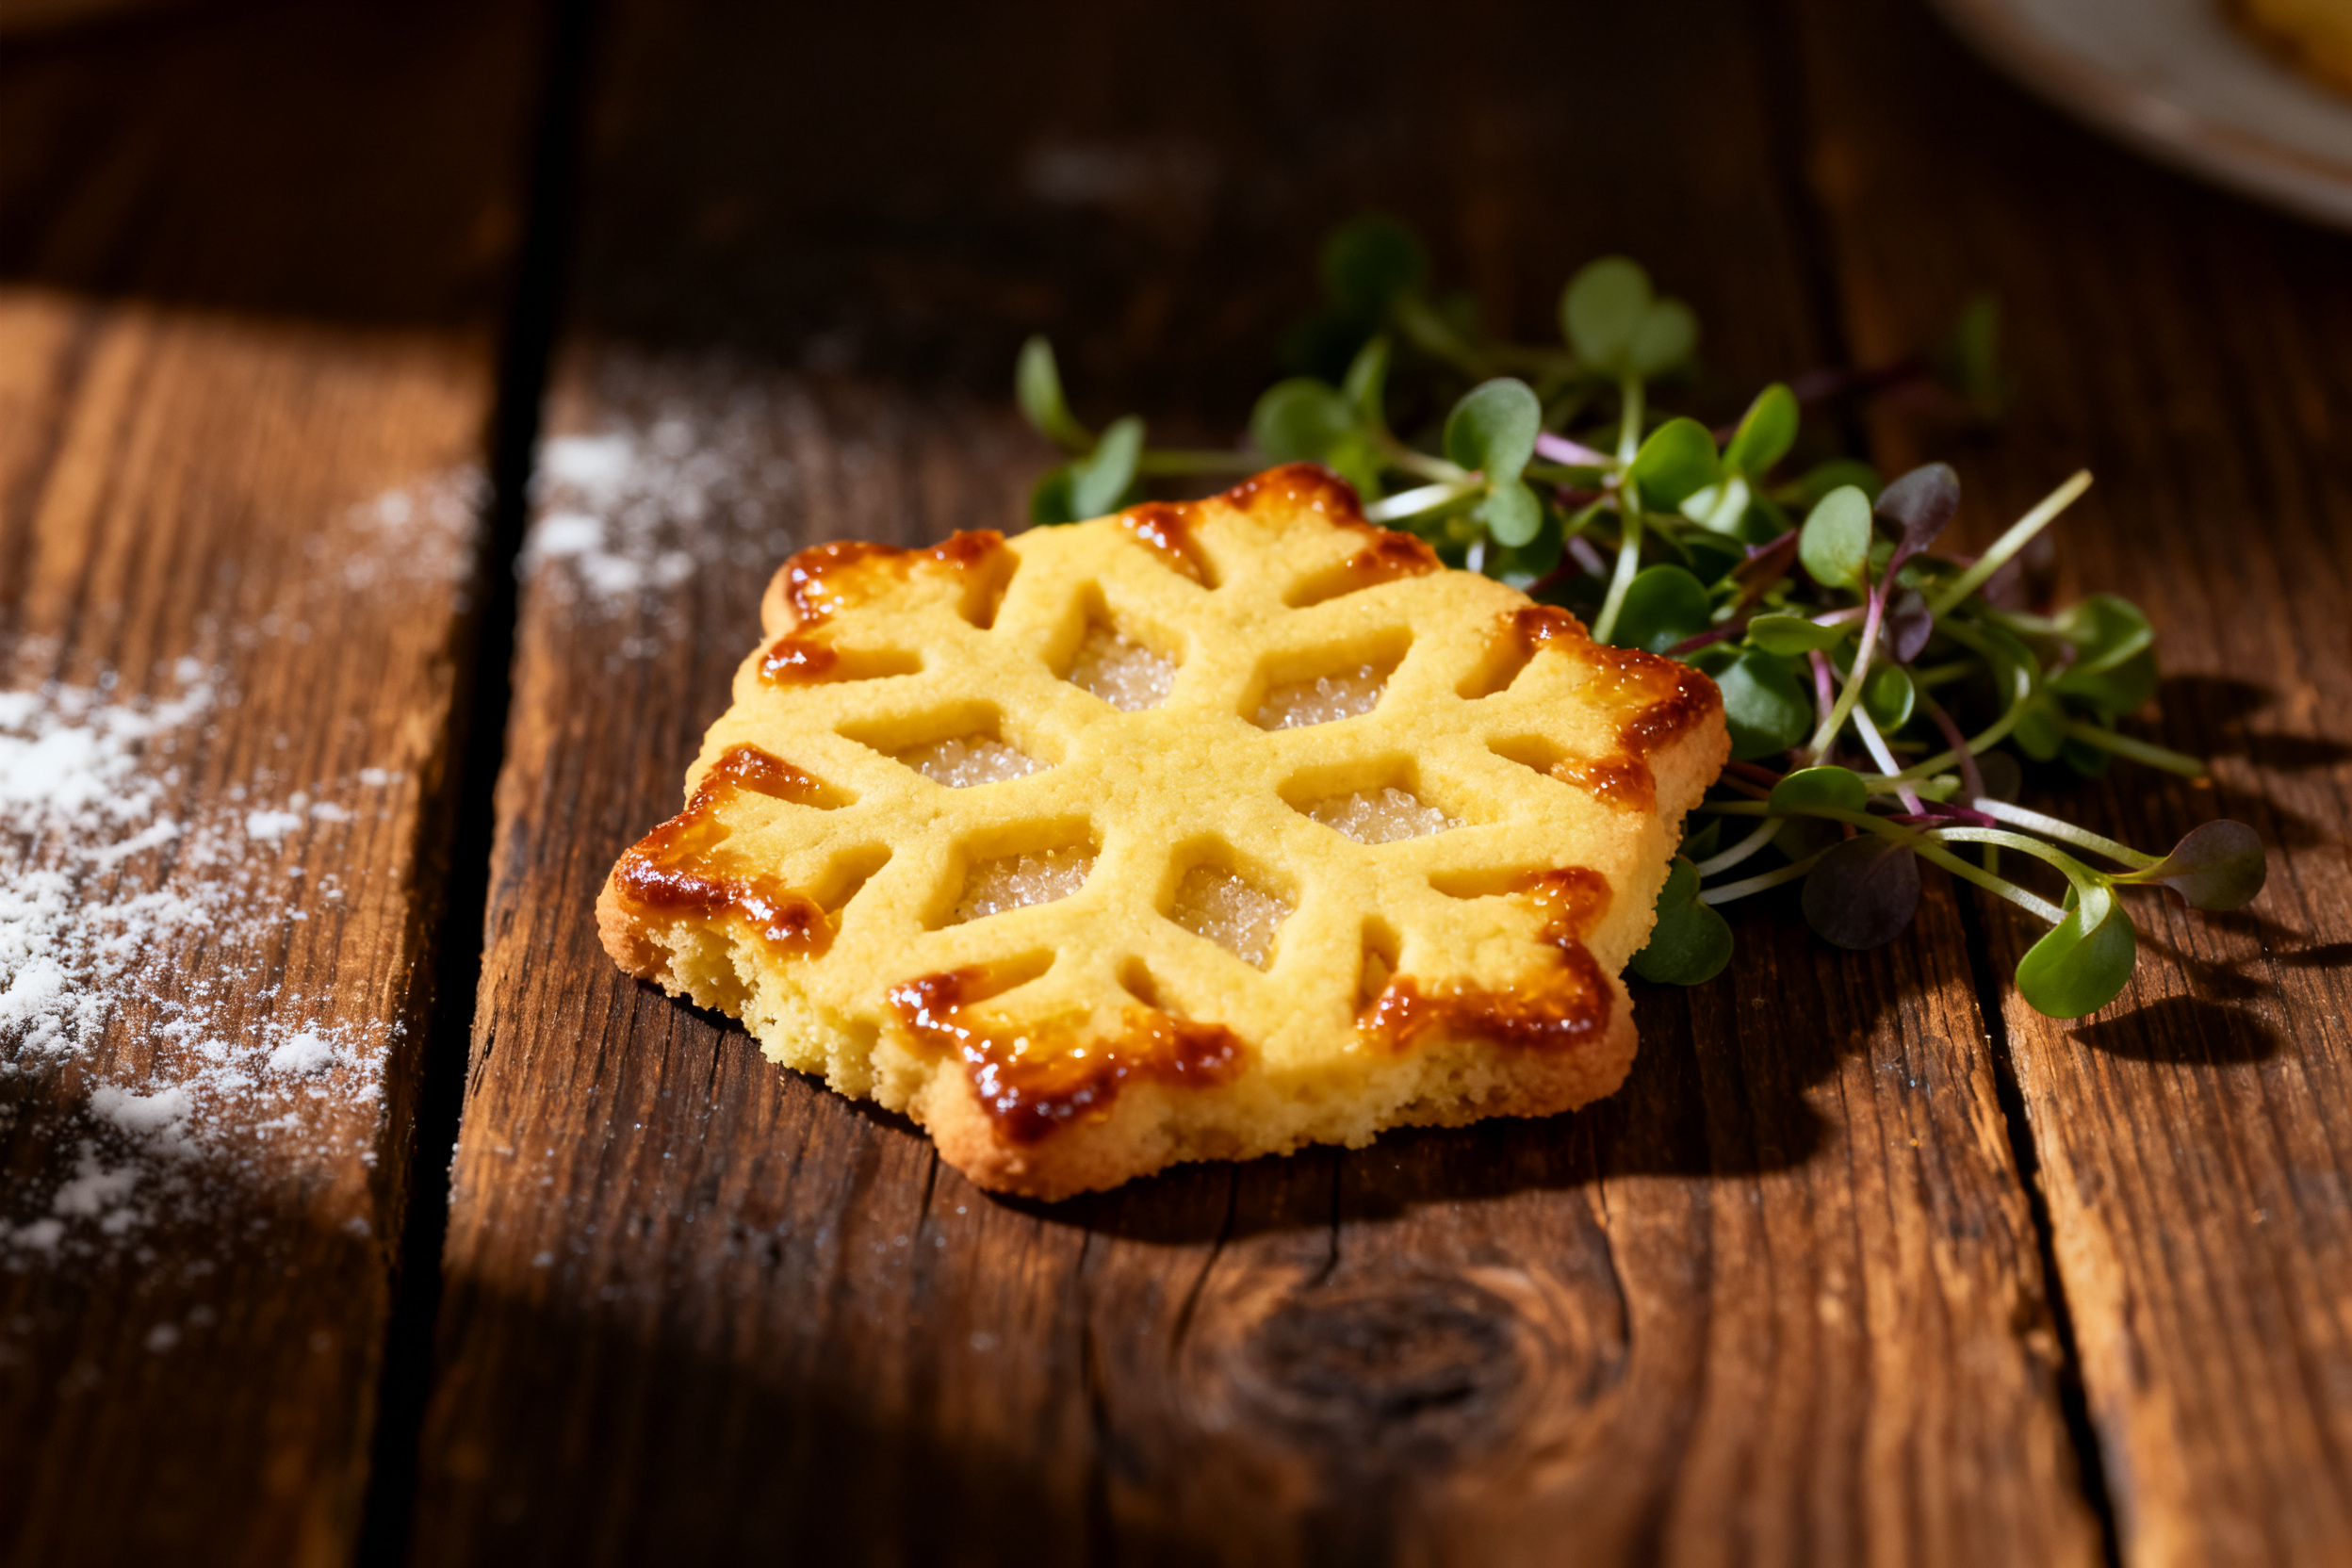
These cutouts are perfect for holiday cookie exchanges, birthday parties, or just a random Tuesday that needs a little sparkle. Pair them with a tall glass of cold milk or a frothy latte.
For a dessert board, arrange them alongside fresh berries, dark chocolate shavings, and a bowl of homemade whipped cream. Guests can dip and dunk.
They also make adorable edible gifts. Stack them in a cellophane bag tied with a ribbon, or layer them in a tin with tissue paper.
6. Use your leftovers
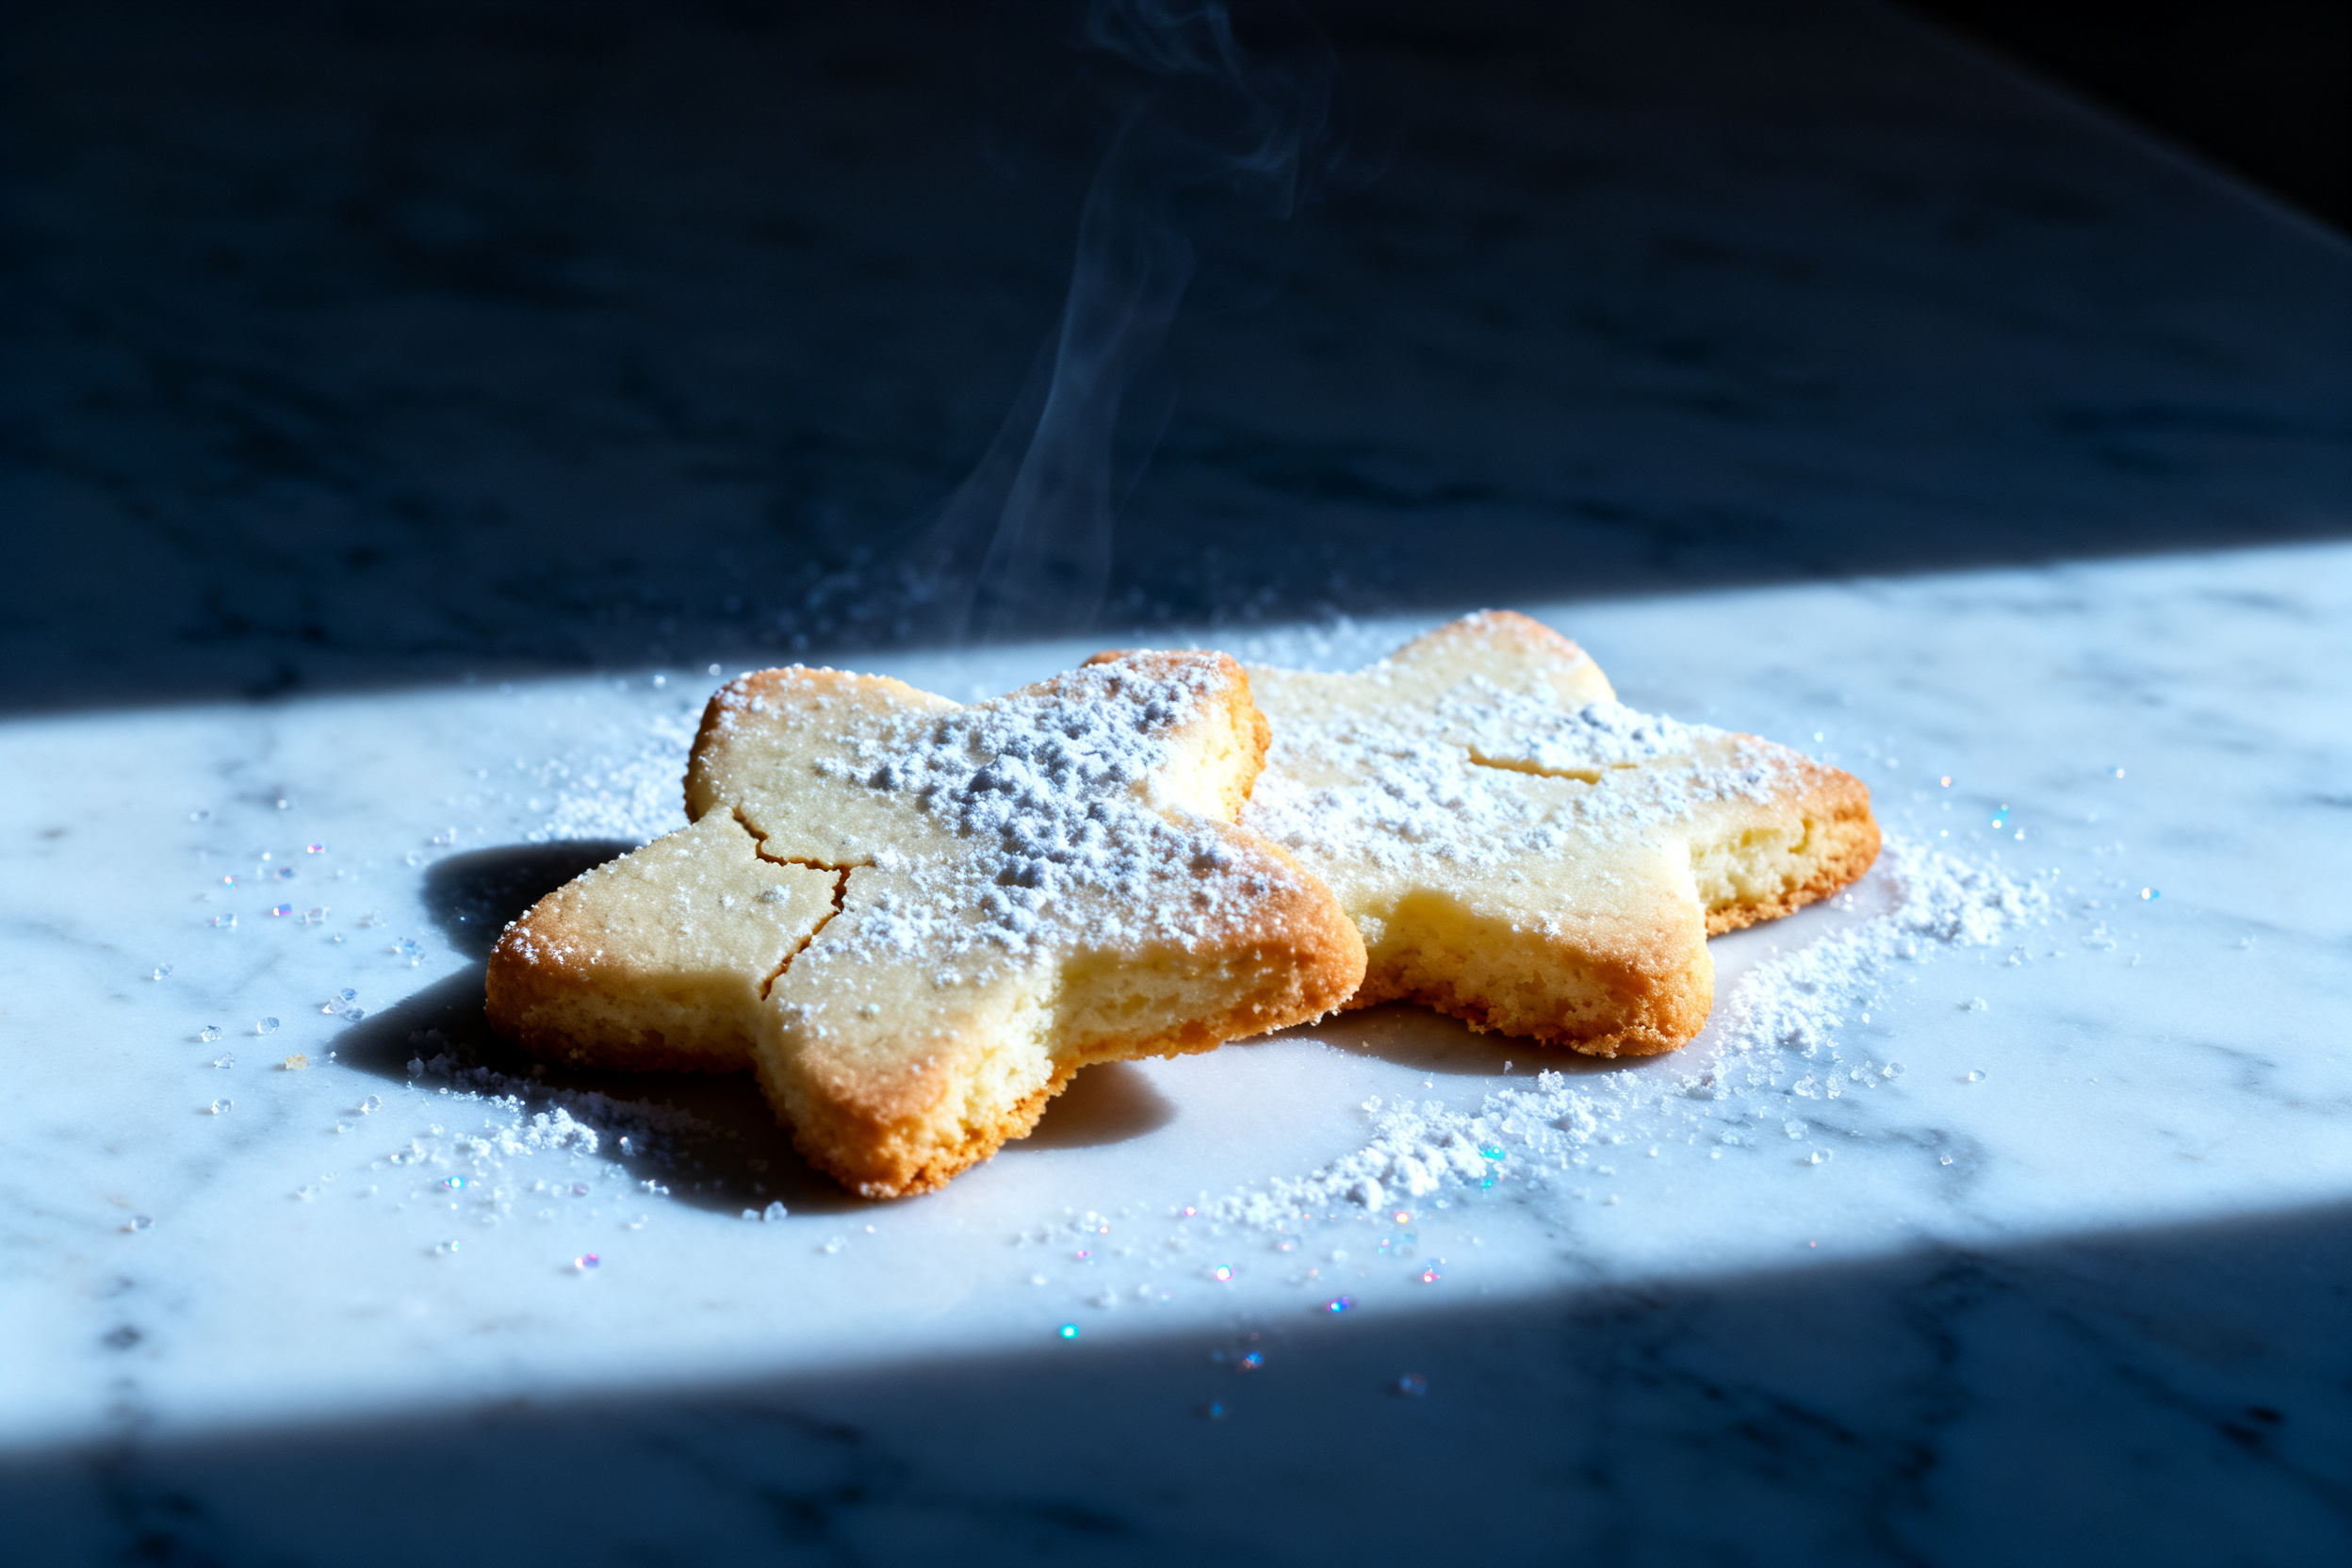
Got a pile of cookie scraps after cutting shapes? Don’t toss them. Gather the scraps, press them together gently, and reroll once. You’ll get a few extra cookies. The second roll might be slightly less tender, but still delicious.
7. Common mistakes & how to fix them
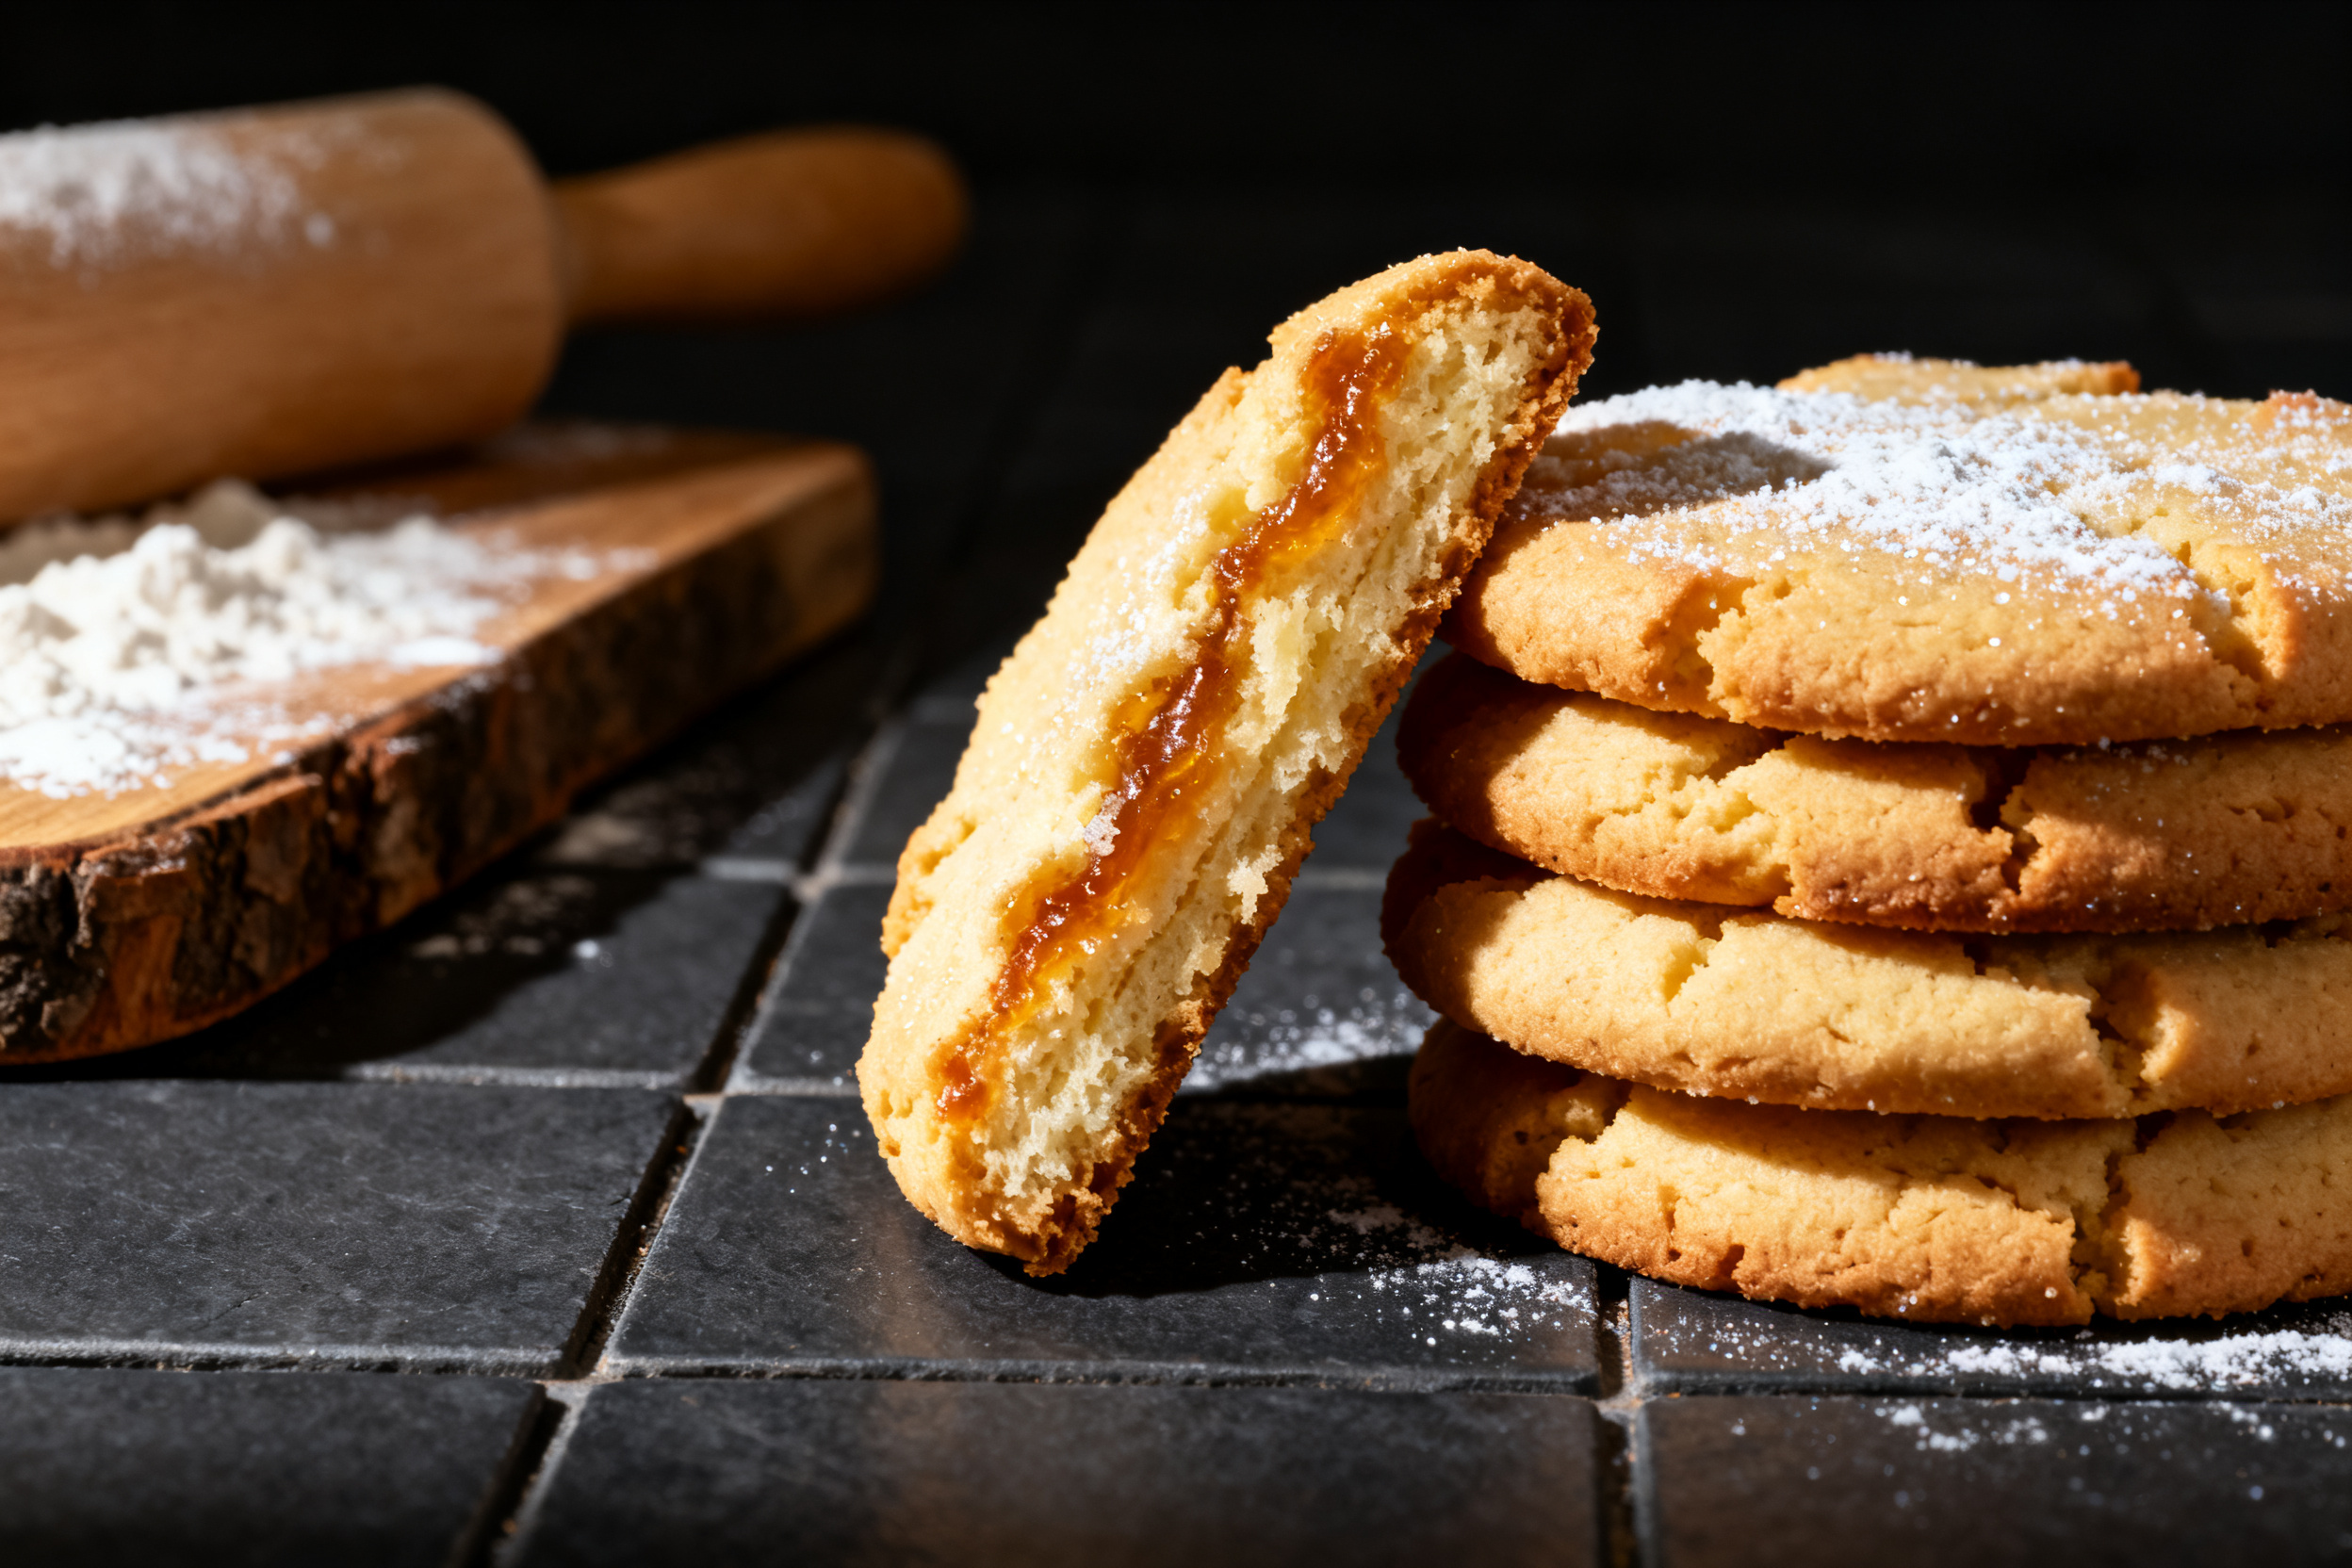
If your cookies spread into blobs, the dough was too warm. Pop it back in the fridge for 20 minutes. Also check that your butter wasn’t too soft to begin with.
If they’re too hard, you overbaked them. Pull them out when the edges are just barely golden, even if the centers look slightly soft. They’ll set as they cool.
If the dough cracks when you roll it, it’s too dry. Add a teaspoon of milk and mix gently. If it’s sticky, add a tablespoon of flour.
If your icing runs off the cookie, it’s too thin. Add a bit more powdered sugar until it reaches a thick, ribbon-like consistency. For flooding, it should flow slowly off a spoon.
8. Variations by diet or flavor profile
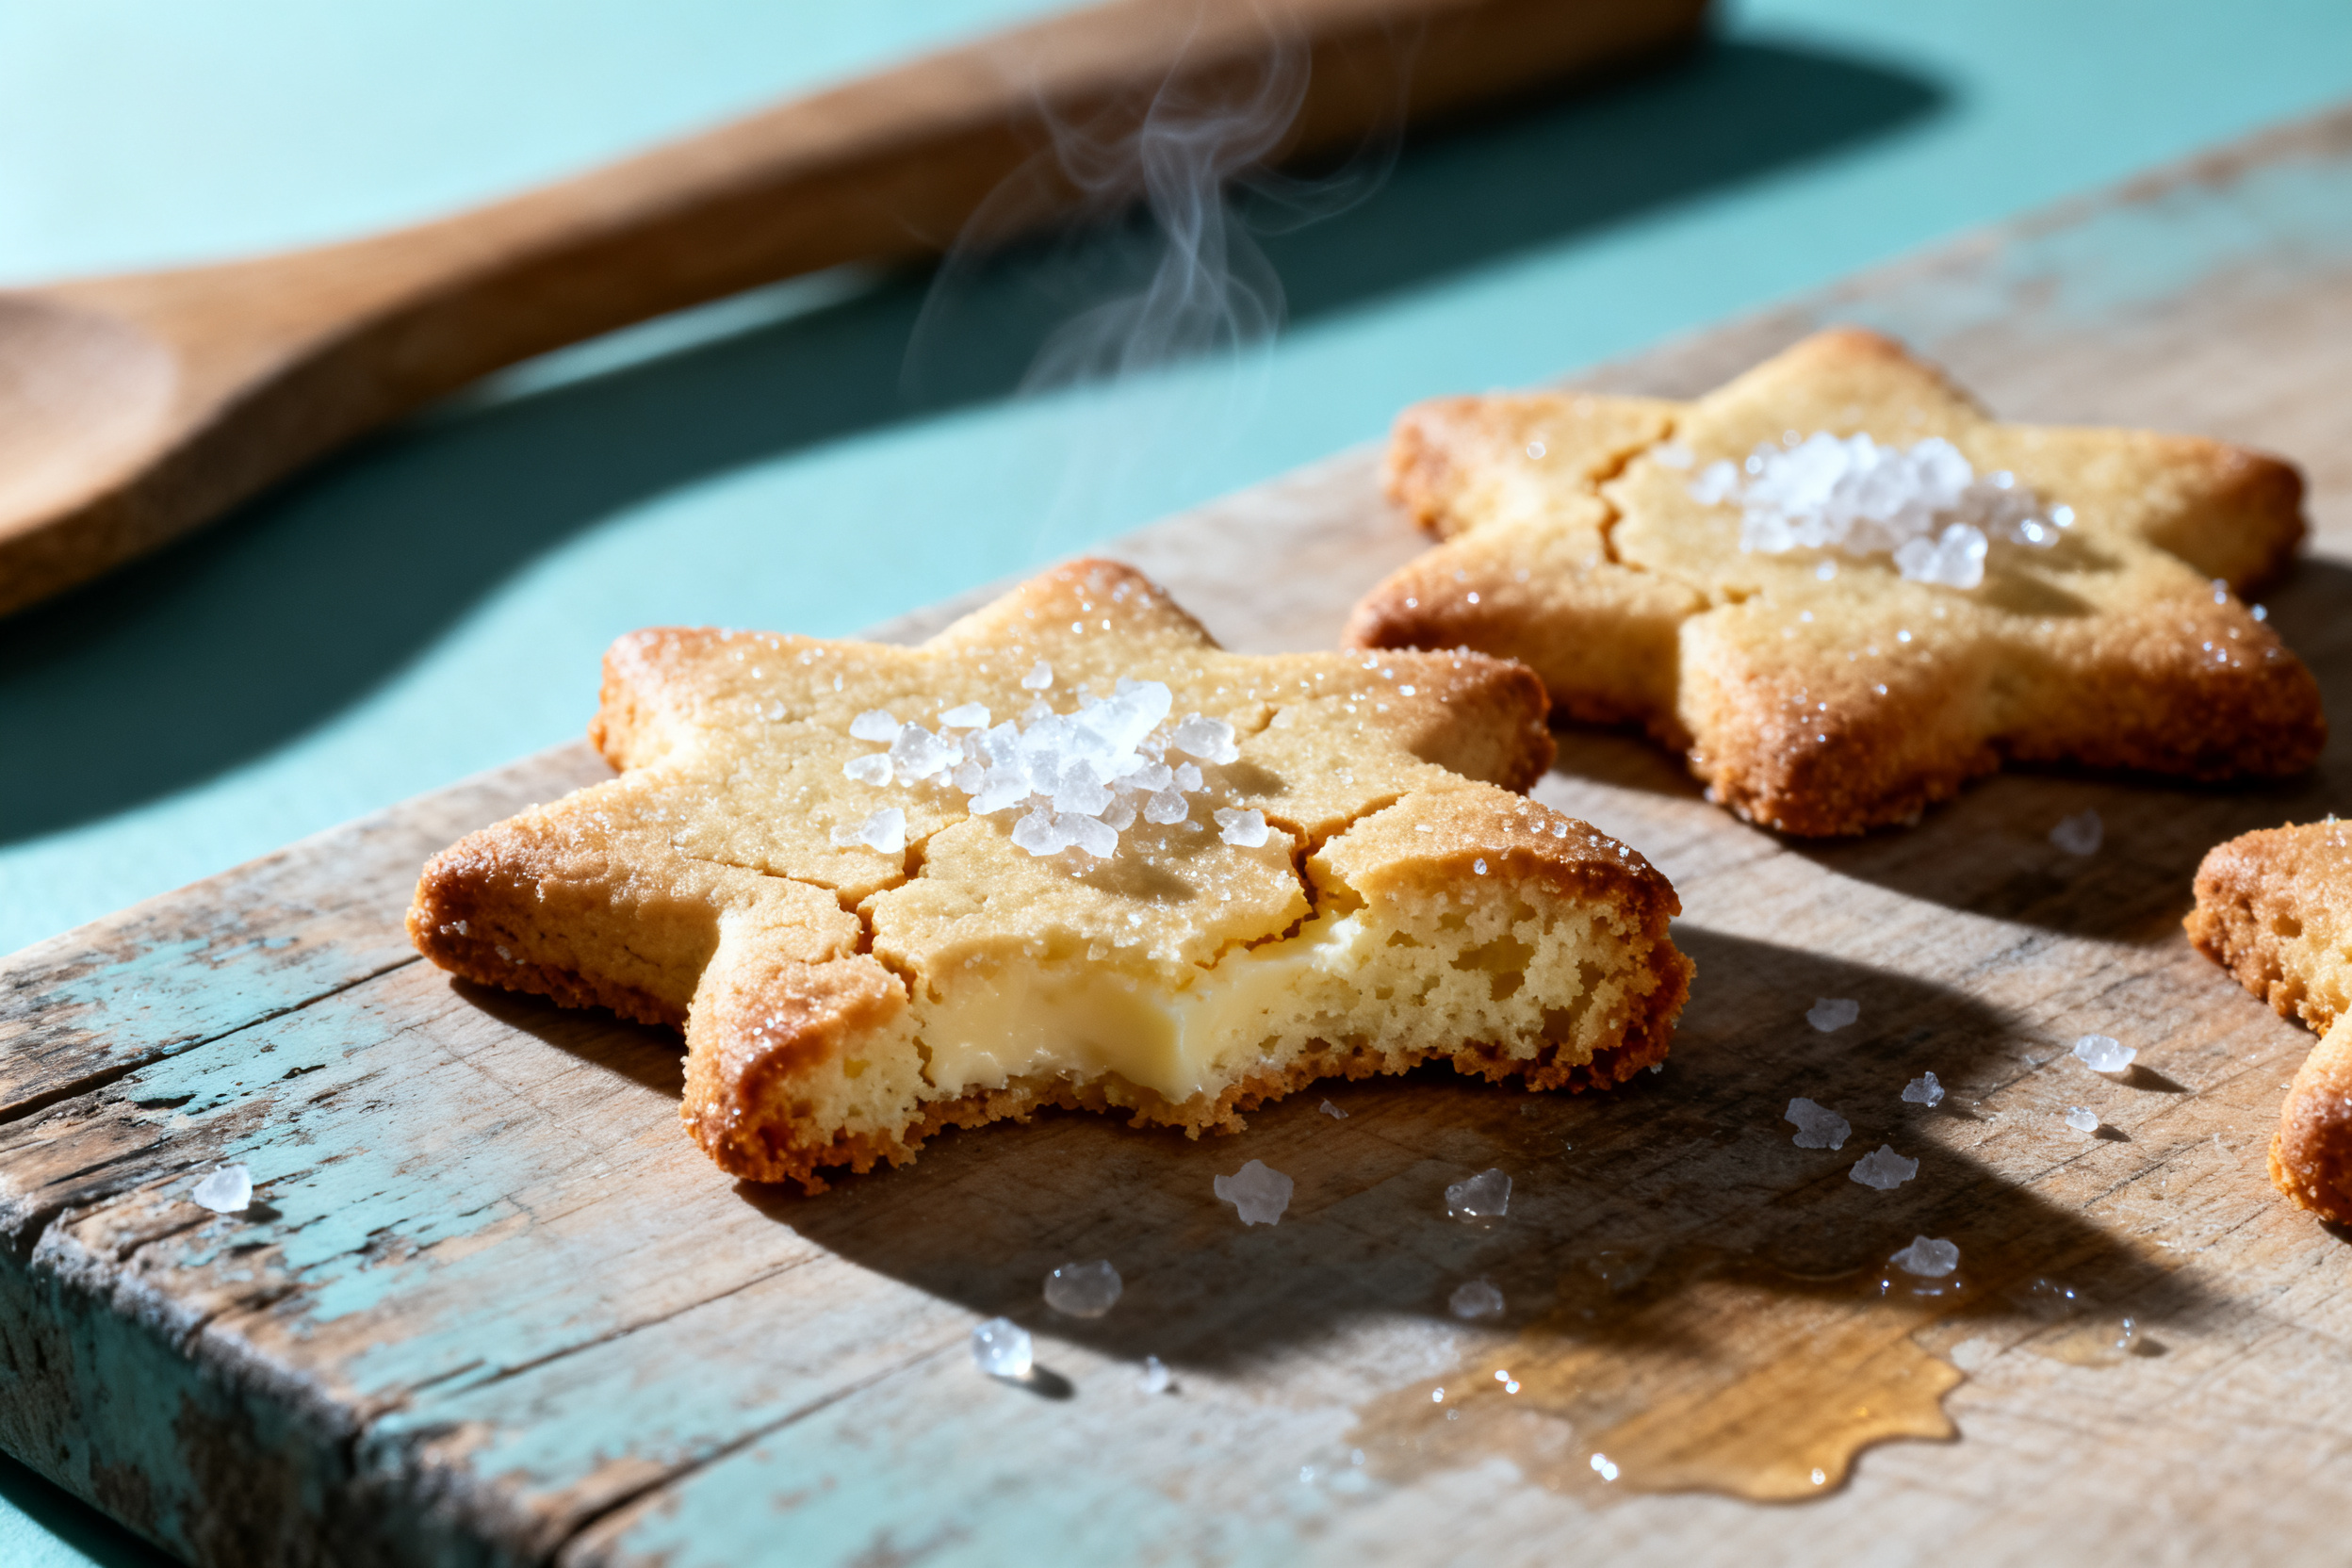
For a citrusy twist, add the zest of one lemon or orange to the dry ingredients. Swap the vanilla for almond extract for a cherry-like flavor.
To make them chocolate, replace 1/4 cup of the flour with cocoa powder. You might need an extra tablespoon of milk to bring the dough together.
9. Why this recipe works
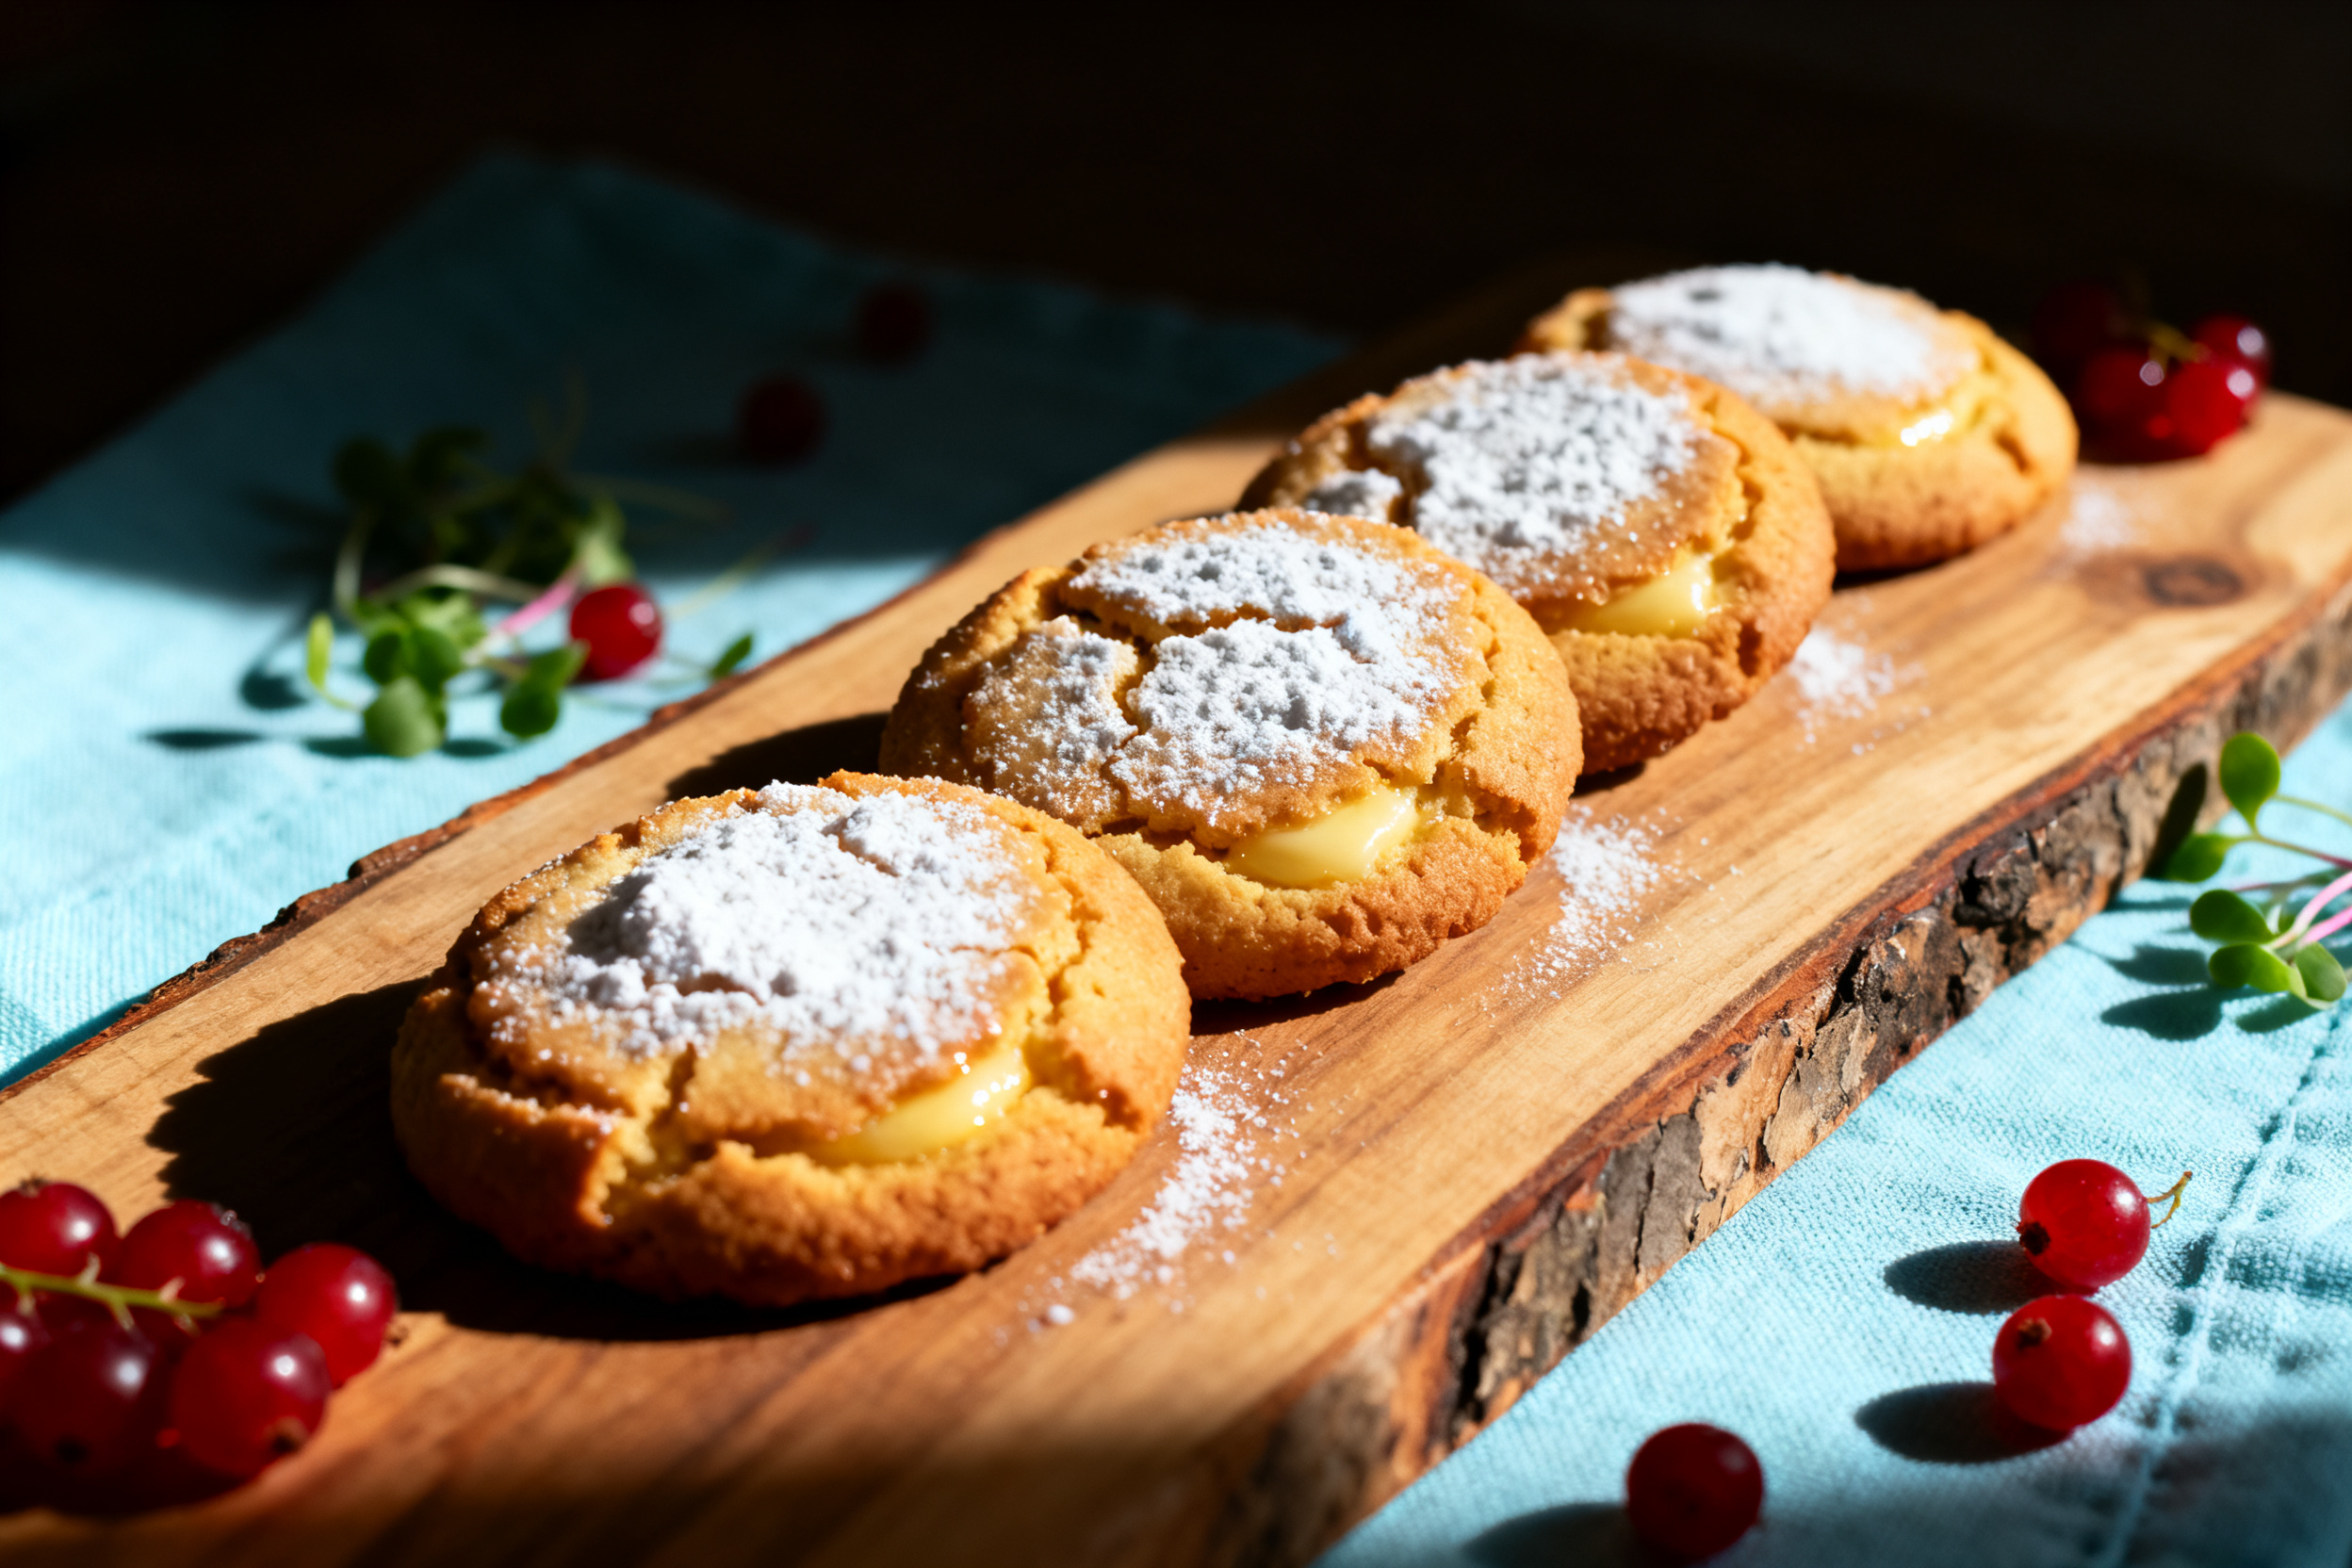
The secret is the ratio of butter to flour. We use a higher proportion of butter than most cutout recipes, which gives that tender, melt-in-your-mouth crumb. The dough also includes a touch of cream cheese, which adds tang and prevents the cookies from drying out.
Chilling the dough is not just for convenience — it solidifies the butter so that the cookies hold their shape during baking. Without that cold butter, the cookies would spread into pale, sad disks.
The small amount of cornstarch in the flour mixture tenderizes the gluten, making the cookies soft rather than tough. Science, baby.
Finally, baking at a slightly higher temperature (375°F) sets the edges quickly while keeping the centers soft. That’s how you get that perfect bite.
I’ve tested this recipe six times, and each batch came out consistently better than the last. Trust the process.
10. Frequently Asked Questions

Can I use margarine instead of butter? Technically yes, but the texture will be less tender and the flavor won’t be as rich. Stick with butter for the best results.
Why did my cookies puff up? Too much baking powder or the dough was too warm. Check your measurements and chill the dough thoroughly.
Can I skip the cream cheese? You can, but the cookies will be a bit more prone to spreading. I’d recommend adding an extra tablespoon of butter to compensate.
Do I have to use royal icing? Not at all. A simple buttercream or a dusting of powdered sugar works great. Royal icing is just the easiest for detailed cutouts.
How do I get the edges to stay sharp? Use a sharp cookie cutter and dip it in flour before each cut. Also, don’t twist the cutter — press straight down and lift.
My dough is too soft to roll right now. What should I do? Wrap it in plastic and refrigerate for 30 minutes. If it’s still too soft, add a tablespoon of flour and knead gently.
11. Call to action
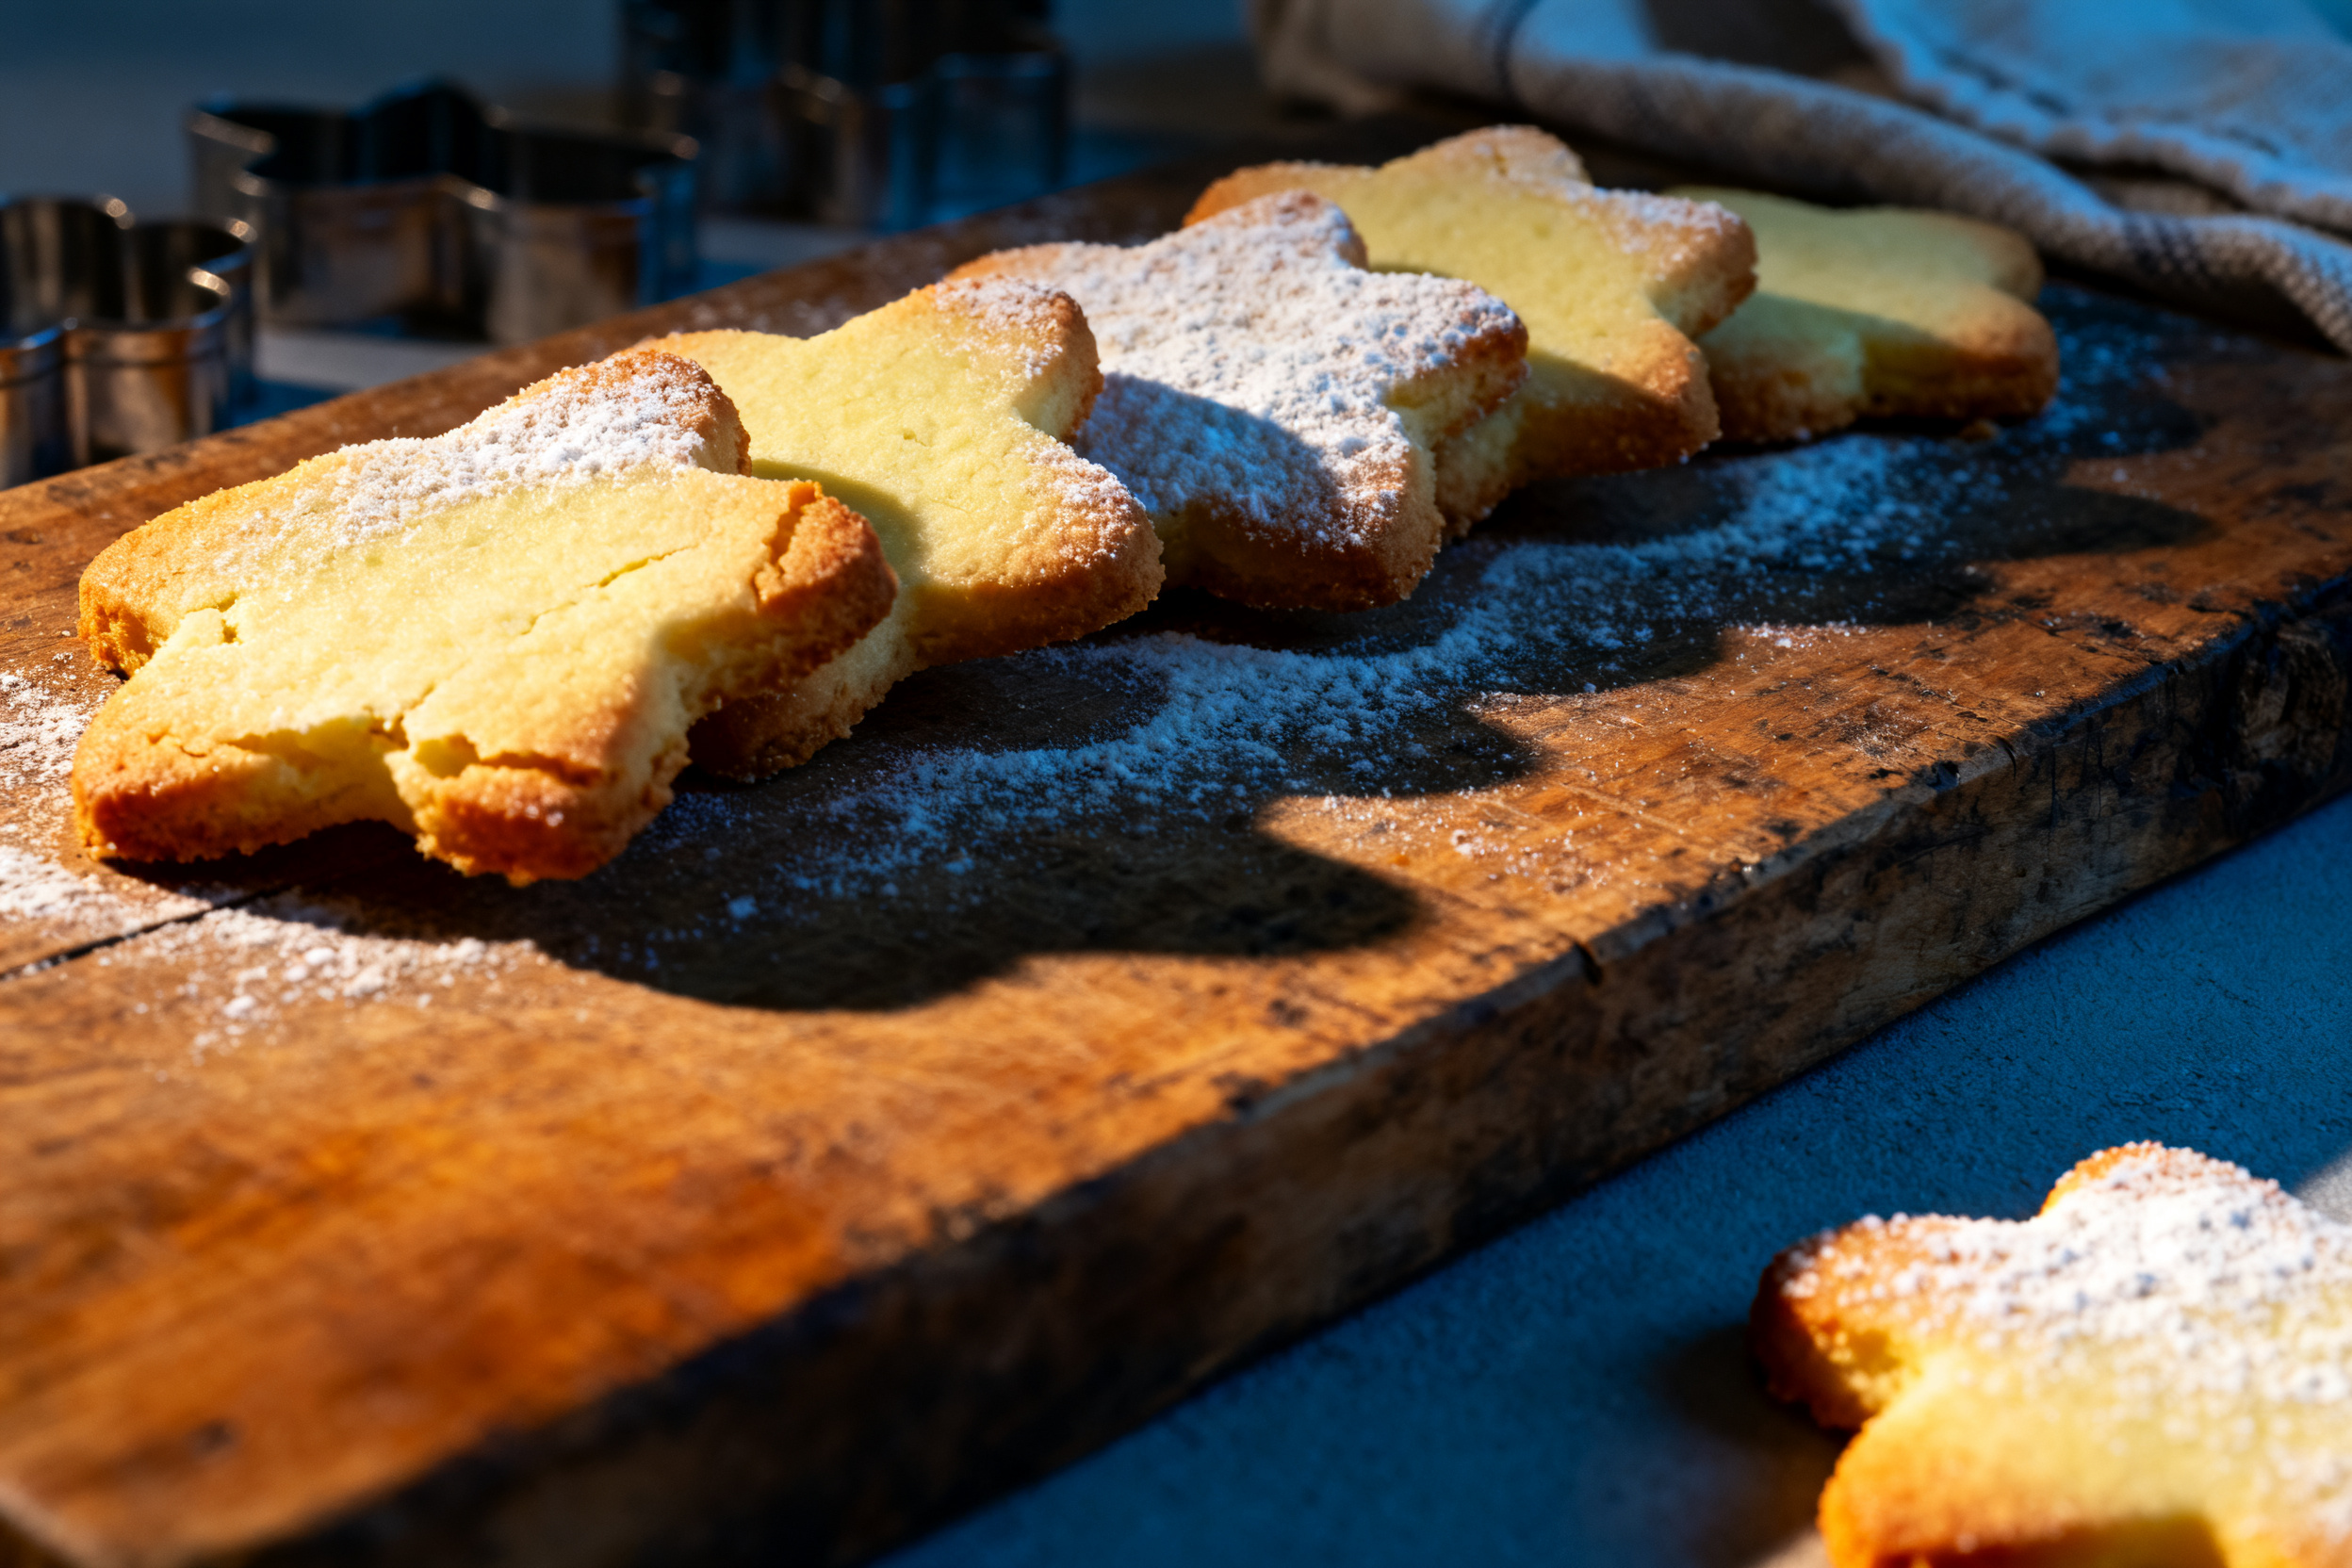
I’d love to hear how your cookie adventure turns out. Drop a comment below with your favorite shape or a picture of your decorated masterpiece.
Don’t forget to share this post with your fellow cookie lovers, and subscribe to the blog so you never miss a new recipe. Happy baking, friend.
There you have it — a sugar cookie cutout recipe that actually delivers on the promise of buttery, tender bites. No more dry, crumbly failures. Just soft, melt-in-your-mouth cookies that make you look like a pro. Whether you’re cutting stars for Christmas or hearts for Valentine’s Day, this dough will be your new best friend in the kitchen.
So go ahead, preheat that oven and get your hands in some butter. I’ll be right here, probably eating a slightly lopsided snowman cookie. You do you.
Sugar Cookie Cutout Recipe: Buttery Tender Bites
Ingredients
- 3 cups 375g all-purpose flour
- 1/2 teaspoon baking powder
- 1/4 teaspoon salt
- 2 tablespoons cornstarch
- 1 cup 2 sticks, 226g unsalted butter, softened
- 3 ounces 85g cream cheese, softened
- 1 cup 200g granulated sugar
- 1 large egg room temperature
- 1 teaspoon vanilla extract
- 1/2 teaspoon almond extract optional
Instructions
- In a medium bowl, whisk together flour, baking powder, salt, and cornstarch. Set aside.
- In a large bowl, beat butter and cream cheese with an electric mixer until smooth and creamy, about 2 minutes.
- Add sugar and beat until light and fluffy, about 3 minutes. Scrape down the bowl.
- Beat in the egg, vanilla extract, and almond extract (if using) until fully combined.
- Gradually add the dry ingredients to the wet mixture, mixing on low speed until just combined. Do not overmix.
- Divide the dough into two equal portions, flatten each into a disk, wrap in plastic wrap, and refrigerate for at least 2 hours (or up to 3 days).
- Preheat oven to 375°F (190°C). Line two baking sheets with parchment paper.
- On a lightly floured surface (or between two sheets of parchment), roll one disk of dough to 1/4-inch thickness. Cut into desired shapes and transfer to the prepared baking sheets, spacing about 1 inch apart.
- Bake for 8-10 minutes, until the edges are just barely golden. The centers will look slightly soft.
- Let the cookies cool on the baking sheet for 5 minutes, then transfer to a wire rack to cool completely. Repeat with remaining dough.
- Once completely cool, decorate as desired with royal icing, buttercream, or sprinkles.
Notes
2. If the dough becomes too soft to handle while rolling, return it to the fridge for 15 minutes.
3. To make ahead: unbaked dough disks can be frozen for up to 3 months
4. baked and undecorated cookies can be frozen for up to 2 months.
5. For a dairy-free version, substitute with vegan butter and vegan cream cheese (check consistency — you may need to add an extra tablespoon of flour).
6. Royal icing recipe: whisk 2 cups powdered sugar, 2 tablespoons meringue powder, and 3-4 tablespoons water until thick, smooth, and drizzling consistency.