
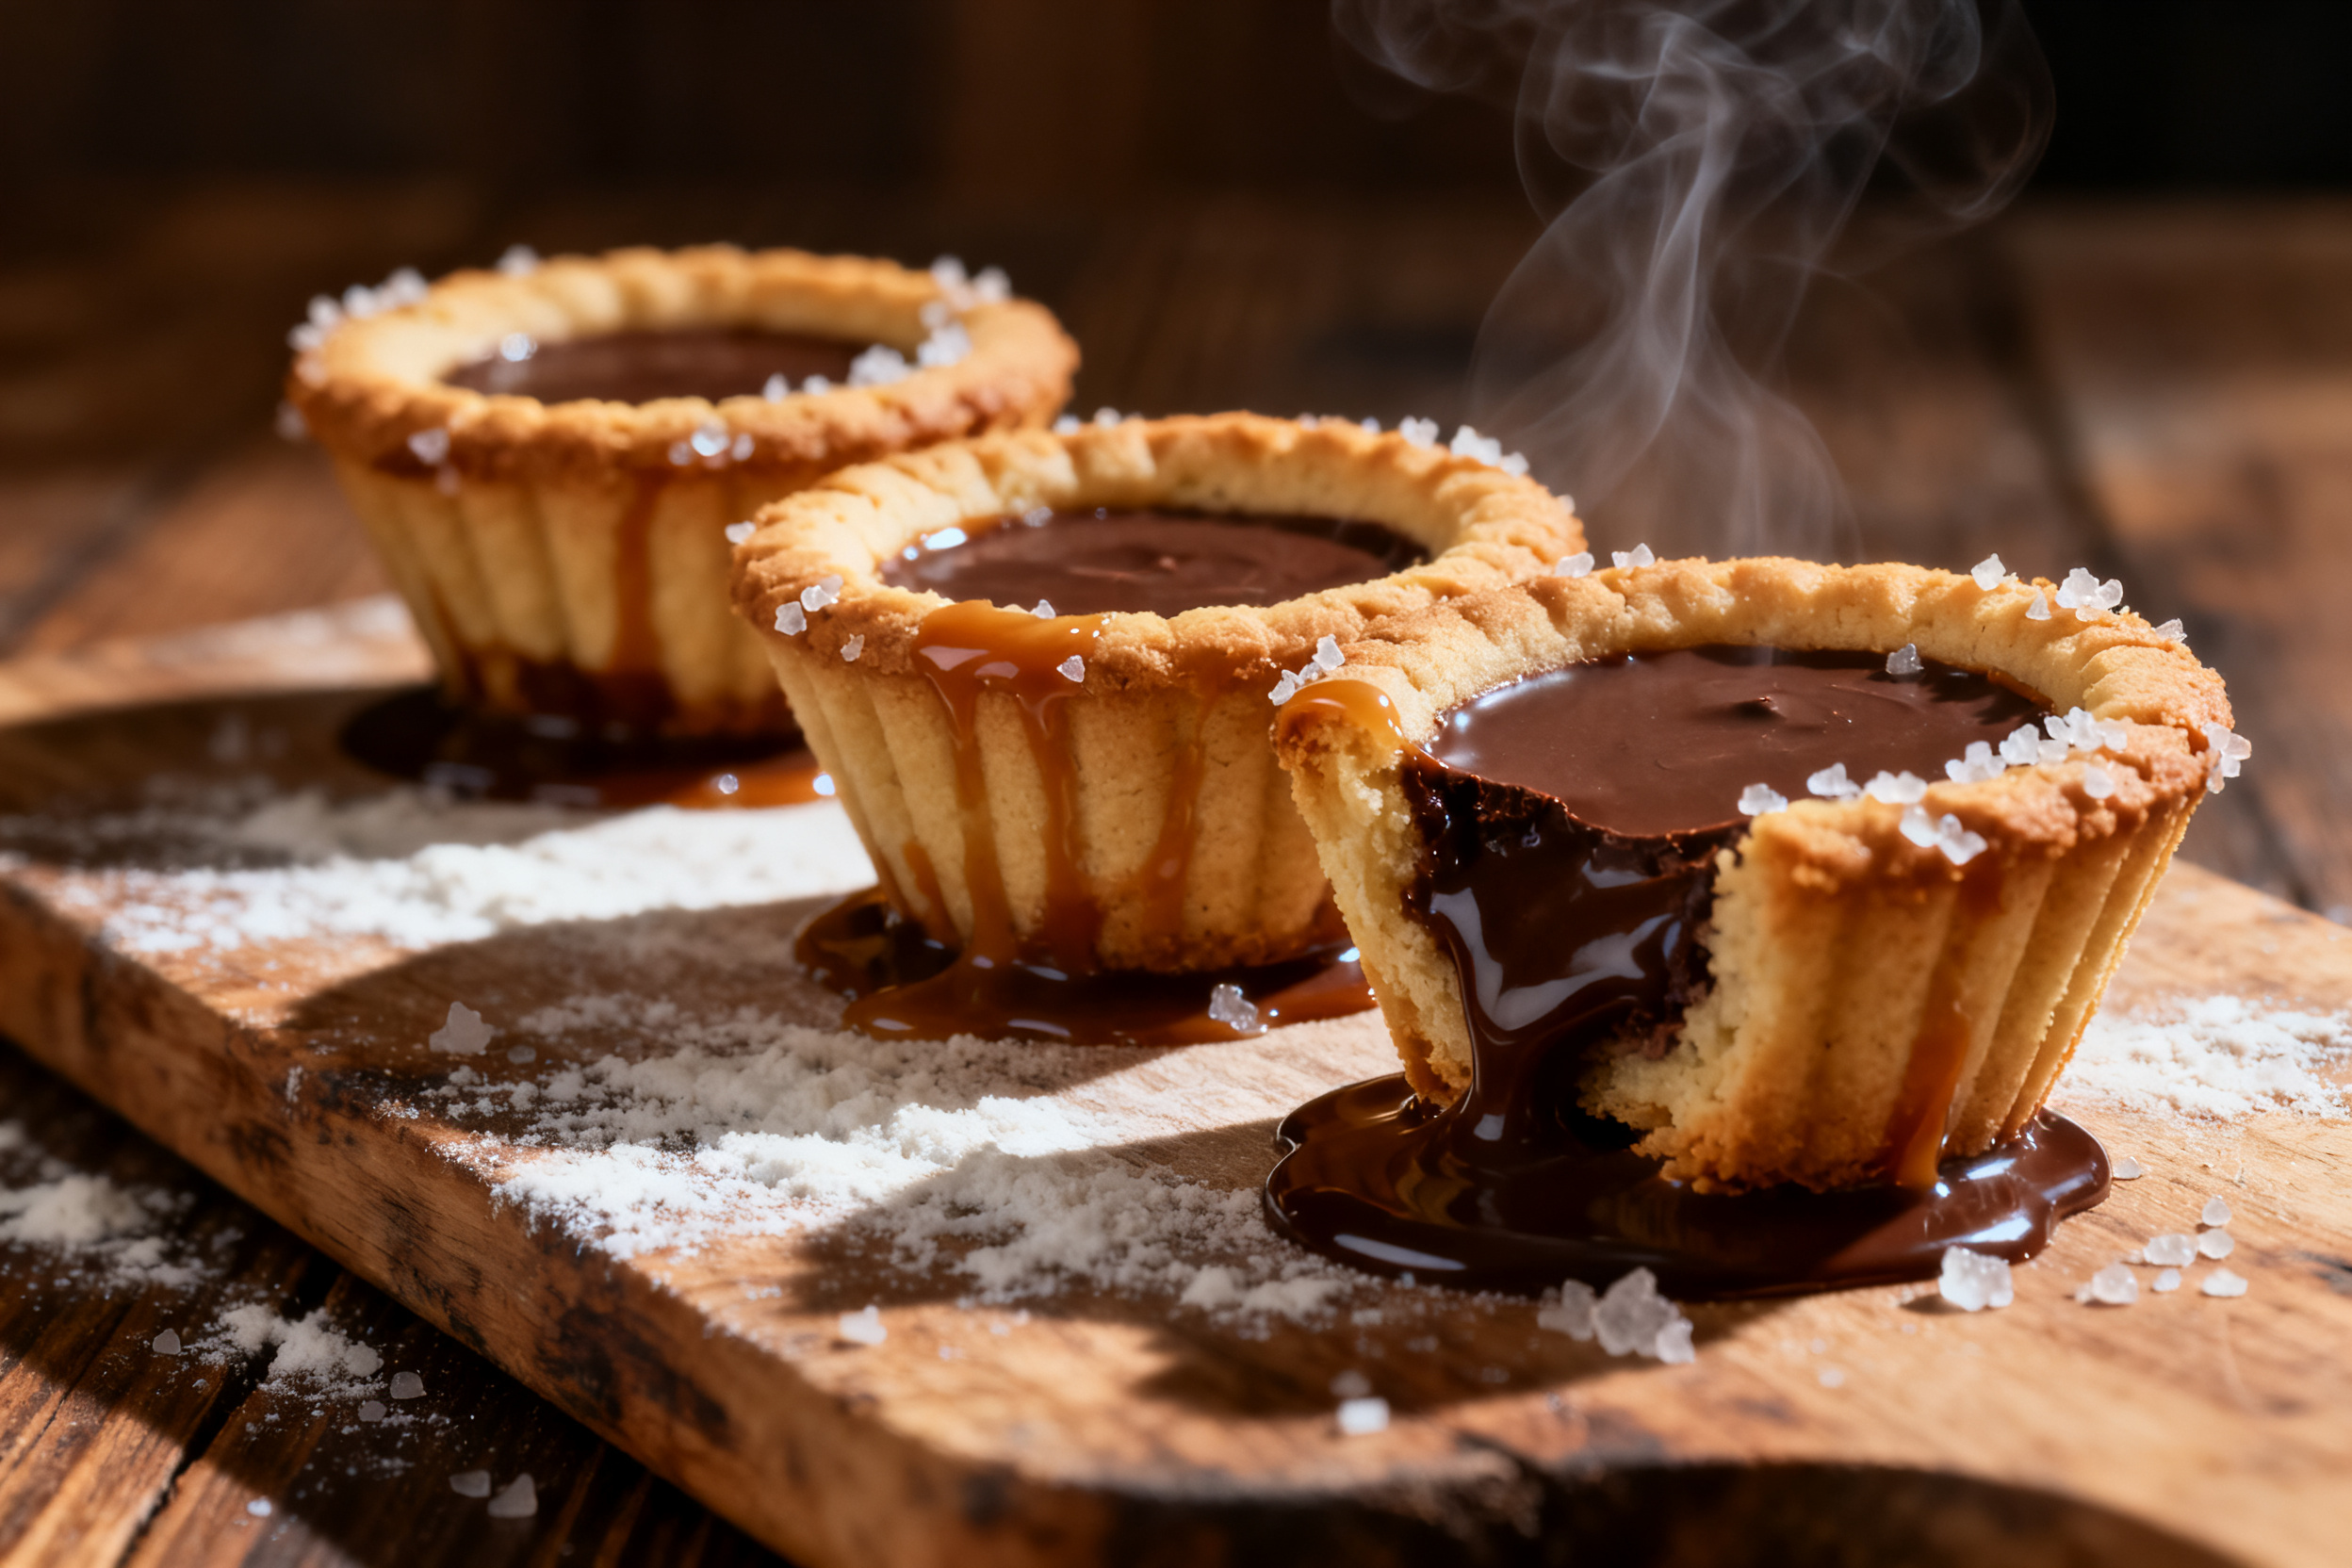
Let’s be honest – muffin tins are great for muffins, but they‘re a pain to clean, and those little paper liners always stick to the sides. I’ve been there, staring at a sad, crumbly mess that was supposed to be a cute cookie cup. So I decided to flip the script and make cookie cups using a method that’s easier, faster, and way more impressive.
This cookie cups recipe uses a simple trick: pressing the dough into a mini muffin pan upside down? No, that’s silly. We actually use a standard muffin tin, but we flip the dough over the back of the pan to create perfect little bowls. The result is a sturdy, buttery cup that holds ice cream, pudding, or even just a spoonful of chocolate sauce. Bakery versions charge $4 for one of these, and they’re never as good as homemade.
Ready to ditch the paper liners and impress your friends? Let’s get into it.
1. Allergens
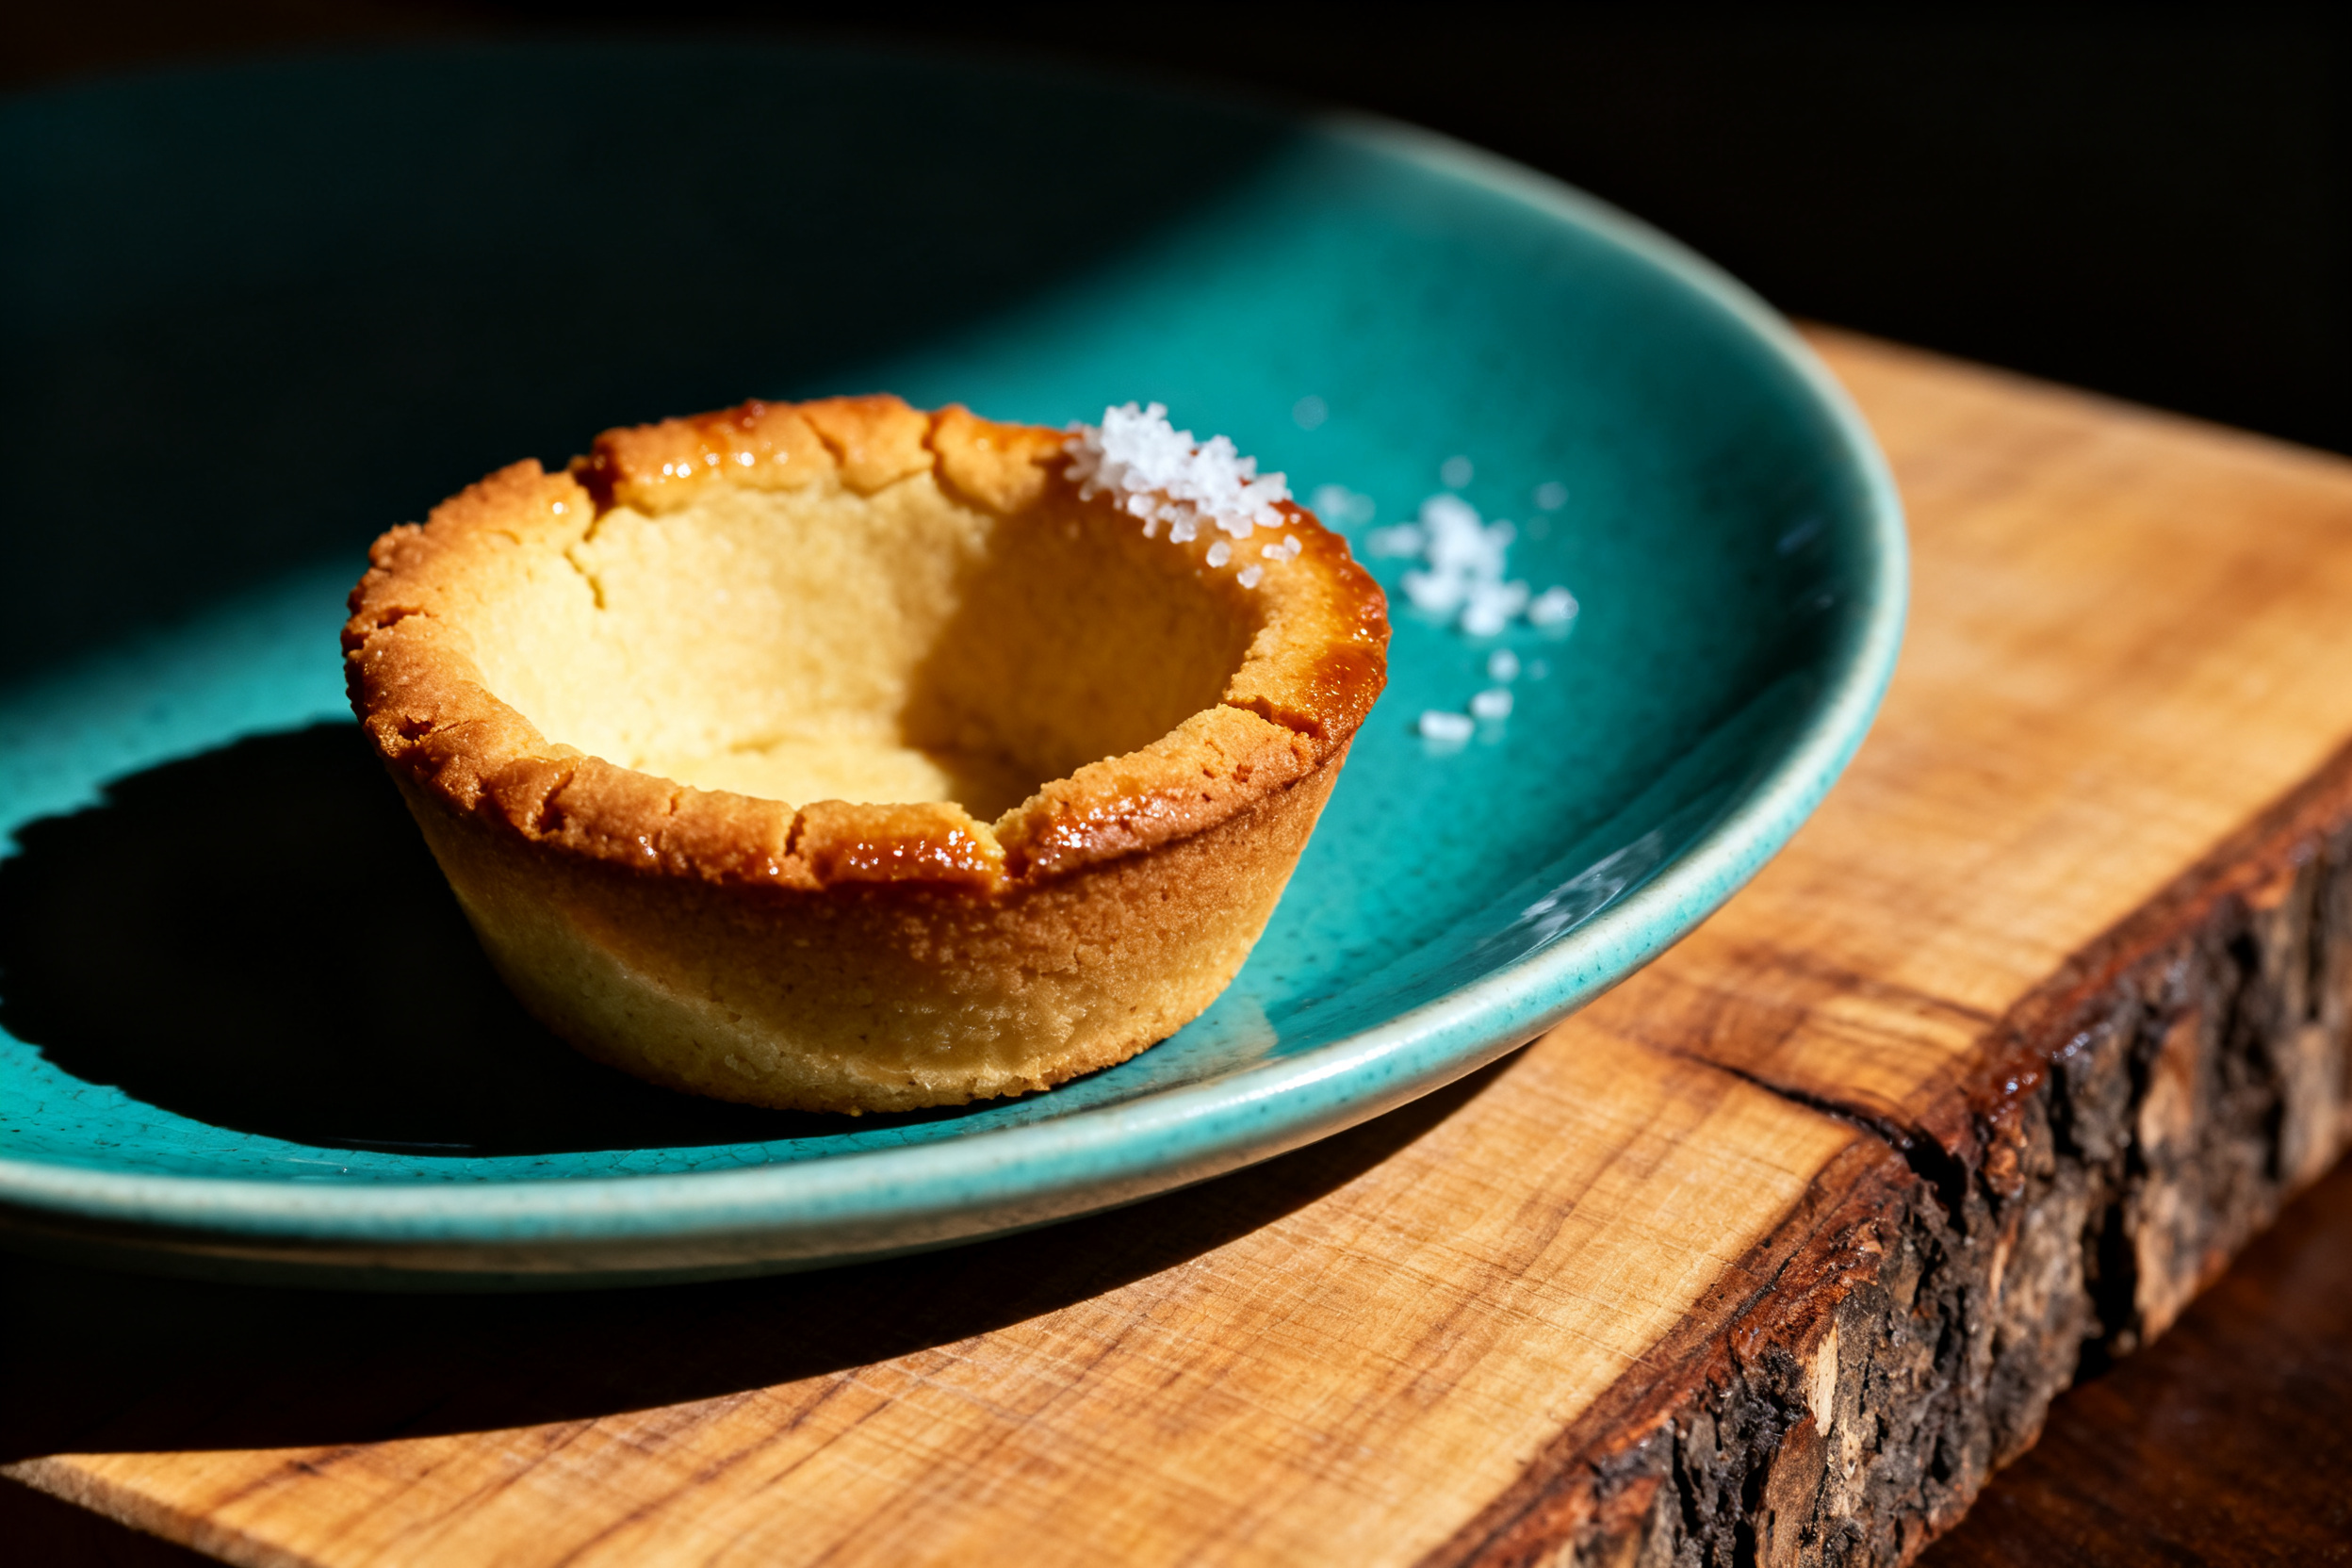
This recipe contains gluten (from all-purpose flour) and dairy (butter). It also includes eggs. If you have a nut allergy, note that the dough itself is nut-free, but make sure your chocolate chips or any add-ins are certified nut-free. For a dairy-free version, swap the butter for a plant-based stick and use dairy-free chocolate chips. For gluten-free, use a 1:1 gluten-free flour blend that contains xanthan gum.
2. Ingredient notes & substitutions
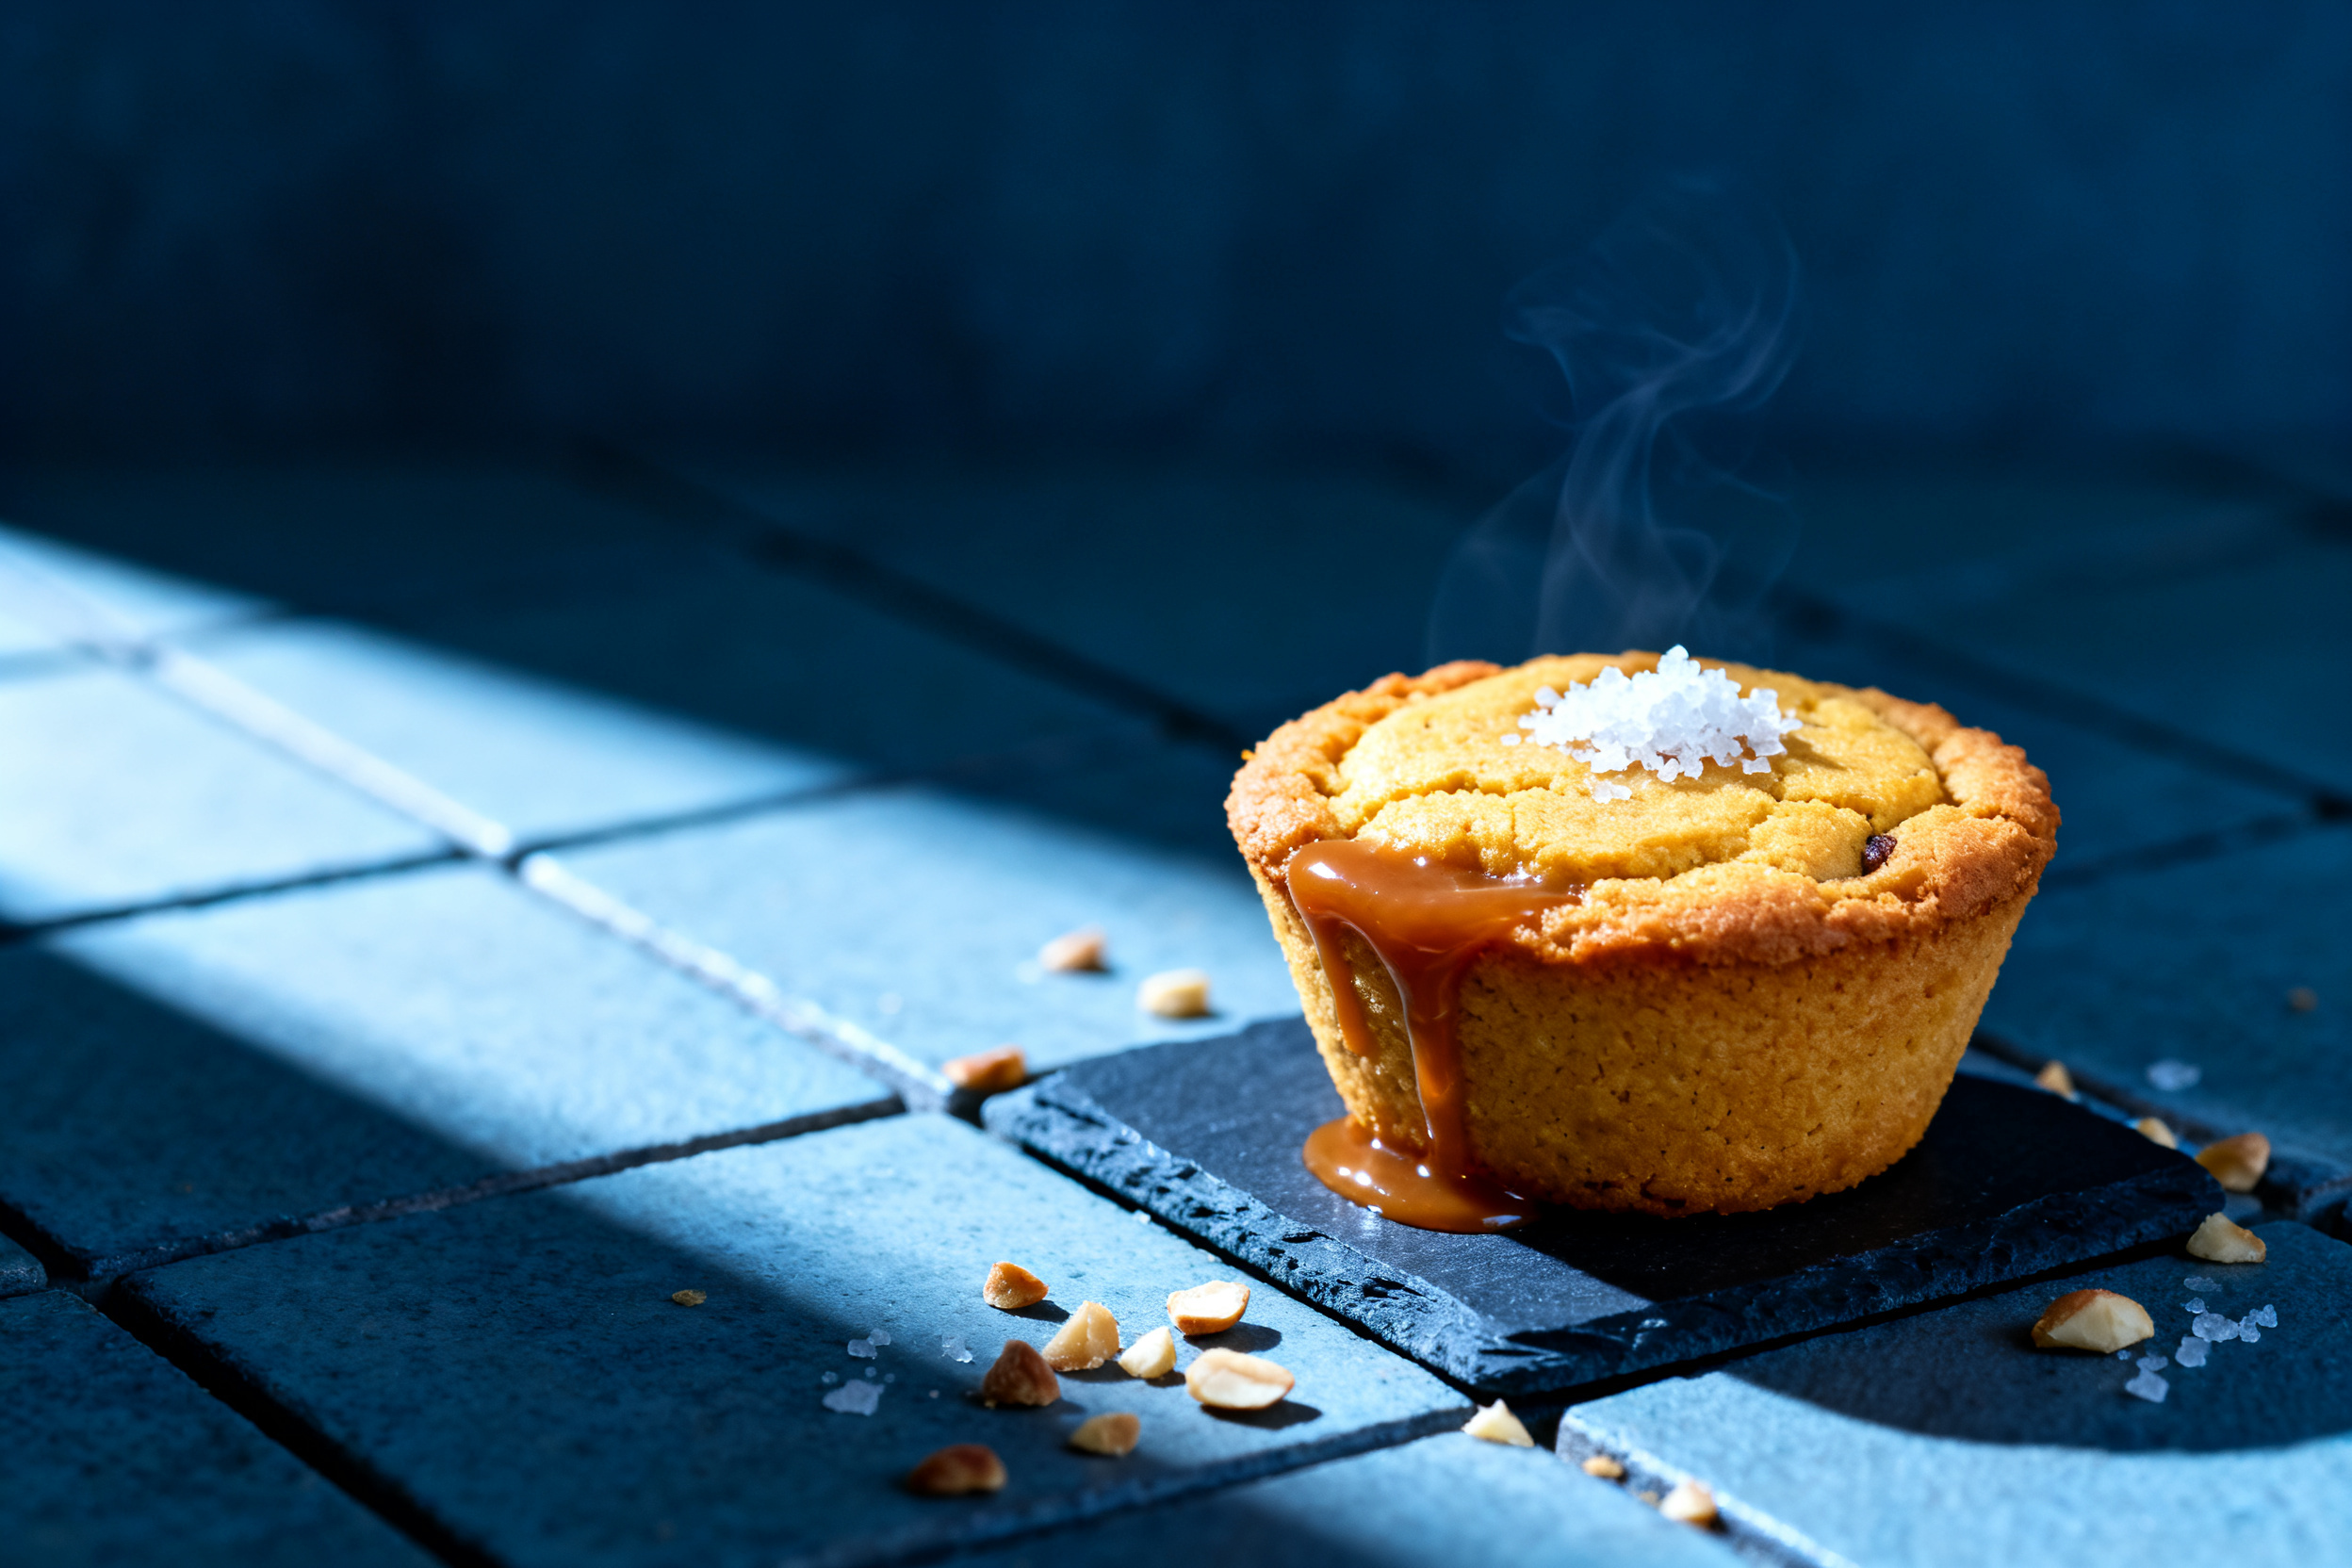
Use unsalted butter so you control the salt level. If you only have salted, reduce the added salt by half. The brown sugar gives these cups a chewy texture and a hint of molasses. Dark brown sugar works even better. For the egg, one large egg at room temperature is best. If you‘re out of chocolate chips, chop up a chocolate bar – it melts more evenly. And don’t skip the vanilla extract; it’s the flavor backbone.
3. Pro tips
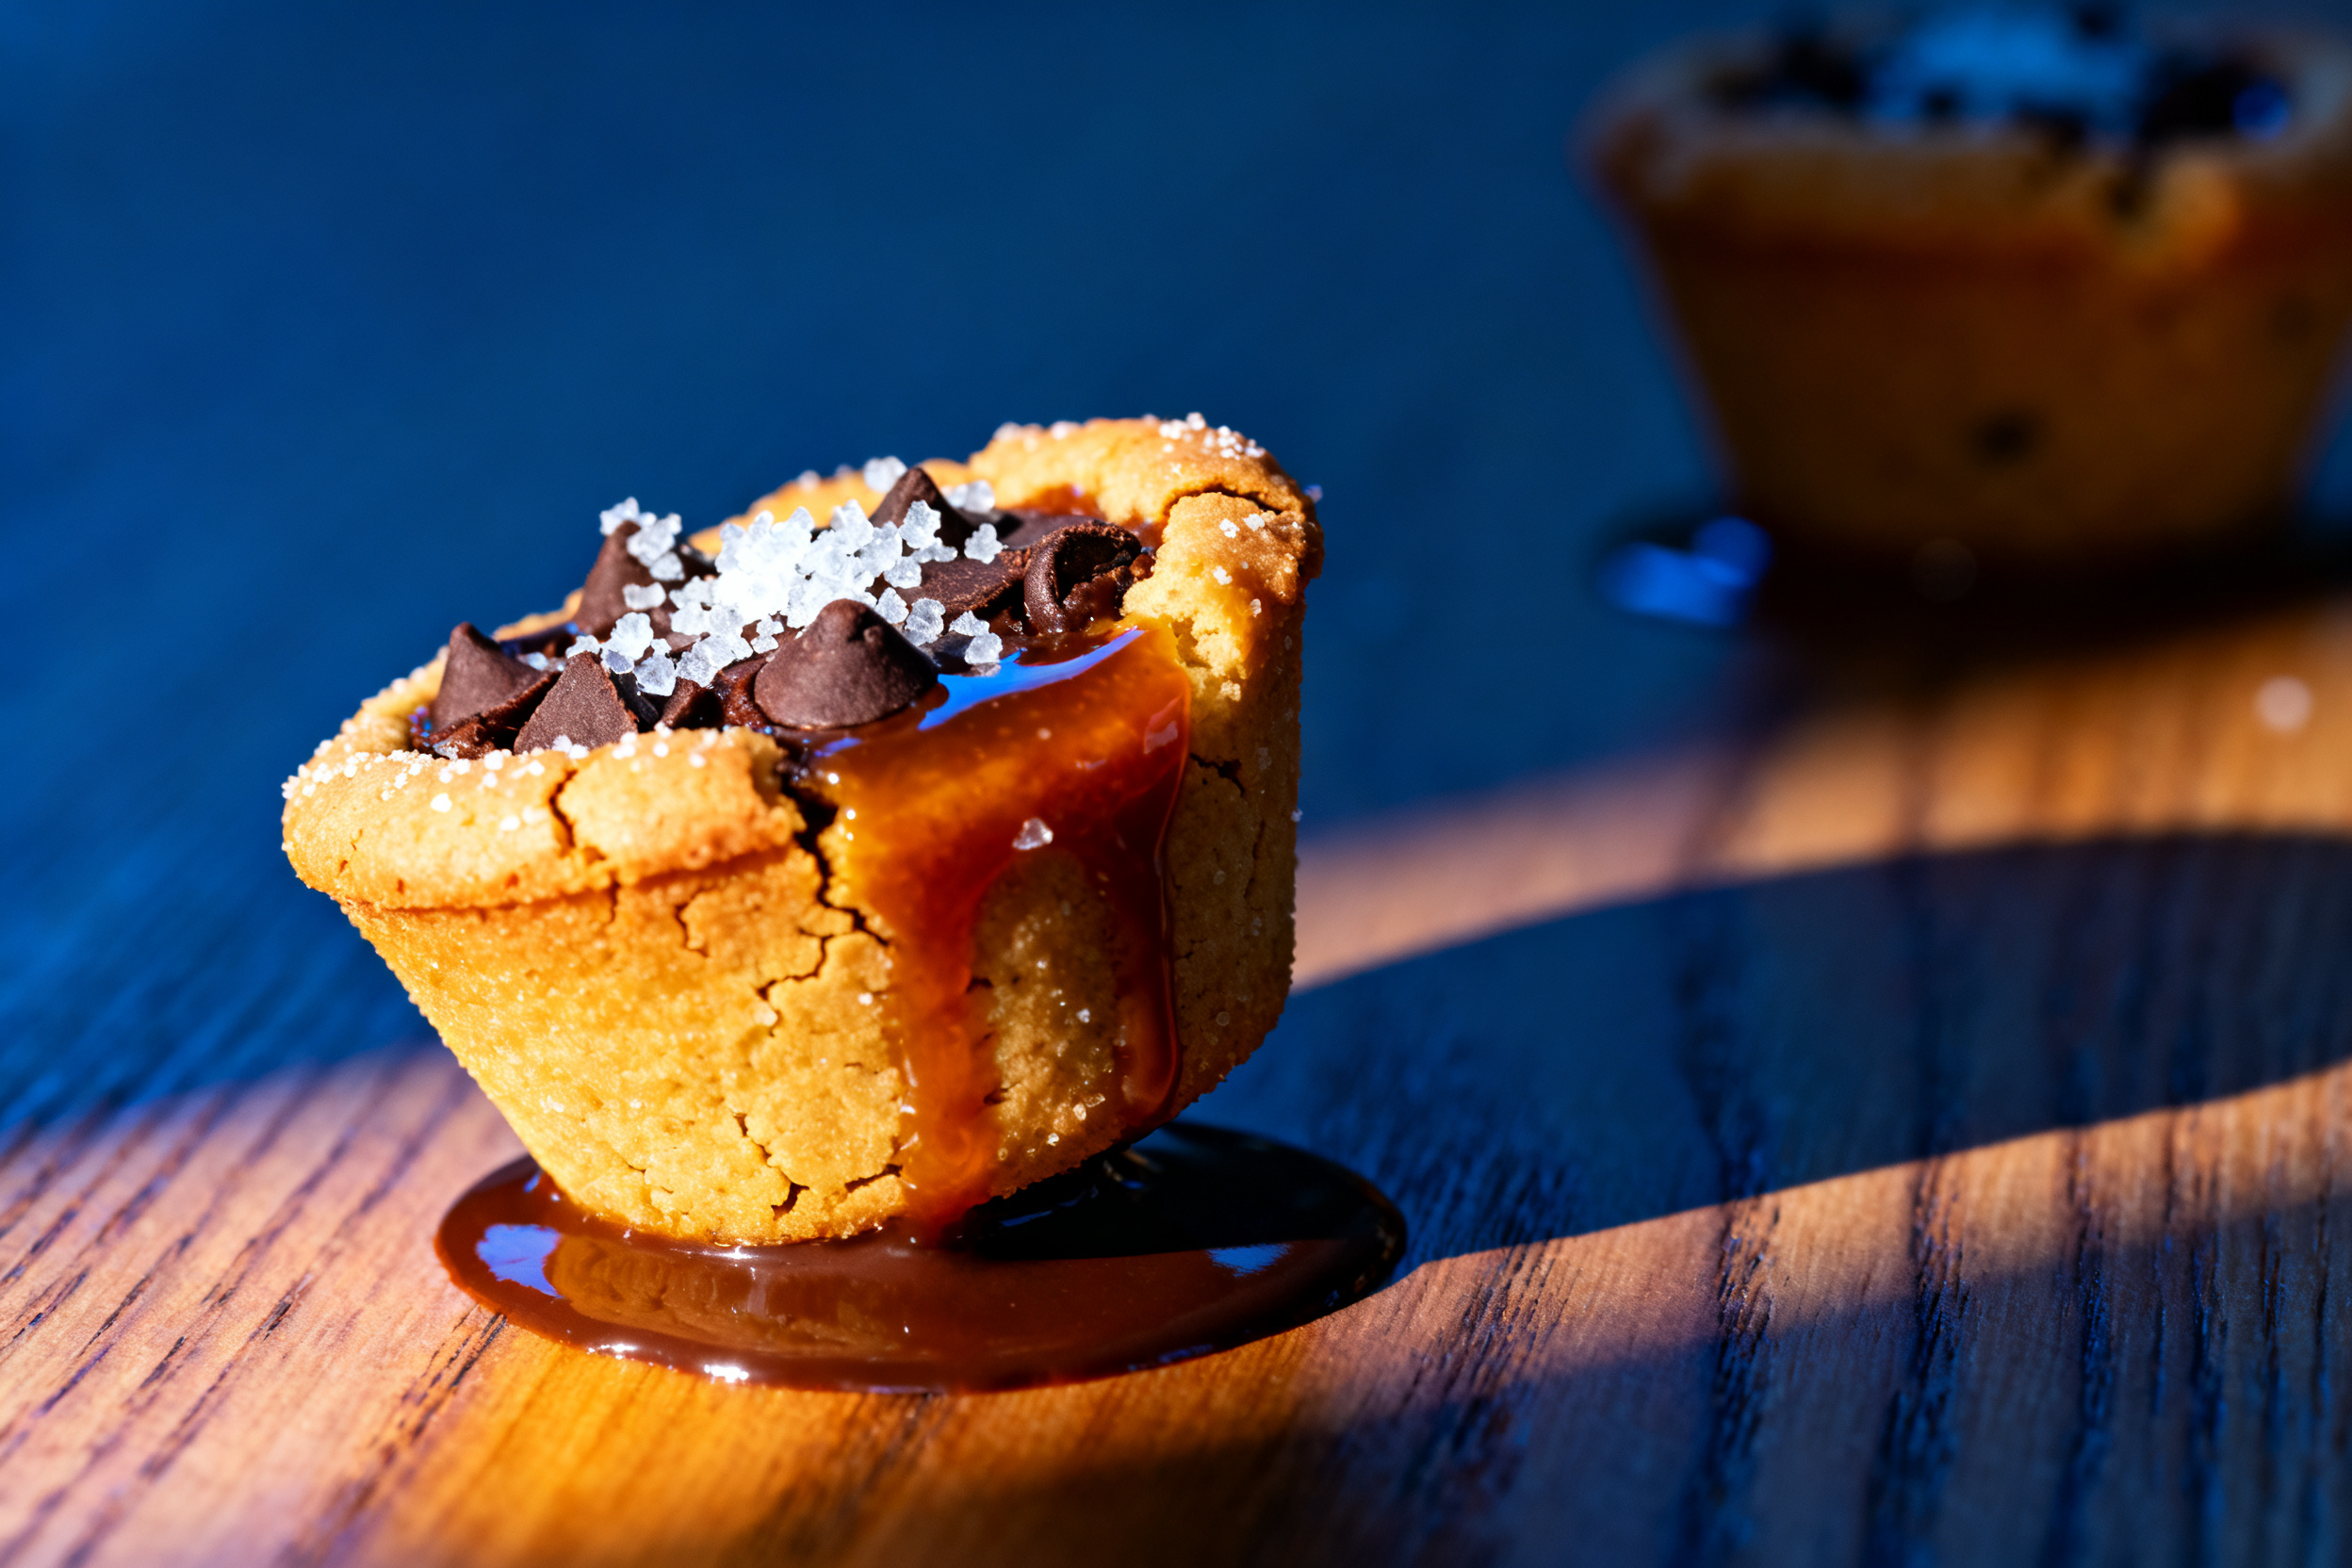
Chill the dough for at least 30 minutes before shaping. This prevents spreading and helps the cups hold their shape. When you press the dough into the muffin tin, make sure the thickness is even – about 1/4 inch all around. Use a tart shaper or the bottom of a shot glass to press it down firmly. If the dough sticks to your fingers, dust them with a little flour. Bake until the edges are golden brown, not just the center. They will continue to set as they cool.
Let the cookie cups cool in the pan for exactly 5 minutes, then gently twist them out. If you wait too long, they’ll stick. If you try to remove them too early, they’ll break. I learned this the hard way, so trust me on the timing.
For extra crisp edges, brush the cups with a little melted butter before baking. It creates a beautiful golden finish and a slight crunch. You’re welcome.
Don’t overfill the cups with filling until you’re ready to serve. The cookie cups soften quickly, especially with wet fillings like ice cream or pudding. Fill them right before serving for the best texture.
4. Storage & make-ahead (fridge/freezer)
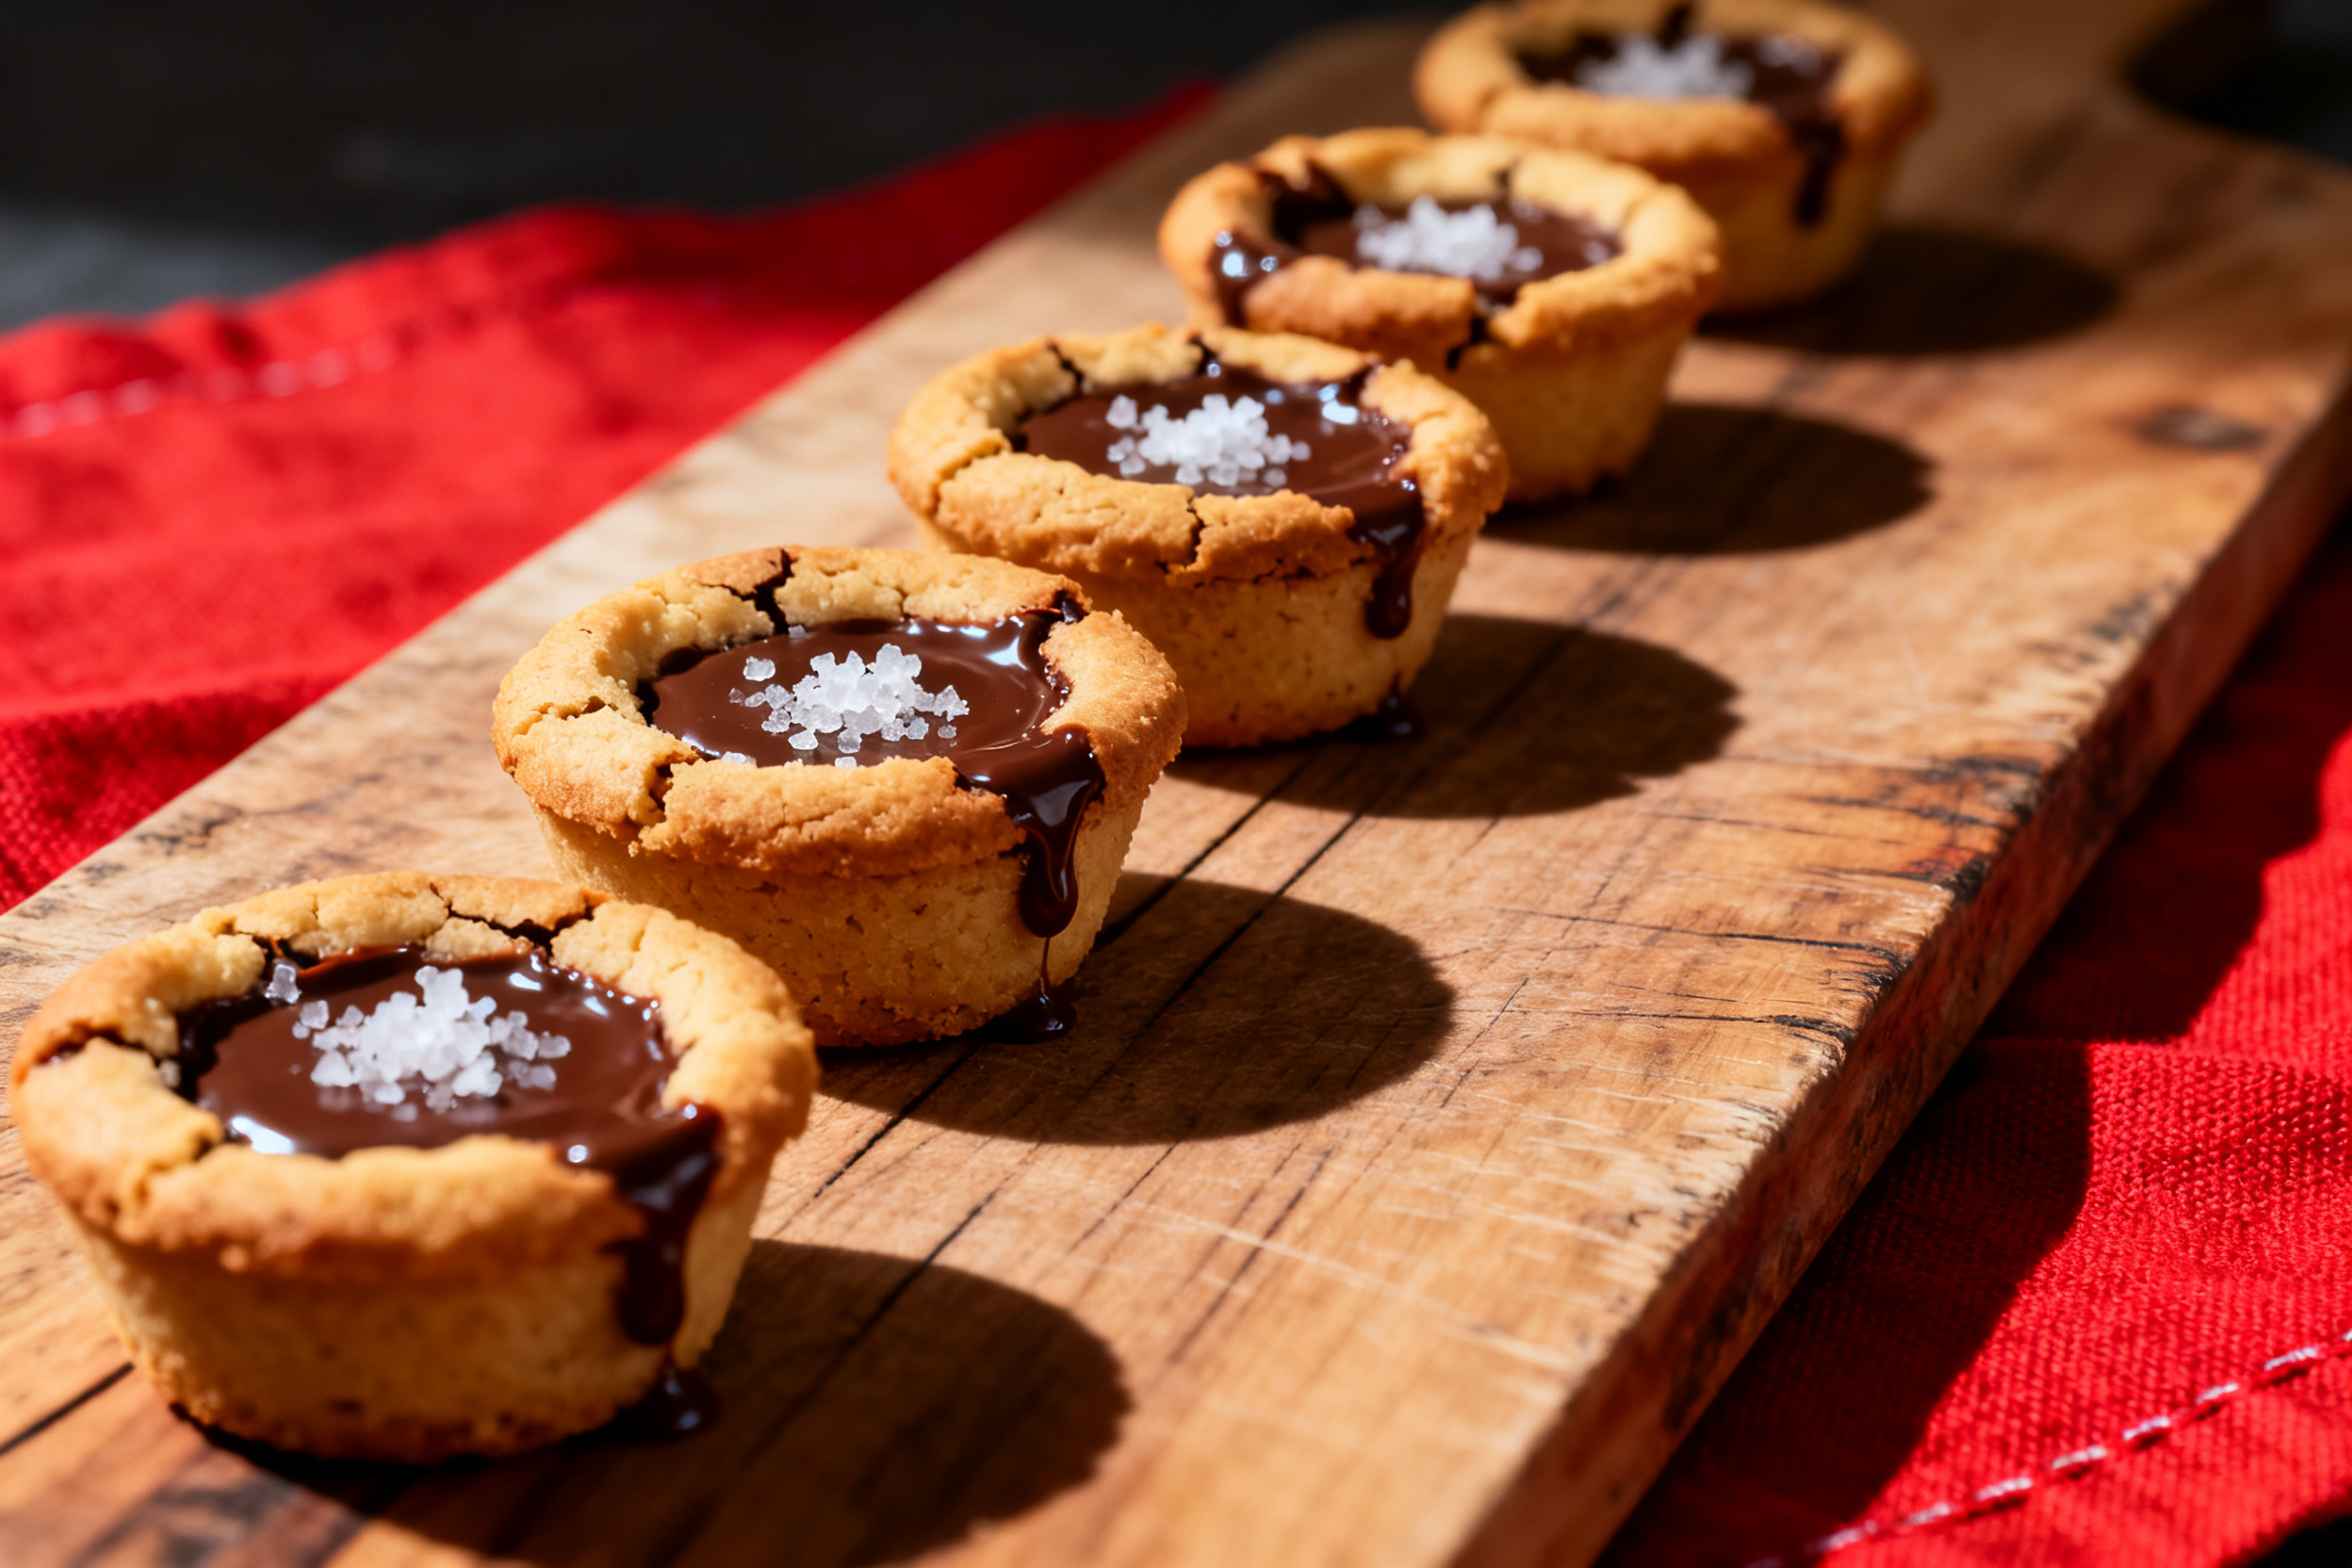
Store unfilled cookie cups in an airtight container at room temperature for up to 3 days. They stay crisp. For longer storage, freeze them in a single layer on a baking sheet, then transfer to a freezer bag. They’ll keep for up to 3 months. Reheat at 300°F for 5 minutes to refresh the crunch.
If you want to make the dough ahead, wrap it tightly in plastic wrap and refrigerate for up to 3 days. You can also freeze the dough logs for up to 2 months – slice and bake when you need them. Just add an extra minute or two to the baking time.
5. Serving suggestions (complete the meal)
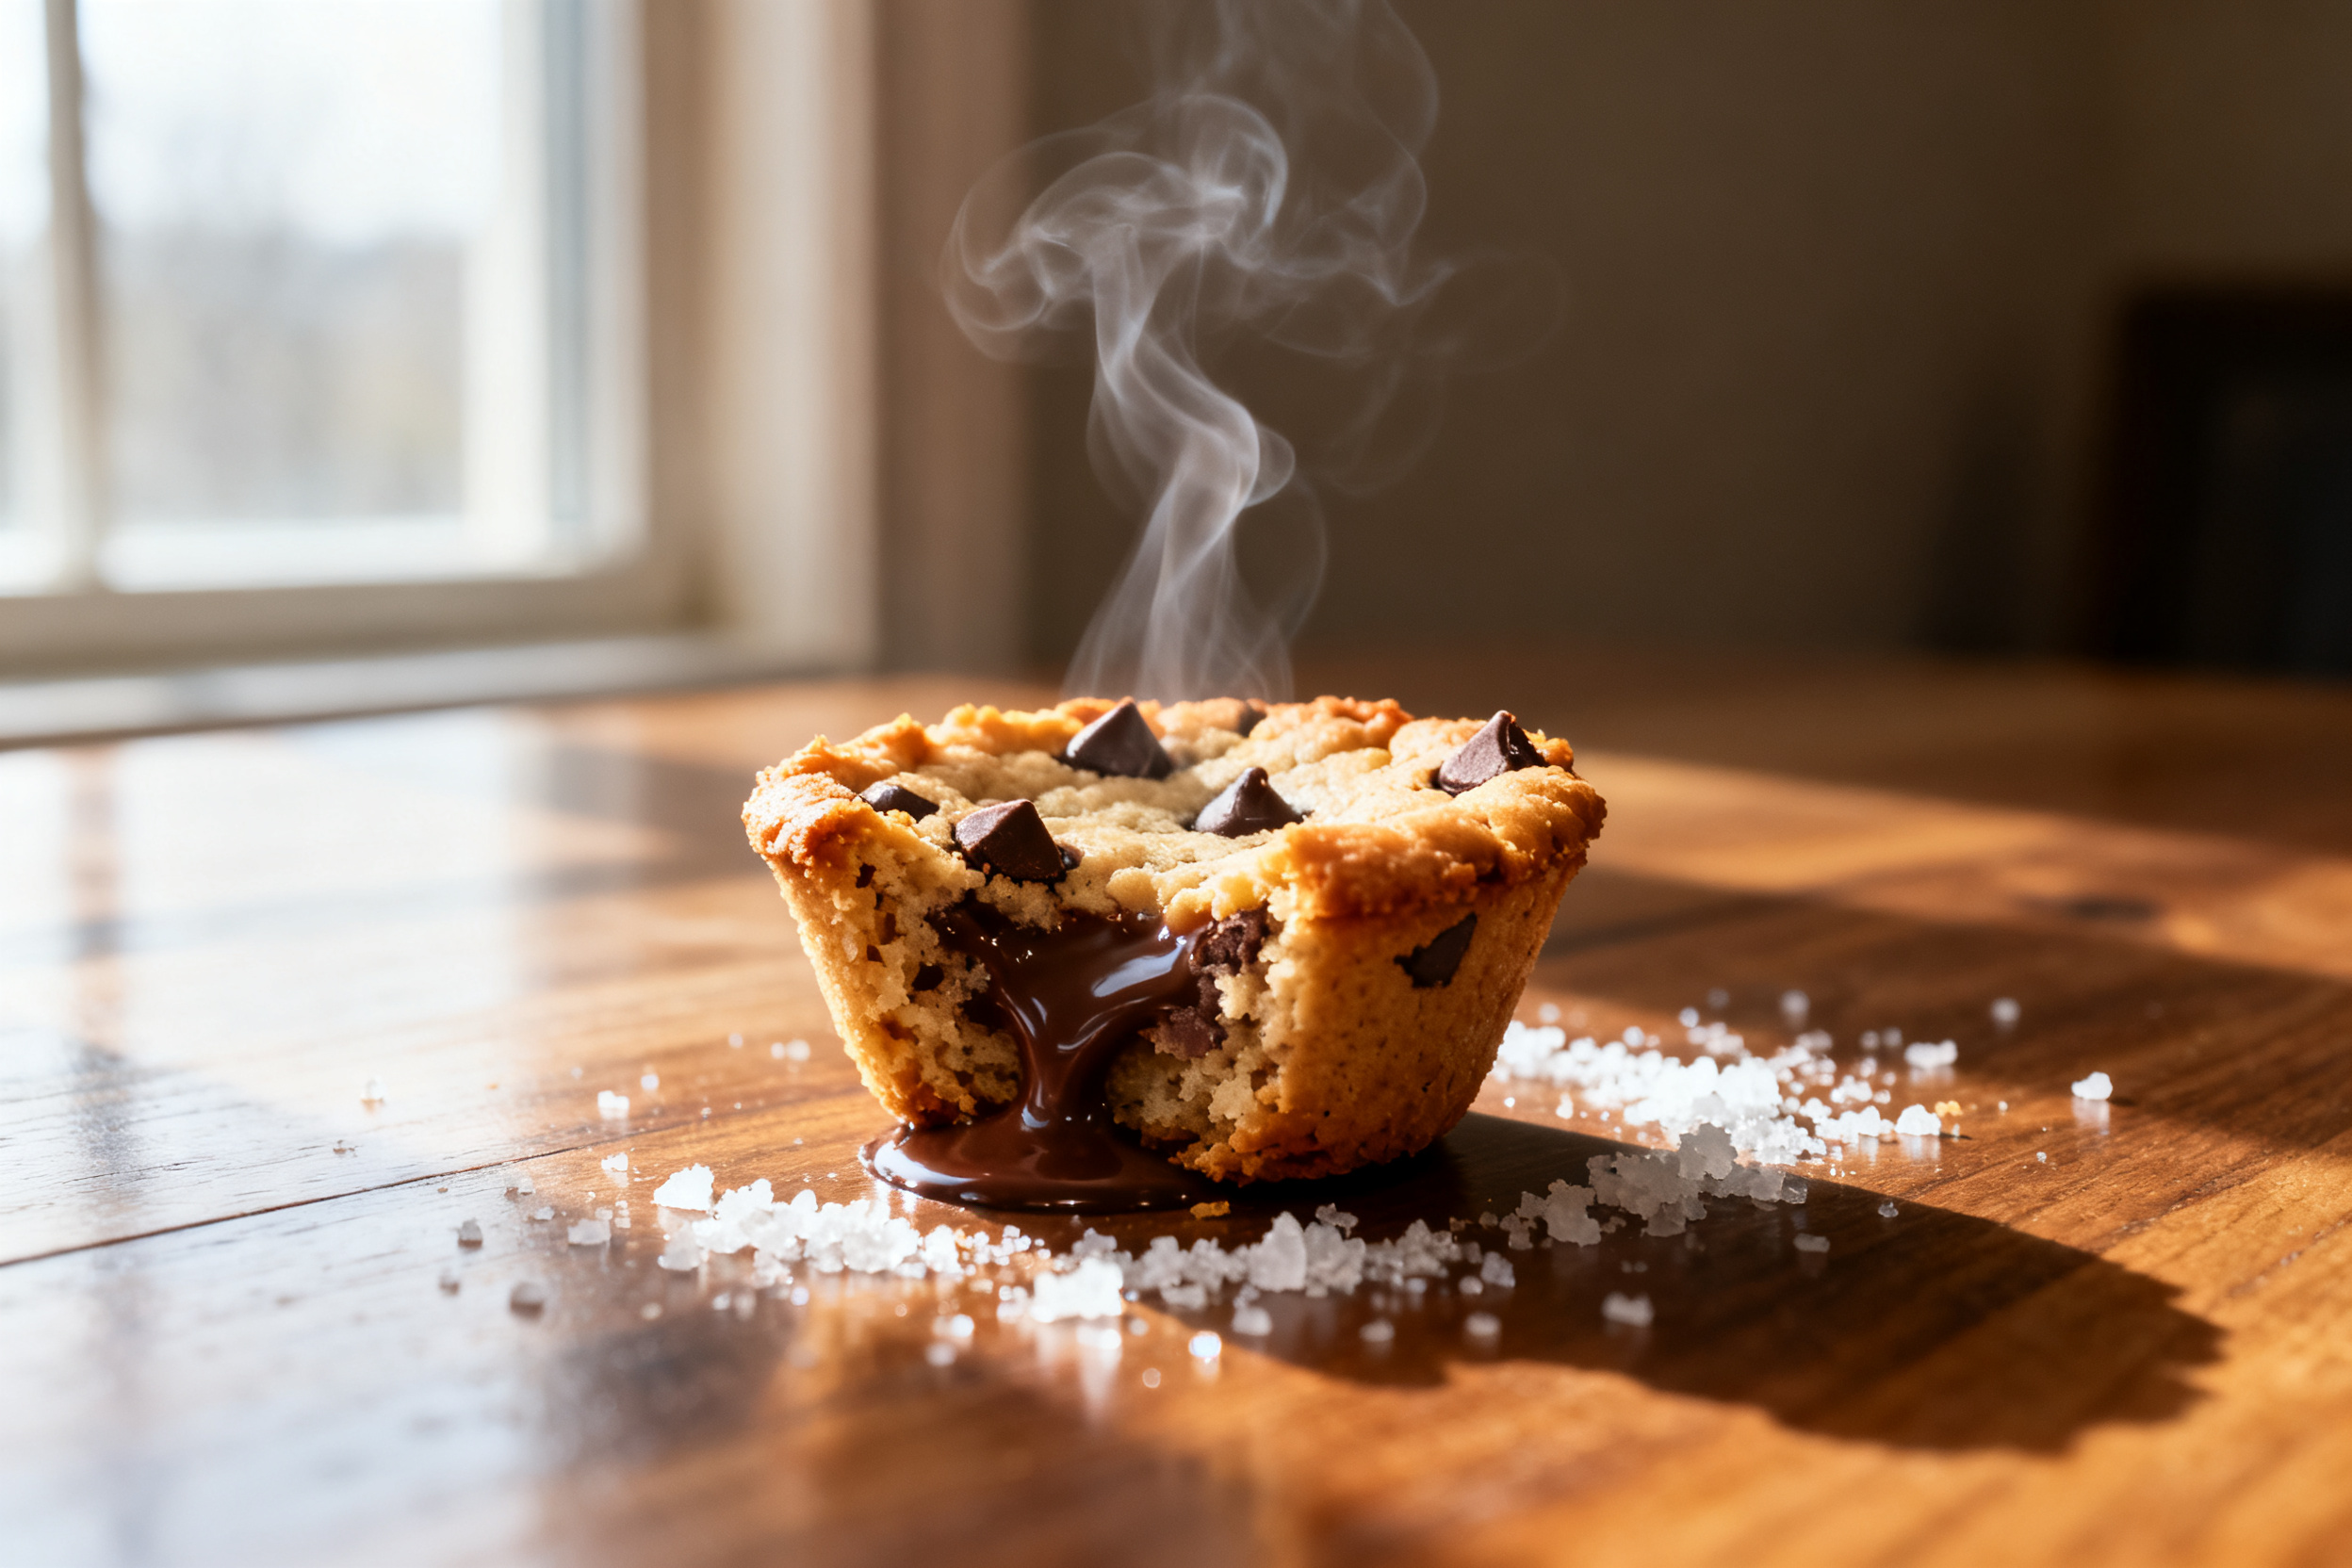
These cookie cups are perfect for dessert, but they also work as a fun party snack. Fill them with a scoop of vanilla ice cream and drizzle with hot fudge for a sundae in a cup. Or use them as a base for mini cheesecakes – just pipe in a no-bake cheesecake filling and top with berries. For a savory twist (yes, really), fill them with a dollop of whipped cream cheese and smoked salmon. It’s weird, but it works.
Pair them with a warm drink like coffee, hot chocolate, or a glass of milk. They’re also great for kids’ birthday parties because they’re mess-free (no crumbs flying everywhere). I like to serve them with a side of fresh fruit to balance the sweetness.
If you’re hosting a dinner party, make a batch of these and set up a “fill your own” bar with different toppings. It’s interactive and always a hit. People go crazy for the little cups.
For a quick dessert, fill them with a spoonful of Nutella and a few raspberries. That’s it. No one will judge you.
They also make a great base for a trifle. Crumble them up and layer with cream and fruit. Everything is better in a cup.
Don’t forget the sprinkles. A little color makes them look like they came from a fancy bakery.
6. “Use your leftovers” (reduce waste)
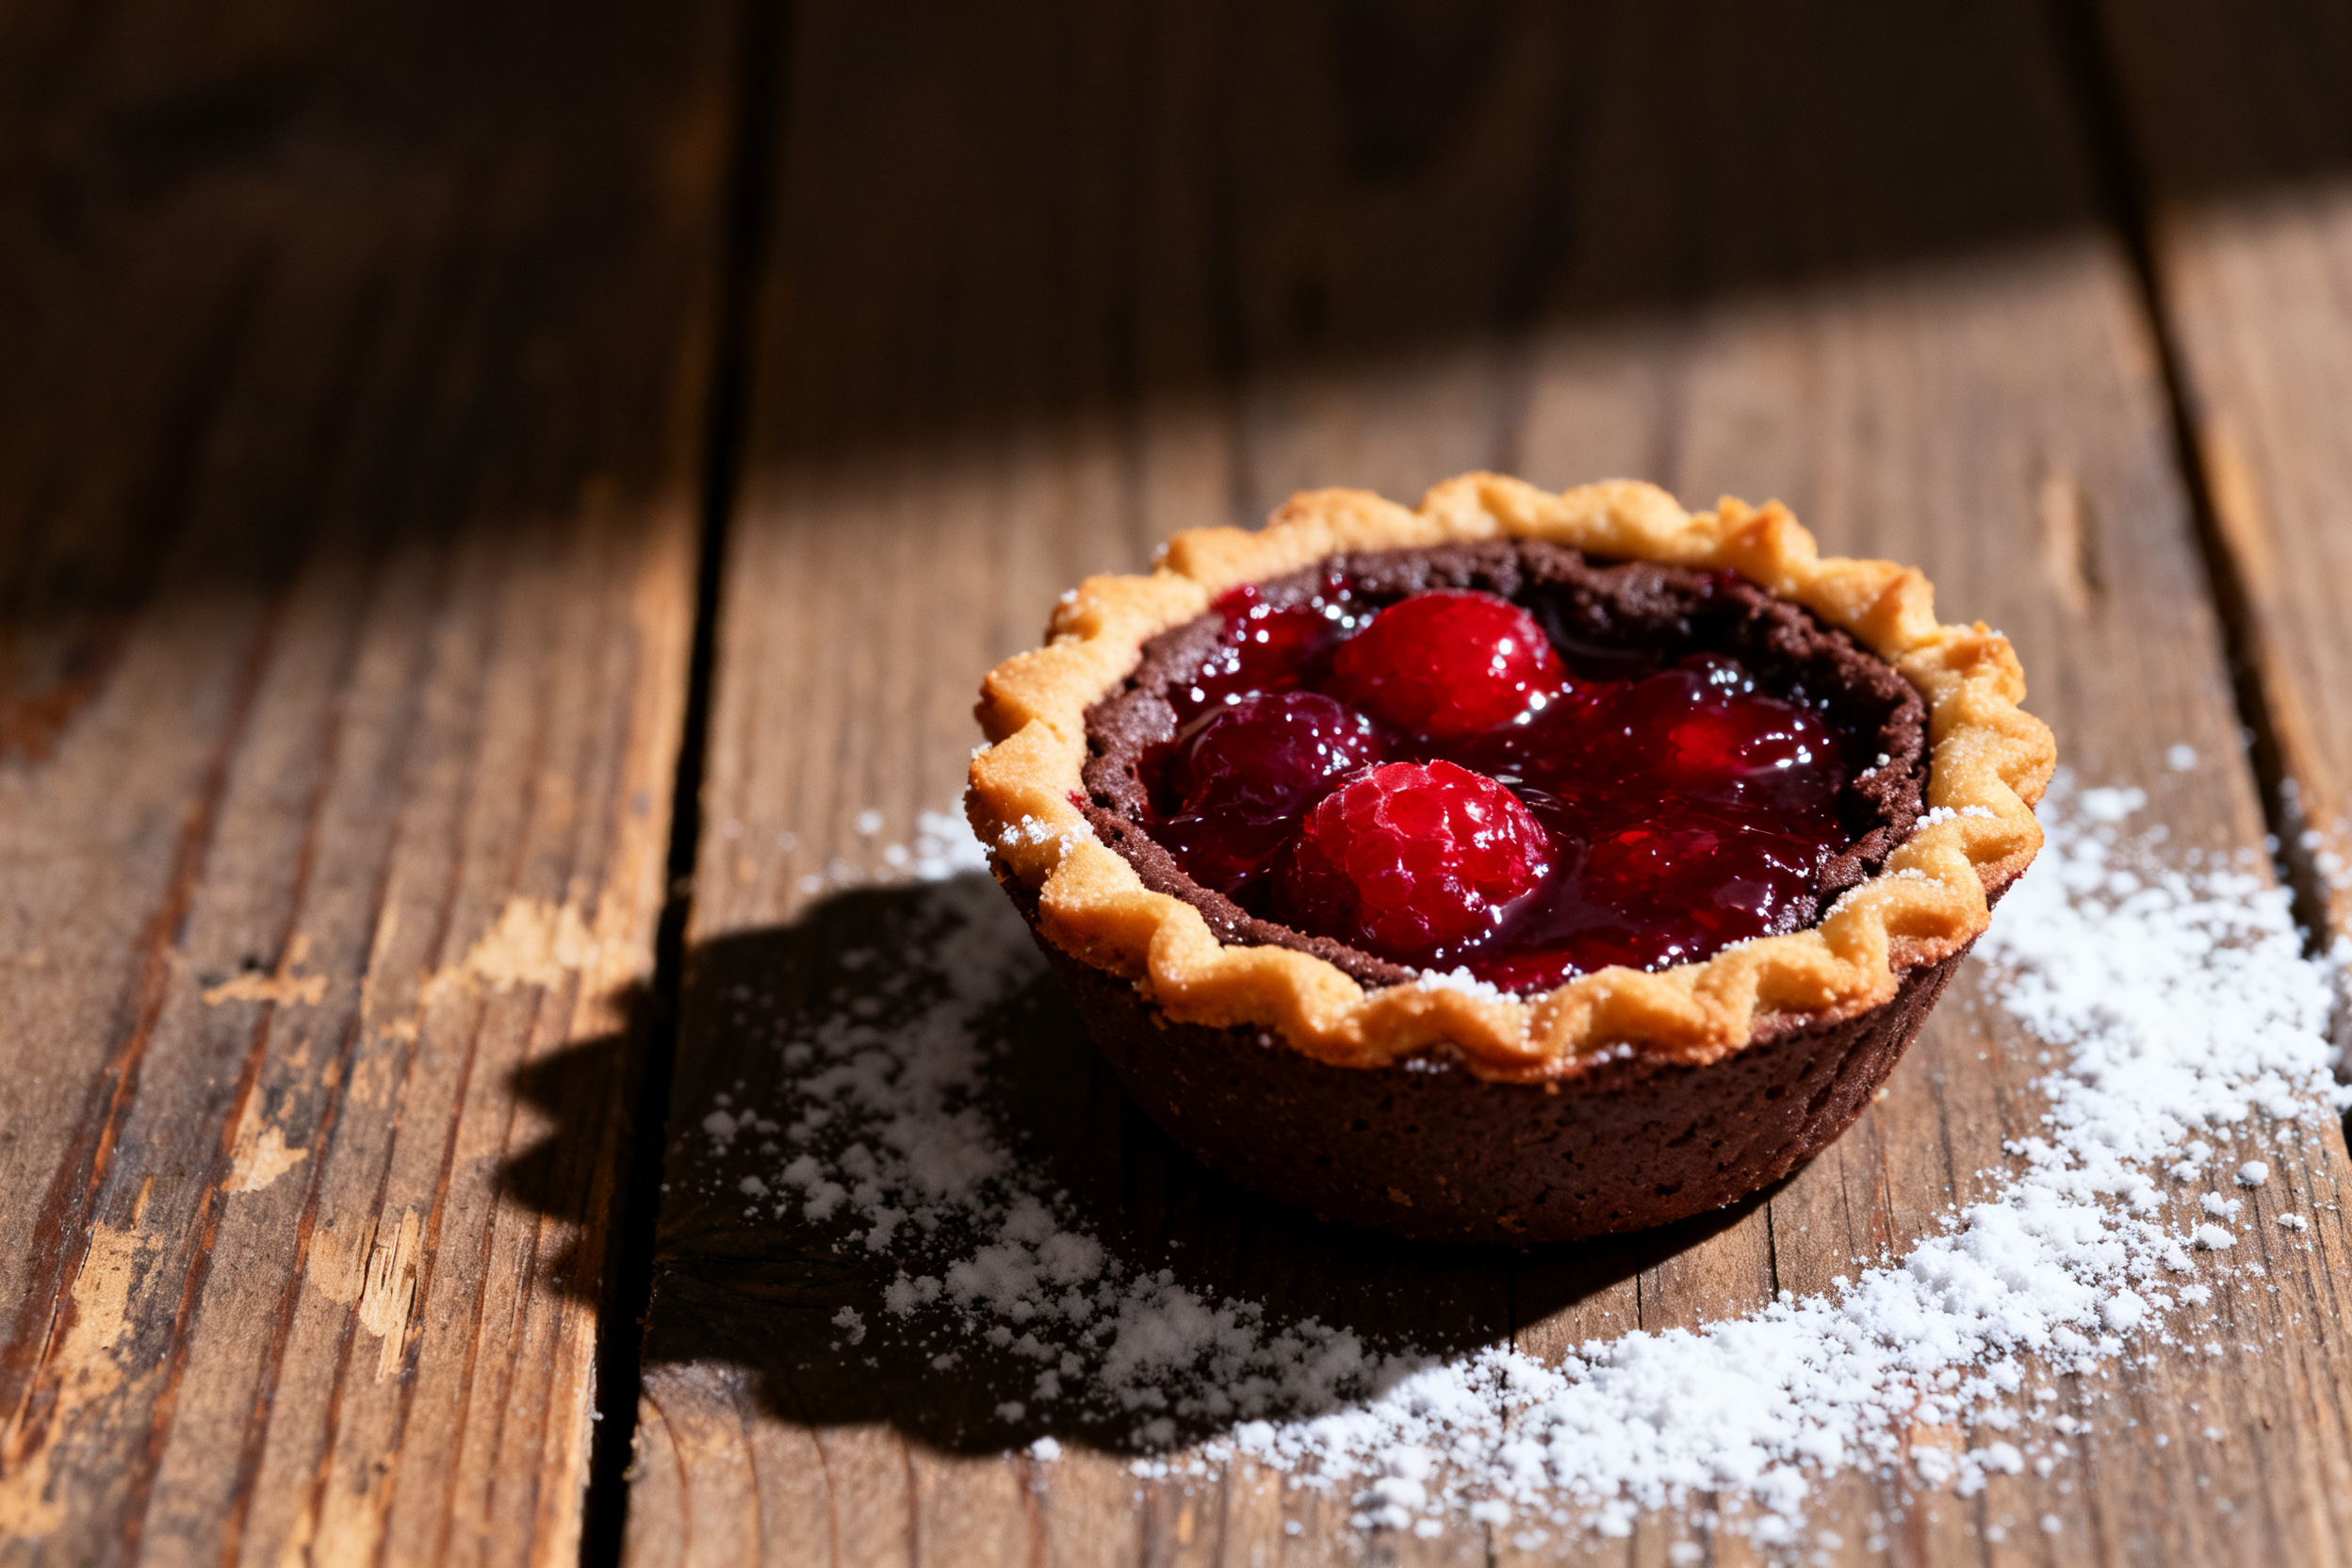
If you have leftover cookie cups that are a bit stale, crush them into crumbs and use them as a crust for cheesecake or pie. They add a buttery, chocolatey flavor. You can also freeze the crumbs and sprinkle them over ice cream sundaes later. If you have leftover filling (like extra pudding or whipped cream), just eat it with a spoon – no shame.
Another idea: crumble the cookie cups over a bowl of yogurt or oatmeal for a crunchy topping. It’s like having dessert for breakfast, but you can call it “granola” if anyone asks. I won’t tell.
If you have a few random cups that broke, don’t throw them away. Dip them in melted chocolate and let them set. Now you have chocolate-covered cookie chunks. Perfect for snacking.
7. Common mistakes & how to fix them
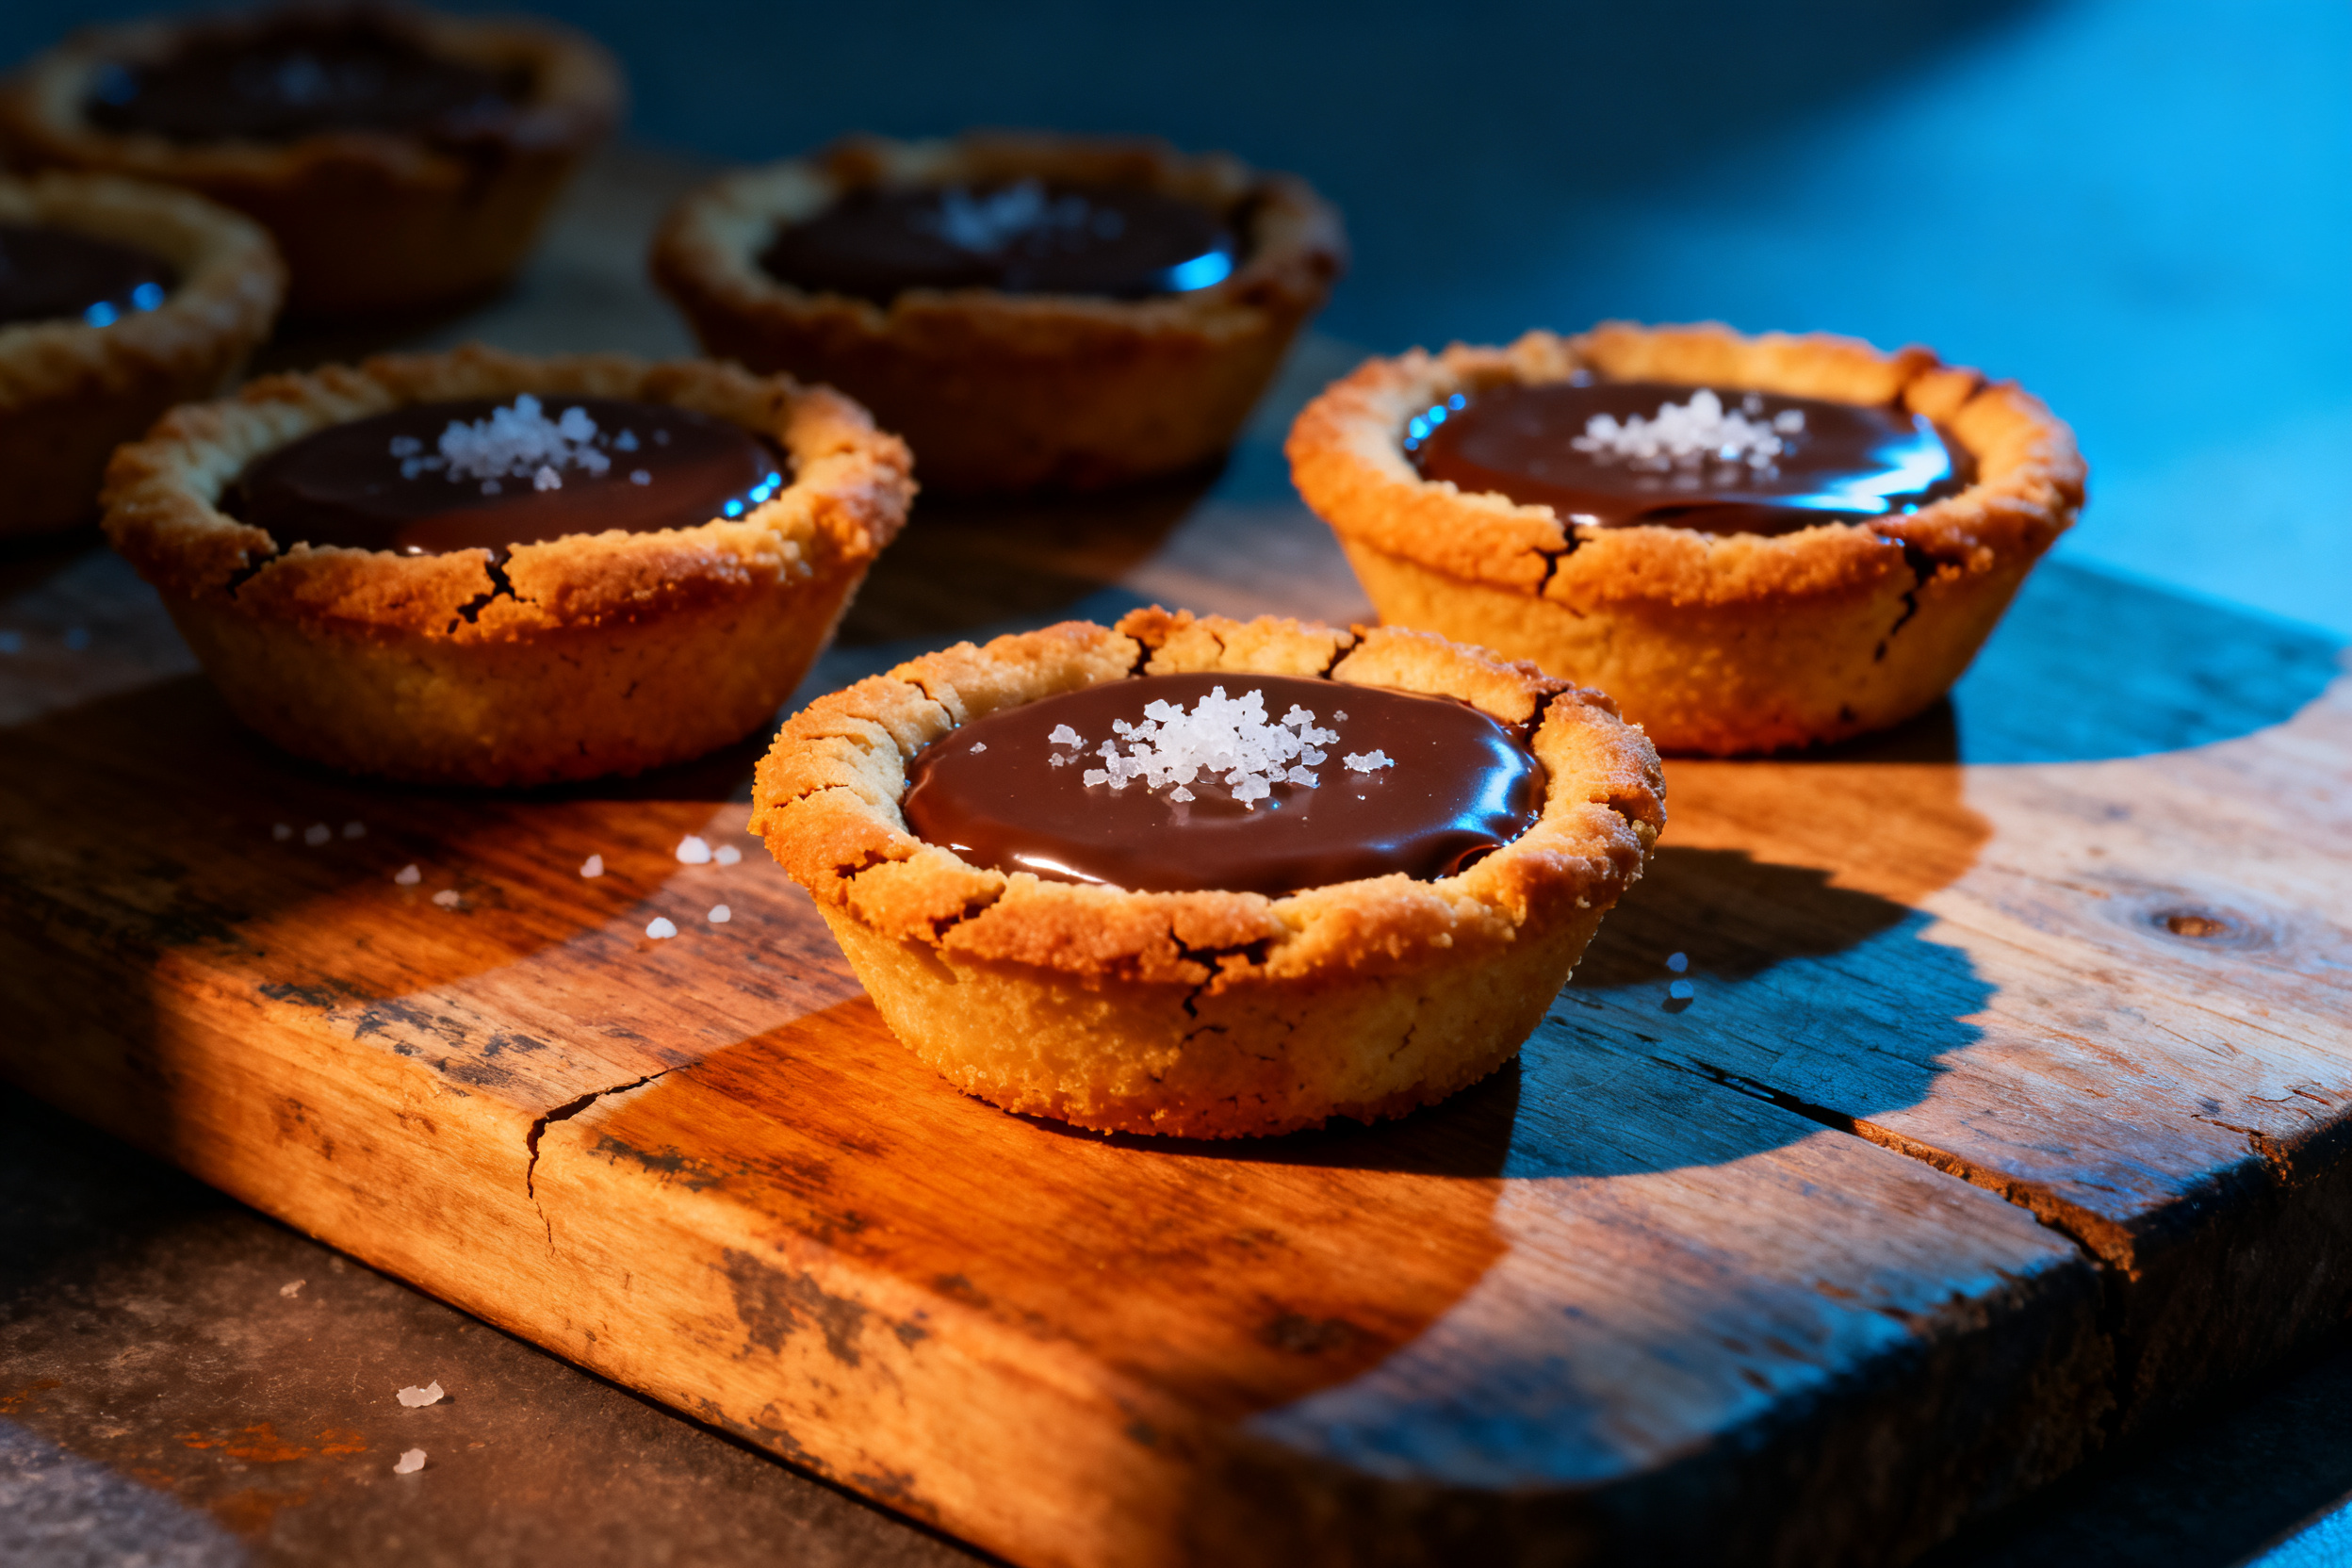
Mistake #1: The cups spread too much and lose their shape. This usually happens when the dough is too warm. Chill it for at least 30 minutes, and don’t skip that step. If the dough is sticky, add a tablespoon more flour.
Mistake #2: The cups stick to the pan. Make sure you grease the muffin tin well, even if it’s non-stick. Use butter or cooking spray, and get into the crevices. Let them cool for 5 minutes before trying to remove them. If they still stick, run a thin knife around the edges gently.
Mistake #3: The cups are too thick or too thin. Aim for an even ¼-inch thickness. If they’re too thick, they won’t bake through in the center. Too thin, and they’ll break. Use a tart shaper or a small glass to press the dough evenly.
Mistake #4: The bottoms get soggy after filling. This is normal if you add wet fillings long before serving. To prevent it, brush the inside of the cups with a thin layer of melted chocolate or white chocolate. Let it set before adding the filling. The chocolate acts as a barrier.
If you end up with a batch that’s not perfect, just crumble them up and use them as a topping for ice cream. No one will know.
8. Variations by diet or flavor profile
Vegan option: Use a flax egg (1 tablespoon ground flaxseed + 3 tablespoons water) and vegan butter. Choose dairy-free chocolate chips. The texture will be slightly more cakey, but still delicious. Gluten-free option: Use a 1:1 gluten-free flour blend with xanthan gum. Add 1/2 teaspoon more vanilla to mask any bean flour taste. Keto option: Substitute almond flour and a sugar-free sweetener like erythritol. Add an extra egg for binding. The cups will be more delicate, so handle with care.
For flavor variations, add a teaspoon of cinnamon to the dough for a snickerdoodle vibe. Or swap the chocolate chips for white chocolate and dried cranberries. You can also add a tablespoon of cocoa powder to make chocolate cookie cups. For a lemon twist, add zest of one lemon and replace the vanilla with lemon extract.
If you want a festive look, dip the rim of each cup in melted chocolate and then in sprinkles or crushed candy canes. It’s a showstopper for holidays. You can also use different shaped pans – mini muffin tins work great for smaller cups, or use a whoopie pie pan for shallow bowls.
9. Why this recipe works / The science
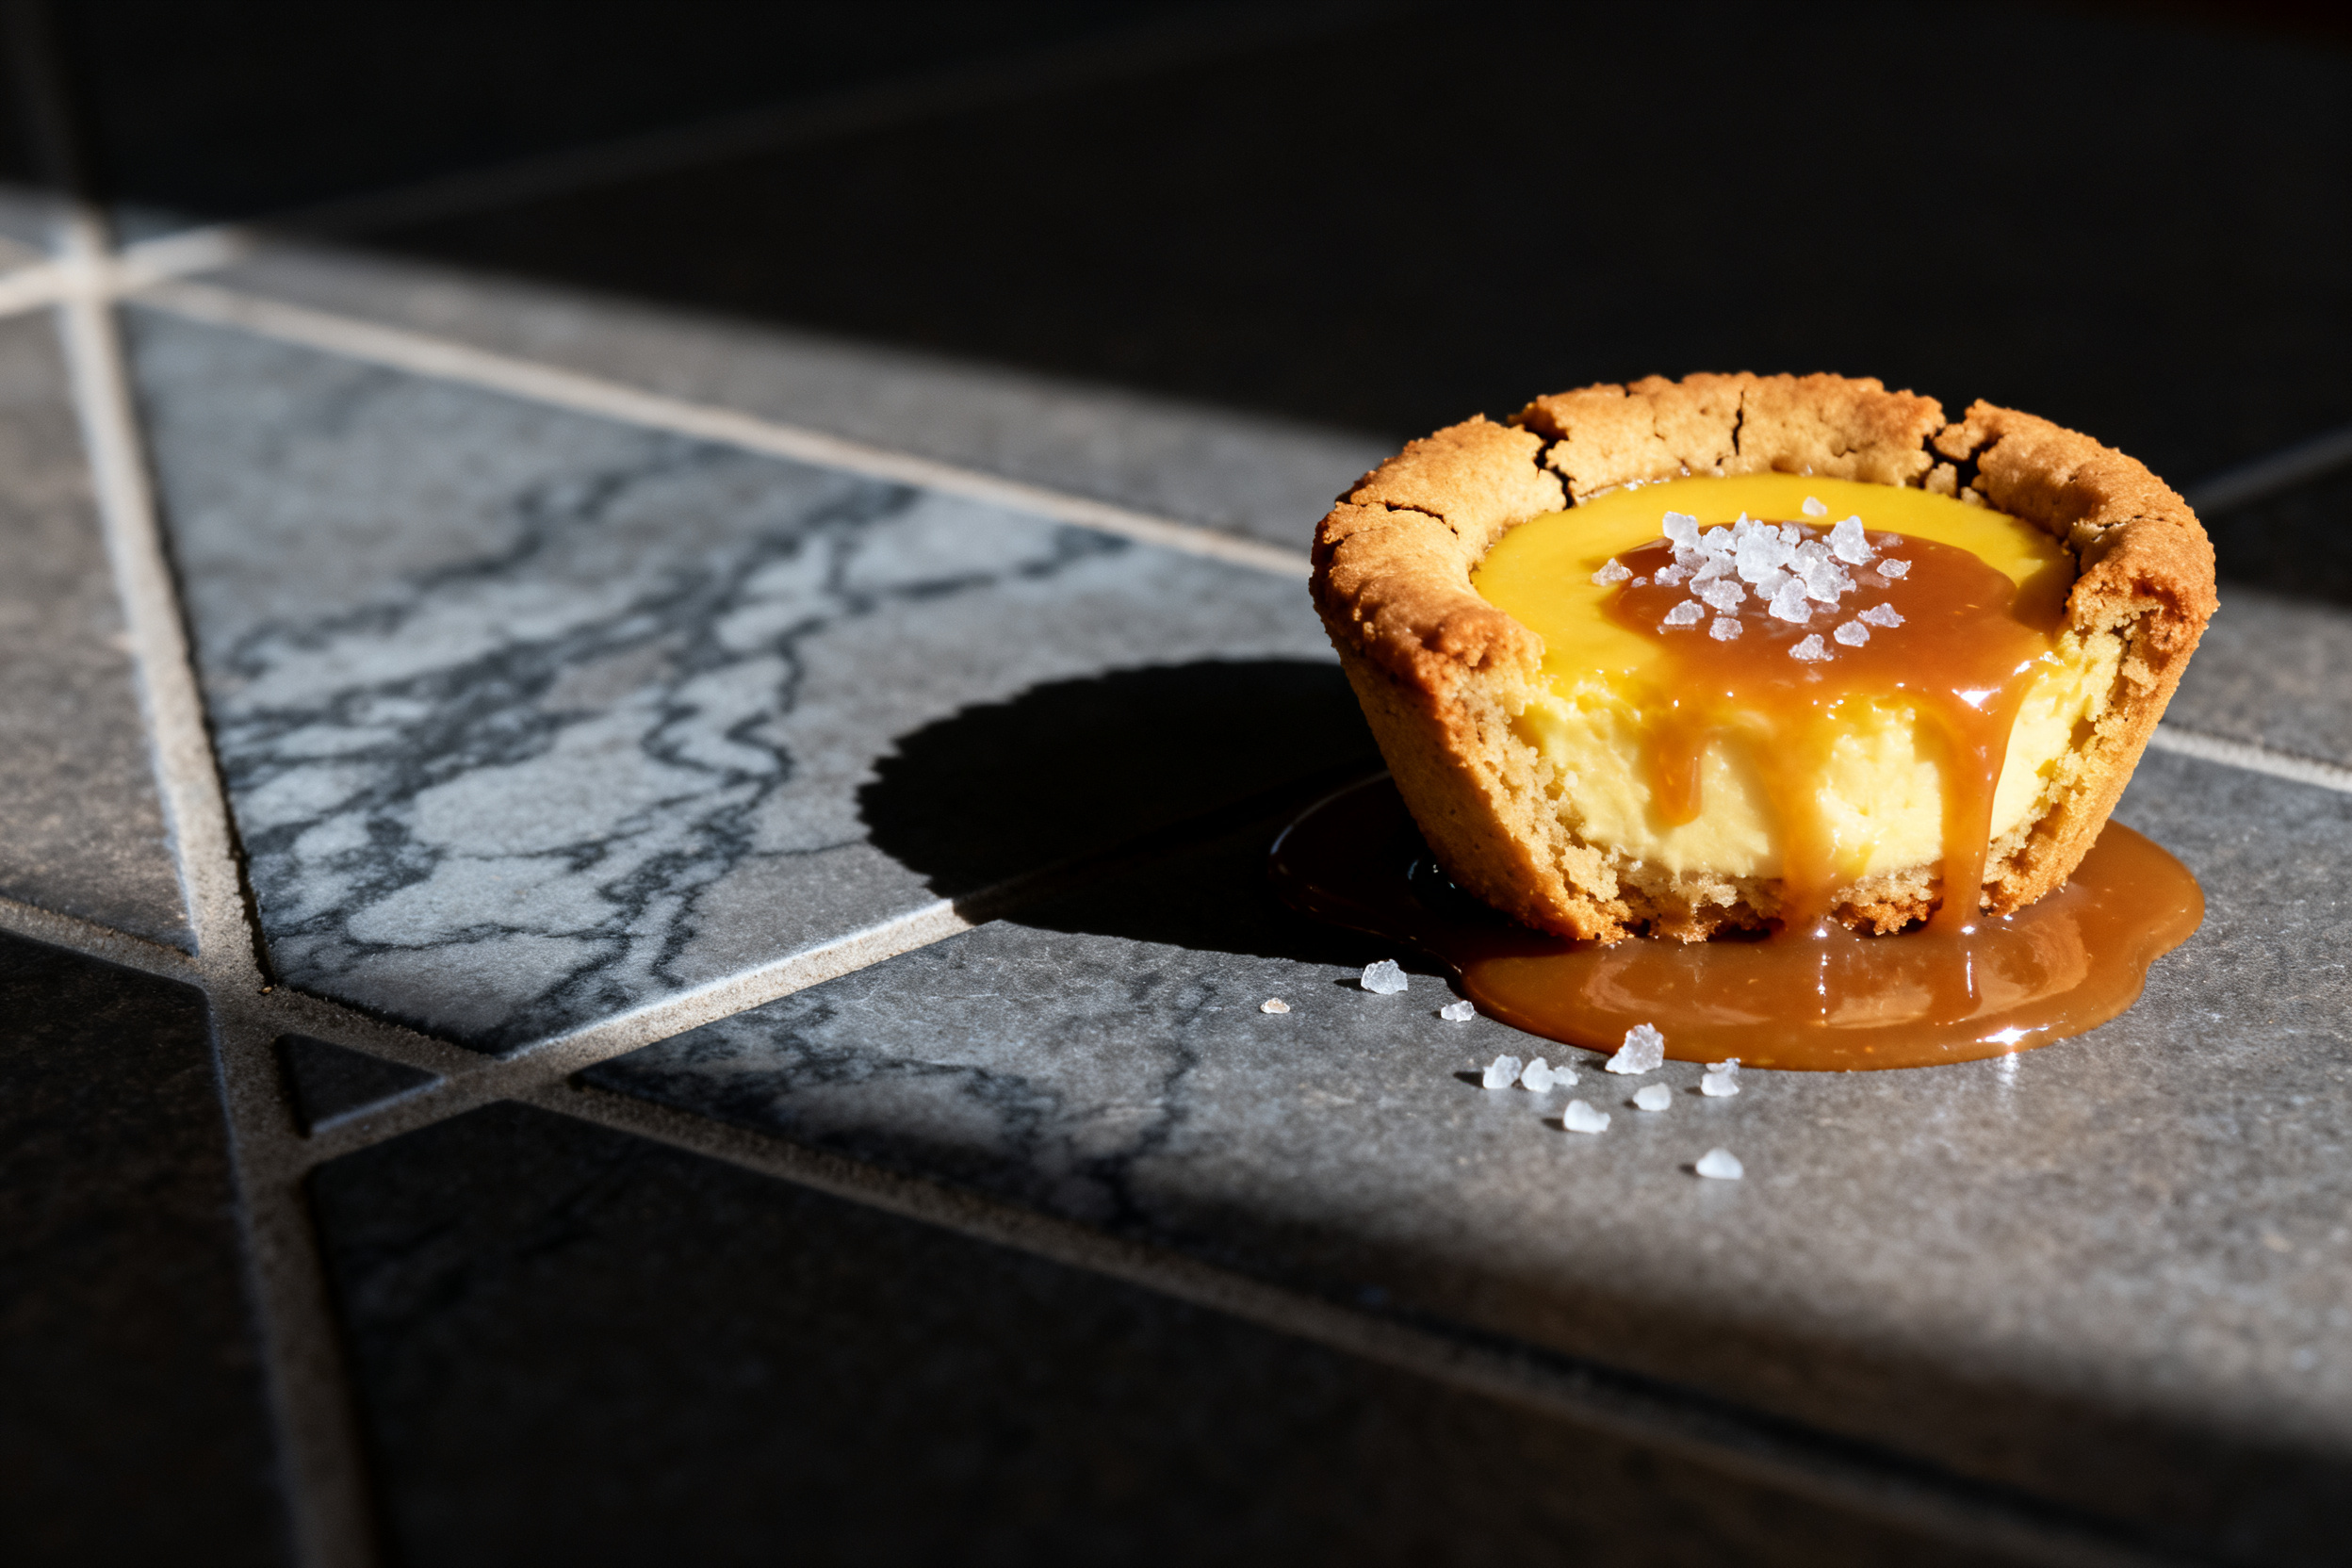
The secret to these cookie cups is the ratio of butter to sugar. We use a higher proportion of brown sugar, which contains molasses. Molasses is hygroscopic, meaning it attracts and holds moisture. This keeps the cups chewy even after they cool. The butter also helps create a tender crumb because it coats the flour proteins, preventing too much gluten formation. That’s why the cups are sturdy but not tough.
Chilling the dough solidifies the fat. When the cups go into the oven, the butter melts slowly, and the dough holds its shape instead of spreading into a puddle. The brief baking time (12-15 minutes) ensures the centers are still slightly soft, so they stay pliable enough to form the cup shape when you press them. The final 5-minute cooling in the pan lets the structure set without drying out.
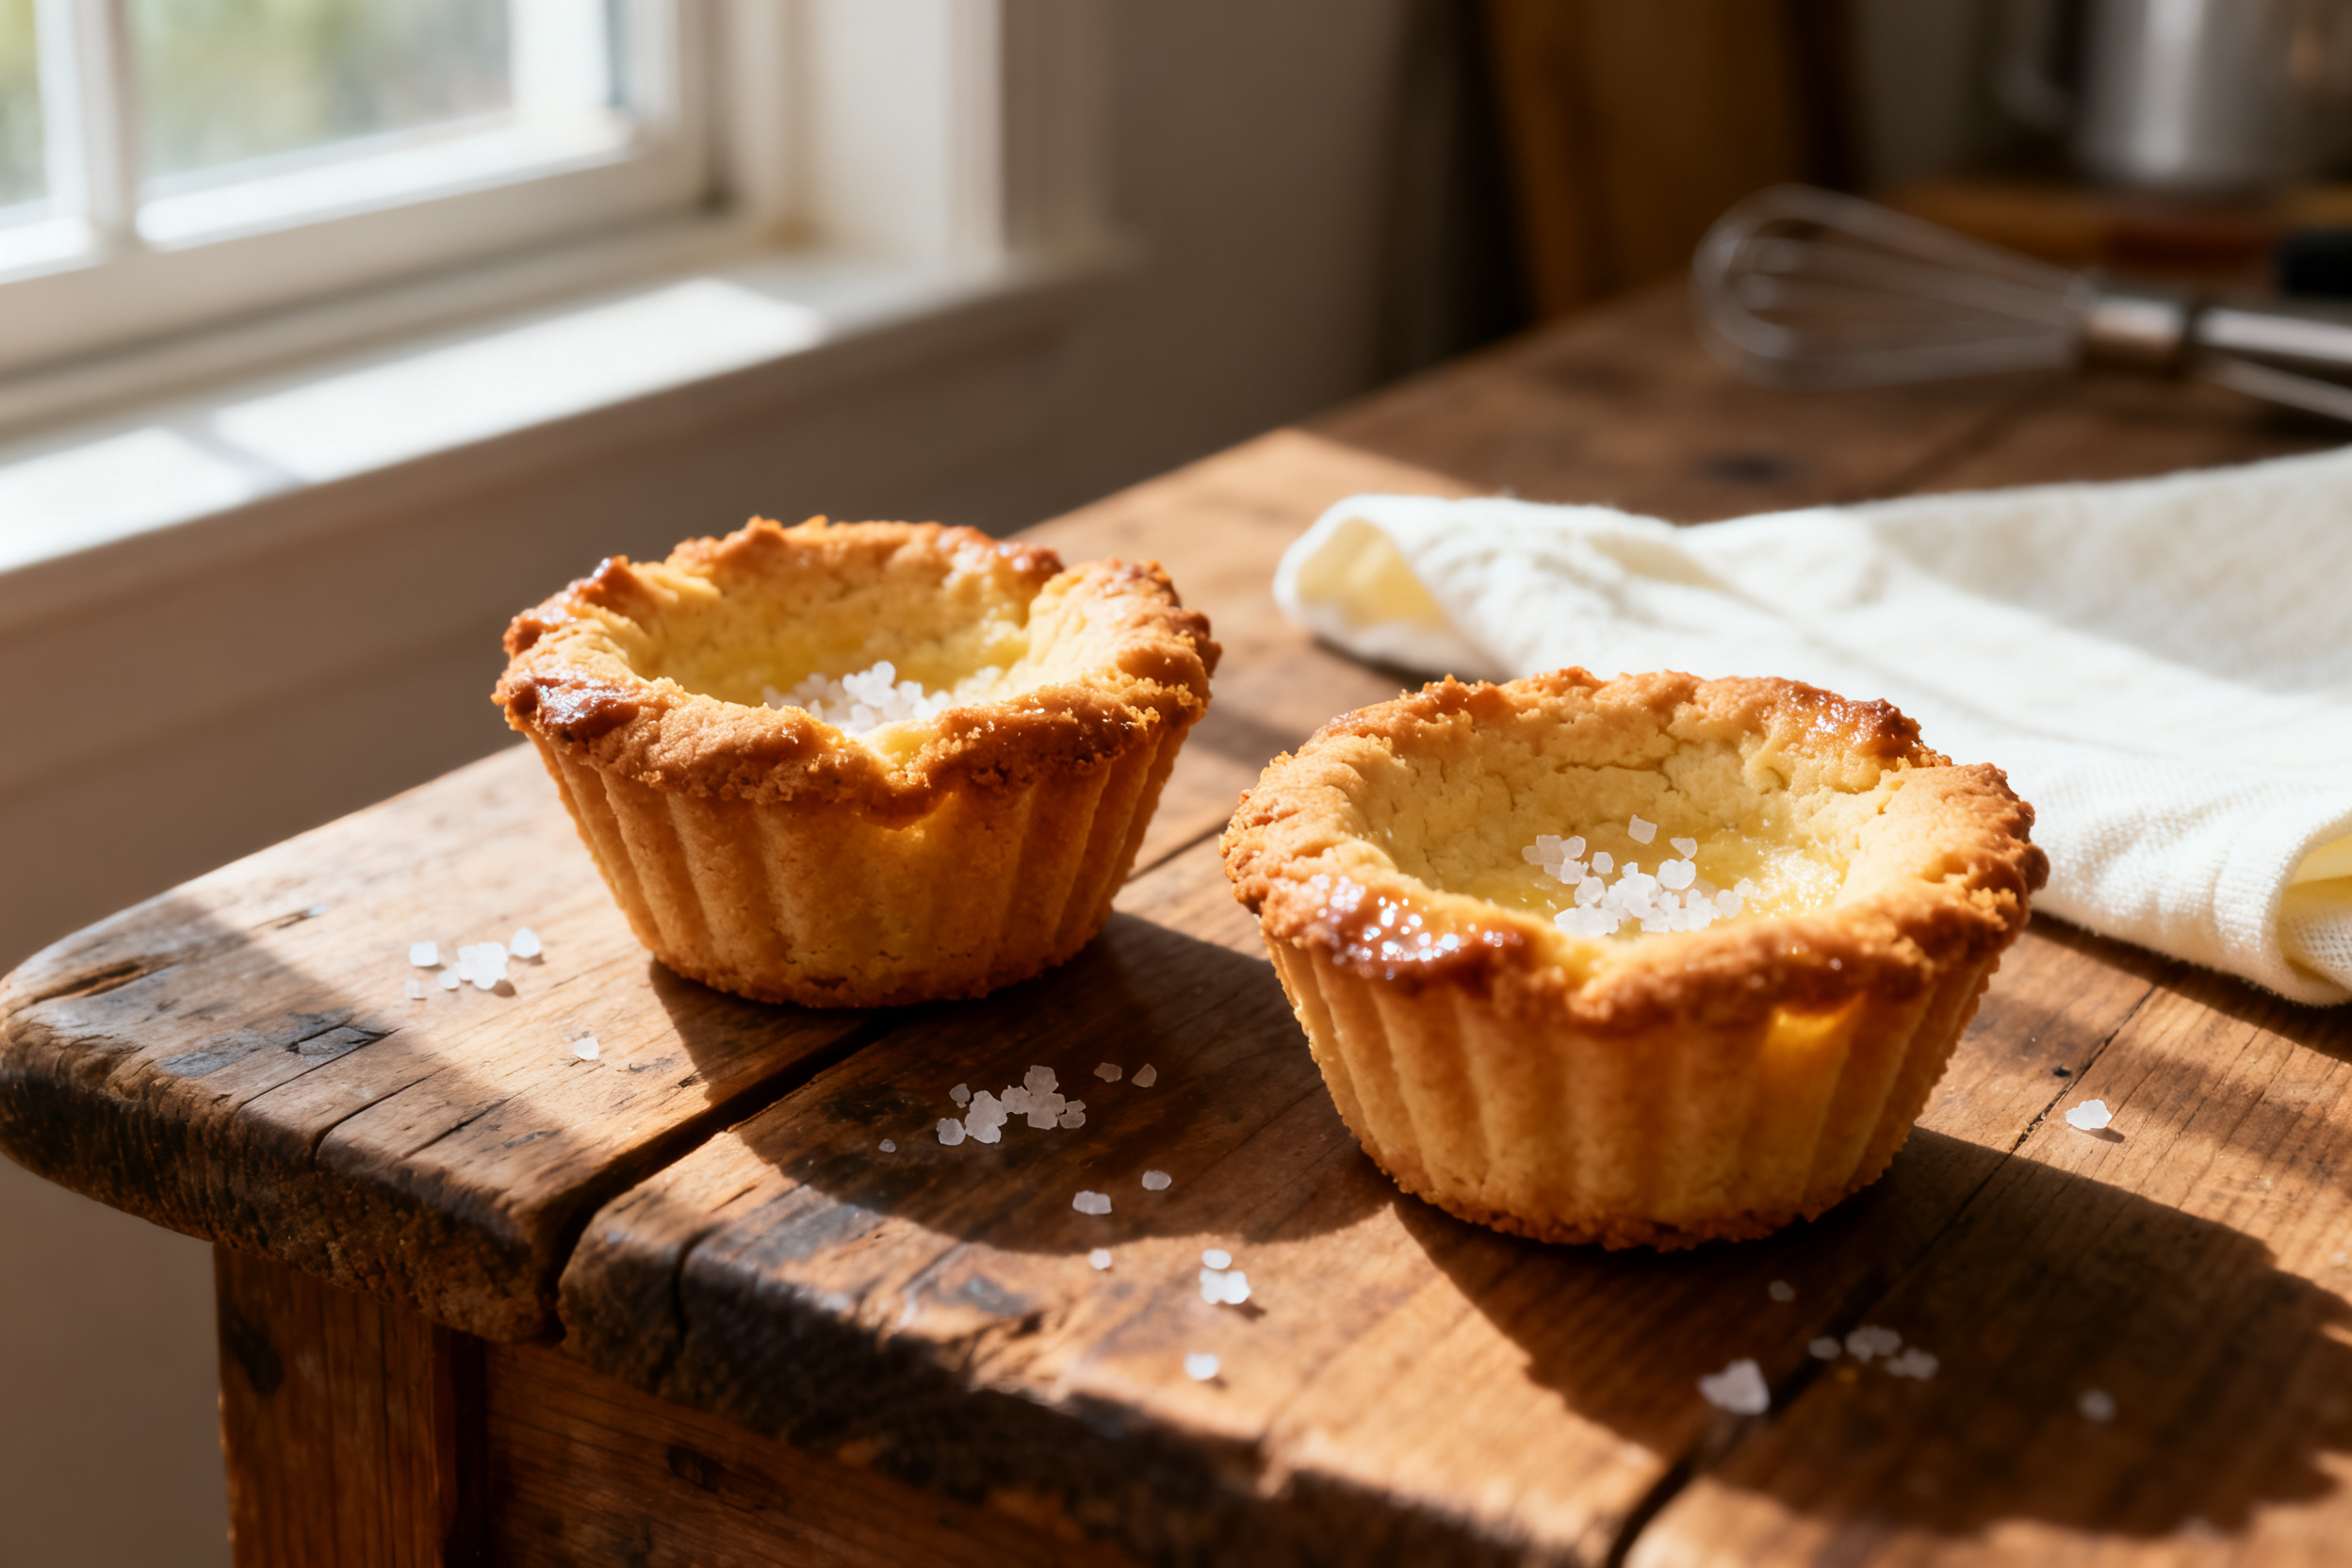
Using the back of a muffin tin (or a standard tin with a shaped tool) creates a natural bowl. The dough wraps around the bump, and gravity helps it hold the form. No need for fancy molds. Just a simple flip and press.
If you’re curious about the exact temperature, 350°F is the sweet spot. Any higher and the edges burn before the center sets. Any lower and they don’t get that golden color. Trust the oven.
10. Frequently Asked Questions (FAQ)
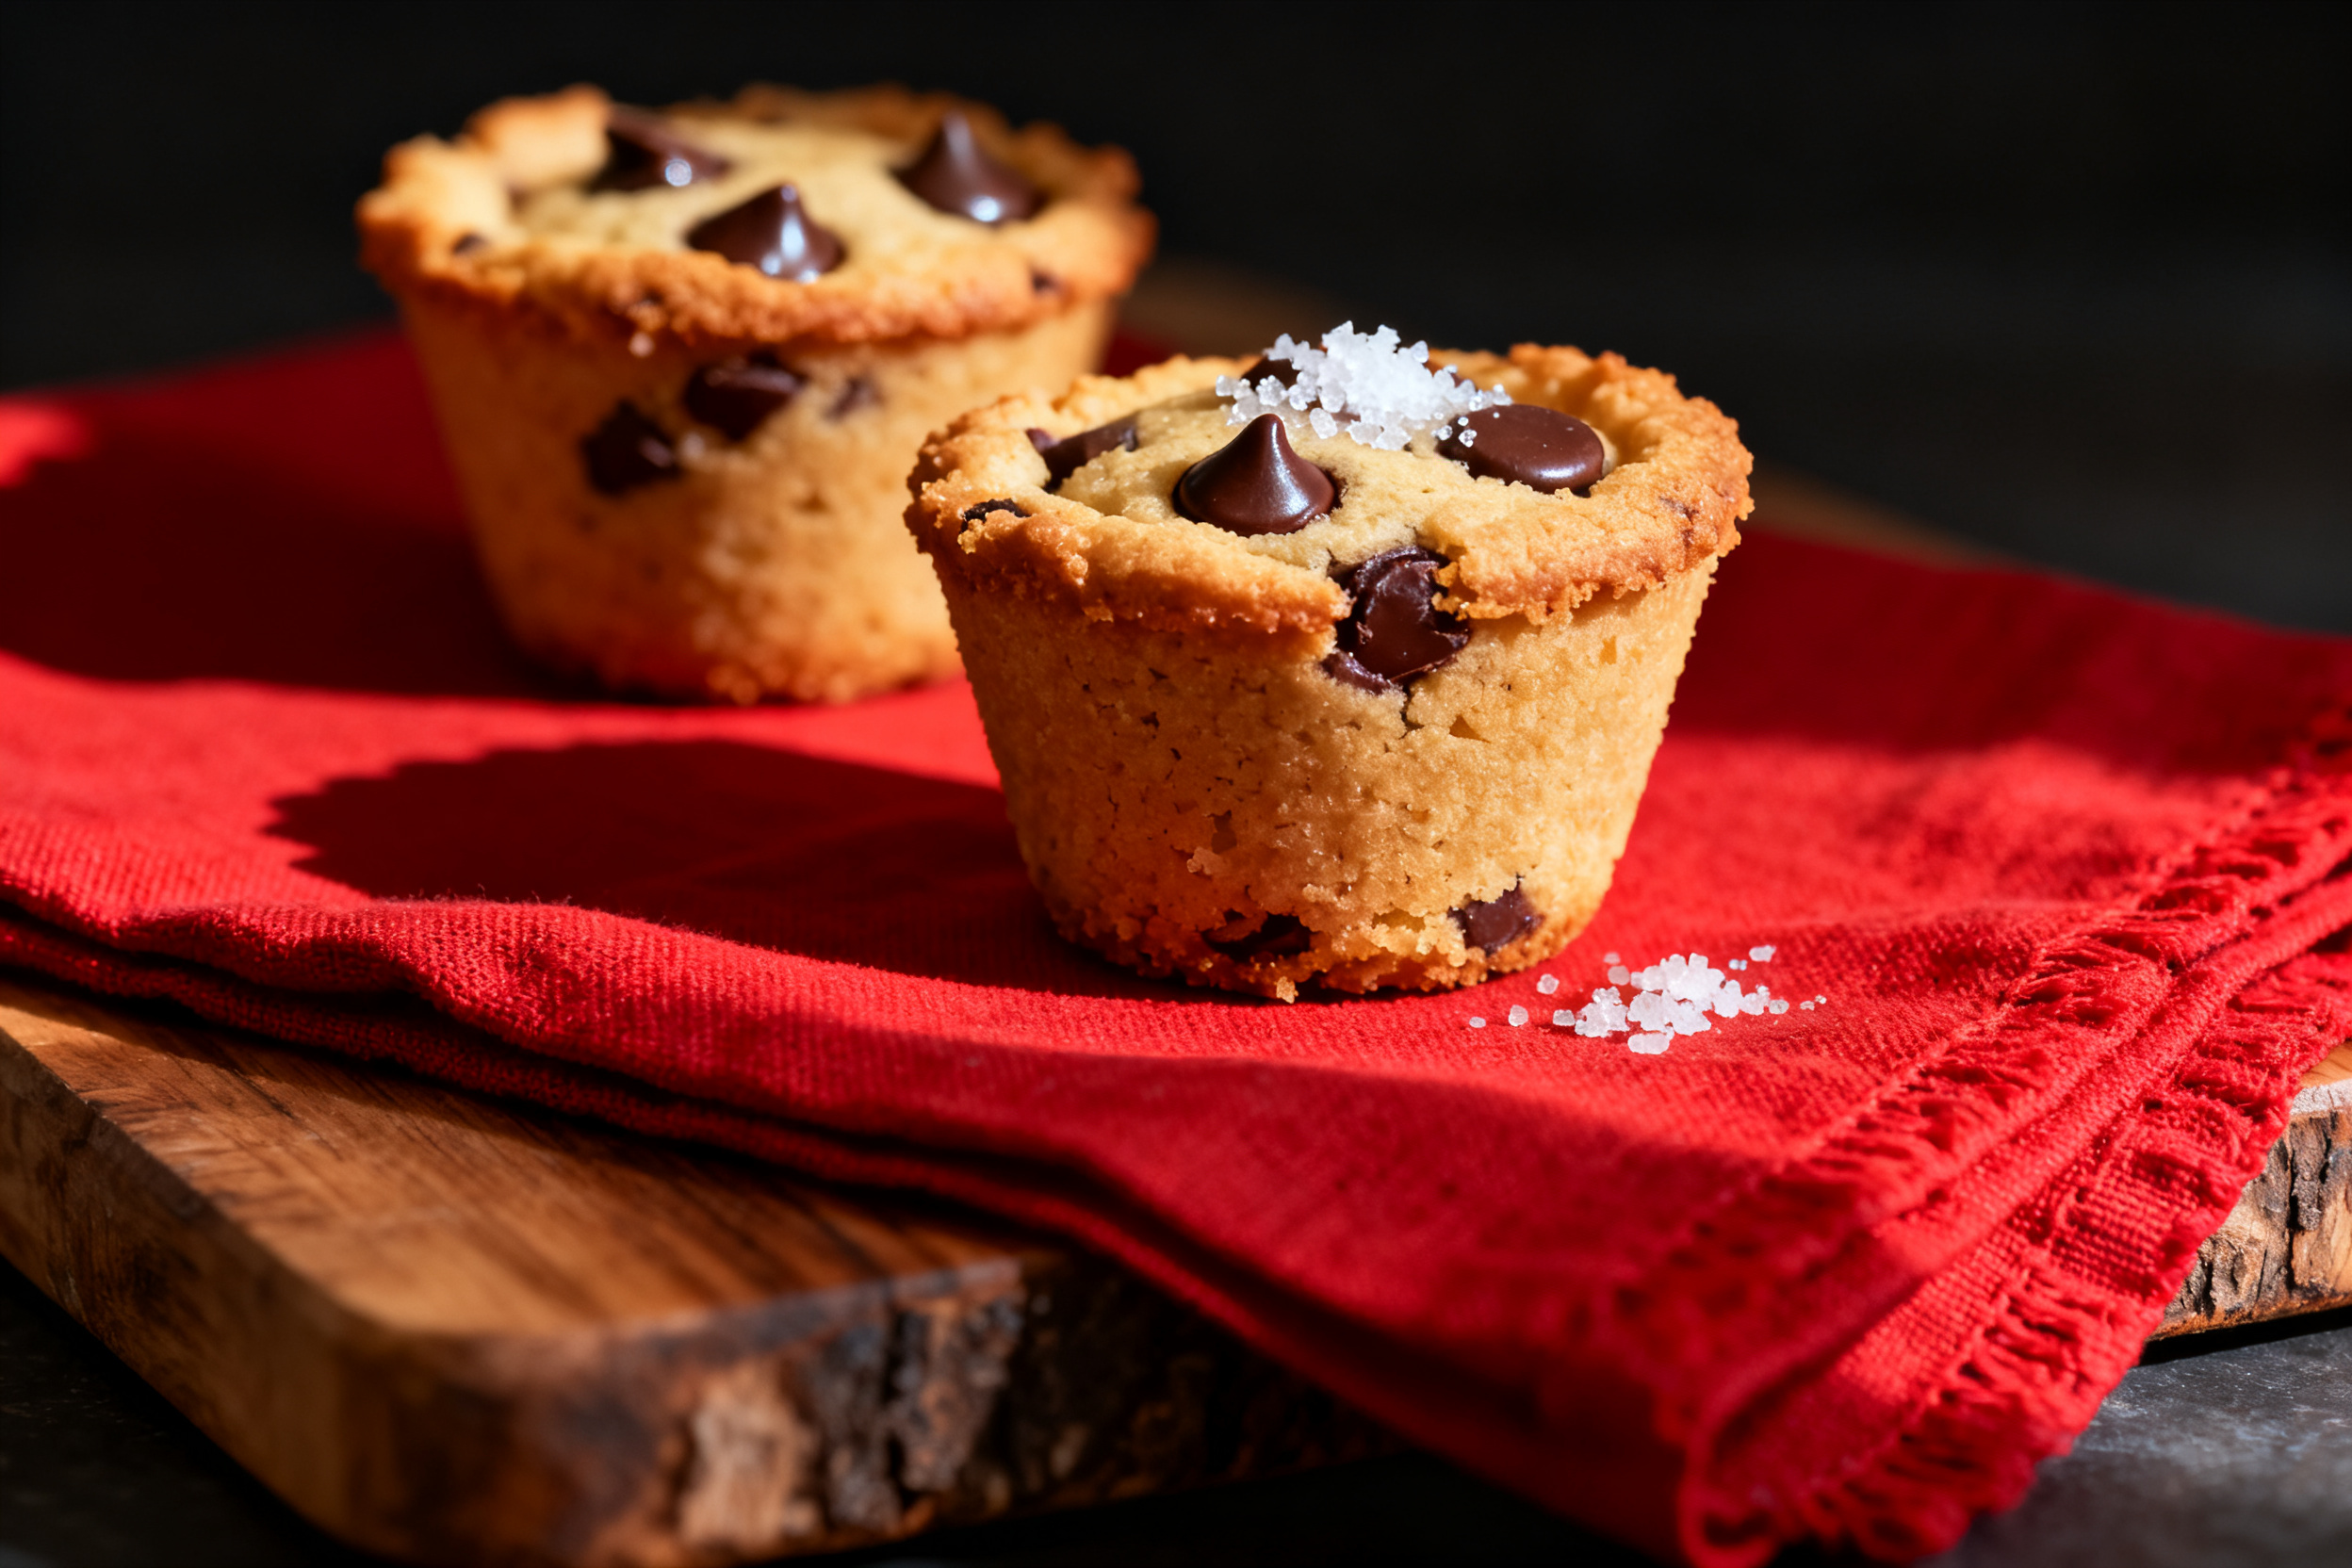
Can I use a mini muffin tin instead of a standard one? Yes, but reduce the baking time to 8-10 minutes. You’ll get smaller cups, perfect for one-bite desserts. Adjust the dough amount – use about 1 tablespoon of dough per mini cup.
Can I make these ahead for a party? Absolutely. Bake the cups up to 2 days in advance, store them in an airtight container, and fill them just before serving. If you’re filling them with ice cream, keep the cups in the freezer and fill right before serving.
Why did my cookie cups crack? Cracking happens if the dough is too dry. Make sure you measure the flour correctly (spoon and level, don’t scoop). Also, if you press the dough too thin, it can crack during baking. Aim for a consistent 1/4-inch thickness.
Can I use a gluten-free flour blend that doesn’t have xanthan gum? Add 1/2 teaspoon of xanthan gum per cup of flour, or use a blend that already includes it. Otherwise, the dough will be crumbly and won’t hold its shape.
What if I don’t have a muffin tin? You can use a mini pie pan or even a silicone cupcake mold. Just make sure the pan is oven-safe. Alternatively, you can shape the dough into small balls, then press them into a greased cupcake tin upside down – but that’s a bit more advanced. Stick with the muffin tin for the best results.
Can I freeze the filled cookie cups? Not recommended. The filling will make them soggy. Freeze the empty cups, then fill them fresh. That’s the way to go.
11. Call to action (comment, share, subscribe)
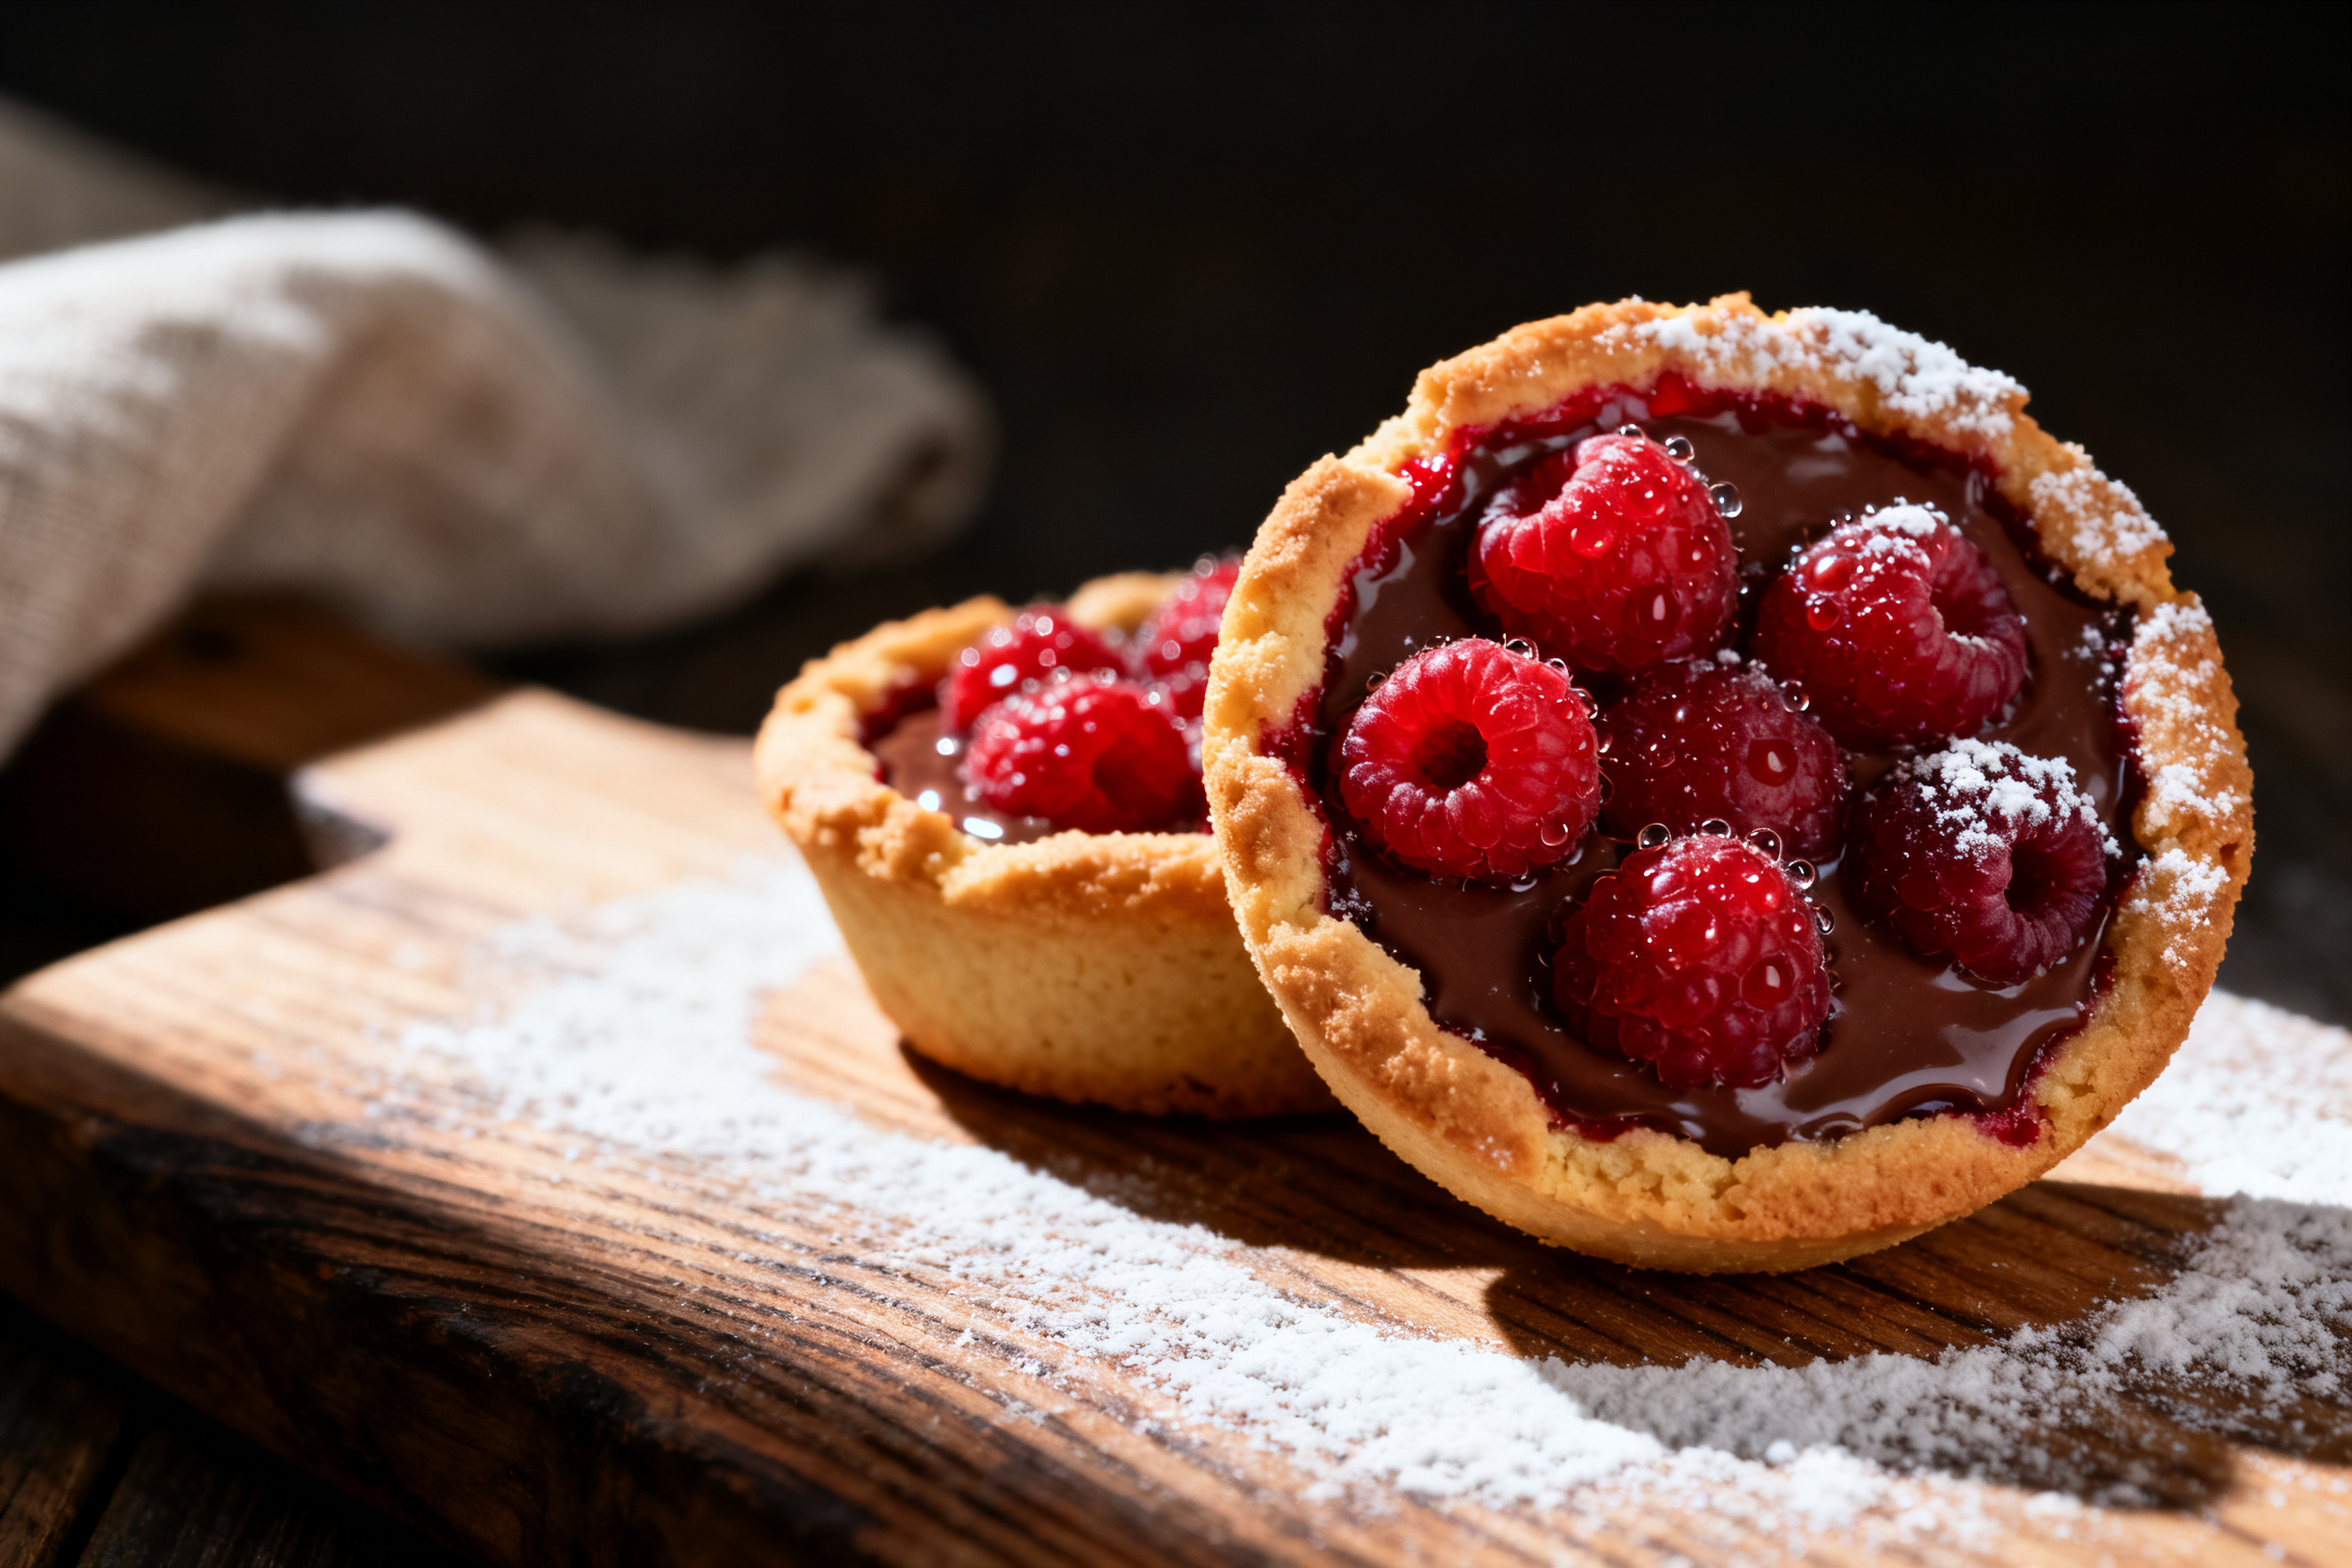
I’d love to see how your cookie cups turn out! Drop a comment below and tell me what filling you used. Did you go classic with ice cream, or did you try something wild like a savory option? Share a photo on social media and tag me so I can see your creations.
If you found this recipe helpful, please share it with your friends and family. They’ll thank you when they bite into a perfect homemade cookie cup. And don’t forget to subscribe to my newsletter for more easy desserts that beat the bakery every time. No spam, just deliciousness.
Happy baking, and remember – you don’t need a muffin tin to make magic. Just a little dough, a little patience, and a lot of chocolate.
Conclusion
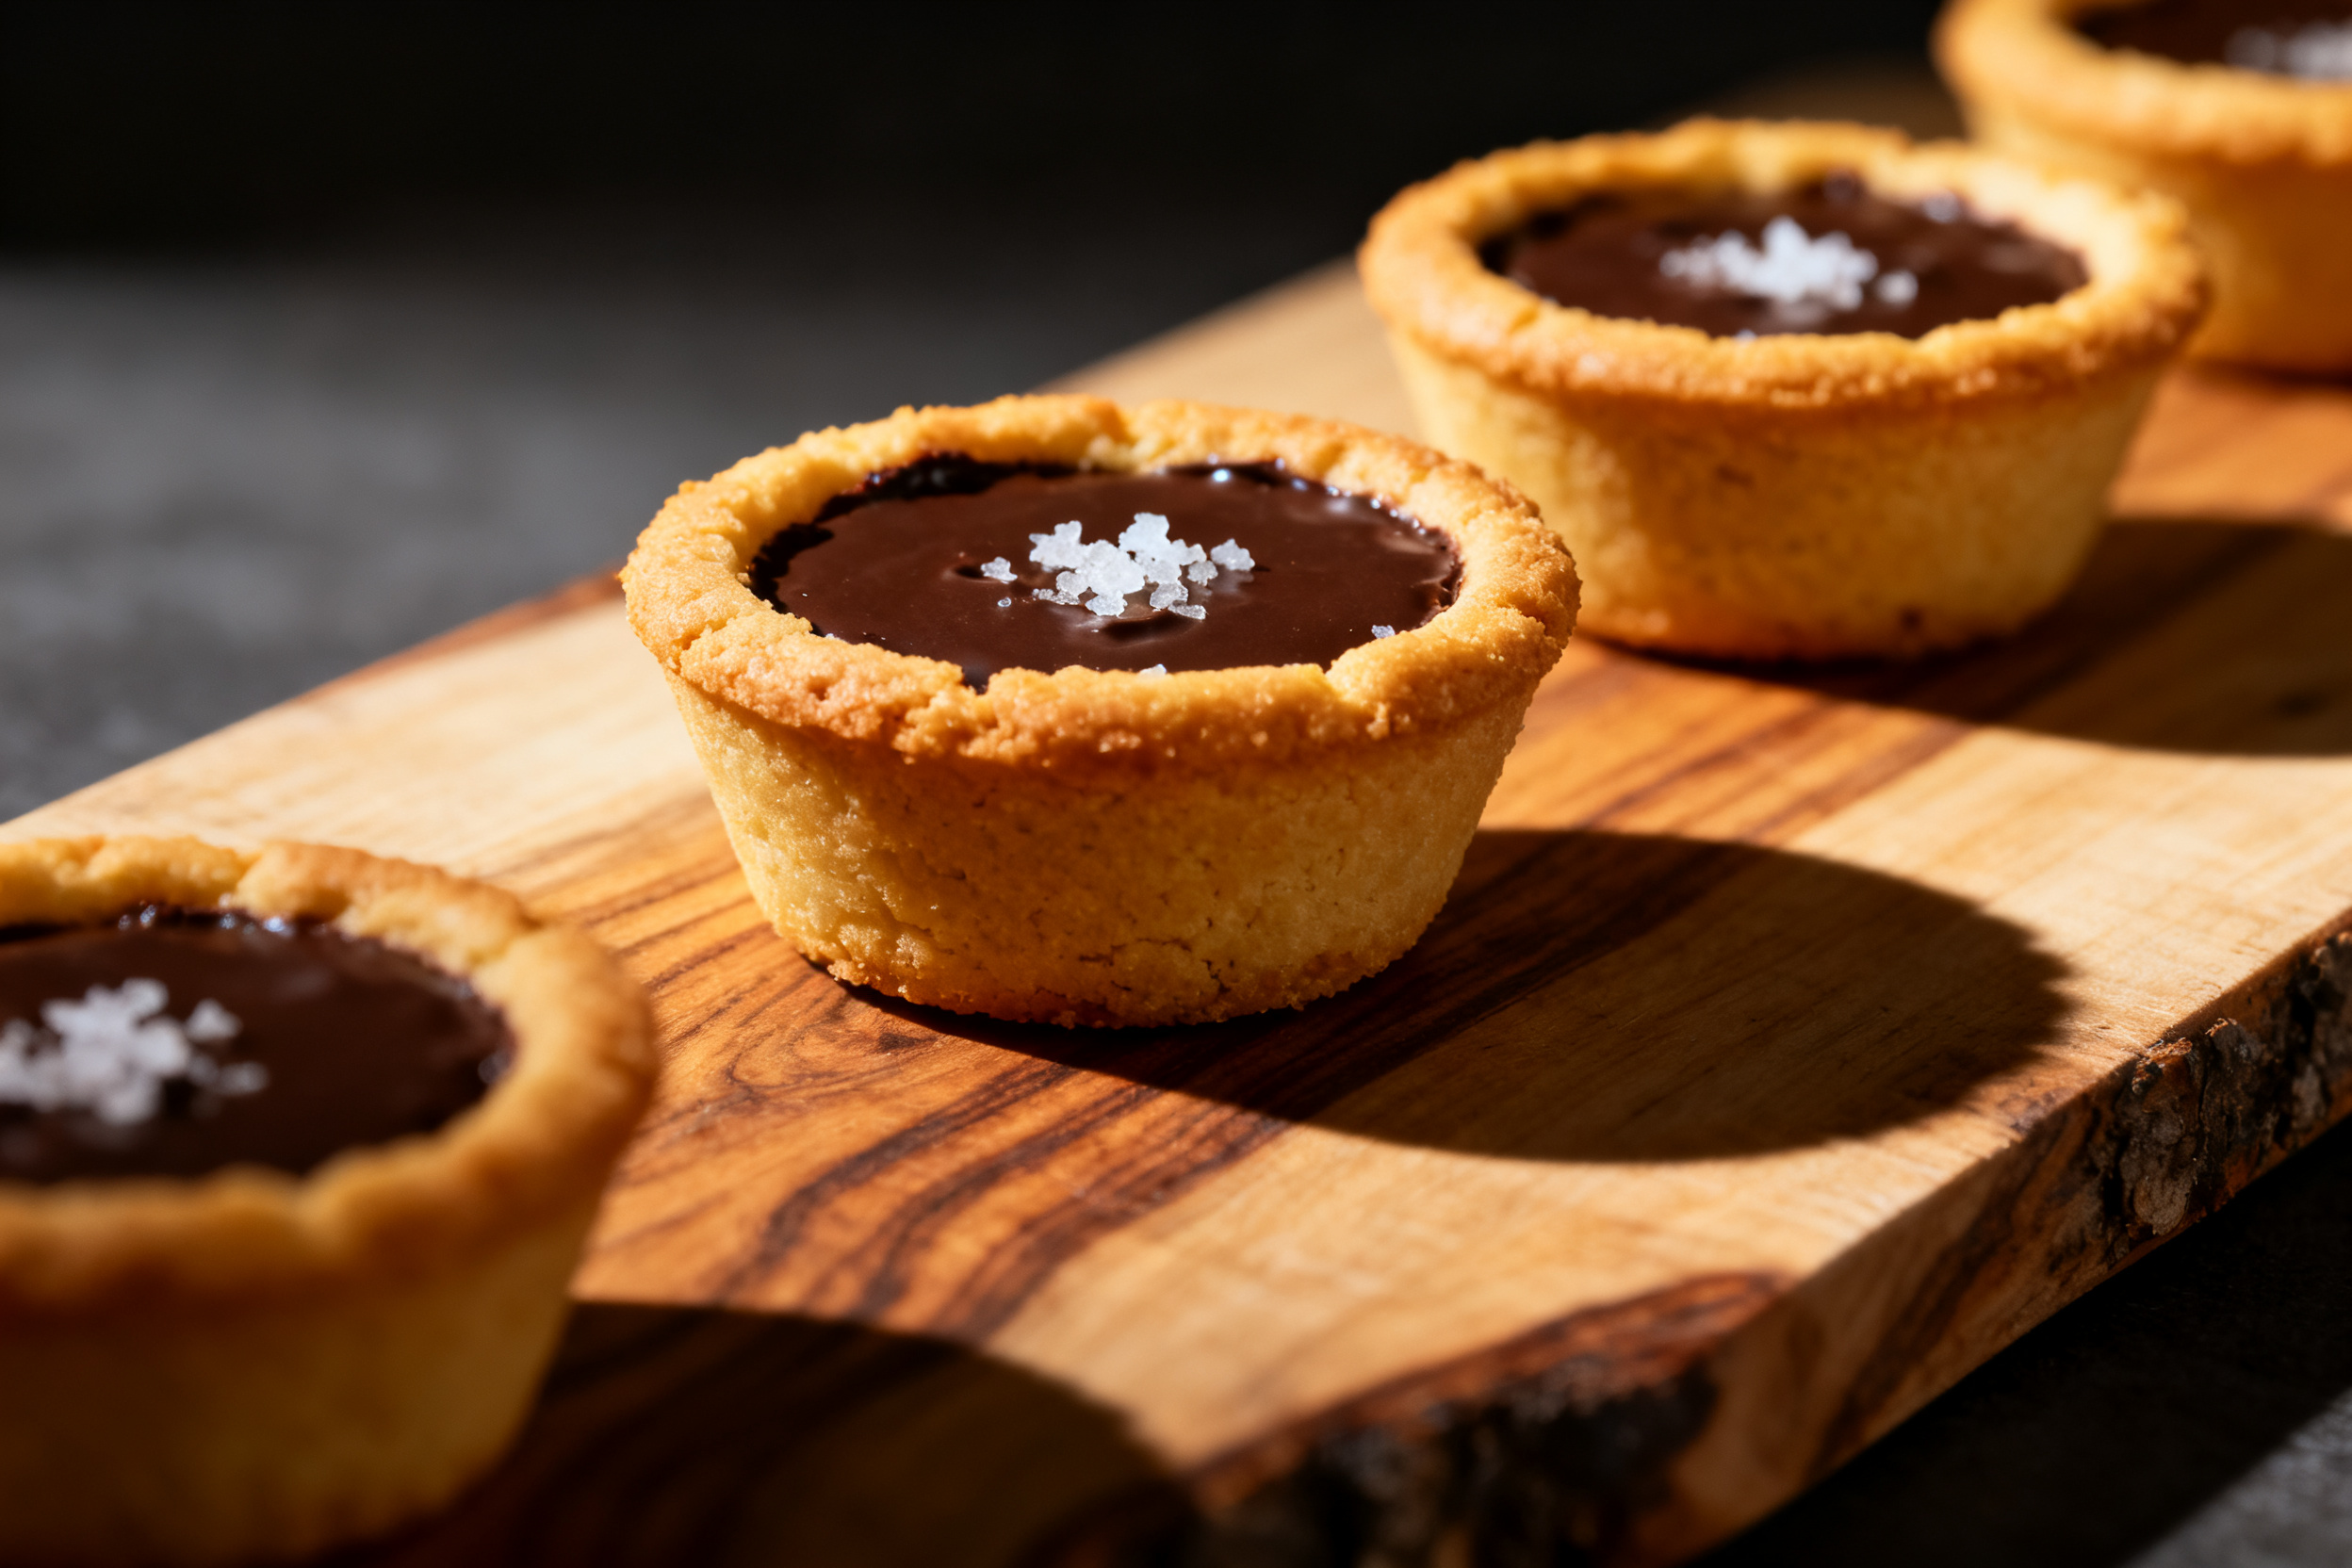
This cookie cups recipe is a game-changer for anyone who loves a good dessert but hates the hassle of paper liners and sad, crumbly results. With a few simple tricks, you get a perfectly shaped, buttery cup that holds any filling you imagine. It’s fun, it’s foolproof, and it’s way cheaper than buying them at a bakery.
So go ahead, grab your muffin tin (or not, because you’re flipping it), and make a batch tonight. Your family will think you’re a professional pastry chef. I won’t tell them the secret.
Now go make some cookie cups. You’ve got this.
Classic Chocolate Chip Cookie Cups Recipe
Ingredients
- 1 1/2 cups all-purpose flour
- 1/2 teaspoon baking soda
- 1/4 teaspoon salt
- 1/2 cup unsalted butter softened
- 1/2 cup packed brown sugar light or dark
- 1/4 cup granulated sugar
- 1 large egg room temperature
- 1 teaspoon vanilla extract
- 3/4 cup semi-sweet chocolate chips
- Additional butter for greasing the muffin tin
Instructions
- In a medium bowl, whisk together flour, baking soda, and salt. Set aside.
- In a large bowl, beat the softened butter, brown sugar, and granulated sugar until light and fluffy, about 2 minutes.
- Add the egg and vanilla extract. Beat until well combined.
- Gradually add the dry ingredients to the wet mixture, mixing on low until just combined. Do not overmix.
- Fold in the chocolate chips. Cover the dough with plastic wrap and refrigerate for at least 30 minutes (up to 3 days).
- Preheat oven to 350°F (175°C). Generously grease a 12-cup standard muffin tin with butter or cooking spray.
- Divide the chilled dough into 12 equal portions (about 2 tablespoons each). Roll each into a ball.
- Place each dough ball into a muffin cup. Using your fingers or a tart shaper, press the dough evenly against the bottom and up the sides of each cup, forming a bowl shape about 1/4 inch thick. Make sure the rim is even.
- Bake for 12-14 minutes, until the edges are golden brown and the centers look set but still slightly soft.
- Remove from the oven and let the cups cool in the pan for exactly 5 minutes. Gently twist each cup to loosen, then transfer to a wire rack to cool completely.
- Fill with your desired filling (ice cream, pudding, whipped cream, etc.) just before serving.
Notes
2. Grease well: Even non-stick pans need a good coating of butter or spray. Use a pastry brush to get into the corners.
3. Make it dairy-free: Substitute vegan butter and use dairy-free chocolate chips. The texture will be slightly softer.
4. Make it gluten-free: Use a 1:1 gluten-free baking blend that contains xanthan gum.
5. Add 1/2 teaspoon of vanilla for extra flavor.
6. Storage: Unfilled cookie cups keep at room temperature in an airtight container for up to 3 days.
7. Freeze for up to 3 months.
8. Filling tip: To prevent sogginess, brush the inside of the cooled cups with a thin layer of melted chocolate and let it set before adding wet fillings.