

I have a confession. For years, my cut-out cookies looked like sad, bloated blobs. The reindeer had no antlers, and the snowmen looked like they melted in July. It was a Christmas tragedy every single year.
Then I cracked the code. The secret to a cookie that holds a crisp, clean edge but still gives you that pillowy, tender bite is all in the technique. No more rock-hard hockey pucks or puffy messes.
This cut out cookie recipe is the only one you will ever need. It bakes flat, keeps its shape, and tastes like a cloud of vanilla butter happiness. Let us fix your cookie problems for good.
Allergens
This recipe contains gluten (all-purpose flour) and dairy (butter). It also contains eggs.
For a dairy-free swap, use a high-quality vegan butter stick. For a gluten-free version, use a 1-to-1 gluten-free baking flour blend that contains xanthan gum.
I cannot guarantee the vegan butter will give you the exact same “sharp edge” texture, but it gets close enough for a solid cookie.
Ingredient Notes & Substitutions
Use unsalted butter here. Salted butter makes the cookies taste salty and throws off the balance. We control the salt ourselves.
Powdered sugar is non-negotiable. It dissolves faster than granulated sugar, giving you a smoother dough that doesn’t spread. Do not swap it for white sugar unless you want flat cookies.
If you only have large eggs, use exactly one. If you have jumbo eggs, beat the egg first and only use half of it. Too much liquid makes the dough sticky.
Storage & Make-Ahead
You can make this dough up to three days ahead. Just wrap it tightly in plastic wrap and keep it in the fridge.
Baked cookies stay fresh in an airtight container at room temperature for up to one week. Layer them with wax paper so the decorations do not smudge.
These freeze beautifully. Freeze the unbaked cut-out shapes on a tray, then pop them into a freezer bag. Bake directly from frozen, adding two extra minutes to the time.
Serving Suggestions

These cookies are perfect for decorating with royal icing and sprinkles. They make the best holiday gift plates.
Pair them with a cold glass of milk or a hot cup of coffee. They also work great as a base for ice cream sandwiches.
Cut them into small shapes for a cookie platter. Nobody can resist a tiny star.
Use Your Leftovers
Do not throw away the dough scraps. Gather them into a ball, re-roll, and cut more cookies.
If you have leftover baked cookies that go stale, crush them up. Use the crumbs as a topping for ice cream or yogurt.
You can also grind them into a fine dust and use them as a pie crust base. Mix with a little melted butter and press into a pan.
Common Mistakes & How to Fix Them
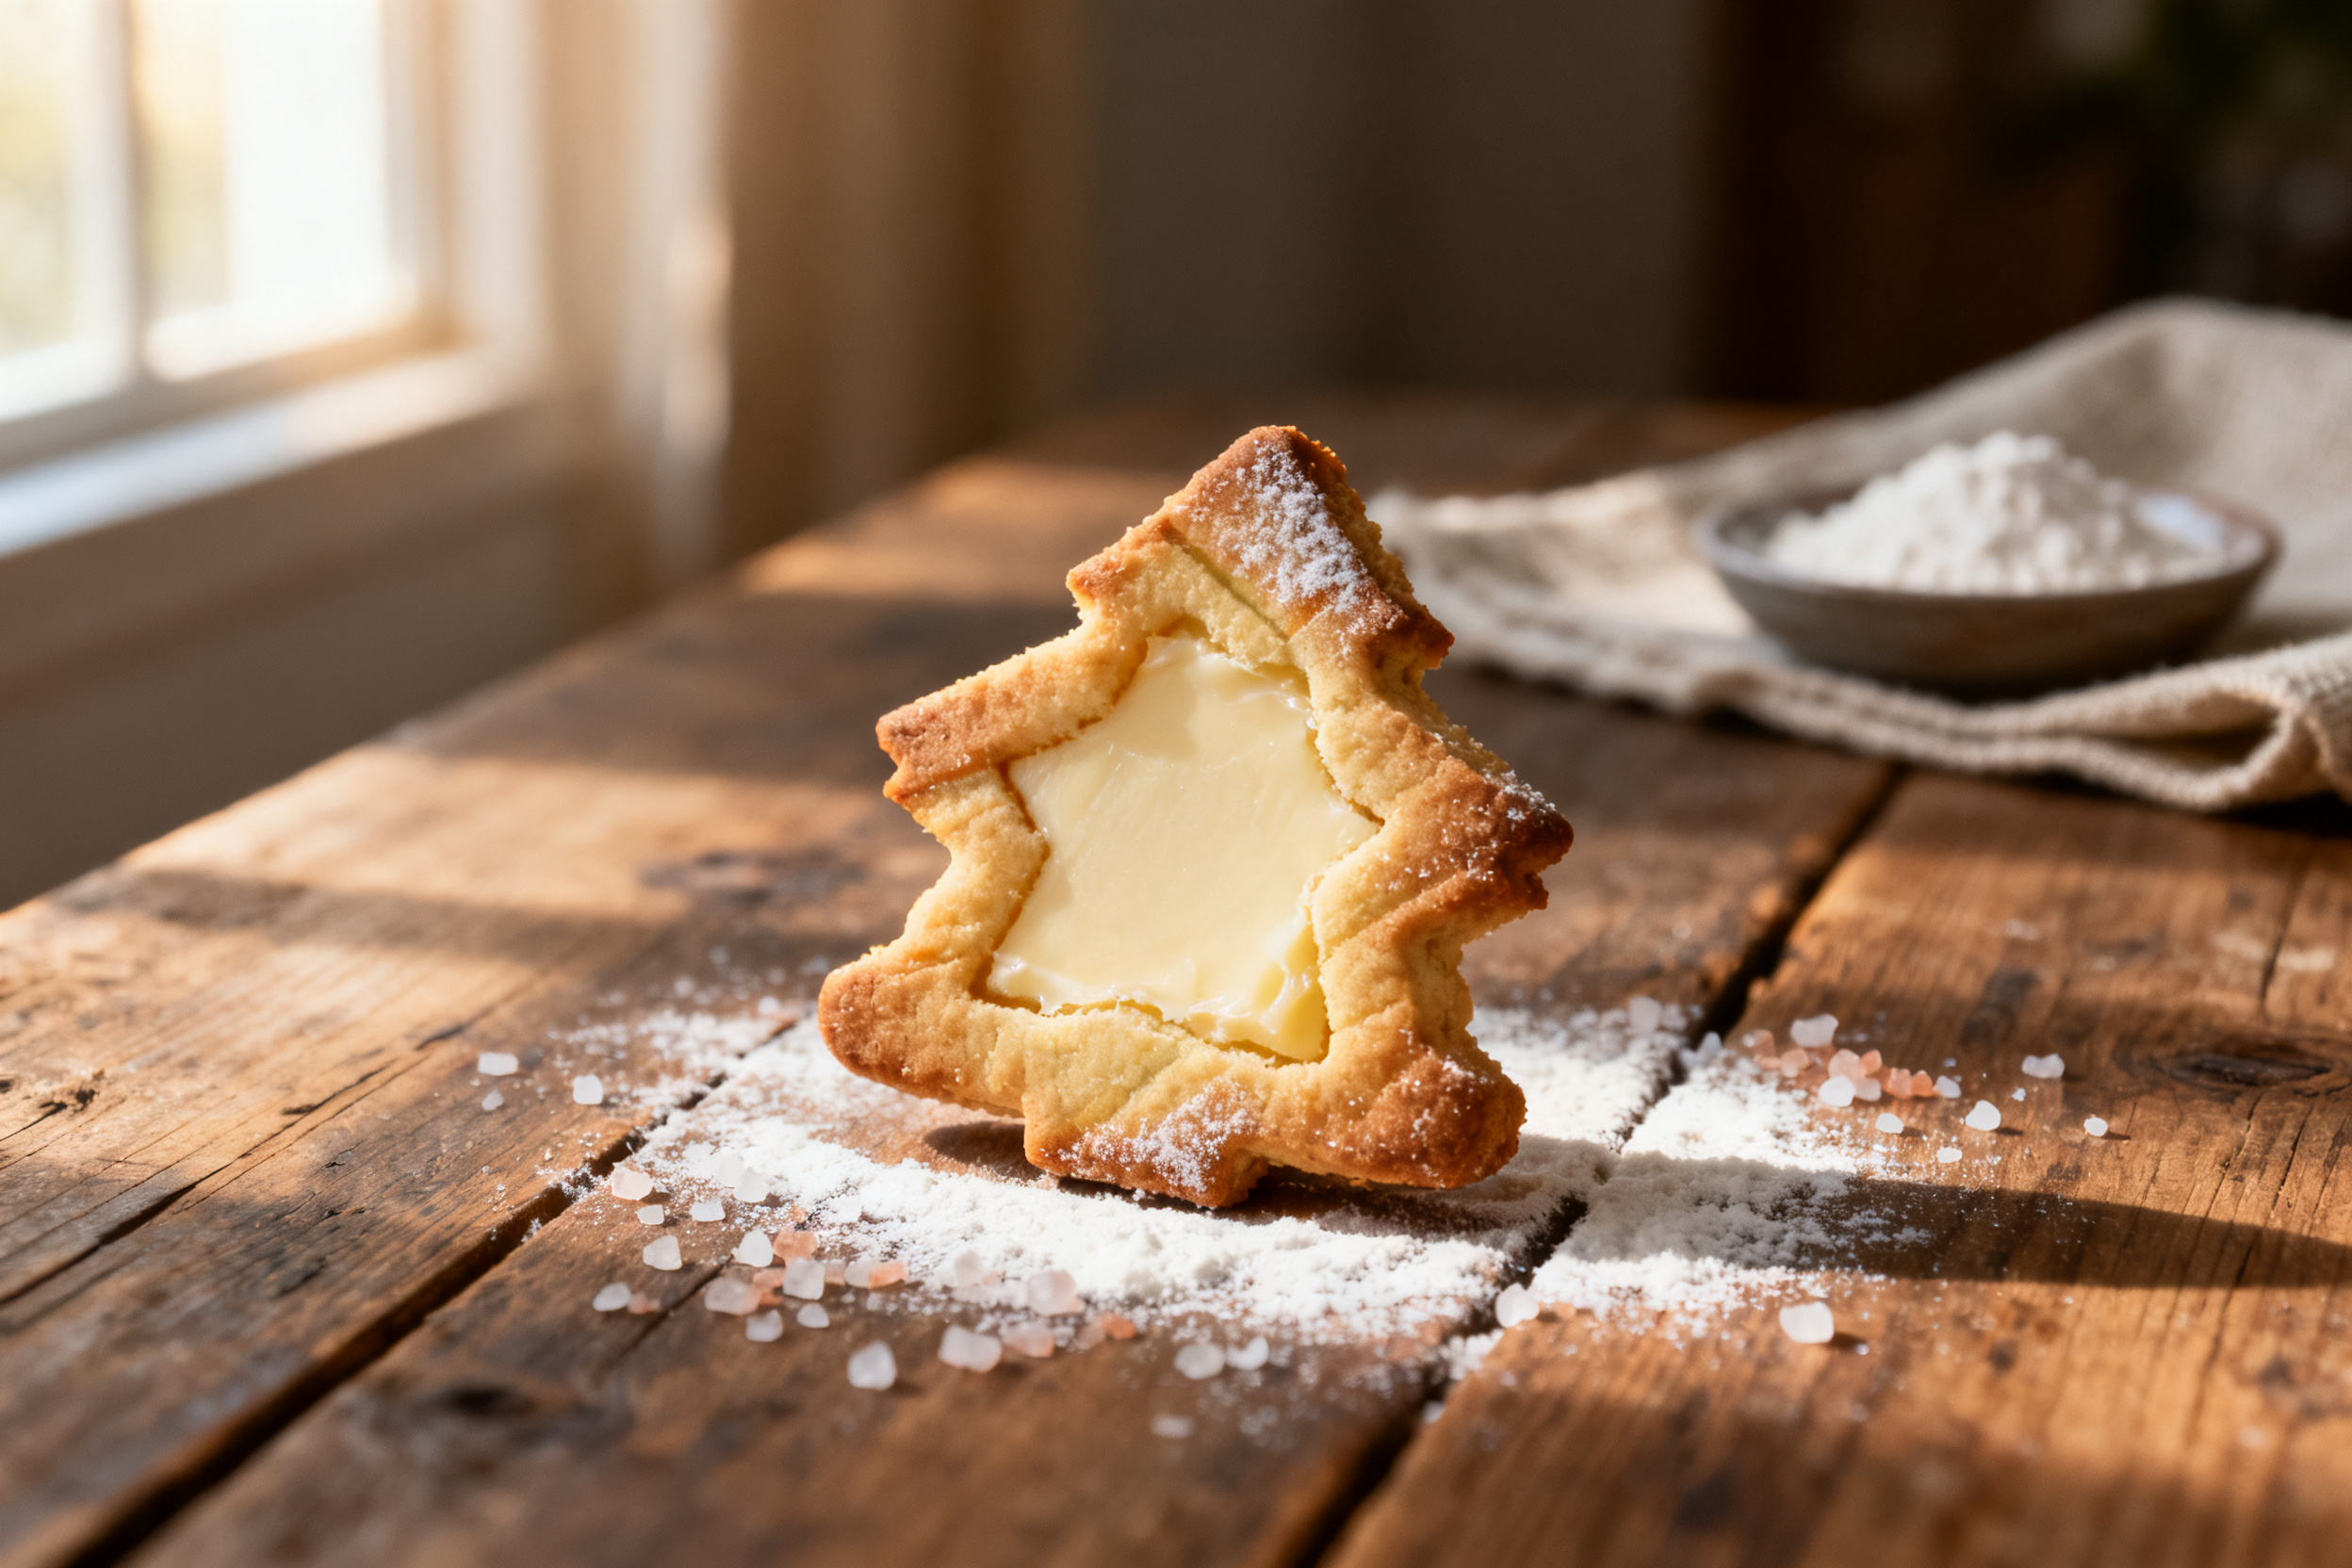
If your cookies spread into blobs, your dough was too warm. Pop it back in the fridge for twenty minutes before baking.
If your cookies are tough and hard, you over-mixed the dough. Stop mixing as soon as the flour disappears.
If the edges are jagged or rough, your cutter was dull. Dip the cutter in flour before each cut for a cleaner edge.
Variations by Diet or Flavor Profile
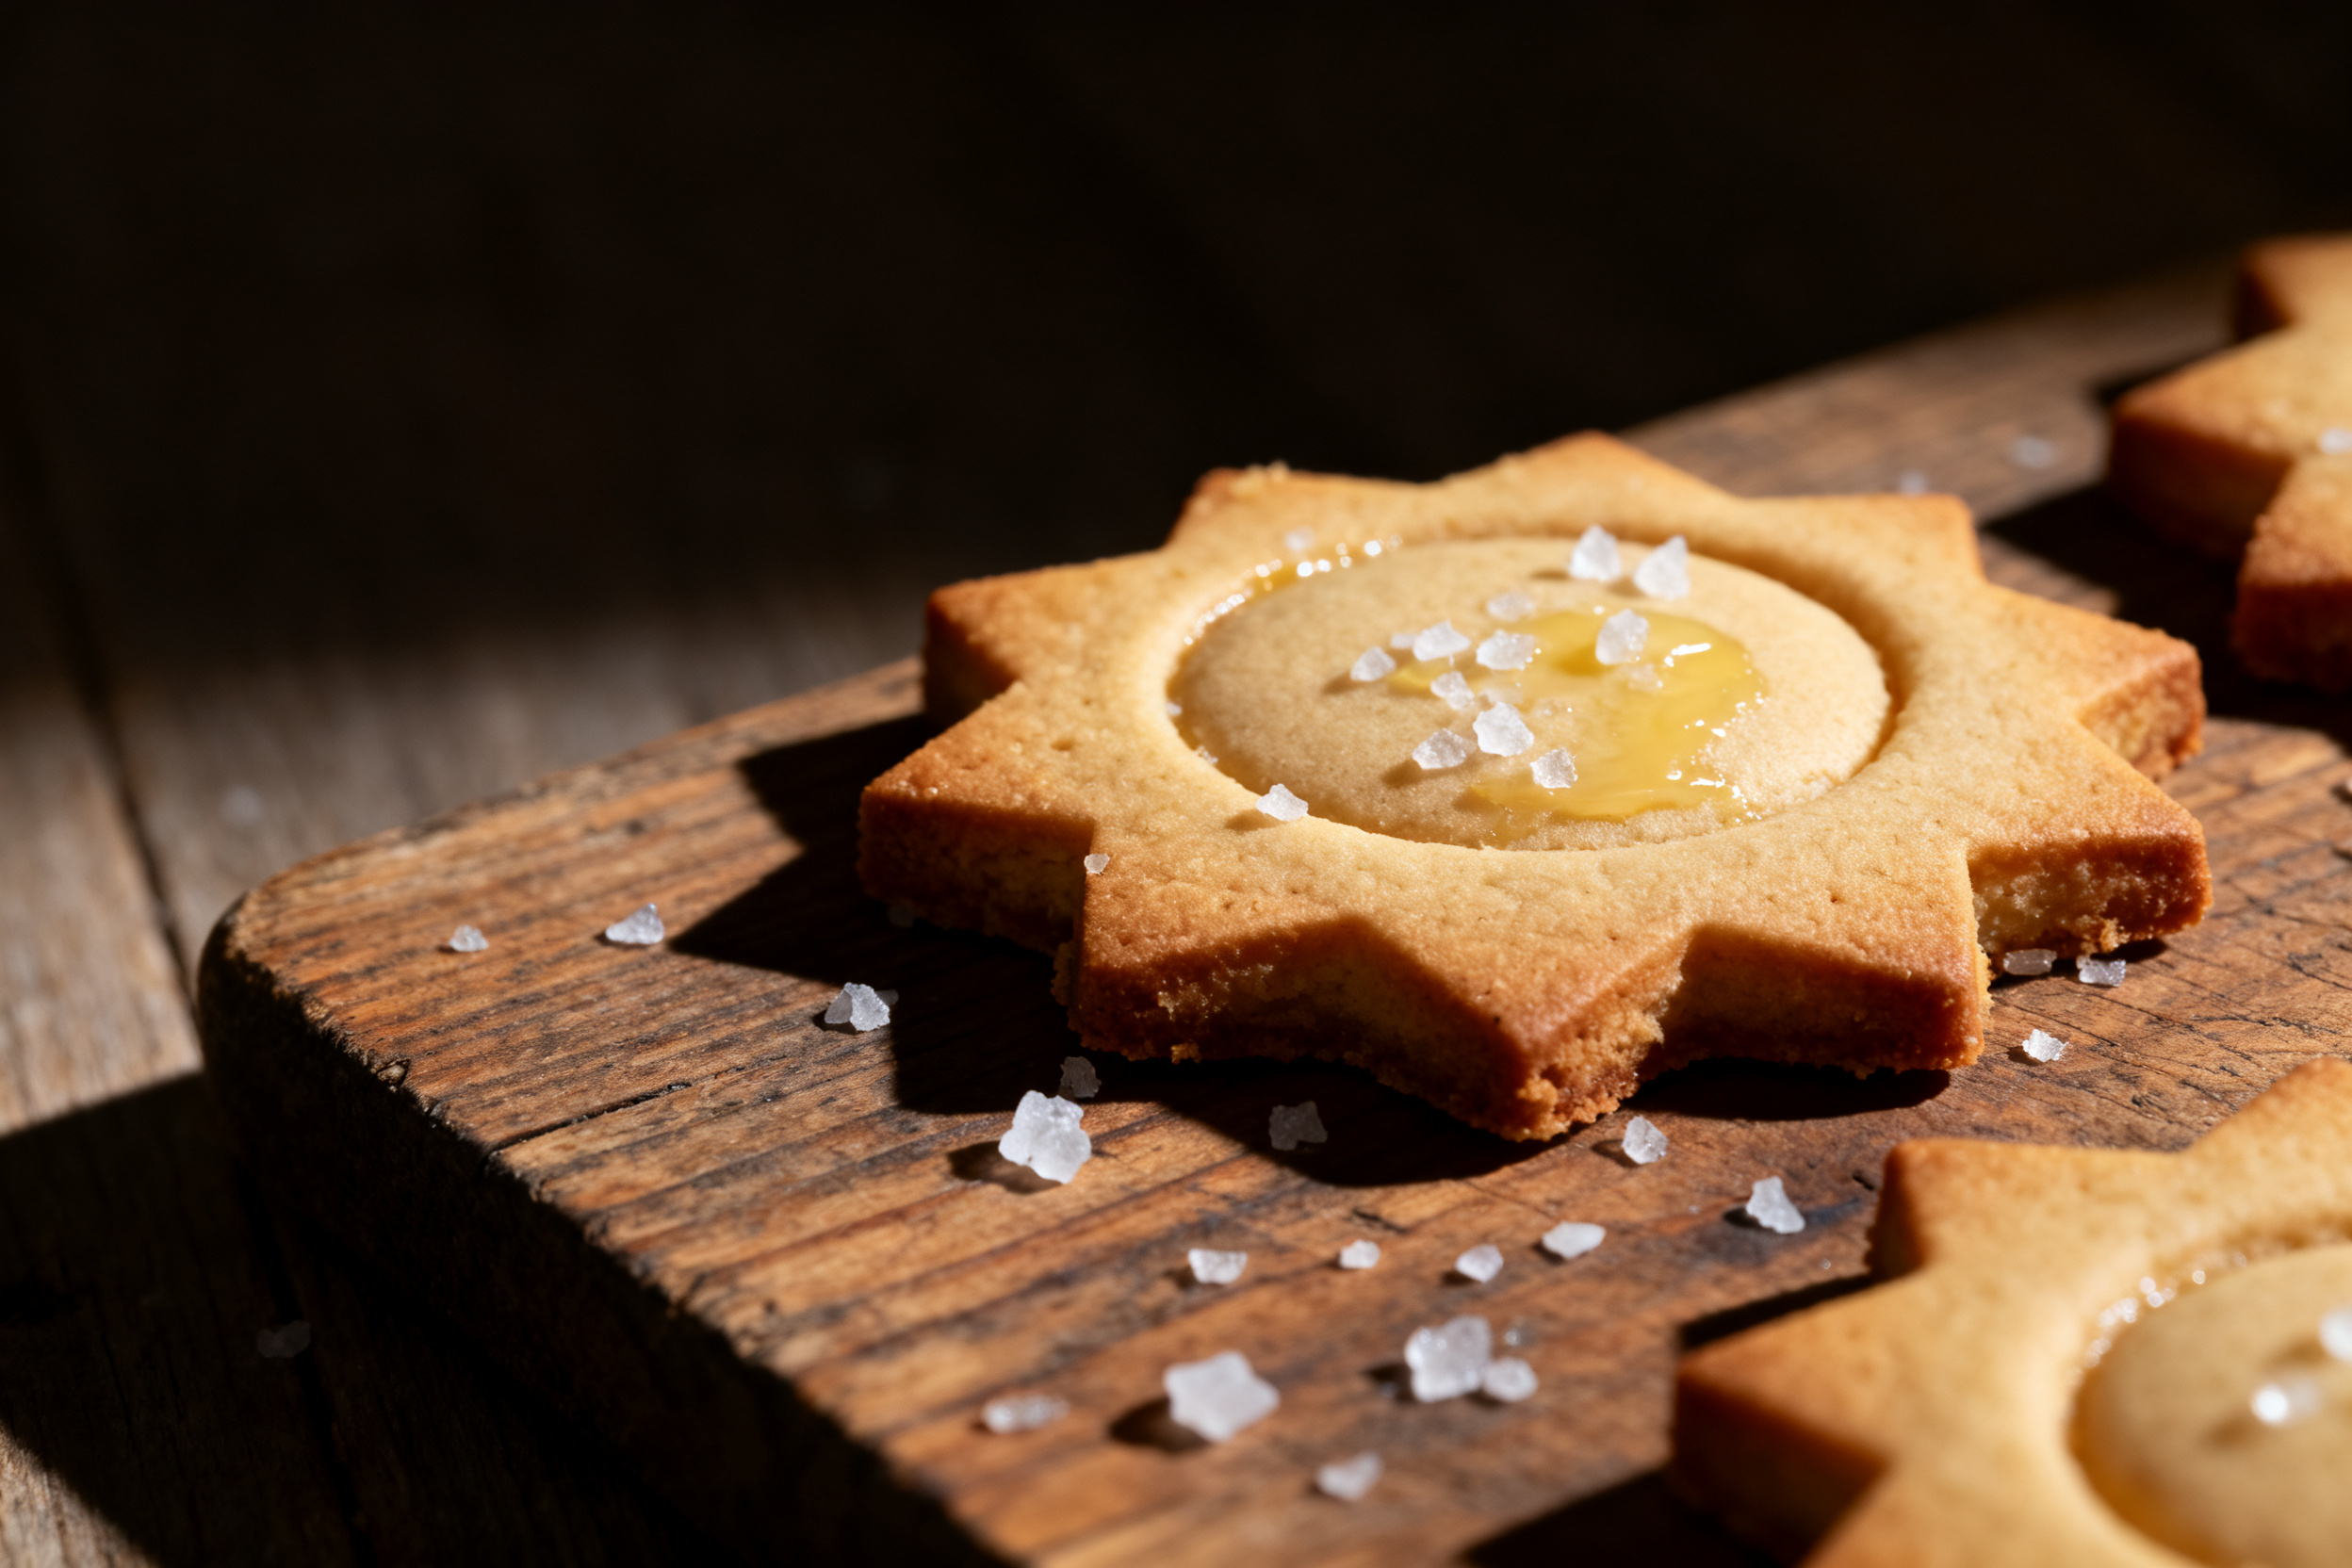
For a lemon version, add one tablespoon of lemon zest and swap the vanilla for lemon extract. It tastes like sunshine.
For a chocolate version, replace 1/4 cup of the flour with unsweetened cocoa powder. You will get a rich, dark cookie.
For a vegan version, use vegan butter and a flax egg. The texture will be slightly softer, but the flavor is still great.
Why This Recipe Works
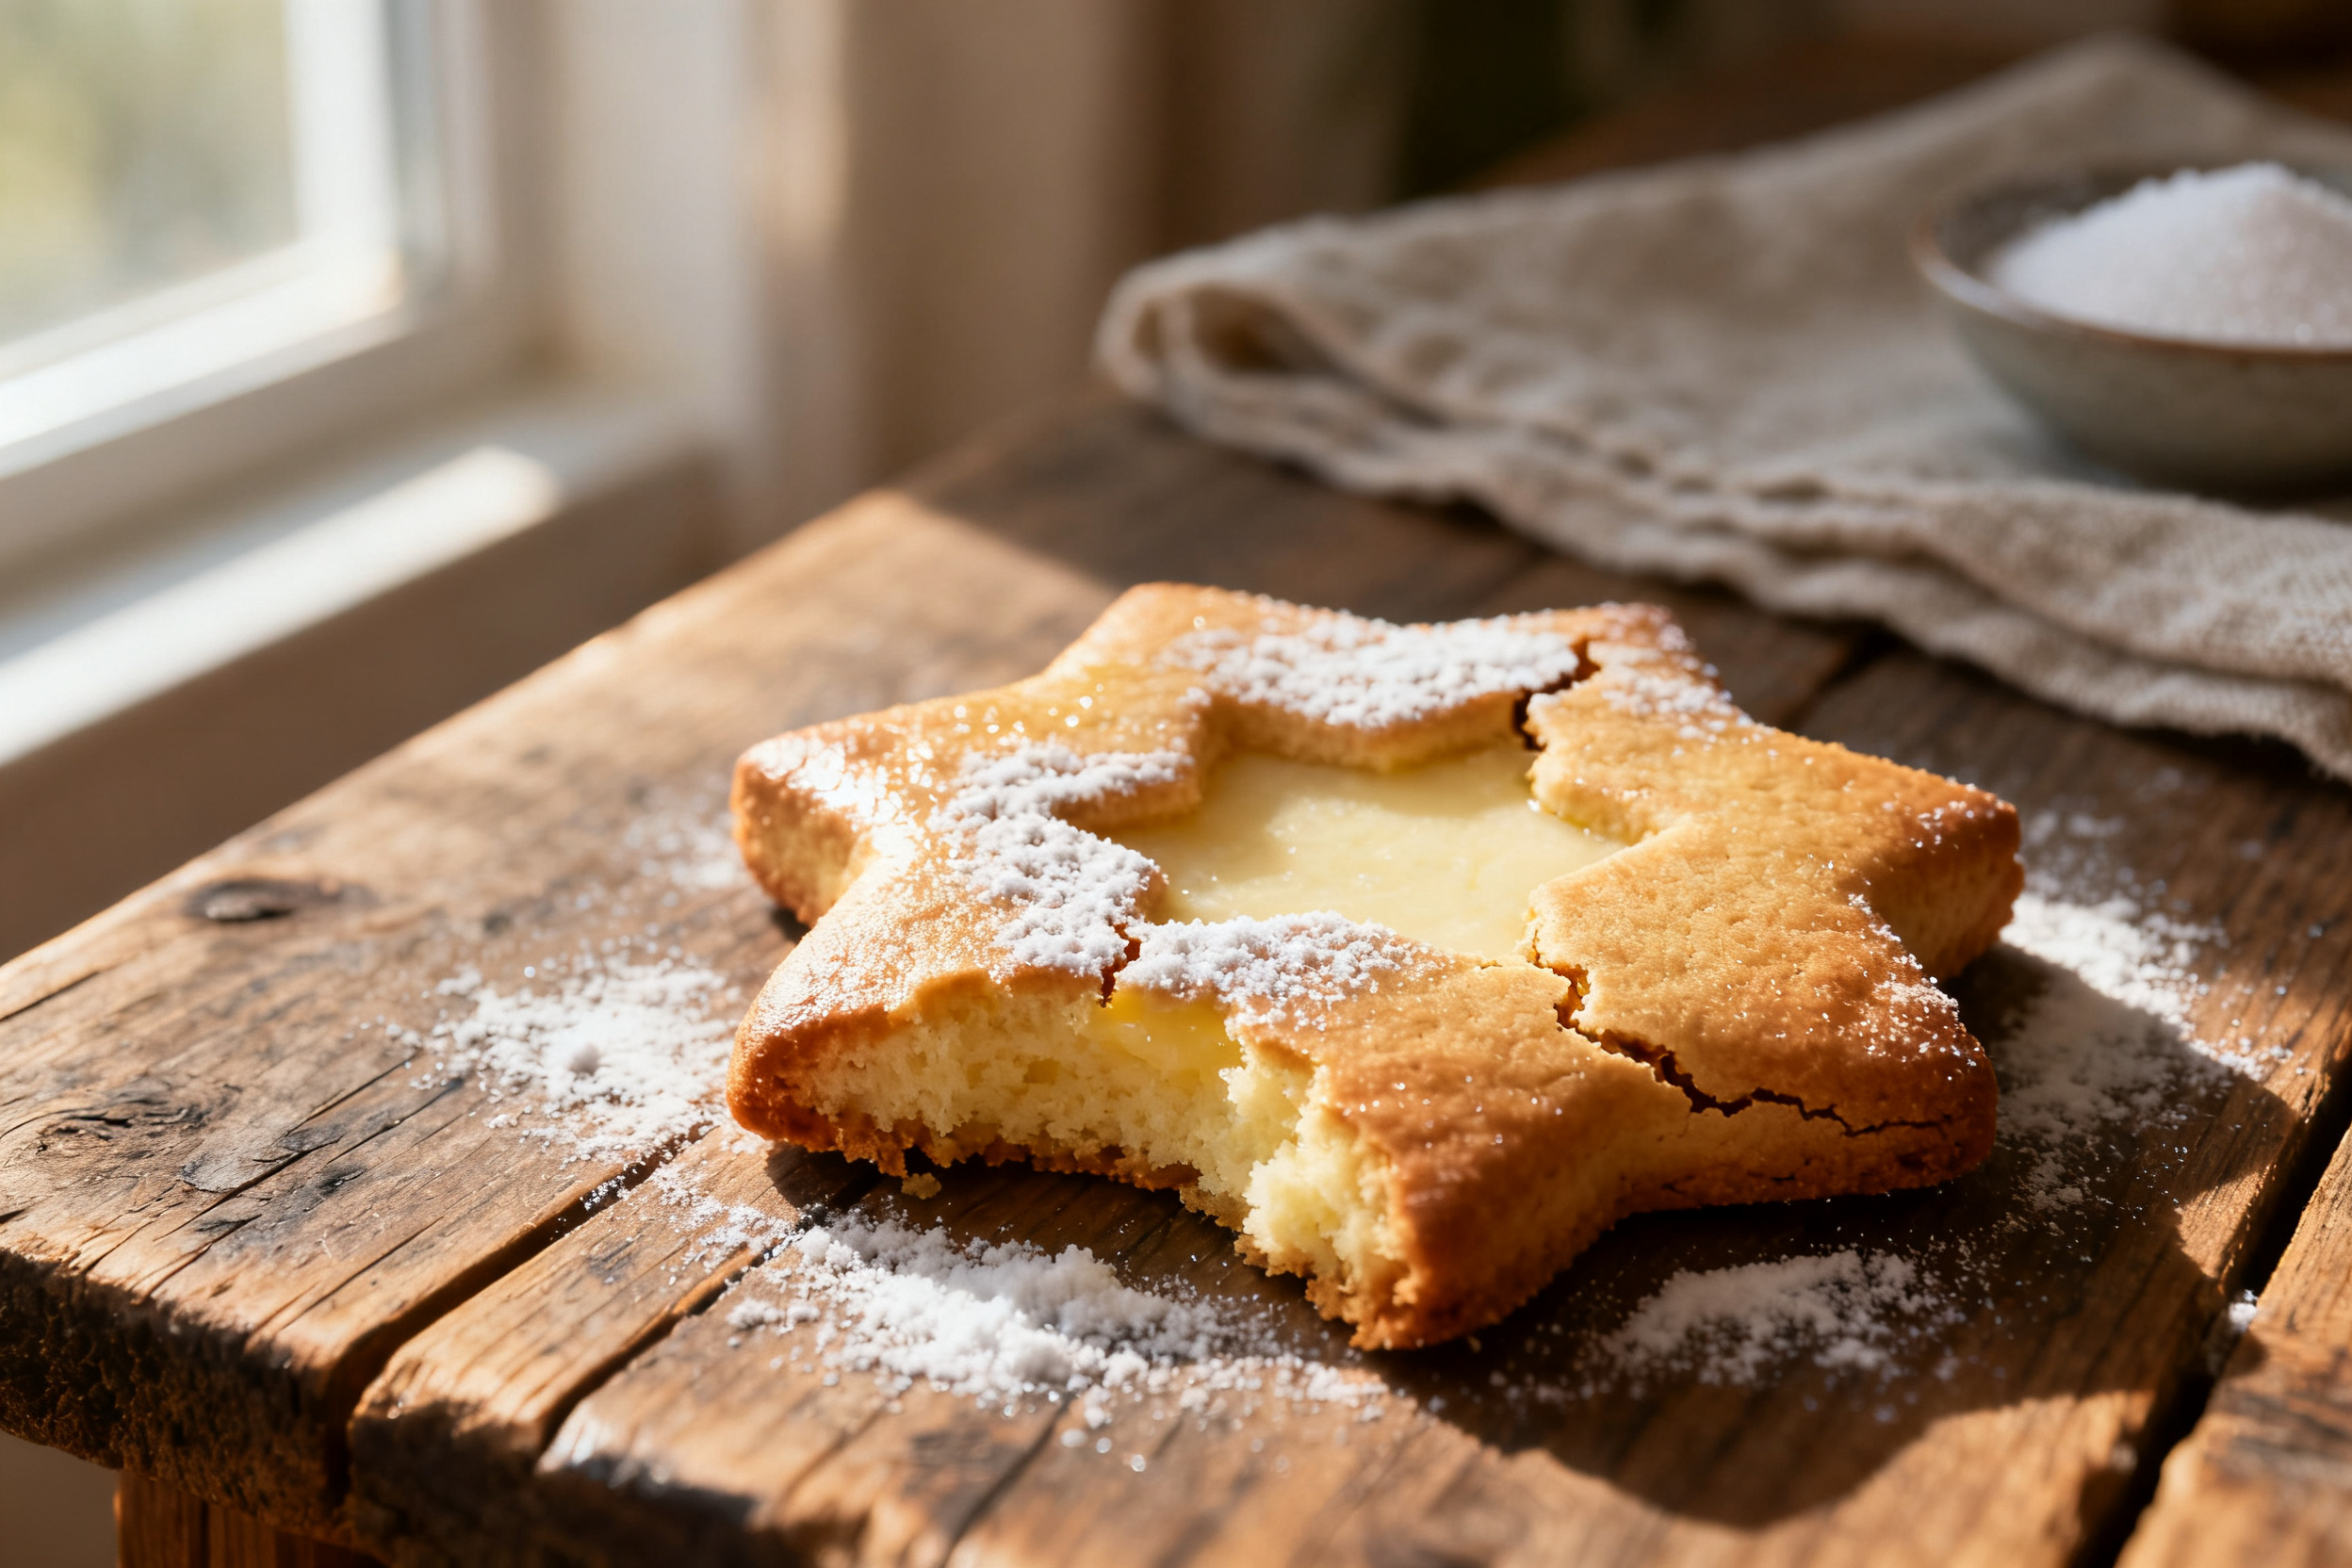
The high ratio of powdered sugar to butter creates a dough that is short and tender. It bakes up soft without spreading.
Chilling solidifies the butter. When the cookie hits the hot oven, the butter melts slowly, giving the structure time to set.
The lack of leavening agents like baking soda or powder means no puffing. The cookie stays exactly the shape you cut it.
Frequently Asked Questions
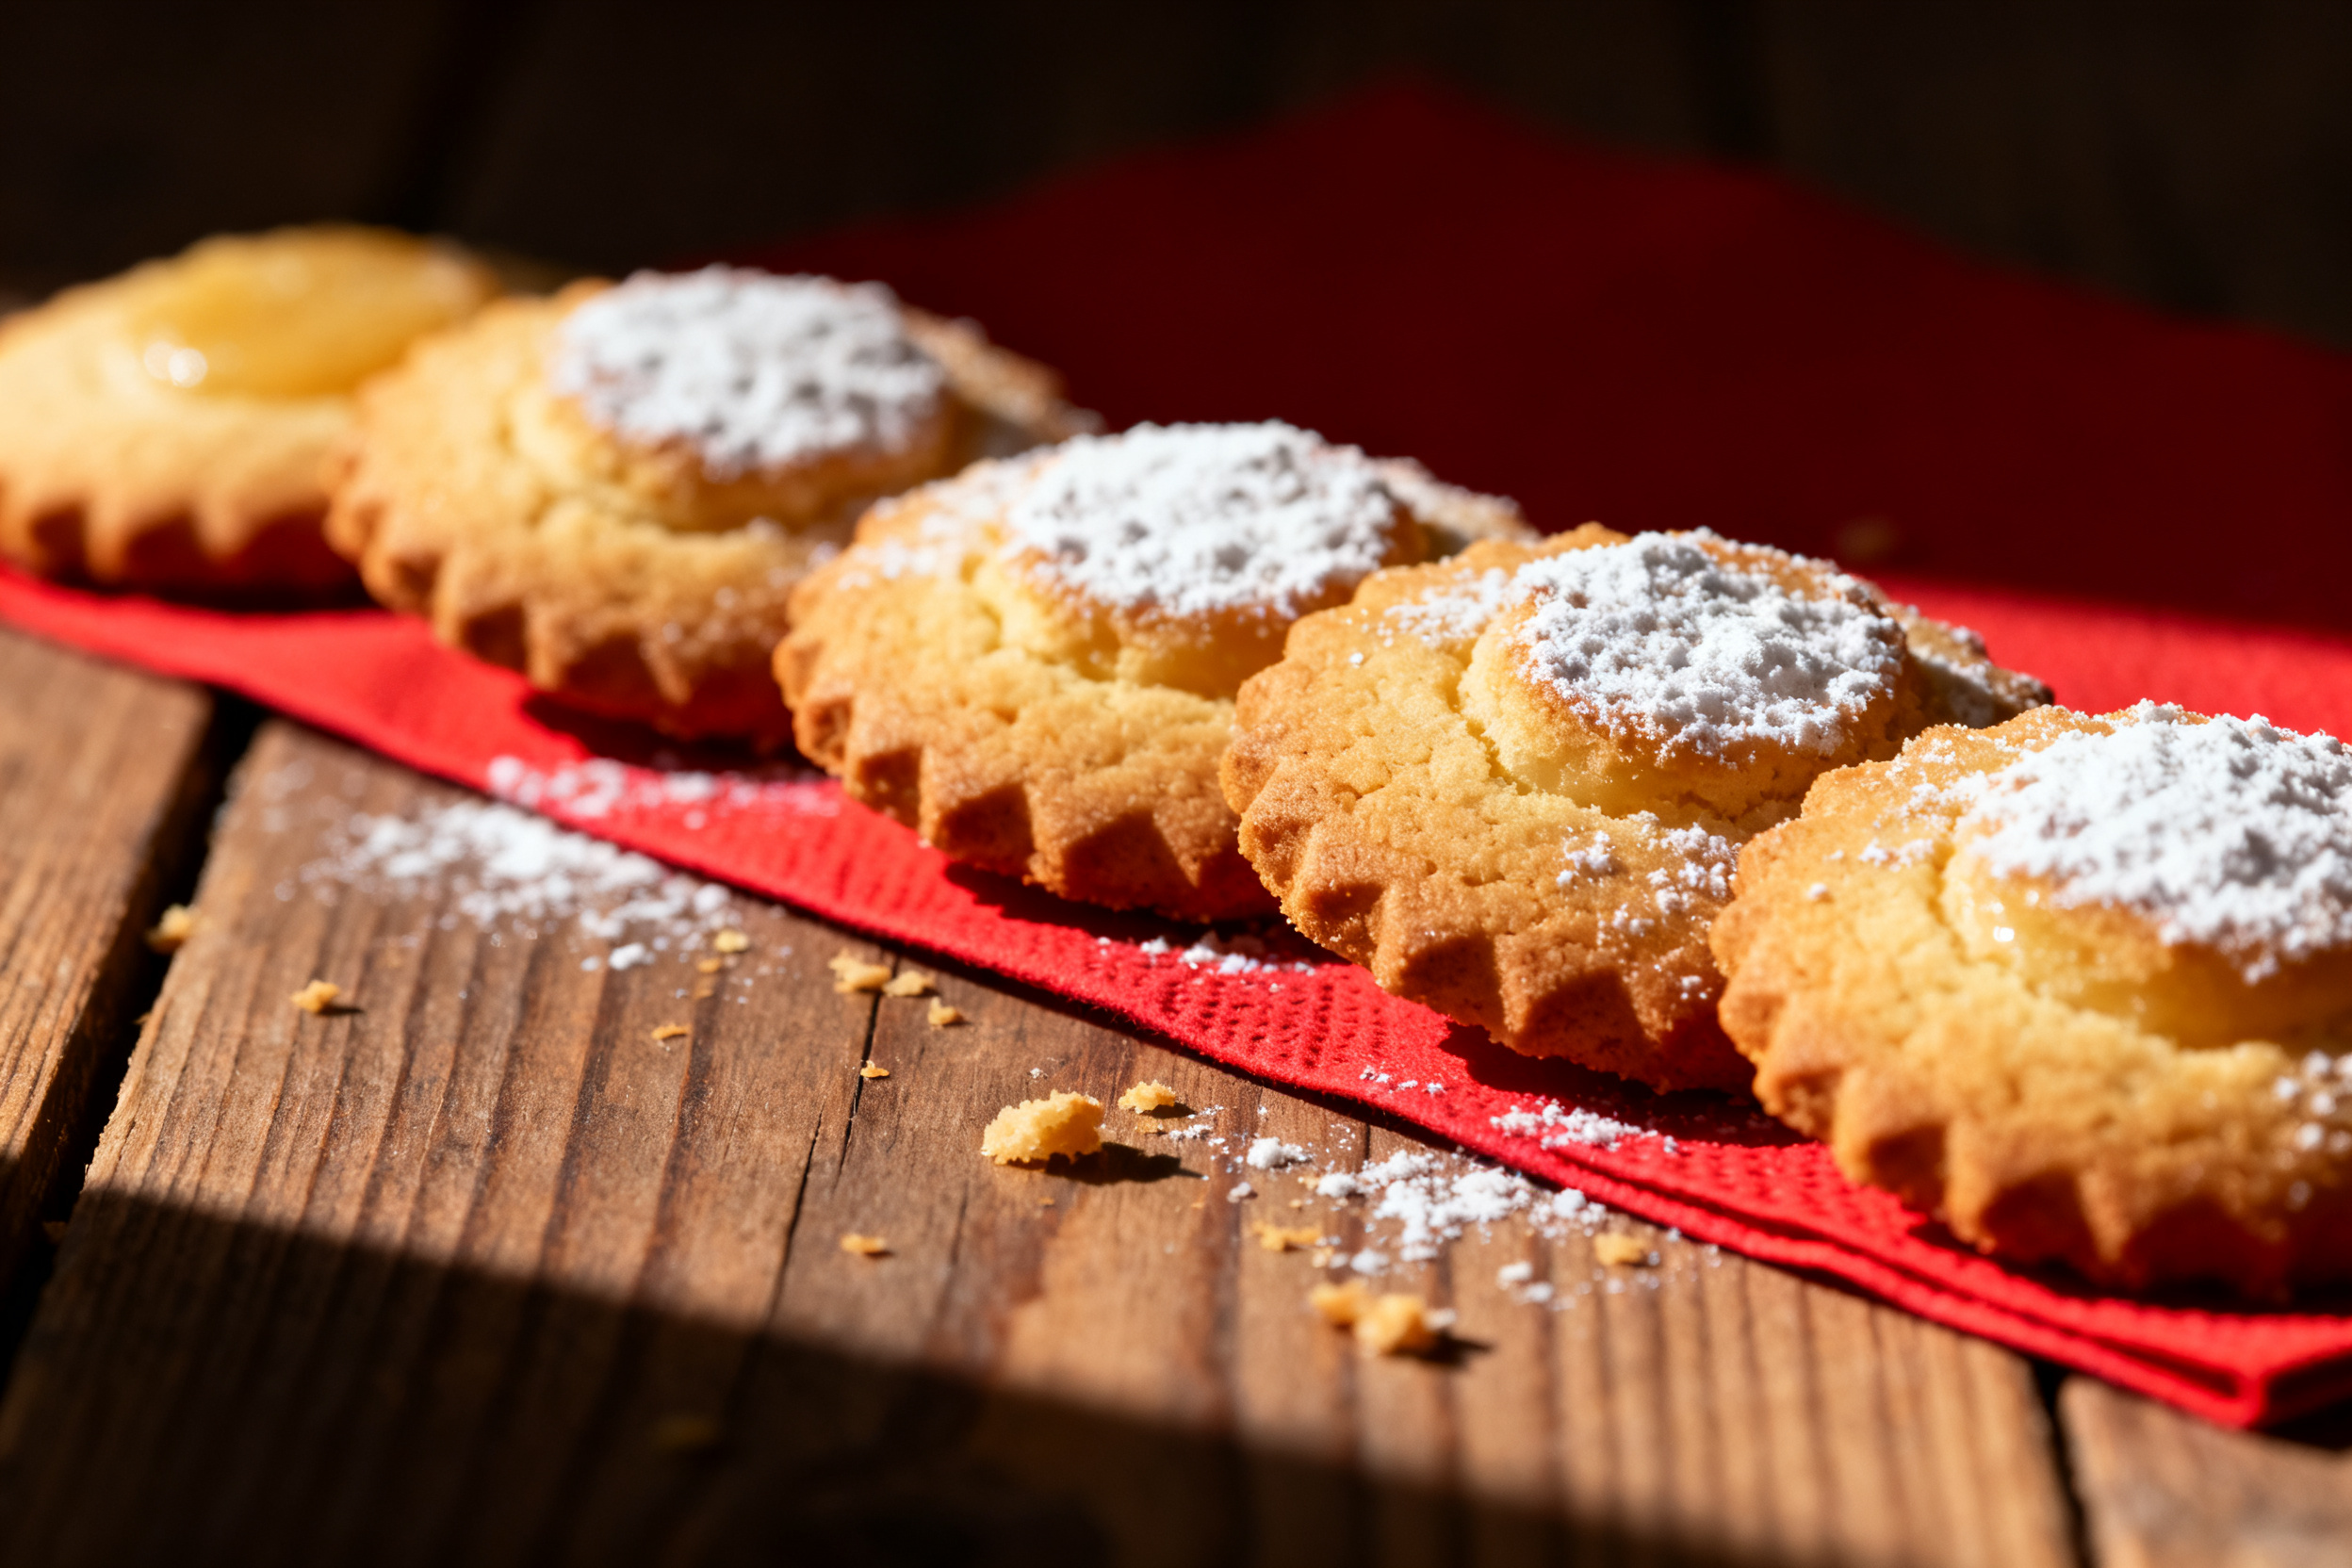
Can I use margarine instead of butter? I do not recommend it. Margarine has a higher water content, which makes cookies spread.
Why do my cookies puff up in the middle? You probably used too much baking powder. This recipe has none, so that should not happen.
Do I have to chill the dough overnight? Two hours is the minimum, but overnight is better. It makes the dough easier to handle and the edges sharper.
Call to Action
I want to see your sharp-edged, soft-centered masterpieces. Drop a comment below and tell me what shapes you made.
If you loved this recipe, share it with a friend who struggles with cut-out cookies. We all need a little cookie help sometimes.
Do not forget to subscribe to the newsletter. I send out new recipes every week, and I promise they are all tested and true.
So go ahead. Roll out that dough, cut some stars, and bake the prettiest cookies of your life. You have got this.
And remember, a cookie that looks perfect is great. A cookie that tastes amazing is better. This one does both.
Happy baking, my friend. Now go make some memories in the kitchen.
Recipe Name: Perfect Cut Out Sugar Cookies
Servings: 24 cookies (depending on cutter size)
Prep Time: 20 minutes
Cook Time: 10 minutes
Total Time: 2 hours 30 minutes (includes chilling)
Calories: 120 per cookie
Course: Dessert
Cuisine: American
Cut Out Cookie Recipe: Sharp Edges, Soft Centers, Every Time
Ingredients
- 1 cup 2 sticks unsalted butter, softened
- 1 cup powdered sugar
- 1 large egg
- 1 teaspoon vanilla extract
- 2 1/2 cups all-purpose flour
- 1/2 teaspoon salt
Instructions
- In a large bowl, beat the softened butter and powdered sugar together until light and fluffy, about 2 minutes.
- Add the egg and vanilla extract. Beat until combined, scraping down the sides of the bowl.
- In a separate bowl, whisk together the flour and salt. Gradually add the dry ingredients to the wet mixture, mixing on low speed until just combined. Do not overmix.
- Divide the dough into two discs, wrap each in plastic wrap, and refrigerate for at least 2 hours (or up to 3 days).
- Preheat your oven to 350°F (175°C). Line two baking sheets with parchment paper.
- Roll out one disc of dough between two sheets of parchment paper to 1/4-inch thickness. Cut into desired shapes using cookie cutters.
- Place the cut cookies 1 inch apart on the prepared baking sheets. Re-roll scraps and repeat.
- Bake for 8-10 minutes, or until the edges are just barely golden. The centers should look dry but not brown.
- Let the cookies cool on the baking sheet for 5 minutes, then transfer to a wire rack to cool completely before decorating.
Notes
2. If the dough becomes too soft to work with, pop it back in the fridge for 15 minutes.
3. Store undecorated cookies in an airtight container at room temperature for up to 1 week.
4. To freeze unbaked cookies, cut out shapes and freeze on a tray.
5. Transfer to a freezer bag.
6. Bake from frozen, adding 2 minutes to the bake time.
7. Chill the dough for at least two hours.
8. This is not a suggestion.
9. It is a rule.
10. Cold butter does not melt and spread in the oven.
11. Roll the dough between two sheets of parchment paper.
12. This saves you from adding extra flour, which makes cookies tough.
13. It also makes clean-up a breeze.
14. Cut your shapes on the parchment, then remove the scraps.
15. Slide the whole sheet onto a baking tray.
16. You do not have to move the fragile raw cookies.